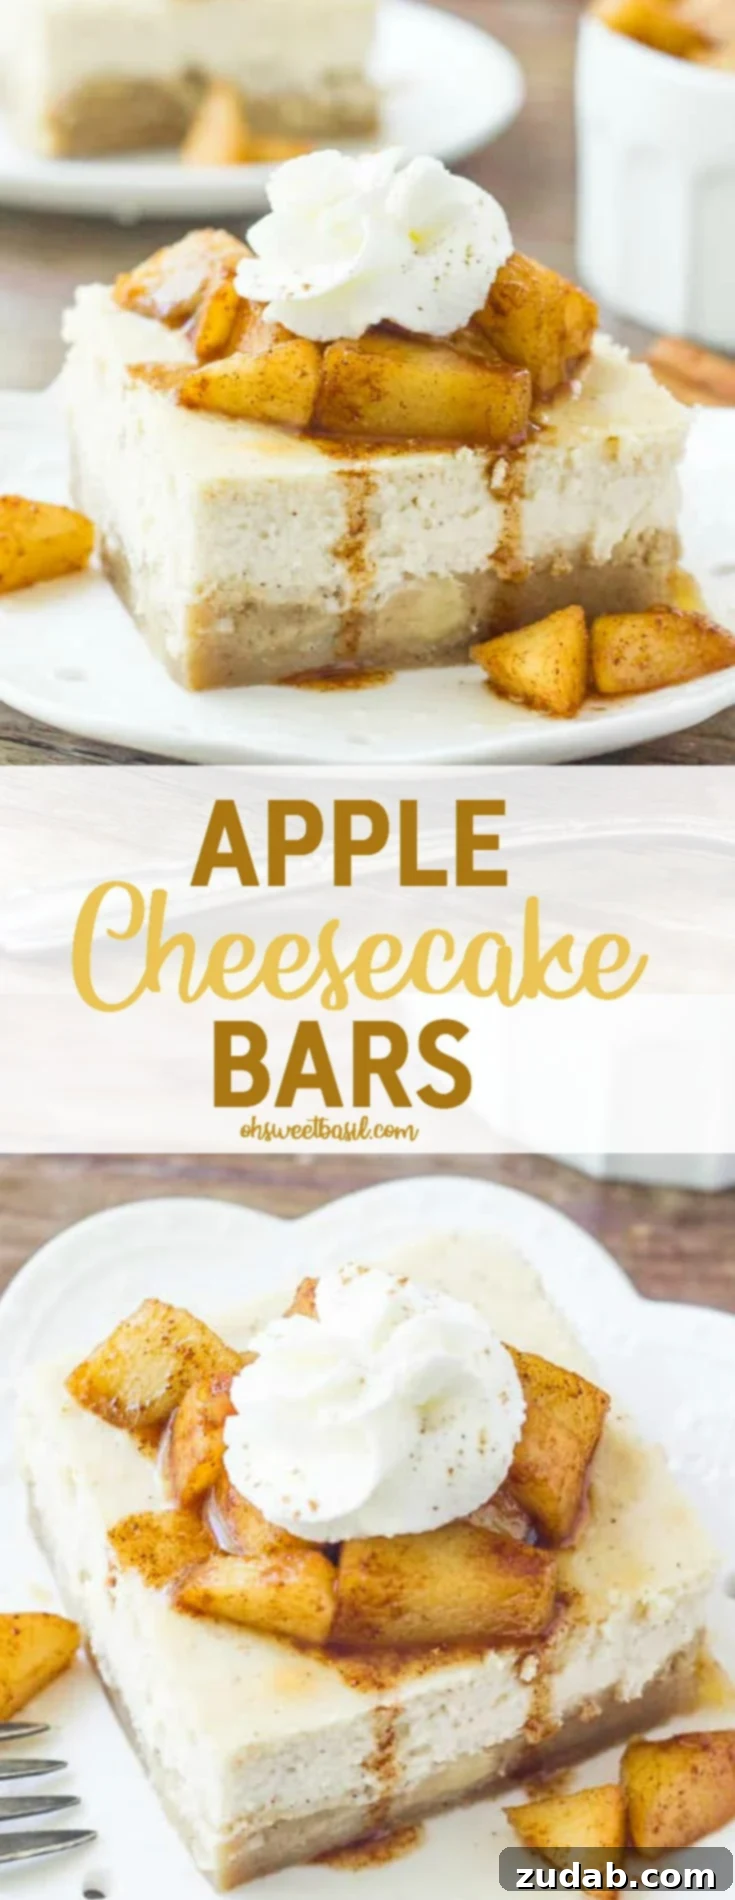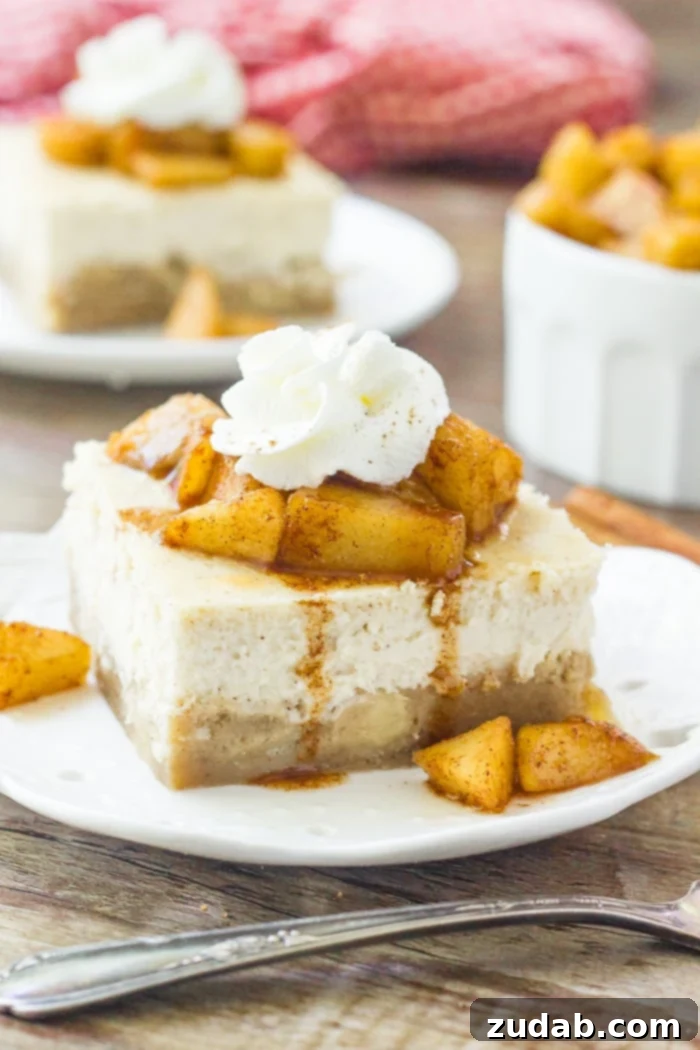
Forget the classic apple pie for a moment and prepare to be enchanted by these incredible apple cheesecake bars! Imagine a perfectly chewy, cinnamon-spiced apple blondie forming the foundation, crowned with a lusciously smooth and creamy cheesecake layer, and then generously finished with a vibrant, flavorful apple pie topping. This dessert isn’t just a treat; it’s an experience, blending the comforting flavors of fall with the irresistible indulgence of cheesecake.
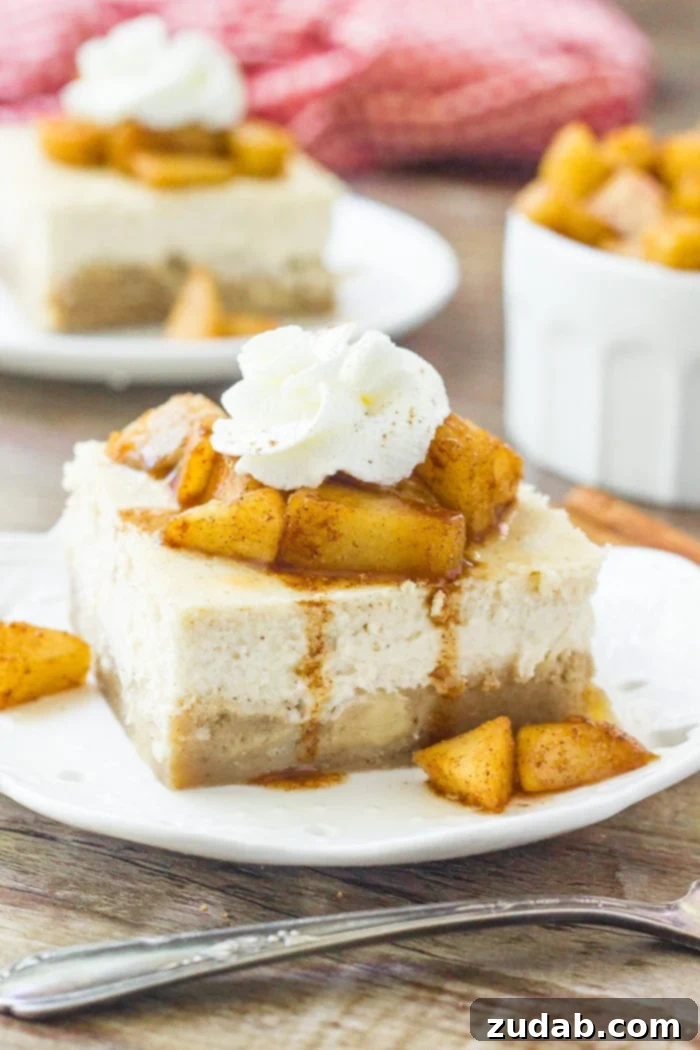
Have you ever experienced the magical combination of apple and cheesecake? It’s a culinary match made in heaven that truly needs to be tasted to be believed. The natural sweetness and subtle tartness of fresh apples perfectly complement the rich, tangy, and velvety texture of cheesecake. When you introduce the warm, inviting notes of brown sugar and aromatic cinnamon, you unlock a depth of flavor that transforms a simple dessert into an extraordinary seasonal delight. These apple cheesecake bars embody that perfect harmony, offering a sophisticated yet utterly comforting dessert ideal for any occasion, from cozy family gatherings to festive holiday celebrations.
Each component of these delectable apple cheesecake bars is crafted to build a symphony of textures and tastes. We begin with a moist and tender apple cinnamon blondie base, packed with real apple pieces and the warming spice of cinnamon. This provides a delightful chewiness and a sturdy foundation for what’s to come. Next, a simple yet incredibly smooth and creamy cheesecake layer, subtly infused with cinnamon, melts in your mouth. Finally, a generous spoonful of homemade (or quality store-bought) apple pie filling adorns each bar, adding a burst of fruity freshness and classic apple pie flavor that makes every bite truly unforgettable. It’s a dessert that transcends expectations and easily becomes a new favorite fall tradition.
Crafting the Perfect Apple Cheesecake Bars: A Step-by-Step Guide
Creating these sensational apple cheesecake bars is a rewarding process, made manageable by breaking it down into its three distinct, yet straightforward, components: the robust apple blondie base, the silken cheesecake layer, and the vibrant apple pie topping. Each step is designed to be accessible, ensuring that even home bakers can achieve a show-stopping dessert with professional-level results.
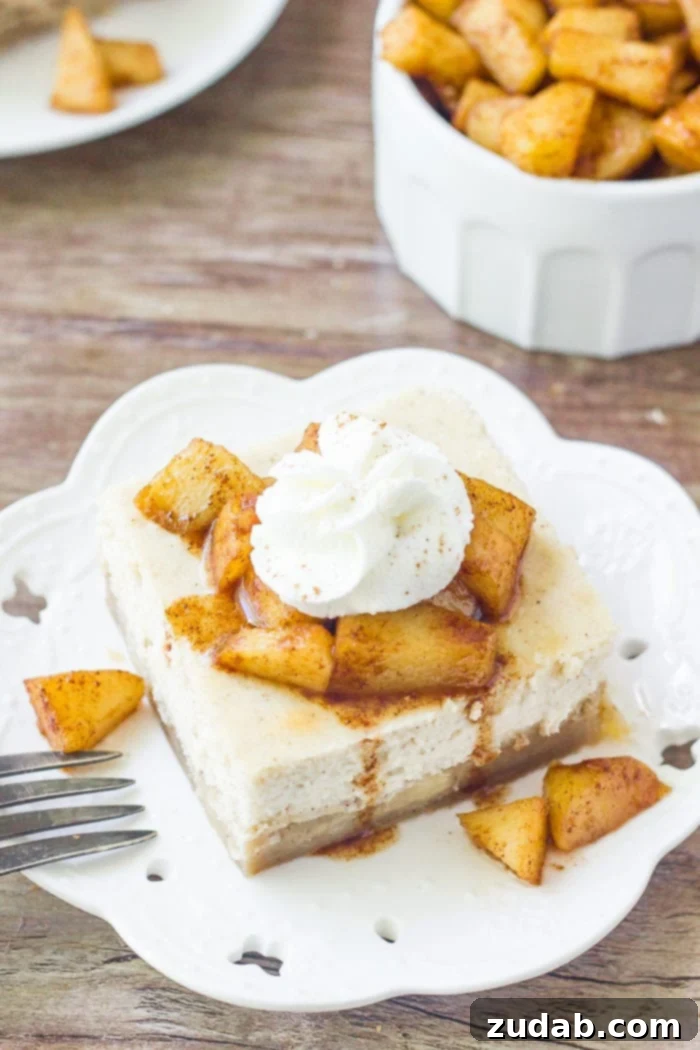
The Foundation: A Chewy Apple Blondie Base
The journey to these incredible apple cheesecake bars begins with their foundational layer: the apple blondie. This isn’t just any blondie; it’s a moist, tender, and deeply flavorful base infused with the essence of fall. What makes this blondie recipe particularly appealing is its simplicity – no electric mixer is required, making cleanup a breeze and the process truly enjoyable. To start, gently whisk together melted butter with both brown and white sugars until well combined, then incorporate the eggs. This creates a rich, sweet, and slightly caramel-like base. Next, carefully fold in the dry ingredients – all-purpose flour, a generous amount of cinnamon, and a pinch of salt – just until no streaks of flour remain. The star of this layer, finely chopped fresh apples, is then gently stirred in, ensuring every bite of the blondie is speckled with fruity goodness. The blondie base bakes for approximately 25 minutes, or until the top appears set and a toothpick inserted into the center comes out with moist crumbs. This perfect bake ensures a chewy texture that stands up beautifully to the creamy cheesecake and luscious apple topping, providing the ideal contrast in every forkful.
The Heart: A Smooth & Creamy Cinnamon Cheesecake Layer
While your apple blondie base is cooling slightly, it’s the perfect time to prepare the star of the show: the cheesecake filling. This layer is designed for ultimate smoothness and a delicate cinnamon hint that perfectly complements the apple flavors. The secret to a flawless cheesecake begins with room temperature cream cheese. Ensure your brick-style, full-fat cream cheese is softened to perfection, as this allows it to beat into an incredibly smooth, lump-free consistency. Beat the cream cheese until it’s light and fluffy, then gradually incorporate the granulated sugar, a touch of cinnamon, and cornstarch. The cornstarch is a crucial ingredient here; it acts as a stabilizer, helping to bind the cheesecake mixture and significantly reducing the risk of cracks during baking and cooling. Next, on a low speed, mix in the sour cream, which adds an essential tanginess and contributes to the cheesecake’s signature creamy texture. Finally, add the eggs one at a time, mixing just until they are fully incorporated. Overmixing eggs in cheesecake batter can introduce too much air, leading to cracks, so be gentle! Once the cheesecake batter is prepared, pour it evenly over the partially baked blondie base. The combined layers then return to the oven to bake for about 30-35 minutes, or until the edges are set and the center retains a slight, enticing wobble.
Achieving Cheesecake Perfection: Essential Cooling Tips to Prevent Sinking or Cracking
The cooling process is just as crucial as the baking itself when it comes to cheesecake, especially to prevent the dreaded sinking or cracking. The key lies in gradual cooling. Instead of immediately removing the cheesecake from the oven, turn the oven off and prop the oven door open slightly (about 3-4 inches) for 20 to 30 minutes. This controlled, slow reduction in temperature allows the cheesecake to adjust gently, minimizing thermal shock that can cause cracks. After this initial oven cool-down, remove the cheesecake and continue cooling it at room temperature until it is completely cool to the touch. This can take several hours. Once cooled to room temperature, the cheesecake must be transferred to the refrigerator to chill for at least 4 hours, though preferably overnight. This extended chilling period is not just for setting; it significantly enhances the flavor and firms up the texture, making it easier to slice and even more delicious. In fact, cheesecake’s flavor often improves when made a day in advance, making these apple cheesecake bars an ideal make-ahead dessert for entertaining.
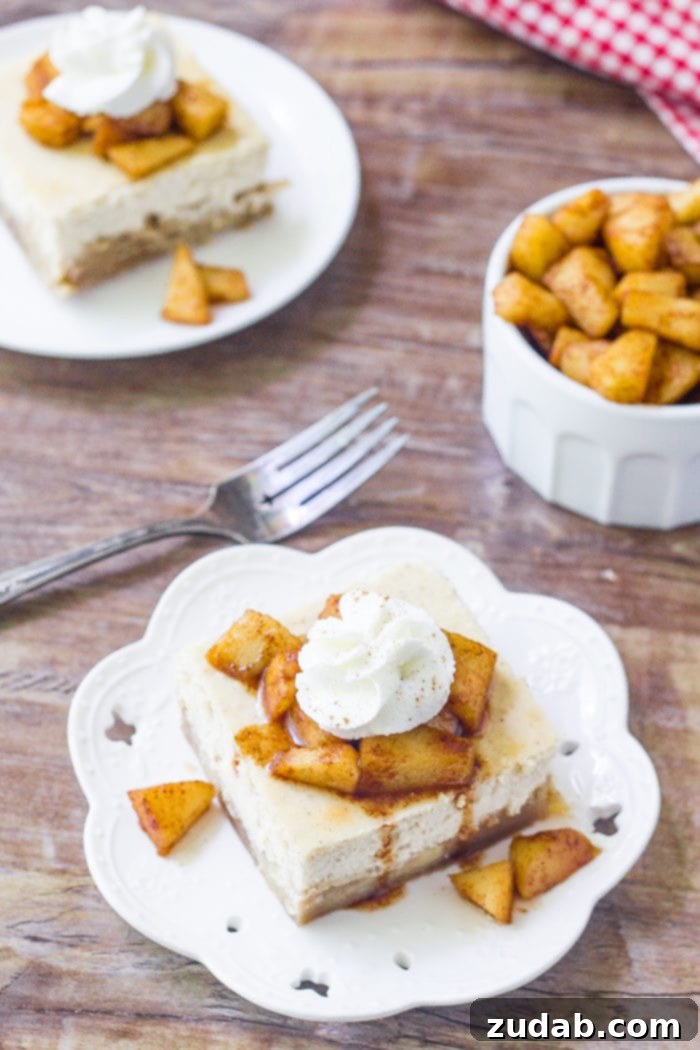
The Grand Finale: Luscious Apple Pie Topping
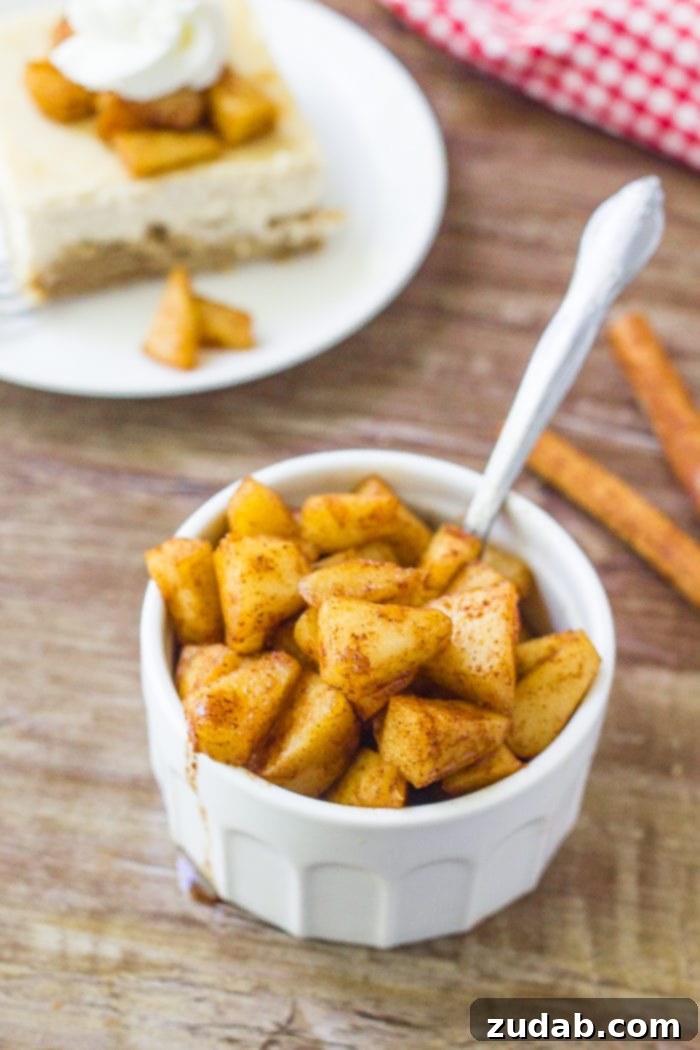
The final touch that elevates these apple cheesecake bars from delightful to absolutely divine is the homemade apple pie topping. This warm, spiced apple layer provides a fresh burst of flavor and a pleasing textural contrast to the smooth cheesecake below. Making it from scratch is incredibly simple and allows you to control the sweetness and spice levels. Begin by peeling and chopping your favorite baking apples (Granny Smith, Honeycrisp, or Fuji work wonderfully for their balance of sweetness and tartness, and their ability to hold shape). Place the chopped apples into a medium saucepan along with brown sugar, a hint of cinnamon, a splash of water, and a pat of butter. Cook this mixture over low heat, stirring occasionally, until the apples soften to your desired tenderness and the sauce thickens slightly. The aromas filling your kitchen alone will be worth the effort! You can prepare this topping just before serving to enjoy it warm, or make it ahead of time and store it in the fridge, reheating gently if desired. The slight caramelization from the brown sugar and the fragrant cinnamon perfectly complement the apples, creating a truly irresistible topping.
Time-Saving Tip: Can You Use Canned Apple Pie Filling?
Absolutely! While making your own apple topping from scratch is always a delightful option, sometimes time is of the essence. If you’re looking to streamline the preparation process without sacrificing flavor, high-quality pre-made canned apple pie filling is an excellent substitute. Simply warm it slightly before spooning it over the chilled cheesecake bars for an equally delicious and convenient fall treat. This shortcut makes these apple cheesecake bars even more accessible for busy bakers.
Once your apple cheesecake bars are perfectly chilled and ready, it’s time to complete the masterpiece. Just before serving, generously top each slice with the warm or room-temperature apple pie filling. For an extra touch of indulgence, a dollop of freshly whipped cream or a sprinkle of cinnamon sugar makes a beautiful garnish. These apple cheesecake bars are truly a celebration of fall, offering a harmonious blend of textures and an explosion of apple and cinnamon flavors. They are the perfect way to utilize an abundance of fresh, seasonal apples, transforming them into a dessert that will earn rave reviews and become a cherished seasonal tradition.
Apple Cheesecake Bars: Your New Favorite Fall Dessert
These apple cheesecake bars are more than just a recipe; they are a delightful fusion of classic fall flavors and creamy indulgence. Perfect for Thanksgiving, holiday parties, or simply a cozy evening treat, they offer a unique spin on traditional apple desserts. With a tender blondie base, rich cheesecake, and a sweet apple topping, they are destined to become a staple in your recipe collection. Don’t hesitate to experiment with different apple varieties to find your favorite flavor profile, or even add a drizzle of caramel sauce for an extra touch of decadence. Enjoy creating this memorable dessert that beautifully captures the essence of autumn!
Explore More Irresistible Apple Desserts
If you’ve fallen in love with the comforting flavors of apple and cinnamon, there’s a whole world of delightful apple desserts waiting to be discovered. From moist cakes to gooey crisps, apples offer endless possibilities for sweet treats. Here are a few more easy apple desserts to inspire your baking adventures this season:
Apple Spice Cake with Cream Cheese Frosting
This sensational apple spice cake, generously topped with a fluffy cream cheese frosting, is a true embodiment of fall. Each bite is packed with warm spices like cinnamon, nutmeg, and cloves, complemented by the rich, caramel-like undertones of brown sugar. It’s an incredibly moist and flavorful cake that stands out as a perfect dessert for any autumnal gathering, offering a classic taste with a luxurious finish.
Apple Pie Bombs A La Mode
No fall season is complete without indulging in these charming apple pie bombs served a la mode. Imagine warm, gooey apple-filled pastries, glazed to perfection, served alongside a scoop of creamy vanilla ice cream. These bite-sized delights are a fun and irresistible way to enjoy the classic flavors of apple pie, making them an instant hit for dessert lovers of all ages.
More Easy Apple Dessert Recipes:
- Apple Cake with Caramel Frosting
- Apple Brown Betty
- Easy Apple Dumplings with Sprite
- Apple Pie Bread Pudding with Vanilla Sauce
- Mini Dutch Apple Cheesecakes
- Apple Pie Bombs al la Mode
- Caramel Apple Sweet Rolls
- Apple Pie Pull-Apart Bread
- Apple Cake with Caramel Sauce
- Best Apple Crisp
- Apple Cider Cupcakes with Cinnamon Frosting
- Apple Pie Fried Ice Cream
Looking for another incredible dessert? Try this magic custard cake! It’s an absolute showstopper!
★
★
★
½
Apple Cheesecake Bars
Print Recipe
Ingredients
Apple Blondie Base
- 1 Cup Butter, unsalted, melted
- 1 Cup Brown Sugar
- 1/2 Cup White Sugar
- 1 Egg, large
- 2 1/4 All Purpose Flour
- 1 1/2 teaspoons Cinnamon
- 1/2 teaspoon Salt
- 1 Apple, large, peeled and chopped
Cheesecake Layer
- 20 oz Cream Cheese, brick-style, use full fat
- 1 Cup Granulated Sugar
- 1 teaspoon Cinnamon
- 1 Tablespoon Cornstarch
- 1/2 Cup Sour Cream
- 3 Eggs, large
Apple Pie Topping
- 3 Apples, large, peeled & chopped
- 1/4 Cup Brown Sugar
- 1 teaspoon Cinnamon
- 1-2 Tablespoons Water
- 1 Tablespoon Butter
Instructions
Apple Blondie Base
-
Preheat the oven to 325°F (160°C).
-
Line a 9×13 inch baking pan with aluminum foil and grease it thoroughly, or use parchment paper for easy removal.
-
In a large mixing bowl, whisk together the melted butter, brown sugar, white sugar, and one large egg until the mixture is smooth and well combined.1 Cup Butter, 1 Cup Brown Sugar, 1/2 Cup White Sugar, 1 Egg
-
Gently fold in the all-purpose flour, cinnamon, and salt until just combined. Be careful not to overmix. Then, stir in the chopped apple until evenly distributed.2 1/4 All Purpose Flour, 1 1/2 teaspoons Cinnamon, 1/2 teaspoon Salt, 1 Apple
-
Pour the blondie batter into the prepared pan and spread evenly. Bake for 25 minutes, or until the top looks fully set and a toothpick inserted into the center comes out with moist crumbs.
-
Remove the pan from the oven and set aside while you prepare the cheesecake layer.
Cheesecake Layer
-
In a large bowl, using an electric mixer, beat the softened cream cheese until it is completely smooth and free of any lumps.20 oz Cream Cheese
-
Gradually mix in the granulated sugar, cinnamon, and cornstarch until thoroughly combined and smooth.1 Cup Granulated Sugar, 1 teaspoon Cinnamon, 1 Tablespoon Cornstarch
-
Reduce the mixer speed to low and gently incorporate the sour cream until just blended.1/2 Cup Sour Cream
-
Add the large eggs one at a time, mixing on low speed only until each egg is just incorporated. Do not overmix, as this can lead to cracks in the cheesecake.3 Eggs
-
Carefully spoon or pour the cheesecake batter evenly over the partially baked blondie base in the pan. Return the pan to the oven and bake for 30-35 minutes, or until the edges are set and the center shows only a slight wobble when gently shaken.
-
Once baked, turn off the oven, open the oven door about 3-4 inches, and allow the cheesecake to cool slowly inside the oven for 20-30 minutes. This gradual cooling prevents cracking. Remove from the oven and continue cooling at room temperature until completely cool.
-
Once at room temperature, cover the cheesecake with plastic wrap and chill in the refrigerator for at least 4 hours, or ideally overnight, for best flavor and texture.
Apple Pie Topping
-
In a medium saucepan, combine the chopped apples, brown sugar, cinnamon, water, and butter.3 Apples, 1/4 Cup Brown Sugar, 1 teaspoon Cinnamon, 1-2 Tablespoons Water, 1 Tablespoon Butter
-
Stir the mixture well to ensure the apples are evenly coated with the brown sugar and cinnamon.
-
Cook over low heat, stirring occasionally, until the apples soften to your preferred consistency and the sauce lightly thickens.
Serving
-
Remove the chilled cheesecake from the fridge 20-30 minutes before serving to allow it to soften slightly.
-
Using a sharp, thin knife, carefully cut the cheesecake into bars.** For cleaner slices, wipe the knife clean between each cut.
-
Top each individual apple cheesecake bar with a generous spoonful of the prepared apple pie topping. Optionally, add a dollop of whipped cream or a sprinkle of cinnamon for an extra touch.
Recipe Notes
Nutrition
Nutrition information is automatically calculated, so should only be used as an approximation.