

Irresistibly Delicious Homemade Oreo Cookies: Your Ultimate Guide to Chocolate Sandwich Perfection
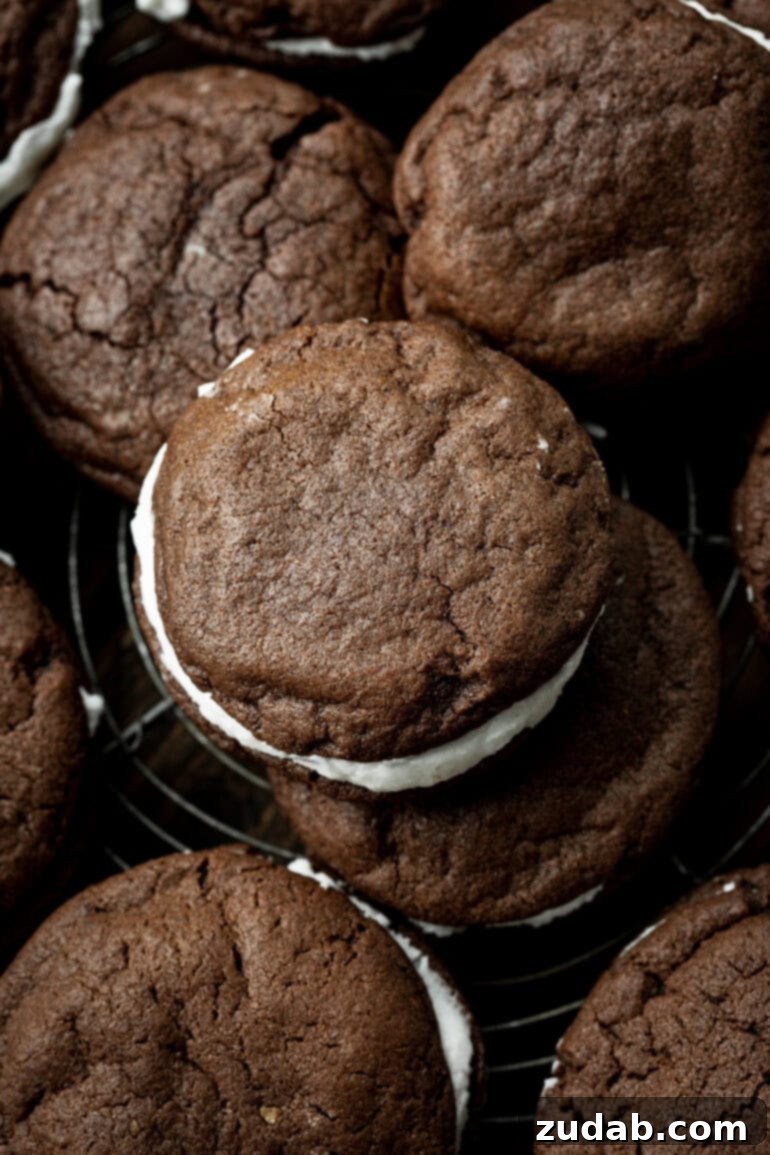
Craving the iconic taste of America’s favorite cookie but want that fresh, homemade goodness? Look no further! This comprehensive guide reveals how to create mouth-watering homemade Oreo cookies right in your own kitchen. Imagine rich, dark chocolate cookies perfectly complemented by a luscious, creamy filling. These delightful chocolate sandwich cookies are so good, your family will be begging for more, and you’ll find yourself reaching for this Oreo cookie recipe again and again.
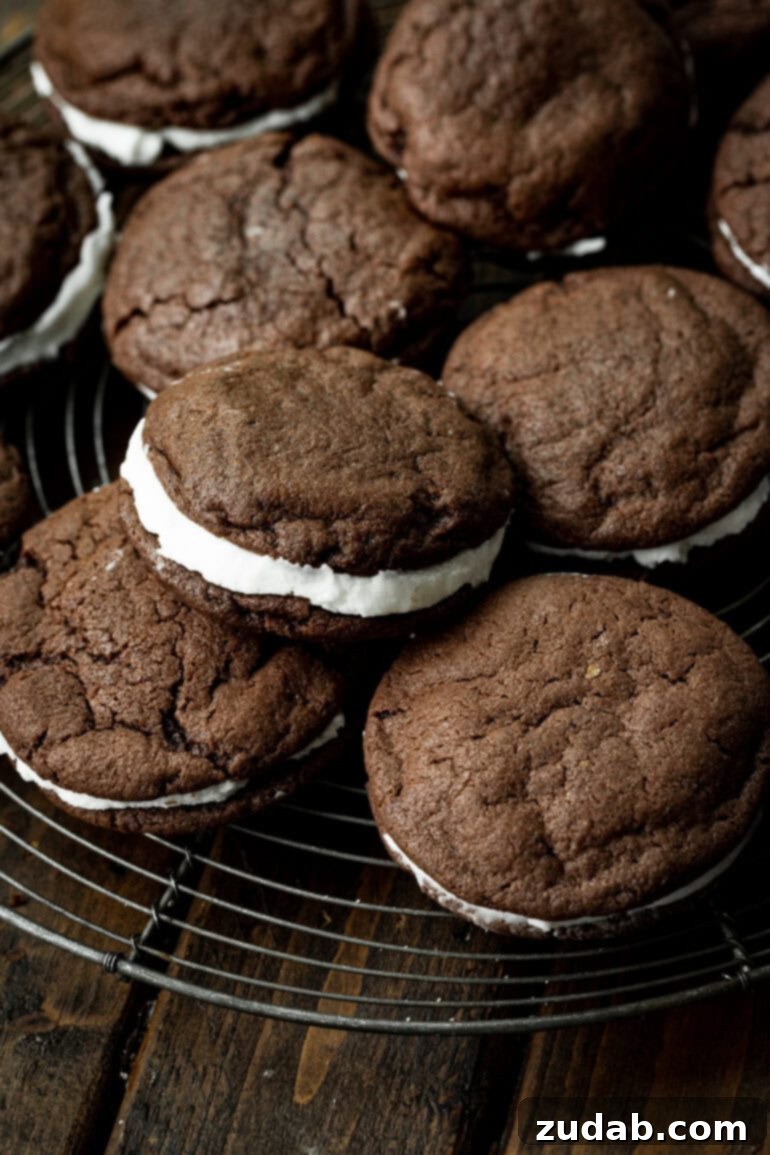
The classic Oreo holds a special place in the hearts of many, a beloved treat enjoyed across generations. Its simple yet perfect combination of a crisp chocolate wafer and a sweet, creamy center makes it universally adored. Whether you’re a dunker, a twister, or a straight-up biter, there’s no denying the magical appeal of these cookies. While some might argue over the superiority of the cookie versus the cream, or the best way to eat them, everyone agrees: Oreos are something special!
There’s something incredibly satisfying about baking your favorite treats from scratch, and these DIY Oreos are no exception. This recipe offers a delightful alternative to store-bought versions, often affectionately called “fake Oreos” or “faux Oreos” due to their remarkable resemblance and taste. My husband, for instance, absolutely adores this recipe, and so do I! It’s astonishing how effortlessly you can recreate such an iconic and delicious dessert in your own kitchen. The delicate sweetness of the creamy filling, perfectly nestled between two deeply chocolatey wafers, tastes incredibly similar to the real deal, perhaps even better!
These homemade delights are guaranteed to become a new family favorite. They’re also a fantastic baking project to undertake with children. Little ones will love helping to press the two cookie halves together, creating their very own sandwiches of joy. Yes, it might get a little messy, but the fun and delicious outcome are entirely worth it!

Essential Ingredients for Your Homemade Oreo Cookies
One of the best parts about this chocolate sandwich cookie recipe is that you likely already have most of the necessary ingredients in your pantry. This means you’re always just a few steps away from enjoying freshly baked, intensely chocolatey treats whenever a craving strikes!
For the Chocolate Cookies:
- Dry Ingredients:
- All-Purpose Flour: Provides the structure for our crisp cookies.
- Unsweetened Cocoa Powder: Essential for that signature deep chocolate flavor and dark color. For an even darker cookie, consider using Dutch-process cocoa powder or black cocoa. These will give your cookies a color closer to store-bought Oreos and a milder chocolate flavor.
- Baking Soda & Baking Powder: These leavening agents ensure the cookies have the right texture – a slight lift without being cakey.
- Salt: A pinch of salt enhances all the other flavors, especially the chocolate.
- Wet Ingredients:
- Unsalted Butter: Softened butter is key for creaming with sugar, creating a light and airy base for the dough.
- Granulated Sugar: Contributes to the sweetness and crispness of the cookies.
- Brown Sugar: Adds a subtle caramel note and helps keep the cookies tender.
- Large Egg: Binds the ingredients together and adds moisture.
- Vanilla Extract: A touch of vanilla complements the chocolate beautifully.
For the Creamy Filling:
- Unsalted Butter: Softened butter forms the base of our rich and smooth cream.
- Vegetable Shortening: This is a secret ingredient for achieving that classic Oreo filling texture – smooth, stable, and less prone to melting than an all-butter filling.
- Powdered Sugar (Confectioners’ Sugar): Creates the sweet, melt-in-your-mouth consistency of the filling. Sifting it will prevent lumps.
- Vanilla Extract: Essential for that signature sweet vanilla flavor in the cream.
You’ll find the precise measurements for each ingredient in the comprehensive recipe card, along with detailed instructions, further down this page. Keep scrolling for all the specifics!
How to Make the Best Fake Oreos: A Step-by-Step Guide
This homemade Oreo recipe is surprisingly straightforward. It involves making simple chocolate cookies and, while they bake and cool, preparing the incredibly easy creamy filling. The assembly is the most fun part! Be warned: these go fast, so consider making a double batch!
Step-by-Step for Perfect Chocolate Cookies:
- Prepare Your Workspace: Begin by preheating your oven to 350 degrees Fahrenheit (175°C). Line a baking sheet with parchment paper. This prevents sticking and ensures easy cleanup, giving you perfectly crisp cookies.
- Cream Together Wet Ingredients: In the bowl of a stand mixer fitted with the paddle attachment (or using a hand mixer), combine the softened butter, granulated sugar, and brown sugar. Beat them together on medium-high speed until the mixture is light, fluffy, and pale in color, usually about 2-3 minutes. This step incorporates air, which contributes to the cookies’ texture. Next, add the large egg and vanilla extract, mixing until just combined and smooth. Be careful not to overmix at this stage.
- Combine Dry Ingredients: In a separate medium bowl, sift together the all-purpose flour, unsweetened cocoa powder, baking soda, baking powder, and salt. Sifting helps to eliminate lumps and ensures the dry ingredients are evenly distributed, leading to a consistent cookie texture.
- Mix Wet and Dry: Gradually add the sifted dry ingredients to the wet ingredients in the stand mixer bowl. Mix on low speed until just combined. The dough should come together but avoid overmixing, as this can lead to tough cookies. Stop mixing as soon as no streaks of flour are visible.
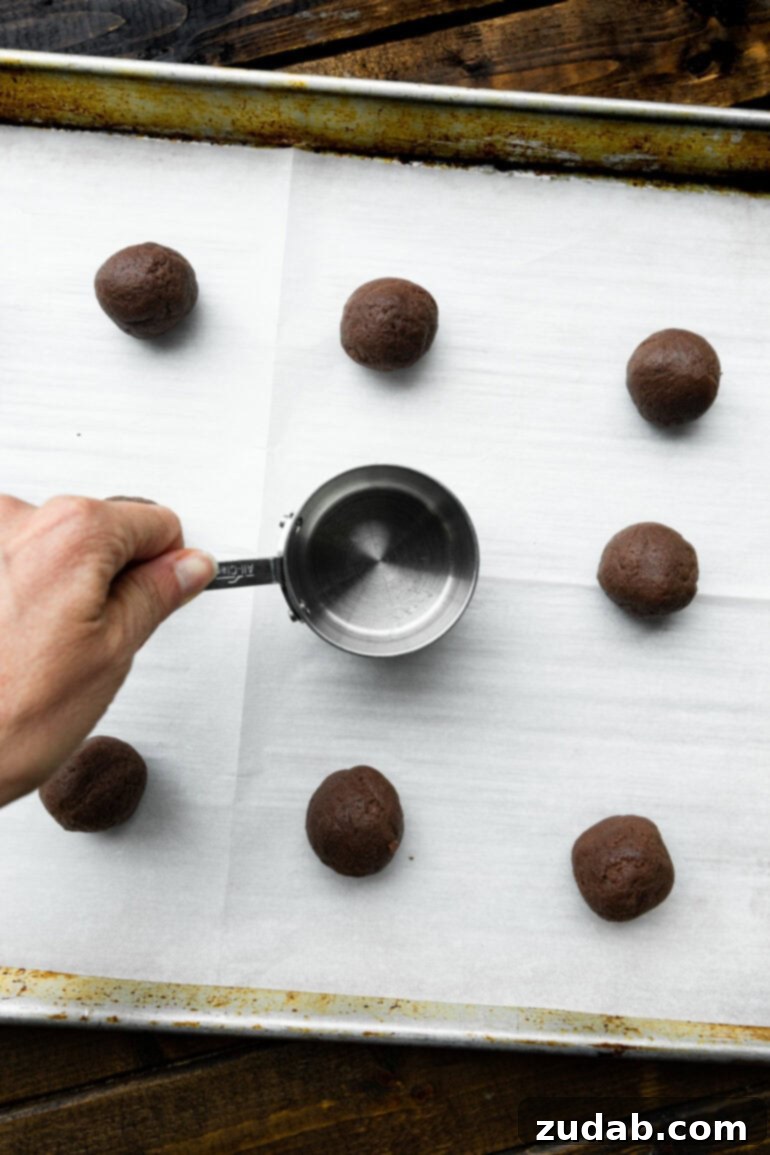
- Shape and Flatten the Cookies: Scoop the cookie dough onto the prepared baking sheet. You can use a small cookie scoop (about 1 tablespoon) for uniform cookies. For that classic flat Oreo shape, gently flatten each dough ball slightly with the bottom of a measuring cup that has been lightly sprayed with cooking spray or dipped in cocoa powder to prevent sticking. This helps achieve that perfectly round, thin cookie.
- Bake to Perfection: Bake the cookies for 8-10 minutes. The exact baking time may vary slightly depending on your oven. You’ll know they’re done when the edges are set and slightly firm, but the centers still look a little soft. They will crisp up as they cool.
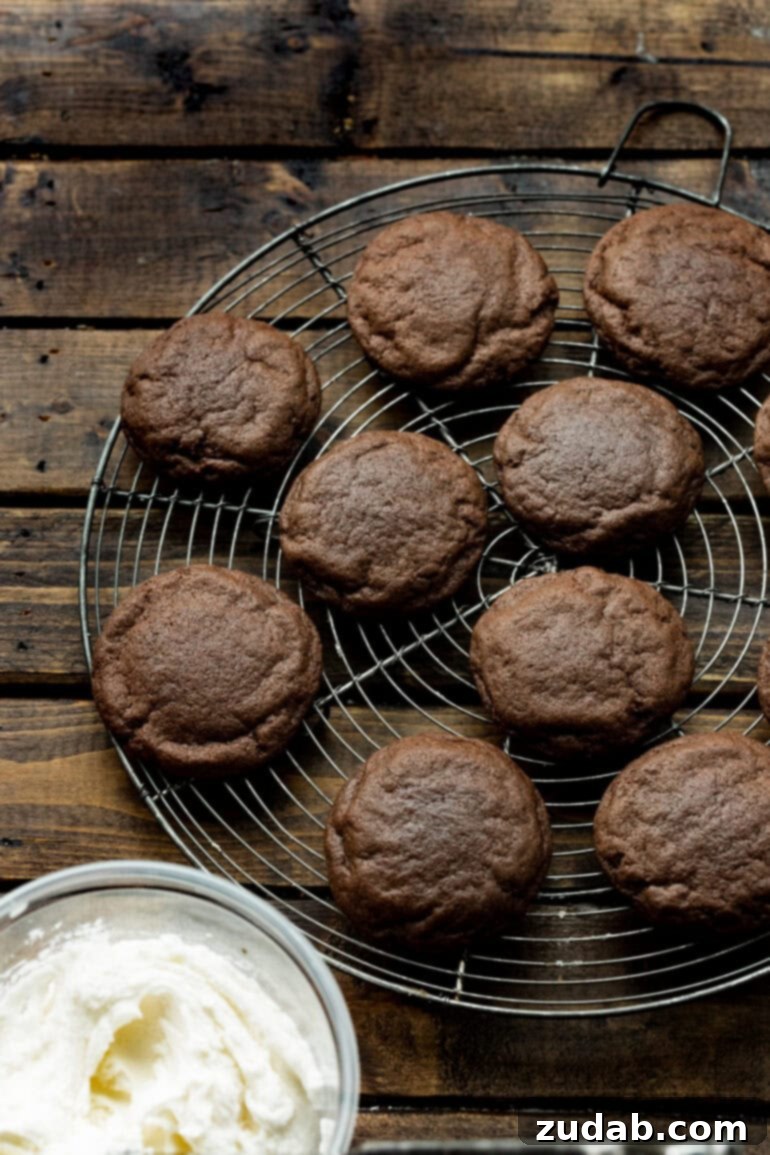
- Cool Completely: While your cookies are baking, you can start preparing the creamy filling (details below). Once baked, remove the cookies from the oven and let them cool on the baking sheet for a few minutes before transferring them to a wire cooling rack to cool completely. It’s crucial that the cookies are entirely cool before adding the filling, otherwise, it will melt.
Crafting the Iconic Creamy Frosting:
This filling is what truly transforms your chocolate cookies into authentic-tasting homemade Oreos. It’s quick, easy, and undeniably delicious!
- Beat Fats Together: In a clean mixing bowl, combine the softened butter and vegetable shortening. Beat them together on medium-high speed until the mixture is incredibly smooth, light, and airy, similar to whipped cream. This takes about 2-3 minutes and is essential for a silky-smooth filling.
- Add Sweetness and Flavor: Gradually add the powdered sugar (sifted, if possible, to avoid lumps) to the butter and shortening mixture, mixing on low speed until combined. Once the sugar is incorporated, add the vanilla extract and increase the speed to medium-high. Beat for another 2-3 minutes until the frosting is light, fluffy, and utterly delicious.
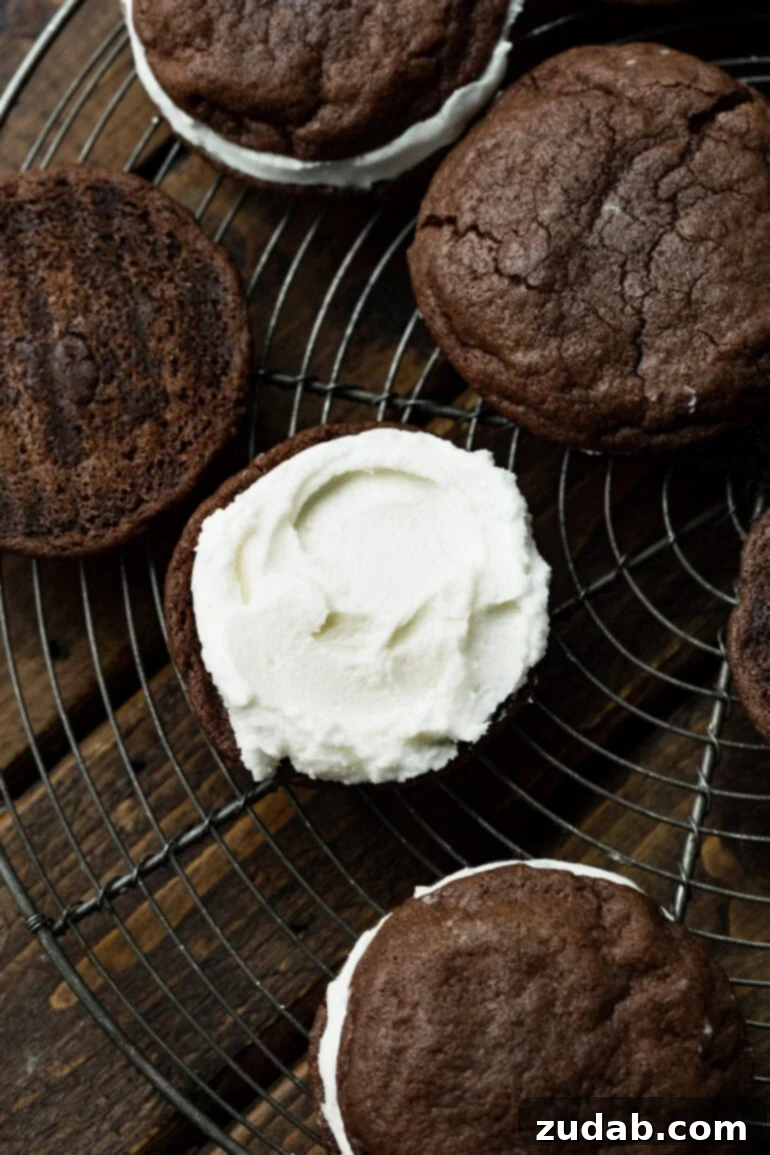
- Assemble Your Oreo Sandwiches: Transfer the creamy frosting to a piping bag fitted with a round tip (or simply snip off the corner of a Ziploc bag). Pipe a generous dollop of filling onto the flat side of one cooled chocolate cookie. Then, gently place another chocolate cookie on top, pressing down slightly to create a beautiful sandwich.
- PRO TIP for Double Stuff Oreos: If you’re a fan of extra cream, now’s your chance! Simply pipe a larger amount of filling onto your cookie for those glorious Double Stuff Homemade Oreos.
These detailed instructions, along with ingredient quantities, are also conveniently laid out in the recipe card at the end of this post, ready for you to print or save!
Can These Homemade Oreos Substitute Store-Bought Ones in Other Recipes?
While these homemade Oreo cookies are incredibly delicious on their own, they might not be the best substitute for commercial Oreos in all recipes. Store-bought Oreos have a very specific crumb texture and a unique ability to hold their shape and flavor when crushed or incorporated into other desserts.
For recipes like a no-bake Oreo pie or an Oreo crust, we generally recommend sticking to actual store-bought Oreos. Their drier, crispier texture and distinct flavor profile are often crucial for the success of such dishes. Our homemade versions, while fantastic, tend to have a slightly softer cookie and a richer, less intensely sweet filling, which could alter the desired outcome in complex recipes.
Creative Variations for Your Homemade Oreo Recipe
This classic Oreo cookie recipe is wonderful as is, but it also serves as a fantastic canvas for culinary creativity! It’s incredibly easy to experiment with different flavors, colors, and textures to suit any occasion or personal preference.
- Flavorful Fillings: Infuse your creamy center with various extracts for exciting twists. Imagine mint extract for a refreshing mint Oreo, orange extract for a citrusy delight, strawberry extract for a fruity burst, or even peanut butter flavoring for a nutty twist. The possibilities are endless!
- Festive Colors: Add a few drops of food coloring to your filling to match holidays or themes. Dye it orange for Halloween, vibrant green for St. Patrick’s Day or a mint-flavored filling, or a pretty pink for a strawberry-infused cream.
- Textural Delights: For those who love an extra crunch or surprise, consider adding mini chocolate chips, colorful mini M&M’s, or even finely chopped nuts to either the cookie dough or, more commonly, mixed into the creamy filling. These additions provide a delightful textural contrast that elevates the cookie experience.
- Different Chocolate Cookies: While this recipe uses classic cocoa, you could experiment with different types of chocolate in your cookies. Try adding mini white chocolate chips to the dough, or use a darker cocoa for an intensely rich chocolate flavor.
Quick & Easy Faux Oreos: The Cake Mix Shortcut
If you’re short on time or prefer a simpler approach, you can absolutely make delicious faux Oreo cookies using a cake mix! This method is perfect for a quick fix without compromising too much on flavor.
To make the chocolate wafers with a cake mix, you’ll need one box of devil’s food cake mix, 2 large eggs, and 1/3 cup of vegetable oil. Simply combine these three ingredients until a dough forms. Scoop onto a baking sheet and bake at 325°F (160°C) for about 8-10 minutes, or until the edges are set. Let them cool completely.
To keep things super simple, pair these cake mix cookies with a tub of store-bought vanilla frosting for the filling. It’s an incredibly easy and budget-friendly Oreo cookie recipe alternative that still delivers on taste and fun!
Storage Tips: Can You Freeze Homemade Oreo Cookies?
Proper storage ensures your homemade Oreo cookies stay fresh and delicious for as long as possible. Here’s what you need to know about keeping your treats:
- Freezing Baked Cookies: You can freeze assembled homemade Oreo cookies, but we strongly advise against freezing the cream filling separately. The shortening and butter in the filling can sometimes separate when thawed, leading to a less desirable texture. If you must freeze assembled cookies, place them in a single layer on a baking sheet to freeze solid, then transfer them to an airtight freezer-safe container or bag. Thaw them in the refrigerator before serving.
- Freezing Cookie Dough (Recommended!): Our preferred method is to freeze the homemade Oreo cookie dough. This way, you can bake fresh cookies whenever you like, and the filling can be made fresh while the cookies bake. Shape the dough into individual balls or flat discs and freeze them on a baking sheet until solid. Then, transfer the frozen dough pieces to a freezer-safe bag. Frozen cookie dough can be stored for up to 6 months in a well-sealed freezer bag, or even up to 8 months if you use a Food Saver system.
How Long Do Baked Homemade Oreos Keep?
Once assembled, homemade Oreo cookies are best stored in an airtight container in the refrigerator. They will stay fresh for up to a week. Be aware that over time, the chocolate cookies will gradually absorb moisture from the filling and become softer. While still delicious, they won’t maintain their initial crispness for the entire week.
If you’ve baked the chocolate cookies but haven’t assembled them yet, you can store the cooled cookies in an airtight container at room temperature for 3-4 days, or freeze them for up to 2 months. Make sure they are well-wrapped in plastic wrap before placing them in a freezer bag to prevent freezer burn.

There’s truly nothing quite like the experience of biting into a freshly baked, homemade Oreo. This recipe allows you to capture that classic flavor you crave, with the added satisfaction of knowing you made it yourself. These homemade chocolate sandwich cookies are just as delicious, if not more so, than their store-bought counterparts, and they provide a delightful activity to share with the whole family!
More of Our Favorite Cookie Recipes:
- Copycat Lofthouse Sugar Cookies
- Levain Bakery Chocolate Chip Cookies
- Reese’s Marshmallow Peanut Butter Chip Cookies
- Peanut Butter Cookies
- Swig Sugar Cookies Copycat
Homemade Oreos
By Sweet Basil

Mouth-watering Homemade Oreo Cookies with chocolate cookies and a delicious creamy filling will have the whole house begging for more.
Ingredients
For the Cookies:
- 1/2 Cup Butter, softened
- 3/4 Cup Granulated Sugar (link)
- 1/4 Cup Brown Sugar (link)
- 1 large Egg
- 1 teaspoon Vanilla Extract (link)
- 1 ½ Cups All-Purpose Flour (link)
- 1/2 Cup Unsweetened Cocoa Powder
- 1 teaspoon Baking Soda (link)
- 1/2 teaspoon Baking Powder (link)
- 1/4 teaspoon Salt
For the Filling:
- 1/4 Cup Butter, softened
- 1/4 Cup Vegetable Shortening
- 1 ½ Cups Powdered Sugar (Confectioners’ Sugar)
- 1 teaspoon Vanilla Extract (link)
Instructions
For the Cookies:
- Preheat your oven to 350 degrees F (175°C) and line a baking sheet with parchment paper.
- In a stand mixer, cream together the softened butter, granulated sugar, and brown sugar until light and fluffy. Add the egg and vanilla extract, mixing until well combined.
- In a separate bowl, sift together the flour, unsweetened cocoa, baking soda, baking powder, and salt. Gradually add the dry ingredients to the wet ingredients, mixing on low speed until just combined.
- Scoop small portions of dough onto the lined baking sheet and flatten slightly with the bottom of a measuring cup (lightly sprayed with cooking spray).
- Bake for 8-10 minutes.
- Let the cookies cool completely on a wire rack before frosting. (Meanwhile, prepare your frosting.)
For the Frosting:
- In a mixing bowl, beat the softened butter and shortening together until smooth and airy.
- Add the powdered sugar and vanilla extract, mixing until well combined and fluffy.
- Use a piping bag (or a Ziploc bag with a corner snipped off) to pipe a generous amount of filling onto one cooled cookie half. Top with another cookie to create a sandwich. Enjoy!
Nutrition
- Serving: 1 cookie
- Calories: 336 kcal
- Carbohydrates: 46g
- Protein: 3g
- Fat: 17g
- Saturated Fat: 9g
- Polyunsaturated Fat: 2g
- Monounsaturated Fat: 5g
- Trans Fat: 1g
- Cholesterol: 44mg
- Sodium: 239mg
- Potassium: 104mg
- Fiber: 2g
- Sugar: 32g
- Vitamin A: 374IU
- Calcium: 24mg
- Iron: 1mg
Nutrition information is automatically calculated and should only be used as an approximation.