

The Ultimate Guide to Making Irresistible Homemade Cheese Stuffed Soft Pretzels
Imagine the perfect harmony of textures and flavors: a beautifully golden-brown, chewy soft pretzel, liberally dusted with coarse salt, giving way to an interior that’s unbelievably fluffy and soft. Now, elevate that vision by picturing the inside generously filled with warm, gooey, melted cheese. This isn’t just a snack; it’s a culinary masterpiece. These homemade cheese stuffed soft pretzels are a game-changer, transforming a beloved classic into an even more decadent and satisfying treat. Prepare to say goodbye to store-bought versions; your kitchen is about to become the epicenter of pretzel perfection.
Our passion for pretzels has been a long-standing affair, beginning with our popular soft pretzels with cheese sauce recipe. But an innovative idea sparked a new quest: what if we could infuse that irresistible cheesy goodness directly into the pretzel itself? The moment we tried it, we knew we had struck gold! This revolutionary recipe propels the humble soft pretzel into an entirely new realm of deliciousness. And for those who lean towards the sweeter side, our cinnamon roll pretzel bites stand as a testament to the incredible versatility of these doughy delights. While the world of pretzel variations is vast and exciting, these savory, cheese-filled creations undoubtedly hold a special, cherished spot in our hearts.

Unleashing Superior Flavor: Why Homemade Pretzels Outshine the Rest
Let’s be candid: a trip to the mall often involves succumbing to the allure of those hot, salty, bread-like bites, often accompanied by a dip in that notoriously “fake” cheese sauce. They offer a nostalgic comfort, a quick fix to curb your cravings amidst a busy shopping day. However, once you experience the unparalleled taste and quality of these homemade cheese stuffed pretzels, your perspective on pretzels will be forever altered. These aren’t just an improvement; they are a quantum leap in deliciousness.
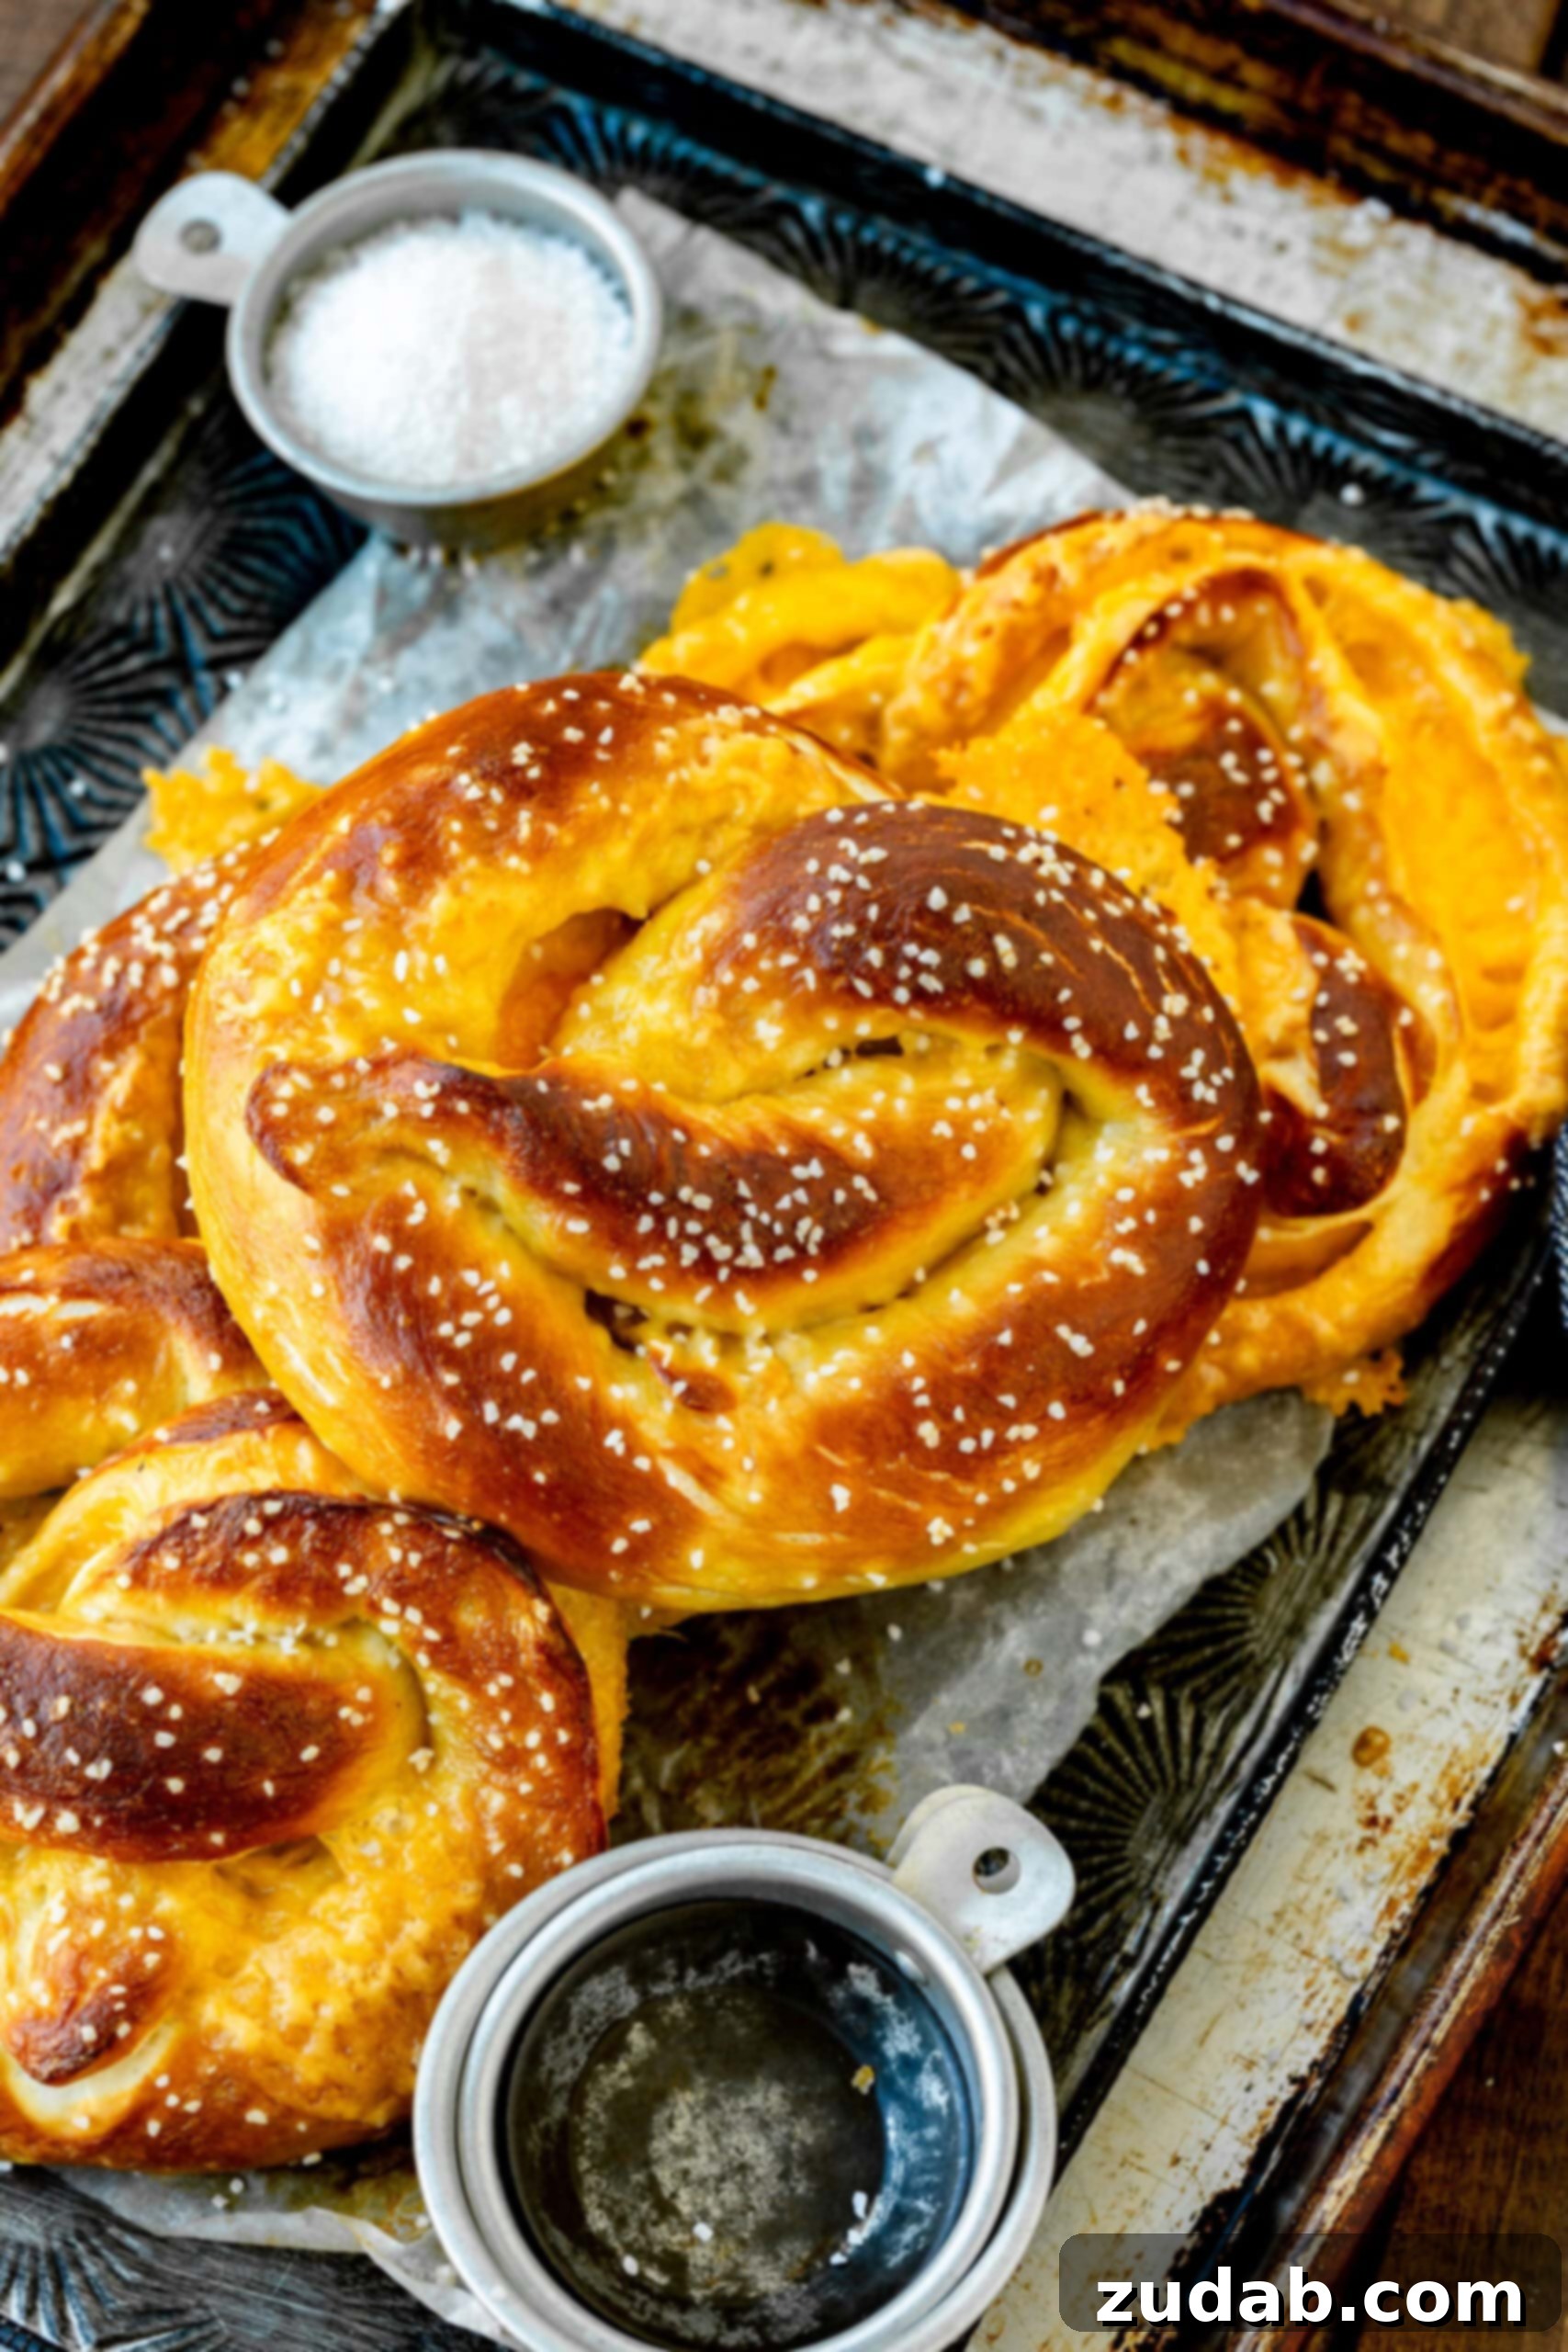
The magic begins with the exterior: a perfectly chewy, richly golden-brown crust, seasoned to perfection with coarse salt, delivering that satisfying initial bite. But the true revelation unfolds as you tear into its heart. The interior is wonderfully soft, squishy, and fluffy, creating a delightful contrast to the outer chewiness. Then, without warning, you encounter the cheese – not some artificial concoction, but genuine, robustly flavored, melty cheddar. This real cheese stretches in luscious strands, mirroring the joy of a perfect pizza pull, infusing every mouthful with a creamy, savory burst. This authentic cheesy core elevates these pretzels from a mere snack to a truly extraordinary gastronomic pleasure that store-bought versions simply cannot replicate.
The Core Ingredients for Flawless Soft Pretzels
One of the most appealing aspects of this **homemade soft pretzel recipe** is the high probability that you already possess most, if not all, of the necessary ingredients. There’s a unique satisfaction in creating something so delightful without an extra trip to the grocery store! Here’s an in-depth look at each component and its indispensable role in crafting your perfect batch of pretzels:
- Warm Water: This is the lifeblood of our dough, crucial for activating the yeast. Ensure it’s between 105-110°F (40-43°C); water that’s too cold will inhibit yeast activity, while water that’s too hot will unfortunately kill it, preventing the dough from rising.
- Sugar: More than just a sweetener, sugar provides the essential nourishment for the yeast. This metabolic feast encourages the yeast to produce carbon dioxide, which in turn leavens the dough, contributing to its airy and light texture.
- Instant Yeast: The primary leavening agent, instant yeast is a baker’s best friend. Its immediate activation eliminates the need for prior proofing, streamlining the dough-making process and consistently ensuring a fluffy, chewy pretzel.
- Unsalted Butter (Melted): Butter plays a dual role, enriching the pretzel with a delicate flavor and contributing to its tender, pillowy crumb. As it bakes, the butter releases steam, creating tiny air pockets that enhance the dough’s softness and overall fluffiness. Unsalted butter offers precise control over the overall sodium content.
- All-Purpose Flour: The structural backbone of our pretzel dough, providing the necessary gluten development for that signature chewy texture. Its ubiquitous availability makes this recipe approachable for every home baker.
- Kosher Salt: Beyond mere seasoning, kosher salt is strategically added to the dough *after* the initial yeast activation. It acts as a regulator, tempering the yeast’s exuberance and preventing over-rising, while also balancing and enhancing the overall flavor of the pretzel.
- Sharp Cheddar Cheese (Cut into Small Sticks): The glorious heart of our **cheese stuffed pretzels**! While shredded cheese can be used, we highly recommend cutting your sharp cheddar into small sticks (approximately 1/4 to 1/2 inch wide and 2 inches long). This method ensures the cheese melts into a wonderfully gooey, contained center, minimizing leakage during baking. Sharp cheddar’s bold flavor beautifully complements the savory pretzel dough.
- Baking Soda: This is the secret weapon for the crucial boiling water bath. The baking soda creates an alkaline solution that is fundamental to developing the pretzel’s characteristic dark golden-brown crust and its unique chewy-on-the-outside, soft-and-fluffy-on-the-inside texture. It accelerates the Maillard reaction, yielding that distinct pretzel taste.
- Egg (for Egg Wash): An egg yolk, lightly whisked with a tablespoon of water, creates a lustrous egg wash. Applied just before baking, this wash is essential for achieving that desirable glossy, deep golden finish and ensuring the coarse salt adheres perfectly to the pretzel surface.
- Coarse Salt: The crowning glory! A generous sprinkling of coarse salt (such as pretzel salt or flaked sea salt) provides the iconic salty crunch and unmistakable visual appeal that defines a classic pretzel.
You’ll find the exact quantities for each of these vital ingredients within the comprehensive recipe card detailed below.

Mastering the Craft: How to Create Cheese Stuffed Soft Pretzels
The art of making homemade soft pretzels might seem daunting to some, yet it is a surprisingly simple and rewarding process. By diligently following these detailed instructions, you’ll consistently achieve perfect, mouth-watering results. Let’s unravel the secrets to creating these delectable pretzel masterpieces!
1. Crafting the Perfect Dough: The Heart of Your Pretzel
Begin by preparing our remarkably easy-to-handle and consistently rising pretzel dough. In a standing mixer bowl, combine the warm water and sugar. Gently sprinkle the instant yeast over the surface. Allow this mixture to rest for approximately 10 minutes, observing as it becomes delightfully foamy and visibly active – a clear sign that your yeast is thriving. Next, incorporate the melted unsalted butter and stir until well combined. In a separate bowl, whisk together the all-purpose flour and kosher salt. Gradually add these dry ingredients to your wet mixture in the standing mixer. Utilize a dough hook attachment, mixing on low speed until all components are just barely combined. Increase the mixer speed to medium and continue kneading for about 4 to 5 minutes. The dough should transform into a smooth, elastic mass that easily pulls away from the sides of the bowl. Transfer this beautifully kneaded dough to a clean, lightly oiled bowl, cover it with a kitchen towel, and place it in a warm environment. Allow it to rise for approximately one hour, or until its size has visibly doubled. Once risen, gently deflate the dough and divide it into eight uniform wedges to ensure consistent pretzel sizing.
2. Stuffing and Shaping: The Cheesy Embrace
This stage is where your **cheese stuffed pretzels** truly come to life. Take one of your dough wedges and roll it out into an elongated rope, aiming for about 24 inches in length. Gently flatten this rope on your clean counter. Carefully position your pre-cut cheese sticks (each about 1/4 to 1/2 inch wide and 2 inches long) directly along the center of the flattened dough. With precision, pinch the sides of the dough together over the cheese, meticulously sealing it to completely encase the delicious filling. Lightly press along the entire seam to ensure no cheese is exposed, which is critical for preventing leakage during the baking process.
Now, to achieve the classic pretzel form: Hold each end of the cheese-stuffed rope in one hand. Bring the ends upwards to create a distinctive “U” shape. Cross the ends over each other once, then give them another gentle twist to form a small, neat knot. Finally, bring these twisted ends down and firmly press them onto the bottom curve of the “U,” sealing the iconic pretzel shape securely. This method not only creates the traditional look but also ensures structural integrity.
3. The Alkaline Bath: Unlocking Authentic Pretzel Characteristics
This is a non-negotiable step for achieving that unmistakable pretzel flavor and texture. Begin by preheating your oven to 450°F (230°C). Line two large baking sheets with parchment paper and lightly drizzle them with oil. In a spacious pot, combine water with the baking soda and bring this mixture to a vigorous, rolling boil. Carefully, one or two at a time to prevent overcrowding, lower your shaped pretzels into this boiling alkaline bath. Allow each pretzel to boil for approximately 30 seconds, continuously spooning the hot water over its surface. This brief but crucial bath is what initiates the Maillard reaction, developing the pretzel’s unique chewy crust and profound flavor. Using a large, flat spatula, carefully retrieve the pretzels from the water and transfer them immediately to your prepared baking sheets.
4. Baking to Golden Glory: The Grand Finale
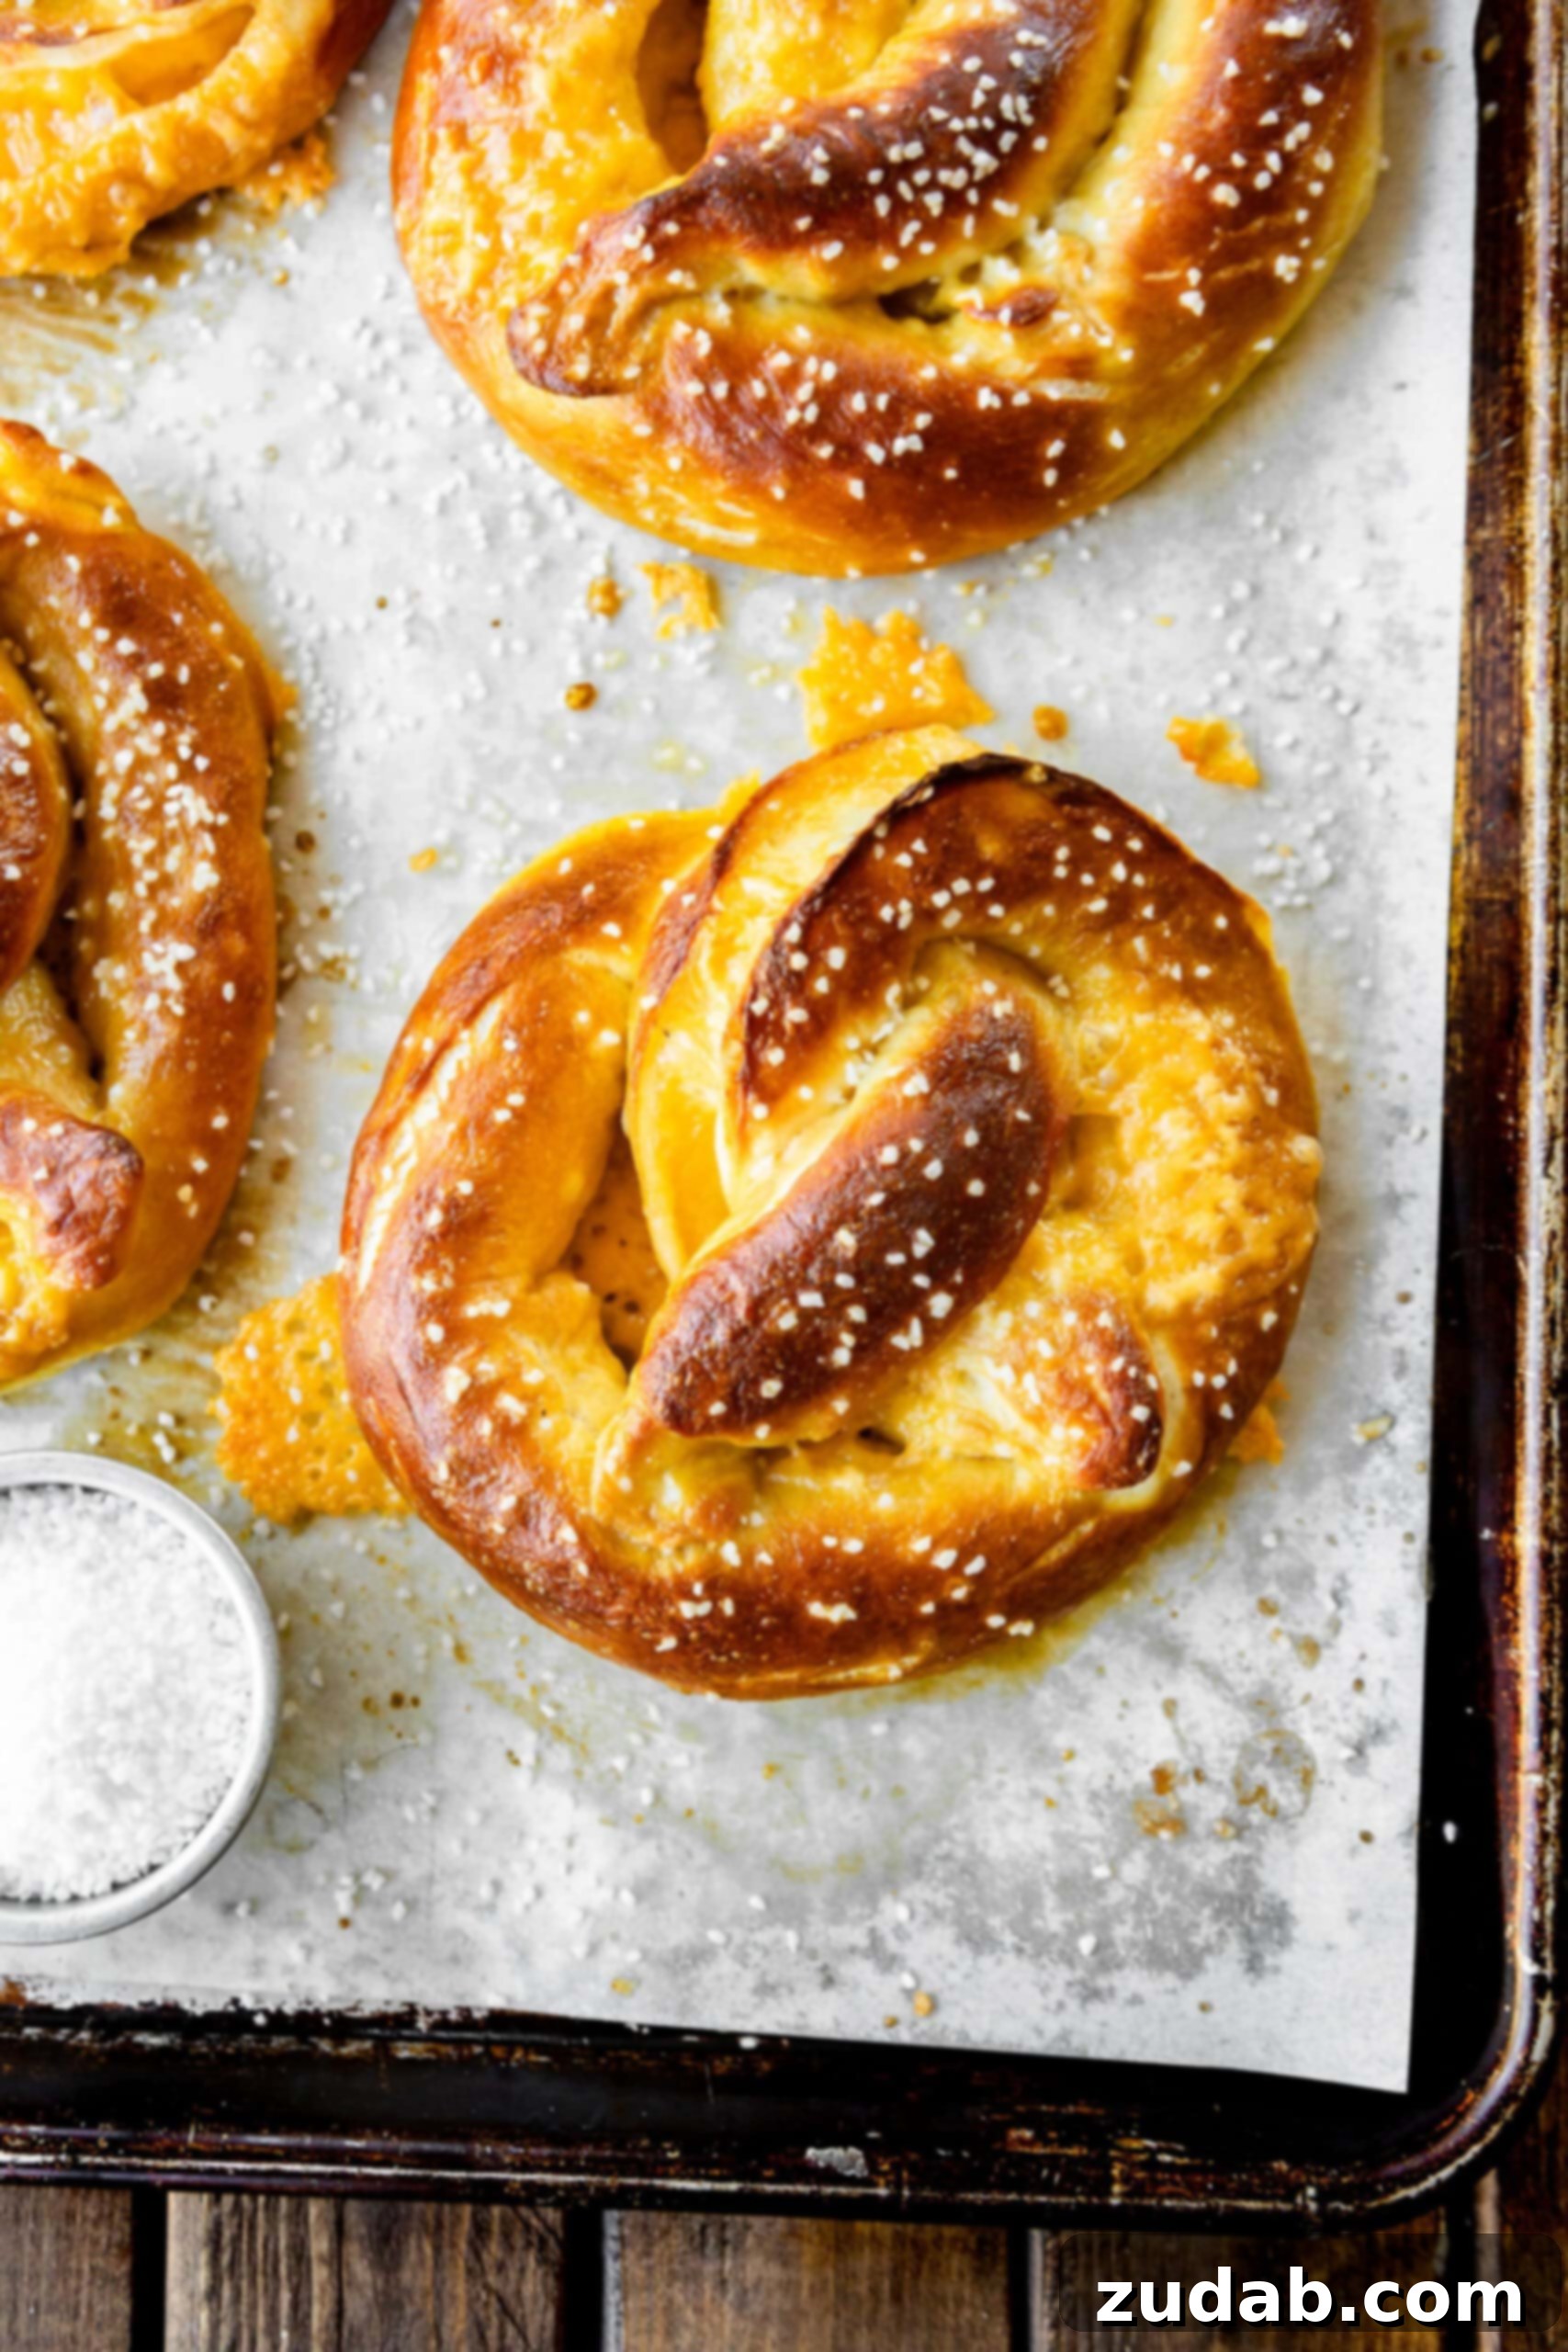
With all your pretzels bathed and arrayed on the baking sheets, it’s time for the final, transformative touches. In a small bowl, whisk together one egg yolk and a tablespoon of water to create a glistening egg wash. Generously brush the tops of each pretzel with this wash, ensuring even coverage. Without delay, sprinkle them liberally with coarse salt (either pretzel salt or kosher salt will deliver the perfect crunch and salinity). Bake the pretzels in your preheated oven for approximately 12 minutes, or until they attain a magnificent, deep golden-brown hue. They should emerge from the oven looking incredibly inviting and filling your kitchen with an intoxicating aroma! Once baked, transfer them to a wire cooling rack to cool for at least 5 minutes before serving. Here’s a little secret from the chef: seek out any pretzel that might have graciously oozed a bit of cheese onto the pan during baking – that crispy, caramelized cheese is an exquisite, must-try treat!
Unleashing Creativity: Delicious Variations for Your Soft Pretzels
While the classic cheddar-stuffed pretzel is undeniably a masterpiece, this recipe serves as an exceptional canvas for culinary innovation. Do not hesitate to explore a spectrum of cheeses and toppings to meticulously tailor your homemade soft pretzels to your precise taste preferences.
Exquisite Cheese Variations:
- A Spicy Kick: For enthusiasts of a little heat, consider stuffing your pretzels with zesty pepper jack cheese. Its subtle warmth will introduce an exhilarating new dimension to the flavor profile.
- Gourmet Selections: Nutty and subtly sweet Swiss cheese melts beautifully, promising a sophisticated and utterly amazing filling. Provolone or Gruyere also present as superb, flavorful alternatives.
- Creamy Indulgence: For a luscious and tangy experience, a generous dollop of cream cheese tucked within the pretzel offers a rich twist. Envision that soft, warm dough embracing a creamy, savory core!
- Artful Blends: Experiment with combining different cheeses! A medley of cheddar and mozzarella could yield an exceptionally smooth and appealing melt, while cheddar paired with Monterey Jack would offer a milder, yet still delightfully creamy, profile.
Beyond Salt: Inventive Topping Variations:
While coarse salt provides a traditional finish, a world of possibilities awaits to adorn your freshly baked pretzels:
- Everything Bagel Seasoning: This beloved blend, featuring sesame seeds, poppy seeds, dried garlic, dried onion, and salt, imparts an incredible depth of flavor and a delightful textural crunch. It’s a natural and highly complementary choice for savory pretzels.
- Aromatic Herbs & Spices: A delicate sprinkle of dried minced garlic, dried minced onion, or a pinch of fragrant dried rosemary or thyme can introduce an aromatic and herbaceous twist to your pretzels.
- Parmesan & Garlic Fusion: Before baking, a dusting of grated Parmesan cheese combined with garlic powder will bestow upon your pretzels an exquisitely savory and umami-rich crust.
- Sweet Fantasies: Though these particular pretzels lean savory, the fundamental dough recipe is wonderfully adaptable. For a delightful sweet rendition, simply omit the baking soda bath and egg wash. Instead, brush the baked pretzels with melted butter and generously sprinkle them with cinnamon sugar. Our cinnamon roll pretzel bites stand as a delectable testament to this versatility!
With such a bounty of creative options, you possess the power to conjure a distinctly unique pretzel experience with every baking session!
Perfect Pairings: Serving Suggestions for Your Cheesy Pretzels
These delectable cheesy pretzels are remarkably versatile, making them an ideal choice for a myriad of occasions. While they are an undeniable hit as an after-school snack with my children, their appeal stretches far beyond that!
- The Ultimate Game Day Appetizer: Prepare to dazzle your guests! These pretzels are an absolute showstopper for any game day gathering or casual get-together. They’re effortlessly portable, incredibly satisfying, and always a guaranteed crowd-pleaser.
- Elevated Holiday Fare: Introduce a unique and comforting appetizer to your holiday table, perfect for festive occasions like New Year’s Eve, offering a heartwarming twist on traditional party snacks.
- Hearty Soup & Chili Companion: The soft, chewy bread and luscious melty cheese make these pretzels an exquisite accompaniment to a robust soup or a deeply flavored chili. They are perfect for dipping, soaking up rich broths and savory sauces.
- Brunch Time Delight: Don’t overlook them for brunch! These savory pretzels can add a comforting and satisfying element to your morning spread, especially if you get creative with fillings like cream cheese or even breakfast sausage.
Preserving Perfection: Storing, Freezing, and Reheating Soft Pretzels
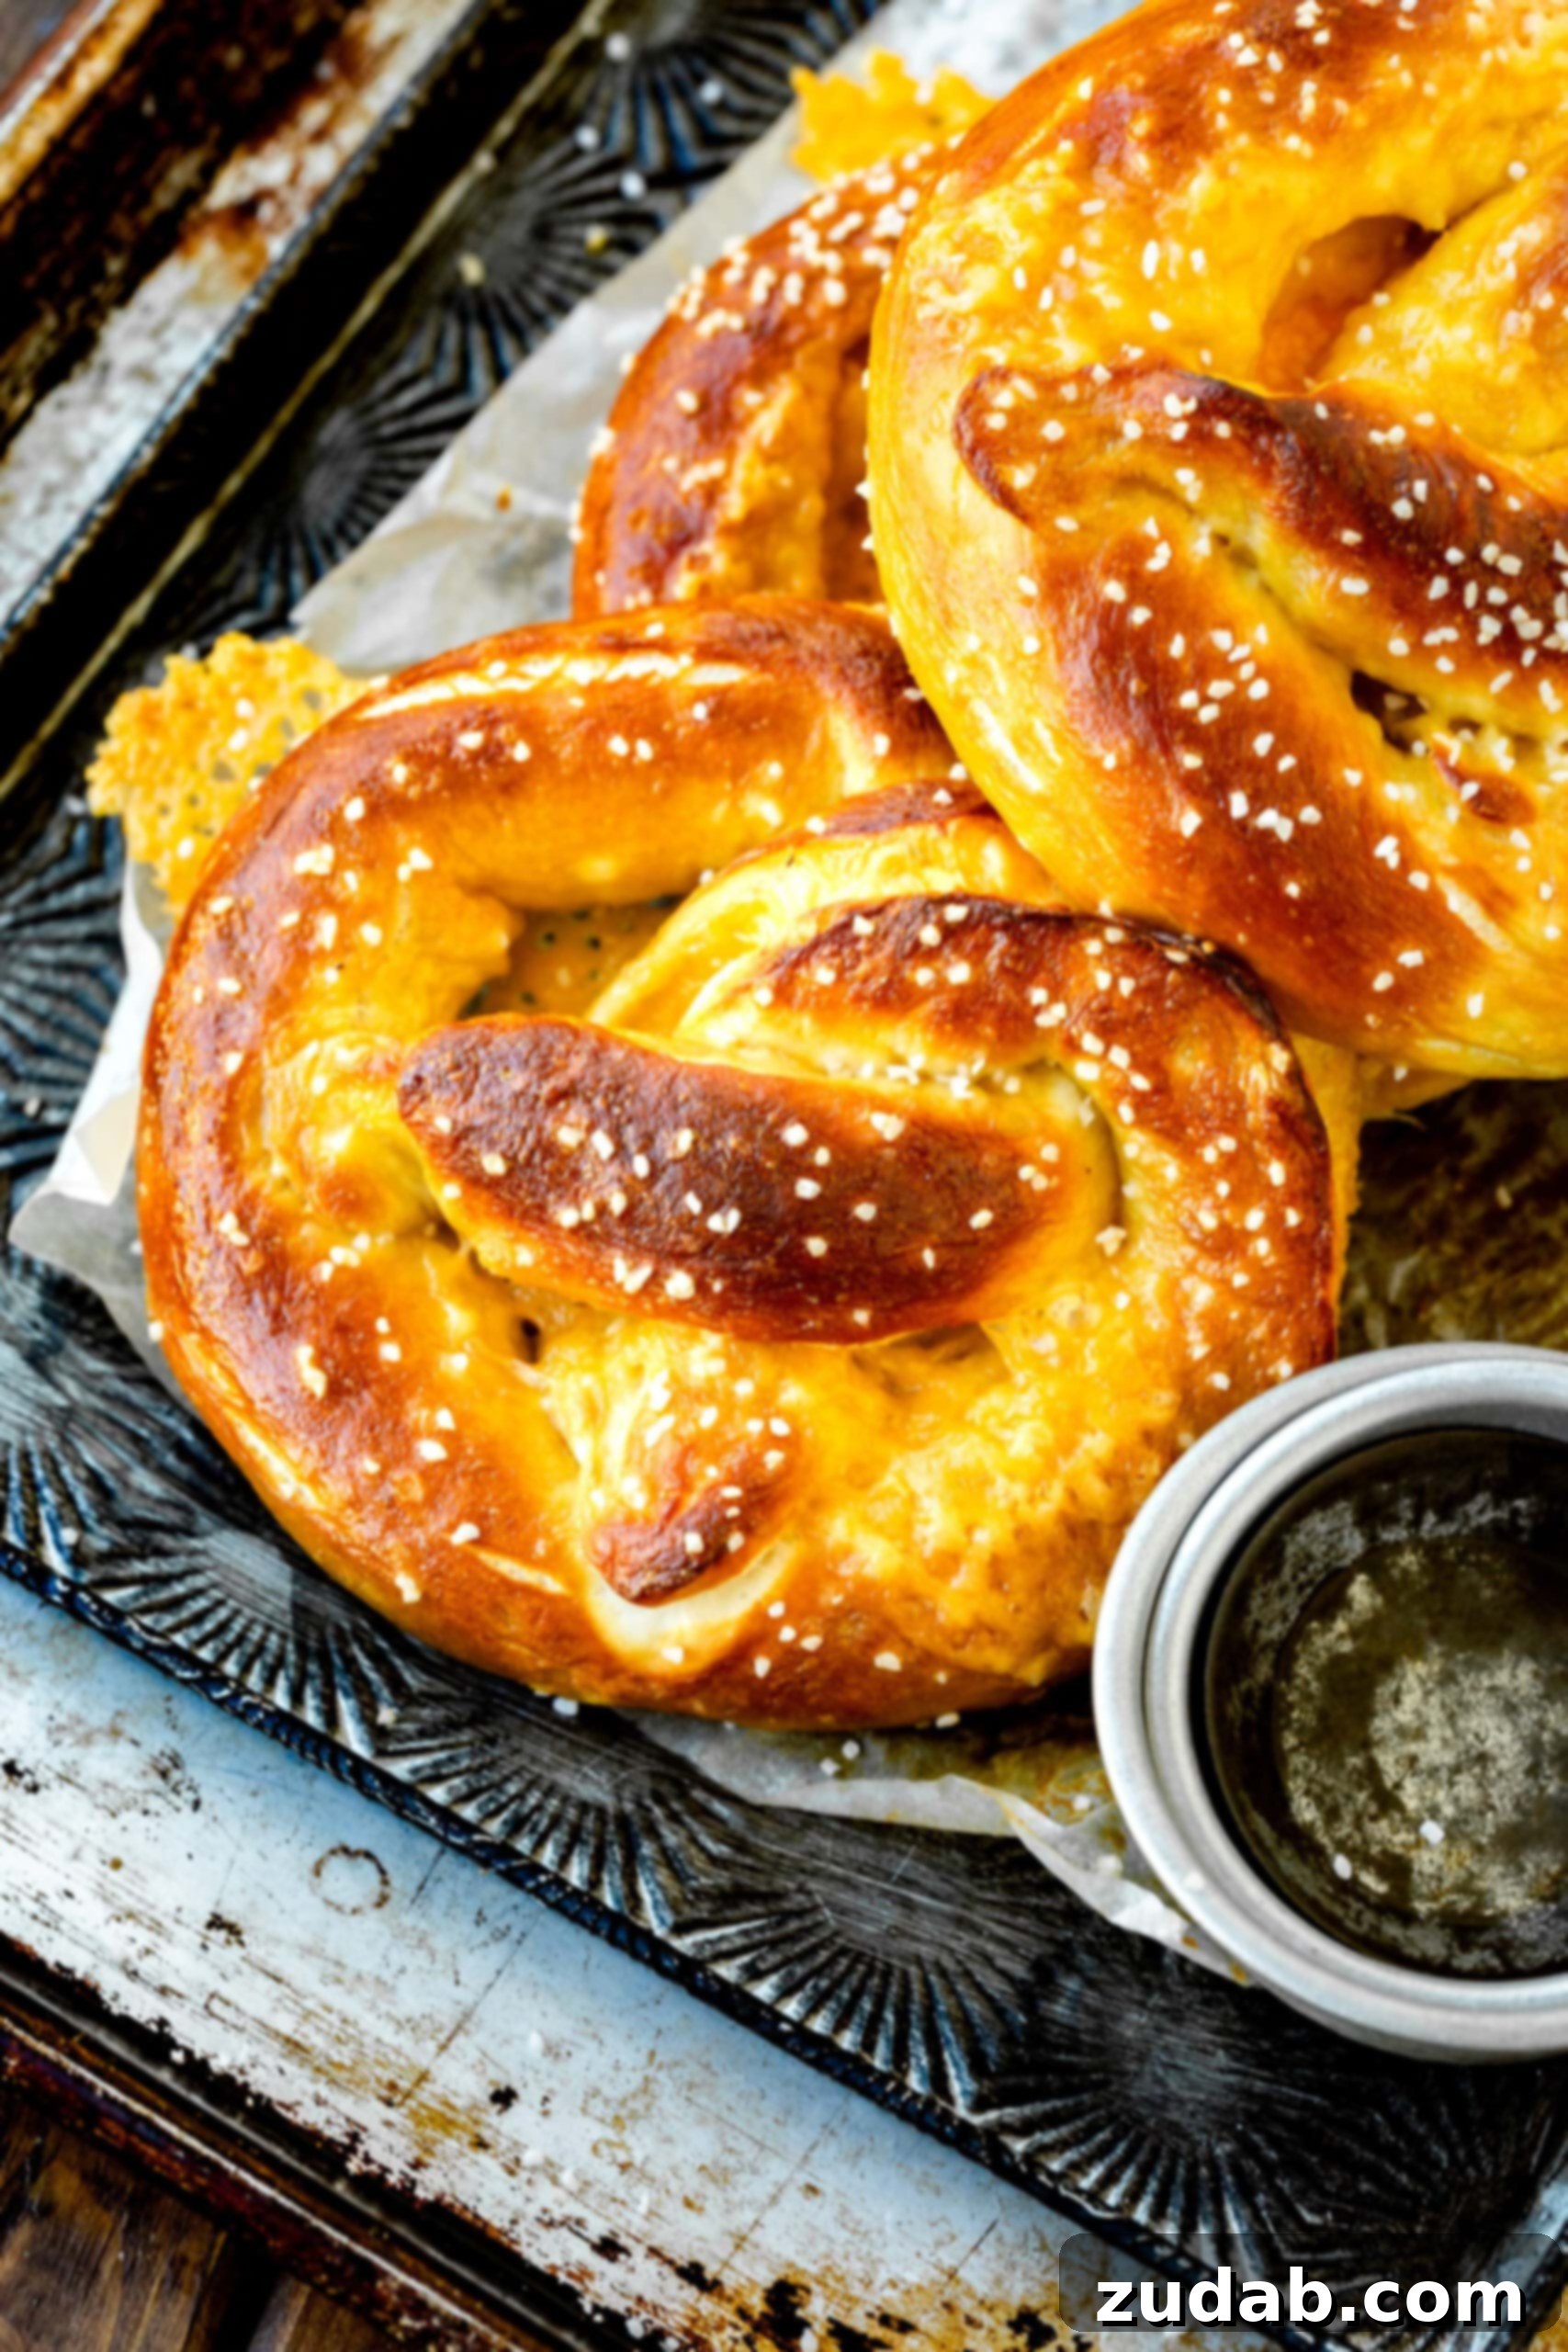
To ensure your homemade soft pretzels retain their delightful freshness and flavor, proper storage is paramount. The good news is that they store and reheat exceptionally well, making them ideal for future enjoyment or efficient meal preparation.
- Optimal Storage: For immediate consumption, place your cheese stuffed pretzels in an airtight container and store them in the refrigerator. They will maintain their quality and deliciousness for up to 5 days, ensuring the cheese stays fresh and the dough remains moist.
- Extended Freezing: Should you wish to enjoy your soft pretzels over a longer period, they can be frozen for up to 3 months. To prevent sticking and preserve their shape, arrange the cooled pretzels in a single layer on a baking sheet and freeze until they are completely solid. Once frozen, transfer them to heavy-duty freezer bags or an airtight freezer-safe container to shield them from freezer burn.
- Revitalizing Reheating: To bring your pretzels back to their freshly baked glory, preheat your oven to 350°F (175°C). Place the pretzels on a baking sheet. If reheating from the refrigerator, bake for approximately 4-6 minutes. If reheating directly from frozen, allow 10-12 minutes. This reheating method ensures they regain their soft, warm interior and that enticingly crisp exterior, effectively resurrecting their initial deliciousness.
Cheese Stuffed Pretzel Recipe
Yields: 8 pretzels
- Prep Time:
- 15 minutes
- Rise Time:
- 1 hour
- Cook Time:
- 12 minutes
- Total Time:
- 1 hour 27 minutes
Ingredients
For the Pretzel Dough:
- 1 1/2 Cups Warm Water (105-110°F / 40-43°C)
- 1 Tablespoon Sugar
- 2 1/2 teaspoons Instant Yeast
- 3 1/2 Tablespoons Unsalted Butter, melted
- 4 1/2 Cups All-Purpose Flour
- 2 teaspoons Kosher Salt
- 1 Cup Sharp Cheddar Cheese, cut into small sticks (1/4 – 1/2 inch wide and about 2 inches long)
For the Alkaline Bath:
- 1 Large Pot of Water
- 2/3 Cups Baking Soda
For Finishing:
- 1 Egg Yolk + 1 Tablespoon Water, whisked together (for egg wash)
- Coarse Salt, for sprinkling (pretzel salt or kosher salt recommended)
Instructions
- Activate Yeast: In a standing mixing bowl, combine the warm water and sugar. Sprinkle the instant yeast evenly over the top. Allow this mixture to sit undisturbed for 10 minutes, or until it becomes noticeably foamy and begins to grow, indicating active yeast.
- Prepare Dough Base: Add the melted unsalted butter to the activated yeast mixture and stir gently to combine all liquids.
- Combine Dry Ingredients: In a separate, medium-sized bowl, whisk together the all-purpose flour and kosher salt until well integrated.
- Mix Dough: Gradually pour the liquid mixture into the dry ingredients in the standing mixer bowl. Attach the dough hook and mix on low speed until all the ingredients are just combined and a shaggy dough forms.
- Knead Dough: Increase the mixer speed to medium and continue kneading the dough for approximately 4 to 5 minutes. The dough should become smooth, elastic, and pull away cleanly from the sides of the bowl.
- First Rise: Remove the kneaded dough from the mixer and transfer it to a clean bowl that has been lightly oiled. Cover the bowl securely with a kitchen towel or plastic wrap. Place the bowl in a warm, draft-free spot and allow the dough to rise until it has doubled in size, which typically takes about an hour.
- Preheat Oven & Prep Baking Sheets: While the dough is rising, preheat your oven to 450°F (230°C). Line two large baking sheets with parchment paper and lightly drizzle them with a little oil to prevent sticking.
- Prepare Boiling Bath: In a large pot, combine the water with the baking soda. Bring this mixture to a rolling boil over high heat.
- Divide Dough: Once the dough has completed its first rise, gently punch it down and transfer it to a lightly oiled counter. Divide the dough into 8 equal pieces.
- Roll & Flatten Dough: Take one piece of dough and roll it out into a long rope, aiming for approximately 24 inches in length. Lay the rope flat on the counter and gently press it out to create a slightly wider strip.
- Stuff with Cheese: Place the sharp cheddar cheese sticks directly down the center of the flattened dough rope. Carefully pinch the dough tightly on either side, completely sealing the cheese within. Ensure the seam is well-closed to prevent cheese leakage during baking.
- Shape Pretzels: To form the classic pretzel shape: Hold each end of the cheese-stuffed rope in one hand. Bring the ends upwards to create a “U” shape. Cross the ends over each other once, then twist them to create a small knot. Finally, bring these twisted ends down and firmly press them onto the bottom curve of the “U” to secure the pretzel shape.
- Arrange Pretzels: Carefully place the shaped pretzels onto the prepared parchment-lined baking sheets, leaving some space between each one.
- Boil Pretzels: Carefully drop the pretzels into the actively boiling baking soda water, one or two at a time to avoid overcrowding. Boil each pretzel for about 30 seconds, continuously spooning the hot water over the top of the dough during this time.
- Transfer to Baking Sheets: Using a large, flat spatula or a slotted spoon, carefully remove the boiled pretzels from the water and immediately transfer them back to the oiled baking sheets.
- Apply Egg Wash: In a small bowl, whisk together the egg yolk and 1 tablespoon of water to create an egg wash. Generously brush the top surface of each boiled pretzel with this wash.
- Sprinkle Salt: Immediately after applying the egg wash, generously sprinkle the wet tops of the pretzels with coarse salt.
- Bake: Bake the pretzels in the preheated oven for approximately 12 minutes, or until they achieve a beautiful, dark golden-brown color and appear thoroughly cooked.
- Cool & Serve: Carefully transfer the baked pretzels to a wire cooling rack and allow them to cool for at least 5 minutes before serving. Enjoy the delightful crispy exterior and gooey cheesy interior!
Recipe Notes:
- Cheese Choice: Feel free to experiment with any type of cheese you prefer for stuffing, such as pepper jack, Swiss, provolone, or even a creamy blend!
- Storage: Store any leftover cheese stuffed pretzels in an airtight container in the refrigerator for up to 5 days to maintain their freshness and prevent spoilage.
- Freezing: For longer preservation, baked pretzels can be frozen for up to 3 months. Ensure they are completely cooled before freezing them in a single layer on a baking sheet, then transfer to a freezer-safe bag or container.
- Reheating: To reheat, preheat your oven to 350°F (175°C). Bake refrigerated pretzels for 4-6 minutes, or frozen pretzels for 10-12 minutes, until warmed through and revived.
Nutrition Information (Approximation):
- Serving: 1 pretzel
- Calories: 373kcal
- Carbohydrates: 56g
- Protein: 11.5g
- Cholesterol: 46mg
- Fiber: 2.2g
- Sugar: 1.8g
Please note that nutrition information is automatically calculated and should be considered an approximation.