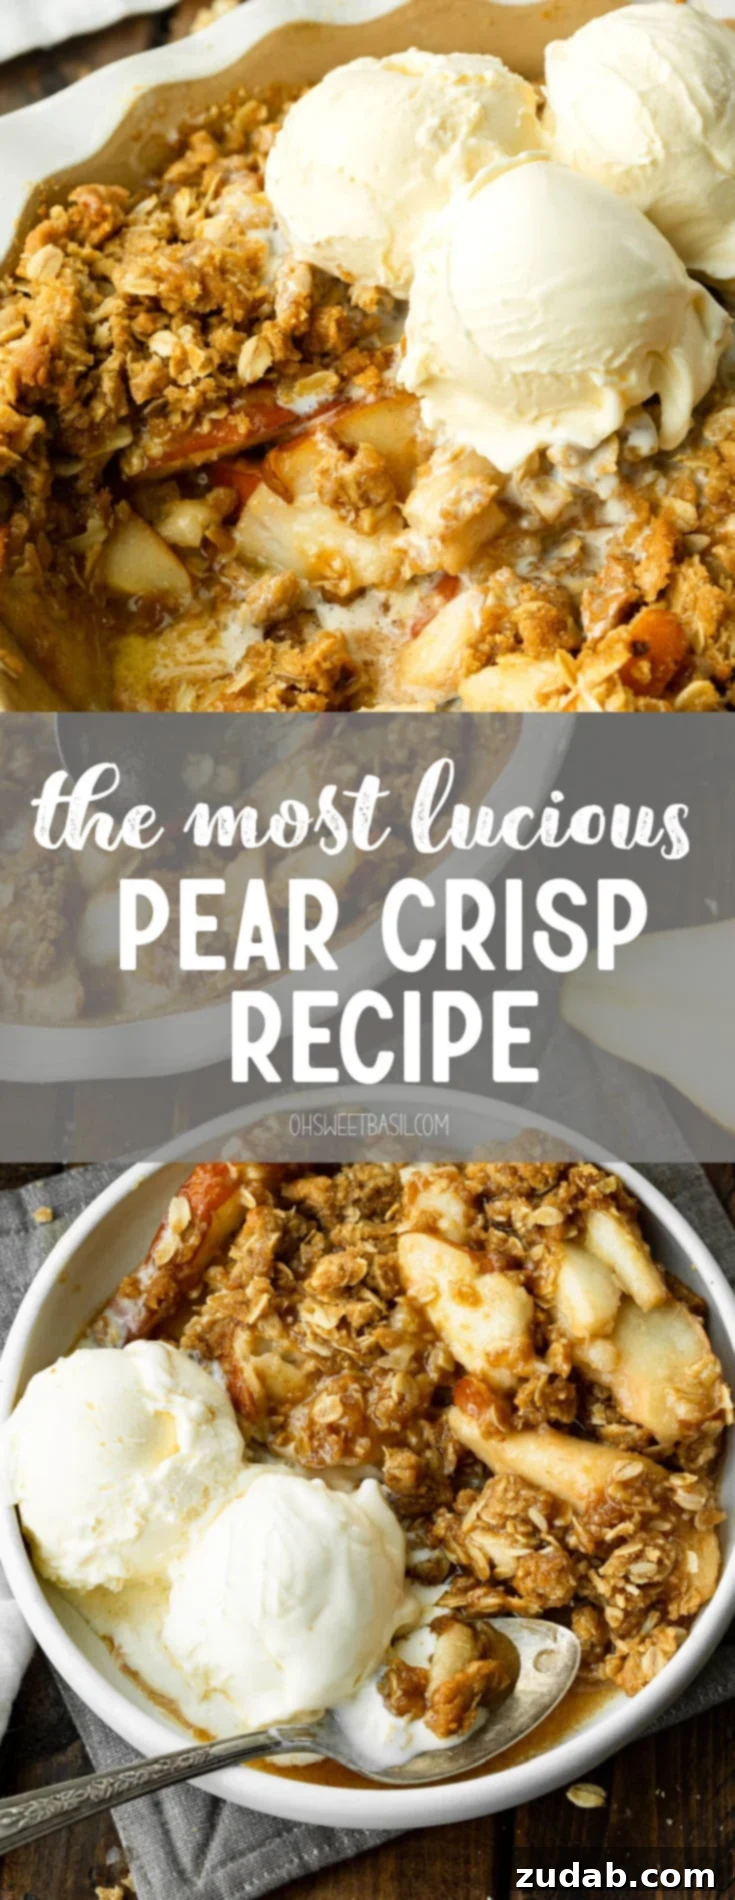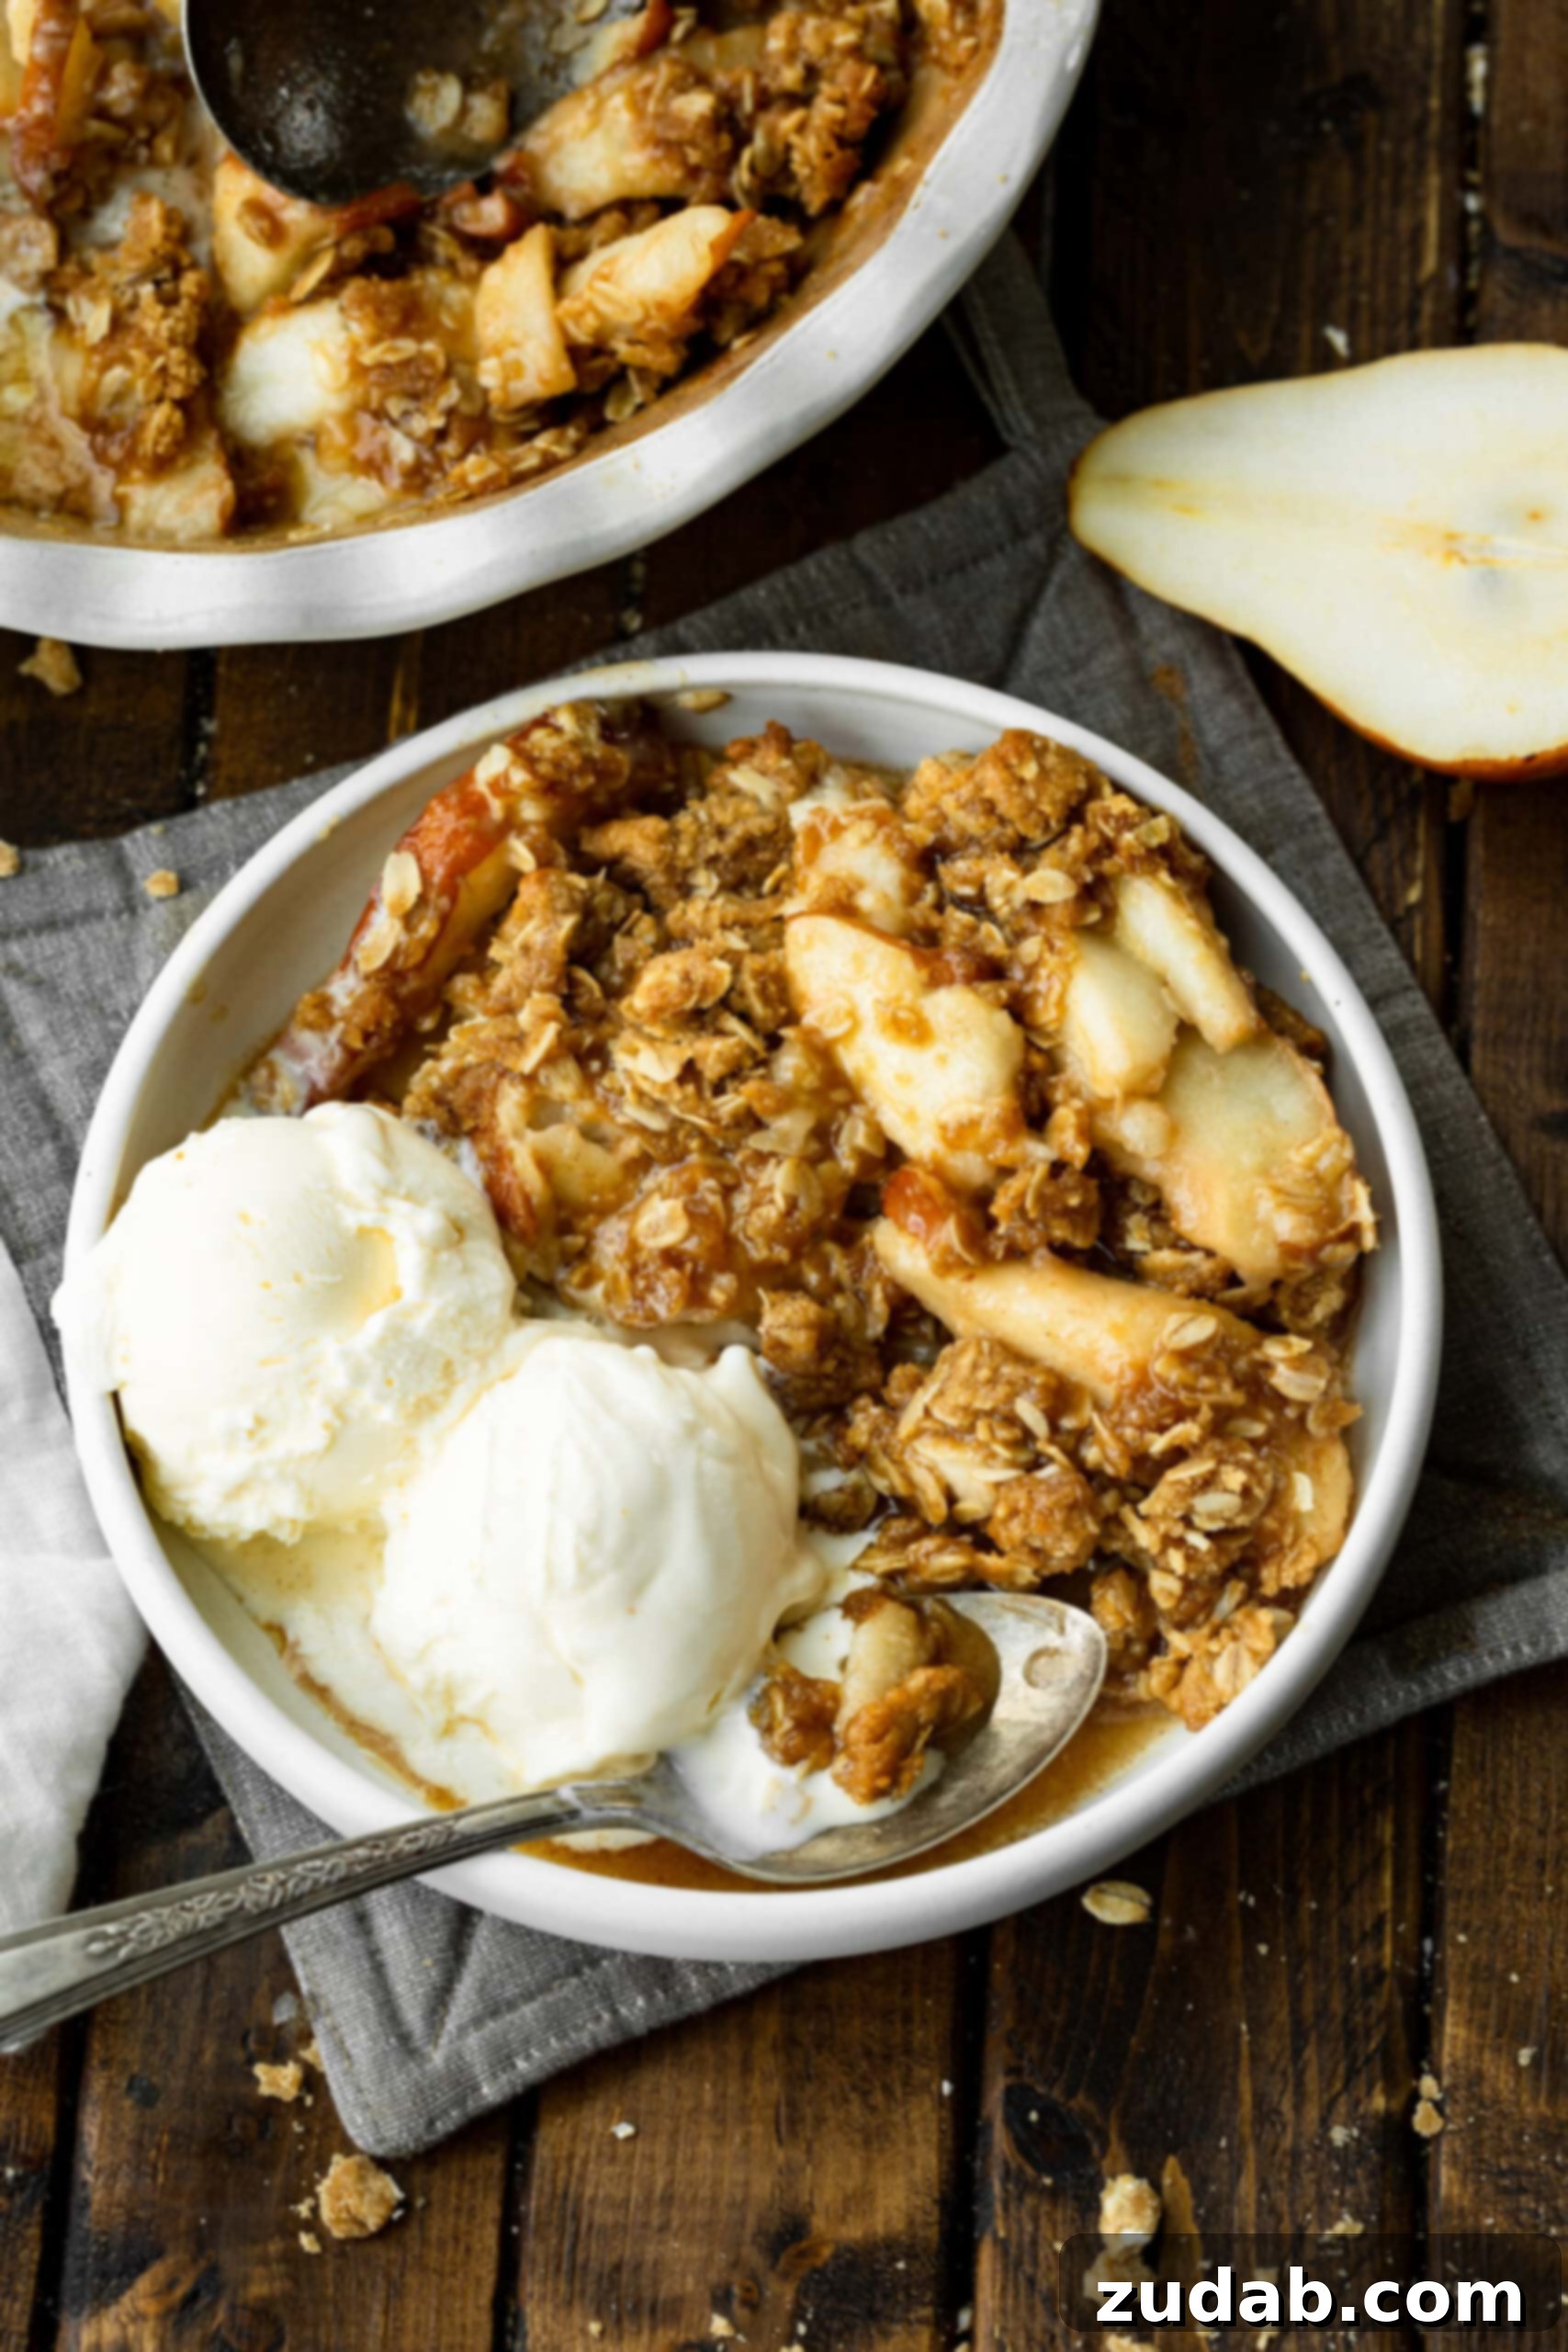
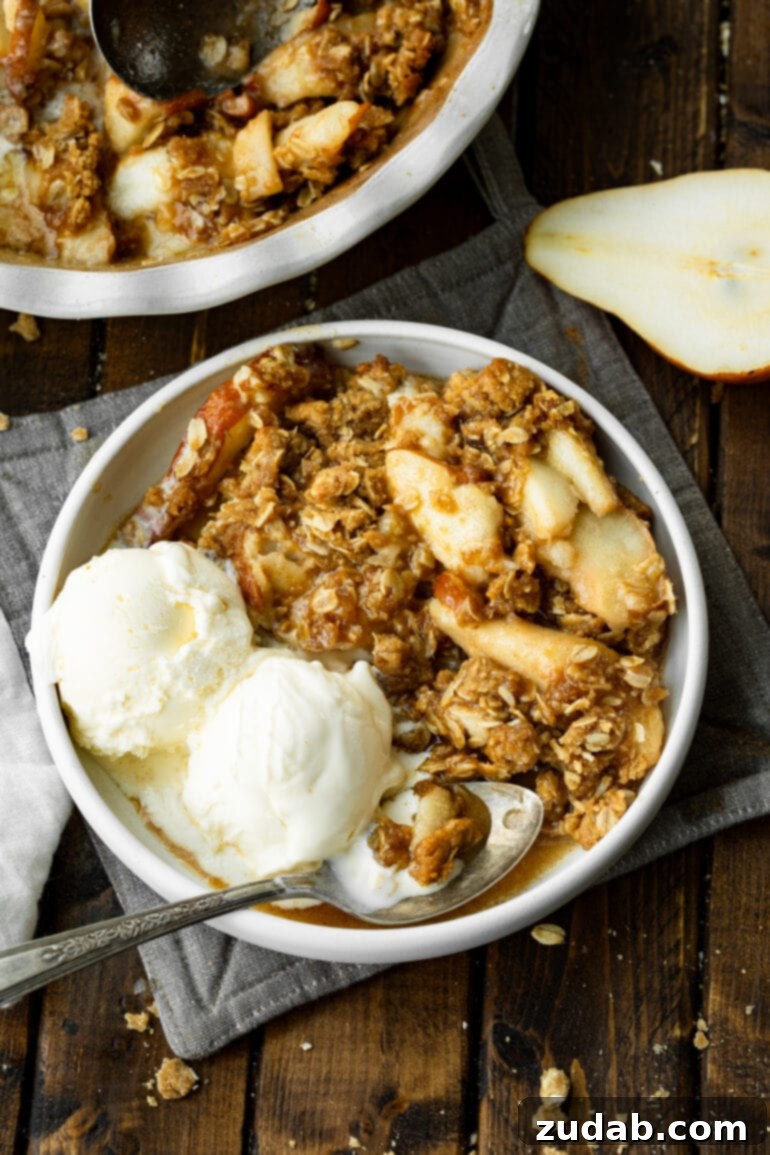
There’s something uniquely comforting about a warm, gently spiced pear crisp, topped with a crunchy, buttery oat layer. This delightful **pear crisp recipe** isn’t just a dessert; it’s an experience, quickly becoming a cherished favorite among fruit crisp enthusiasts. Imagine the delicate sweetness of perfectly baked pears, infused with hints of cinnamon and nutmeg, nestled beneath a golden-brown, irresistible crumbly topping. It’s a quintessential **fall dessert** that brings warmth and joy with every spoonful.
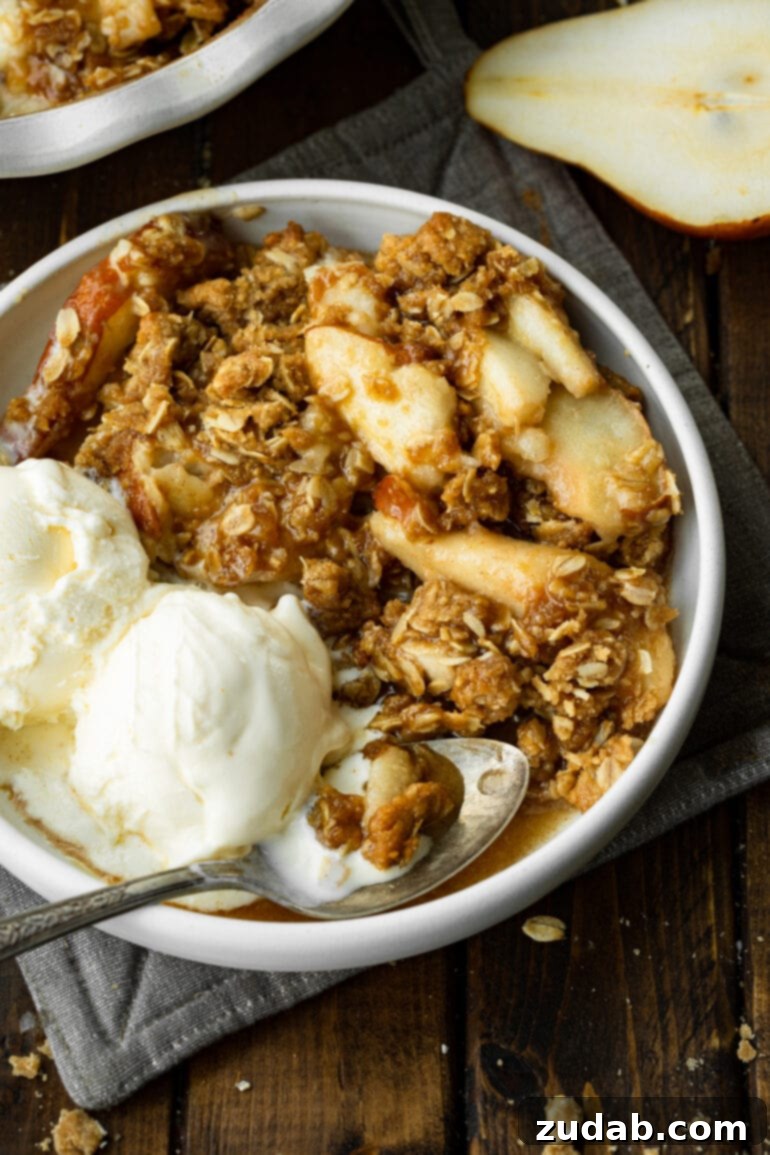
When asked about my favorite recipe, I often find myself at a loss. My culinary preferences are as varied as the seasons, shifting with my mood and the rhythm of life. However, if pressed, a **fruit crisp** almost always emerges as a top contender – a dessert I simply cannot resist, always craving another scoop. There’s an undeniable magic in the way tender, juicy pears transform when baked, their natural sugars caramelizing, all while being embraced by that classic, chewy, cinnamon-kissed oat topping.
Why Fruit Crisps Are a Timeless Dessert Favorite
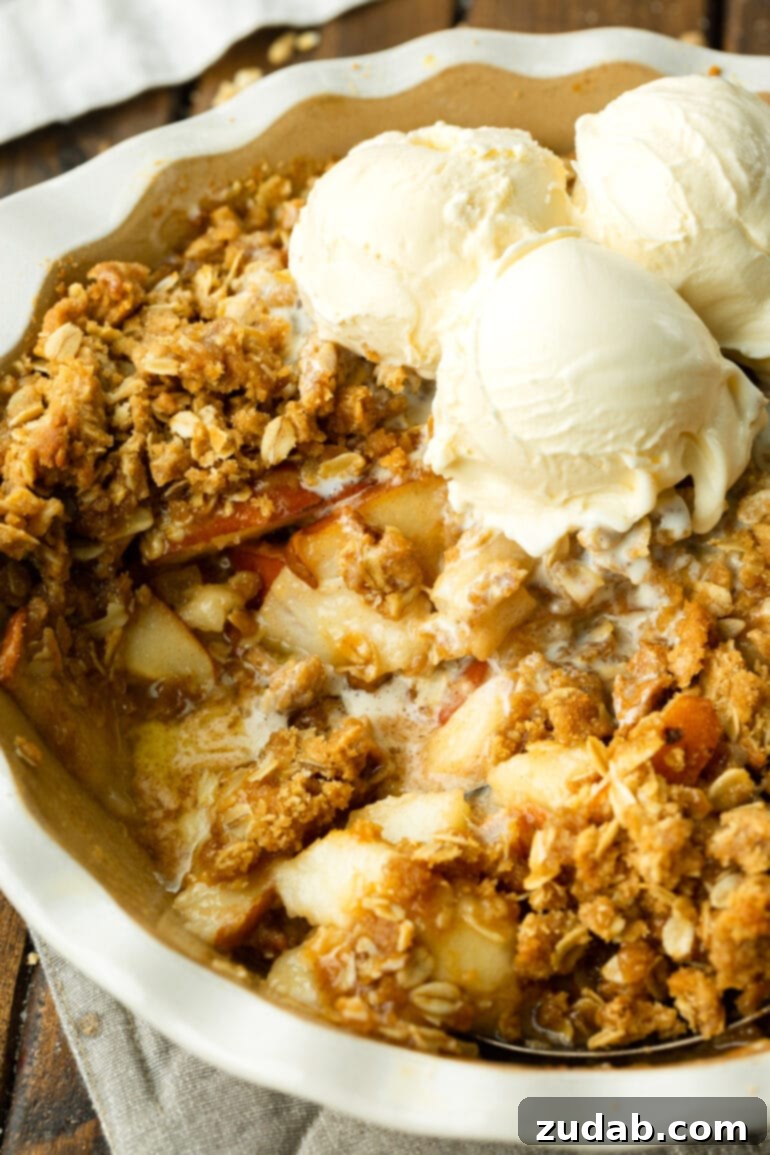
A classic **crisp recipe** transcends trends, proving its enduring appeal season after season. It’s a versatile masterpiece that never goes out of style, equally delightful whether served piping hot with a generous dollop of vanilla ice cream or enjoyed on its own as a comforting treat. From the crisp days of autumn, when an apple crisp reigns supreme, to the warmth of summer, celebrated with a vibrant marionberry crisp or a juicy peach crisp, this dessert category offers an endless array of possibilities. It’s a year-round staple that evokes a sense of home and cherished memories.
I’m instantly transported back to camping trips, gathered around a crackling fire, eagerly anticipating the moment Mom would lift the lid off the Dutch oven. The steam would billow out, filling the night air with an intoxicating aroma, signaling the ultimate camping delight: dessert under the stars. That feeling of safety, happiness, and anticipation is what every fruit crisp promises. So, let’s recreate that magic in our homes, filling them with incredible scents and savoring every single bite of this exquisite pear crisp.
Essential Ingredients for the Best Pear Crisp
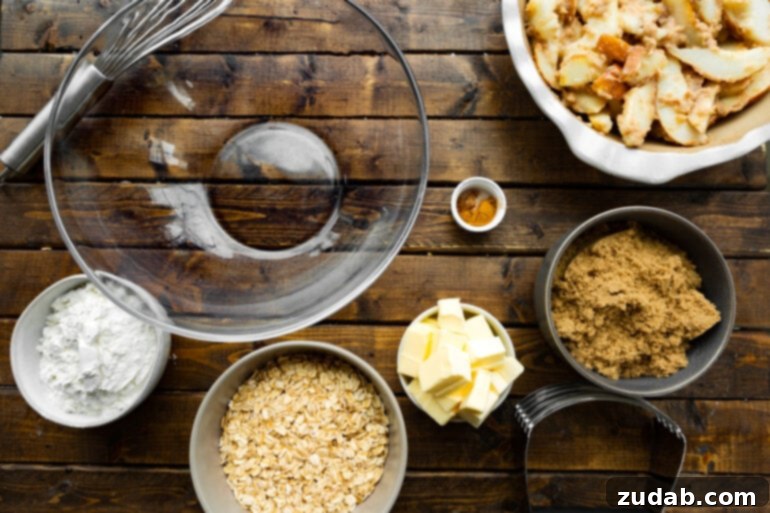
Preparing a truly exceptional pear crisp requires a harmonious blend of simple, wholesome ingredients. If you’re planning a grocery run this week, be sure to grab some fresh pears and the other essentials to create this comforting **fall dessert**. Here’s a detailed look at what you’ll need for both the luscious pear filling and the irresistibly crunchy oat topping:
For the Luscious Pear Filling
- Pears: The star of our crisp! We highly recommend Bosc or Bartlett pears for their firm texture and ability to hold shape beautifully when baked, developing a rich, sweet flavor. Approximately 5 medium-sized pears are perfect for a standard dish.
- Butter: Adds incredible richness and depth of flavor to the pear filling, creating a silky sauce that perfectly coats the fruit.
- All-Purpose Flour: Acts as a natural thickener for all the wonderful juices released by the pears during baking, ensuring your filling isn’t watery. For a **gluten-free pear crisp**, simply substitute with cornstarch (refer to the recipe card for exact quantities).
- Lemon Juice: A crucial ingredient that brightens the flavors, balancing the sweetness of the pears and sugars with a subtle tang.
- Heavy Cream: Elevates the filling’s texture, imparting a luxurious creaminess that makes each bite even more decadent.
- Vanilla Extract: Enhances all the other flavors, adding a warm, aromatic note that complements the pears and spices.
- Brown and White Sugar: A combination of both sugars provides the perfect level of sweetness, with brown sugar adding a lovely molasses-like depth.
- Ground Cinnamon: Infuses the pears with a classic warm, sweet spice that is synonymous with comforting fall desserts.
- Ground Nutmeg: Just a pinch of nutmeg goes a long way, adding a subtle, earthy warmth that enhances the overall spice profile.
- Salt: A touch of salt is essential for enhancing and balancing all the sweet and spiced flavors in the filling.
- Candied Ginger (Optional): For those who enjoy a hint of spice and warmth, a teaspoon of finely chopped candied ginger adds a delightful, unexpected zing to the pear filling.
For the Irresistibly Crunchy Oat Topping
- All-Purpose Flour: Forms the essential structure of the crumbly, crispy topping, binding the oats and sugars together.
- Old Fashioned Rolled Oats: The heart of any good crisp topping! These oats provide a satisfying chewy texture and a nutty flavor that pairs wonderfully with the pears. Avoid instant oats, as they can become mushy.
- Brown Sugar: Contributes to the topping’s sweetness and helps create that signature golden-brown, slightly caramelized crust.
- Ground Cinnamon: Adds a fragrant warmth to the topping, harmonizing with the spices in the filling.
- Salt: A pinch of salt brings out the best in the topping’s flavors, ensuring it’s not just sweet but perfectly balanced.
- Unsalted Butter: This is the binder that brings the topping together, creating those delicious, crisp crumbs. It’s crucial that the butter is **cold and cut into small cubes** for the best crumbly texture.
This overview provides a clear picture of the ingredients you’ll need. For precise measurements and the full recipe details, please refer to the comprehensive recipe card included below.
Step-by-Step Guide: Crafting Your Perfect Pear Crisp
One of the many joys of making a fruit crisp is its simplicity. This **easy pear crisp recipe** doesn’t require advanced baking skills, making it accessible for everyone. Follow these straightforward steps to create a dessert that will impress and delight:
- Prepare Your Oven and Dish: Begin by preheating your oven to 375°F (190°C). Lightly grease an 8×9-inch (or similar size) baking dish with nonstick cooking spray to prevent sticking and ensure easy serving.
- Mix the Pear Filling Base: In a large mixing bowl, combine the melted butter, all-purpose flour (or cornstarch for gluten-free), fresh lemon juice, rich heavy cream, and fragrant vanilla extract. Whisk these ingredients together until the mixture is smooth and thoroughly combined.
- Season the Filling: Add both brown and white sugars, ground cinnamon, nutmeg, and a dash of salt to the liquid mixture. Whisk again until all the sugars and spices are fully incorporated and the mixture is smooth.
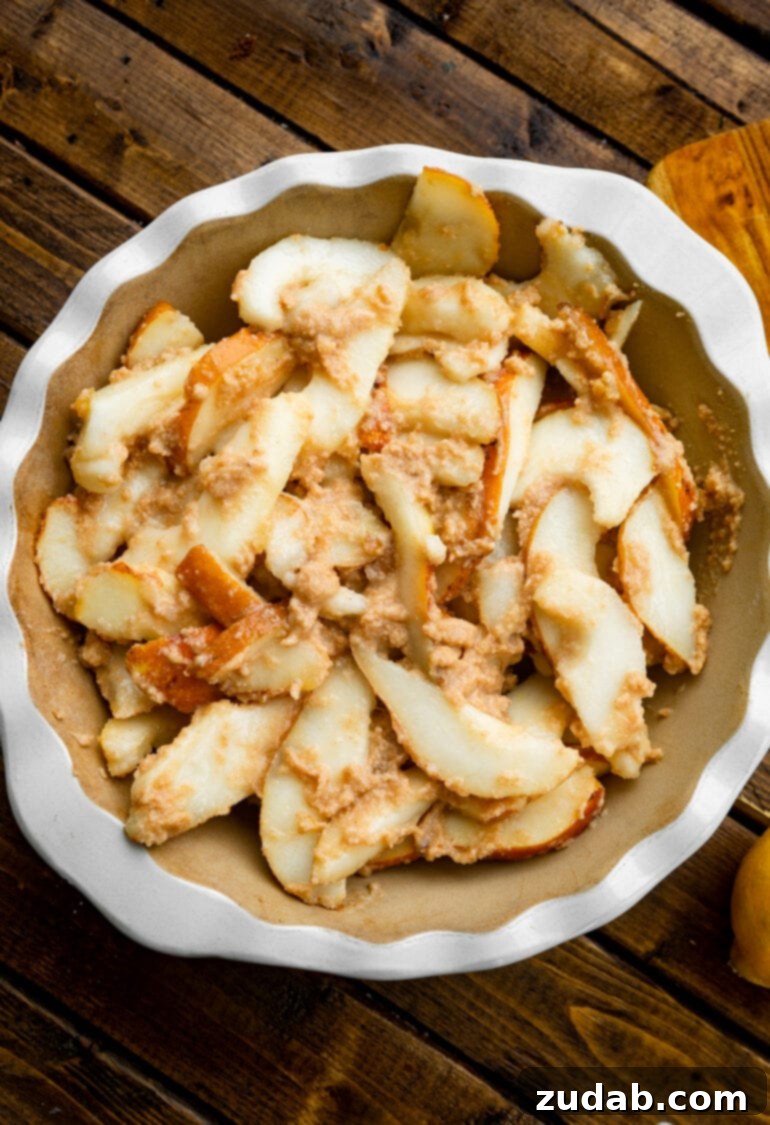
- Add and Spread the Pears: Gently fold the sliced pears (and candied ginger, if desired) into the filling mixture, ensuring each pear slice is evenly coated. Carefully spread the coated pears in a single, even layer across the bottom of your prepared baking dish.
- PRO TIP: For even baking, it’s essential to cut your pears into uniform sizes. Aim for slices that are not too thin, as overly thin slices can become mushy, nor too thick, as they might not cook through properly.
- Create the Irresistible Topping: In a separate medium-sized bowl, combine the flour, old fashioned rolled oats, brown sugar, cinnamon, and salt. Stir these dry ingredients together thoroughly.
- Incorporate the Butter: Add the cold, cubed unsalted butter to the dry topping mixture. Using a pastry blender, a fork, or even your fingertips, cut the butter into the dry ingredients. Continue until the mixture resembles coarse crumbs with some larger, pea-sized clumps. The goal is to avoid overworking the butter, which can lead to a less crispy topping.
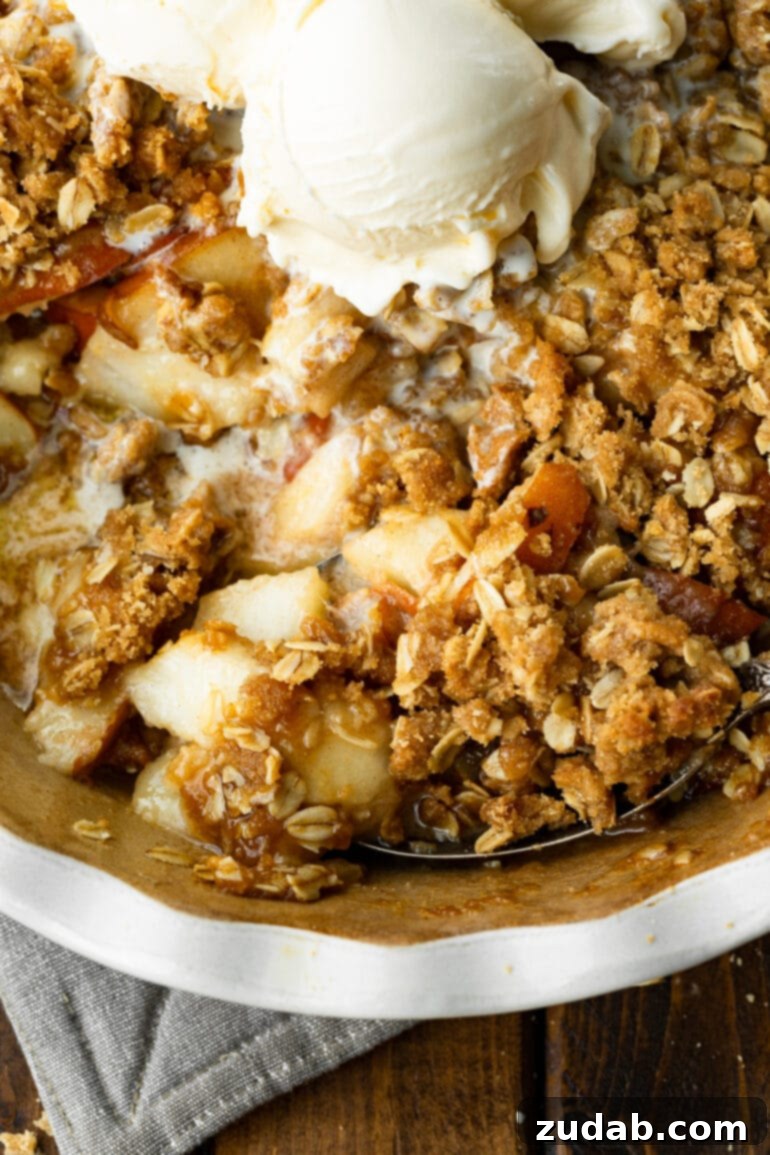
- Assemble and Bake: Evenly sprinkle the prepared oat topping over the pear filling in the baking dish. Place the dish in your preheated oven and bake for approximately 18-20 minutes, or until the topping achieves a beautiful golden-brown color and the pear filling is visibly bubbling around the edges.
- Cool and Serve: Allow the pear crisp to cool for about 5-10 minutes before serving. This brief cooling period helps the filling set slightly and prevents it from being too runny. Serve warm, ideally accompanied by a scoop of luscious vanilla ice cream for the ultimate indulgence.
These detailed instructions, coupled with the tips in the recipe card below, will guide you to a truly delightful homemade pear crisp.
Choosing the Right Pears for Baking
Selecting the correct pear variety is paramount for a successful crisp. When it comes to baking, you want pears that maintain their structure and offer excellent flavor without turning to mush. **Bosc** pears are a fantastic choice, known for their firm flesh and crisp texture even after baking, alongside their subtly sweet and earthy flavor. **Anjou** pears are another excellent option, offering a slightly sweeter taste and a smooth, juicy texture that holds up well. **Bartlett** pears also perform admirably in crisps, becoming wonderfully tender and aromatic. While other varieties can be used, Bosc, Anjou, and Bartlett are consistently reliable for achieving that perfect baked pear consistency.
How to Select a Perfectly Ripe Pear
Picking a ripe pear is surprisingly simple, yet often misunderstood. Pears are unique in that they don’t ripen effectively on the tree; instead, they continue to ripen beautifully at room temperature after being picked. To determine ripeness, employ the “check the neck” method: gently press on the top of the pear, near the stem. If it yields slightly to gentle pressure, it’s ripe, juicy, and ready to be enjoyed or baked. A ripe pear will be perfectly sweet and wonderfully aromatic, releasing its full flavor potential.
Tips for Ripening Pears at Home
If you’ve purchased pears that aren’t quite ready for baking, ripening them at home is effortless. Pears ripen from the inside out, so patience is key. To accelerate the process, place your unripe pears in a fruit bowl alongside other fruits that release ethylene gas, such as bananas or citrus. The ethylene gas acts as a natural ripening agent, helping your pears reach their peak sweetness and tenderness more quickly. Check them daily using the “check the neck” method until they are perfectly ripe and ready for your delicious crisp.
Should You Peel Pears for Your Crisp?
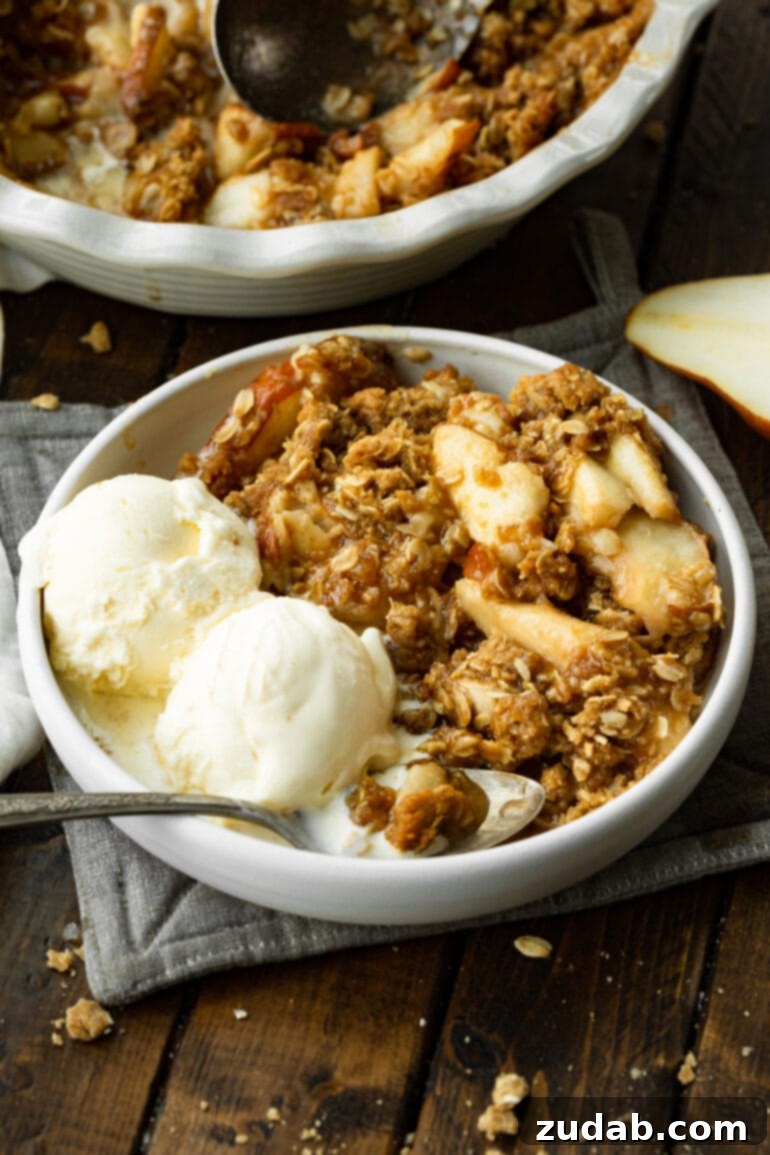
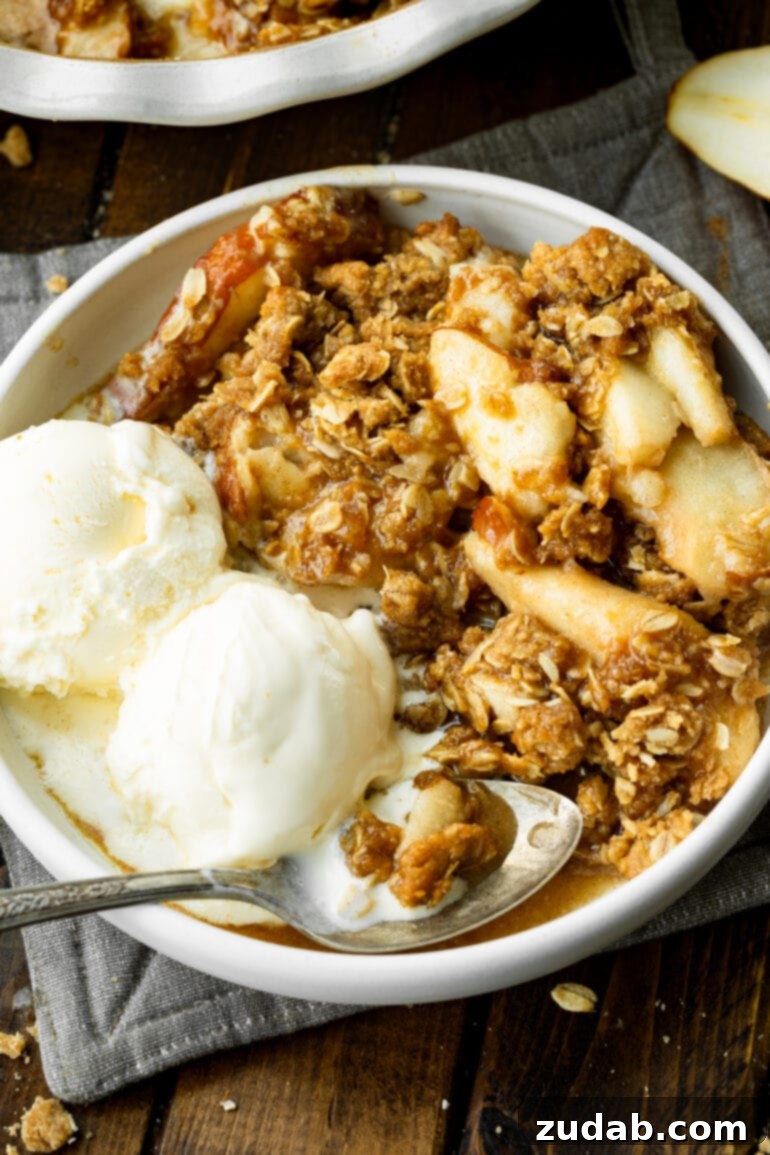
The decision of whether to peel your pears for a crisp is entirely a matter of personal preference, and there’s no right or wrong answer. For delicate desserts like a pear galette or tart, I often prefer to leave the skins on, as they add a rustic charm and a slight textural contrast. However, for a crisp or crumble, I generally lean towards peeling them. The reason being that the thin pear skins can sometimes interfere with the soft, tender texture of the baked fruit, potentially competing with the satisfying crunch of the oat topping. That said, I did leave the skins on for the pears in these photographs, which just goes to show it truly is up to your individual preference and desired texture! Consider how you want the textures to interplay in your finished dessert.
Delicious Variations to Elevate Your Pear Crisp
While this **pear crisp recipe** is perfect as is, there are many exciting ways to customize it and add your unique touch. Feel free to experiment with these delightful variations to jazz up your dessert:
- Enhance the Spice Profile: For an extra layer of warmth, consider adding a pinch of ginger, cardamom, or allspice to either the pear filling or the oat topping, or both!
- Incorporate Nuts for Extra Crunch: Introduce a nutty dimension by mixing chopped pecans, walnuts, or sliced almonds into the oat topping. Toasting the nuts lightly before adding them will deepen their flavor.
- Dried Fruit Delights: Stir in a handful of dried cranberries (craisins), golden raisins, or chopped dried apricots with the pears for an added chewiness and burst of concentrated fruit flavor.
- Tropical Twist with Coconut: For a hint of the tropics, add shredded unsweetened coconut flakes to the oat topping. It toasts beautifully and adds a lovely texture and aroma.
- Cheese Please! A surprising but delicious addition is a very fine grating of sharp cheddar or smoked Gouda in the topping. The savory notes complement the sweet pears beautifully.
- Chocolate Drizzle: A light drizzle of dark chocolate sauce over the warm crisp before serving can elevate it to an even more indulgent experience.
- Fruit Combinations: While this is a pear crisp, pears also pair wonderfully with other fruits. Consider adding a cup of sliced apples, berries, or even a few plums for a more complex flavor profile.
Storing, Freezing, Reheating, and Making Pear Crisp Ahead
A great recipe isn’t just about taste; it’s also about convenience. This pear crisp is wonderfully adaptable, making it perfect for meal prepping or enjoying as leftovers. Here’s how to best store, freeze, reheat, and make it ahead of time:
- Storing Leftovers: Any leftover pear crisp can be stored at room temperature for 2-3 days, provided it’s covered. For extended freshness, transfer it to the refrigerator, where it will keep for up to 5 days. To help absorb any excess moisture from the pears and keep the topping crunchy, place a paper towel directly over the crisp before covering the dish tightly with plastic wrap or aluminum foil.
- Freezing for Later: This crisp freezes exceptionally well, making it an excellent candidate for make-ahead convenience. Ensure the crisp has cooled completely before preparing it for the freezer. Use the paper towel trick (as mentioned for storage) and then wrap the entire baking dish thoroughly in plastic wrap, followed by a layer of aluminum foil. Properly frozen, it will maintain its quality in the freezer for up to 3 months.
- Reheating Instructions: To reheat a cooled pear crisp (whether from the fridge or room temperature), simply bake it in a preheated oven at 350°F (175°C) for about 15 minutes, or until warmed through and the topping is crisp again. If reheating from frozen, increase the baking time slightly, typically adding an extra 10-15 minutes, ensuring it’s heated all the way to the center.
- Make-Ahead Tips: For ultimate convenience, you can prepare both the pear filling and the oat topping in advance. Store the pear filling covered in the refrigerator for up to 2 days, and the topping can be kept in an airtight container at room temperature for a similar duration. However, do not combine the filling and topping until just before you plan to bake. This prevents the topping from becoming soggy and ensures maximum crispiness.
The Most Luscious Pear Crisp Recipe
The Most Luscious Pear Crisp
Sweet Basil
15
20
35
6 servings
Ingredients
For the Pears
- 5 Pears, Bosc or Bartlett, sliced
- 4 Tablespoons Butter, melted
- 4 Tablespoons Flour, or 3 tablespoons cornstarch (for gluten-free)
- 1 Squeeze Lemon Juice
- 4 Tablespoons Heavy Cream
- 1/2 teaspoon Vanilla Extract
- 1/4 Cup Brown Sugar
- 1 Tablespoon White Sugar
- 1 teaspoon Cinnamon
- 1/4 teaspoon Nutmeg
- Dash of Salt
- 1 teaspoon Candied Ginger, optional
For the Topping
- 1 Cup All-Purpose Flour
- 1 1/2 Cups Old Fashioned Rolled Oats
- 1 1/2 Cups Brown Sugar
- 1 teaspoon Cinnamon
- Dash Salt
- 3/4 Cup Unsalted Butter, cut into small cold cubes
Instructions
-
Heat the oven to 375°F (190°C) and spray an 8×9″ baking dish with nonstick spray.
For the Pears
-
Place the melted butter in a large bowl, and whisk in the flour, lemon juice, heavy cream, and vanilla until smooth.
-
Add the brown and white sugars, cinnamon, nutmeg, and salt. Whisk again until smooth.
-
Gently fold in the sliced pears and candied ginger (optional) to coat entirely.
-
Spread the coated pears evenly in the bottom of the prepared baking dish and set aside.
For the Topping
-
In a separate large bowl, combine the flour, old fashioned rolled oats, brown sugar, cinnamon, and salt.
-
Stir all dry ingredients together until well combined.
-
Add the cold butter cubes. Using a pastry cutter, fork, or your fingertips, cut the butter into the dry mixture until it forms a coarse, crumbly texture with some larger pea-sized clumps. Avoid overmixing.
-
Evenly sprinkle the prepared topping mixture all over the pears in the baking dish.
-
Bake for 18-20 minutes, or until the topping is lightly golden brown and the pears are tender and bubbling.
-
Cool for 5-10 minutes before serving warm, ideally with a scoop of vanilla ice cream.
Recipe Notes
Ensure your butter for the topping is cold and cut into small cubes. This helps achieve a perfectly crisp and crumbly texture. If the butter is too warm, the topping may become dense or mushy.
This pear crisp can be prepared and frozen before baking for up to 3 months. Alternatively, you can bake it, cool it completely, and then freeze the baked crisp for up to 3 months.
Nutrition Information
Serving: 1 cup, Calories: 779kcal, Carbohydrates: 115g, Protein: 5g, Fat: 36g, Saturated Fat: 22g, Polyunsaturated Fat: 2g, Monounsaturated Fat: 9g, Trans Fat: 1g, Cholesterol: 92mg, Sodium: 88mg, Potassium: 348mg, Fiber: 7g, Sugar: 79g, Vitamin A: 1128IU, Vitamin C: 7mg, Calcium: 98mg, Iron: 3mg
Nutrition information is automatically calculated and should only be used as an approximation.
Pears, these glorious and often understated fruits, deserve a spotlight in our dessert repertoire. This **pear crisp recipe** isn’t just a dish; it’s a taste of home, a hug of comfort, and undoubtedly the **best fall dessert** you’ll encounter. It conjures memories of mountain getaways, with Mom lovingly crafting this very **pear dessert** in a Dutch oven, filling the air with intoxicating aromas. Indulge in this simple yet profound treat, and let it transport you to moments of warmth and happiness.