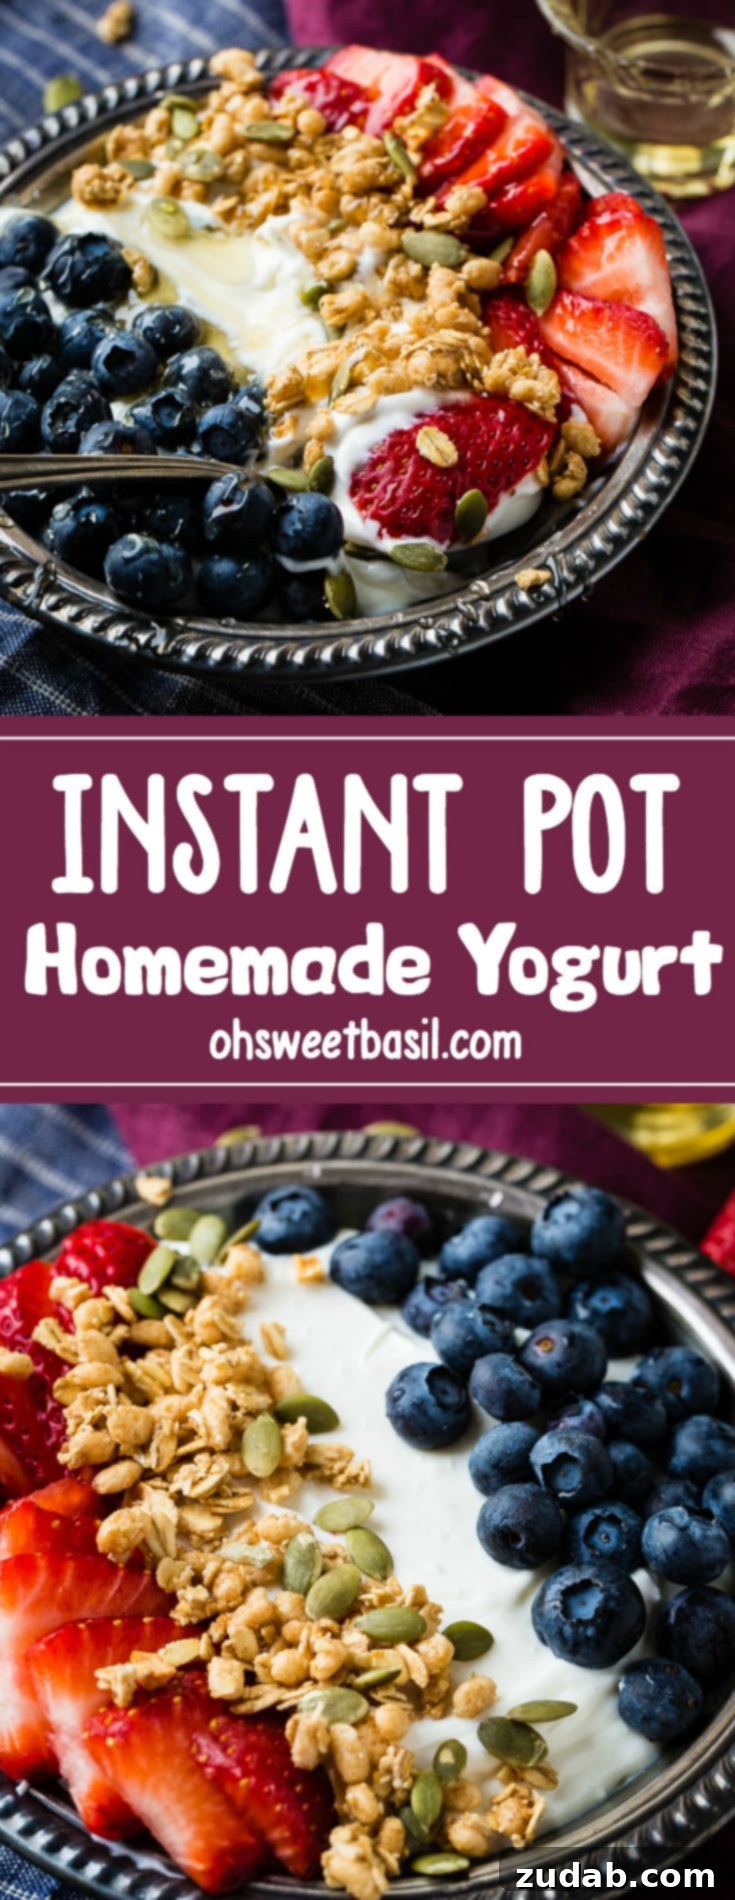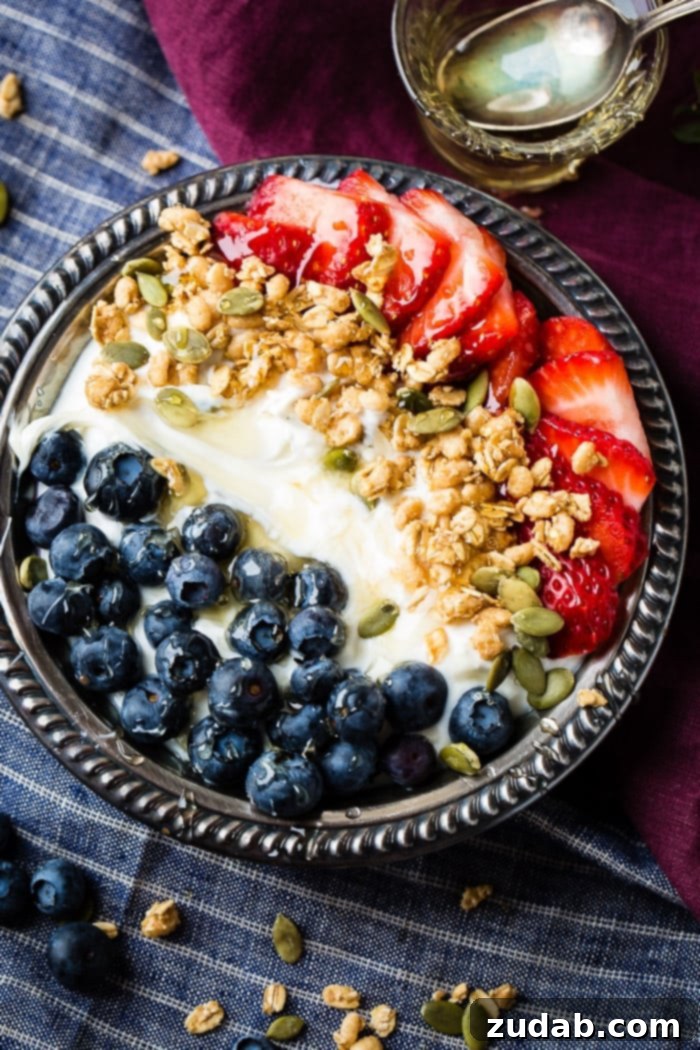
Unlock the secret to creamy, delicious, and incredibly affordable homemade yogurt with your electric pressure cooker! This Instant Pot yogurt recipe is a game-changer, demanding less than 5 minutes of active preparation and requiring only three simple ingredients. Say goodbye to expensive store-bought tubs and hello to a fresh, customizable, and healthier breakfast or snack option that will become a staple in your kitchen.
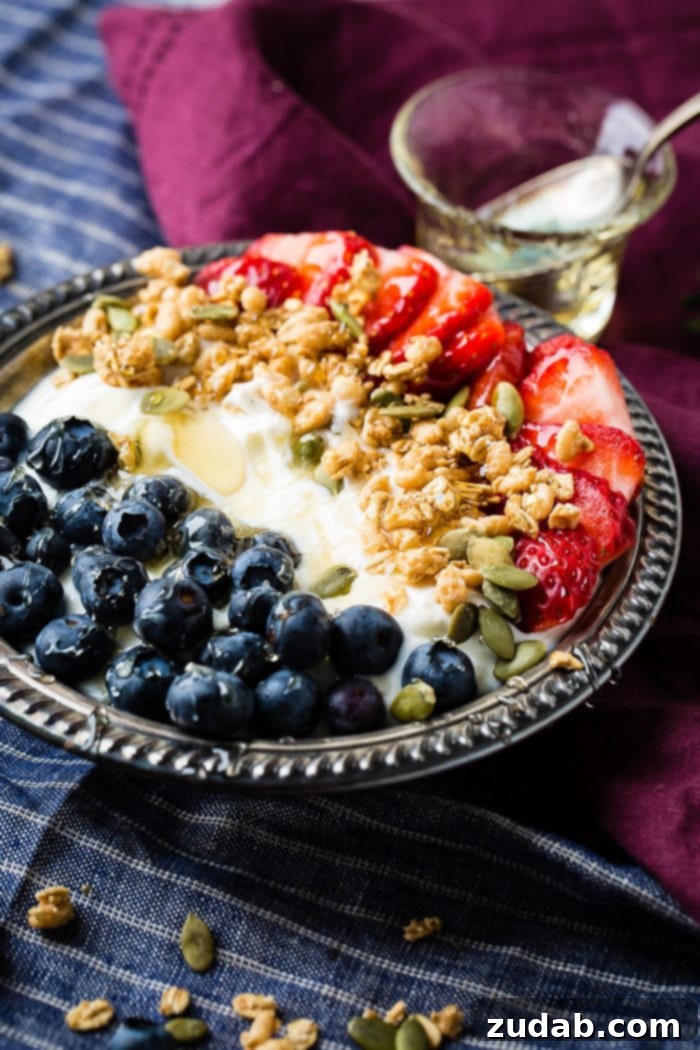
Mastering Homemade Yogurt with Your Instant Pot
For years, like many of you, I relied on store-bought yogurt, especially the thick and creamy Greek varieties, for my daily breakfast fix. It was a convenient, albeit sometimes costly, habit. That all changed when a friend, a brilliant entrepreneur and owner of a local coffee shop in Utah, shared her secret: she was making all their shop’s yogurt in an Instant Pot. Intrigued, I tried her method, and the results were nothing short of amazing. The texture, the freshness, the flavor – it surpassed anything I had bought from the grocery store. From that moment, I knew I could never go back to mass-produced yogurt. This simple yet revolutionary technique transformed my kitchen routine and my breakfast bowl.
Thinking back to my college days, juggling a tight budget and a desire to eat well, homemade Instant Pot yogurt would have been a dream come true. Groceries were a luxury, and a single container of yogurt on sale felt like a splurge. I’d even break up granola bars over my yogurt because buying a bag of granola was often out of budget. The struggle to cook for one while balancing academics and a social life was real. Oh, how I wished for an Instant Pot back then! It truly is a versatile appliance, capable of so much more than just quick meals. Imagine college students or newlyweds, armed with just one appliance, making wholesome roasts or fresh yogurt, no stove required. It’s truly a gift that keeps on giving, empowering anyone to create delicious, healthy food with minimal effort.
Why Choose Homemade Instant Pot Yogurt?
Beyond the cost savings, making yogurt at home offers numerous advantages. You have complete control over the ingredients, avoiding unwanted additives, artificial sweeteners, or excessive sugars often found in commercial yogurts. You can adjust the tanginess to your preference and ensure your yogurt is packed with live, active probiotic cultures essential for gut health. The Instant Pot simplifies the traditionally delicate process of yogurt making, handling the precise heating and fermentation steps with ease, making it accessible even for beginners.
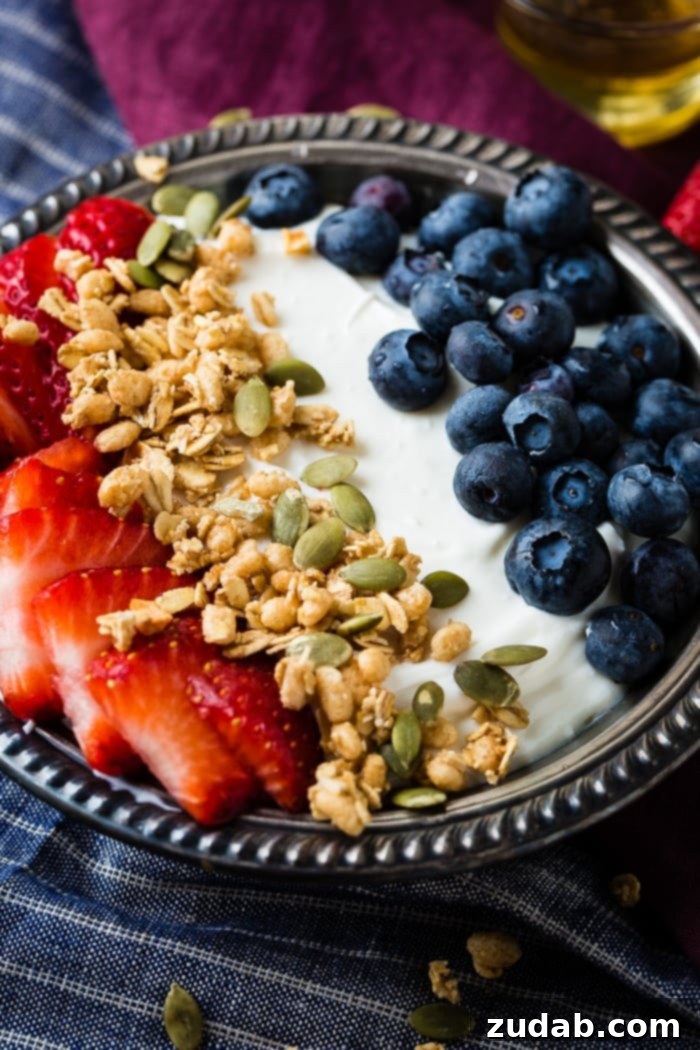
Essential Instant Pot Yogurt Ingredients
Creating your own regular or Greek yogurt in an Instant Pot is remarkably simple, calling for just a few key ingredients. The beauty lies in their simplicity and the transformative power of fermentation:
- Milk: The foundation of your yogurt.
- Yogurt Starter: The active cultures that turn milk into yogurt.
- Vanilla Extract: An optional splash for enhanced flavor and a hint of natural sweetness.
Your Instant Pot, particularly models equipped with a dedicated yogurt function, will handle the crucial heating and fermenting stages, streamlining the entire process and making it virtually foolproof.
Selecting the Best Milk for Creamy Homemade Yogurt
For the best homemade yogurt texture and flavor, we highly recommend using 2% or whole milk. These milk fat percentages contribute to a thicker, creamier yogurt that is both satisfying and luxurious. While we often opt for whichever is on sale that week, consistently using higher-fat milk yields superior results. Skim milk can be used, but the resulting yogurt will be thinner and less rich.
Choosing the Right Yogurt Starter for Active Cultures
The key to successful homemade yogurt lies in a quality starter. The easiest and most reliable option is a small amount of store-bought plain Greek yogurt. Crucially, this yogurt must contain active cultures. Look for specific bacteria names like Lactobacillus bulgaricus and Streptococcus thermophilus on the ingredient list. Many brands now explicitly state “contains active cultures,” making your choice even simpler. Once you’ve successfully made your first batch of homemade yogurt, you can use a portion of it as the starter for subsequent batches, creating an ongoing, self-sustaining supply!
Pro Tip: If you find this homemade yogurt recipe delightfully easy, you’ll love exploring other Instant Pot staples! Master the basics and unlock a world of quick, convenient cooking.
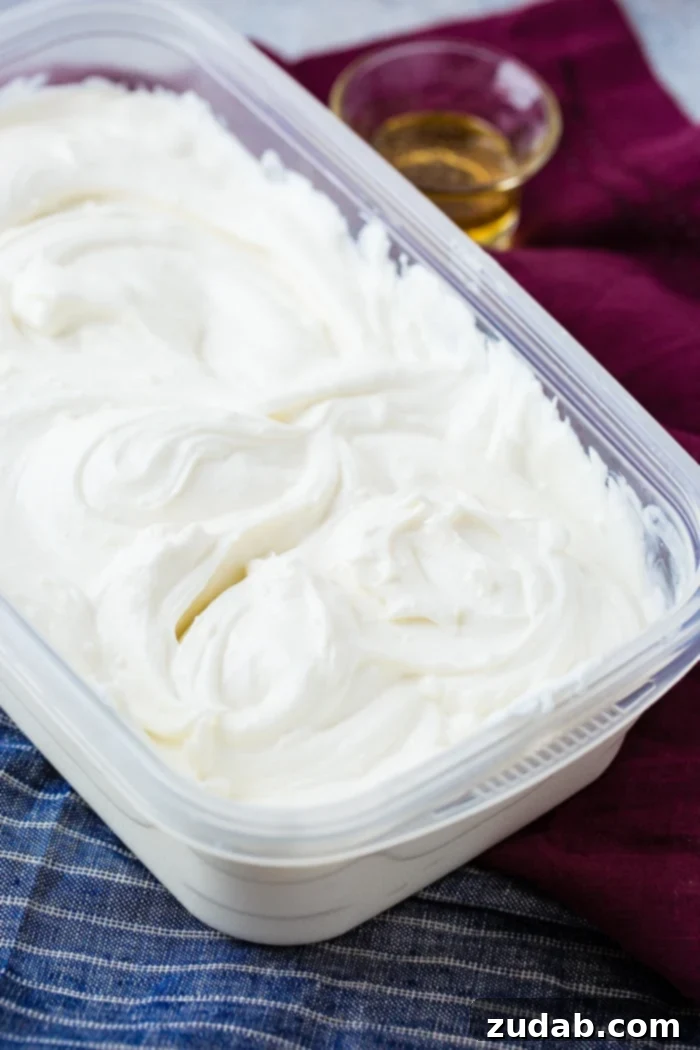
Essential Equipment for Your Instant Pot Yogurt Journey
Making yogurt in your Instant Pot is straightforward, but having the right tools makes the process even smoother. Here’s a list of the equipment you’ll need, whether you’re aiming for regular or authentic Greek yogurt:
- 6-Quart 9-Function Instant Pot: This versatile electric pressure cooker is the star of our recipe. Its dedicated yogurt function simplifies the process immensely, ensuring precise temperature control for successful fermentation.
- Weck 1/2 Liter Jars: Ideal for storing your finished yogurt. Their charming design makes them great for serving, and their secure seals keep your yogurt fresh in the fridge.
- Reliable Thermometer: Absolutely essential for monitoring milk temperature. Achieving specific temperatures during heating and cooling is critical for activating the starter cultures. While high-end models offer speed and accuracy, a more budget-friendly option can also work effectively.
- Nut Milk Bag or Cheesecloth: If you plan to make Greek yogurt (which we highly recommend for its extra thickness!), a nut milk bag or a large piece of cheesecloth is necessary for straining the whey. This step transforms regular yogurt into its rich, Greek counterpart.
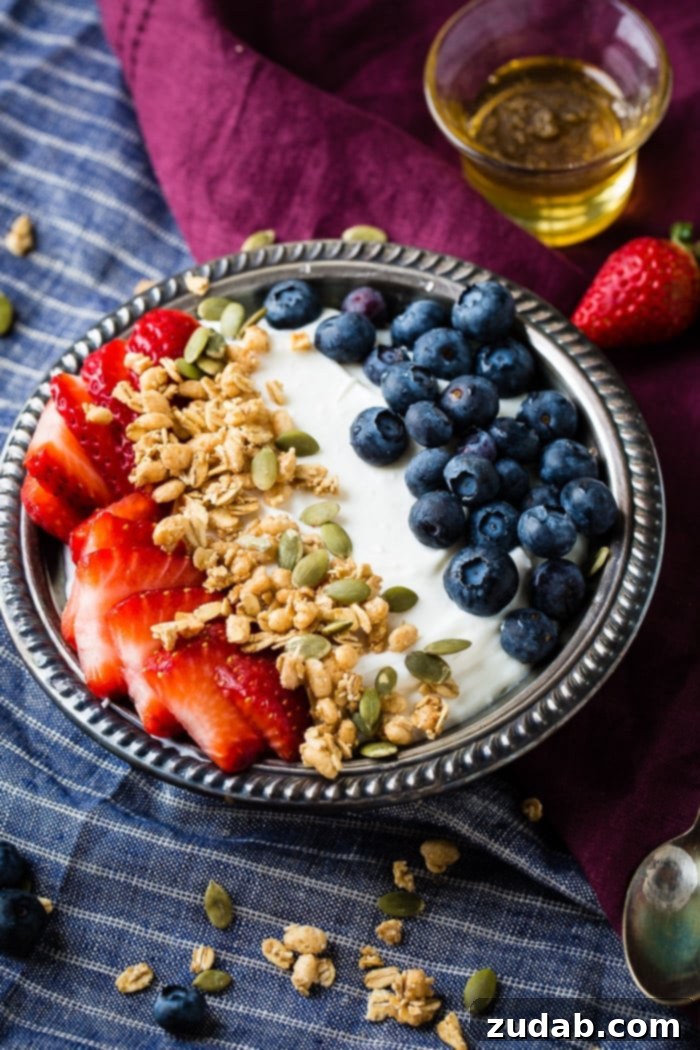
Step-by-Step: How to Make Yogurt in Your Instant Pot
While making Instant Pot yogurt requires some advanced planning for fermentation time, the active hands-on work is surprisingly minimal. Follow these simple steps to create your luscious homemade yogurt:
- Heat the Milk: Pour a full gallon of milk directly into the Instant Pot’s inner pot. Secure the lid, locking it into place. The venting knob position does not matter at this stage.
- Boil Setting: Press the “Yogurt” button on your Instant Pot repeatedly until it displays “Boil.” Allow the milk to heat for approximately 1 hour, or until it reaches a temperature between 180°F and 200°F. Your Instant Pot may signal when boiling is complete, or you might need to use the sauté function briefly if it hasn’t reached the target temperature after the initial cycle. A quick whisk helps ensure even heating.
- Cool the Milk: Carefully remove the inner pot from the Instant Pot and place it on your counter to cool. This step is crucial. Allow the milk to cool until it reaches exactly 110°F. During cooling, a “skin” may form on top; gently remove and discard it.
- Add the Starter: Once the milk reaches 110°F, whisk in the 3 tablespoons of active yogurt starter. Ensure it is thoroughly combined.
- Ferment: Return the inner pot to the Instant Pot. Press the “Yogurt” button again. Adjust the time setting to 7 or 8 hours. For a tangier yogurt, you can extend the fermentation period up to 10 hours.
- Flavor (Optional): After fermentation, stir in the vanilla extract for added flavor. You can also add it before fermentation if you prefer, but be aware it might get strained out if you’re making Greek yogurt.
- Chill: Transfer the finished yogurt to containers and refrigerate for at least 4-6 hours, or overnight, to allow it to set and thicken further.
Transforming Regular Yogurt into Homemade Greek Yogurt
After completing the basic Instant Pot yogurt steps, you’ll have delicious plain yogurt. To elevate it to the thick, protein-rich consistency of Greek yogurt, follow these additional straining instructions:
- Prepare for Straining: Line a colander or fine-mesh strainer with a large piece of cheesecloth or a nut milk bag. Place this setup over a deep bowl to catch the whey.
- Add Yogurt: Carefully spoon the plain yogurt into the cheesecloth-lined strainer.
- Strain: Gather the edges of the cheesecloth, twist the top to form a bundle, and gently squeeze out some of the initial liquid (whey). Place the entire setup (yogurt in cloth, in strainer, over a bowl) into the refrigerator.
- Refrigerate Overnight: Allow the yogurt to drain in the refrigerator overnight. The longer it drains, the thicker your Greek yogurt will become.
- Store: In the morning, transfer your freshly made Greek yogurt to an airtight container and store it in the refrigerator.
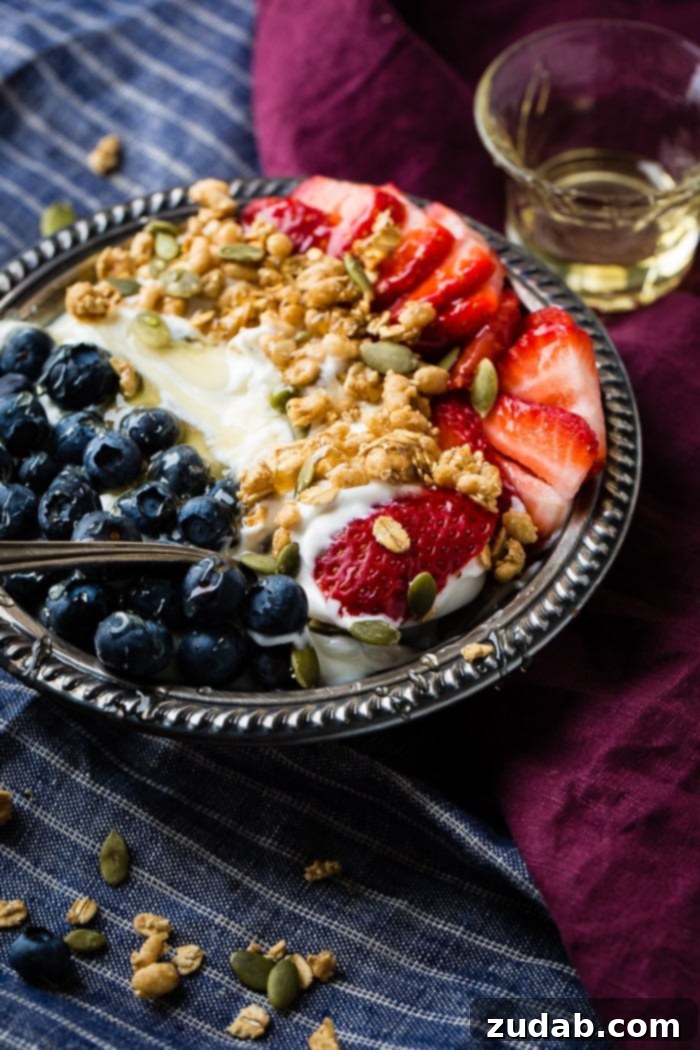
Storing and Troubleshooting Your Homemade Instant Pot Yogurt
How Long Does Homemade Instant Pot Yogurt Last?
Freshly made Instant Pot yogurt typically stays fresh for approximately 2 weeks when stored in an airtight container in the refrigerator. For optimal freshness and to ensure you always have a starter for your next batch, we recommend consuming your yogurt within a week. This also encourages a regular yogurt-making cycle, so you always have a supply of the freshest, most delicious yogurt on hand.
Can Homemade Yogurt Be Frozen?
While you can technically freeze homemade yogurt, we generally advise against it for textural and flavor reasons. Freezing, whether homemade or store-bought yogurt, can alter its consistency, making it runny and grainy upon thawing. It can also develop a slightly harsh or acidic flavor. While still safe and healthy to eat, the overall experience may not be as pleasant as fresh yogurt.
Why Didn’t My Homemade Yogurt Set Properly?
If your homemade yogurt didn’t set as expected, don’t worry – it’s a common issue with usually simple solutions. The most frequent culprit is insufficient warmth during the incubation phase. This is precisely why an Instant Pot is so valuable, as it maintains a consistent, ideal temperature for fermentation. If your yogurt fails to set, you can often salvage it:
- Re-heat and Re-incubate: Gently re-heat the unset yogurt over low heat until it reaches 110°F again. Then, return it to the Instant Pot and incubate for a second time.
Other factors can also contribute to a lumpy or separated yogurt:
- Temperature Extremes: Culturing your yogurt for too long or at too high a temperature can cause the milk proteins to curdle unevenly, leading to a lumpy texture or separation (where the whey separates from the solids).
- Inactive Starter Culture: Ensure your starter yogurt explicitly states it contains “active cultures.” If the cultures are inactive or too old, they won’t properly ferment the milk.
If your yogurt turns out lumpy, it can often be remedied. Strain the yogurt to remove the excess whey, then beat the remaining yogurt solids vigorously in a bowl until smooth and creamy. It might not be perfectly identical to a fully set batch, but it will still be delicious!
Tips for Perfecting Your Instant Pot Yogurt
- Sweetening Options: You don’t have to sweeten homemade Instant Pot yogurt at all, especially if you enjoy a tangy flavor. The longer you let it ferment (up to 8-10 hours), the tangier it will become. If you prefer a milder taste, aim for 6-7 hours of fermentation. For natural sweetness without excessive sugar or fat, consider stirring in honey or vanilla extract after the yogurt has fermented and cooled. Natural sweeteners blend in easily and allow you to control the sugar content.
- Dairy-Free Alternatives: This specific recipe is designed for dairy milk. We have not personally tested it with dairy-free milks (e.g., almond, soy, oat), as their protein and fat structures differ significantly and may require different techniques or specific dairy-free yogurt starters to achieve a successful set.
- Flavor Variations: This recipe focuses on plain Instant Pot yogurt, which serves as an excellent base for various flavors. To create flavored yogurts, we recommend adding fruits, jams, syrups, or other flavorings *after* the yogurt has finished fermenting and cooled. This prevents the added ingredients from interfering with the fermentation process and preserves their fresh taste. Consider swirling in berry purees, a dollop of fruit jam, or a sprinkle of cinnamon and nuts before serving for a delightful treat.
More Delicious Instant Pot Recipes:
- Better Than Grandma’s Instant Pot Chicken Noodle Soup
- BBQ Instant Pot Whole Chicken
- Easy Instant Pot Beef Stroganoff
- Healthy Instant Pot Turkey Chili
- Instant Pot Taco Soup
- 2-Ingredient Instant Pot Applesauce
- Instant Pot Blueberry French Toast 3 Ways
- …Discover All Our Instant Pot Recipes!
Instant Pot Yogurt Recipe
Instant Pot Yogurt
By Sweet Basil
Prep Time: 2 mins
Cook Time: 7 hrs
Total Time: 8 hrs
Servings: 16
This homemade Instant Pot yogurt recipe requires less than 5 minutes of hands-on prep work and uses just 3 ingredients. Score!
Ingredients
- 1 Gallon Milk (preferably whole or 2%)
- 3 Tablespoons Plain Greek Yogurt with active cultures (we recommend Fage Plain)
- 1 teaspoon Vanilla Extract, or to taste
- Honey, for serving (optional)
Instructions
- Begin by heating the milk to 180°F – 200°F. Pour the entire gallon of milk into the Instant Pot’s inner pot. Close and lock the lid (venting knob position does not matter).
- Use the “Yogurt” function button, pressing it repeatedly until it displays “Boil.” Allow the milk to heat for about 1 hour to reach at least 180°F. The Instant Pot screen will usually change to “Yogurt” when boiling is complete. If it hasn’t reached 180°F, use the sauté function briefly to continue heating.
- Remove the inner pot and place it on the counter to cool until it reaches 110°F. Remove any skin that forms on the top and then whisk in the 3 tablespoons of yogurt starter.
- You can stir in the vanilla extract now, or add it later to ensure it doesn’t get strained out if making Greek yogurt.
- Place the pot back into the Instant Pot and press “Yogurt” again. Adjust the time to 7 or 8 hours for ideal fermentation. For tangier yogurt, extend up to 10 hours.
- If you prefer more vanilla flavor, stir it in at this stage after fermentation is complete.
- Remove the yogurt into a container to refrigerate. For Greek yogurt, proceed to the next step to strain.
- Stir in honey to taste just before serving.
Recipe Notes
May be stored in a covered container in the refrigerator for 2 weeks.
Nutrition (Approximate per 6 oz serving)
- Serving: 6 ounces
- Calories: 144kcal
- Carbohydrates: 11g
- Protein: 7g
- Fat: 8g
- Saturated Fat: 4g
- Cholesterol: 24mg
- Sodium: 102mg
- Potassium: 312mg
- Sugar: 12g
- Vitamin A: 383IU
- Calcium: 267mg
- Iron: 1mg
Nutrition information is automatically calculated and should only be used as an approximation.
Like this recipe? Leave a comment below and share your experience!