
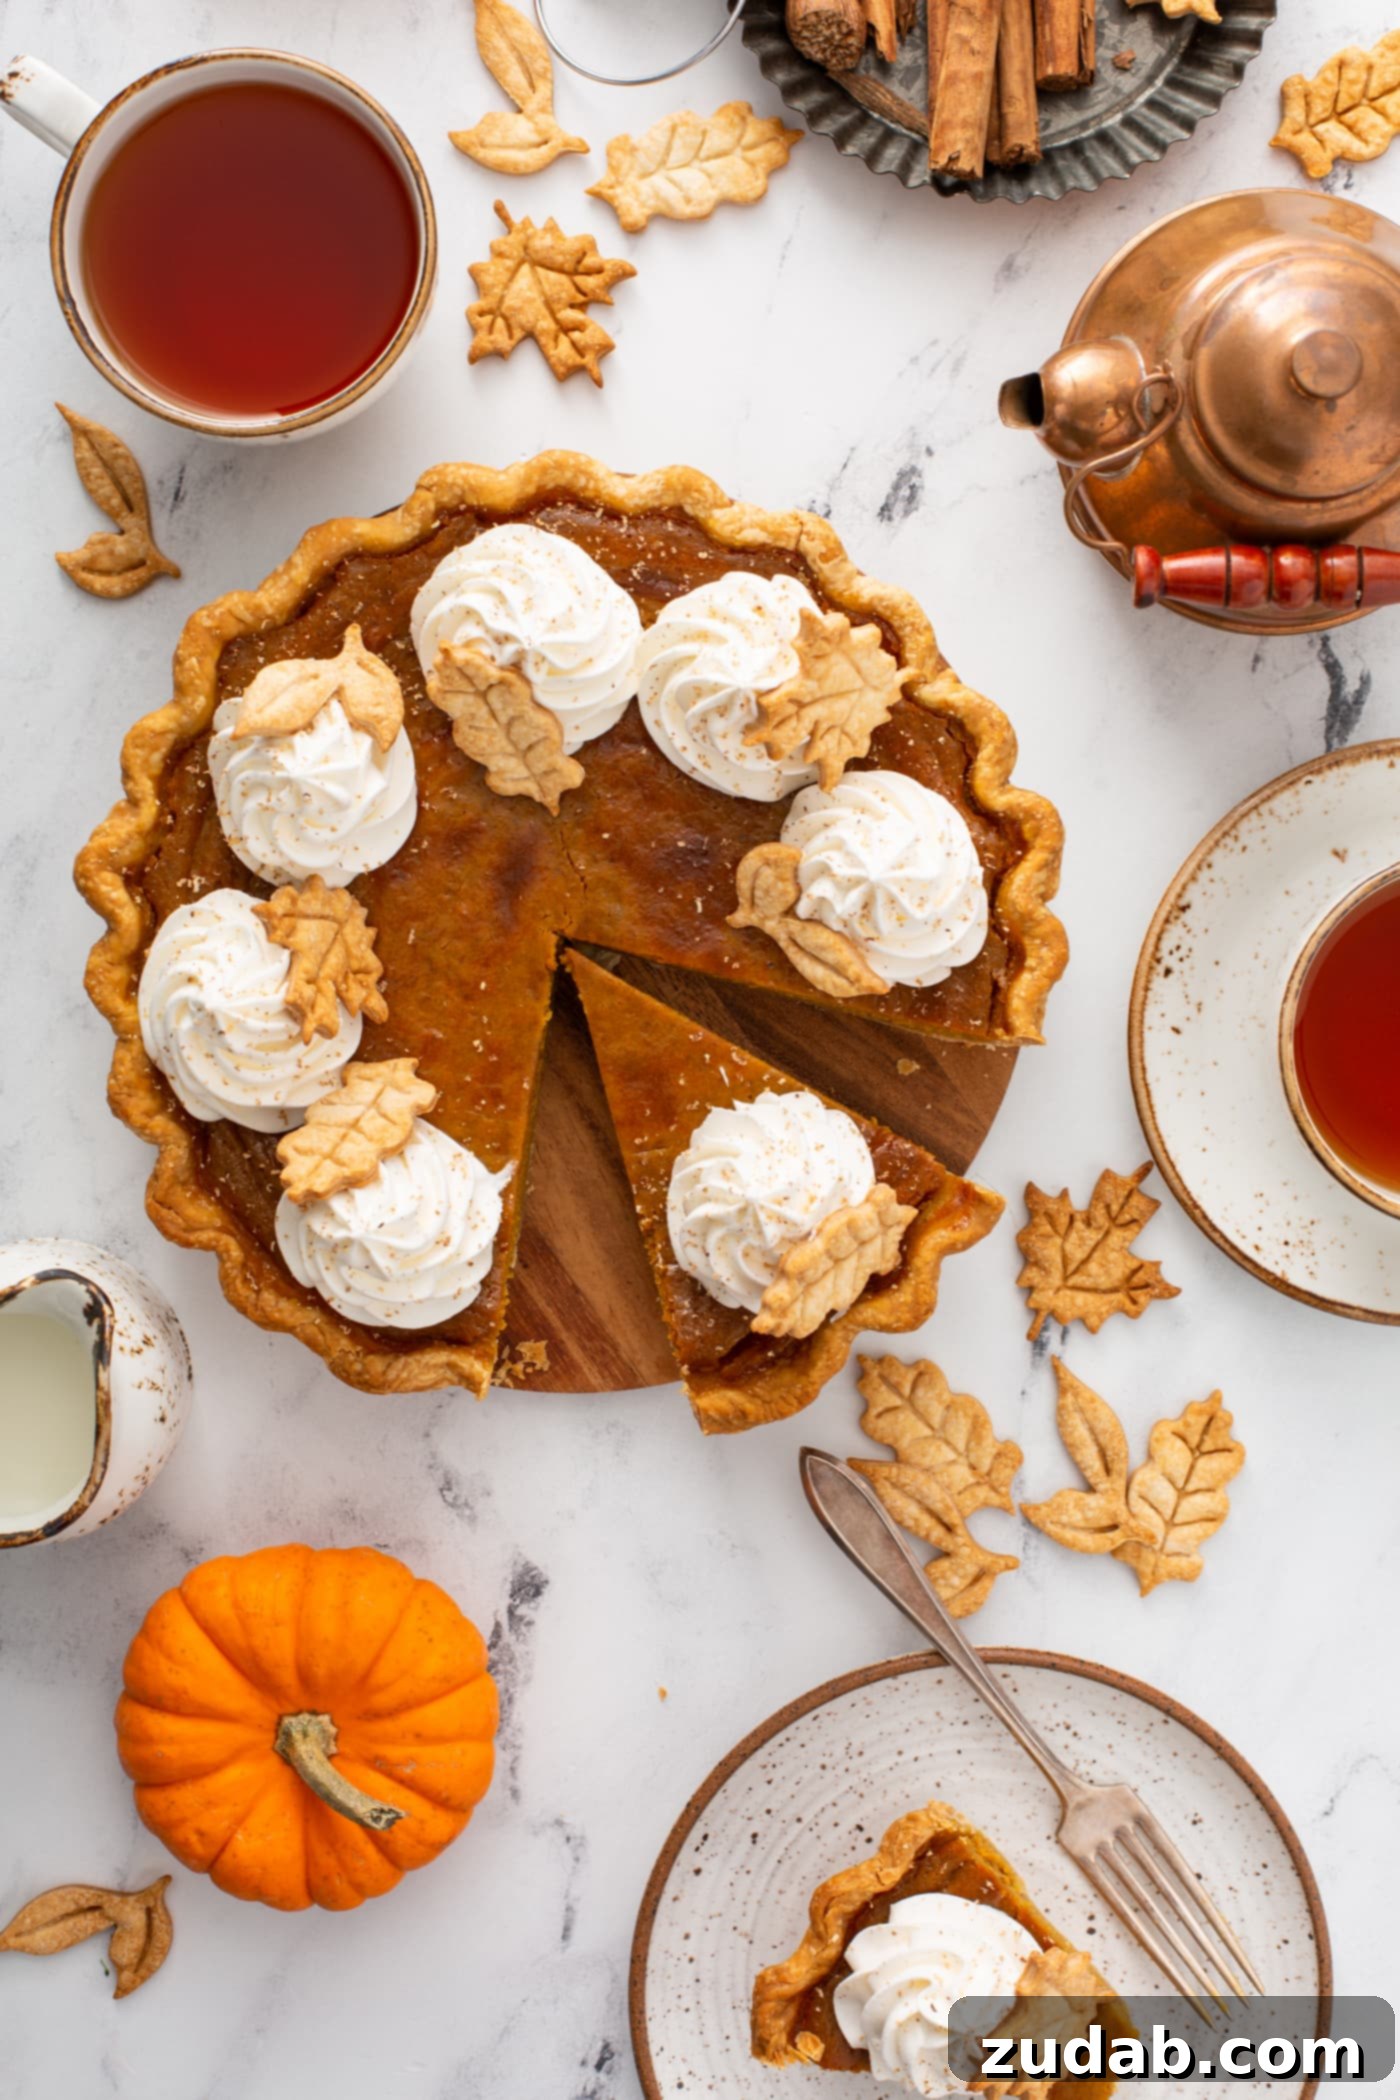
There’s an undeniable magic that pumpkin pie brings to any table, especially during the cherished holiday season. Forget elaborate Christmas carols; our hearts sing for a slice of perfectly spiced, creamy pumpkin goodness. This isn’t just any recipe; it’s a celebration of tradition, comfort, and the timeless joy that only a **classic pumpkin pie**, lovingly **made from scratch**, can deliver. From its impeccably flaky crust to a filling that balances autumnal spices with a velvety smooth texture, this pie is an essential centerpiece for every Thanksgiving feast.
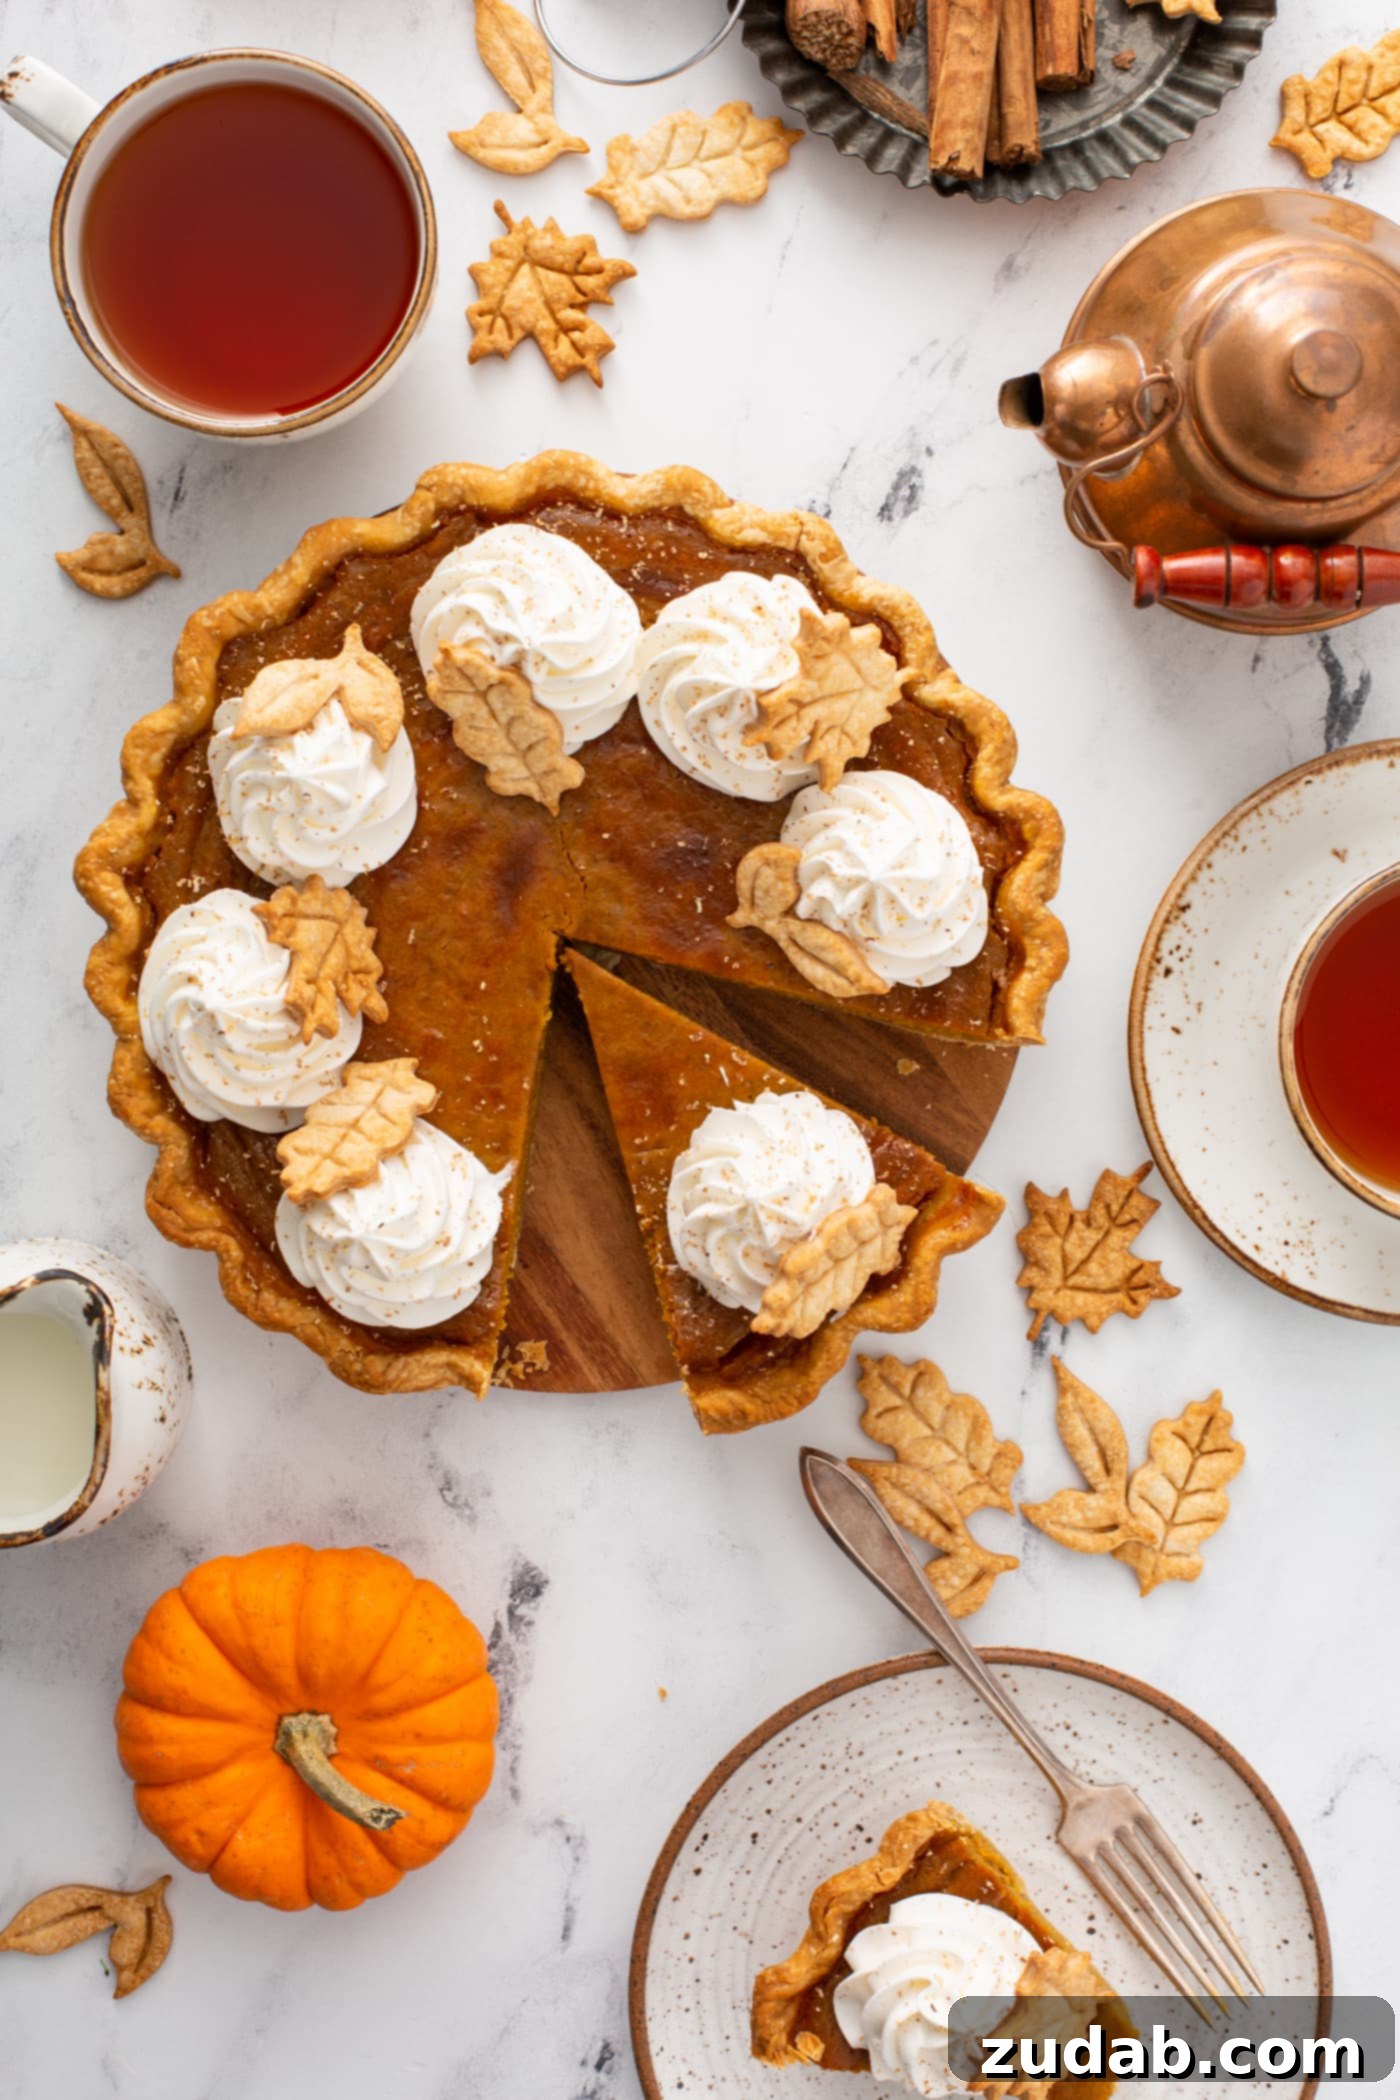
While some may surprisingly not share our deep affection for pumpkin pie, we believe every culinary blog should champion its favorite classic recipes. This particular rendition holds a special place in our hearts, standing proudly alongside beloved family staples like Mom’s Lemon Meringue Pie. Our goal is to convert any skeptics with this rich, aromatic, and utterly delightful homemade pumpkin pie, ensuring it becomes a cherished tradition in your home too.
Thanksgiving: A Tapestry of Cherished Memories
Thanksgiving has always resonated as one of the most heartwarming holidays. Growing up, our celebrations were legendary, often overflowing with more people than our house could comfortably hold. I vividly recall journeys to my grandpa’s house in Le Grande, Oregon, where a joyous cacophony of cousins, aunts, and uncles would converge. Tables and chairs would sprout in every available nook and cranny, yet inevitably, some of us kids would find our spots on the floor, testament to the sheer volume of loved ones gathered. These were days steeped in boisterous laughter, shared stories, and the comforting aroma of a feast.
When travel wasn’t on the cards, our Vancouver, Washington home became the epicenter of family gathering. My father, with his expansive heart, always ensured that no one from our church community spent the holiday alone, often inviting additional families who had nowhere else to go. These impromptu additions only amplified the festive spirit, transforming our home into a hub of warmth and camaraderie. Cousins chased each other through the rooms, adults engaged in lively chatter, and snacks were perpetually within reach. The grand “dinner” often commenced mid-afternoon, making it less of a dinner and more of an epic luncheon, a highlight of our collective memory.
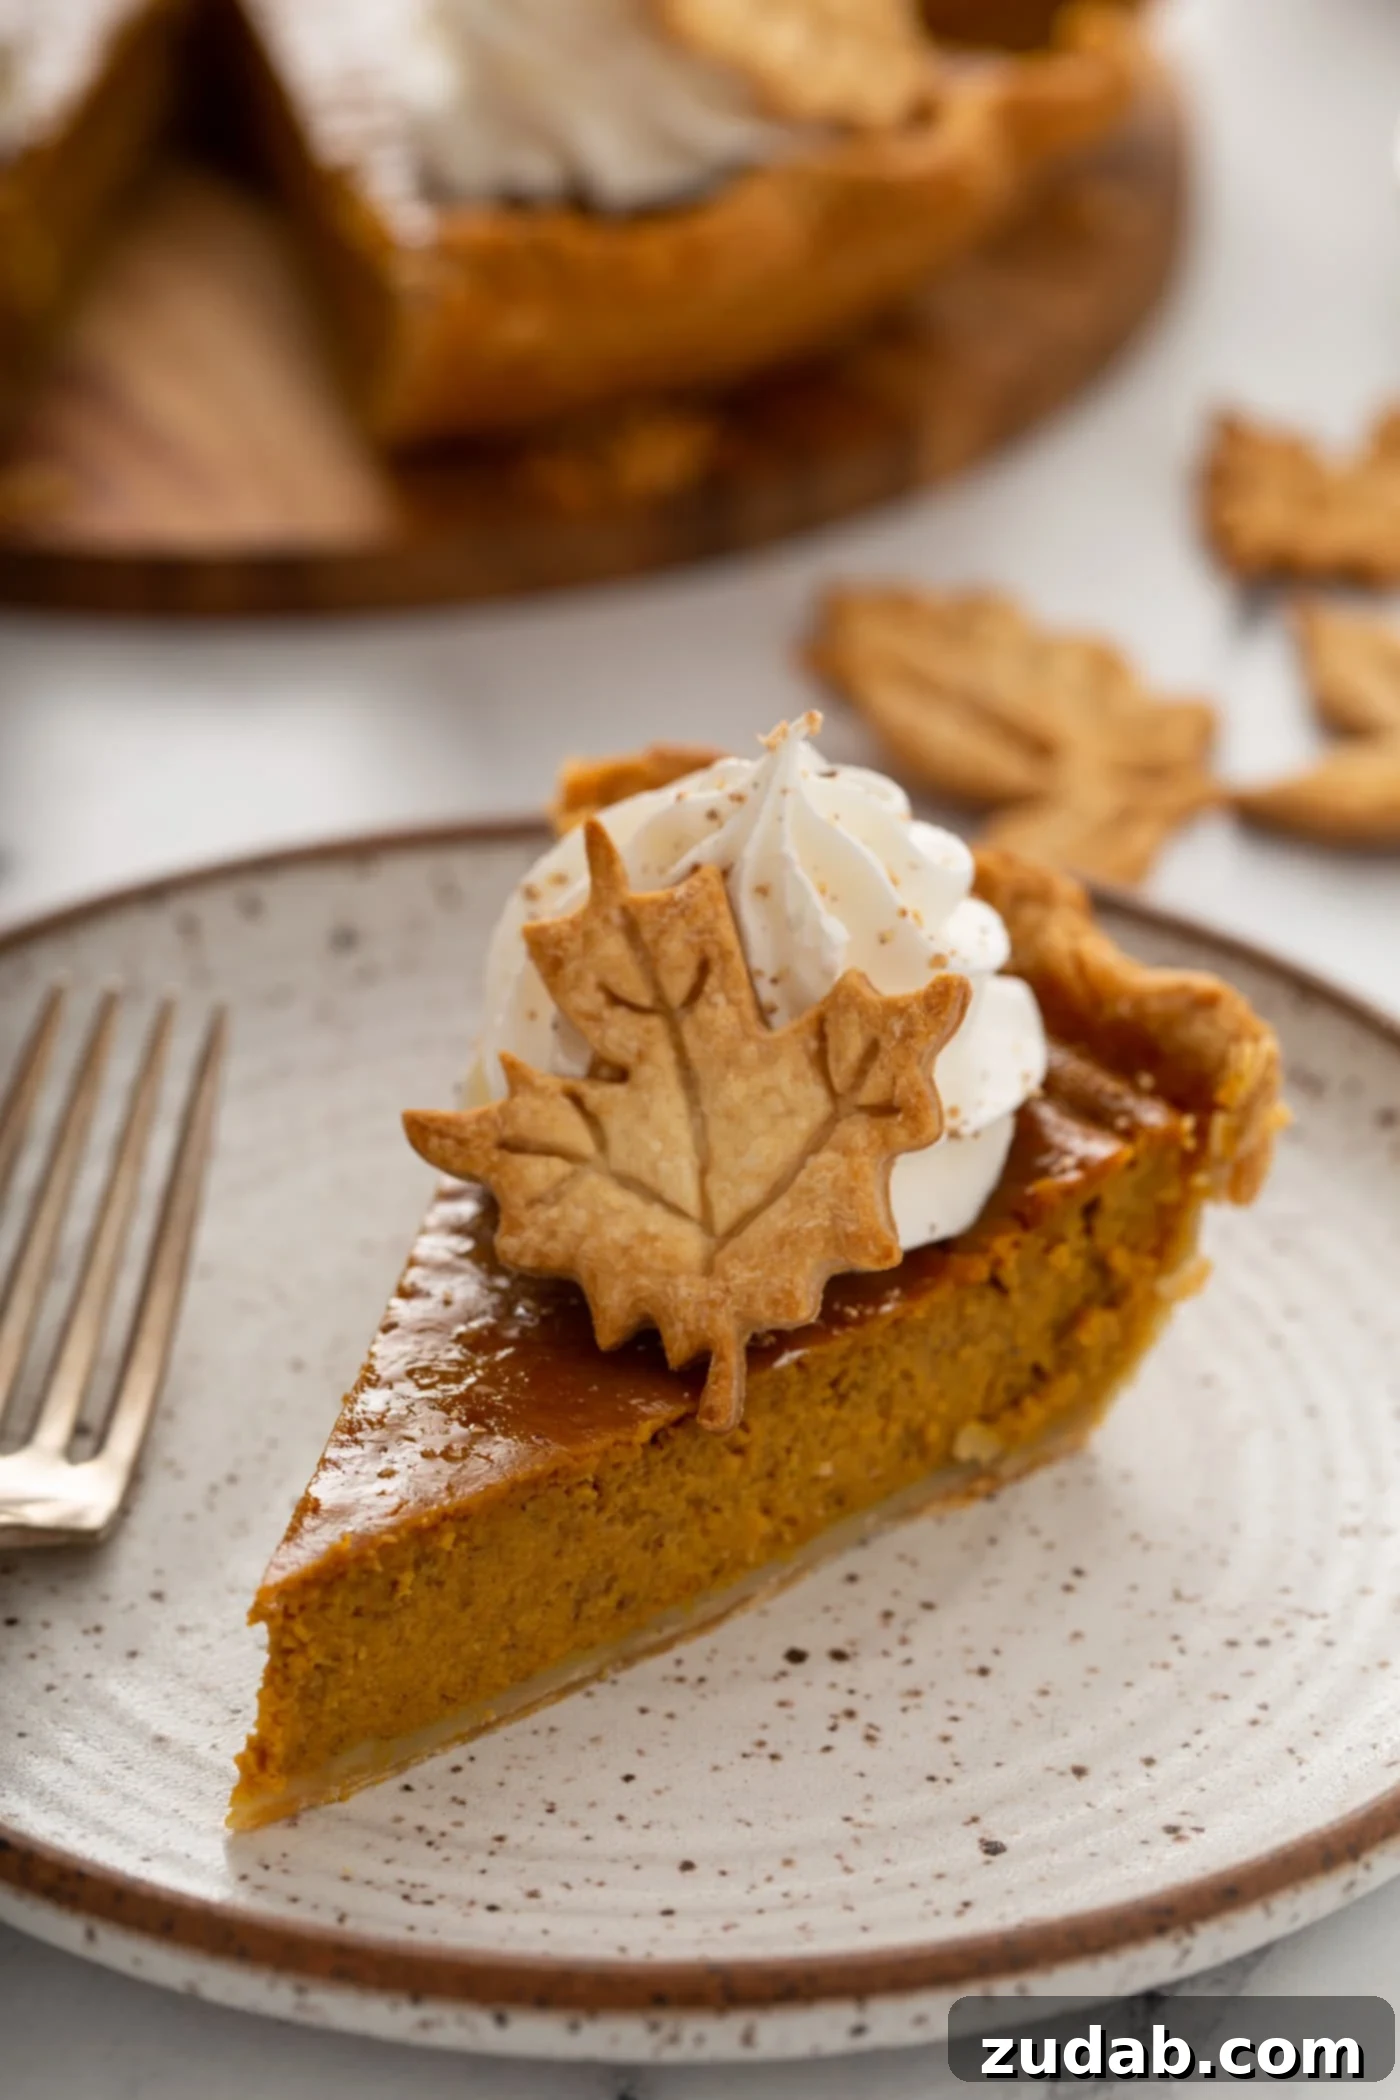
After the feast, the cleanup was a well-oiled machine, relying heavily on paper products – handling dishes for such a multitude would have been an undertaking of epic proportions! Then came the post-meal rituals: the ladies and children would gather for festive Christmas crafts, while the men, satiated and content, would often drift off for a nap or become engrossed in football games. And finally, the moment everyone anticipated: pie for all! The sheer abundance and variety of pies were a sight to behold, but for me, one reigned supreme.
My favorite part of the entire Thanksgiving experience? While the pie was certainly a highlight, I truly adored the day after even more. It was a day dedicated to glorious laziness, filled with movies, endless snacking on leftovers, and the creation of those legendary turkey sandwiches on soft rolls. To this day, I maintain that those leftover sandwiches often surpassed the actual Thanksgiving dinner in sheer deliciousness.
Thanksgiving in Our Home Today: Embracing Inclusivity
Above all, Thanksgiving has always been a time for togetherness, regardless of who we are or where we come from. Everyone deserved a place to feel loved and included. Living in a new community, I’ve sometimes found it challenging to recreate the expansive gatherings of my youth, where most people have deep roots and established family traditions. It can, at times, feel a little solitary.
This experience has, however, instilled in me a profound lesson: I must emulate my father’s generous spirit. It’s a reminder to always extend an invitation, to reach out and ensure no one is left alone, rather than solely focusing on our immediate family. While our gatherings might be smaller now, the essence of Thanksgiving endures, and one thing remains constant: we always have pie. And as anyone knows, pie has a remarkable way of making everything feel perfectly right.
The Essential Ingredients for Your Best Homemade Pumpkin Pie
Creating the ultimate homemade pumpkin pie begins with the right foundation. For an exceptional pie, you’ll first want to prepare a high-quality pie crust. We highly recommend using either our favorite pie crust recipe or Mom’s failproof magic crust. Both recipes yield a double crust, meaning you’ll only need half the dough for a single pumpkin pie. The remaining half can be conveniently frozen for future use, or, even better, you can bake two delicious pumpkin pies! It’s also perfect for another family favorite, lemon meringue pie.
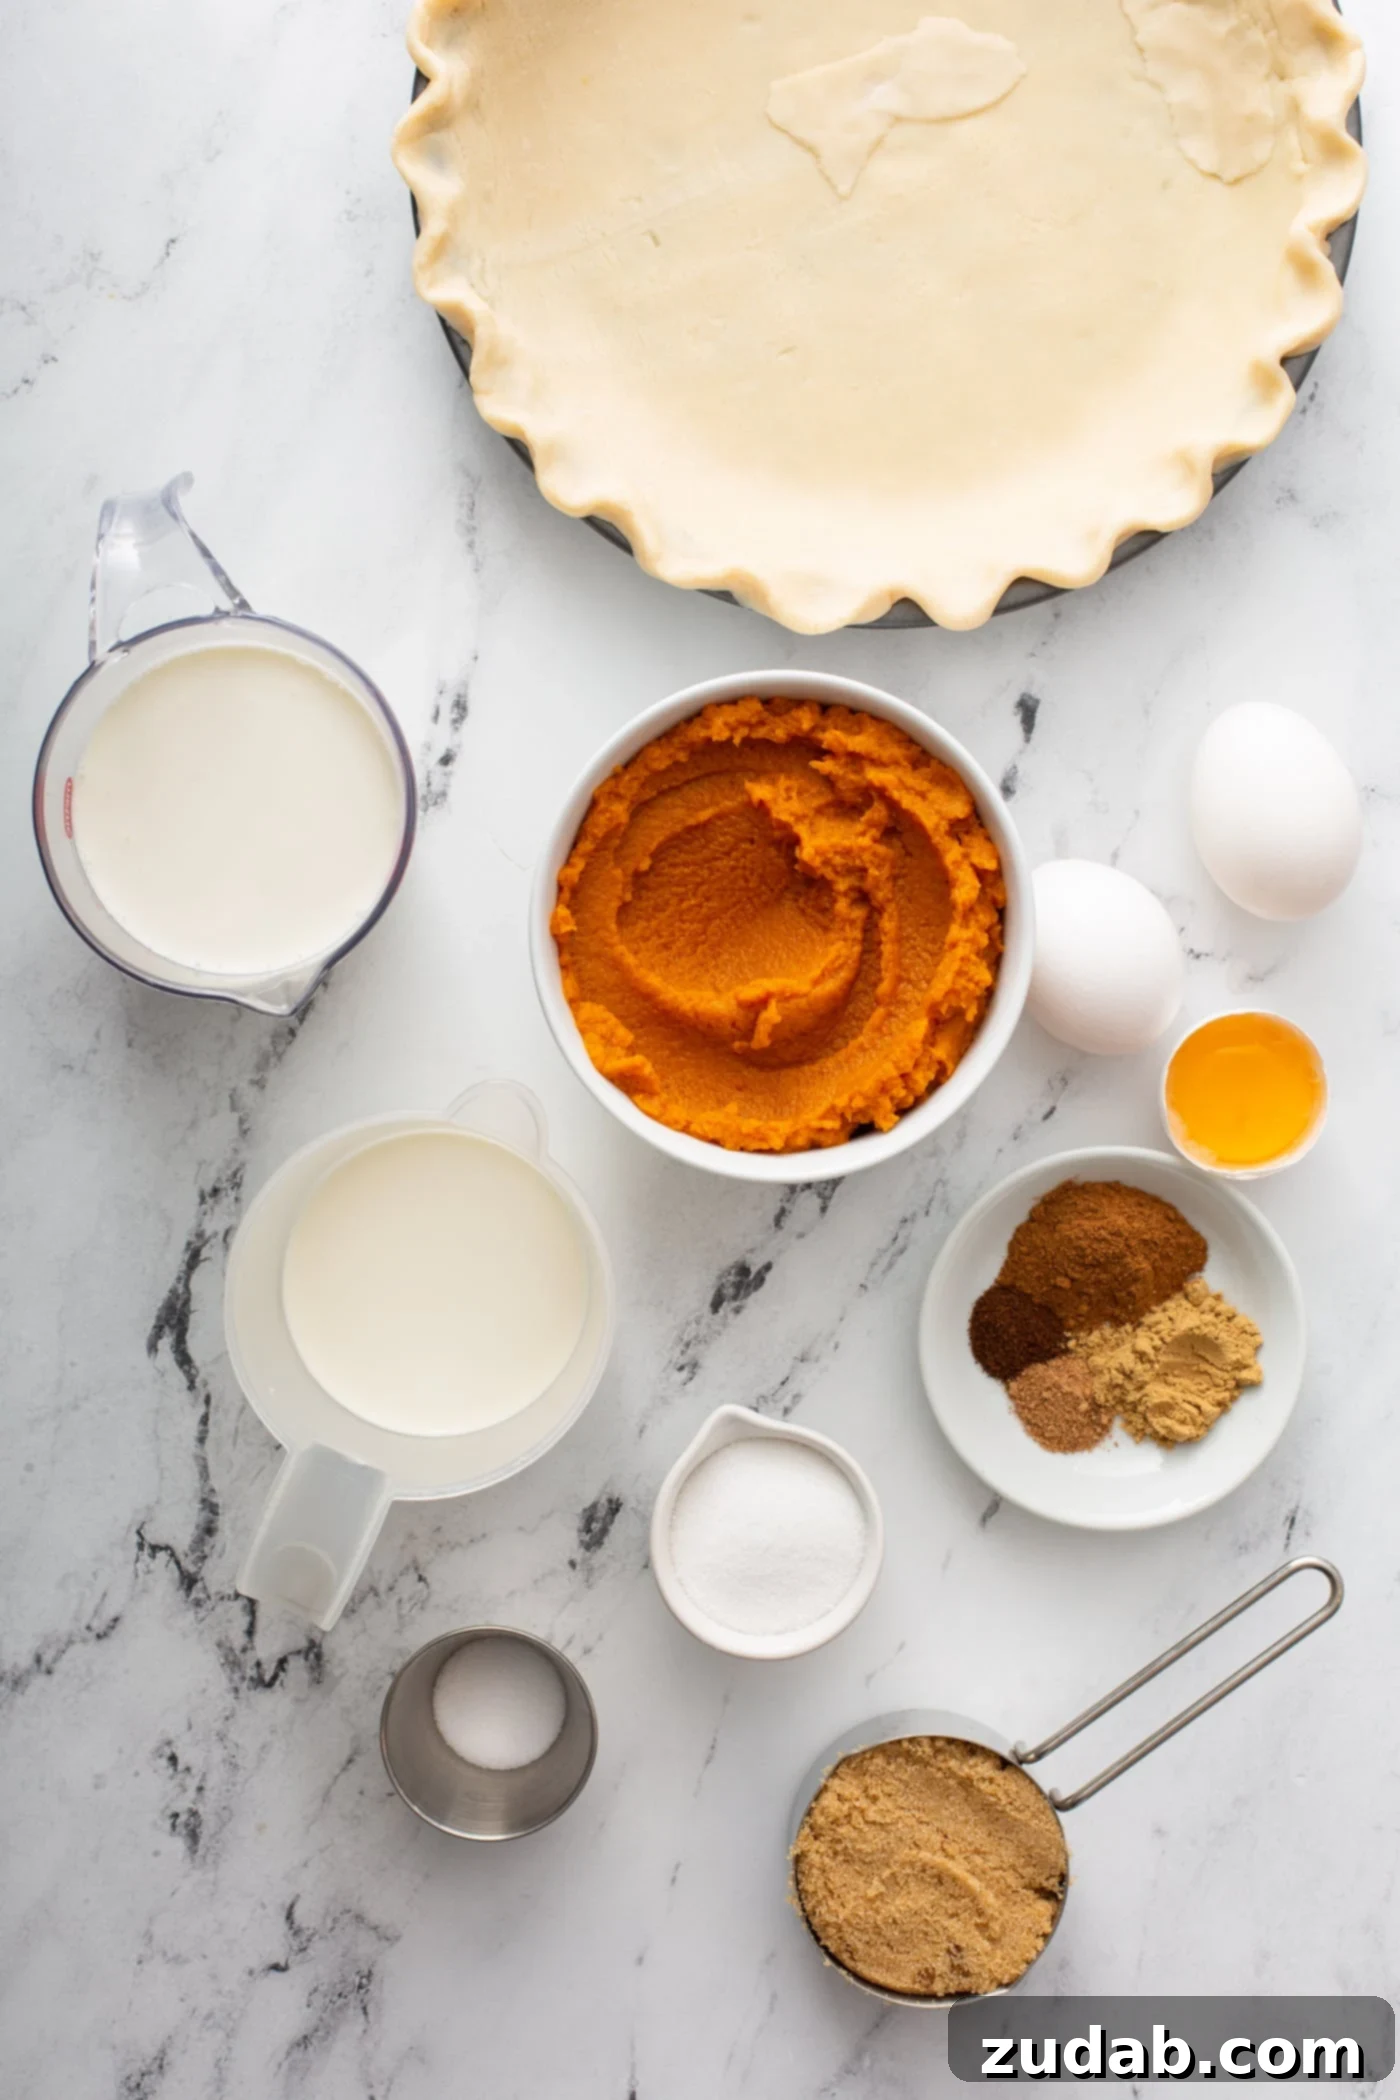
Once your crust is ready, assembling the rich, creamy filling is incredibly straightforward. Here’s a comprehensive grocery list for the delectable pumpkin filling:
- **Pumpkin Puree:** Ensure you select 100% pure pumpkin puree, not pumpkin pie filling, which often contains added spices and sweeteners.
- **Heavy Cream:** Contributes to the luxurious, creamy texture of the pie.
- **Half and Half:** Adds another layer of richness and helps achieve the perfect consistency.
- **Salt:** A pinch of salt is crucial to balance the sweetness and enhance the overall flavor profile of the spices and pumpkin.
- **Granulated Sugar:** Provides essential sweetness.
- **Brown Sugar:** Adds depth of flavor with its molasses notes, complementing the pumpkin beautifully.
- **Eggs:** Act as a binder, giving the pie its structure and smooth custard-like consistency.
- **Ground Cinnamon:** The foundational spice that evokes warm, autumnal feelings.
- **Ground Nutmeg:** Offers a warm, slightly nutty aroma that pairs perfectly with pumpkin.
- **Ground Cloves:** Delivers a pungent, sweet, and aromatic kick that rounds out the spice blend.
- **Ground Ginger:** Adds a subtle zing and warmth, creating a truly irresistible spice mixture.
The precise measurements for each of these essential ingredients can be found in the detailed recipe card at the conclusion of this article. Gathering these high-quality components is the first step towards crafting a pumpkin pie that will be remembered long after the last slice is savored.
Mastering the Art of Homemade Pumpkin Pie: A Simple Guide
Despite its impressive appearance, pumpkin pie is remarkably one of the simplest pies you can create. The process is genuinely uncomplicated: essentially, you mix the filling ingredients, pour them into your prepared crust, and bake. That’s truly all there is to it! However, a few key steps and tips will ensure your homemade pumpkin pie is nothing short of perfection.
Here are the fundamental steps to guide you:
- **Preheat Your Oven:** Begin by preheating your oven to the specified temperature. Proper preheating is essential for achieving the perfect crust and setting the custard.
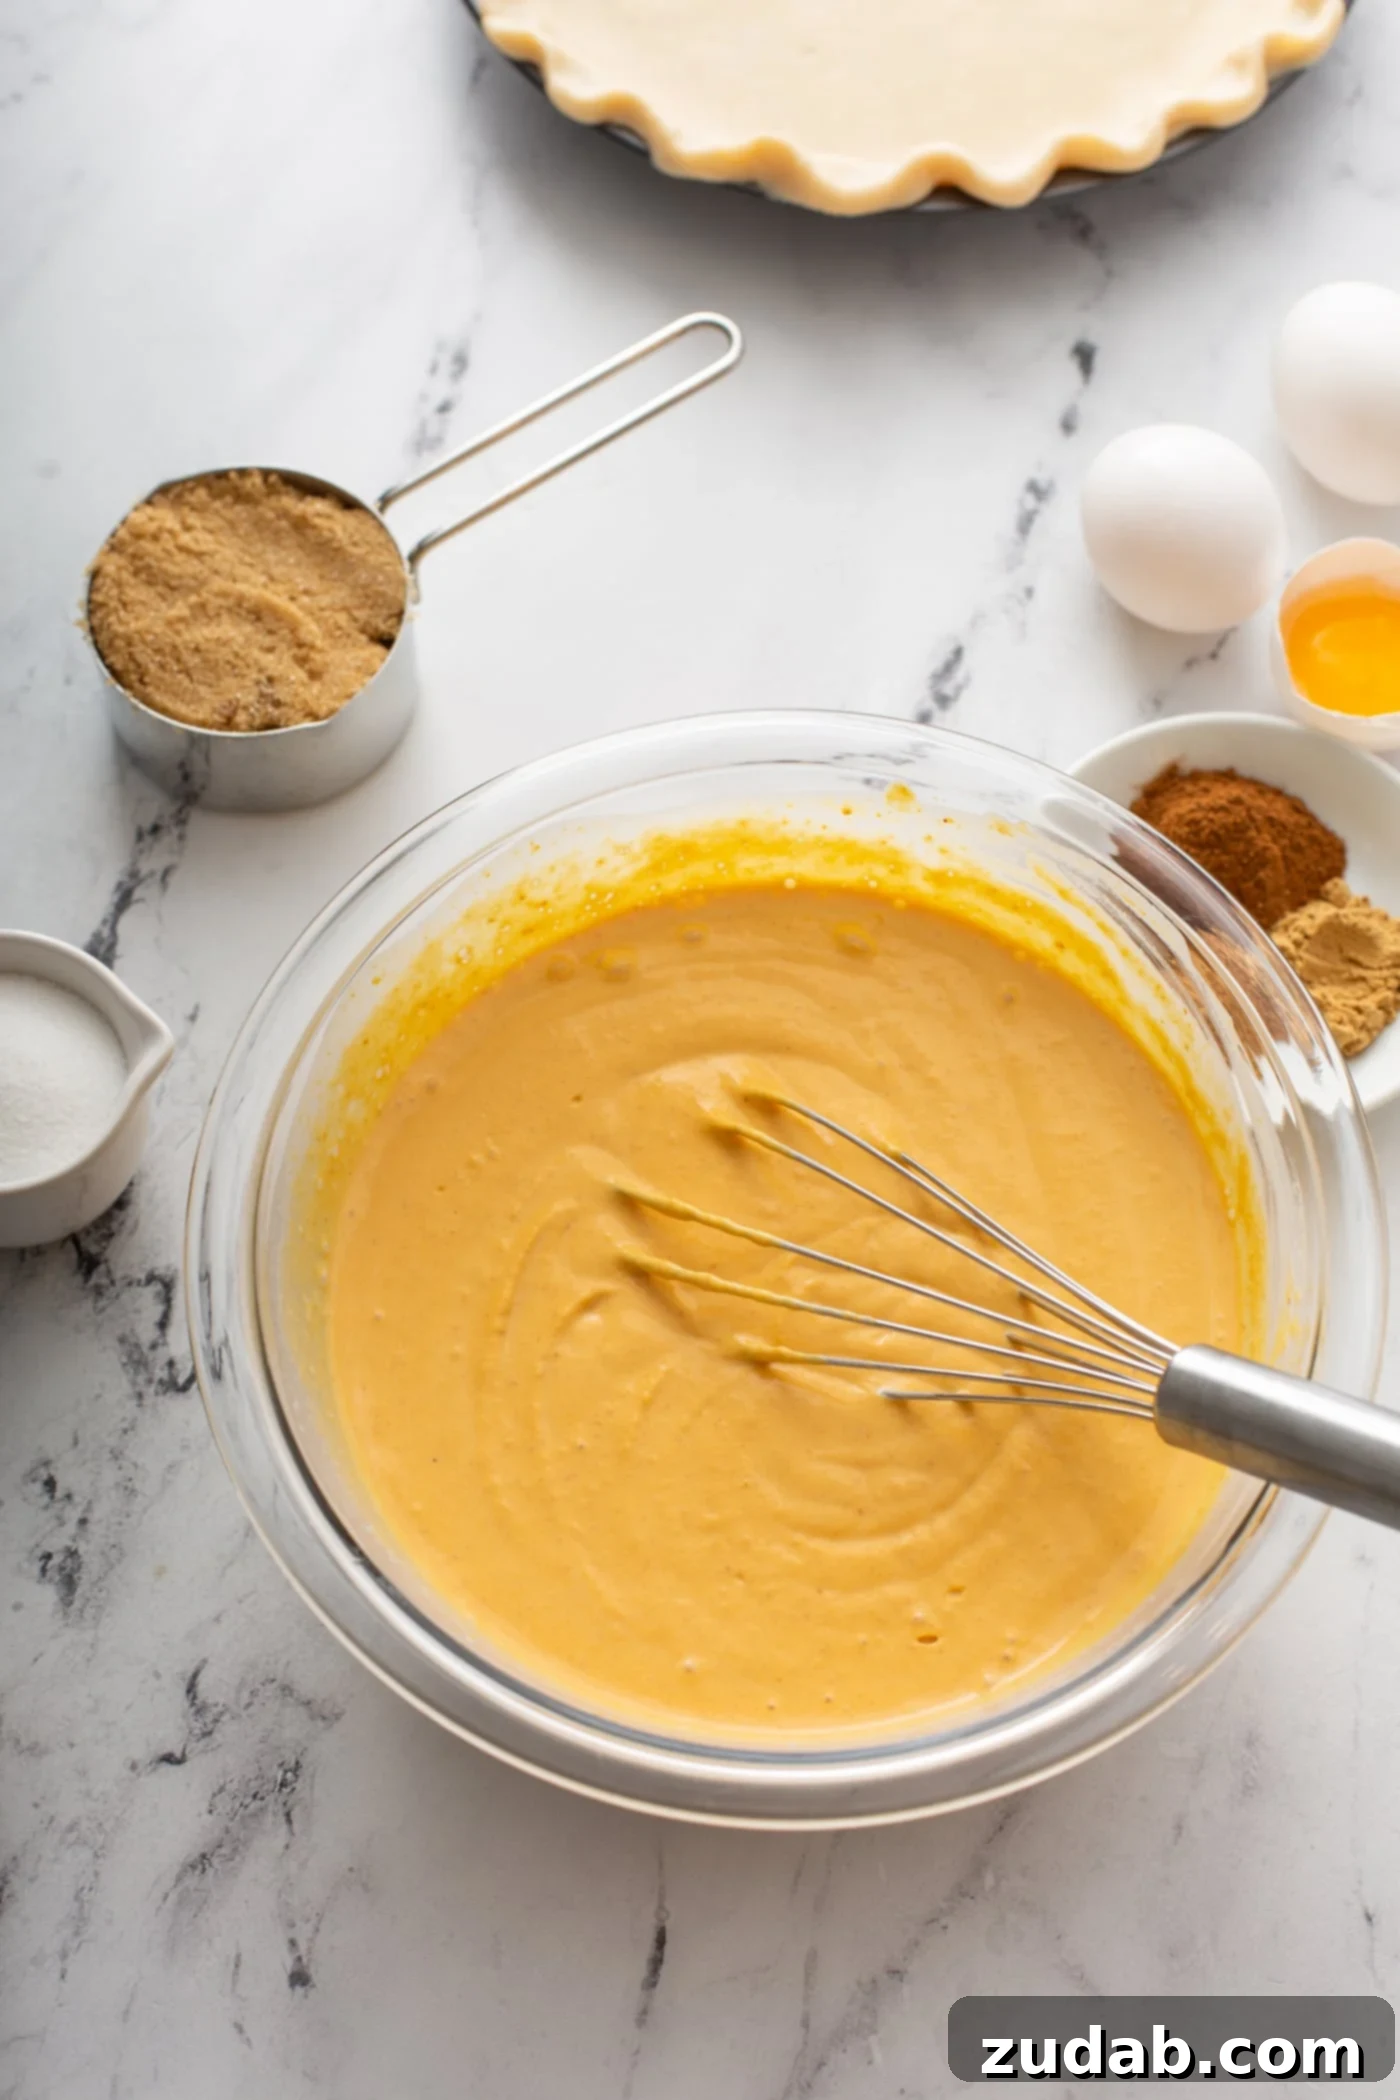
- **Combine the Wet Ingredients:** In a large mixing bowl, gently whisk together the pumpkin puree, heavy cream, and half and half until well combined and smooth.
- **Incorporate Dry and Binding Ingredients:** Add the salt, both types of sugar, eggs, and all the fragrant spices to the pumpkin mixture. Continue to mix thoroughly until the entire filling is smooth and uniform, ensuring no lumps remain and all ingredients are fully incorporated.
- **Fill the Pie Shell:** Carefully pour the prepared pumpkin mixture into your unbaked or pre-baked pie shell. Ensure the filling is evenly distributed.
- **Bake to Perfection:** Bake the pie at a higher temperature for the initial 15 minutes, then reduce the heat to a lower temperature and continue baking for another 45-55 minutes. This two-stage baking method helps achieve a beautifully set custard and prevents cracks.
- **Monitor the Crust:** Around 20 minutes before the end of the baking time, check the pie crust. If it’s browning too quickly, you can gently cover the edges with aluminum foil to protect them from over-baking.
- **PRO TIP for Doneness:** You’ll know your pumpkin pie is perfectly cooked when the center is slightly puffed up and shows only a very slight, barely perceptible jiggle when gently shaken. The edges should be set and firm.
- **Cool Completely:** Once baked, remove the pie from the oven and transfer it to a wire cooling rack. Allow it to cool undisturbed for at least 2 hours. This crucial step allows the custard to fully set and firm up, preventing any structural issues when slicing.
- **Garnish and Serve:** For an irresistible finish, top your cooled pumpkin pie with a generous dollop of freshly made whipped cream or a delicate dusting of powdered sugar just before serving.
Essential Tips for Pumpkin Pie Storage and Preparation
Can Pumpkin Pie Be Frozen? Absolutely!
Yes, pumpkin pie is an excellent candidate for freezing, making it a fantastic make-ahead option for busy holiday seasons. To freeze your pumpkin pie effectively, ensure it is completely cooled to room temperature after baking. Once cool, wrap the pie tightly first with plastic wrap, then with a layer of aluminum foil, ensuring no air can reach the surface. Place the securely wrapped pie in a sealed freezer-safe bag or container.
You can store pumpkin pie in the freezer for **up to 1 month** without compromising its flavor or texture. When you’re ready to serve, simply remove the pie from the freezer and allow it to thaw slowly in the refrigerator for 10-12 hours, or overnight, before slicing and enjoying.
Room Temperature vs. Refrigerated Pumpkin Pie Storage
Due to its custard-like filling containing eggs and dairy, pumpkin pie should not be kept at room temperature for extended periods. For optimal freshness and safety, **pumpkin pie should always be stored in the refrigerator**.
To store, loosely cover the pie with plastic wrap or aluminum foil to prevent it from drying out or absorbing other odors from the fridge. Properly refrigerated, your pumpkin pie will remain delicious for 3-4 days.
Can Pumpkin Pie Be Made Ahead? Yes, for Stress-Free Holidays!
Pumpkin pie is a dream come true for holiday hosts, as it’s a perfect make-ahead dessert. This means one less item to prepare on Thanksgiving Day itself, allowing you more time to focus on other dishes or, more importantly, to enjoy the company of your loved ones. Simply follow the baking instructions as directed, ensuring the pie cools completely. Once cooled, wrap it securely in plastic wrap and store it in the refrigerator for up to 2 days before your meal. For the freshest presentation, add your whipped cream topping just before serving.
Is Pumpkin Pie Filling Gluten-Free? Generally, Yes.
For those with gluten sensitivities or celiac disease, it’s good news! The primary ingredients in traditional pumpkin pie filling – pumpkin puree, eggs, sugar, cream, and spices – naturally contain no wheat or other common sources of gluten. Therefore, **pumpkin pie filling is inherently gluten-free**. However, to make the entire pie gluten-free, you must pair it with a gluten-free pie crust. Always double-check ingredient labels to ensure no hidden gluten-containing additives are present, especially in pre-mixed spices or canned goods, though this is rare for pure pumpkin puree.
Fresh or Canned Pumpkin: The Ultimate Choice for Pie
When it comes to most ingredients, I’m usually an advocate for fresh produce. However, for pumpkin pie, there’s a clear winner, and it might surprise you: **canned pumpkin puree** is undeniably the superior choice. While the idea of roasting and pureeing your own pumpkin sounds rustic and appealing, canned pumpkin offers unparalleled consistency in terms of moisture content, texture, and flavor intensity. This consistency is crucial for achieving the perfect custard-like set that defines a great pumpkin pie. Fresh pumpkin often contains more water, which can lead to a less firm, watery pie, and its flavor can vary significantly. Opt for 100% pure canned pumpkin puree (not pumpkin pie filling) for the most reliable and delicious results every time.
Achieving Pumpkin Pie Perfection: Avoiding Cracks and Enhancing Toppings
How to Avoid a Cracked Pumpkin Pie
The nemesis of a beautifully smooth pumpkin pie is almost always **over-baking**. When the pie bakes for too long or at too high a temperature throughout, the delicate custard structure can seize and crack. Our recommended two-stage baking process—a quick initial high-heat bake followed by a longer bake at a lower temperature—is key to preventing this common issue. This method helps the pie set gently and evenly.
To ensure your pie emerges flawless, keep a close eye on it during the latter part of the baking process. Look for that characteristic slight puff in the middle and a subtle, gentle jiggle at the center when you lightly tap the pie plate. As soon as it reaches this stage, remove it promptly from the oven. Resist the urge to let it bake “just a little longer.” Allowing the pie to cool completely, undisturbed, for at least 2 hours on a wire rack is equally vital; this allows the residual heat to finish setting the custard, resulting in a smooth, unblemished surface.
Creative and Delicious Ways to Top Your Pumpkin Pie
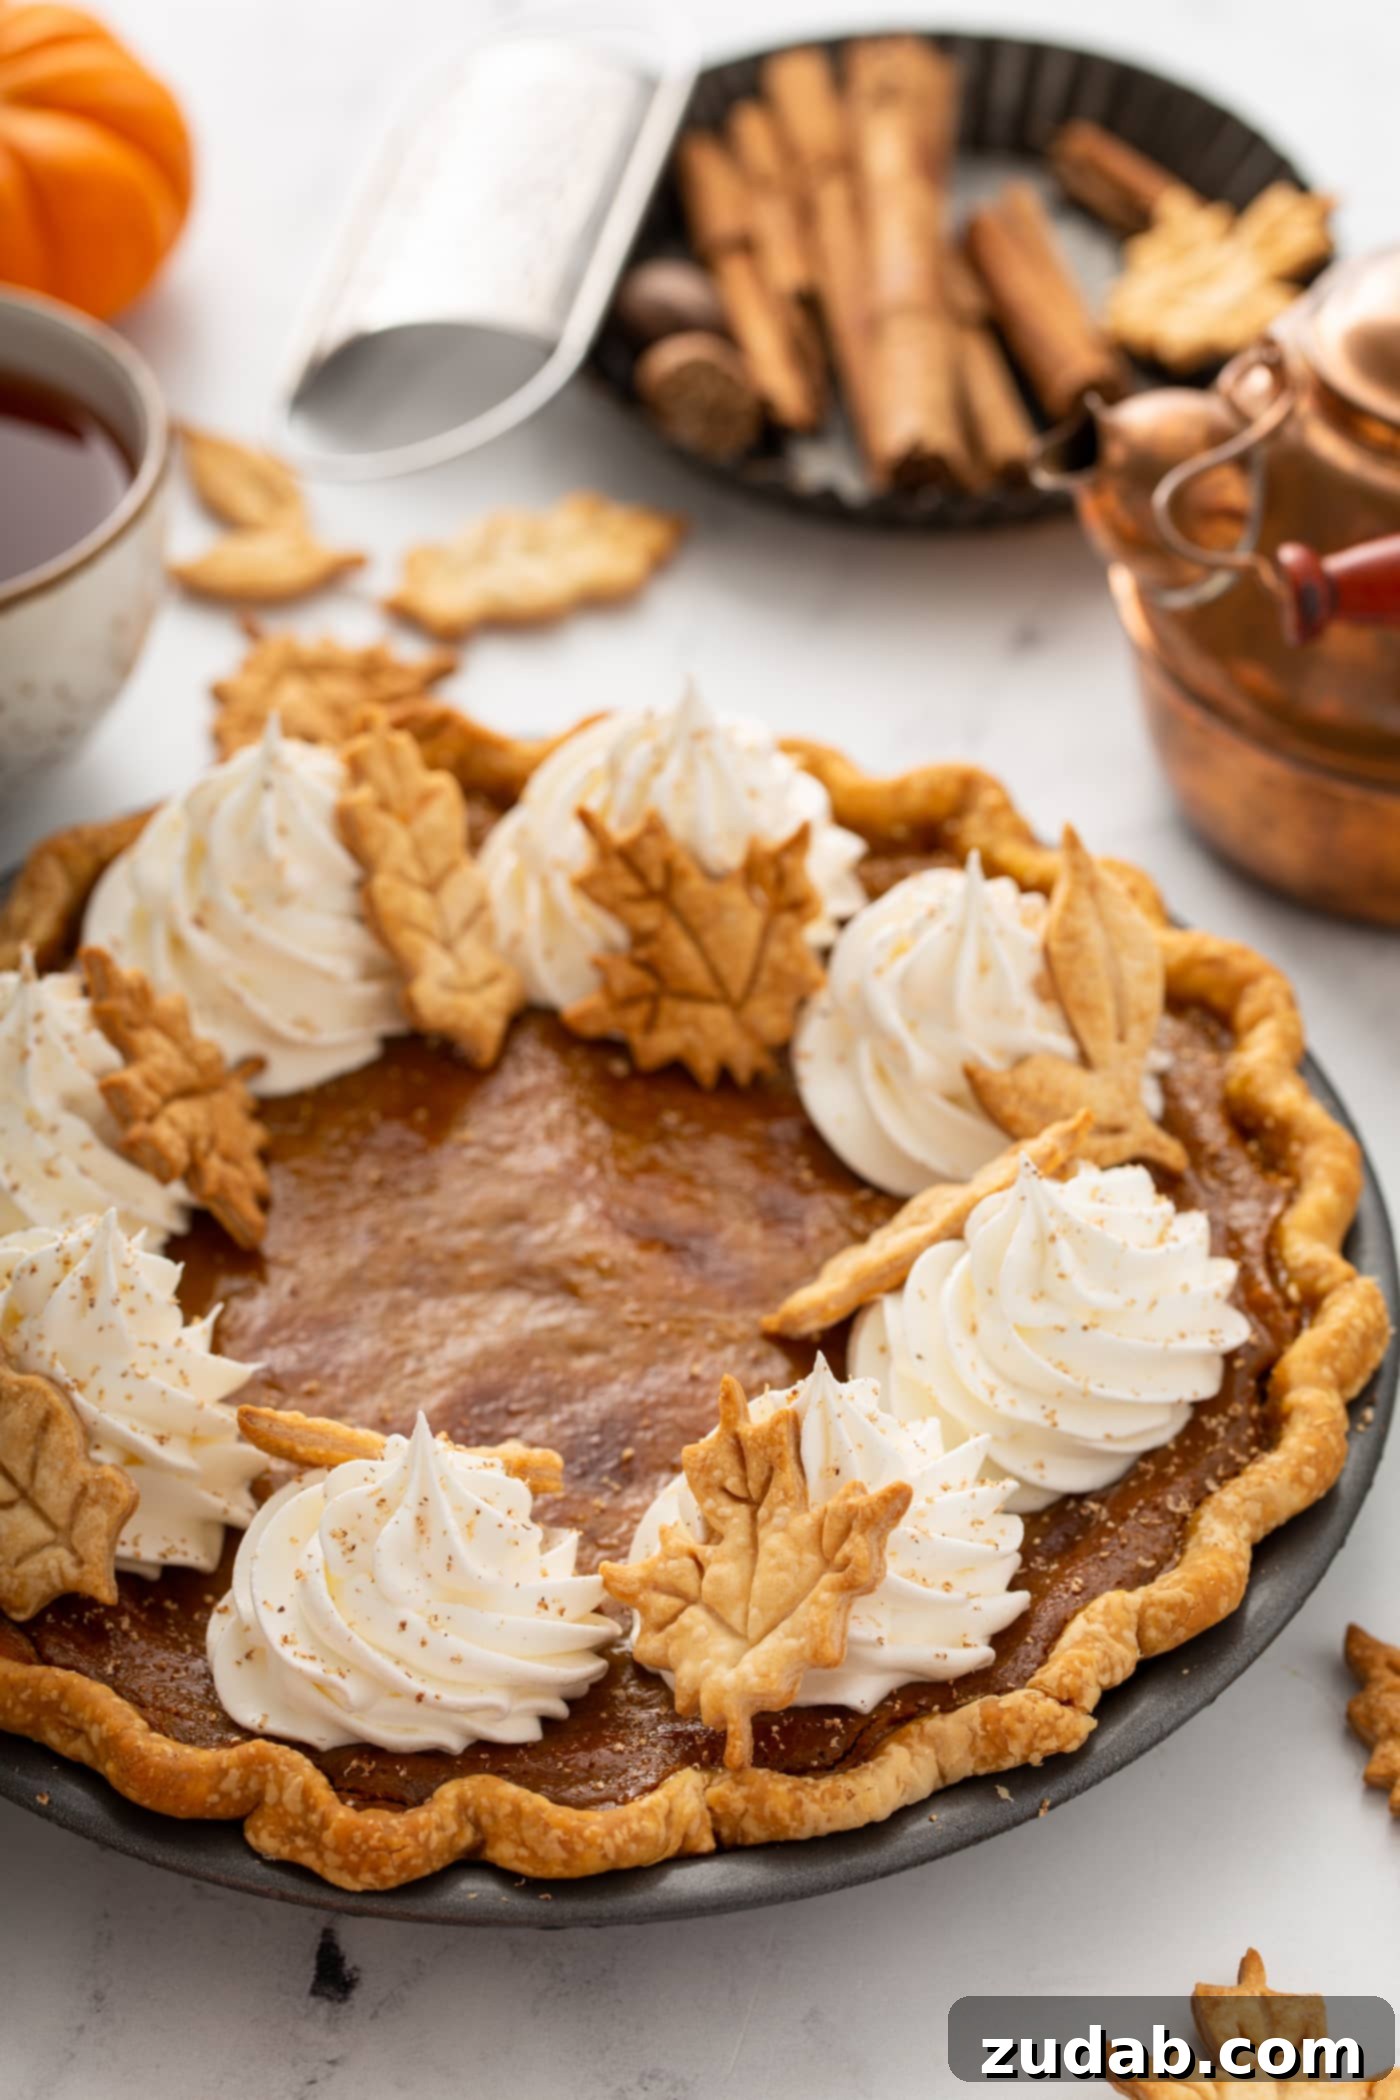
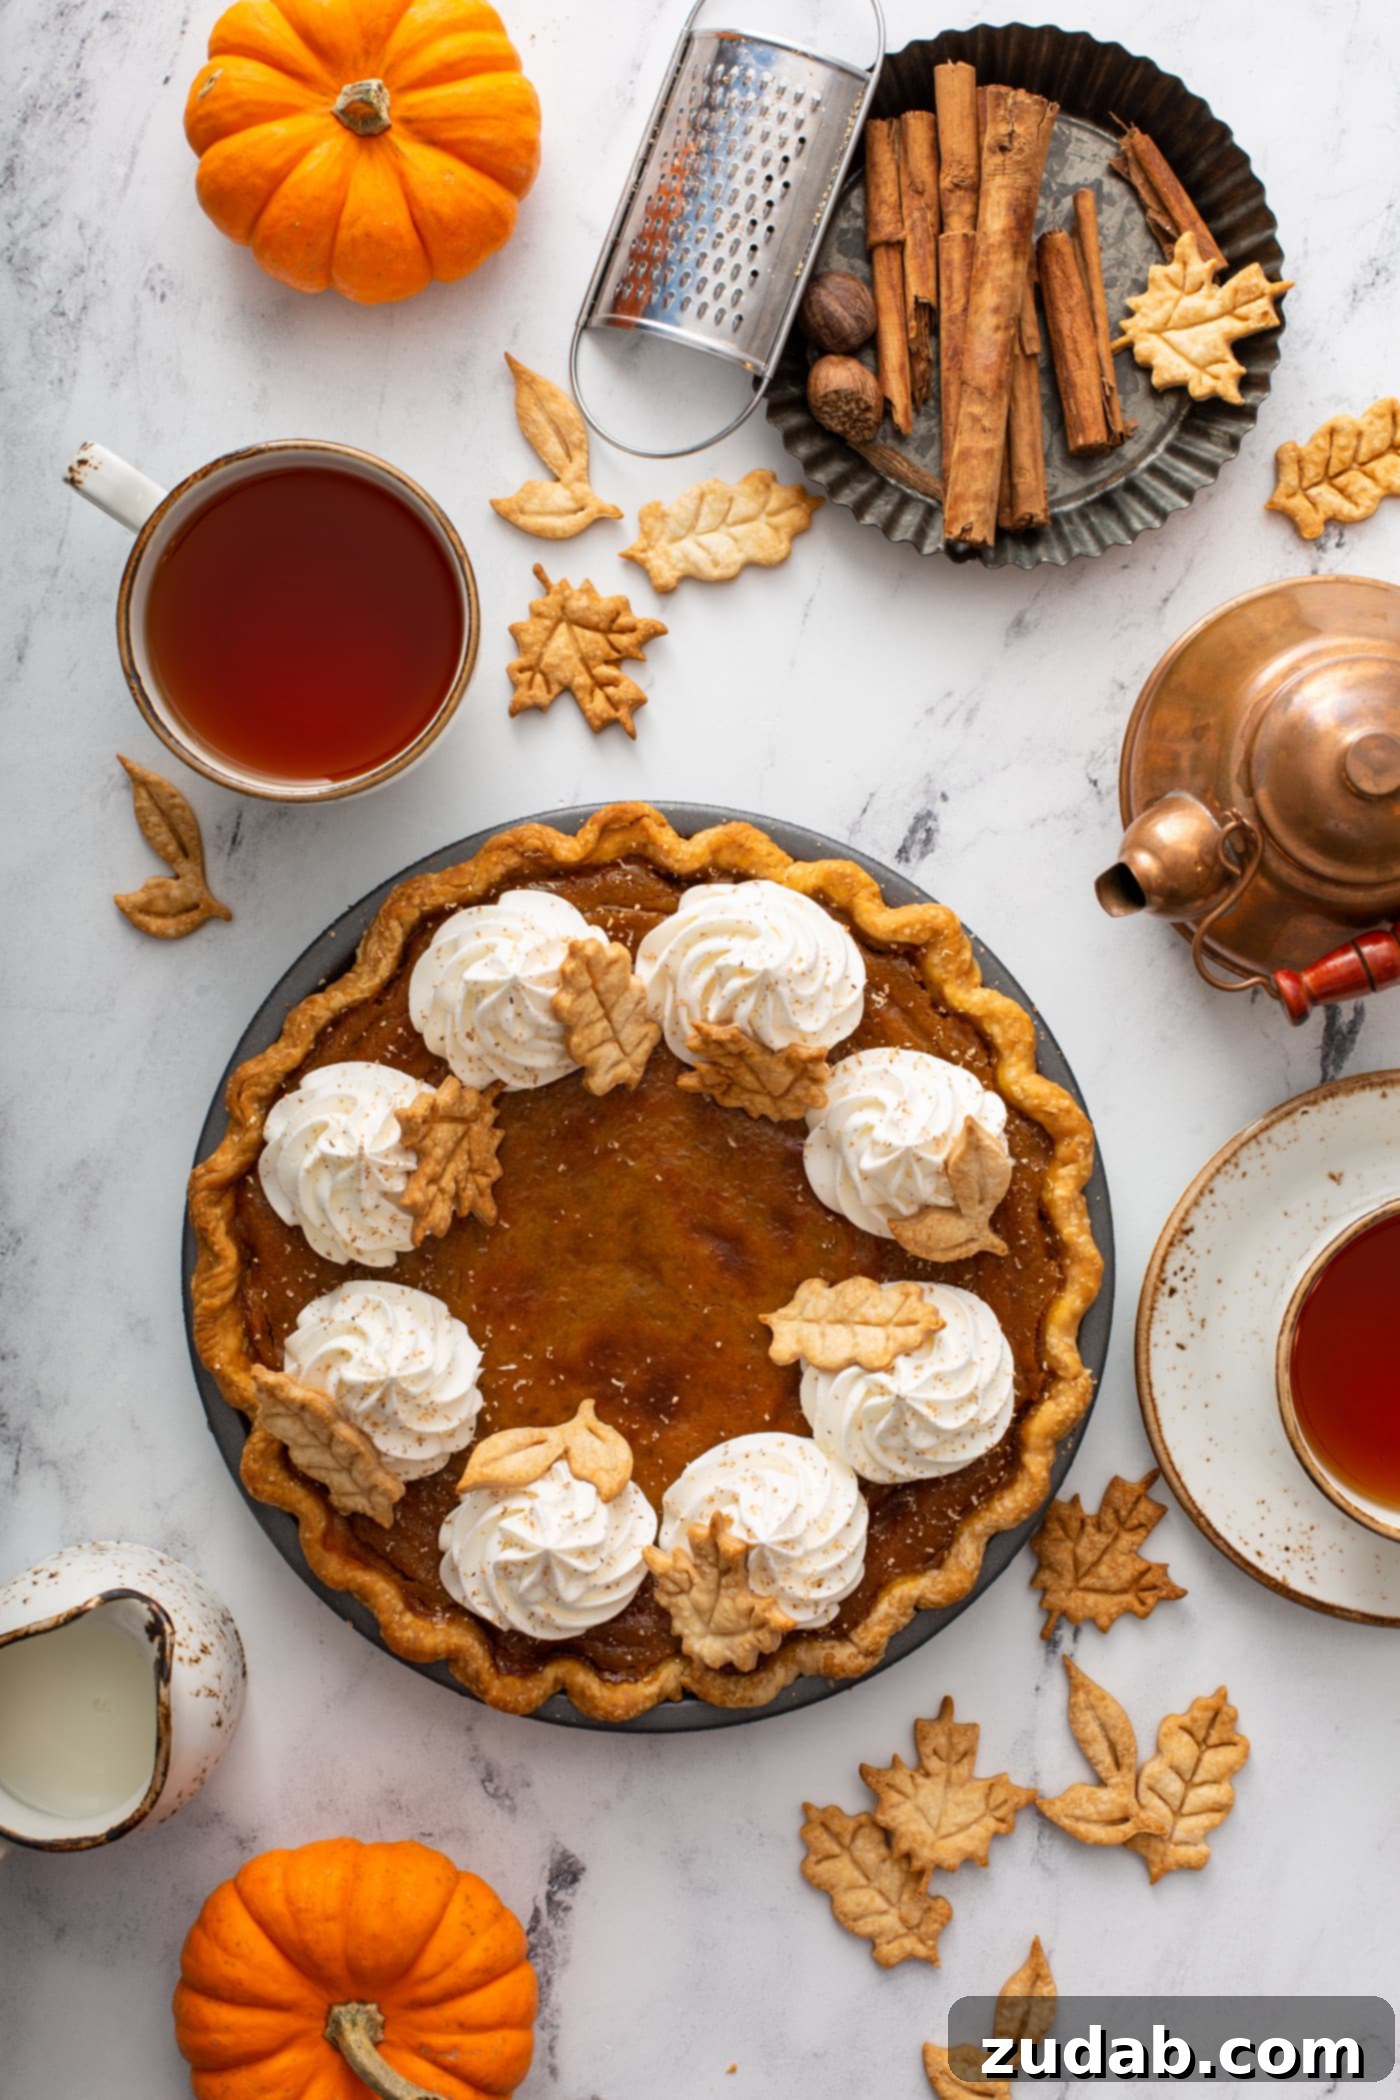
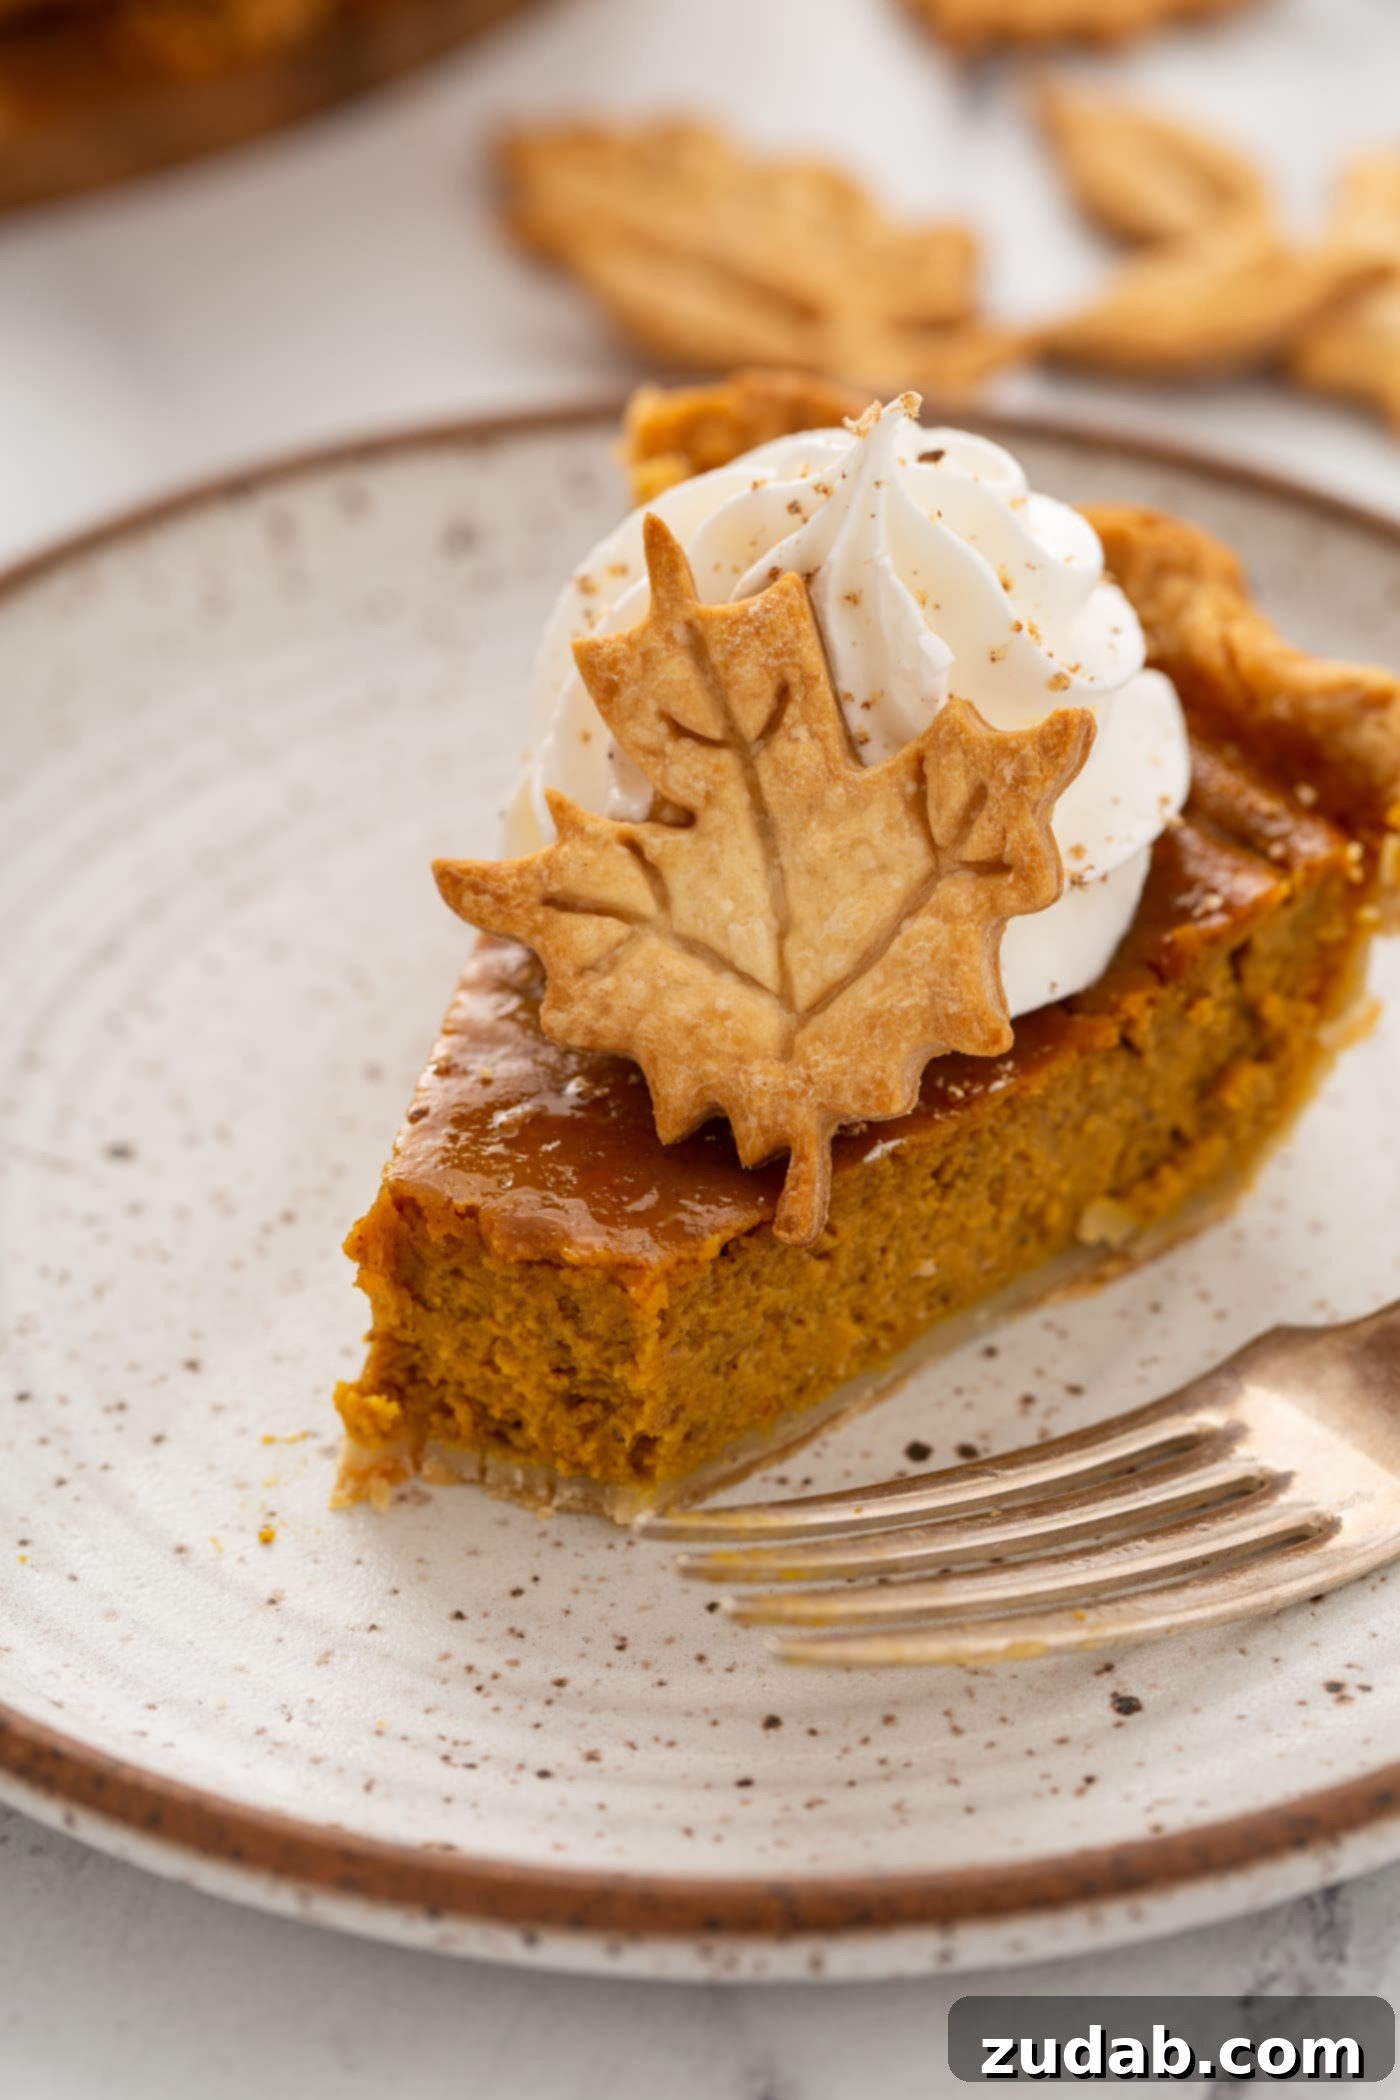
The finishing touch can truly elevate your pumpkin pie from delicious to extraordinary. Of course, the quintessential topping is whipped cream! I still chuckle at the memes featuring pumpkin pies drowning in inches of glorious whipped cream—it truly is a match made in heaven. For those picture-perfect, piped dollops like the ones often seen in photos, I highly recommend making stabilized whipped cream. It holds its shape beautifully and won’t weep, ensuring your pie looks as good as it tastes throughout your gathering.
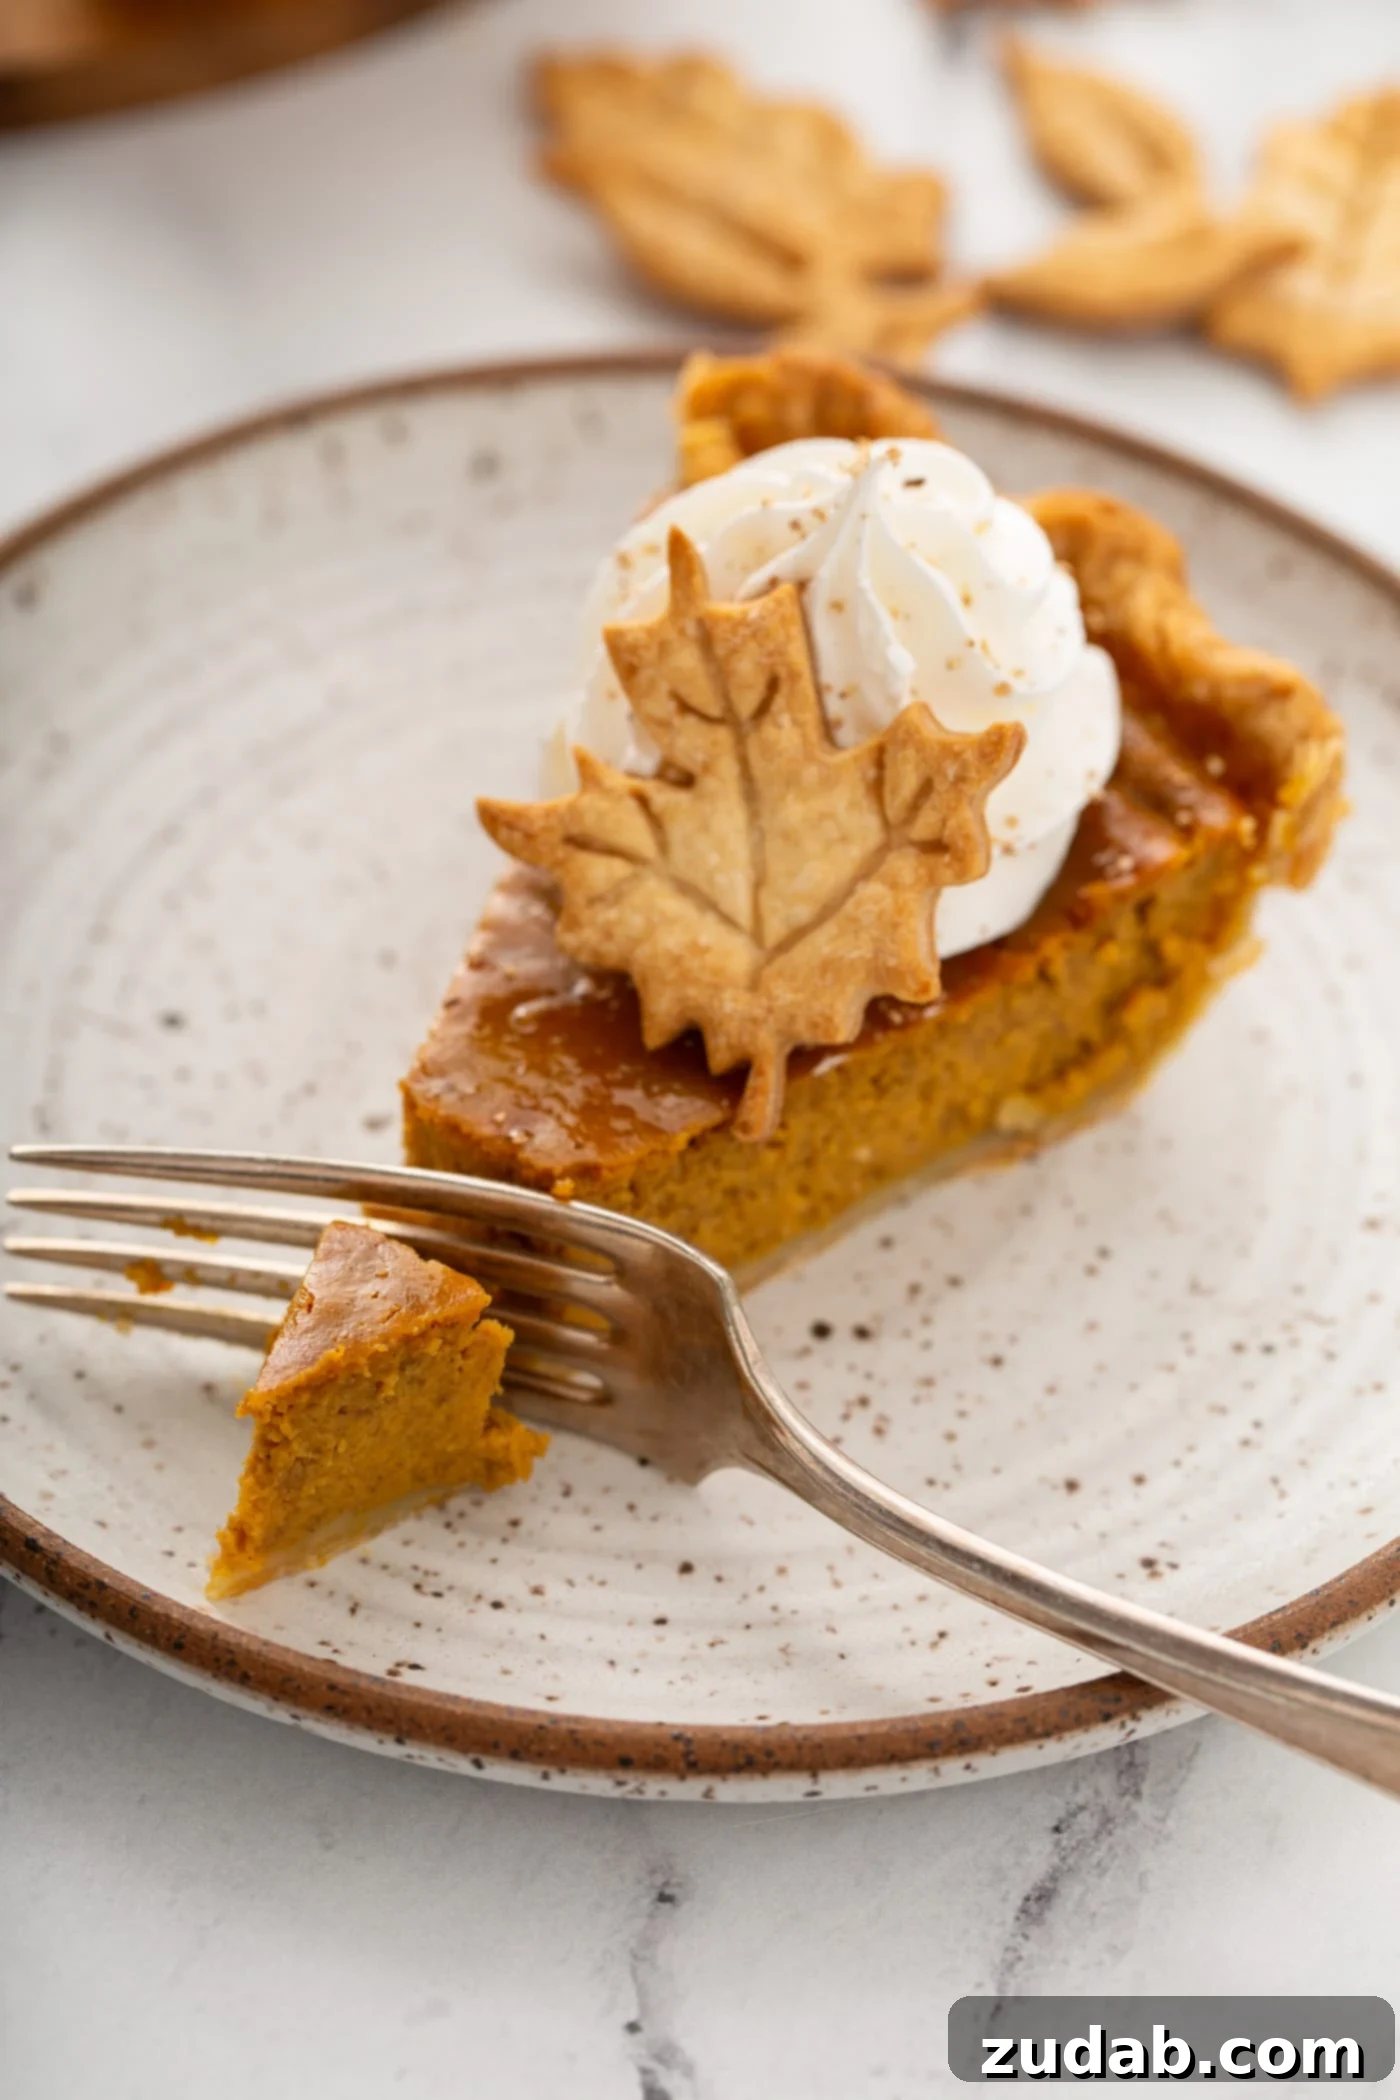
Beyond whipped cream, consider adding decorative elements. I’m quite taken with the adorable pie crust leaves shown in these photos. They add such a charming, rustic touch, even for someone like me who doesn’t typically gravitate towards “cute” in the kitchen! They are incredibly easy to make: simply roll out any leftover pie crust dough, use a pie stamp to cut out shapes, and bake them separately at 375°F (190°C) for 15-20 minutes until golden brown. These can be nestled onto the whipped cream for a stunning presentation.
Other fantastic topping ideas include a dusting of cinnamon or freshly grated nutmeg, a sprinkle of toasted pecans or candied walnuts for added texture, or even a drizzle of caramel sauce for an extra touch of indulgence. Experiment with different combinations to find your perfect pairing!
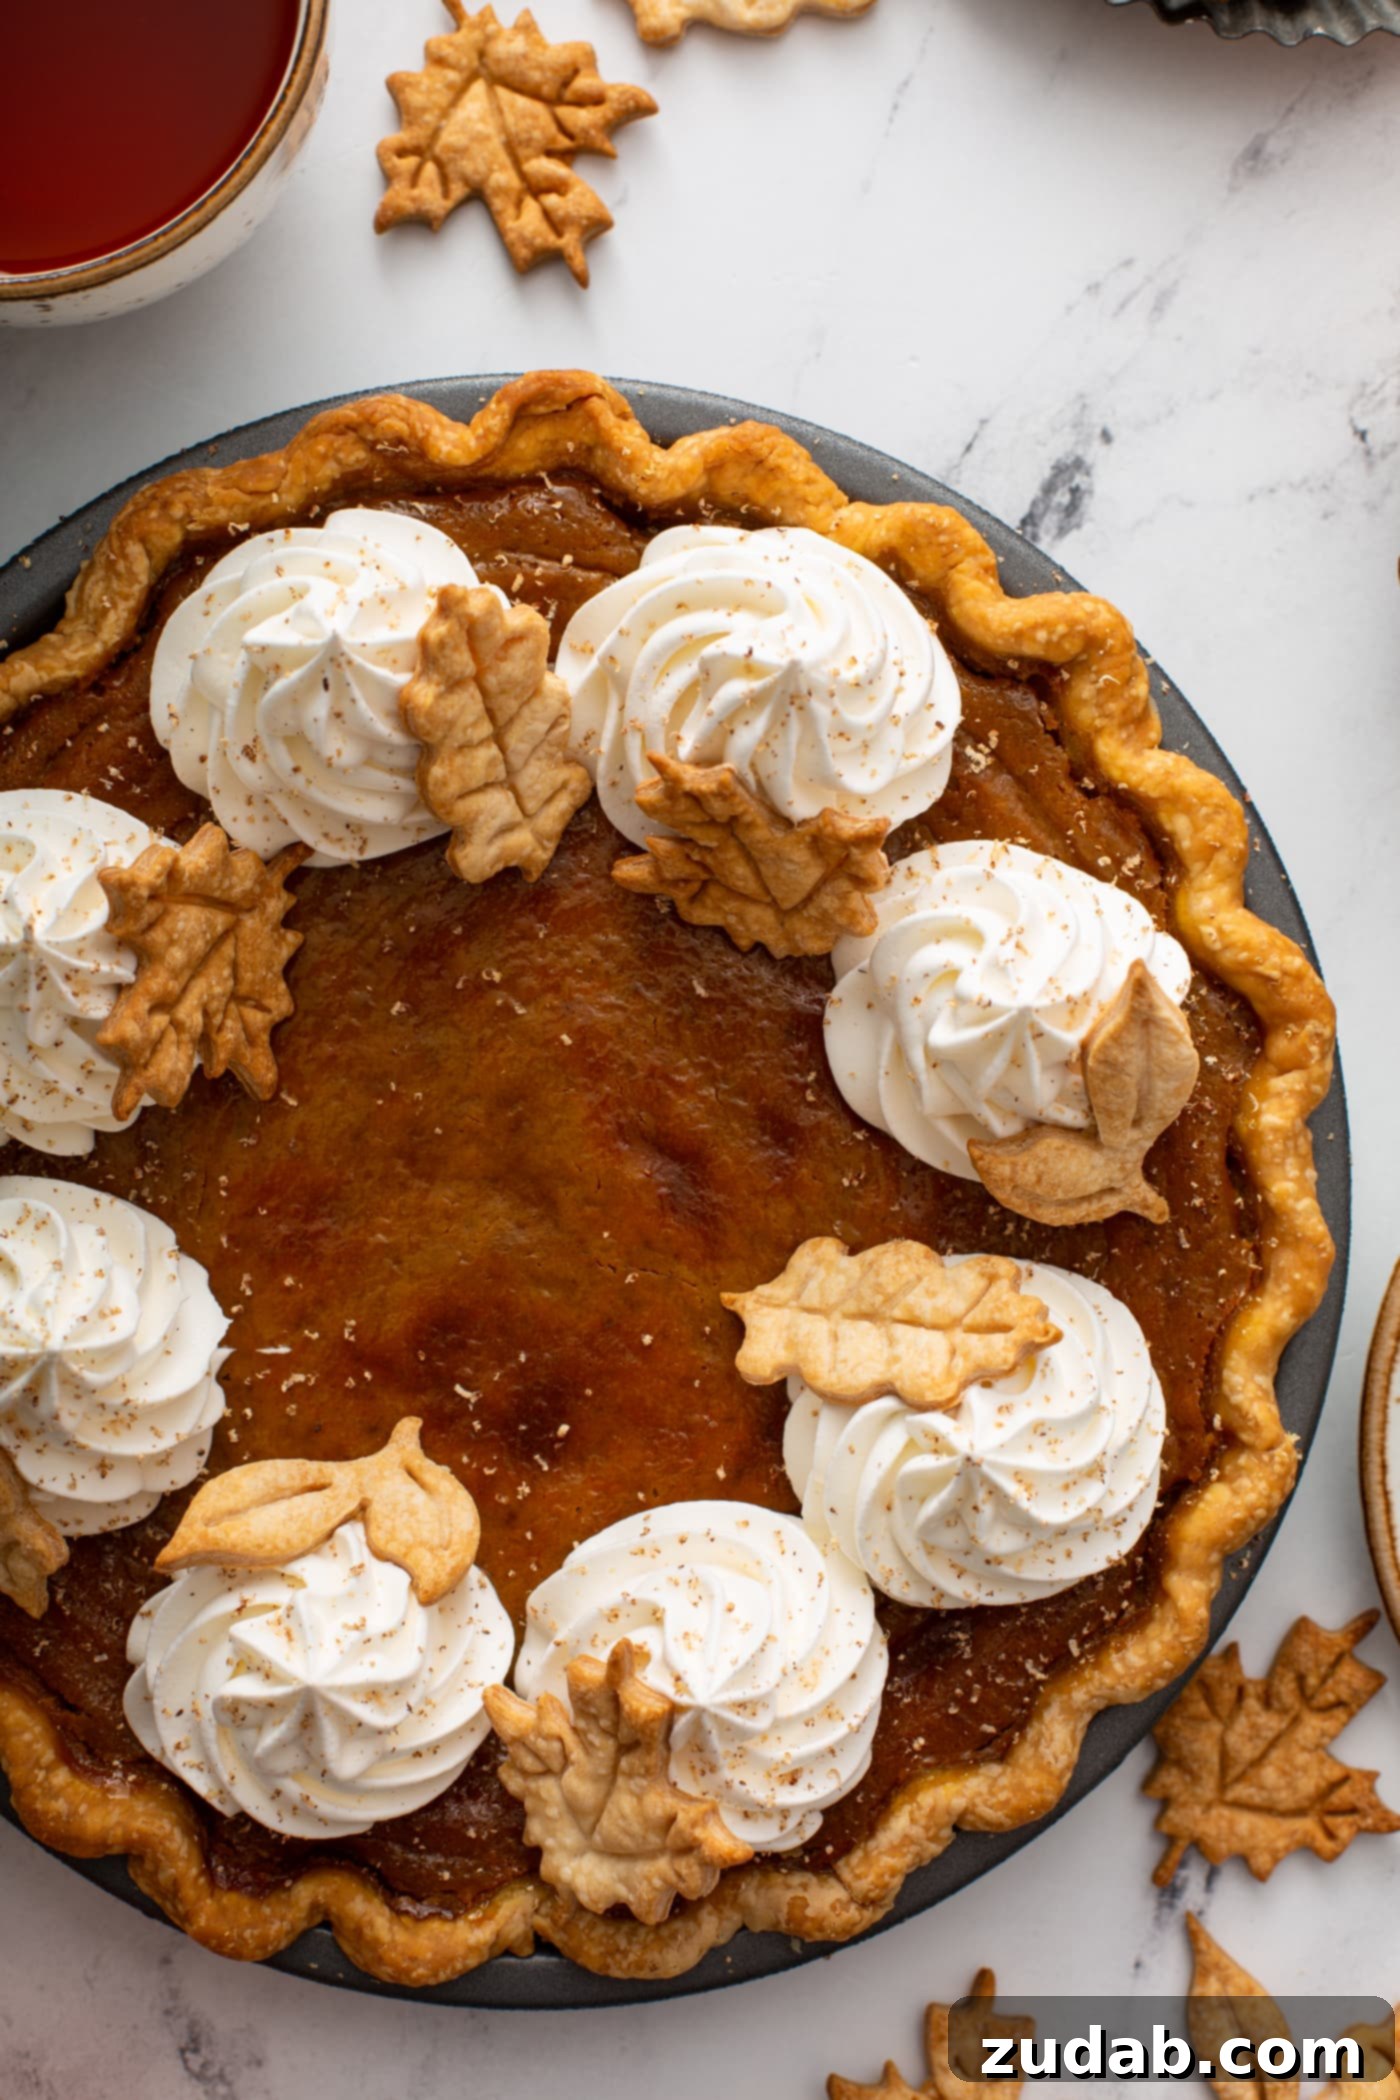
A slice of **homemade pumpkin pie** is more than just a dessert; it’s a symbol of warmth, gratitude, and togetherness. It signifies the true spirit of the holidays, bringing smiles and comfort to everyone around the table. So, this season, gather your family, friends, neighbors, or anyone who might need a place to feel cherished, and serve up this perfect, unforgettable pumpkin pie. It’s guaranteed to create lasting memories and become a beloved tradition for years to come!
More Irresistible Pie Recipes You’ll Love:
If you’ve fallen in love with the joy of baking pie, or simply crave more delightful dessert options, we have an extensive collection of pie recipes to explore. From fruity sensations to rich, chocolatey indulgences, there’s a pie for every preference and occasion. Expand your baking repertoire with these fantastic recipes:
- Homemade Apple Pie: A timeless classic, bursting with sweet and tart apple flavors.
- Perfect Razzleberry Pie: A vibrant medley of berries, offering a delightful balance of sweetness and tang.
- Perfectly Southern Pecan Pie: Rich, gooey, and nutty – a quintessential Southern dessert.
- Dulce de Leche Banana Cream Pie: A tropical twist on a classic, with layers of creamy banana and luscious dulce de leche.
- Homemade French Chocolate Silk Pie: An incredibly decadent, smooth, and rich chocolate pie for the ultimate indulgence.
- Perfectly Southern Sweet Potato Pie: A comforting and flavorful alternative to pumpkin, with a distinctive earthy sweetness.
- Simple Blueberry Pie: A rustic and delicious pie, celebrating the vibrant taste of fresh blueberries.
- Explore All Our Pie Recipes!: Discover even more incredible pie creations to bake and share.
Classic Pumpkin Pie
Sweet Basil
15 mins
1 hr 10 mins
1 hr 25 mins
8
Ingredients
- 1 Pie Crust, see note
- 2 Cups Pumpkin Puree, not pumpkin pie filling
- 1/2 teaspoon Salt
- 1/4 Cup White Sugar
- 1/2 Cup Brown Sugar
- 2 teaspoons Cinnamon
- 1/4 teaspoon Ground Nutmeg
- 1/4 teaspoon Ground Cloves
- 3/4 teaspoon Ground Ginger
- 1 Cup Heavy Cream
- 1/2 Cup Half and Half
- 2 Large Eggs, plus 1 yolk, whisked
Instructions
- Preheat the oven to 400 degrees F (200 C).
- Prepare your pie crust according to the recipe, place it in the fridge, then form the crust in a 9″ pie plate, pricking the bottom of the crust. Return it to the fridge for 30 minutes.
- Add pie weights to the crust and drape foil over to prevent excessive browning. Bake for 15 minutes. Remove the foil and bake for another 6-8 minutes, or until lightly golden.
- Meanwhile, in a large pot, combine the pumpkin puree, salt, white sugar, brown sugar, cinnamon, ground nutmeg, ground cloves, and ground ginger. Turn the heat to medium and bring to a simmer, cooking for 5 minutes, stirring constantly. Remove the pre-baked pie crust from the oven.
- Add the heavy cream and half and half to the pumpkin mixture, stirring for another minute over medium to medium-high heat until it begins to sputter and pop gently as a simmer.
- In a separate bowl, beat the eggs until smooth. Temper the eggs by adding a tablespoon of the hot pumpkin mixture to the beaten eggs while stirring continuously. Then, slowly pour the tempered eggs into the pumpkin mixture in the pot, stirring well to combine. Pour the entire mixture into the pre-baked pie shell.
- Bake at 400 degrees F (200 C) for 25 minutes, then immediately reduce the heat to 350 degrees F (175 C) and continue baking for 10 minutes or until the pie is puffed up slightly and barely moves in the center. The edges of the crust may develop slight cracks, which is normal. If the crust begins to brown too much during the last 20 minutes, loosely cover the edges with aluminum foil.
- Place the pie on a wire cooling rack and allow it to sit undisturbed for 2 hours to fully set up.
- Serve with fresh whipped cream or a dusting of powdered sugar.
Recipe Notes
This pie crust recipe yields enough dough for two pie crusts, so you will only use half of the dough to make this pumpkin pie. Wrap the remaining half securely in plastic wrap, then place it in a freezer-safe bag and store it in the freezer for future use.
Always keep pumpkin pie stored in the refrigerator.
Nutrition
Calories: 333kcal,
Carbohydrates: 37g,
Protein: 5g,
Fat: 19g,
Saturated Fat: 10g,
Polyunsaturated Fat: 1g,
Monounsaturated Fat: 6g,
Trans Fat: 1g,
Cholesterol: 80mg,
Sodium: 272mg,
Potassium: 234mg,
Fiber: 3g,
Sugar: 23g,
Vitamin A: 10085IU,
Vitamin C: 3mg,
Calcium: 79mg,
Iron: 2mg
Nutrition information is automatically calculated, so should only be used as an approximation.
If you loved this recipe, we’d be thrilled to hear from you! Please consider leaving a comment below to share your experience or any questions you might have.
REMEMBER TO SUBSCRIBE TO our FREE Oh Sweet Basil NEWSLETTER AND RECEIVE EASY RECIPES DELIVERED INTO YOUR INBOX EVERY DAY!
When you try a recipe, please use the hashtag #ohsweetbasil on INSTAGRAM for a chance to be featured in our stories! FOLLOW OH, SWEET BASIL ON FACEBOOK | INSTAGRAM | PINTEREST | TWITTER FOR ALL OF OUR LATEST CONTENT, RECIPES AND STORIES.