
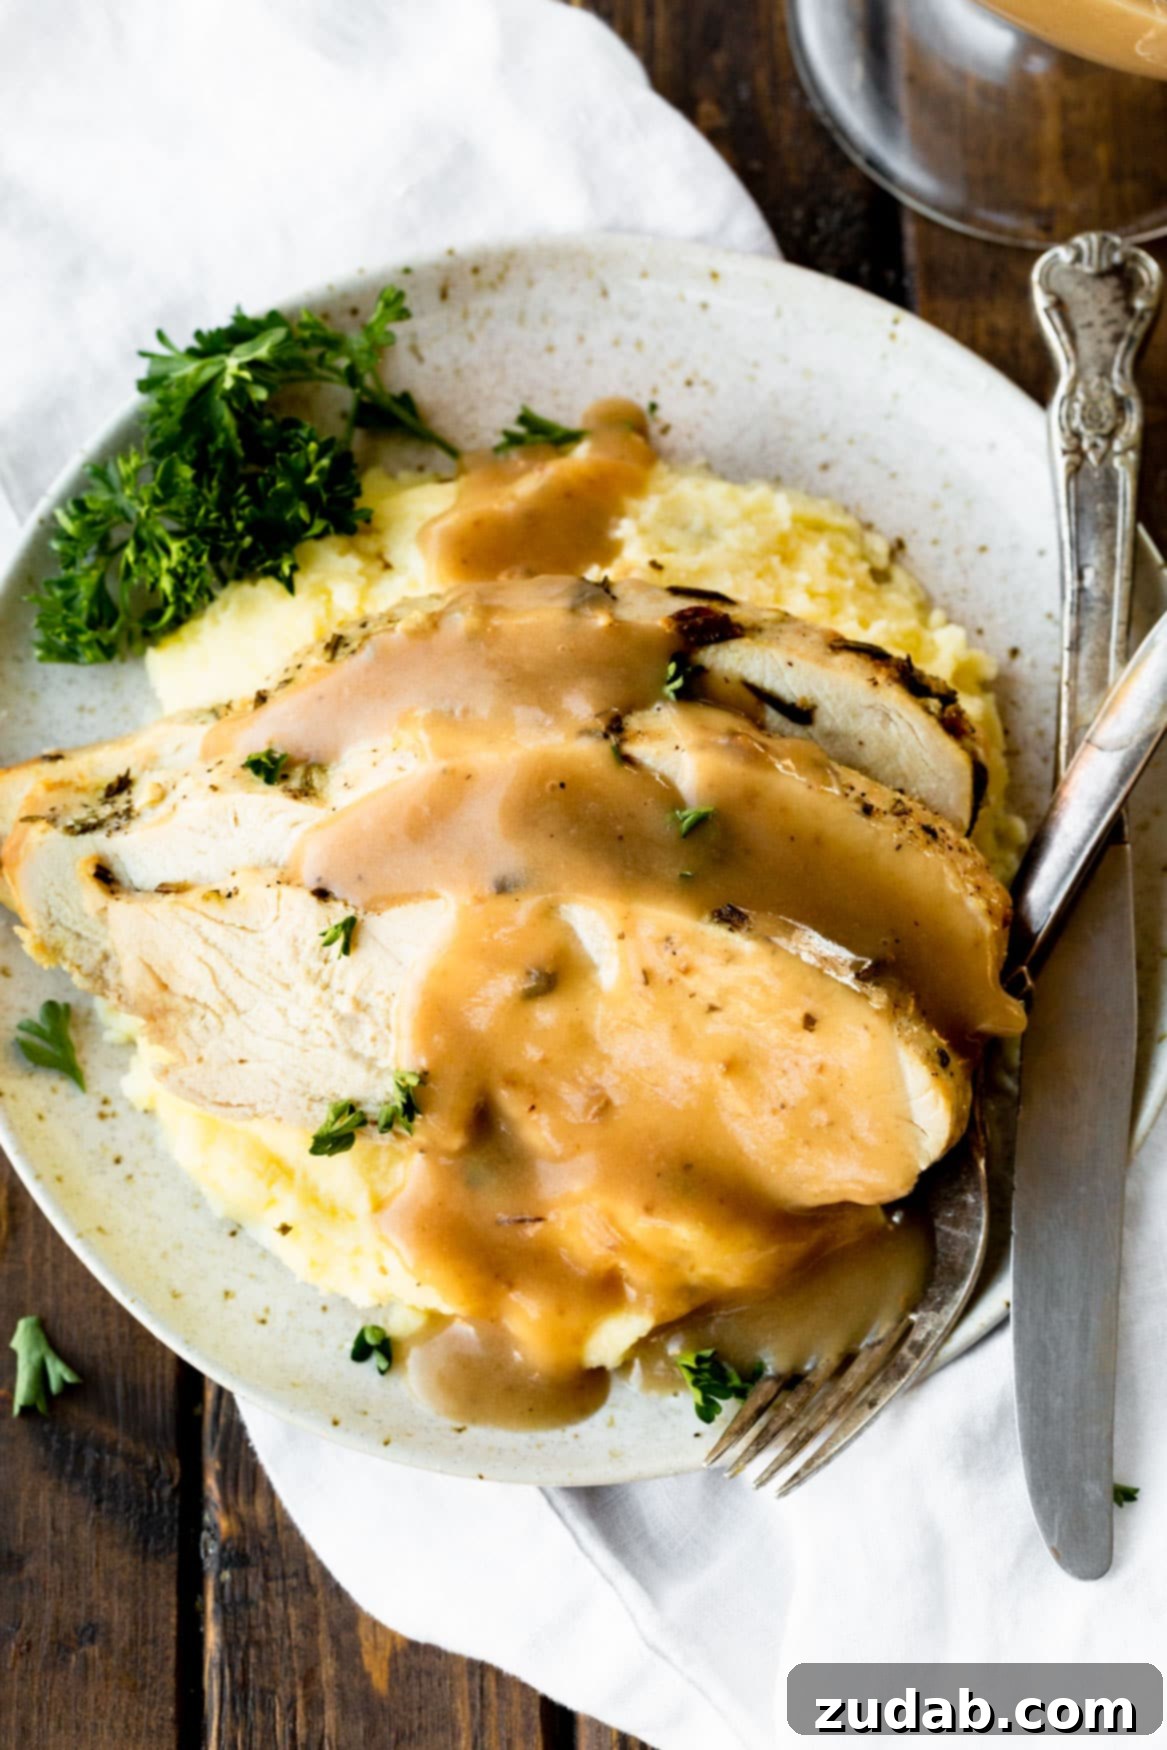
Transform your holiday meals with the ultimate guide to making the most exquisite homemade turkey gravy. This comprehensive, step-by-step recipe ensures a perfectly smooth, rich, and flavorful gravy that will undoubtedly impress your guests and elevate every dish on your festive table. Say goodbye to store-bought shortcuts and hello to the velvety texture and deep savory notes of truly exceptional gravy.

For over a decade, the idea of sharing my cherished turkey gravy recipe has simmered in the back of my mind. Each year, as Thanksgiving approached, the whirlwind of holiday preparations would sweep me away, and the recipe remained unwritten, overshadowed by the hustle and bustle of the season. Then, before I knew it, Christmas was upon us, and my intention to share this essential holiday staple was once again deferred. But not this year! Even if it’s March, I’m diving headfirst into Thanksgiving planning to ensure you have the perfect recipe for make-ahead turkey gravy well in advance. Consider it my early holiday gift to you.
When it comes to gravy, I admit I have high standards. I crave a gravy that is utterly perfect: impeccably smooth, consistently velvety, devoid of any clumps or lumps, and seasoned to absolute perfection—never overly salty or aggressively herby. The secret to achieving this unparalleled richness and depth of flavor lies in utilizing the often-overlooked parts of the turkey, such as the neck, giblets, or even leg meat, simmered down to create an intensely savory stock. And here’s the best part, the ultimate game-changer for any busy holiday cook:
YOU CAN MAKE IT AHEAD OF TIME!
AND FREEZE IT!
Imagine the relief of having this crucial component of your holiday feast ready days, or even weeks, before the big event. No last-minute scrambling for a decent gravy, no settling for subpar alternatives. Just pure, unadulterated, homemade perfection, waiting to be reheated and poured generously over your Thanksgiving spread. Let’s dive into the details and unlock the secrets to your most flavorful holiday yet!
Mastering Make-Ahead Turkey Gravy: Your Holiday Game Plan
Preparing homemade turkey gravy in advance is not just a convenience; it’s a strategic culinary move that deepens flavors and significantly reduces stress on Thanksgiving Day. This method allows you to focus on developing a rich, flavorful turkey stock, which forms the robust foundation of an extraordinary gravy. By tackling this key element ahead of time, you free up precious oven and stovetop space, not to mention your mental bandwidth, during the busiest cooking day of the year. The process is simpler than you might imagine, yielding results far superior to anything store-bought. You’ll be amazed at how easily you can create a luxurious, savory gravy that will be the highlight of your holiday table.
Essential Ingredients for Truly Homemade Turkey Gravy
The journey to the perfect turkey gravy begins with crafting your own rich, homemade turkey stock. This foundational liquid is what imparts that unparalleled depth of flavor that simply cannot be replicated by store-bought broths alone. We’ve meticulously selected ingredients for both the stock and the final gravy to ensure every spoonful is a taste of culinary excellence. While precise measurements are available in the full recipe card below, here’s a breakdown of what you’ll need and why each component is vital:
For the Robust Homemade Turkey Stock: Building Flavor from Scratch
- Turkey Neck, Giblets, Legs, Wings, or other Turkey Pieces: These are the heroes of our stock. Roasting and simmering these parts extracts maximum turkey flavor and gelatin, creating a rich, savory base. Don’t discard them after carving your holiday bird, or pick them up from your local butcher. For an even deeper, smoky complexity, consider adding a ham hock.
- Olive Oil: Used for roasting the turkey pieces, olive oil helps achieve a beautiful golden-brown crust, enhancing the Maillard reaction and intensifying the savory notes that will infuse our stock.
- Aromatic Seasonings and Herbs:
- Salt: Essential for seasoning the turkey pieces during roasting and drawing out moisture to concentrate flavors.
- Fresh Parsley: Adds a bright, herbaceous note that complements the rich turkey flavor without overpowering it.
- Black Pepper: Provides a subtle warmth and aromatic spiciness.
- Bay Leaves: Contribute a delicate, earthy aroma that is classic in stock making, adding a layer of sophisticated flavor.
- Fresh Thyme: Offers a savory, slightly minty, and peppery essence that pairs beautifully with poultry.
- Hearty Vegetables: A classic mirepoix base for any good stock.
- Celery: Adds a fresh, slightly peppery, and earthy foundation.
- Carrots: Provide natural sweetness and a vibrant color to the stock.
- Onion: Offers a pungent, aromatic depth, crucial for a well-rounded flavor profile.
- Baby Bella Mushrooms: These fungi are a secret weapon, contributing an intense umami boost and a deeper, earthier flavor to the stock.
- Garlic: A fundamental aromatic, garlic adds a pungent, savory kick that mellows into a wonderfully rich flavor during simmering.
- Chicken Broth: While we’re making turkey stock, chicken broth acts as our liquid base. Opt for a good quality, low-sodium chicken broth to control the overall saltiness and allow the turkey flavors to shine.
- Turkey Trimmings: Any small bits of turkey meat or skin leftover from prep can be added to the stock for an extra layer of flavor and richness.
- White Cooking Wine: Used for deglazing the roasting pan, the wine helps lift all those flavorful caramelized bits, adding a touch of acidity and complexity to the stock.
For the Silky Smooth Gravy: The Finishing Touches
- Unsalted Butter: The foundation of our roux, unsalted butter allows us to control the salt content while providing richness and a beautiful golden color.
- All-Purpose Flour: This is our thickening agent. When cooked with butter to form a roux, it provides a stable, smooth, and lump-free thickening for the gravy.
- Turkey Drippings: If you have them from roasting your main turkey, these pan drippings are liquid gold! They infuse the gravy with an unparalleled, concentrated turkey flavor that brings everything together.
- Homemade Turkey Stock: The magnificent, flavorful stock you prepared earlier, ready to be transformed into the star of your holiday table.
Remember, the success of your gravy hinges on the quality of your ingredients and the care you put into each step. Now, let’s get cooking!

Turkey Gravy Recipe: Your Detailed Step-by-Step Guide to Perfection
This make-ahead turkey gravy recipe is designed to simplify your holiday cooking while maximizing flavor. Ideally, you should start this process a few days, or even several weeks, before Thanksgiving. While store-bought alternatives exist, they simply cannot rival the depth and richness of homemade. You’ll be pleasantly surprised by how straightforward it is to create your own gourmet gravy from scratch. Here are the detailed steps to guide you:
Step 1: Roast the Turkey Pieces for Deep Flavor Foundation
- Begin by arranging the turkey neck, giblets, legs, wings, and any other turkey trimmings you’re using onto a sturdy baking sheet. The goal here is to achieve a beautiful caramelization that will impart deep, savory notes to your stock.
- Drizzle generously with olive oil, ensuring all pieces are lightly coated. Then, season thoroughly with salt, black pepper, fresh parsley, and a single bay leaf. Toss everything gently to ensure the seasonings are evenly distributed.
- Roast the turkey pieces in an oven preheated to 425°F (220°C) for approximately 50-60 minutes, or until they are deeply golden brown and beautifully caramelized. This roasting step is crucial for developing the rich, complex flavors of your stock.
- Once roasted, carefully remove the baking sheet from the oven. Using tongs, transfer the roasted turkey pieces to a Dutch oven or large saucepan, leaving any accumulated fat and browned bits in the baking sheet. Drain off and discard the rendered fat, but keep the flavorful fond (brown bits stuck to the bottom of the pan).
Step 2: Prepare Your Aromatic Vegetables
- While your turkey pieces are roasting, take this time to chop all your vegetables. For the celery, carrots, and mushrooms, aim for roughly 1-inch pieces to ensure even flavor extraction during simmering.
- For the onion, cut it into large quarters, leaving the skin on. Similarly, for the garlic, simply cut an entire bulb in half horizontally, exposing the cloves but keeping the skins intact. Leaving the skins on the onion and garlic will contribute a beautiful golden hue to your stock and add an extra layer of rustic flavor without needing to peel.
Step 3: Deglaze the Roasting Pan for Maximum Flavor Extraction
- Return the hot baking sheet, with its flavorful browned bits, to your stovetop (if it’s stovetop safe) or carefully pour the contents into a sturdy saucepan.
- Add a quarter cup of white cooking wine to the hot pan. Using a wooden spoon or spatula, vigorously scrape up all the delicious, caramelized brown bits (known as “fond”) from the bottom of the pan. This process, called deglazing, captures concentrated flavor that would otherwise be lost. The wine will quickly evaporate, leaving behind a rich liquid essence.
Step 4: Simmer to Create a Rich, Aromatic Turkey Stock
- Into the Dutch oven (or large saucepan) containing your roasted turkey pieces, pour 2 cups of chicken broth. Add all the chopped vegetables, along with the deglazed wine and any remaining fond from the roasting pan. Bring this mixture to a gentle simmer over medium-high heat, stirring to incorporate all the flavors.
- Next, pour in the remaining 4 cups of chicken broth, add the fresh thyme sprigs, and the halved garlic cloves (with skins on). Bring the entire pot to a full boil, then immediately reduce the heat to low, cover the pot, and let it gently simmer for a minimum of 1 hour. This slow simmer allows all the flavors to meld and deepen, creating a truly robust stock.
Step 5: Strain and Cool Your Homemade Turkey Stock
- Once the simmering is complete, carefully pour the entire contents of the Dutch oven through a fine-mesh strainer set over a large heat-proof bowl. Use the back of a spoon to press down on the solids in the strainer, extracting every last drop of flavorful liquid.
- Discard all the cooked meat and vegetables; their work is done, and their flavor has been fully transferred to the stock.
- Allow the strained turkey stock to cool completely at room temperature, then transfer it to the refrigerator. Once chilled, any fat will solidify on the surface. Skim off this layer of fat and discard it, leaving you with a clear, concentrated, and intensely flavored turkey stock. Your homemade stock can be refrigerated for up to 2 days or frozen for several months. Freezing is an excellent option for make-ahead planning!
Step 6: Transform Stock into the Perfect Gravy
- In a clean medium saucepan, melt 4 tablespoons of unsalted butter over medium heat. Once melted, gradually whisk in 5 tablespoons of all-purpose flour. This combination forms a “roux,” which is the thickening agent for your gravy.
- Increase the heat to medium-high and continue to cook the roux, stirring constantly with a whisk, for 5 to 8 minutes. The goal is to achieve a deep golden-brown color, which indicates that the flour has cooked sufficiently to eliminate any raw flour taste and has developed a nutty flavor.
- Reduce the heat to low. Slowly, and while continuously whisking, pour in 2 cups of your chilled, homemade turkey stock. Whisk vigorously to ensure no lumps form.
- Increase the heat back to medium-high and bring the mixture to a simmer. Allow it to simmer gently for about 5 minutes, or until the gravy begins to visibly thicken to your desired consistency.
- At this point, if you have any turkey drippings from your roasted Thanksgiving turkey, whisk in about 1/2 cup (or more, to taste) to infuse the gravy with an extra layer of rich, authentic turkey flavor. This is optional but highly recommended.
- Reduce the heat to low once more. Whisk in the remaining 2 cups of strained turkey stock until the gravy is smooth and perfectly integrated.
- Increase the heat to medium-high for a final simmer, allowing it to thicken for another 5 minutes, or until it reaches your preferred consistency.
- Finally, season your masterpiece with salt and black pepper to taste. Remember to start with a little and add more as needed, as the drippings and stock may already contribute some saltiness. Serve warm and enjoy the accolades!
These detailed instructions, along with ingredient quantities, are also compiled in the user-friendly recipe card located at the end of this post. Keep scrolling for all the specifics and prepare to make the best turkey gravy of your life!
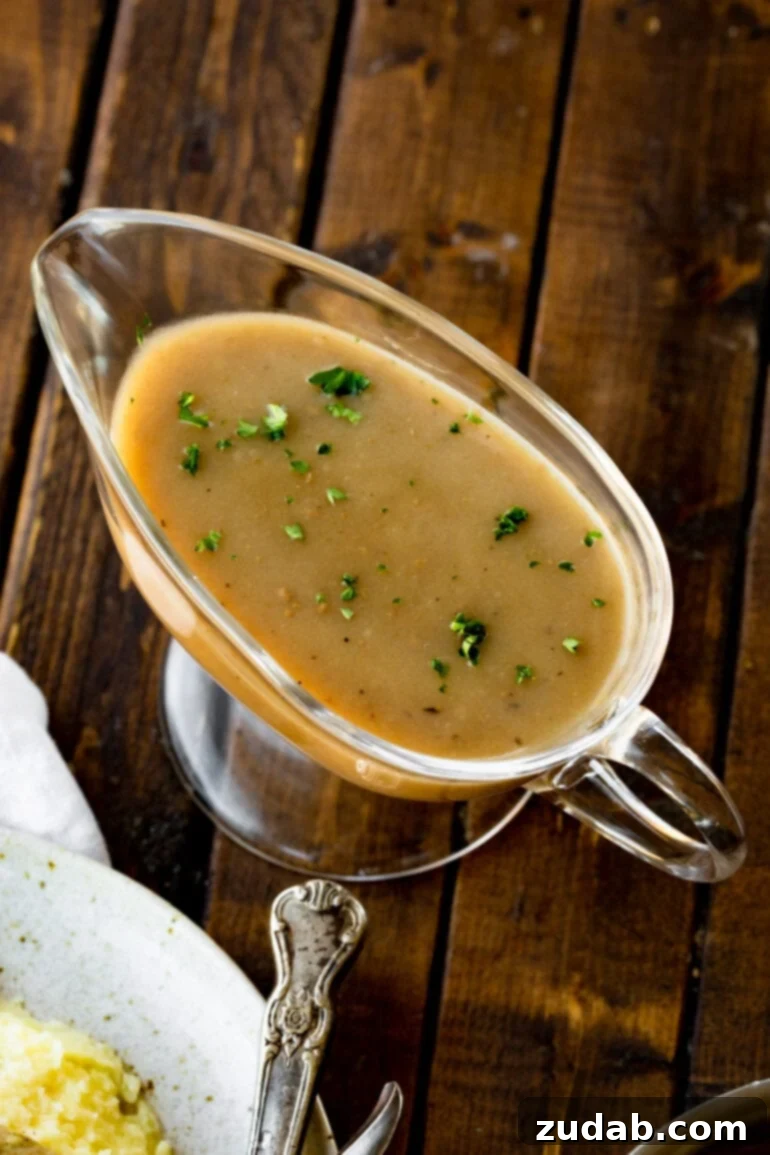
What to Serve with Your Decadent Turkey Gravy
While creamy mashed potatoes are undeniably the quintessential pairing for rich turkey gravy, its versatility extends far beyond this classic combination. Imagine a generous cascade of this savory liquid over your fluffy stuffing, infusing every bite with unparalleled flavor. It’s also the perfect accompaniment to soak up with warm, freshly baked homemade rolls, or to lovingly drench slices of your perfectly roasted turkey. But why stop there? Don’t hesitate to drizzle it over roasted vegetables like Brussels sprouts or green beans, or even use it as a base for shepherd’s pie. Honestly, when Thanksgiving rolls around, you’ll find me unreservedly pouring this liquid gold over every single item on my plate, transforming the entire meal into a symphony of flavors.
Exploring Alternatives: Cornstarch vs. Flour for Gravy
If you’re catering to dietary restrictions or simply prefer a gluten-free option, cornstarch can be an effective alternative to all-purpose flour for thickening your gravy. However, it’s important to understand that the approach differs slightly, and the resulting flavor and texture will have subtle variations.
When using cornstarch, you won’t be making a roux with butter and flour, which contributes a significant amount of richness and nutty depth to traditional gravy. Instead, you’ll begin by heating your prepared turkey stock and any drippings to a gentle simmer in a saucepan. In a separate small bowl, create a “slurry” by whisking together 2 tablespoons of cold water with 1 tablespoon of cornstarch until completely smooth. This cold liquid ensures the cornstarch dissolves properly and prevents lumps.
Once your stock is simmering, slowly add the cornstarch slurry, a little at a time, while continuously whisking. Continue to whisk and simmer until the gravy reaches your desired thickness. Cornstarch thickens more quickly and produces a glossier, more translucent gravy compared to the opaque, velvety texture achieved with a flour-based roux. You may notice a slight reduction in overall richness since you’ll be missing the buttery foundation of the roux, but it remains a perfectly viable and delicious option for thickening gluten-free gravy.
For those seeking another reliable thickening agent, particularly if you want to avoid gluten or the browning process of a roux, Cornaby’s EZ Gel is an excellent choice. To use it, simply bring your turkey stock and drippings to a simmer in a saucepan. Then, whisk in 1 tablespoon of EZ Gel at a time, allowing it to fully dissolve and thicken, until you achieve your preferred consistency. EZ Gel is known for its ability to thicken without altering the flavor or clarity of your gravy, making it a favorite for many home cooks.
Smart Storage and Make-Ahead Strategies for Holiday Success
One of the most appealing aspects of this turkey gravy recipe is its incredible make-ahead flexibility, a true lifesaver during the bustling holiday season. You can prepare this delicious gravy up to two weeks in advance, significantly reducing your workload on Thanksgiving Day and allowing you to enjoy a more relaxed celebration. There are a couple of convenient options for preparing it ahead of time:
First, you can make and freeze the homemade turkey stock on its own. After preparing the stock as directed in steps 1-5, allow it to cool completely, then transfer it to freezer-safe containers or bags. It can be frozen for several months. When you’re ready to make the gravy, simply thaw the stock in the refrigerator overnight, then proceed with Step 6 (making the gravy) as instructed. This method gives you maximum flexibility to adjust your gravy plans as needed.
The second, and arguably most convenient, option is to prepare the entire gravy recipe from start to finish. Once your rich, velvety gravy is complete, let it cool to room temperature. Then, transfer it to an airtight container and store it in the refrigerator for up to a few days. For longer storage, you can freeze the finished gravy in an airtight, freezer-safe container for up to 2 weeks. Freezing gravy is surprisingly easy and maintains its quality beautifully. When you’re ready to serve, simply reheat the frozen or refrigerated gravy gently on the stovetop over medium-low heat, whisking occasionally. If it appears too thick, you can thin it out with a splash of extra chicken broth or water until it reaches your desired consistency. This make-ahead approach ensures you have a flavorful, lump-free gravy ready to go, saving you valuable time and effort on the big day.

My Ideal Thanksgiving Menu: A Symphony of Holiday Flavors
This easy, make-ahead turkey gravy recipe is an absolute non-negotiable for my Thanksgiving menu this year. But a perfect gravy deserves an equally perfect supporting cast. Here are some of my other favorite, tried-and-true Thanksgiving recipes that complete my ideal holiday feast:
- The Best Oven Roasted Thanksgiving Turkey Ever
- The Creamiest Best Mashed Potatoes
- Fluffy Homemade Dinner Rolls
- Easy Make-Ahead No-Fuss Stuffing
- Comforting Sweet Potato Casserole
- Classic Green Bean Casserole
- Homemade Classic Cranberry Sauce
- Zesty Lemon Roasted Carrots and Parsnips
- And ALLLLL the DELICIOUS PIES you can imagine!
This holiday season, confidently impress your family and friends with a truly delicious homemade turkey gravy, crafted from scratch using the flavorful drippings of your Thanksgiving turkey. This recipe isn’t just for the holidays; it’s perfect for any special meal where a touch of gourmet richness is desired. Elevate your plate and savor the difference of homemade!
How to Make Turkey Gravy
25 minutes
2 hours
10 minutes
2 hours
35 minutes
1 batch

Ingredients
For the Homemade Turkey Stock
- Reserved turkey neck, giblets, legs, wings, etc., ham hock for deeper flavor
- Olive Oil
- 1/4 teaspoon Salt
- 1 Tablespoon Parsley
- 1/2 teaspoon Pepper
- 1 Bay Leaf
- 3 Stalks Celery
- 2 Carrots, large
- 1 Onion, large
- 1/2 Cup Baby Bella Mushrooms
- 1/2 Bulb Garlic
- 6 Cups Chicken Broth, divided, plus extra as needed
- 1/2 Cup Turkey Trimmings, chopped
- 1/4 Cup White Wine, cooking
- 3 Sprigs Fresh Thyme
- 2 Cloves Garlic, peeled
For the Gravy
- 4 Tablespoons Unsalted Butter
- 5 Tablespoons All-Purpose Flour
- 1/2 Cup Turkey Drippings, or more
- 4 Cups Homemade Stock, from above
Instructions
Turkey Stock
-
This is a make-ahead recipe, so it should be started a few days, to even a few weeks before Thanksgiving. If you don’t have time, store-bought will work but will not be as flavorful.
-
On a sheet pan, add your turkey legs and ham hock or wings and drizzle with olive oil and about 1/4 teaspoon salt. Add parsley, pepper and bay leaf and stir to combine. Roast at 425 F for 50-60 minutes.
-
Pull the meat from the oven and drain the fat from the meat.
-
Chop the celery and carrots. Cut the onion, skin on in large pieces and slice the baby bella mushrooms. Take 1/2 bulb of garlic, skin on and chop it in half again. Leaving the skins on, adds color.
-
Add a little white cooking wine to deglaze the bottom of the cookie sheet, scraping everything up. Add 2 cups of broth to a dutch oven along with the veggies and meat.
-
Stir in wine and bring to simmer, scraping up any browned bits. Add 4 cups broth and the thyme sprigs and garlic cloves and bring to a simmer over high heat. Reduce heat to medium-low, cover, and simmer for 1 hour.
-
Pull everything out and strain in a fine mesh strainer put in fridge until cool and then strain off fat, discarding solids. You will have about 3 1/2 to 4 cups stock. Turkey stock can be refrigerated for up to 2 days or frozen for a few months which is what I do.
Make the Gravy
-
This section can also be done completely ahead of time or the day of as you will need meat trimmings and the giblets.
-
Melt butter in medium saucepan over medium heat. Add flour and increase heat to medium-high. Cook, stirring constantly, until mixture is deep golden brown, 5 to 8 minutes. Reduce heat to low and slowly whisk in 2 cups of your previously made, strained stock.
-
Increase heat to medium-high and bring to simmer. Simmer until thickened, about 5 minutes. Add drippings, if using.
-
Reduce heat down to low and whisk in the remaining strained stock until smooth. Increase heat to medium-high and bring back to a simmer. Simmer until thickened, about 5 minutes.
-
Season with salt and pepper to taste and serve.
Recipe Notes
Nutrition
Serving: 1batch
Calories: 1268kcal
Carbohydrates: 105g
Protein: 61g
Fat: 64g
Saturated Fat: 33g
Polyunsaturated Fat: 5g
Monounsaturated Fat: 19g
Trans Fat: 2g
Cholesterol: 227mg
Sodium: 7616mg
Potassium: 2715mg
Fiber: 9g
Sugar: 36g
Vitamin A: 22564IU
Vitamin C: 28mg
Calcium: 271mg
Iron: 8mg
Nutrition information is automatically calculated, so should only be used as an approximation.