
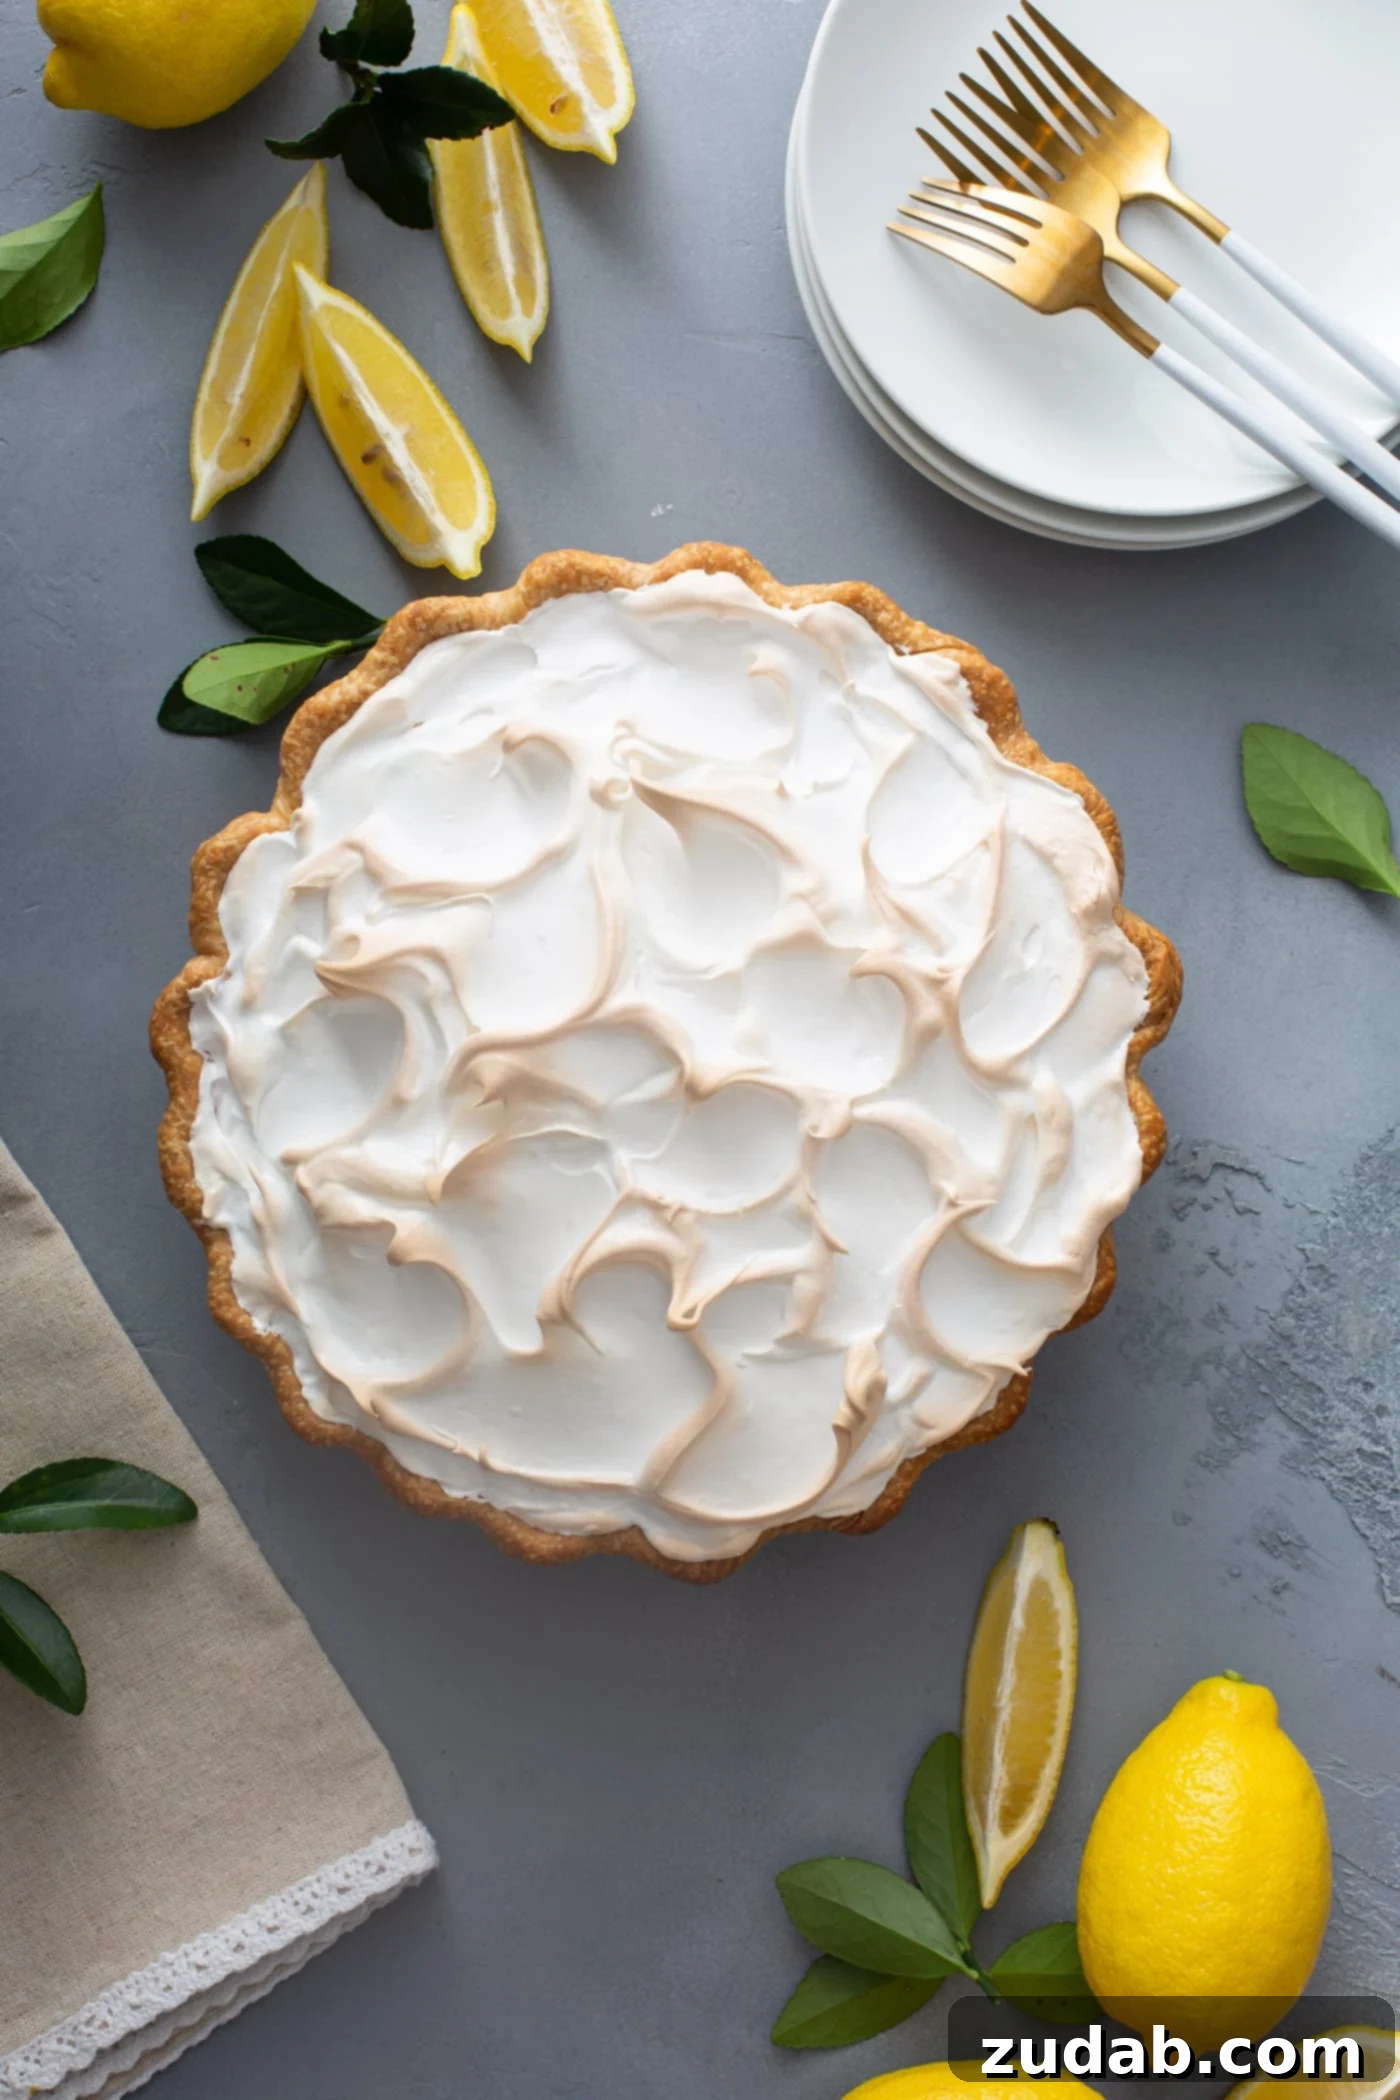
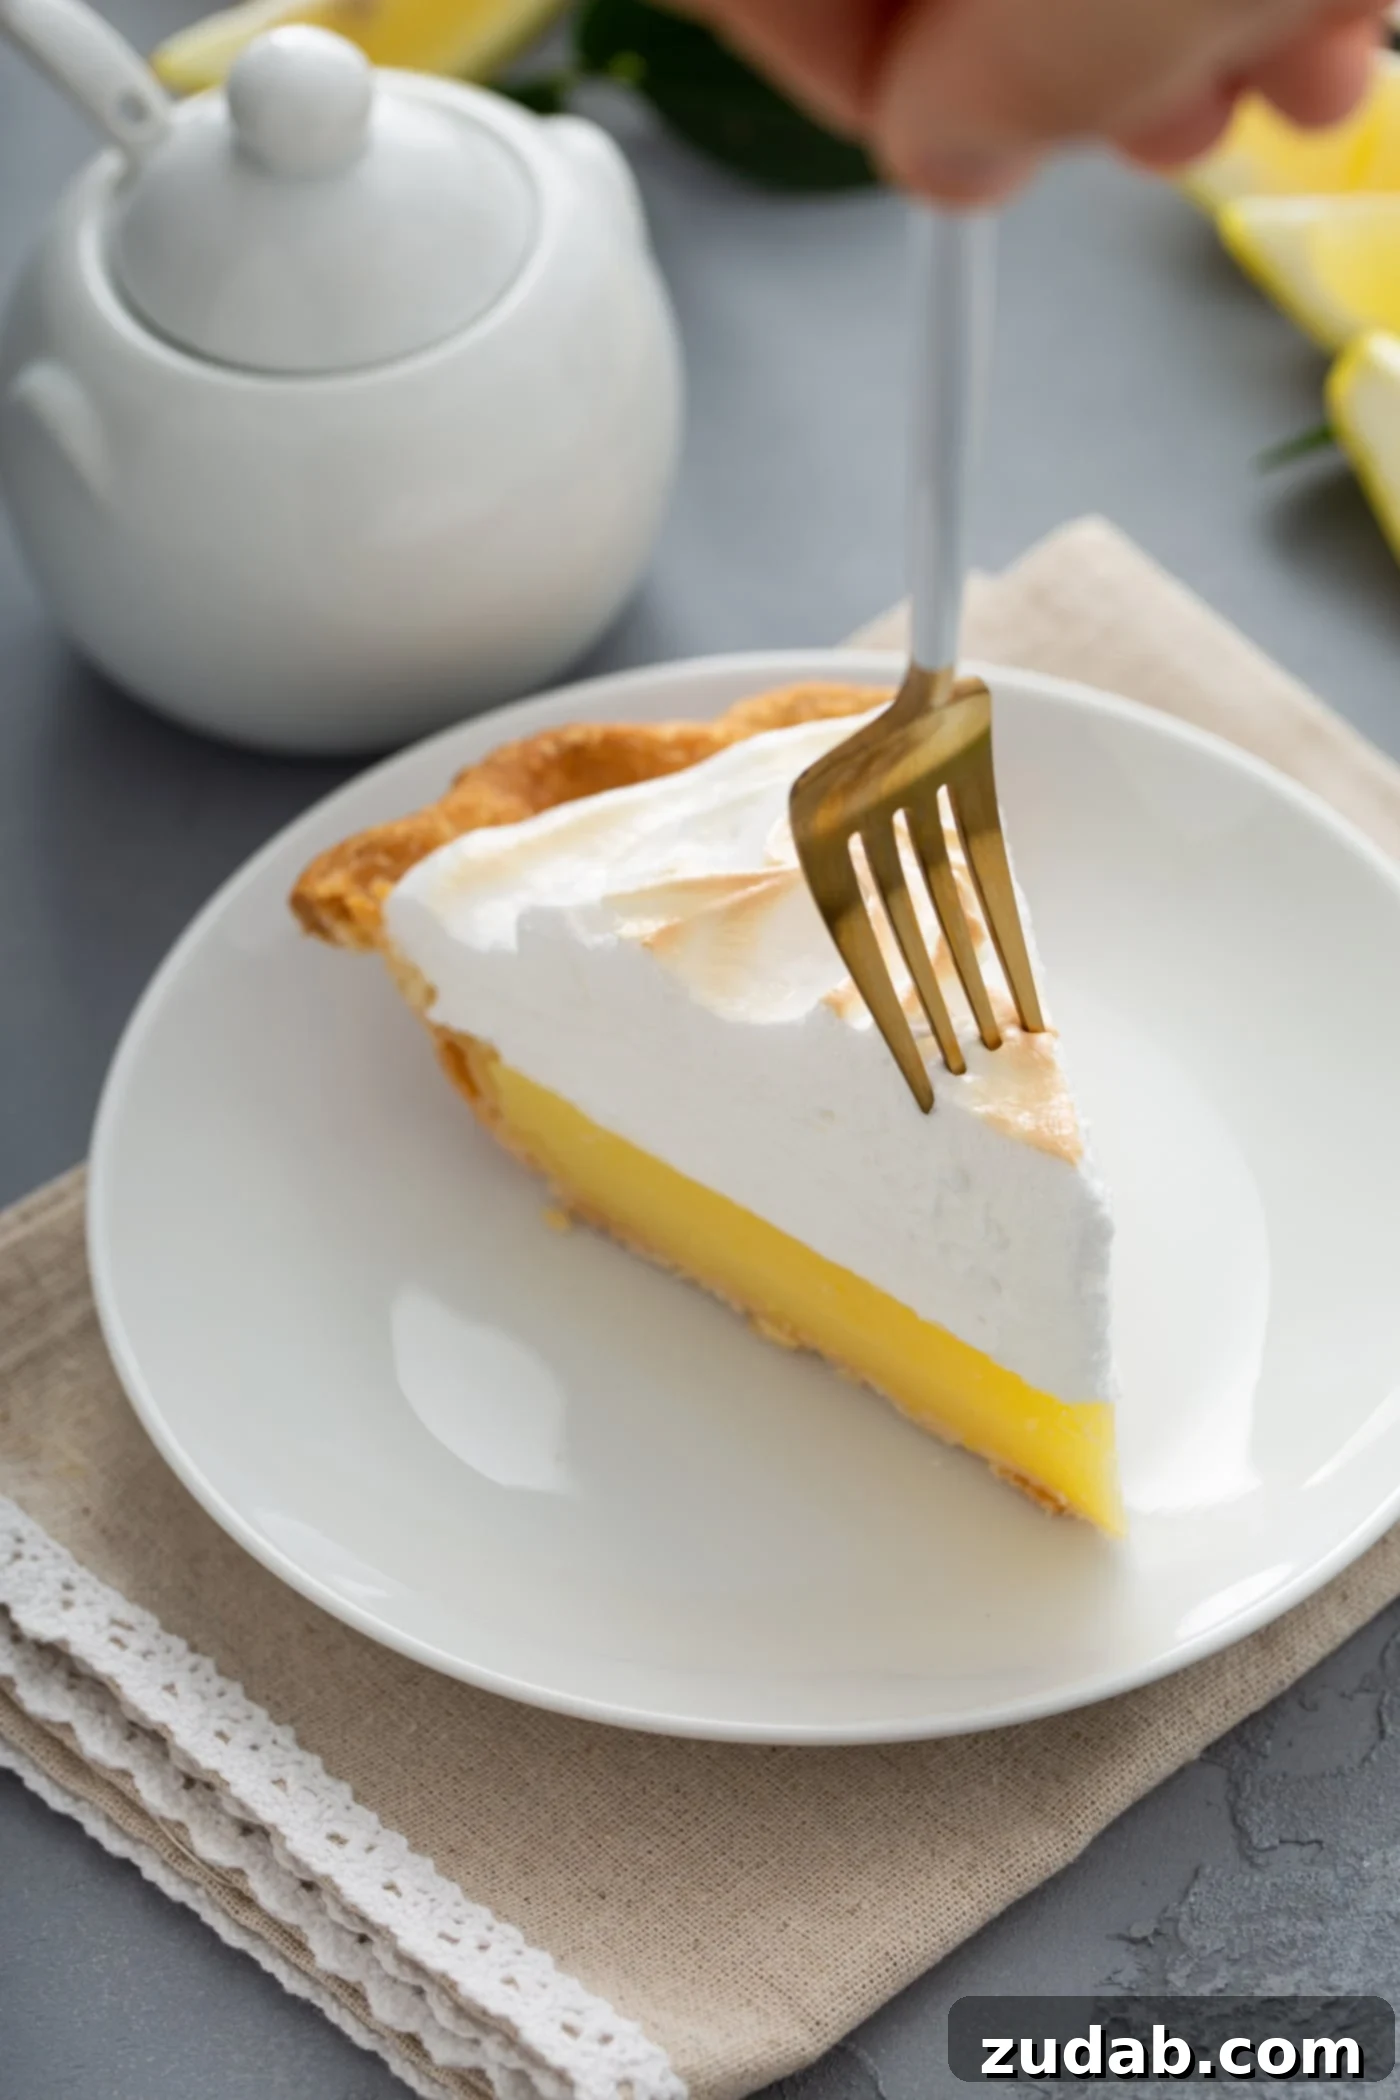
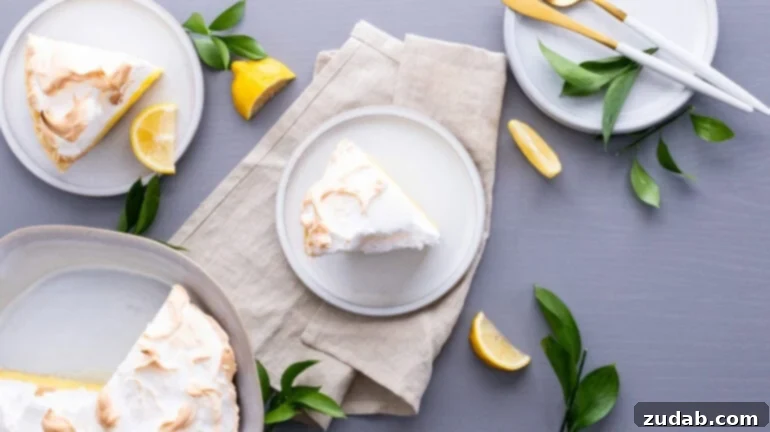
There’s a special kind of magic in a slice of classic lemon meringue pie. It’s more than just a dessert; it’s a timeless masterpiece, a culinary hug that often transports us back to cherished childhood memories. Imagine a perfectly flaky, golden-brown crust, cradling a vibrant, tangy lemon filling, all crowned with a magnificent swirl of cloud-like, toasted meringue. This isn’t just any recipe; it’s the authentic, beloved version, crafted just like Mom used to make, promising to become an instant family favorite in your home too. Follow our detailed guide to mastering this iconic dessert, ensuring flawless results and endless delight with every single bake.
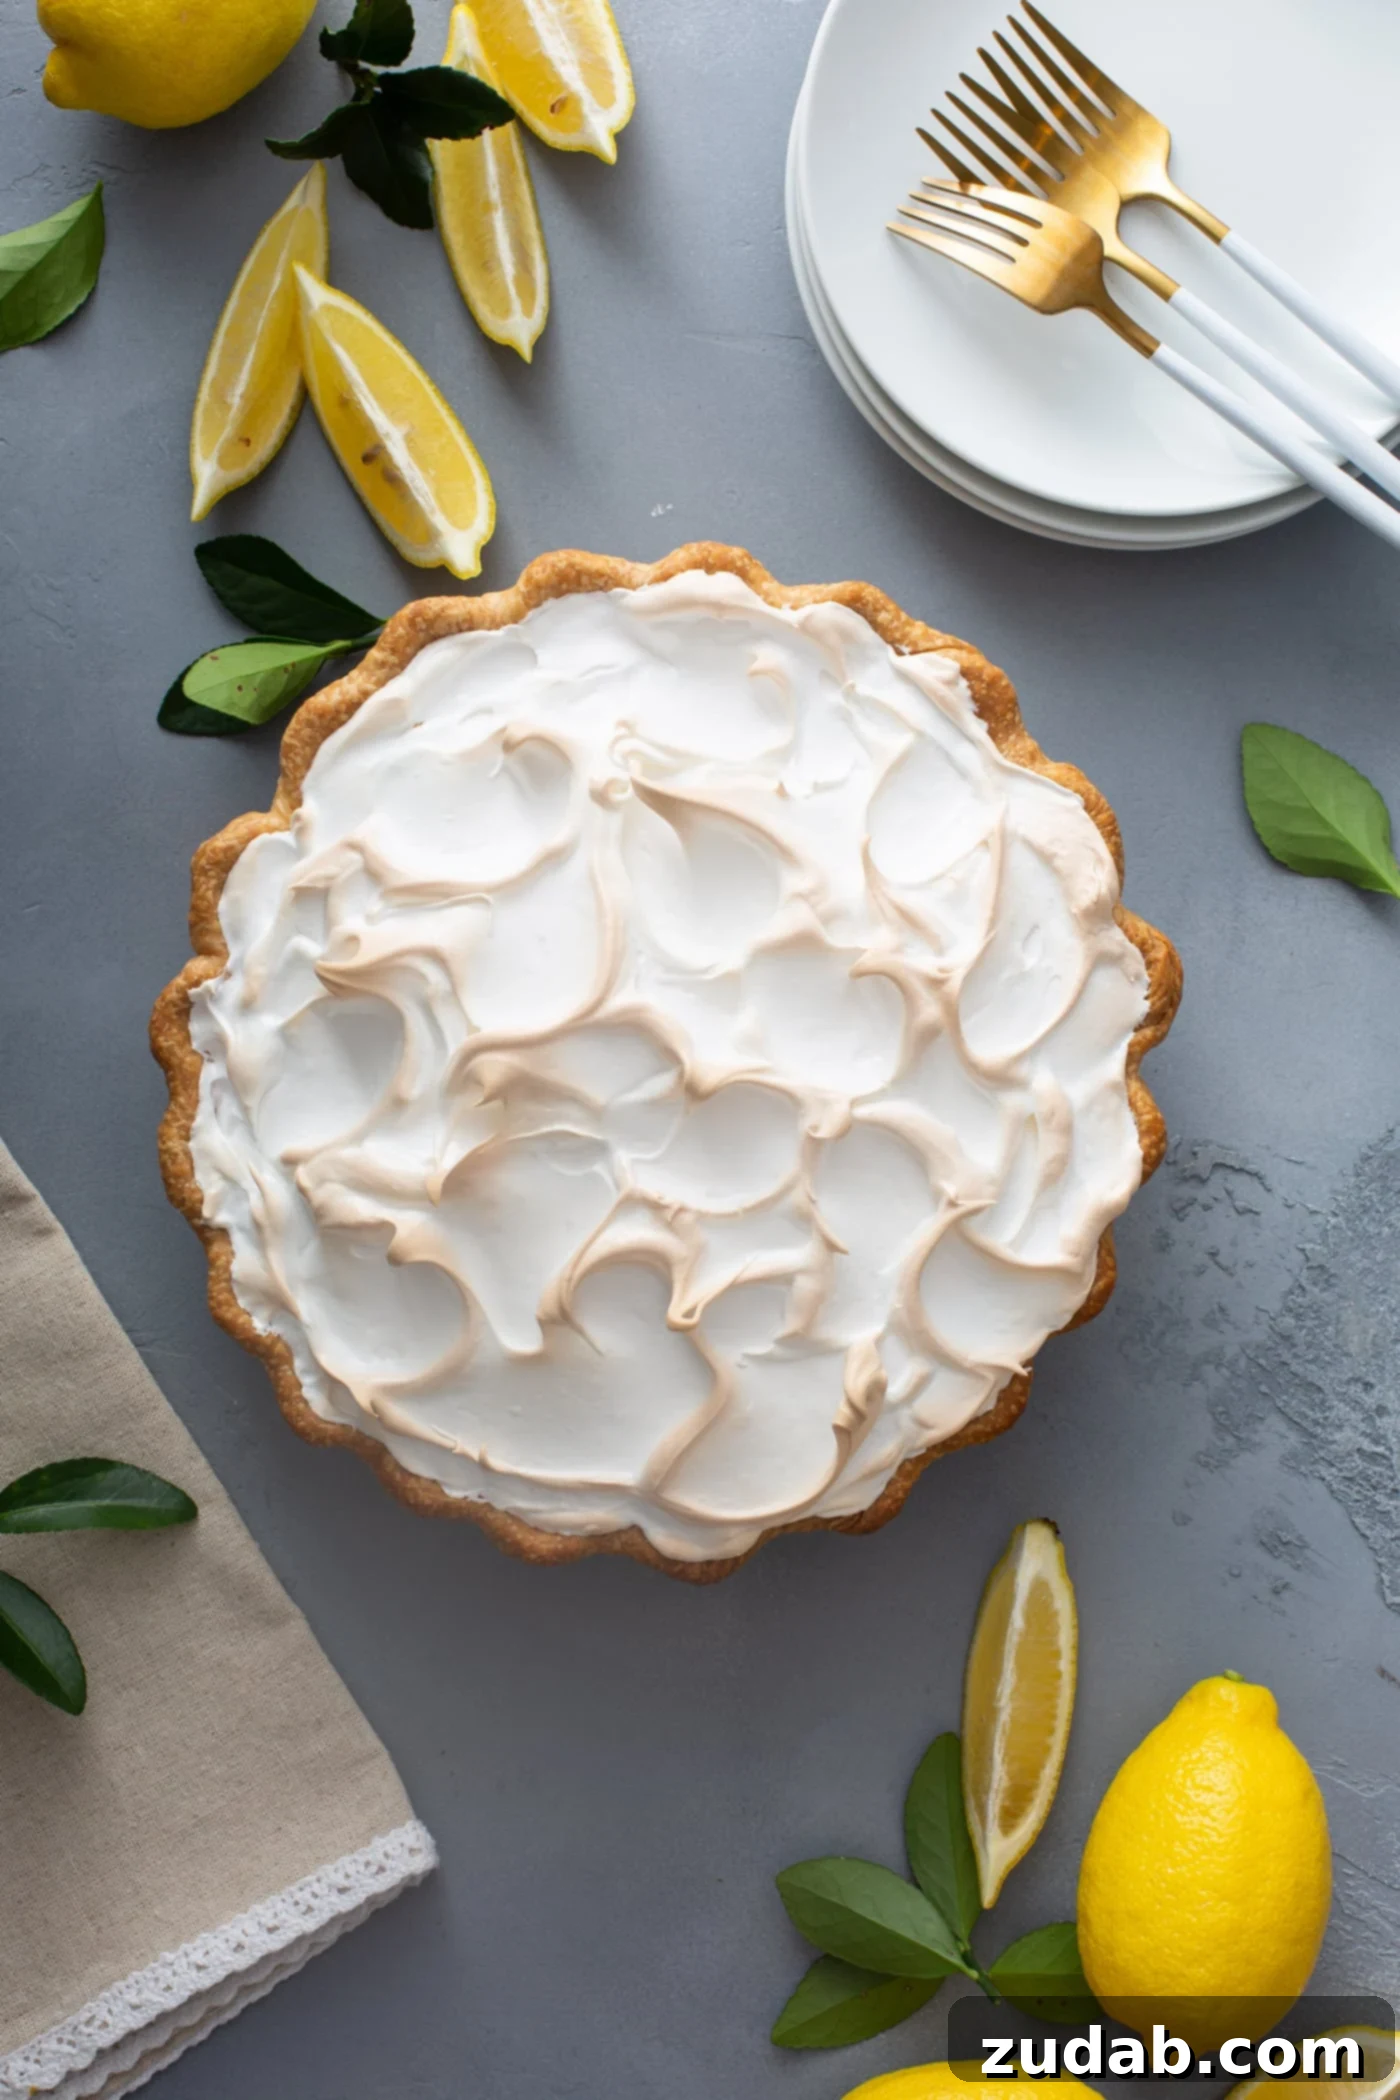
Growing up, my mother’s Lemon Meringue Pie was legendary. Her culinary reputation, in large part, was built upon this very dessert – a testament to its irresistible charm. It was the star attraction at every family gathering and the most requested comfort food, even surpassing the classic chicken noodle soup for those feeling under the weather. Truly, I recall neighbors and relatives specifically asking for this pie when they were sick! It’s funny how easily I sometimes forget just how extraordinarily good it is, until that first bite. Then, I simply can’t stop. The delicate balance of flavors, the textures, it’s all pure perfection.
This exceptional recipe begins with a meticulously prepared, buttery, homemade pie crust, achieving that coveted flaky texture that provides the ideal foundation. It then embraces a luxuriously smooth and creamy lemon filling, bursting with bright, tart citrus notes. Finally, it’s crowned with a towering, toasted meringue, a sweet, airy cloud that complements the lemon’s tang beautifully. The combination is simply irresistible – a symphony of textures and flavors that captivates from the first glance to the last delicious forkful.
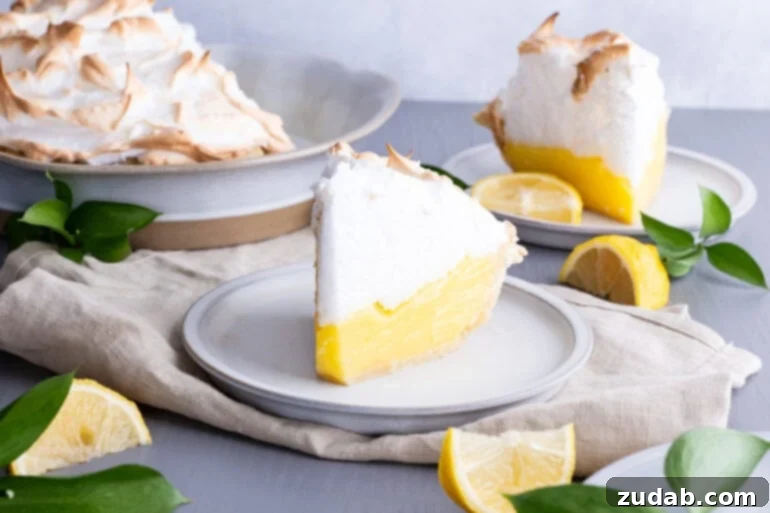
Our children, in particular, adore the meringue topping. Despite watching the entire baking process multiple times, they remain convinced it’s made of marshmallows. “Dad,” they’d exclaim, “Mom made Grandma’s pie with the marshmallows!” Their unwavering conviction is quite endearing. While it certainly shares a similar fluffy, sweet quality, it is undeniably meringue. We’ve found ourselves letting their charming misconception persist, as they are utterly convinced of their marshmallow theory, and nothing seems to sway them otherwise.
My own journey with lemon flavors has been an interesting one. As a child, I genuinely struggled with anything tart, with the sole exception of lemon head candies – a true nostalgic treat, if they even still exist! It’s fascinating how our palates evolve over the years. Many foods I once disliked as a child are now not just enjoyable, but have become some of my absolute favorites. This transformation in taste buds is a wonderful aspect of growing up, opening a world of new culinary experiences.
Today, my recipe collection boasts a plethora of lemon-infused dishes, showcasing the incredible versatility of this bright citrus. From savory delights like Panko Crusted Chicken with Lemon Cream Sauce and Lemon Roasted Broccoli, to sweet treats such as Lemon Raspberry Bars, luscious Lemon Curd, and delightful Lemon Raspberry Donuts, the possibilities are endless. And that’s not even counting the numerous lemon-kissed salads, cupcakes, and other culinary creations that feature this vibrant fruit!
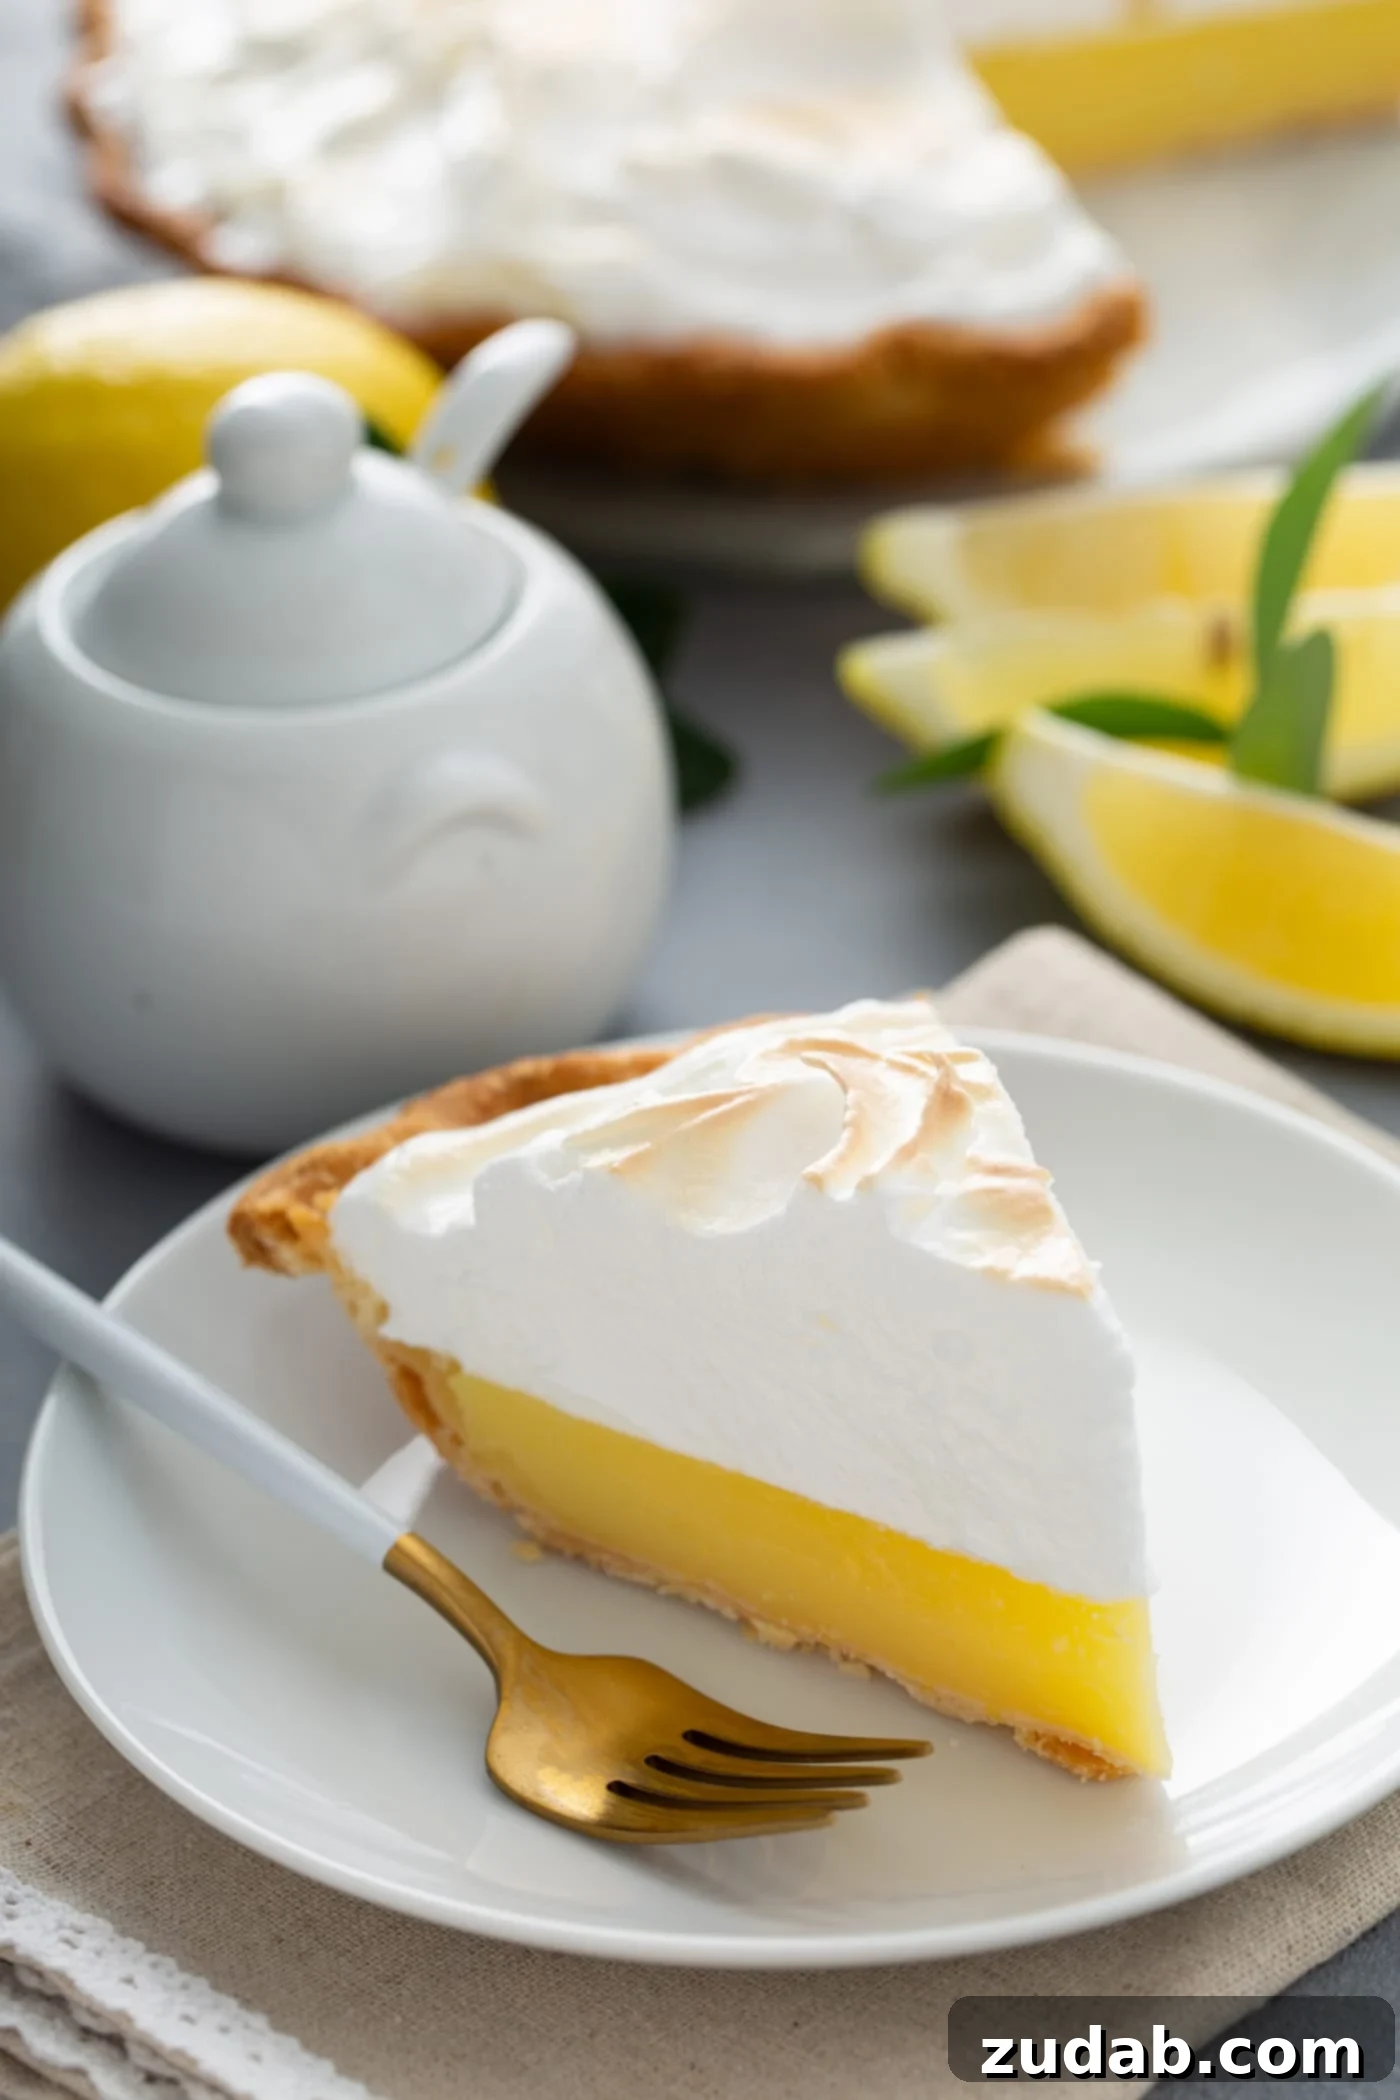
Essential Ingredients for Your Homemade Lemon Meringue Pie
Crafting the perfect lemon meringue pie relies on a selection of simple yet powerful ingredients. When thoughtfully combined, these components transform into a dessert that truly epitomizes pie heaven: a wonderfully tart filling balanced by a delicate, slightly sweet meringue. To make it easy, we’ll break down the ingredient list into two main sections: one for the rich lemon filling, and another for the fluffy meringue topping.
For the Zesty Lemon Filling
- Granulated Sugar: Provides essential sweetness to balance the lemon’s tartness.
- Cornstarch: The key thickening agent that gives the filling its smooth, creamy texture.
- Salt: A pinch enhances all the flavors, making the lemon taste even brighter.
- Water: Forms the base for the filling, helping to dissolve sugars and starches.
- Fresh Lemon Zest: Infuses the filling with intense, aromatic lemon flavor without adding extra liquid.
- Fresh Lemon Juice: Delivers the signature tangy, refreshing taste of lemon.
- Egg Yolks: Add richness, color, and contribute to the filling’s custardy consistency.
- Unsalted Butter: Contributes a luxurious silkiness and depth of flavor to the cooked filling.
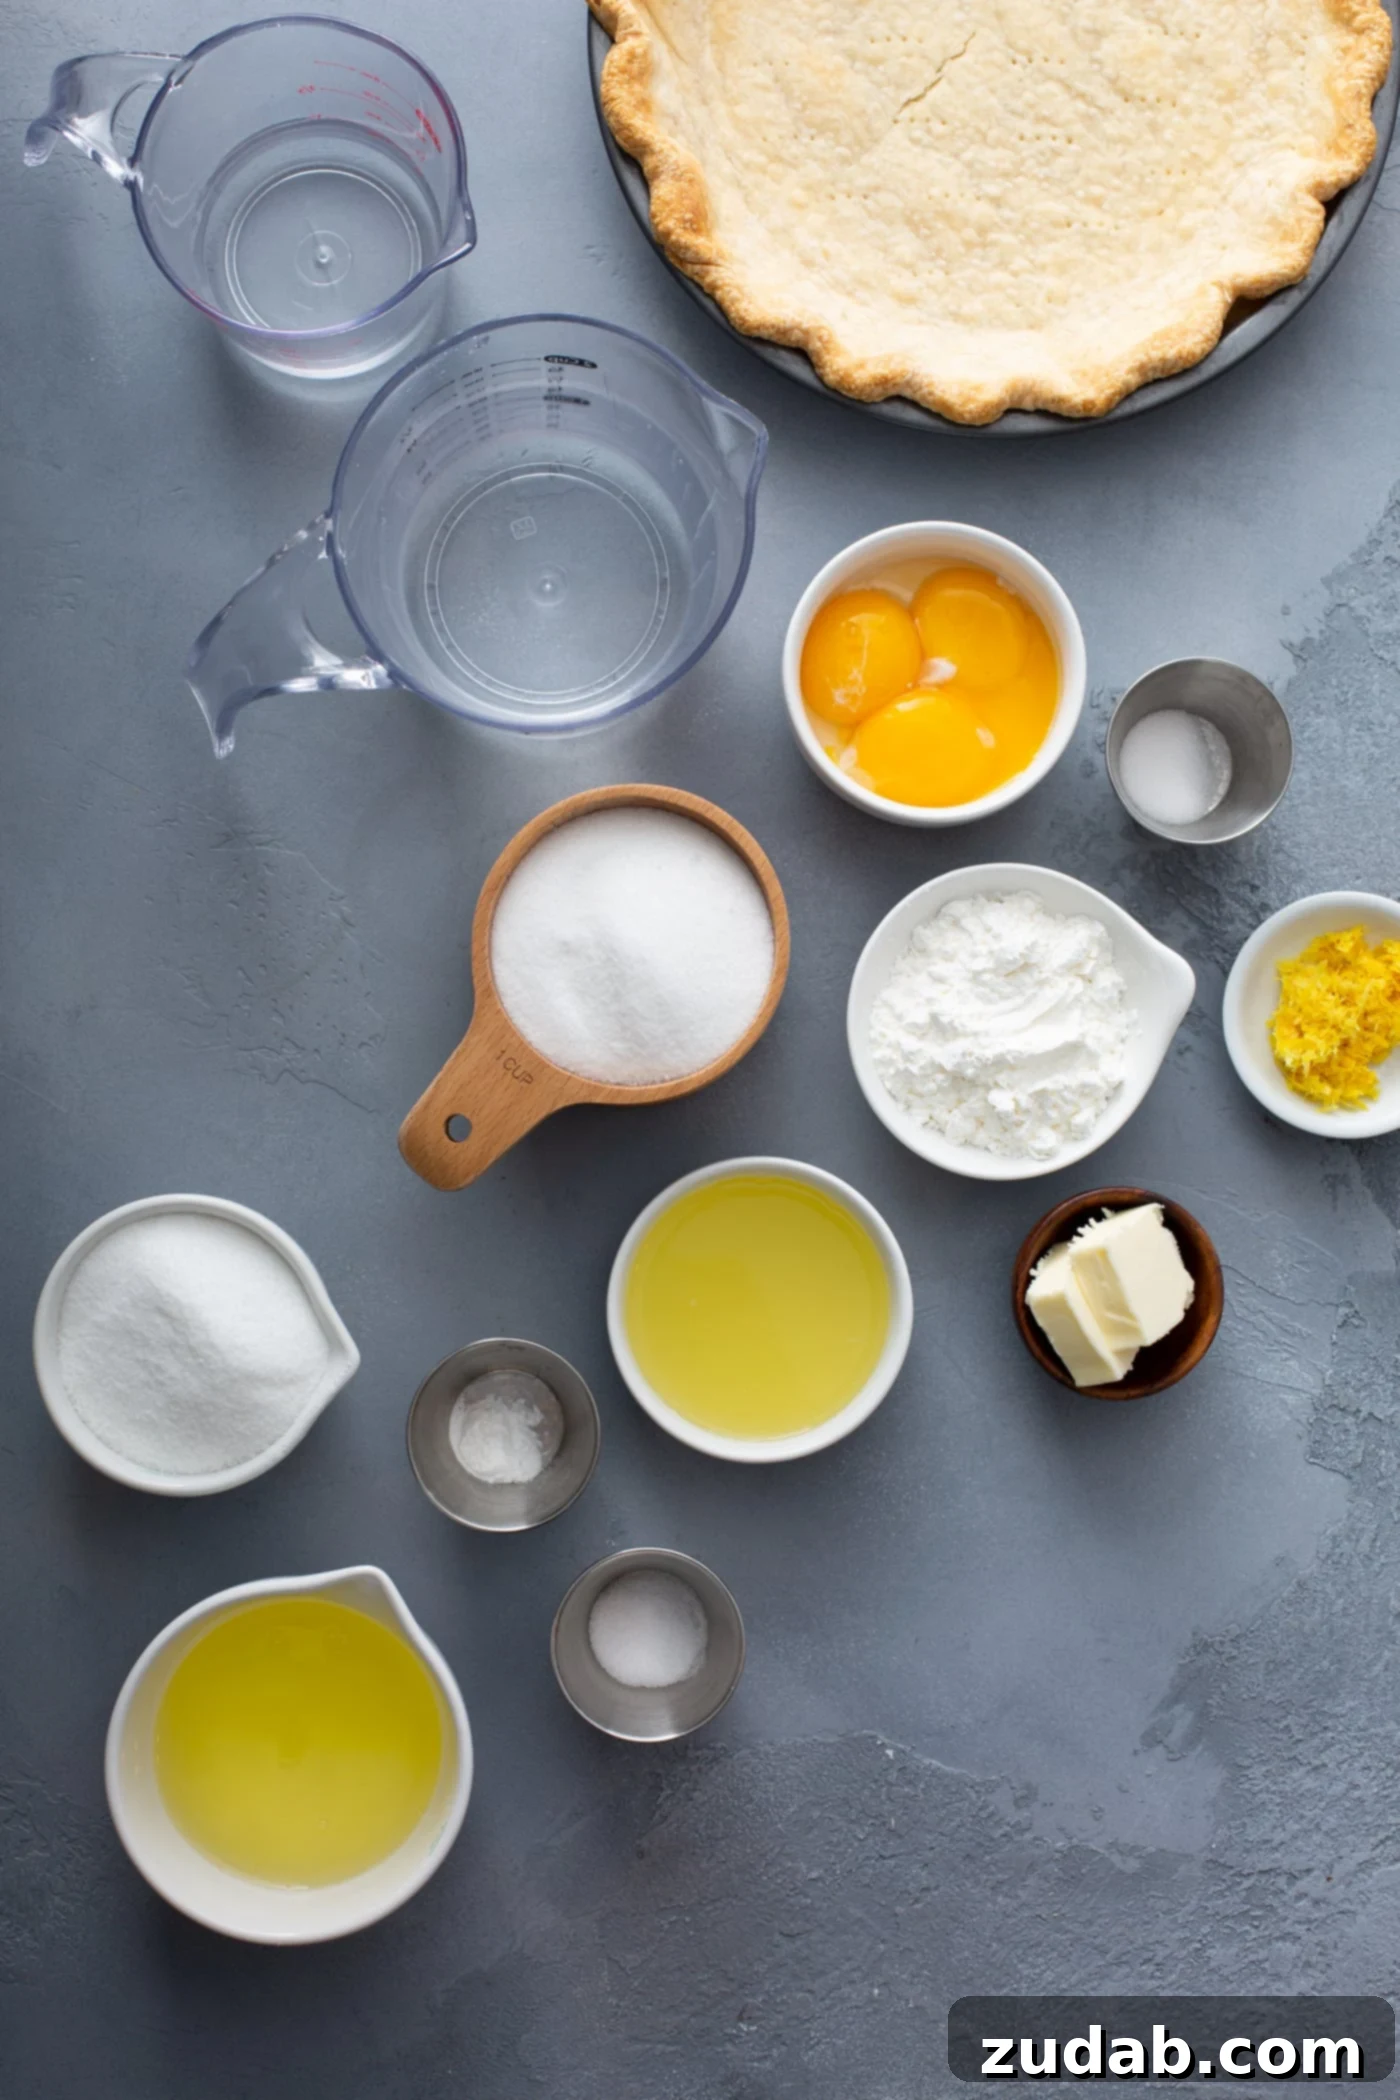
For the Cloud-Like Meringue
- Large Egg Whites: The foundation of the meringue, providing its airy volume. Ensure they are at room temperature for best results.
- Salt: A small amount stabilizes the egg whites and enhances flavor.
- Cream of Tartar: An acidic stabilizer that helps the egg whites whip up faster and achieve stiffer, more stable peaks.
- Granulated Sugar: Sweetens the meringue and contributes to its structure and glossiness.
The precise measurements for each of these vital ingredients can be conveniently located in the comprehensive recipe card provided below.
The Science Behind Room Temperature Egg Whites for Meringue
Achieving a truly voluminous and stable meringue hinges on one crucial detail: using room temperature egg whites. This isn’t just a suggestion; it’s a fundamental step for meringue success.
PRO TIP: While room temperature egg whites are essential for whipping, separating eggs is significantly easier when they are cold. The yolks are firmer and less likely to break, preventing any accidental contamination of the whites. So, separate your eggs straight from the refrigerator, then let the whites warm up.
Once separated, allow your egg whites to come to room temperature. This typically takes about 20-30 minutes on the countertop. The reason for this is scientific: warmer egg whites have a lower surface tension compared to cold ones. This allows them to whip faster, incorporate more air, and ultimately achieve greater volume and a more stable, stiff peak consistency. Cold egg whites, on the other hand, will struggle to aerate properly, resulting in a less impressive, weaker meringue.
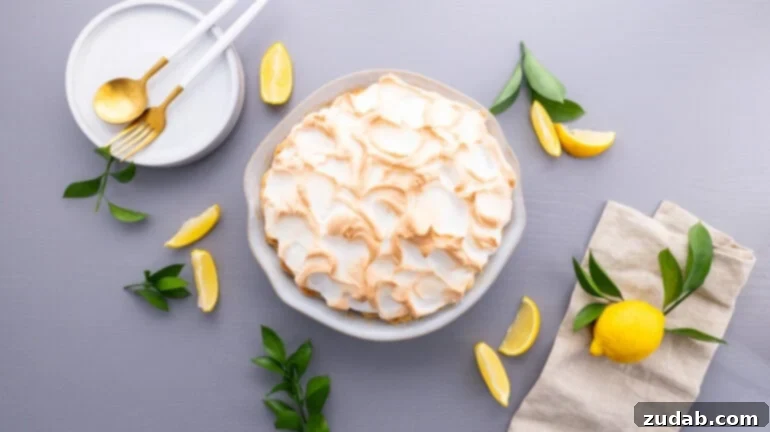
Mastering Mom’s Lemon Meringue Pie: A Step-by-Step Guide
Before you begin, ensure you have a perfectly pre-baked pie crust ready and waiting to receive its delicious filling. Whether you opt for Mom’s Magic Pie Crust or My Favorite Pie Crust, having it prepped is key. Now, let’s dive into creating the luscious lemon filling and the cloud-like meringue that define the best lemon meringue pie recipe you’ll ever make!
Crafting the Silky Lemon Filling
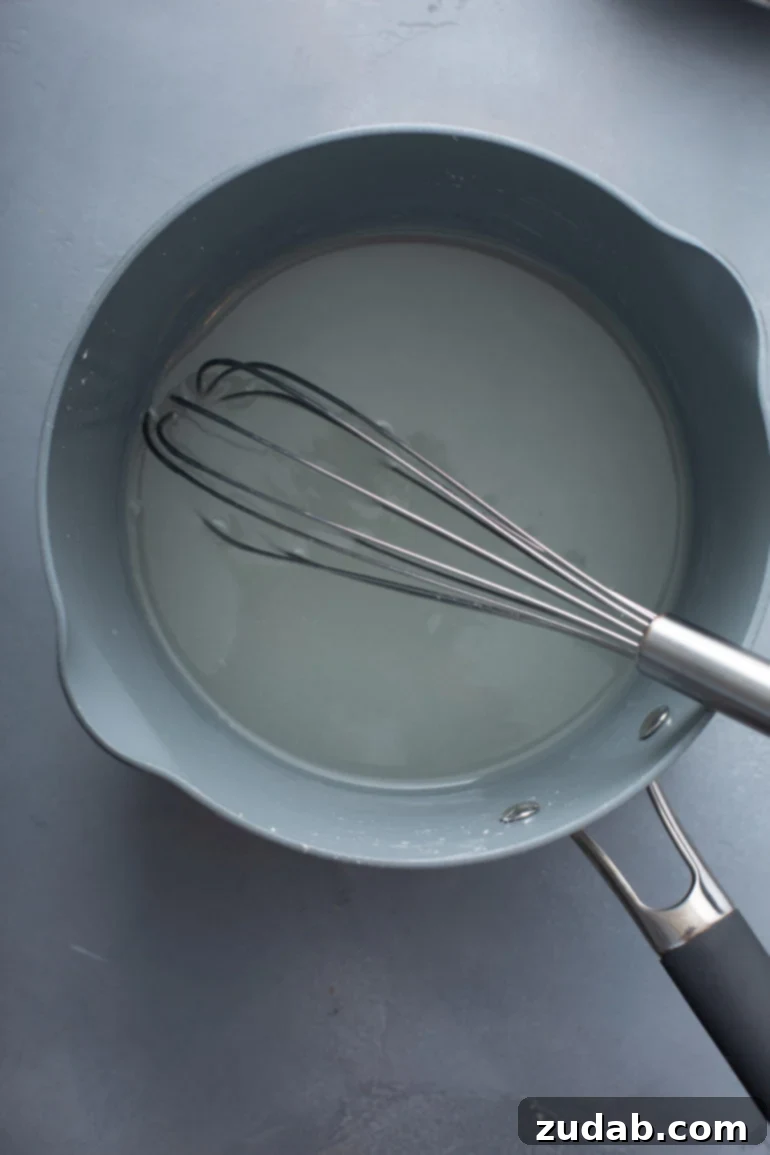
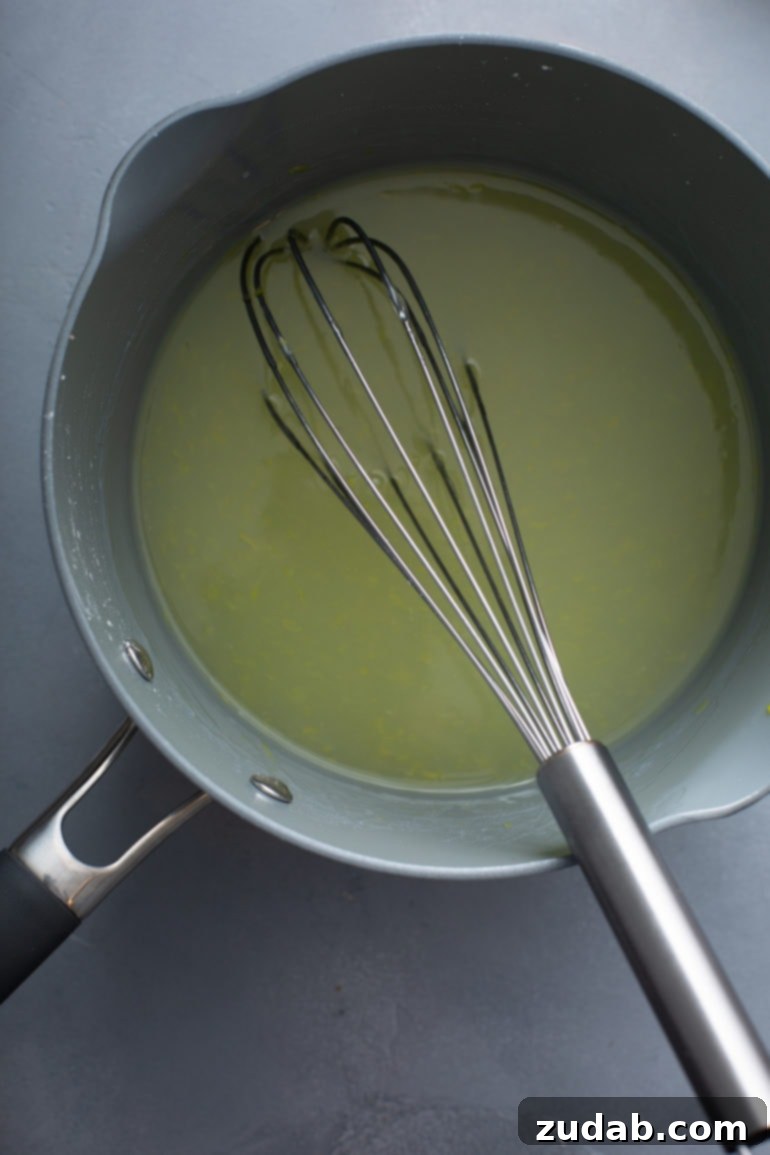
- In a spacious saucepan, whisk together the cornstarch, salt, and sugar until thoroughly combined. Gradually add the water, stirring continuously until the mixture is smooth and free of lumps.
- Place the saucepan over medium heat, stirring constantly with a whisk. Continue to cook until the mixture thickens considerably and becomes clear, typically indicating that the cornstarch has fully activated. This usually takes about 5-8 minutes.
- Remove the saucepan from the heat, ensuring the mixture is no longer actively cooking on the burner.
- Stir in the fresh lemon juice and vibrant lemon zest. These additions infuse the filling with its characteristic bright and tangy flavor.
- Return the saucepan to the heat and cook for an additional 2 minutes, stirring gently but consistently. This step helps to further develop the flavors and ensures proper consistency.
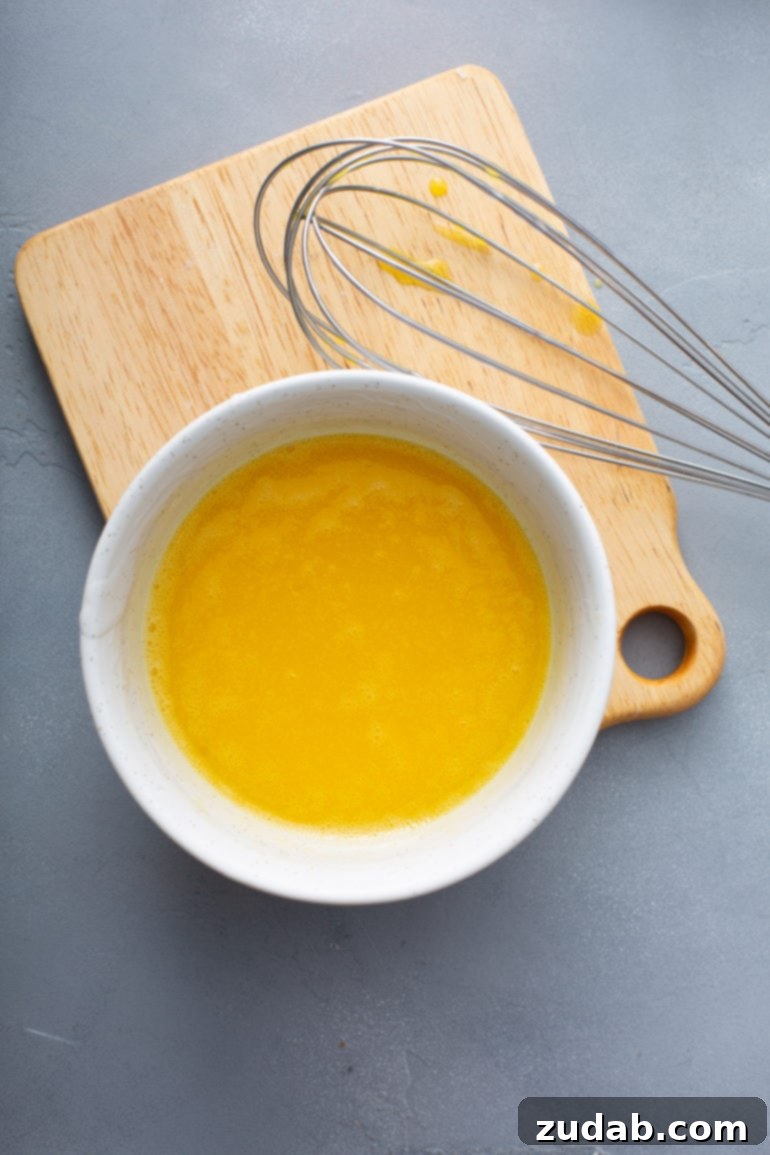
- In a separate small bowl, whisk the egg yolks vigorously. Take a small amount (about 1/2 cup) of the hot lemon mixture from the saucepan and slowly pour it into the whisked egg yolks, whisking constantly. This crucial step, known as tempering, gradually raises the temperature of the egg yolks, preventing them from scrambling when added to the hot filling.
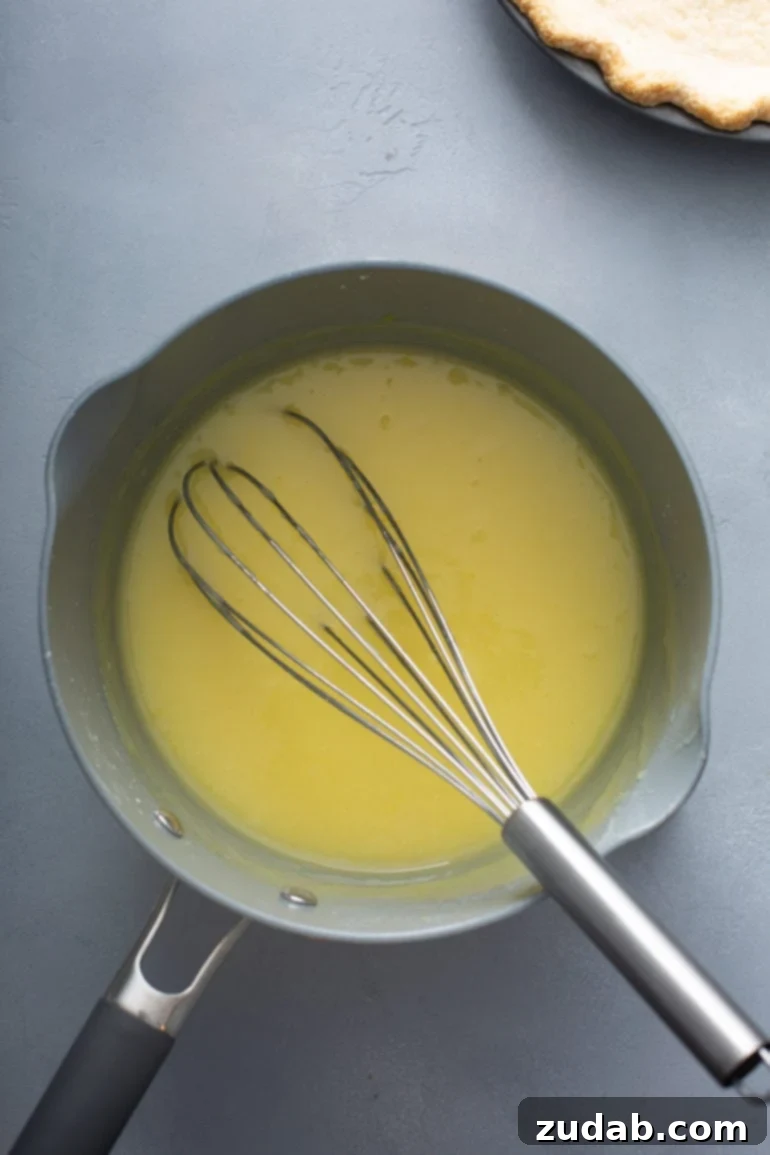
- Pour the tempered egg yolk mixture back into the saucepan with the remaining hot lemon filling. Return the pan to the heat and cook for another 2 minutes, stirring constantly to ensure the eggs are fully incorporated and the filling achieves its final, rich thickness.
- Immediately remove the pan from the heat and stir in the unsalted butter until it is completely melted and smoothly incorporated. The butter adds a luxurious sheen and creamy texture.
- While the lemon filling is still hot, begin preparing your meringue. The timing is important here to prevent a watery layer between the filling and meringue.
Whipping the Meringue and Assembling Your Pie
- Ensure your egg whites have reached room temperature. In the clean bowl of a stand mixer fitted with the whisk attachment, combine the egg whites, salt, and cream of tartar. Beat on high speed until soft peaks just begin to form.
- Continue beating the egg whites, gradually adding the sugar one tablespoon at a time. Beat until stiff, glossy peaks form, and the meringue holds its shape firmly. This means when you lift the whisk, the peaks stand tall and don’t droop.
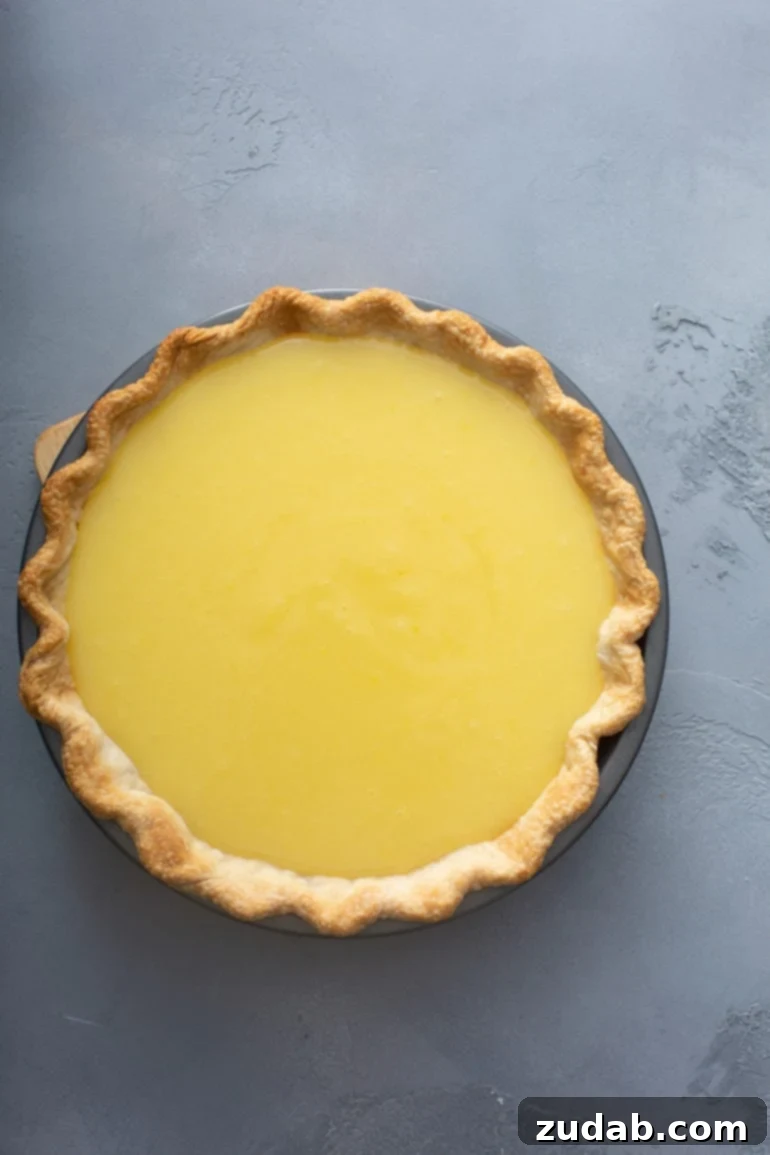
- Pour the piping hot lemon filling immediately into your pre-baked pie shell.
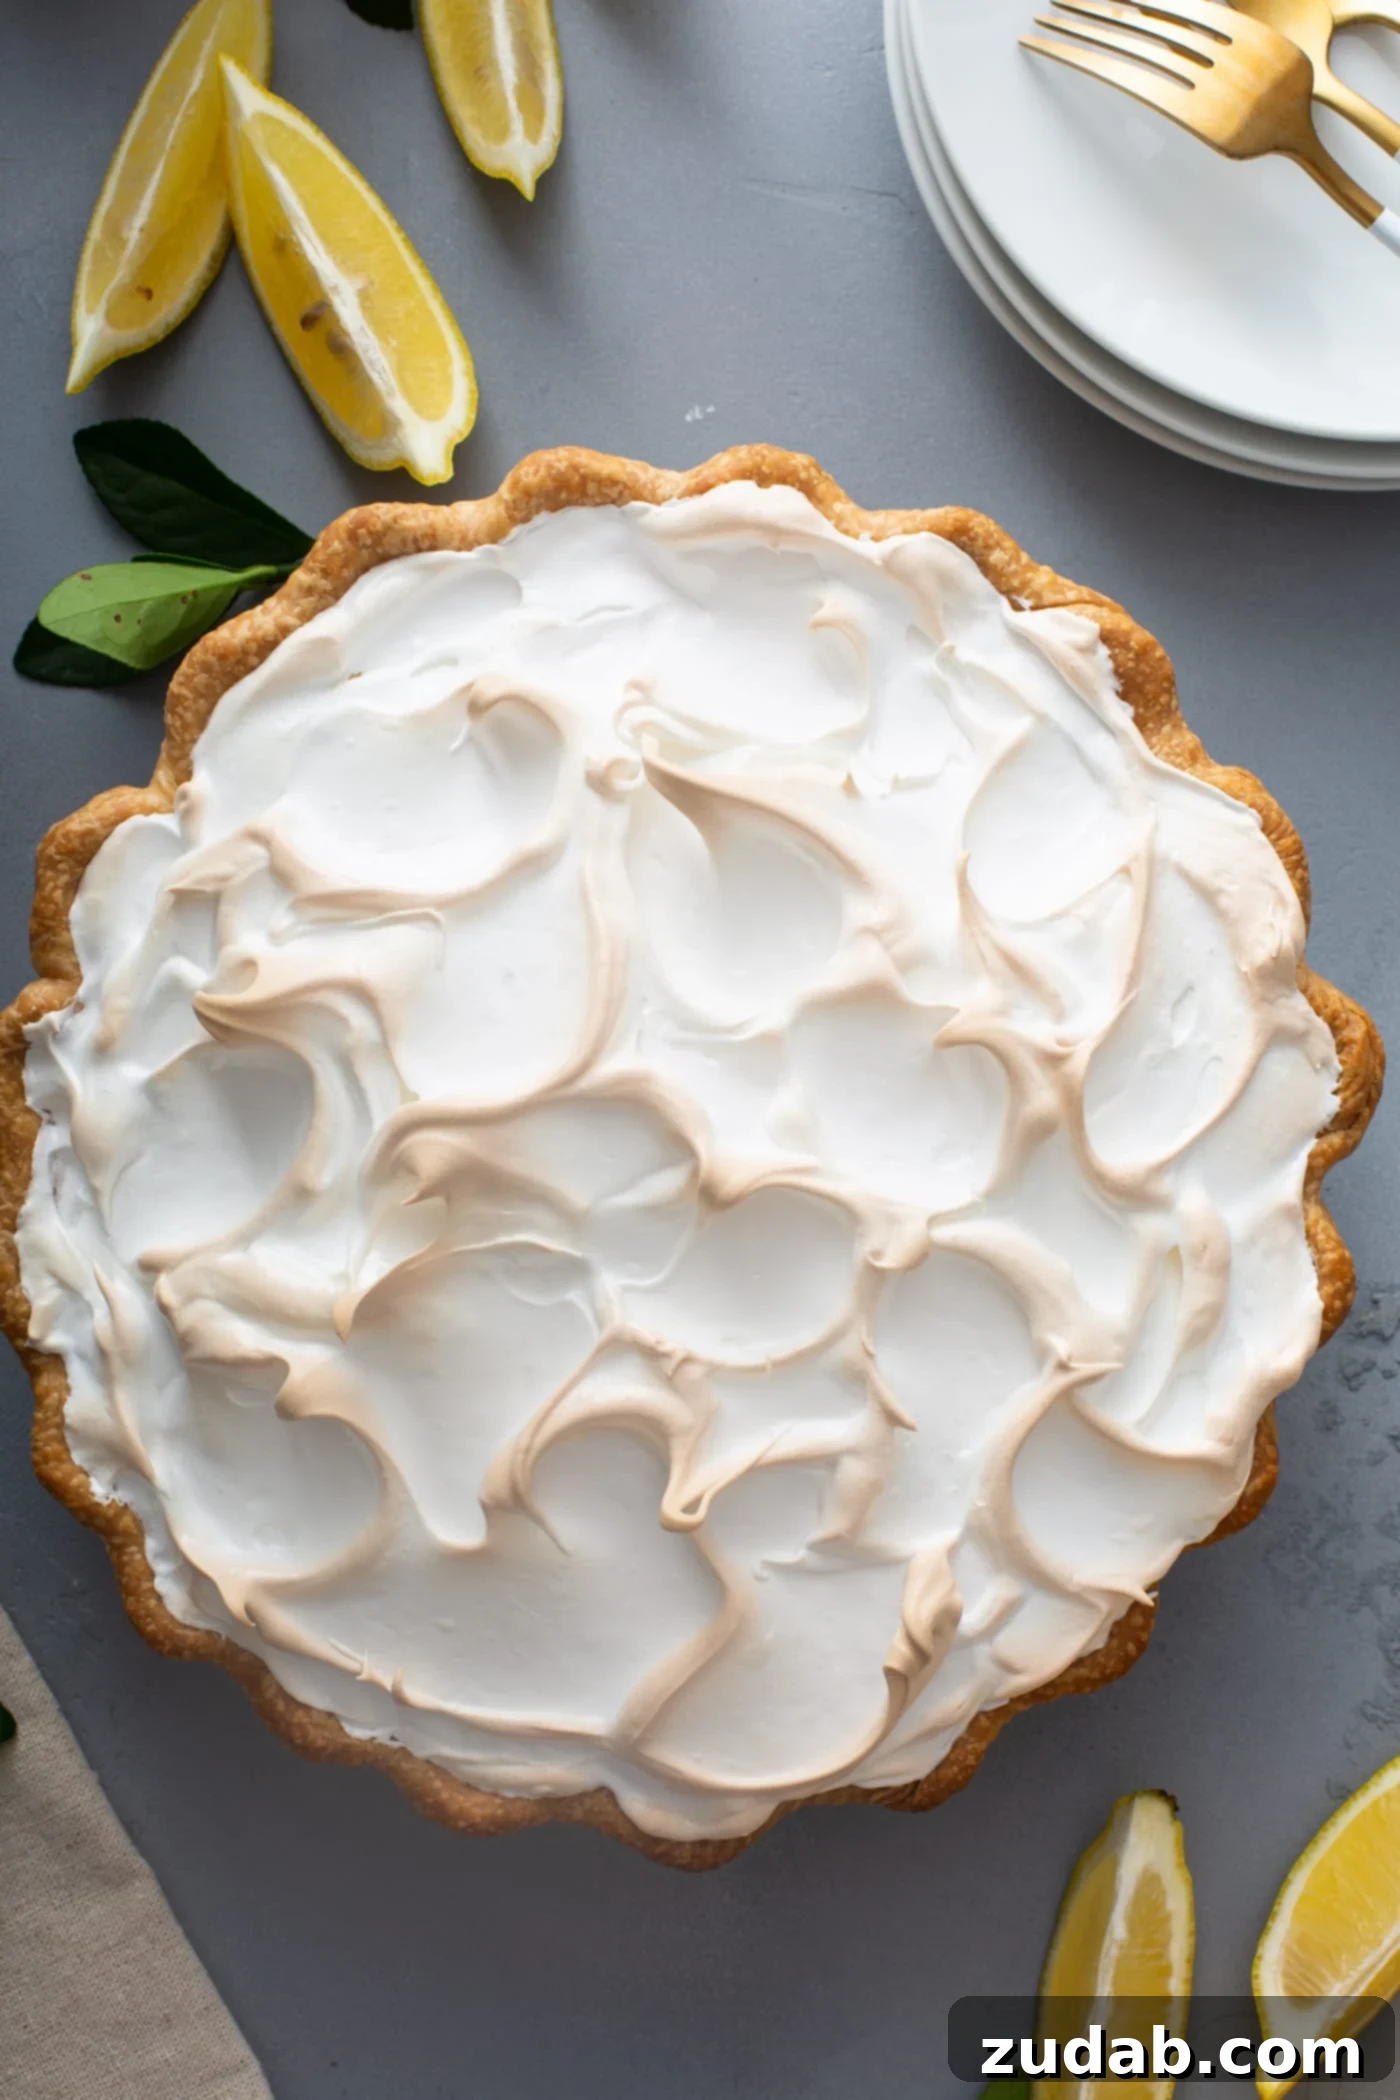
- Carefully spread the fluffy meringue over the hot lemon filling. It is crucial to spread the meringue all the way to the edges of the crust, ensuring it touches and slightly adheres to the crust on all sides. This creates a seal that helps prevent the meringue from shrinking during baking and keeps a watery layer from forming underneath. Start by forming a “donut” of meringue around the outer perimeter, pushing it firmly against the crust, then pile the remaining meringue into the center.
- Using the back of a spoon or a small spatula, create beautiful peaks and swirls on the surface of the meringue. These not only add visual appeal but also provide lovely toasted areas during baking.
- Bake the pie in a preheated oven at 350 degrees F (175°C) for approximately 10-12 minutes, or until the meringue peaks are beautifully golden brown. Keep a close eye on it to prevent over-browning.
- Allow the pie to cool completely at room temperature before serving, or chill it in the refrigerator for a firmer set. Both methods offer a delightful experience, depending on your preference.
Preventing a Soggy Pie Crust: Your Ultimate Guide
A soggy pie crust can be a baker’s worst nightmare, detracting significantly from the overall enjoyment of your pie. Fortunately, several effective techniques can help you achieve that coveted crisp, flaky base. The best strategy often involves a combination of blind baking, proper chilling, and an egg wash.
- Choose the Right Pie Plate: Glass pie plates are excellent conductors of heat, ensuring the bottom crust cooks thoroughly. Ceramic dishes also perform admirably in this regard.
- Chill the Dough: After forming your pie crust in the plate, chill it in the refrigerator for at least 30 minutes before baking. This helps solidify the butter, which then creates steam during baking, leading to a flakier crust.
- Dock the Crust: Before blind baking, gently prick the bottom and sides of the crust about 8-10 times with a fork. This “docking” allows steam to escape, preventing the crust from puffing up unevenly.
- Use Pie Weights: Line your chilled, docked pie crust with aluminum foil or parchment paper, then fill it with pie weights, dried beans, or rice. Ensure the weights reach at least halfway up the sides of the crust, or ideally to the lip, to prevent the crust from shrinking and slumping.
- Preheat with a Cookie Sheet: For an extra layer of defense against sogginess, place a cookie sheet in the oven while it preheats. Then, place your pie plate directly onto this hot sheet. The intense bottom heat helps to crisp up the crust more effectively.
- Strategic Baking Temperature: Begin baking your pie crust at a higher temperature, such as 425 degrees F (220°C). If you notice it browning too quickly, be prepared to reduce the temperature to 375 degrees F (190°C) after 5 to 10 minutes to ensure even cooking without burning.
- The Egg Wash Seal: After the initial blind bake (once you’ve removed the weights and parchment), brush the base of the crust lightly with an egg wash. For a lighter seal, use one egg white whisked with a little water. For a richer, browner finish, use one egg yolk whisked with about two teaspoons of heavy cream. Return the pie shell to the oven for just 1-2 minutes to set the egg wash. This creates a protective barrier, preventing moisture from the filling from soaking into the crust.
Troubleshooting: Why is My Lemon Meringue Pie Watery?
A watery lemon meringue pie can be disheartening, but understanding the common culprits can help you avoid this issue. There are primarily two reasons why your pie might weep and separate:
- Overworking the Lemon Filling: While cornstarch is essential for thickening the lemon filling, overworking or overcooking it can actually cause the starch molecules to break down. This weakens the filling’s structure, leading to separation and weeping. To prevent this, employ a two-stage cooking method:
- First, cook the cornstarch, sugar, and lemon juice (or water, as per the recipe) until it thickens slightly and becomes clear.
- Second, temper the egg yolks with a small amount of the hot mixture, then add them back to the pan and cook briefly again until the filling reaches a very thick consistency. This ensures the eggs are cooked without overworking the starch.
- Cooled Filling Before Meringue Application: This is a critical factor often overlooked. The lemon filling absolutely must be piping hot, straight from the saucepan, when you pour it into the crust and immediately top it with meringue. The steam rising from the hot filling plays a vital role in cooking the bottom of the meringue, effectively “setting” it from below as the pie bakes in the oven. If the filling has cooled, this steam effect is lost. Instead, as the filling reheats in the oven, trapped steam can form a watery layer between the filling and the meringue, causing both the topping and the filling to separate and weep. Always work quickly to get that meringue on top of a hot filling!

Understanding and Preventing Meringue Shrinkage
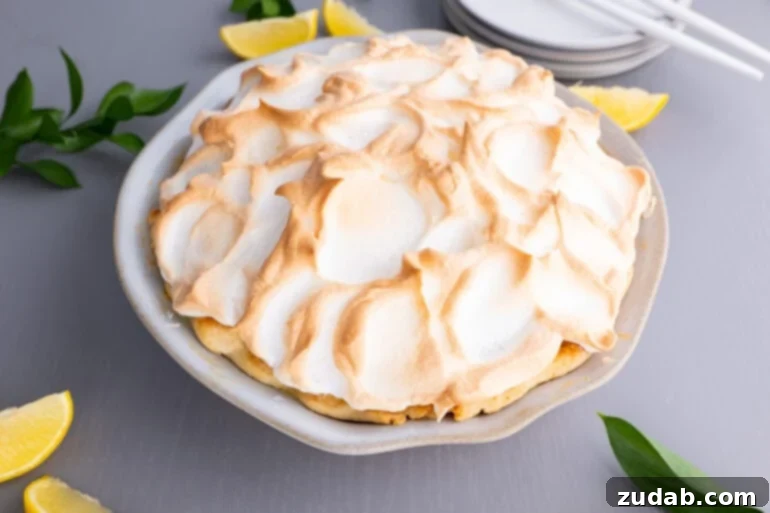
A beautifully lofty meringue can sometimes fall flat or pull away from the crust, leaving bakers frustrated. Meringue shrinkage is often due to a few key factors:
- High Humidity and Over-baking: Believe it or not, the weather can impact your meringue! High humidity causes the sugar in the egg white mixture to absorb too much moisture from the air, making it difficult to achieve stiff, stable peaks. This can also lead to “weeping” meringue. Additionally, over-baking can dry out the meringue, causing it to contract and shrink. Bake only until the peaks are golden, not overly browned.
- Improper Sealing to the Pie Crust: One of the most common reasons for meringue shrinkage is not adequately sealing it to the pie crust. To combat this, ensure the meringue completely covers and touches the inner edge of the pie crust on all sides. A great technique is to first spread a generous ring of meringue around the perimeter of the pie, pressing it firmly against the crust to create a strong seal. Then, pile the remaining meringue into the center and use the back of a spoon to create peaks. This firm attachment helps anchor the meringue and prevents it from pulling away as it cools.
- Presence of Egg Yolk or Fat: Even a tiny speck of egg yolk or any trace of fat (from unwashed bowls or utensils) can prevent egg whites from whipping up properly. Fat inhibits the egg whites from forming a stable foam, leading to a runny, unstable meringue that is prone to shrinking. Always use impeccably clean, grease-free bowls and beaters.
- Bowl Cleanliness: Ensure your mixing bowl is absolutely spotless and free of any oil, grease, or even residual water or condensation. Fat is the enemy of meringue, and even a minuscule amount can ruin the whipping process.
Can Lemon Meringue Pie Be Prepared in Advance?
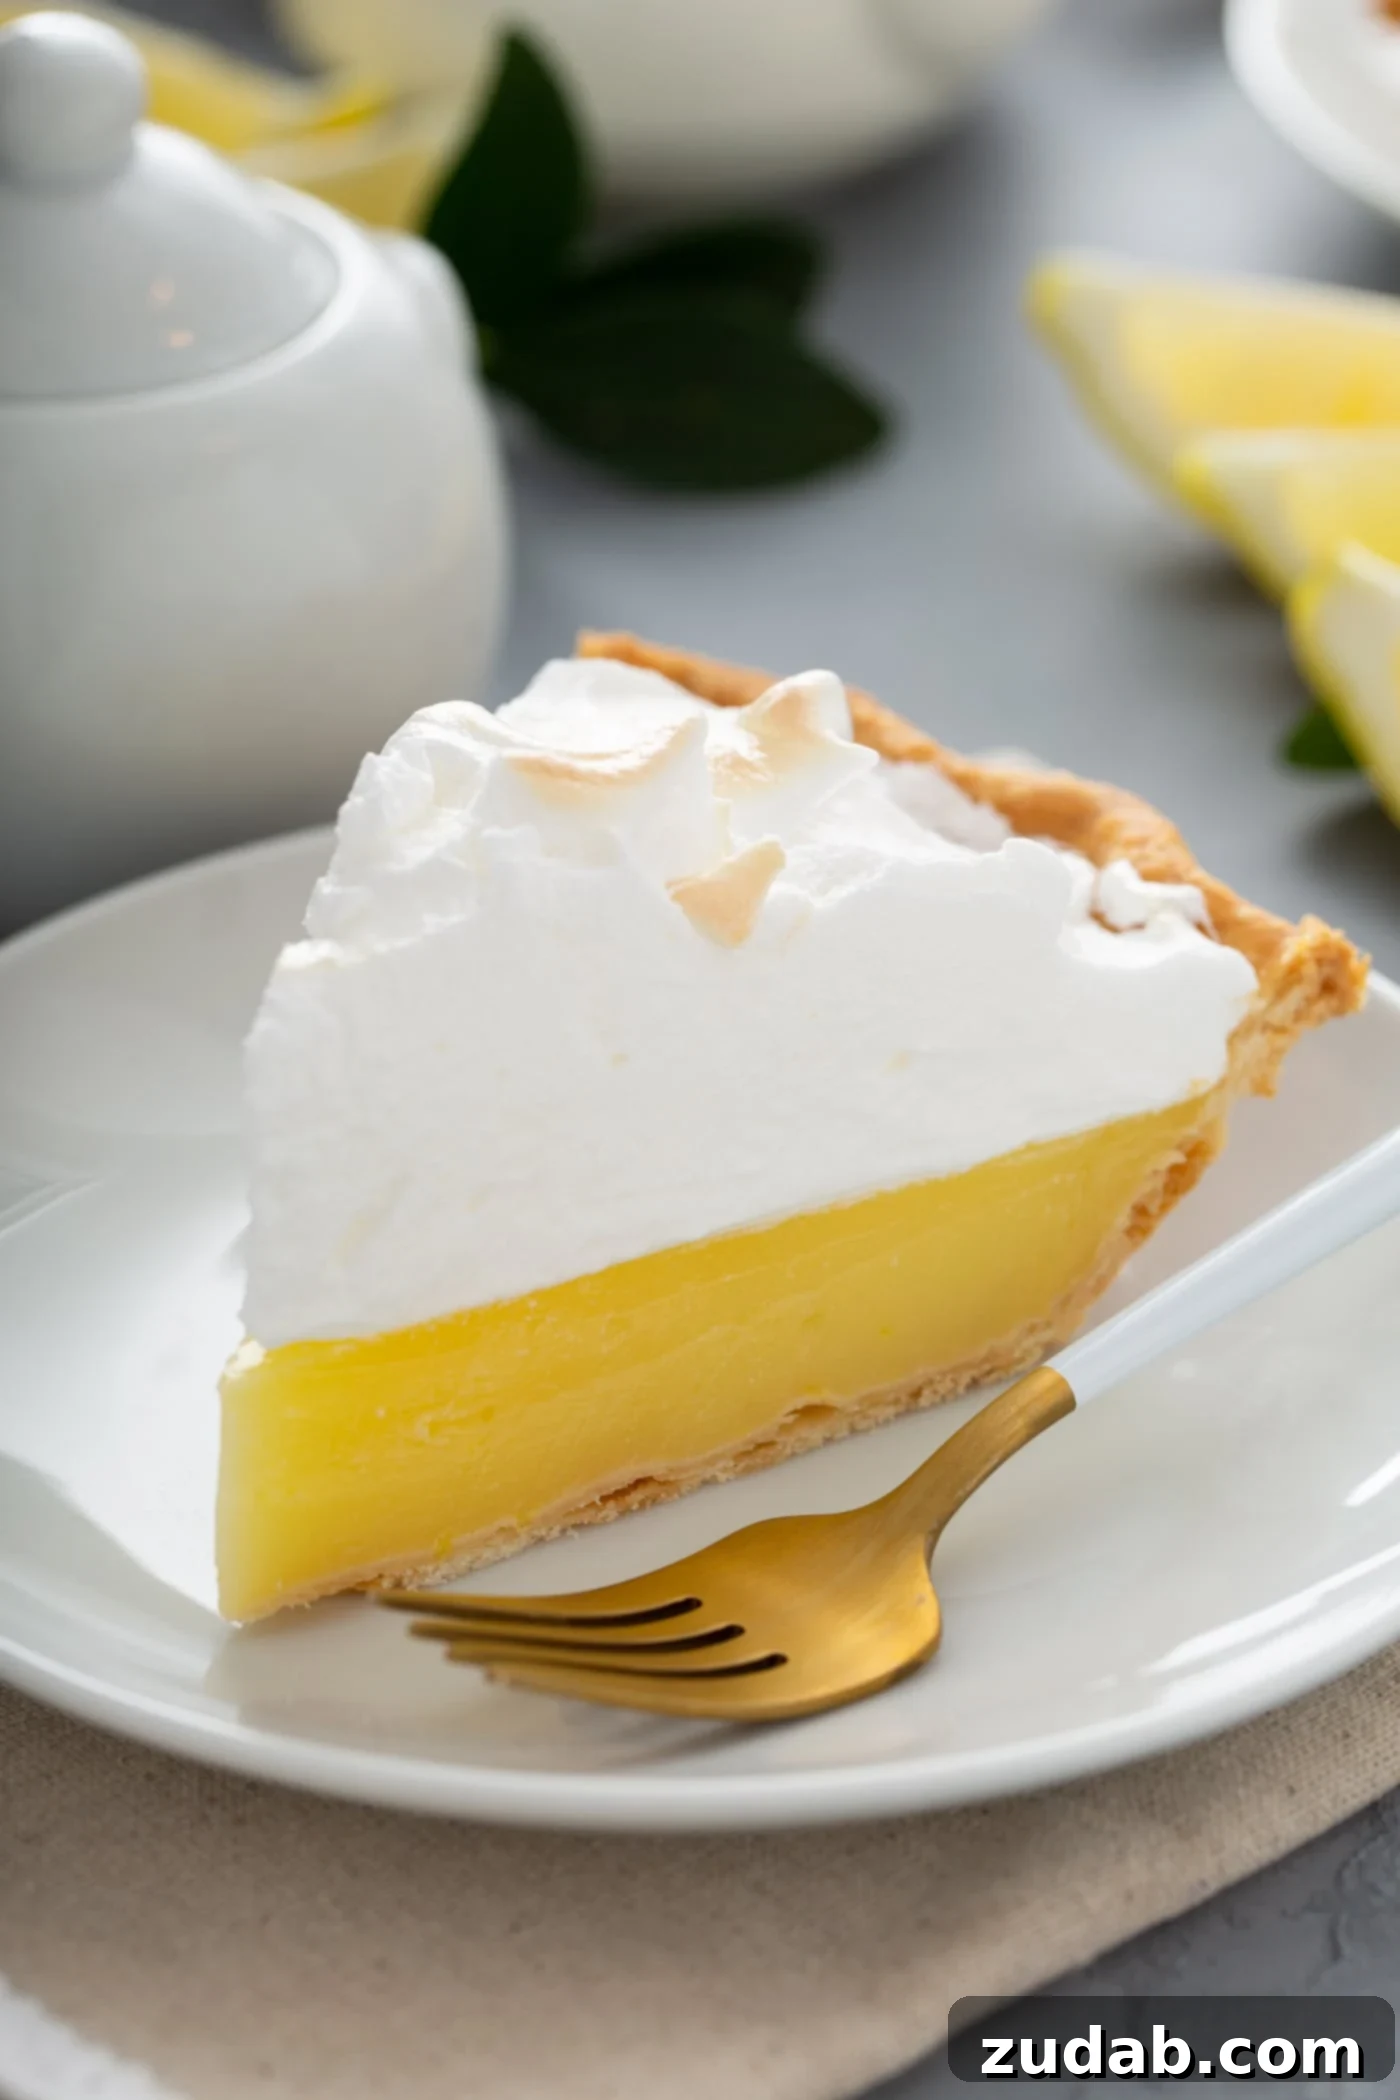
The question of making lemon meringue pie ahead of time often arises, and the answer is a bit nuanced: yes, but with significant caveats. While you can technically prepare it up to 2 days ahead and store it in the refrigerator, it will almost certainly begin to “weep” – that watery layer forming between the meringue and the filling. For this reason, we strongly advocate for making and serving lemon meringue pie on the very same day it is to be enjoyed. Freshness truly makes all the difference for this delicate dessert.
Strategies for Preparing Lemon Meringue Pie Components Ahead of Time
While serving lemon meringue pie fresh on the day of consumption is ideal, there are components you can prepare in advance to streamline your baking process:
- Pre-bake Your Pie Crust: The pie crust is an excellent candidate for advance preparation. Bake it according to the recipe, allow it to cool completely, then wrap it tightly in plastic wrap and store it at room temperature on your countertop. This saves significant time on baking day.
- Advance Filling Preparation (Use with Caution): If your schedule absolutely demands it, you *can* make the lemon filling ahead of time. Store it in an airtight container in the refrigerator. However, be aware that this increases the risk of weeping. If you choose this route, gently reheat the filling in a saucepan over low heat, stirring constantly, until it is steaming hot. Then, immediately pour it into your pre-baked pie crust and top with freshly made meringue. We highly encourage making the filling fresh on the day of assembly for the best results, but we understand that sometimes practicality dictates a different approach.

Optimal Storage for Lemon Meringue Pie
To maintain its freshness and quality, lemon meringue pie should always be stored in the refrigerator. Properly covered, it will keep well for up to 3 days. However, as noted, it is best enjoyed on the day it’s made to prevent potential weeping or changes in meringue texture. If storing, ensure it’s in an airtight container or covered loosely with plastic wrap to prevent the meringue from drying out or absorbing refrigerator odors.
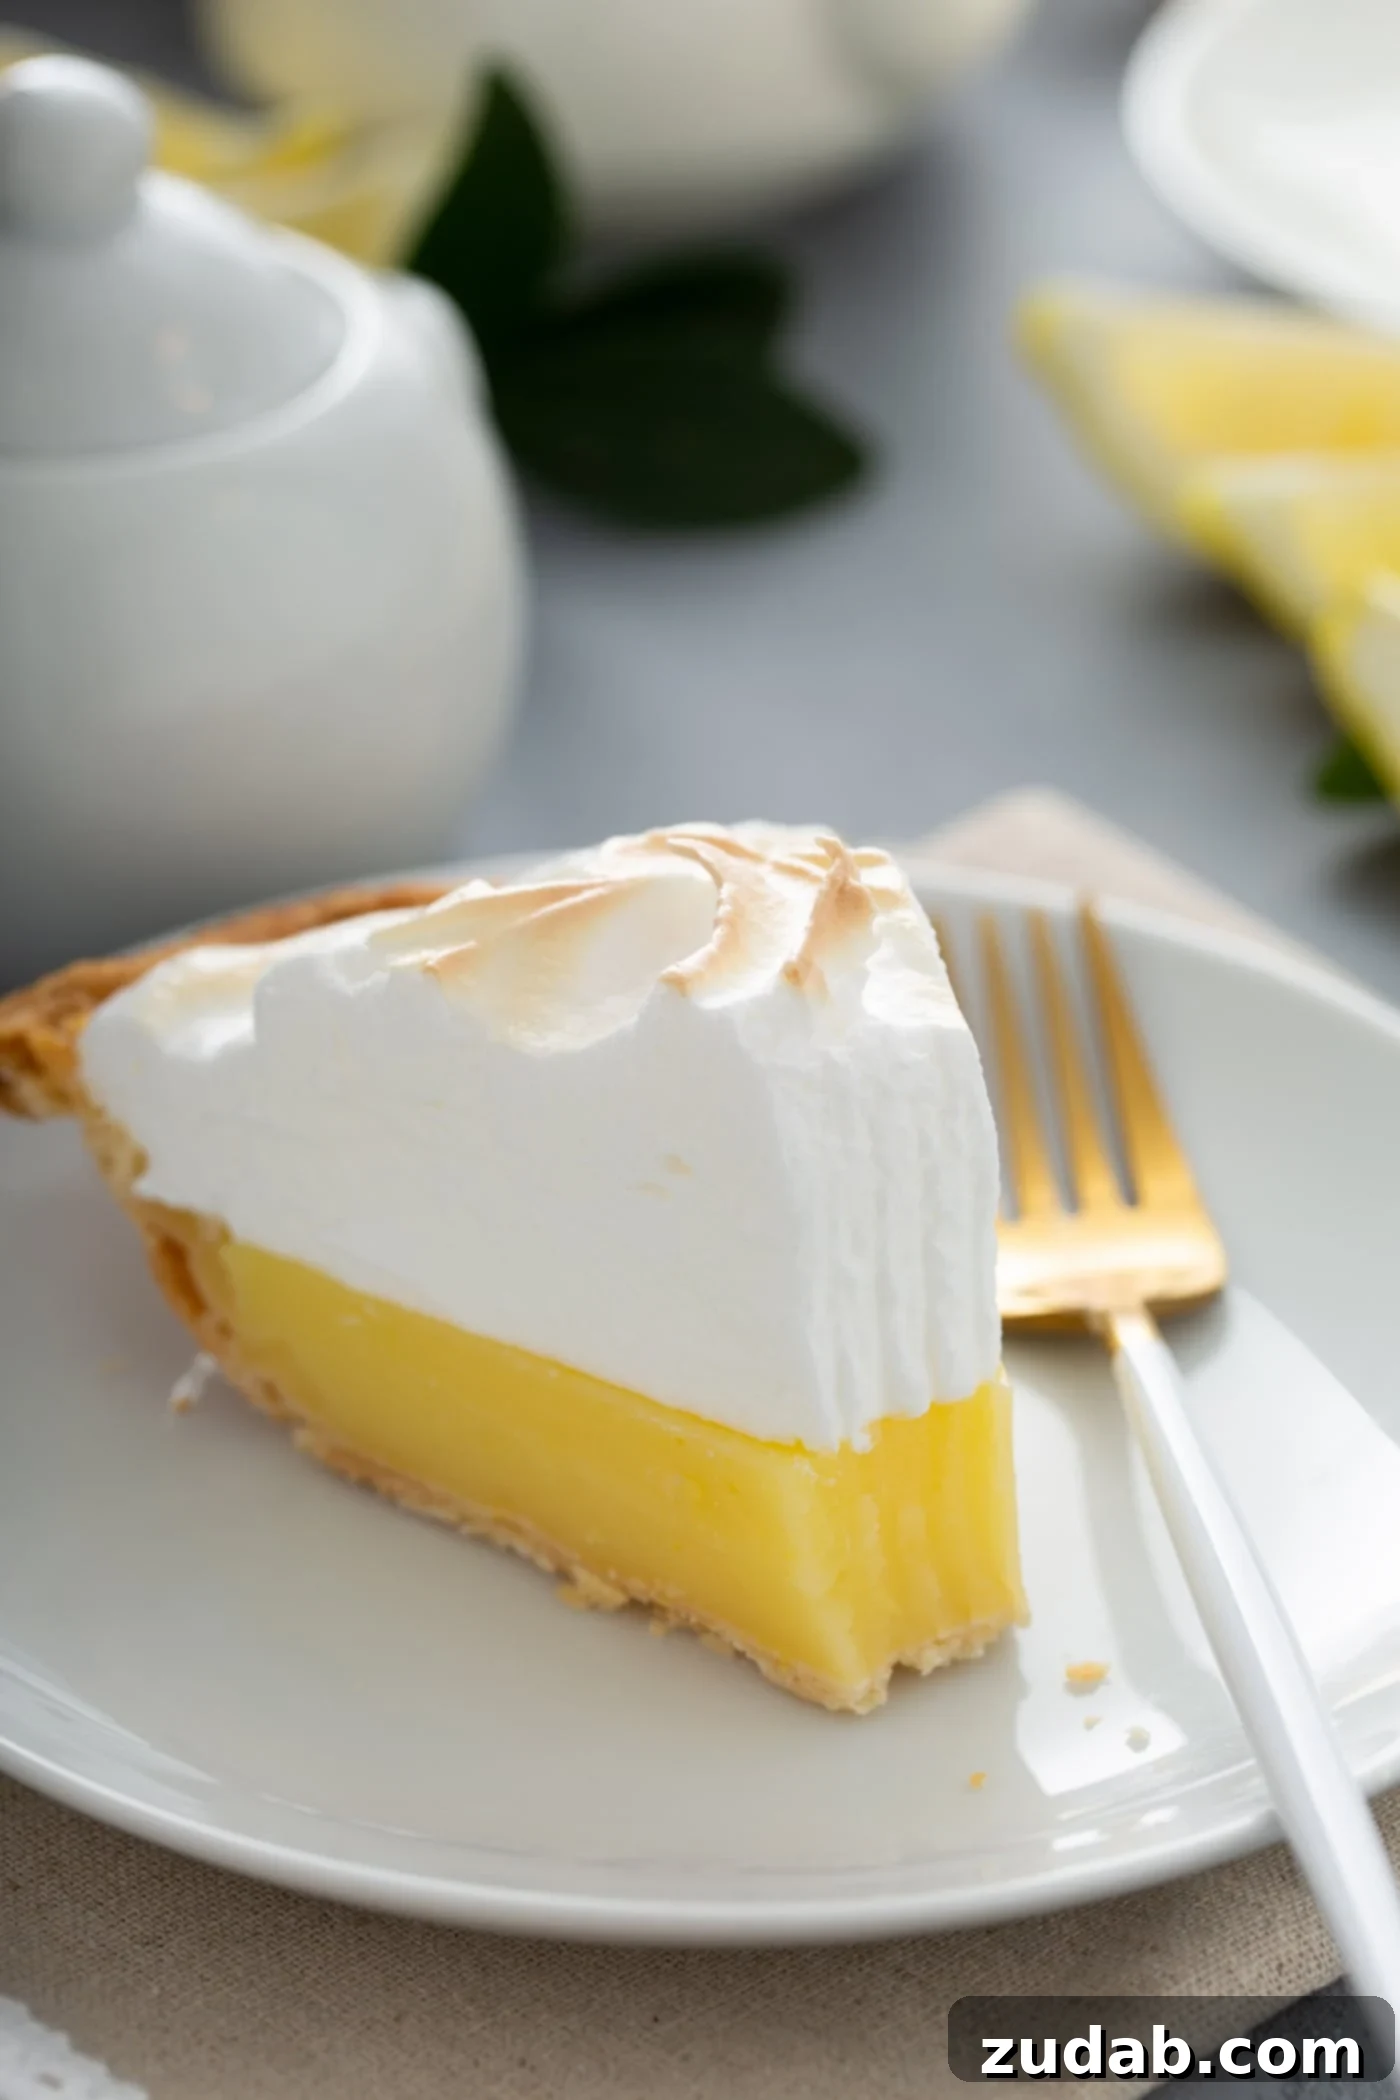
Prepare yourself, because with this recipe, you are about to become the go-to person for everyone’s lemon meringue pie cravings! As a self-proclaimed pie expert, I confidently declare that this pie is truly as good as they come. It delivers a perfect symphony of sweet, tart, and tangy notes, combined with a rich, decadent texture that makes it everything you could ever dream of in a lemon meringue pie. It’s an unforgettable dessert that will leave everyone asking for more!
Explore More Irresistible Pie Recipes:
- The Perfect Razzleberry Pie: A delightful blend of berries in a sweet, juicy filling.
- No-Bake Banana Pudding Pie: A creamy, effortless treat with a crunchy wafer crust.
- Easy No-Bake Chocolate Pie: Rich, decadent, and incredibly simple to prepare.
- Dulce de Leche Banana Cream Pie: A luscious twist on a classic, with caramel notes.
- Marionberry Pie: Featuring the unique, intense flavor of marionberries.
- No-Bake Coconut Cream Pie: A tropical, creamy delight that requires no oven.
- Dutch Apple Pie: A comforting classic with a sweet, crumbly topping and a hint of white chocolate.
- Homemade French Silk Pie: Indulgently smooth, rich chocolate perfection.
- Simple Blueberry Pie: A rustic and flavorful dessert bursting with fresh blueberries.
- ALL OF OUR PIE RECIPES!: Discover a wide array of pies for every occasion and craving.
Mom’s Lemon Meringue Pie

Ingredients
Pie Crust
- 1 All Butter Pie Crust
- 1 Egg White
- 1 teaspoon Water
For the Filling
- 2/3 Cup EZ Gel, or 1/3 Cornstarch
- 1/2 teaspoon Salt
- 1 Cup Sugar
- 1 ⅓ Cups Water, hot
- 2 ½ teaspoons Lemon Zest, about one and a half lemons zested
- 1/3 Cup Lemon Juice, about 2 lemons- see note
- 4 Egg Yolks, reserve egg whites for meringue
- 2 Tablespoons Butter
For the Meringue
- 6 Egg Whites, room temperature
- 1/8 teaspoon Salt
- 1/4 teaspoon Cream of Tarter
- 1/2 Cup Sugar
Instructions
Pie Crust
-
Prepare the pie crust and then chill the dough in a glass or ceramic plate (9″ pie plate) for about 30 minutes.1 All Butter Pie Crust
-
Preheat the oven to 425 degrees F with a cookie sheet if you’re extra worried about a soggy crust. I generally skip this.
-
Poke a few holes on the bottom and sides of the crust, about 8-10 and lay parchment on top. Fill 1/2-2/3 the way full of pie weights or dried beans.
-
Bake for 17-20 minutes then remove from the oven and take out the weights and parchment.
-
Bake for an additional 5-10 minutes.
-
Brush with an egg wash which has been whisked together (egg white and water or 1 egg yolk and 2-3 teaspoons heavy cream.) and bake 1-2 minutes more to seal the crust.1 Egg White, 1 teaspoon Water
For the Filling
-
Combine EZ gel, salt, and sugar in a large sauce or stock pan.1 Cup Sugar, 2/3 Cup EZ Gel, 1/2 teaspoon Salt
-
Blend in water until smooth.1 ⅓ Cups Water
-
Cook over medium heat, stirring constantly, until thick and clear (5-8 min).
-
Remove from heat.
-
Stir in lemon juice and zest.2 ½ teaspoons Lemon Zest, 1/3 Cup Lemon Juice
-
Cook 2 min.
-
Blend a small amount of hot liquid with egg yolks-whisking quickly- to bring the yolks up to temperature without cooking them too fast.4 Egg Yolks
-
Return to pan and cook 2 min. stirring constantly.
-
Remove from heat, add butter.2 Tablespoons Butter
-
Pour immediately into cooked pie shell (I like to use 1/2 a recipe of Kristin’s magic pie crust).
-
Take a large spatula full of meringue and spread it around the outer edge of the pie like a donut, pressing it against the crust to completely seal together crust and meringue. Pile all of the remaining meringue into the center like a large dome and switch to a small spoon. Using the back of the spoon, swirl and lift the spoon to create mountain peaks and valleys.
-
Bake at 375 10-12 min, or until meringue is golden brown in the valleys.
-
Serve room temp or chilled. Store leftovers in the fridge.
For the Meringue
-
Beat egg whites with salt and tarter on high until soft peaks form.6 Egg Whites, 1/8 teaspoon Salt, 1/4 teaspoon Cream of Tarter
-
Add sugar gradually while beating.1/2 Cup Sugar
-
Beat until stiff peaks form.
-
Spread meringue on top of hot lemon filling.
-
Use the back of a spoon or spatula to create peaks.
-
Bake as directed above.
Recipe Notes
Refer to the earlier sections in this post for comprehensive tips on how to prevent a weeping pie, address separated or shrunk meringue, and avoid a soggy crust. These detailed troubleshooting guides will help ensure your pie is perfect every time.
Always store any leftover lemon meringue pie in the refrigerator to maintain its quality and freshness.
Nutrition
Nutrition information is automatically calculated, so should only be used as an approximation.
REMEMBER TO SUBSCRIBE TO our FREE Oh Sweet Basil NEWSLETTER AND RECEIVE EASY RECIPES DELIVERED INTO YOUR INBOX EVERY DAY!
When you try a recipe, please use the hashtag #ohsweetbasil on INSTAGRAM for a chance to be featured in our stories! FOLLOW OH, SWEET BASIL ON FACEBOOK | INSTAGRAM | PINTEREST | TWITTER FOR ALL OF OUR LATEST CONTENT, RECIPES AND STORIES.