
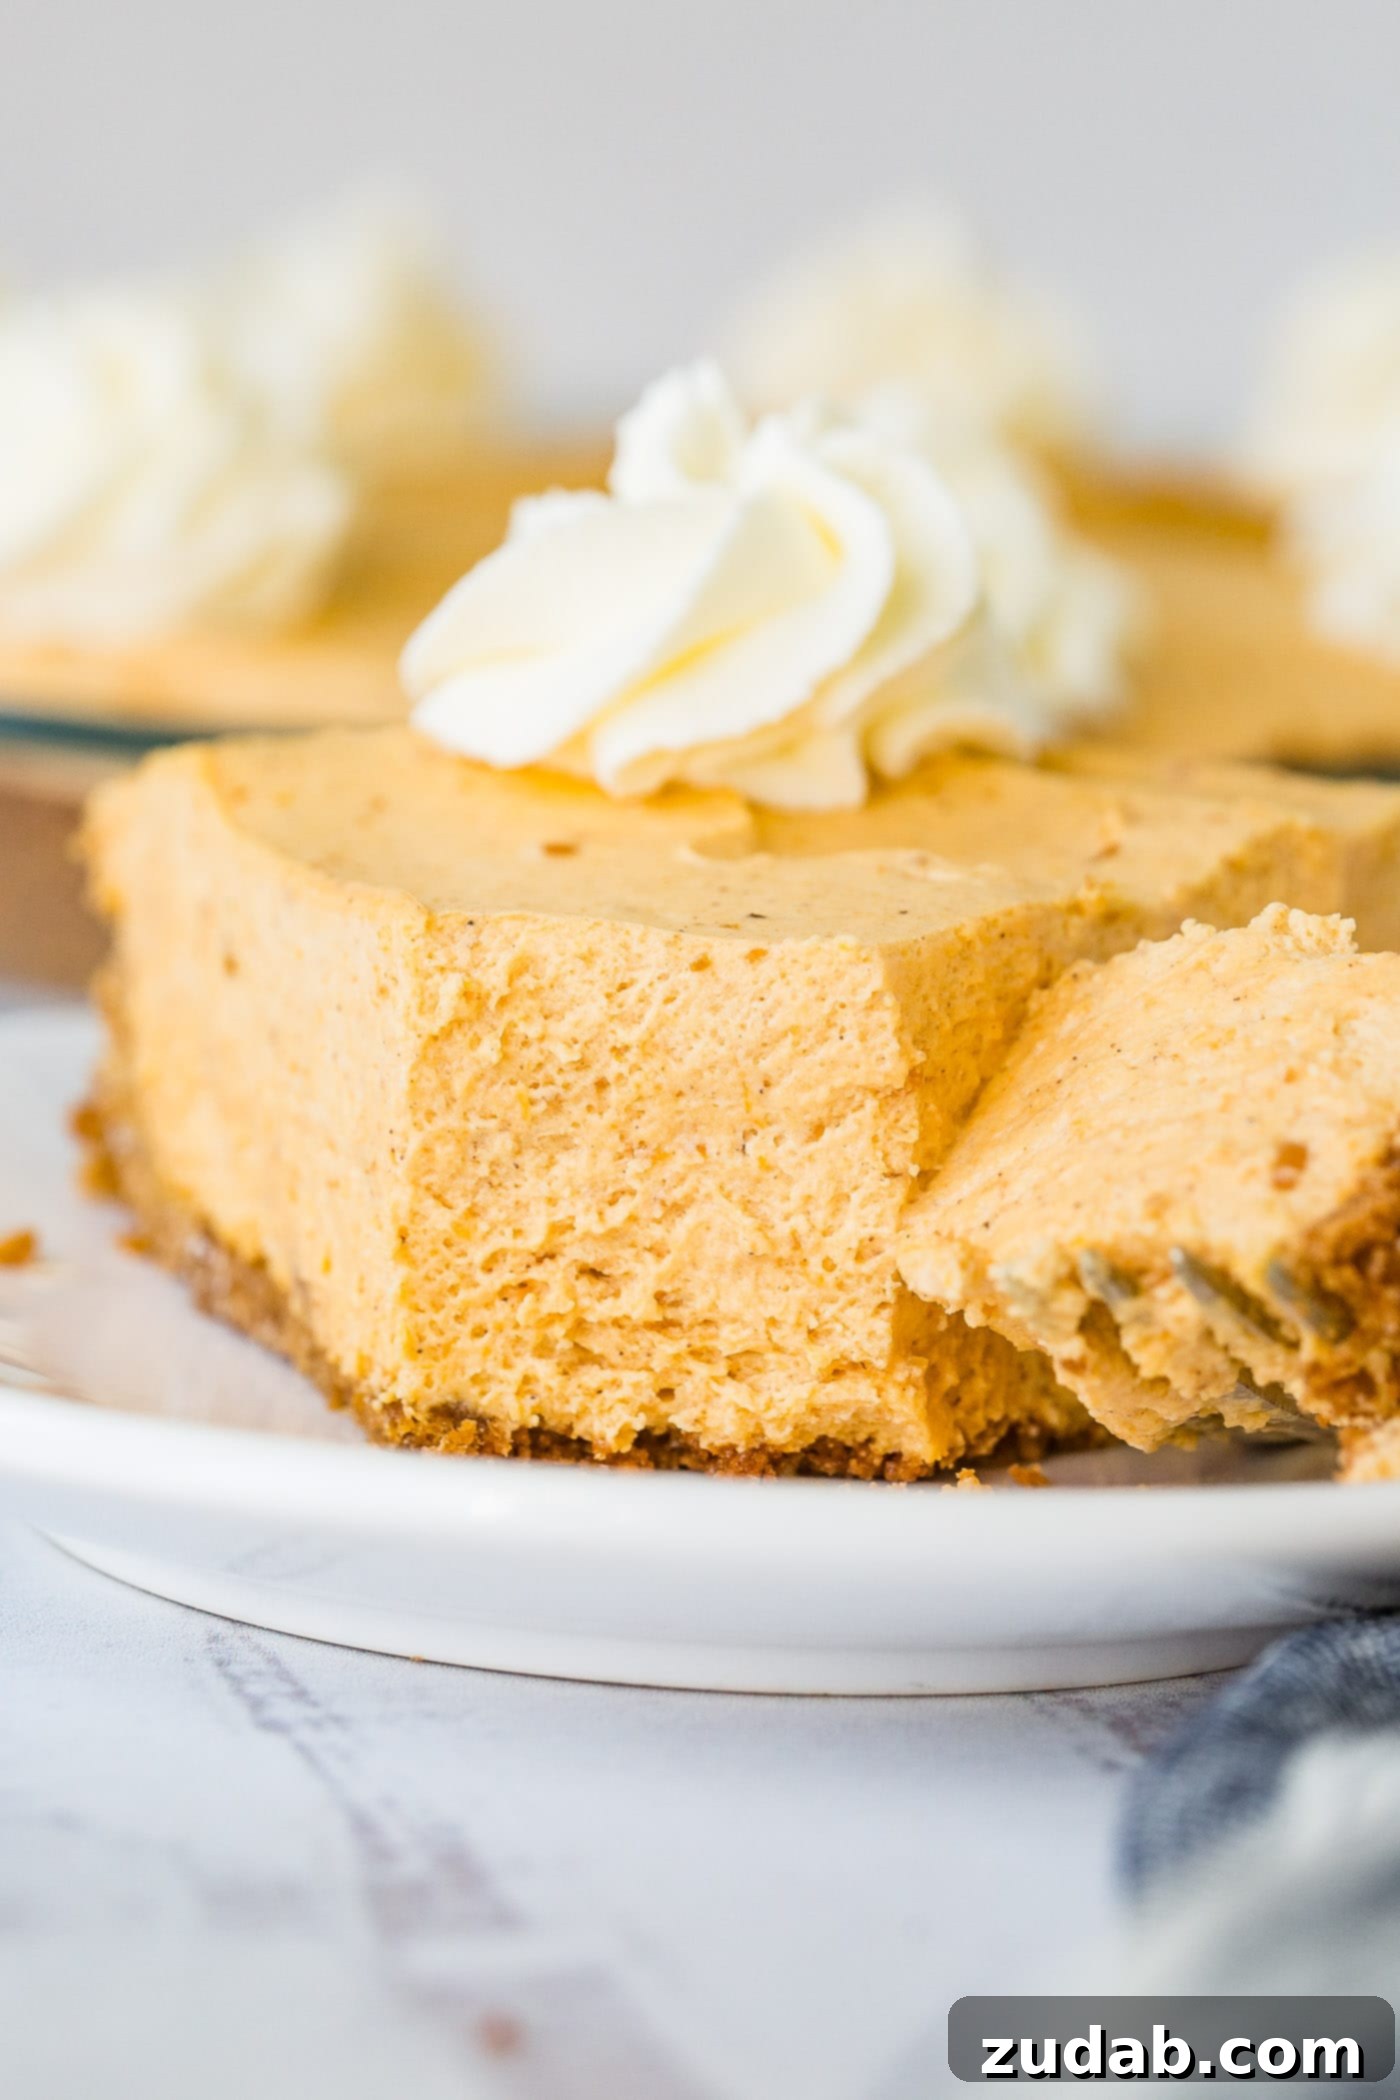
No Bake Pumpkin Pie is your ultimate answer for a simple, no-fuss, and consistently flawless pumpkin pie, especially perfect for Thanksgiving or any seasonal craving. This delightful dessert satisfies all your pumpkin pie desires without the traditional complexities of baking or making a pie crust from scratch, making it an ideal choice for both novice bakers and seasoned hosts looking for an effortless option.
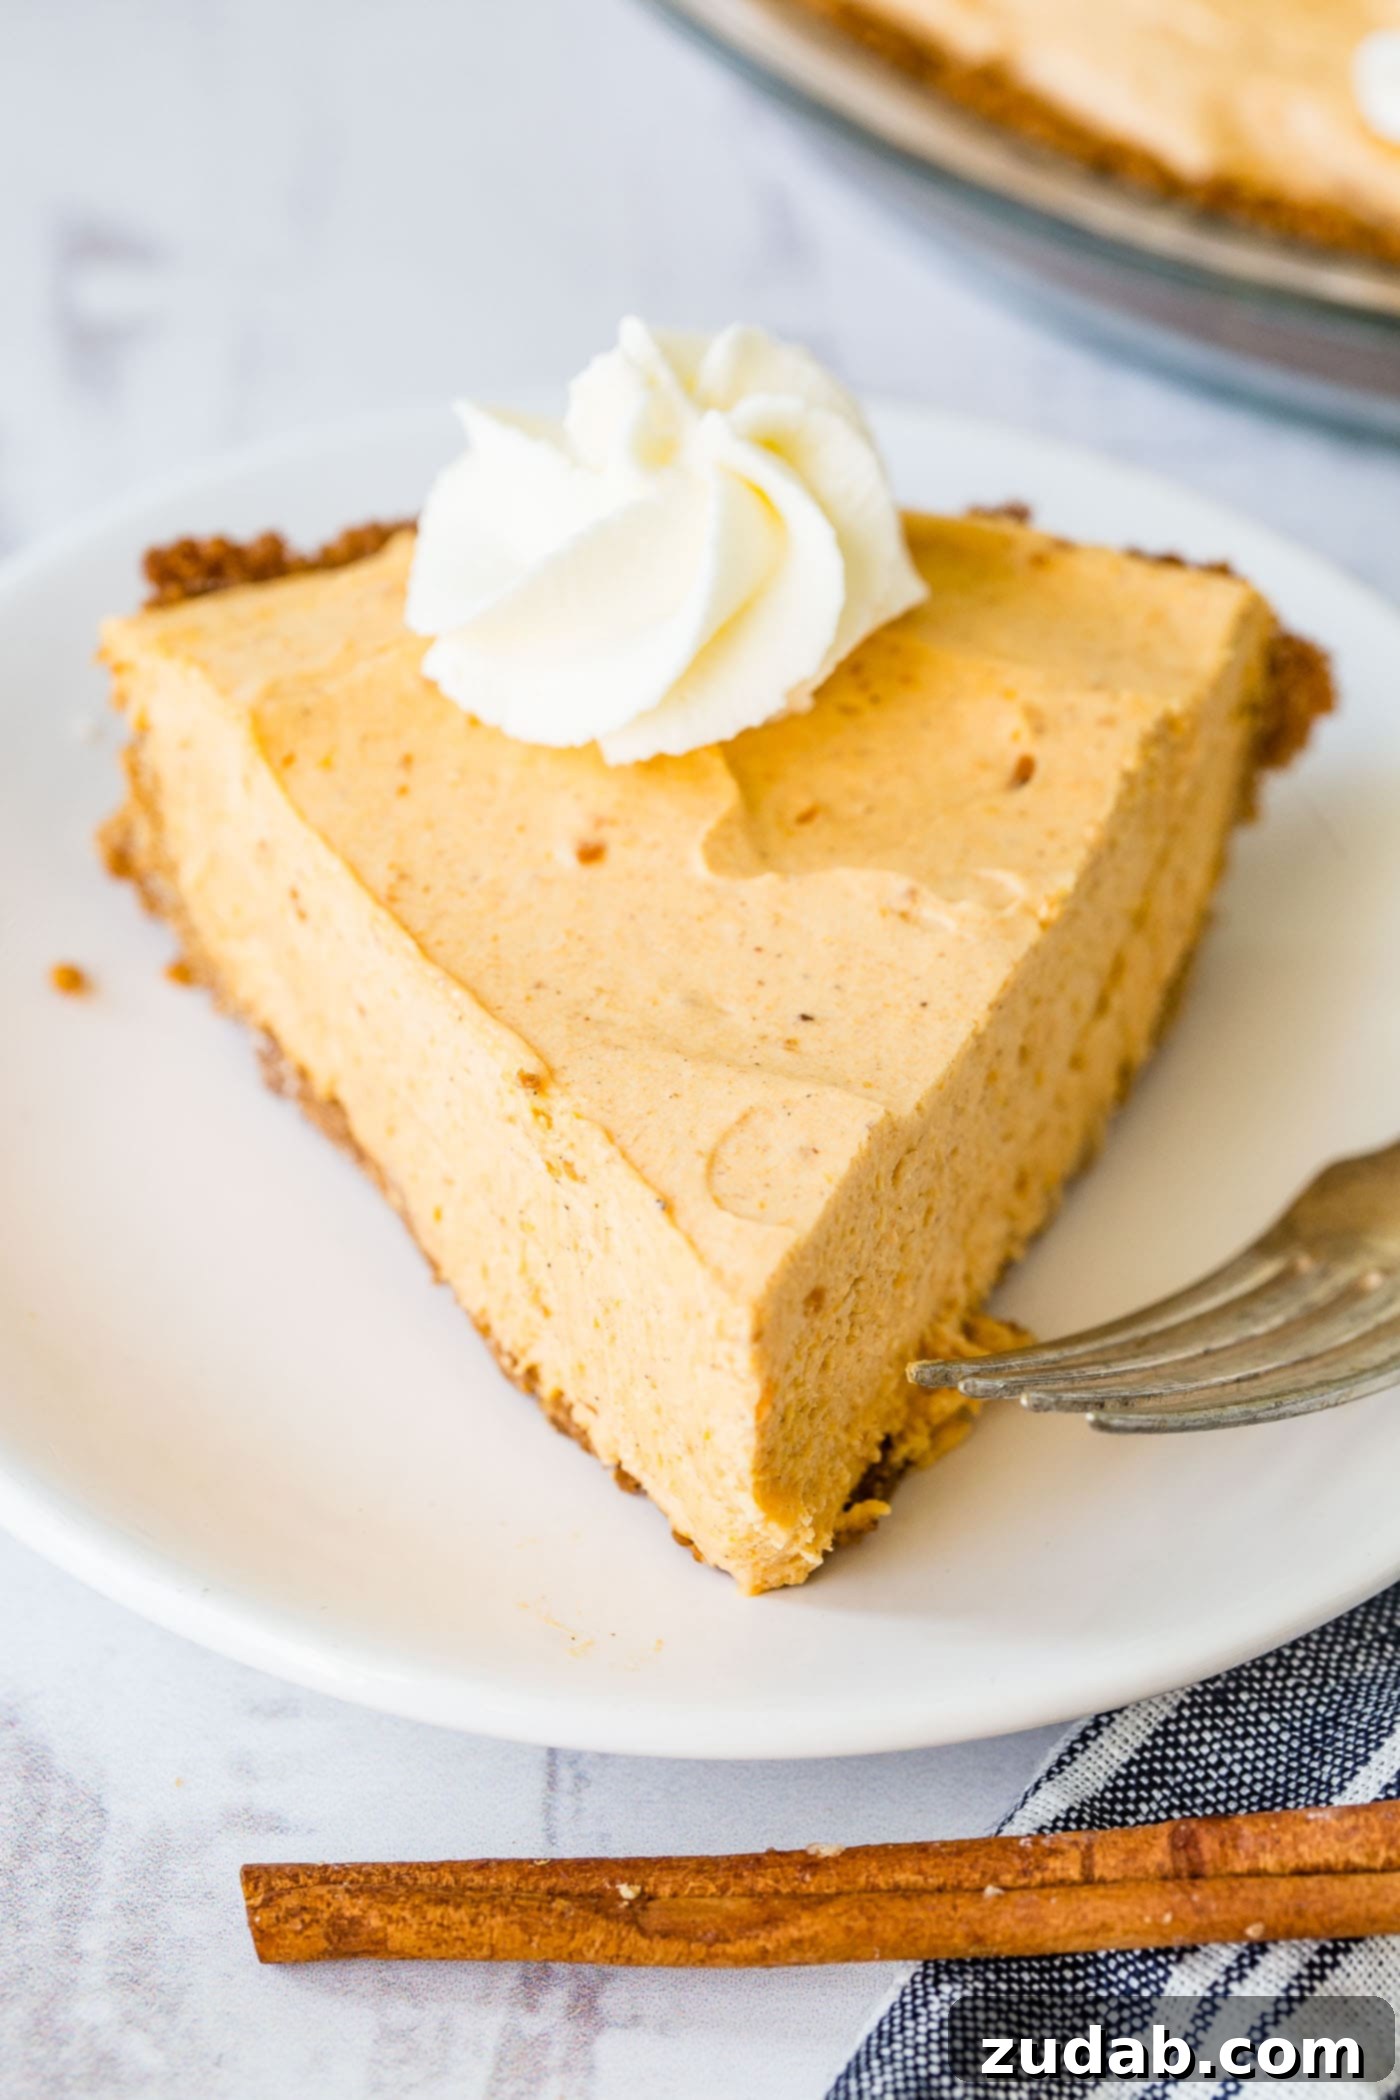
While classic pumpkin pie holds a special place in holiday traditions, our pumpkin cheesecake bars with a delightful gingersnap crust have certainly garnered immense popularity. They are undeniably incredible, and we totally understand why they’re quickly becoming a favorite. However, we consistently receive requests from our beloved readers for even more no-bake dessert options, offering convenience without compromising on flavor or quality.
We already have a fantastic no-bake pumpkin pie recipe that many adore, but it often relies on instant pumpkin pudding mix, which can be surprisingly difficult to find outside of peak season (we’re talking buying out entire shelves at Walmart!). To ensure everyone can enjoy a hassle-free pumpkin treat, this particular recipe ingeniously uses real pumpkin puree and classic pumpkin pie spice, completely eliminating the need for any instant pudding mix. This innovation means you can whip up this amazing dessert anytime, anywhere, with readily available ingredients.
Crafting a pumpkin marshmallow no-bake pie was the logical next step on our list. It’s specifically designed for those who might feel intimidated by the intricacies of preparing a traditional baked pumpkin pie but still yearn for that homemade, comforting taste and exquisite texture. This recipe ensures a luscious, creamy, and undeniably festive dessert with minimal effort.
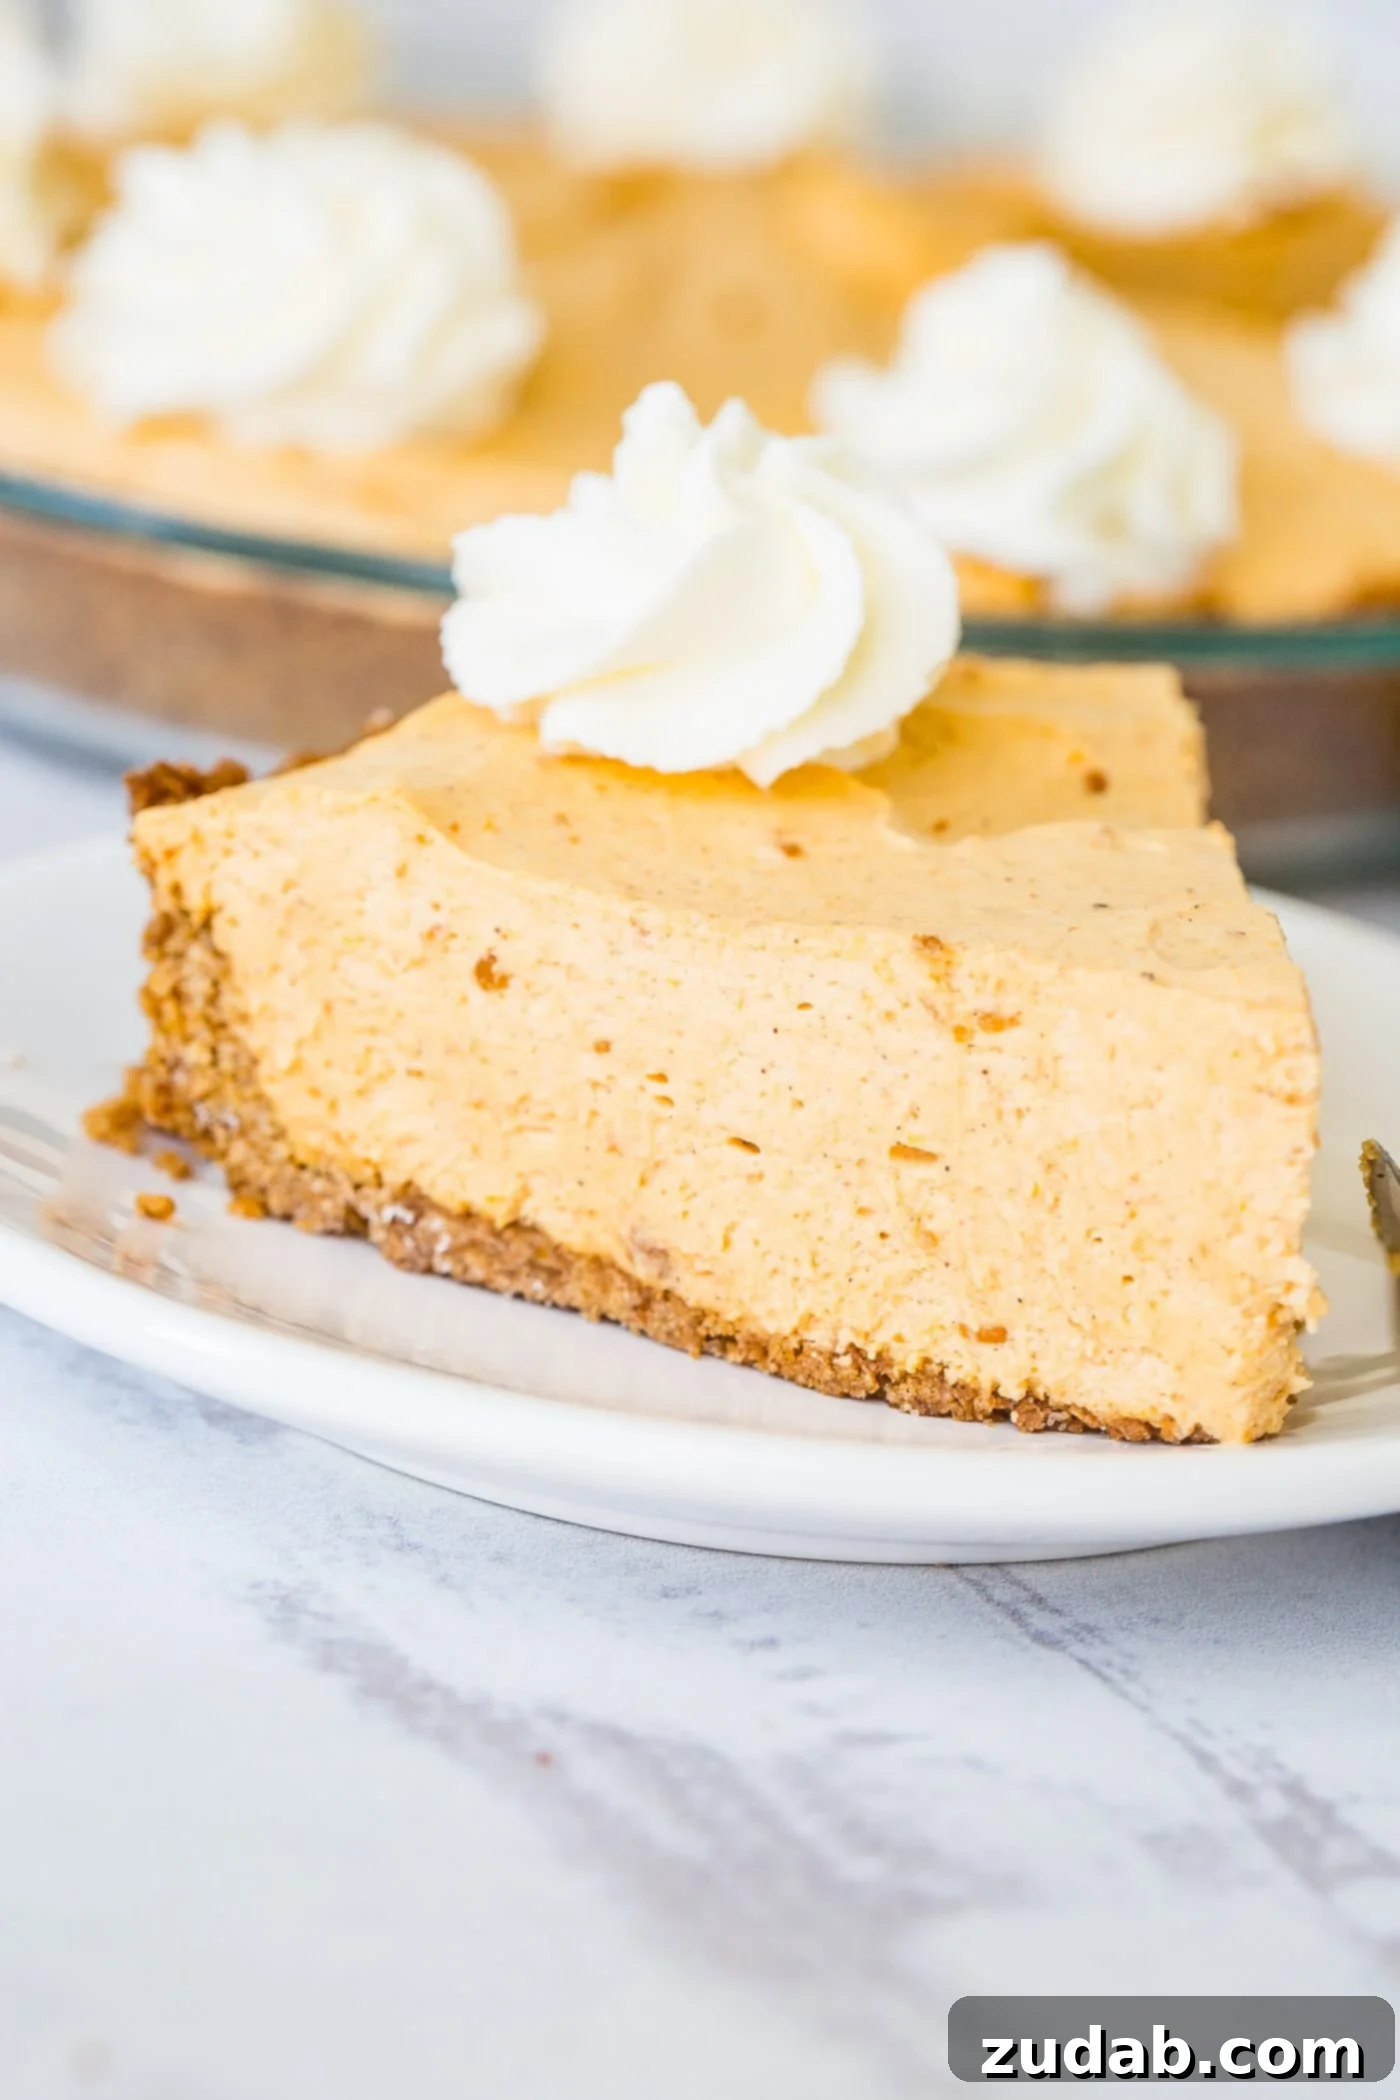
Crafting the Perfect No Bake Pumpkin Pie: A Step-by-Step Guide
Creating this delightful No Bake Marshmallow Pumpkin Pie is a straightforward process, broken down into two main components: the crust and the filling. Let’s dive into how each part comes together to create a truly irresistible dessert.
The Foundation: A Simple Graham Cracker Crust
Every great pie starts with a stellar base, and for this recipe, we opt for a classic graham cracker crust. There’s something undeniably satisfying about its buttery, slightly sweet crunch that perfectly complements the creamy pumpkin filling. If you’re anything like me, you might have childhood memories of favoring the crust of a cheesecake, and this one is just as dreamy! You’ll only need five common ingredients to bring this simple, yet essential, component to life:
- Graham cracker crumbs (finely crushed)
- Brown sugar (for a touch of molasses flavor and moisture)
- Granulated sugar (for sweetness)
- Ground cinnamon (to enhance the spice profile)
- Melted butter (the binding agent that makes it rich and flavorful)
To prepare, simply combine all these ingredients in a bowl. Mix them thoroughly until the mixture takes on the consistency of wet sand – moist enough to hold together when pressed. Then, transfer this crumb mixture into a standard 9-inch pie pan. Use your fingers or the bottom of a glass to firmly press the mixture across the bottom and up the sides of the pan. For the absolute best results, we recommend baking this crust at 350 degrees Fahrenheit (175°C) for 8-10 minutes. Baking helps to set the crust, making it sturdier and less crumbly, and also deepens its flavor. Once baked, set it aside to cool completely before adding the filling. This cooling step is crucial to prevent the warm crust from melting the delicate filling.
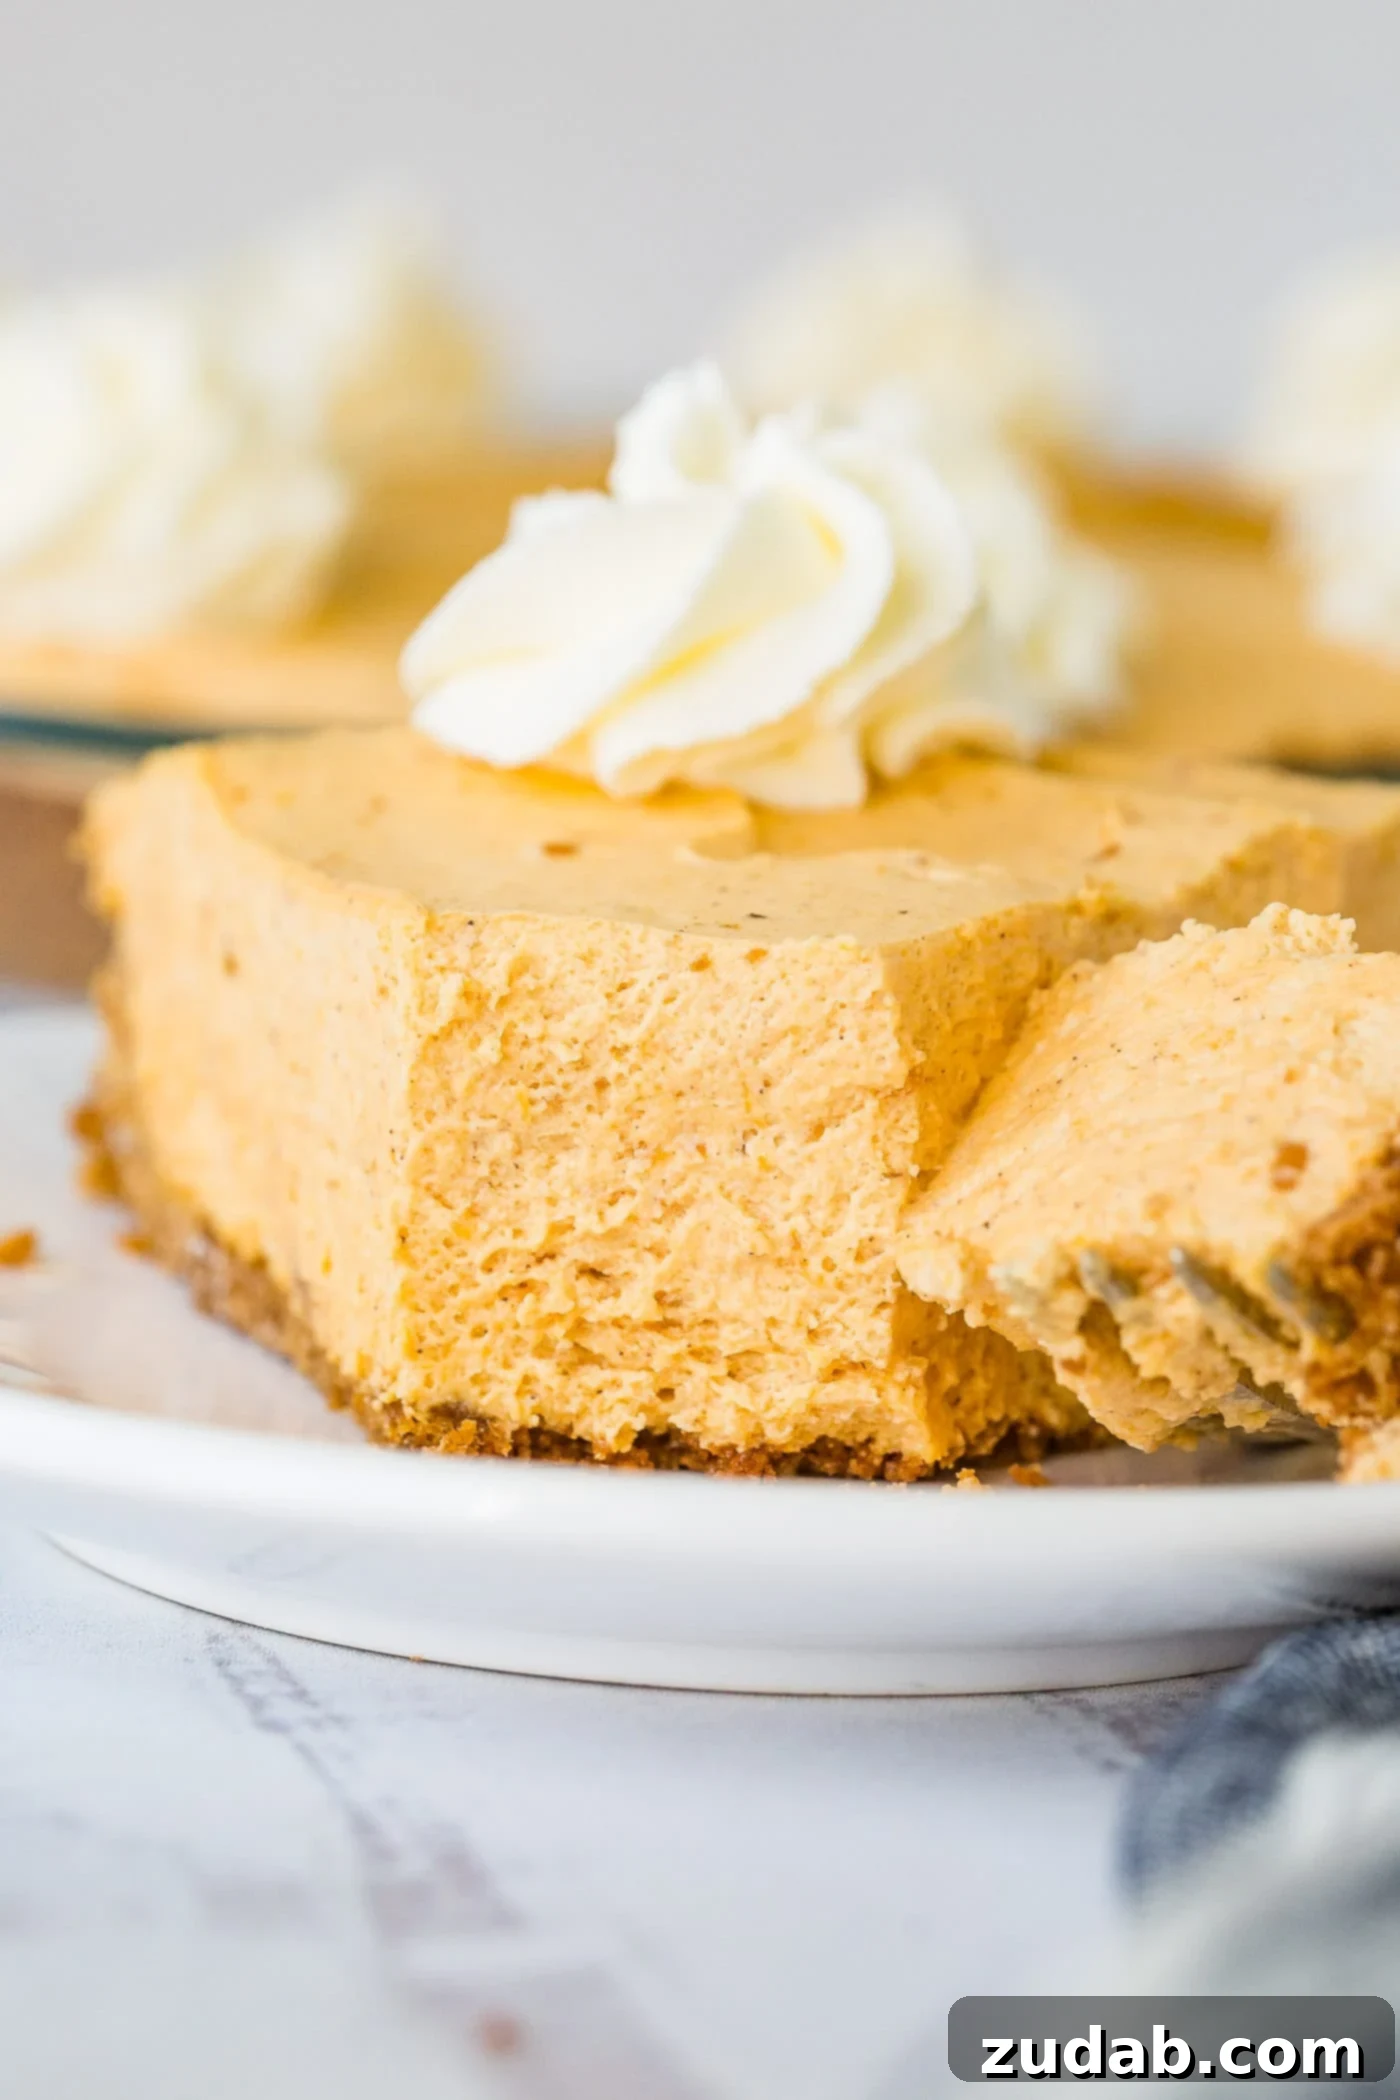
The Star: Creamy Marshmallow Pumpkin Filling
The velvety filling for this no-bake pie is surprisingly easy to create, coming together in just two simple steps and requiring only five ingredients. It’s a delightful blend that delivers classic pumpkin flavor with a wonderfully light and airy texture, thanks to the marshmallows and whipped cream.
Step One: Creating the Pumpkin-Marshmallow Base
Begin by combining your pumpkin puree (and remember, it’s crucial to use pure pumpkin puree, not pumpkin pie filling, which already contains spices and sweeteners), a touch of ground cinnamon, the mini marshmallows, and your pumpkin pie spice in a saucepan. Place the saucepan over medium-low heat. Stir everything together continuously. The gentle heat will gradually melt the marshmallows, infusing the pumpkin with their sweetness and creating a smooth, cohesive base. Continue stirring until the marshmallows are completely dissolved and the mixture is silky smooth. Once melted, remove the mixture from the heat and transfer it to a clean bowl. This pumpkin-marshmallow base then needs to be cooled completely in the refrigerator. This chilling process will take approximately 30-60 minutes, or longer if needed, to ensure it’s thoroughly cold before moving to the next step. This is vital for achieving the correct texture in the finished pie.
Step Two: Whipping and Combining for Fluffy Perfection
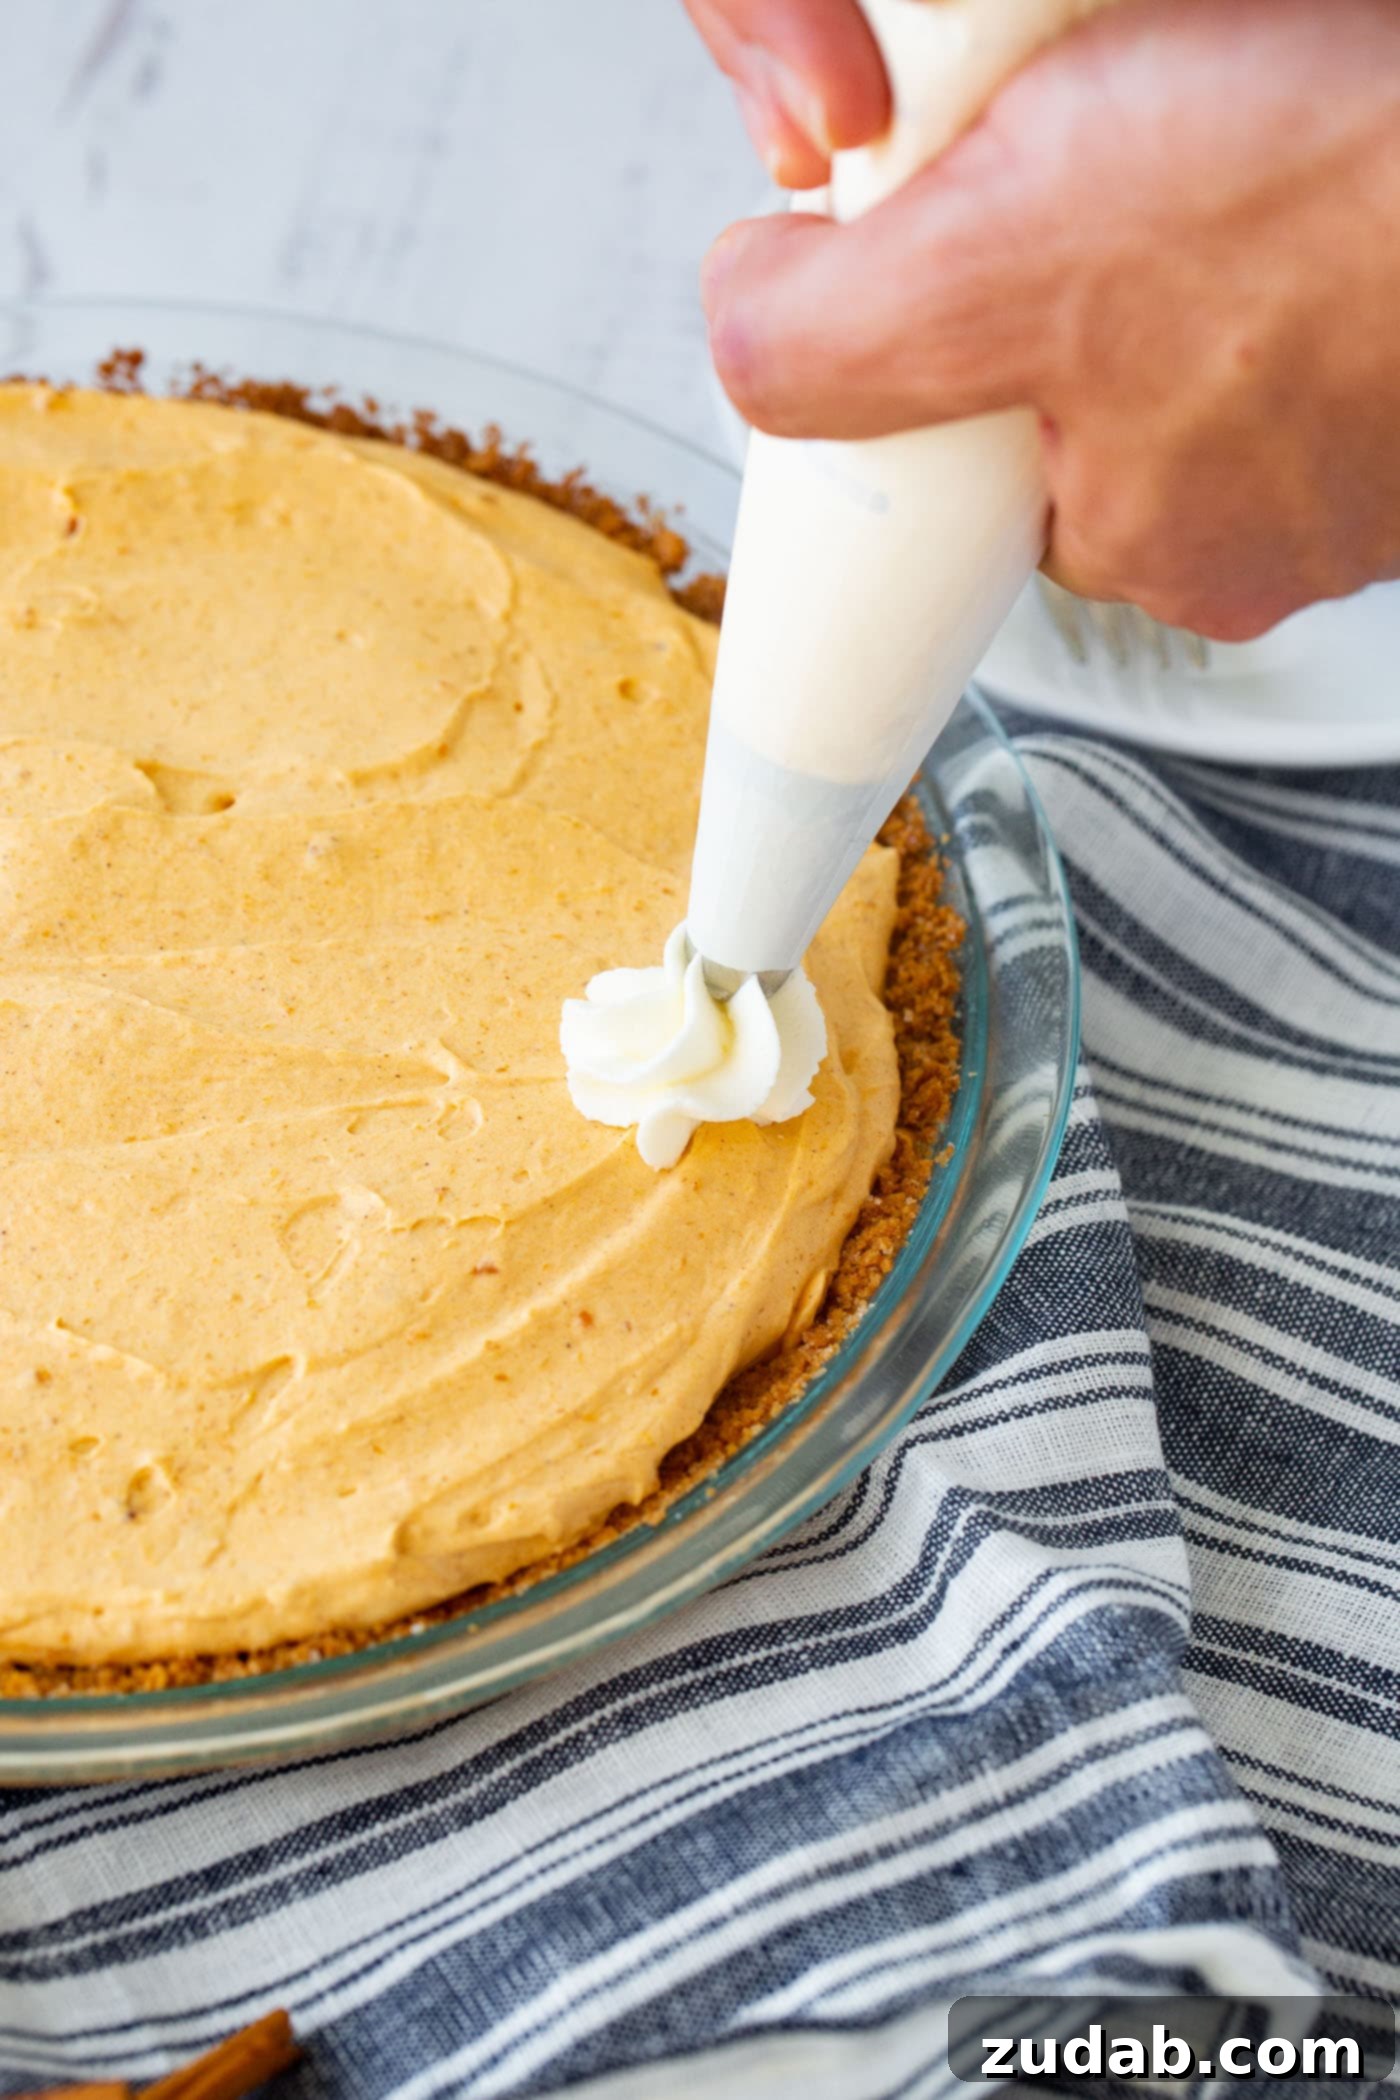
While your pumpkin mixture is chilling, you can prepare the whipped cream. In a separate, well-chilled bowl (chilling your bowl and whisk attachments can help achieve stiffer peaks), whip the heavy cream using a hand mixer or stand mixer until soft peaks form. Soft peaks hold their shape but are still light and airy. Once achieved, set the whipped cream aside. Now, retrieve your thoroughly cooled pumpkin mixture from the refrigerator. Using a hand mixer, beat the pumpkin mixture for about 1 minute. This step incorporates air, making the mixture lighter and fluffier, and ensures a smooth consistency. Finally, and with care, gently fold the whipped cream into the pumpkin mixture using a rubber spatula. The goal here is to combine them without deflating the whipped cream, preserving that wonderfully airy texture. Once fully combined, spoon the luscious filling into your cooled graham cracker crust, spreading it evenly. The pie then needs to chill in the refrigerator for a minimum of 2 hours to allow it to set completely. For the best, firmest slices, chilling overnight is highly recommended.
Demystifying Pumpkin Pie Spice
Pumpkin pie spice is a signature blend of warm, aromatic spices synonymous with autumn and holiday baking. It’s the secret ingredient that gives pumpkin desserts their distinctive, comforting flavor profile. Typically, this blend consists of ground cinnamon, ginger, nutmeg, and allspice, sometimes with cloves thrown in for good measure. These spices work in harmony to create a rich and inviting warmth.
If you find yourself without a pre-made blend or can’t locate it at your local grocery store, don’t fret! Making your own homemade pumpkin pie spice is incredibly easy and allows you to customize the ratios to your personal preference. A common homemade blend might be: 3 tablespoons ground cinnamon, 2 teaspoons ground ginger, 2 teaspoons ground nutmeg, 1 teaspoon ground allspice, and 1 teaspoon ground cloves. Mix them all together, and store in an airtight container. This DIY approach ensures you always have this essential spice blend on hand for all your pumpkin-inspired creations.
To Bake or Not to Bake: Your Graham Cracker Crust Dilemma
While this is a “no-bake” pie, the question often arises regarding the graham cracker crust: is baking truly necessary? From our experience, baking a graham cracker crust significantly enhances the final product. A baked crust develops a richer, toasted flavor and a much sturdier structure, making it less prone to crumbling when you slice into your pie. It provides a more satisfying bite and better support for the creamy filling.
However, if your goal is truly *zero* oven time, or if oven space is a premium (especially during busy holiday cooking), you can absolutely opt for a no-bake crust. To achieve the best possible stability without baking, simply press your graham cracker mixture firmly into the pie pan and then place it in the refrigerator for at least a couple of hours. This extended chill time allows the butter to firm up completely, binding the crumbs together more effectively. While it may not be as crisp or flavorful as a baked crust, it will still hold together reasonably well and serve as a delicious foundation for your no-bake pumpkin pie.
Heavy Cream vs. Half-and-Half: Understanding the Difference for Your Pie
A common question in dessert recipes involving whipped toppings is the interchangeability of heavy cream and half-and-half. The simple answer is no, half-and-half is not the same as heavy cream, and for this recipe, the distinction is critical. Half-and-half is, as its name suggests, an equal blend of heavy cream and whole milk. This means it has a significantly lower fat content compared to heavy cream (typically around 10-18% milk fat for half-and-half versus 36% or more for heavy cream).
The high-fat content of heavy cream is what allows it to be whipped into the soft, stable peaks required for this recipe’s airy filling. Half-and-half, with its lower fat percentage, simply will not whip up in the same way; it will remain liquid or achieve only a very loose, unstable froth. While both are dairy products and delicious in their own right, heavy cream is indispensable for achieving the light, fluffy texture that makes this Marshmallow No Bake Pumpkin Pie so delightful.
Freezing a Graham Cracker Crust for Future Convenience
Preparing components of your dessert in advance can be a huge time-saver, especially during busy holiday seasons. A prepared graham cracker crust is an excellent candidate for this, as it freezes remarkably well. Once your crust is pressed into the pie pan (and baked and cooled, if you chose that method), you can easily freeze it for up to 3 months without any loss of quality. To do so, ensure the baked crust is completely cool. Then, wrap the entire pie pan, with the crust inside, tightly in several layers of plastic wrap. For added protection against freezer burn, place the wrapped pie pan into a large, freezer-safe ziplock bag or an airtight container. When you’re ready to use it, simply remove it from the freezer and allow it to thaw at room temperature for a short while, or in the refrigerator, before adding your filling.
Does No Bake Pumpkin Pie Require Refrigeration?
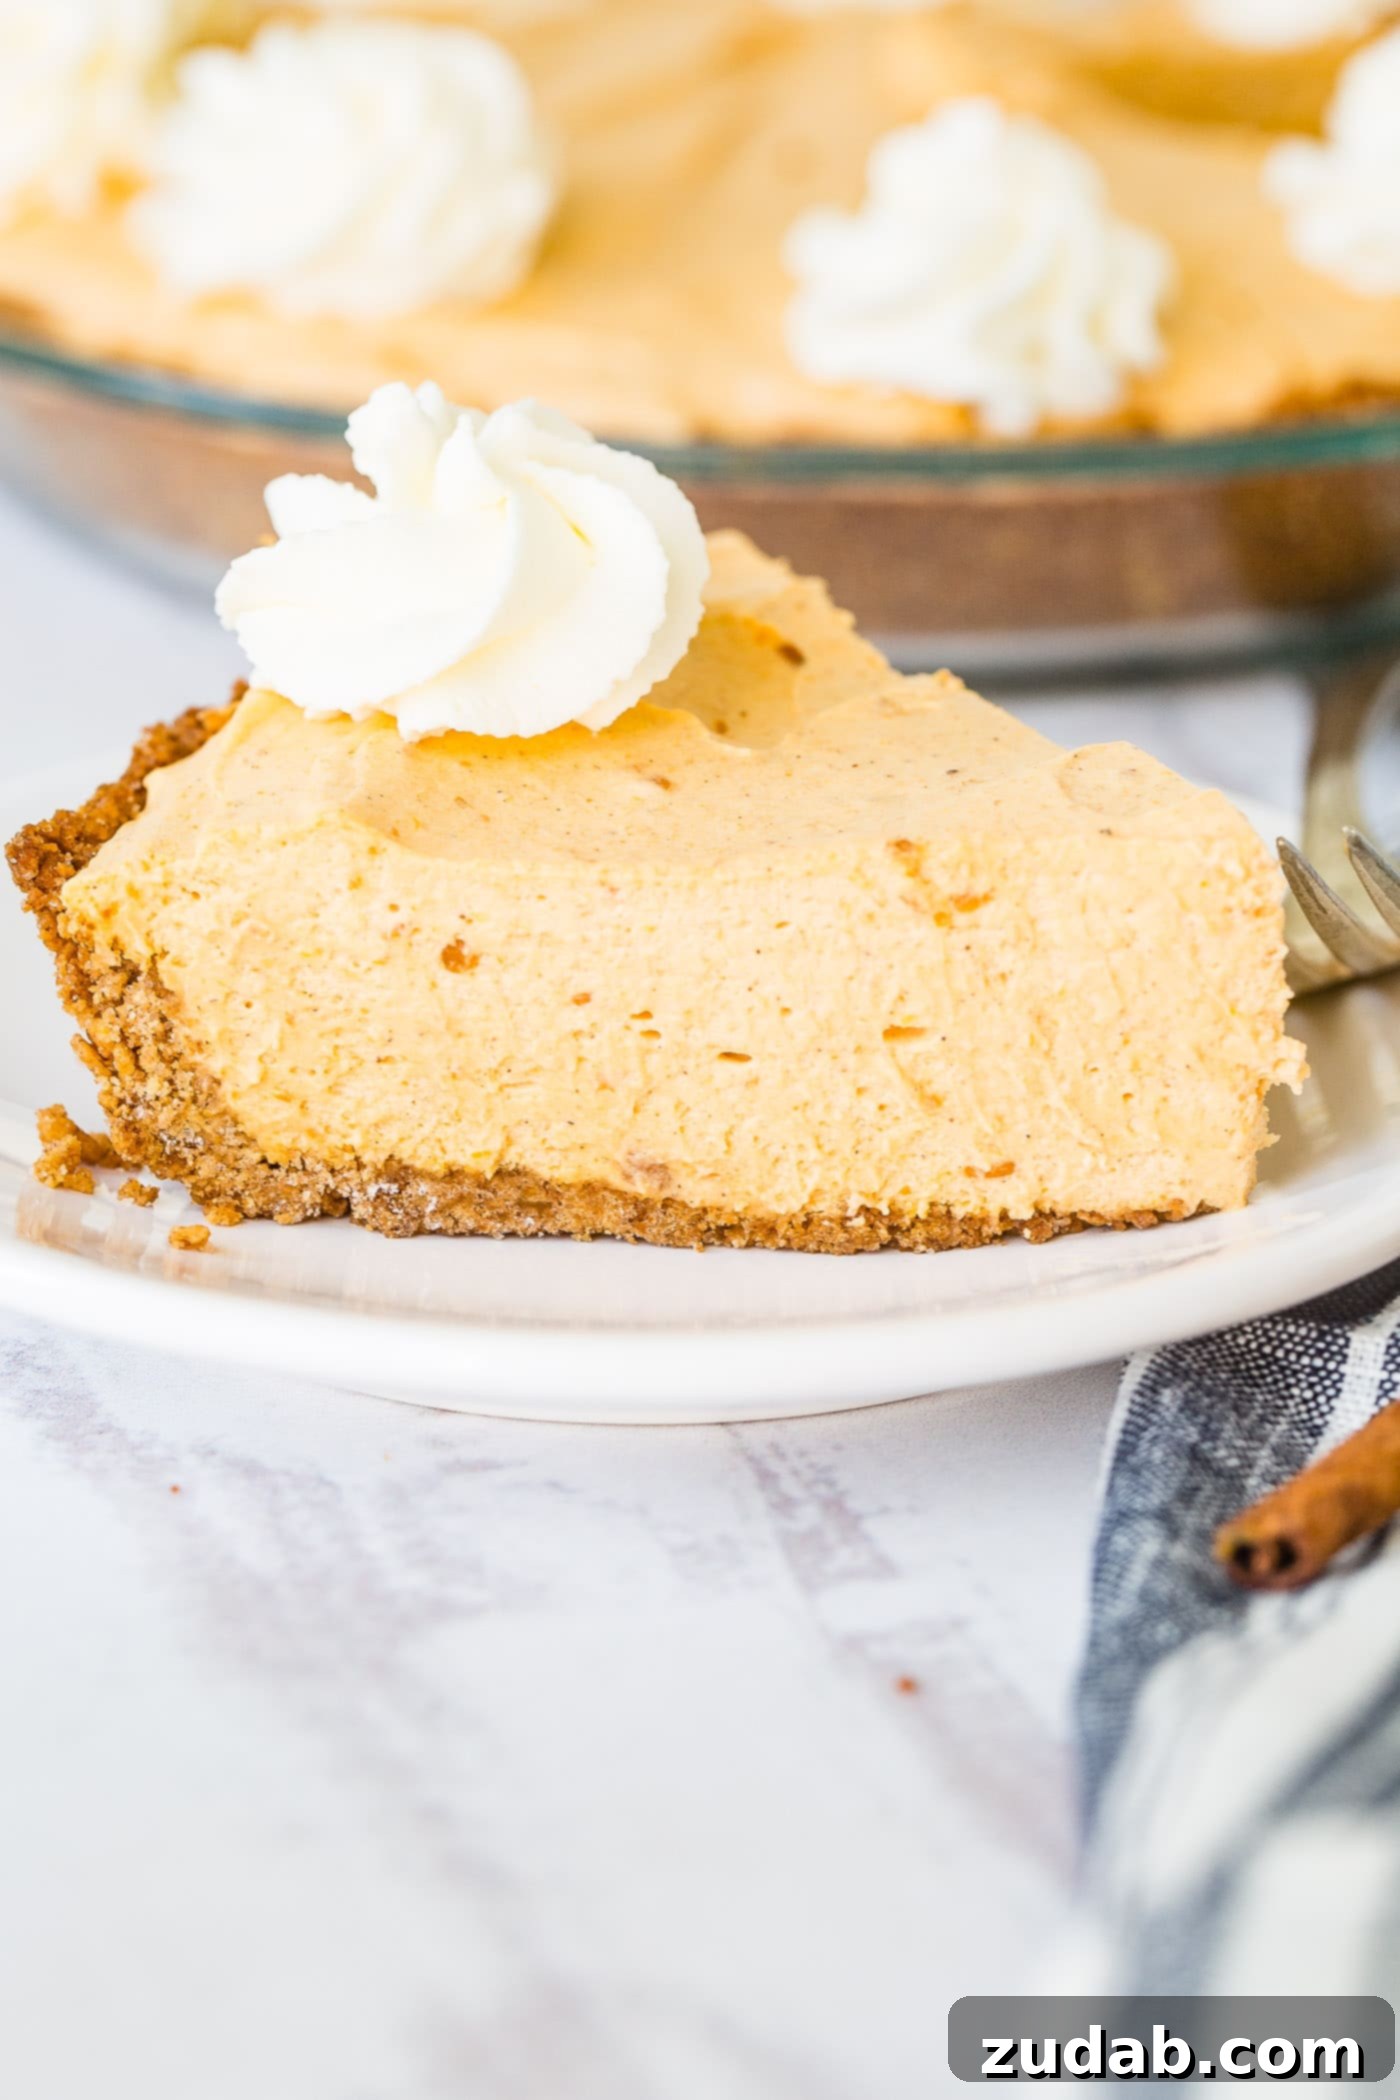
Absolutely, this no-bake pumpkin pie must be refrigerated, both before serving to set and for any leftovers. Due to the dairy components present in the filling (heavy cream and marshmallows), leaving the pie at room temperature for an extended period can promote the growth of harmful bacteria, compromising both its safety and its delicious texture. The creamy filling is designed to be enjoyed chilled, as cold temperatures help it maintain its firm and delightful consistency. After serving, any remaining slices should be promptly wrapped tightly in plastic wrap to create an airtight seal and returned to the refrigerator immediately. This practice ensures maximum freshness and food safety.
How Long Will No Bake Pumpkin Pie Keep?
Proper storage is key to enjoying your homemade no-bake pumpkin pie for as long as possible. When stored correctly, this pie will maintain its delicious flavor and texture in the refrigerator for 3 to 4 days. Always ensure it is covered securely with plastic wrap or placed in an airtight container to prevent it from absorbing other odors from the fridge and to keep it fresh. For longer preservation, this no-bake pumpkin pie is also freezer-friendly! You can freeze it for up to 3 months. To freeze, wrap the entire pie (in its pan) tightly with several layers of plastic wrap, and then place it in a large, freezer-safe ziplock bag or an airtight container. When you’re ready to indulge, simply transfer the frozen pie to the refrigerator and allow it to thaw overnight. This gentle thawing process ensures the best texture when ready to serve.
Whether you’re contending with limited oven space during holiday preparations or simply feeling a bit daunted by the prospect of baking a traditional pumpkin pie (which, by the way, you totally got this if you ever try!), this Marshmallow No Bake Pumpkin Pie offers a fantastic, stress-free alternative. It’s guaranteed to impress your Thanksgiving guests, satisfy all your autumn pumpkin cravings, and become a beloved part of your seasonal dessert rotation. Its creamy texture, rich flavor, and effortless preparation make it a standout choice for any festive occasion!
More Irresistible No Bake Pies and Cheesecakes You’ll Love:
- Easy No Bake Chocolate Pie
- Luscious No Bake Pumpkin Pie with Gingersnap Crust
- Creamy No Bake Banana Cream Pie with Nilla Wafer Crust
- Delightful No Bake Mini Peanut Butter Cheesecakes
- Indulgent No Bake Mini Chocolate Cheesecakes
- Refreshing No Bake Mini Raspberry Cheesecakes
- Decadent Oreo Pie with Chocolate Graham Cracker Crust
- Bright Lemon Blueberry No Bake Cheesecake
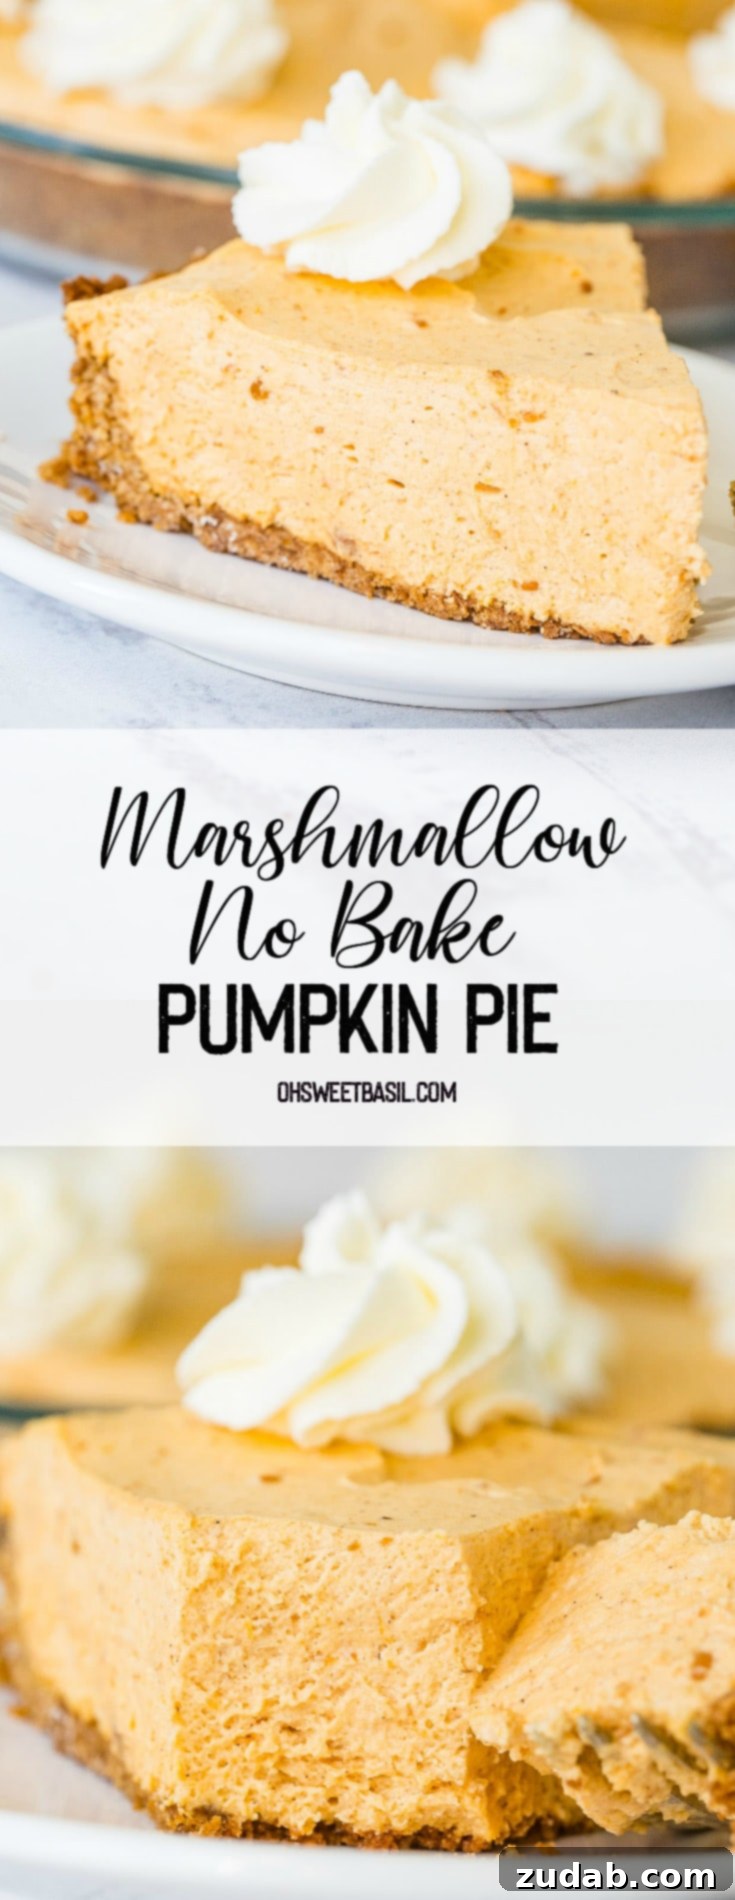
Marshmallow No Bake Pumpkin Pie
A creamy, fluffy pumpkin pie that’s perfect for Thanksgiving, delivering all the classic flavors without the need for an oven. This easy recipe uses real pumpkin puree and a simple graham cracker crust for a delicious, stress-free dessert.
Prep time: 20 minutes
Chill time: 3 hours (minimum)
Total time: 3 hours 20 minutes
Servings: 10 slices
Crust Ingredients:
- 1 Cup Graham Cracker Crumbs
- 1 teaspoon Ground Cinnamon
- 1 Tablespoon Brown Sugar, packed
- 1 Tablespoon Granulated Sugar
- 4 Tablespoons Unsalted Butter, melted
Filling Ingredients:
- 1/4 teaspoon Ground Cinnamon
- 1 Cup Pumpkin Puree (ensure it’s pure pumpkin, not pie filling)
- 1 Bag (10 ounce) Mini Marshmallows
- 1/4 teaspoon Pumpkin Pie Spice
- 1 Cup Heavy Cream, chilled
Instructions:
- Prepare the Crust: If baking the crust, preheat your oven to 350°F (175°C). In a medium bowl, combine graham cracker crumbs, 1 tsp cinnamon, brown sugar, granulated sugar, and melted butter. Mix until the mixture resembles wet sand. Press this mixture firmly into the bottom and up the sides of a 9-inch pie plate. If baking, bake for 8-10 minutes until lightly golden. If no-baking, simply chill in the refrigerator for at least 30 minutes to firm up. Allow any baked crust to cool completely before proceeding.
- Create the Pumpkin-Marshmallow Base: In a medium saucepan, combine the 1/4 tsp cinnamon, pumpkin puree, mini marshmallows, and pumpkin pie spice. Cook over medium-low heat, stirring constantly, until all the marshmallows are completely melted and the mixture is smooth and well combined.
- Chill the Mixture: Remove the pumpkin-marshmallow mixture from the heat and transfer it to a separate bowl. Place it in the refrigerator for 30-60 minutes, or until it is completely cooled down. This step is crucial for the pie to set properly.
- Whip the Cream: While the pumpkin mixture cools, pour the chilled heavy cream into a large, chilled mixing bowl. Using a hand mixer or stand mixer with a whisk attachment, whip the cream until soft peaks form. Set aside.
- Combine Filling Ingredients: Once the pumpkin mixture is thoroughly chilled, remove it from the refrigerator. Using a hand mixer, beat the pumpkin mixture for about 1 minute until it becomes light and fluffy. This aerates the mixture for a lighter pie.
- Fold and Fill: Gently fold the prepared whipped cream into the fluffy pumpkin mixture using a rubber spatula. Be careful not to overmix, as this can deflate the whipped cream. Pour the combined filling into your cooled (or chilled) graham cracker crust, spreading it evenly.
- Set the Pie: Chill the entire pie in the refrigerator for at least 2 hours, or preferably overnight, to allow it to set completely. This will ensure firm, clean slices.
- Serve and Enjoy: Once set, slice and serve your delicious No Bake Pumpkin Pie, perhaps with an extra dollop of whipped cream on top!
Recipe Notes:
This pie will keep well for 3-4 days when stored properly in an airtight container in the refrigerator. For longer storage, it can be frozen for up to 3 months (see detailed freezing instructions in the article above).
Nutrition Information (Approximate per slice):
- Calories: 266 kcal
- Carbohydrates: 35g
- Protein: 2g
- Fat: 14g
- Saturated Fat: 9g
- Cholesterol: 45mg
- Sodium: 129mg
- Potassium: 83mg
- Fiber: 1g
- Sugar: 21g
- Vitamin A: 4303 IU
- Vitamin C: 1mg
- Calcium: 32mg
- Iron: 1mg
Nutrition information is automatically calculated and should be used as an approximation.
Don’t miss out on our latest delicious creations! REMEMBER TO SUBSCRIBE TO our FREE Oh Sweet Basil NEWSLETTER and receive easy, delightful recipes delivered straight into your inbox every day!
When you whip up this (or any!) fantastic recipe, we’d love to see your culinary masterpieces! Please use the hashtag #ohsweetbasil on INSTAGRAM for a chance to be featured in our stories! FOLLOW OH, SWEET BASIL ON FACEBOOK | INSTAGRAM | PINTEREST | TWITTER FOR ALL OF OUR LATEST CONTENT, MOUTHWATERING RECIPES, AND HEARTWARMING STORIES.