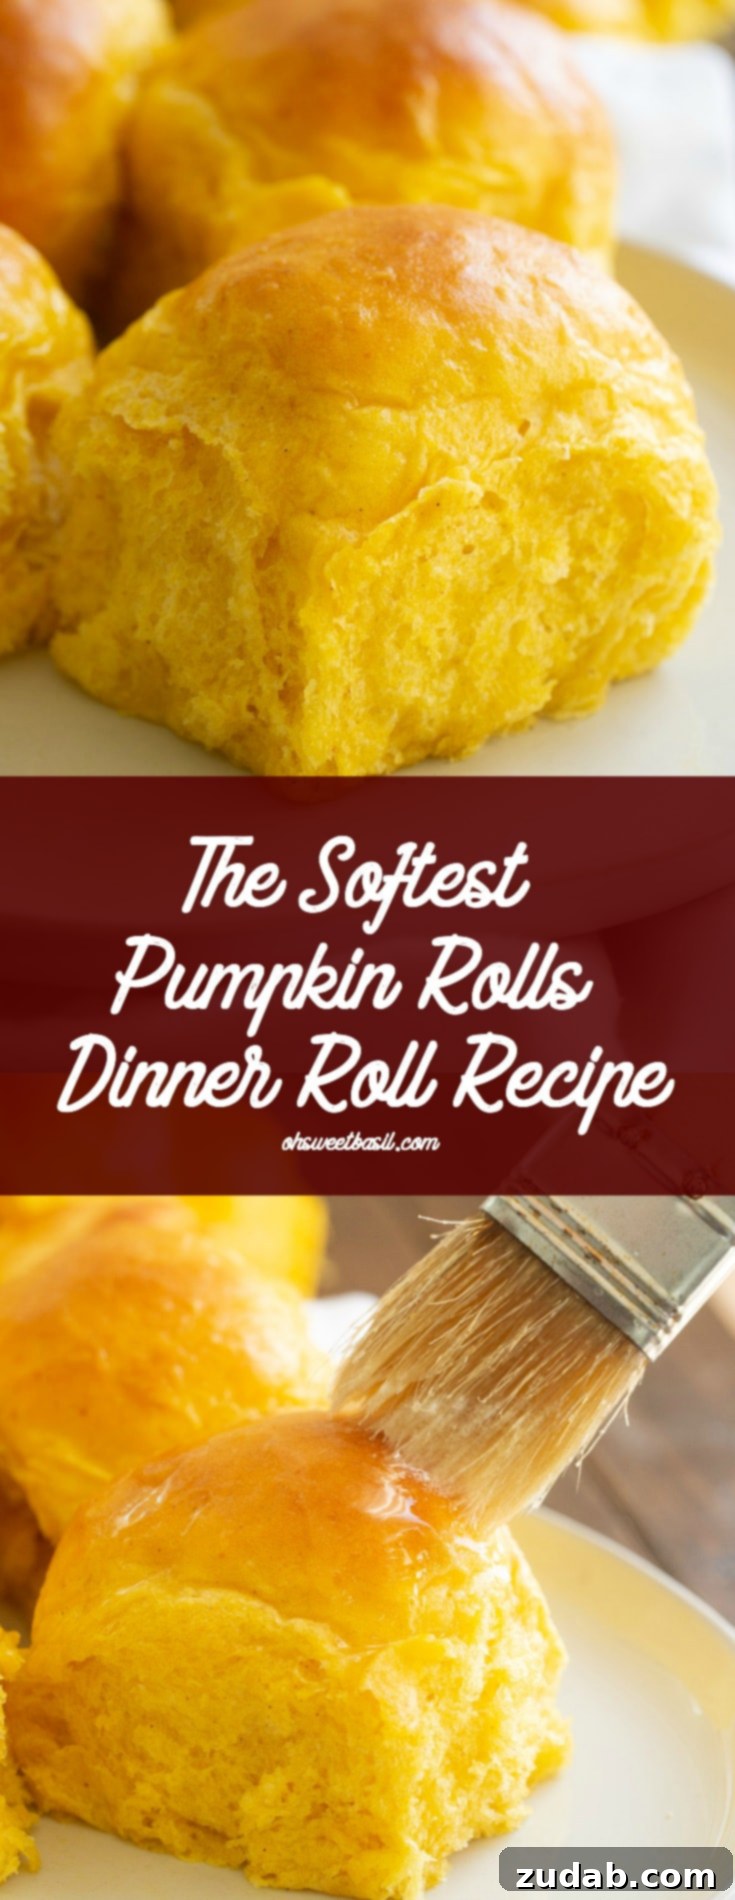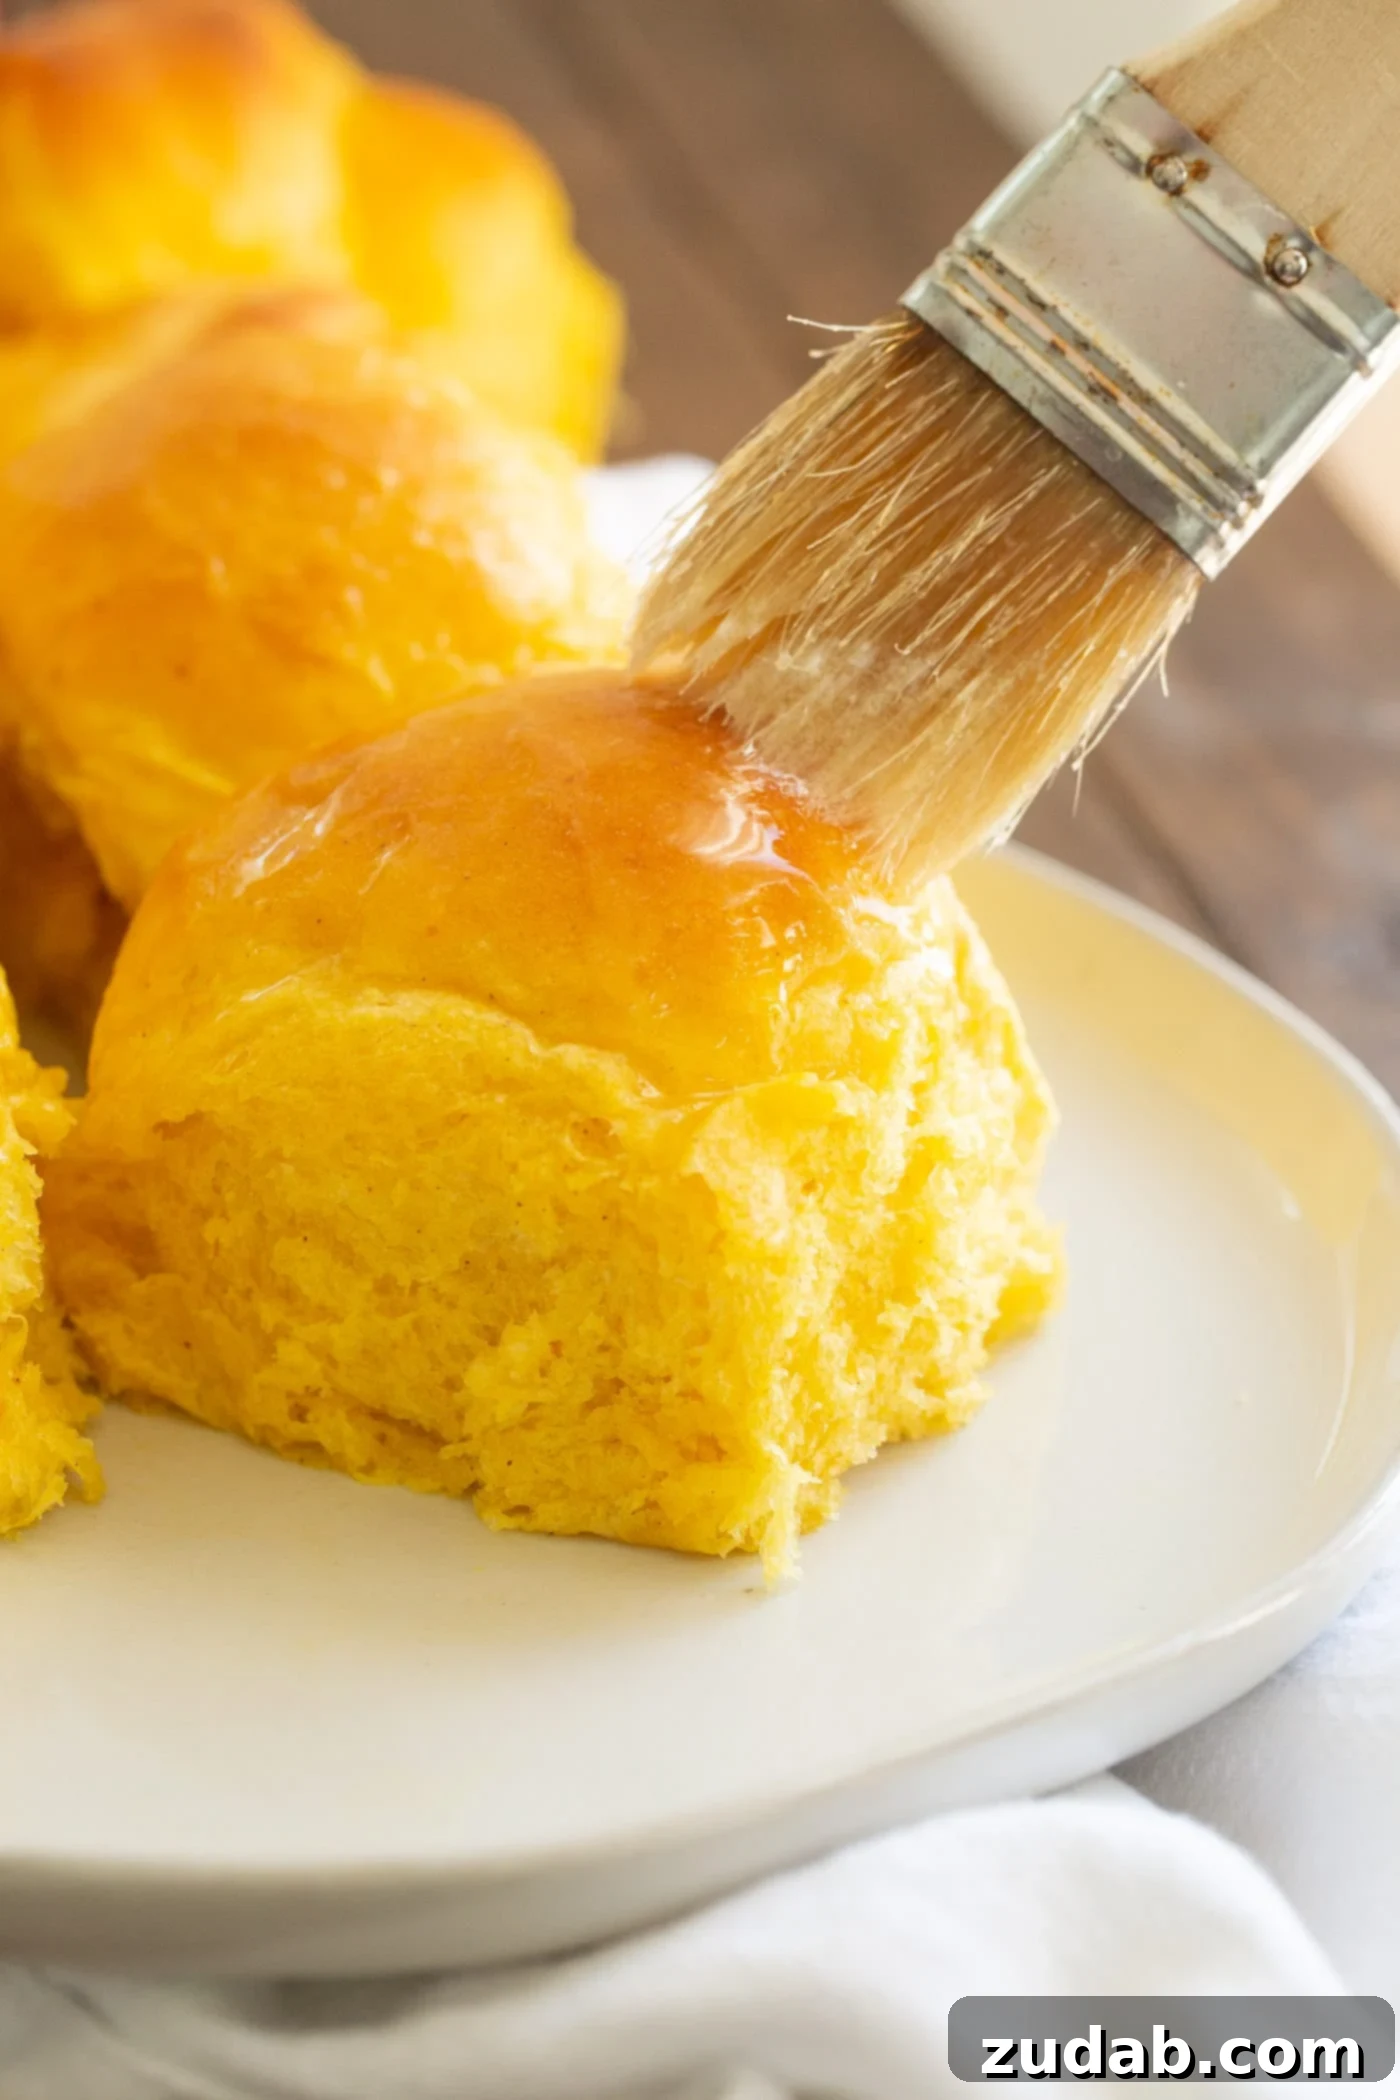
Prepare to be utterly delighted by these incredible **Pumpkin Dinner Rolls**, a recipe so irresistibly soft and fluffy, you’ll find yourself reaching for just one more. Forget everything you thought you knew about homemade rolls; these are truly the **softest pumpkin rolls dinner rolls** you will ever experience, making them an instant holiday favorite and a staple side dish for any meal. Their tender texture and subtle pumpkin flavor will leave a lasting impression on everyone at your table.
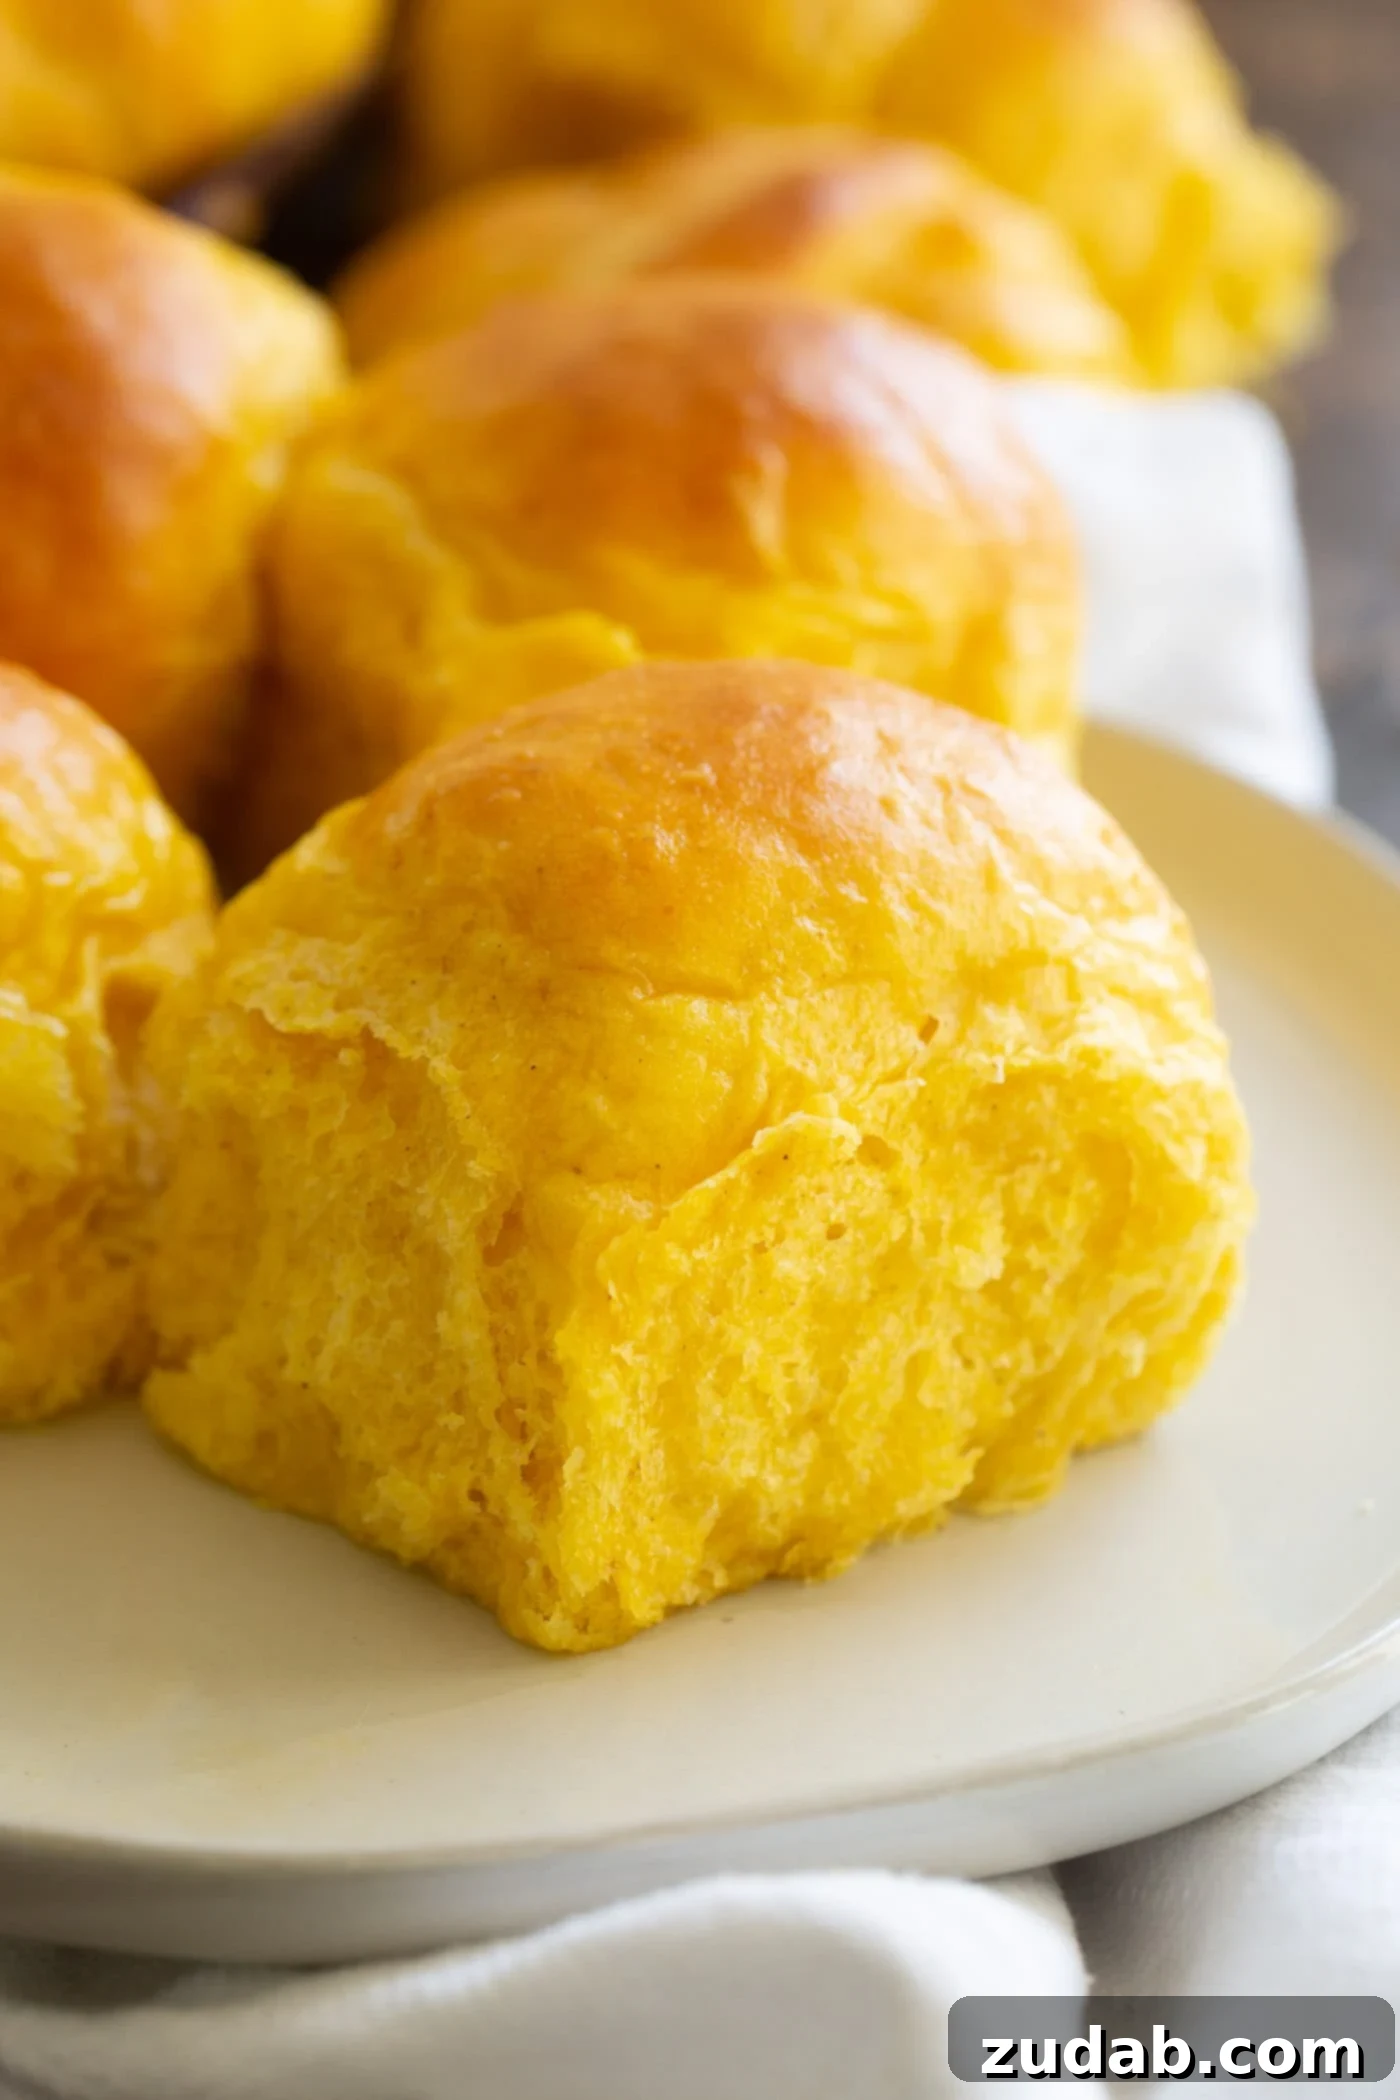
There’s an undeniable joy in savoring freshly baked bread, and these pumpkin dinner rolls elevate that experience to a whole new level. They are more than just a carb; they are a culinary revelation, transforming a simple meal into something truly special. I’m genuinely obsessed with how effortlessly these rolls come together, delivering exceptional taste and a touch of festive elegance that makes holiday gatherings feel even more memorable.
The beauty of this recipe lies in its ability to add a festive touch without the notorious “Pinterest exhaustion.” We all know the feeling of wanting to create something beautiful for the holidays, only to be overwhelmed by overly complicated ideas. This recipe offers a graceful solution, providing a gorgeous, delicious, and seasonally appropriate dish that won’t add to your holiday stress.
Effortless Elegance: Skip the Holiday Stress with Festive Pumpkin Rolls
Remember when Pinterest first emerged, and we were all swept up in a whirlwind of ingenious ideas we’d never considered? Birthday parties and holiday celebrations *exploded* with elaborate decorations and themed dishes. Then, the inevitable crash of utter exhaustion hit, and many of us collectively decided that connecting with our loved ones and letting our kids simply enjoy the moment was far more important than stressing over decorations that often went unnoticed. This recipe is designed to bring back the joy of creation without the overwhelming pressure.
Smart Recipe Development: Festive Rolls Without the Fuss
This is precisely where smart recipe development shines. The goal was simple: create something that looks beautifully festive, tastes absolutely divine, and doesn’t leave you wanting to hide in the shower or, heaven forbid, yell at your children because of party prep stress. (Not that any of us have ever been there, right? *Cue awkward emoji glance…* 😬)
We believe that holiday cooking should enhance your celebration, not detract from it. This recipe is a testament to that philosophy, proving that you can achieve stunning results with minimal effort, allowing you more time to cherish the moments that truly matter.
Inspired by Our Famous Potato Rolls: No-Knead Perfection
These magnificent pumpkin dinner rolls are a delightful evolution of our **FAMOUS Potato Rolls** recipe. Their ease of preparation is precisely why they’re taking the internet by storm. With absolutely no kneading required, they consistently yield amazing results and naturally embody the warm, inviting essence of autumn. This fuss-free approach ensures that even novice bakers can achieve bakery-quality rolls.
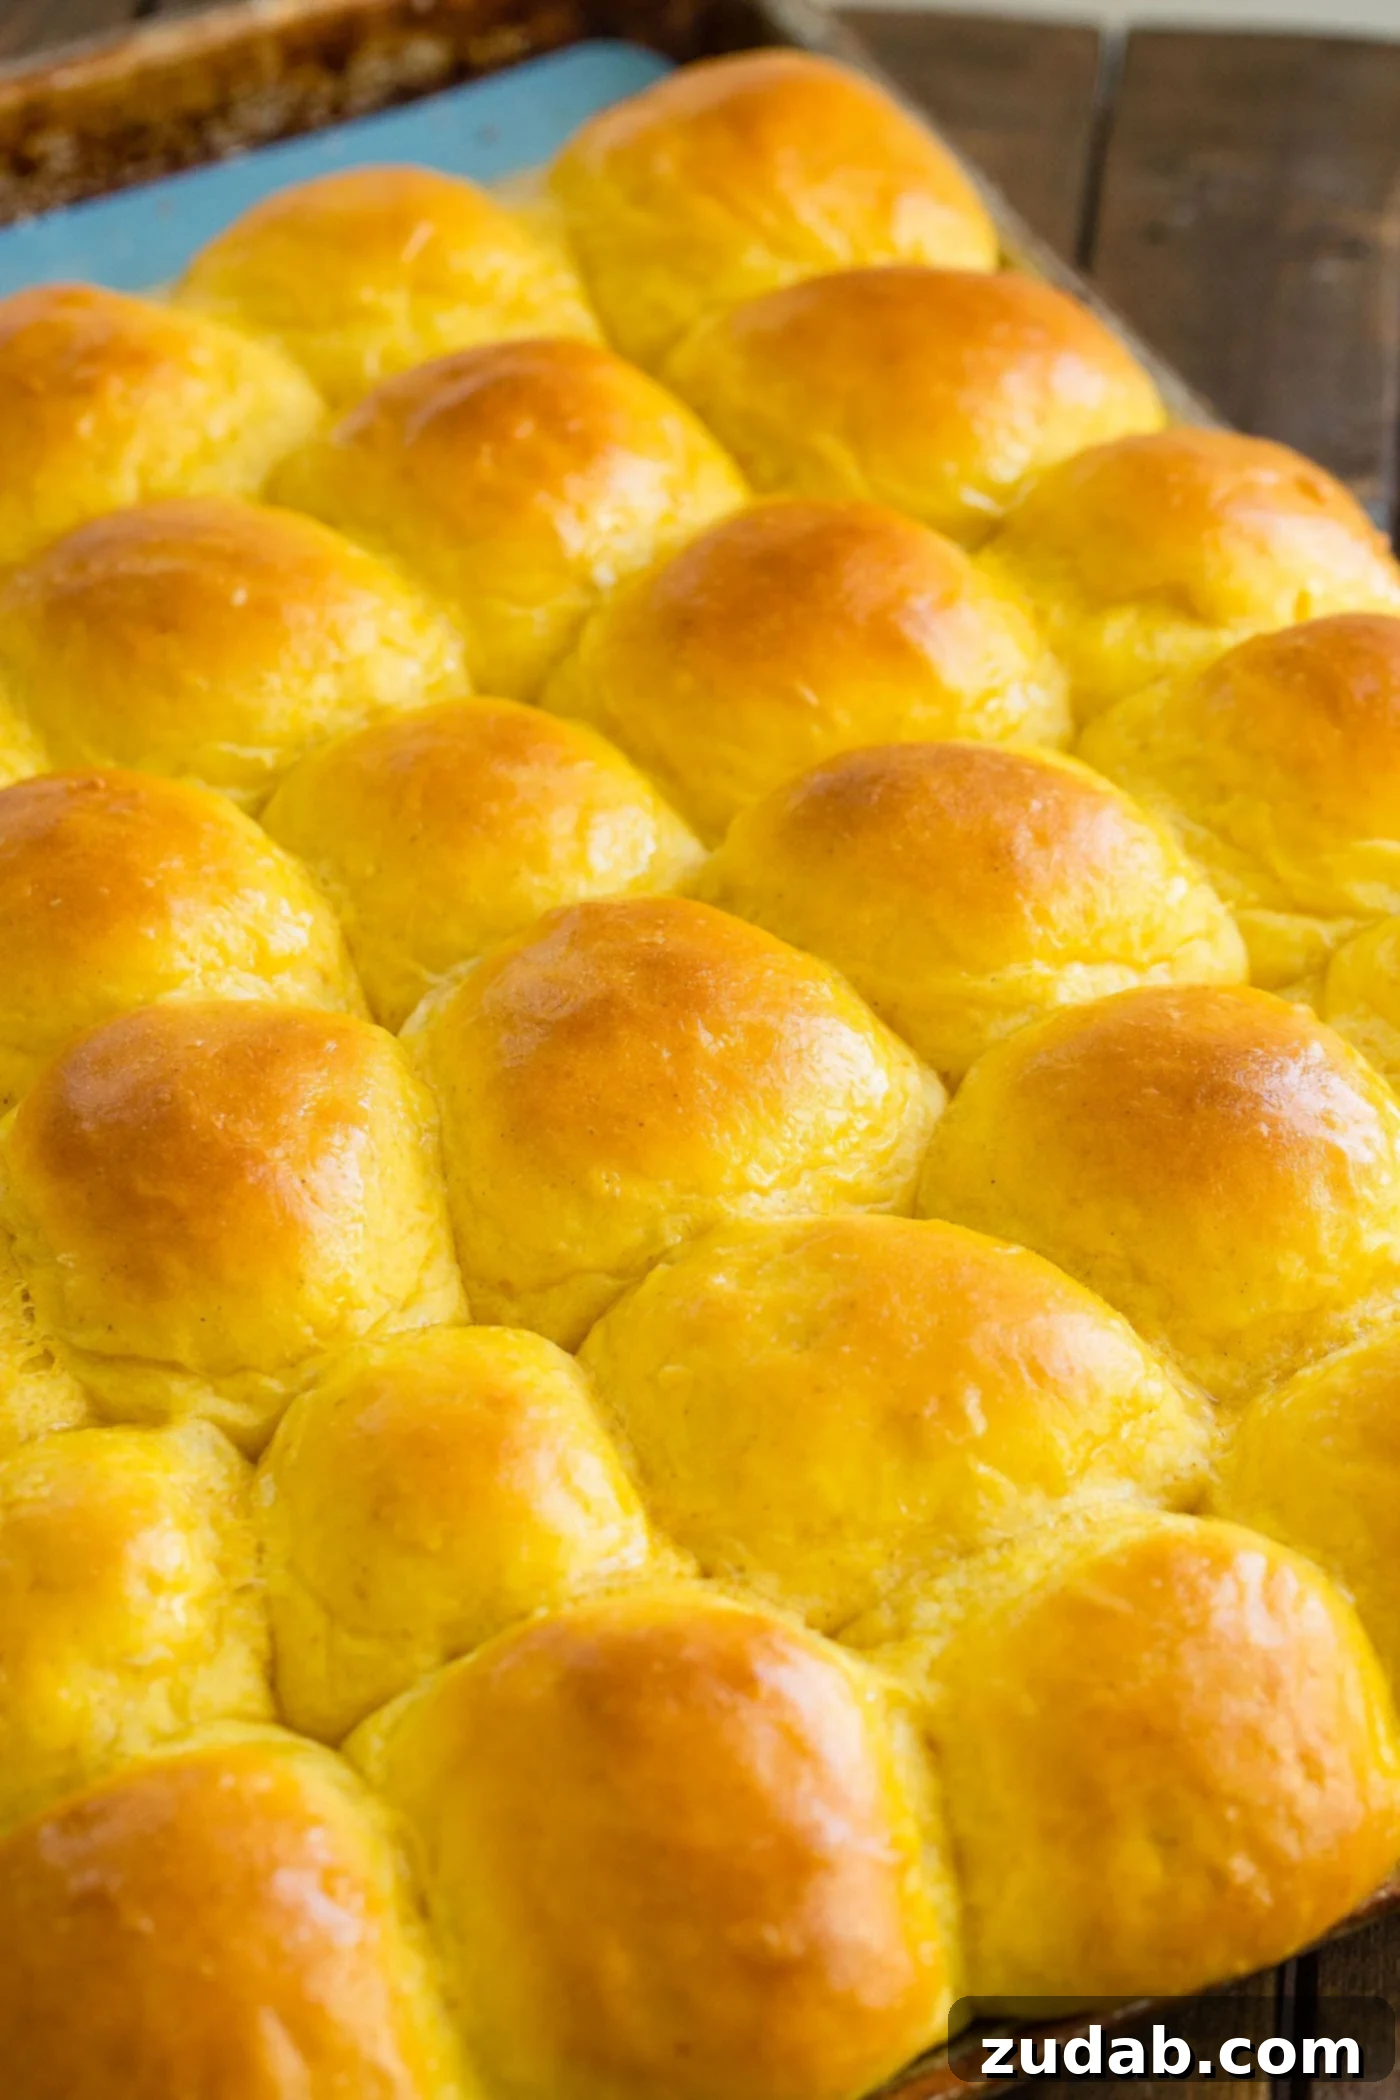
The Softest Pumpkin Dinner Roll Recipe: Simple Ingredients, Incredible Results
To embark on your journey to creating these exceptionally soft pumpkin dinner rolls, you only need a handful of readily available, basic ingredients. The magic happens through a combination of thoughtful preparation and high-quality staples:
- **Pumpkin Puree:** Essential for that distinct fall flavor and moist texture. Ensure it’s 100% pure pumpkin, not pie filling.
- **Milk:** Scalding it is a crucial step that contributes significantly to the rolls’ fluffy texture.
- **Butter:** Adds richness and helps create that melt-in-your-mouth quality.
- **Salt:** Balances the sweetness and enhances all the flavors.
- **Instant Yeast:** The secret to a quick, reliable rise without extensive proofing or kneading.
- **Flour:** All-purpose flour yields the best results for these soft rolls.
- **Sugar:** Provides sweetness and aids in yeast activation and browning.
- **Eggs:** Contribute to the rich color, structure, and overall tenderness of the rolls.
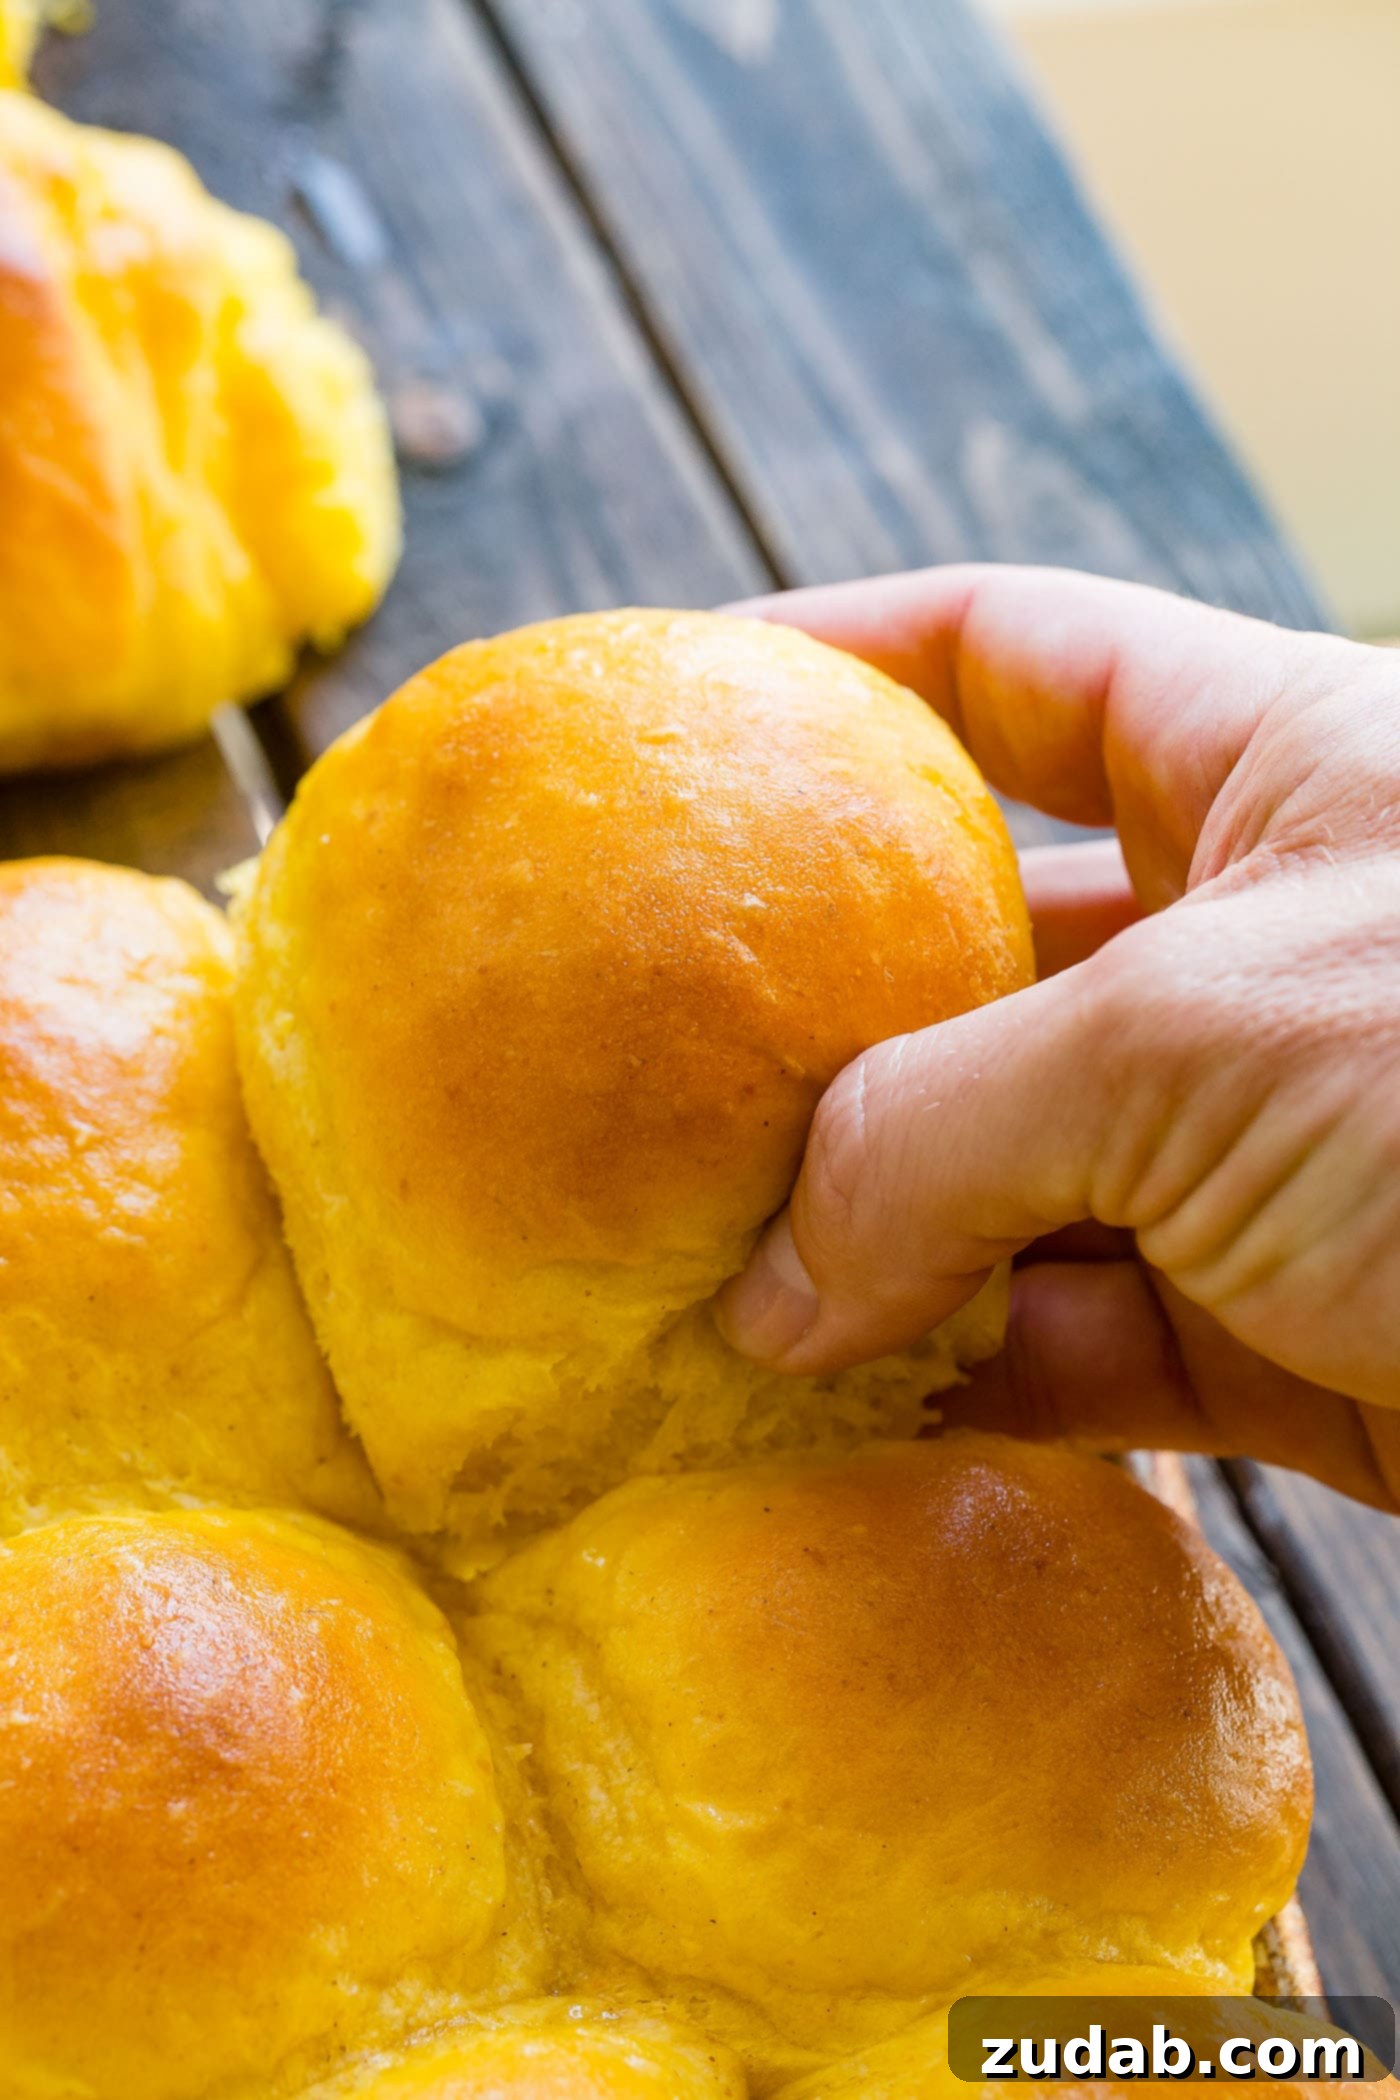
How to Make No-Knead Pumpkin Dinner Rolls
Crafting these no-knead pumpkin rolls is surprisingly straightforward. The process is designed to be as simple as possible, allowing you to enjoy the baking experience without the typical fuss. For more in-depth explanations and common questions, refer to our comprehensive FAQ section below.
- **Scald the Milk:** Begin by scalding whole milk over medium heat. This step is vital for achieving optimal flavor and an exceptionally soft, fluffy texture in your rolls. Ensure it doesn’t boil.
- **Combine Wet Ingredients:** Remove the scalded milk from the heat and immediately stir in the butter, sugar, salt, and pumpkin puree. Mix thoroughly until all ingredients are well incorporated and the butter has melted.
- **Cool the Mixture:** Allow the pumpkin milk mixture to cool to a lukewarm temperature. It should be warm to the touch but not hot, as excessive heat can kill the yeast.
- **Add Yeast and Eggs:** Once lukewarm, stir in the eggs and **instant yeast**. It’s crucial to use instant yeast for this no-knead method (refer to the FAQ for differences between yeast types).
- **Form the Dough:** Pour the wet mixture into a large bowl containing the flour. Stir gently until the dough just comes together. The dough will be soft and slightly sticky, which is exactly the consistency you want for light, airy rolls. Avoid over-mixing.
- **First Rise:** Cover the bowl with a clean kitchen towel or plastic wrap and set it aside in a warm place to rise for 1-2 hours, or until the dough has doubled significantly in size.
- **Divide and Prepare for Shaping:** Gently punch down the risen dough to release the air. Divide the dough into four equal pieces.
- **First Shaping Method (Layered Crescents – as described in original instructions):** Roll each of the four dough pieces into a circle. Lightly butter two of these circles. Place an unbuttered circle directly on top of each buttered circle, creating two layered circles.
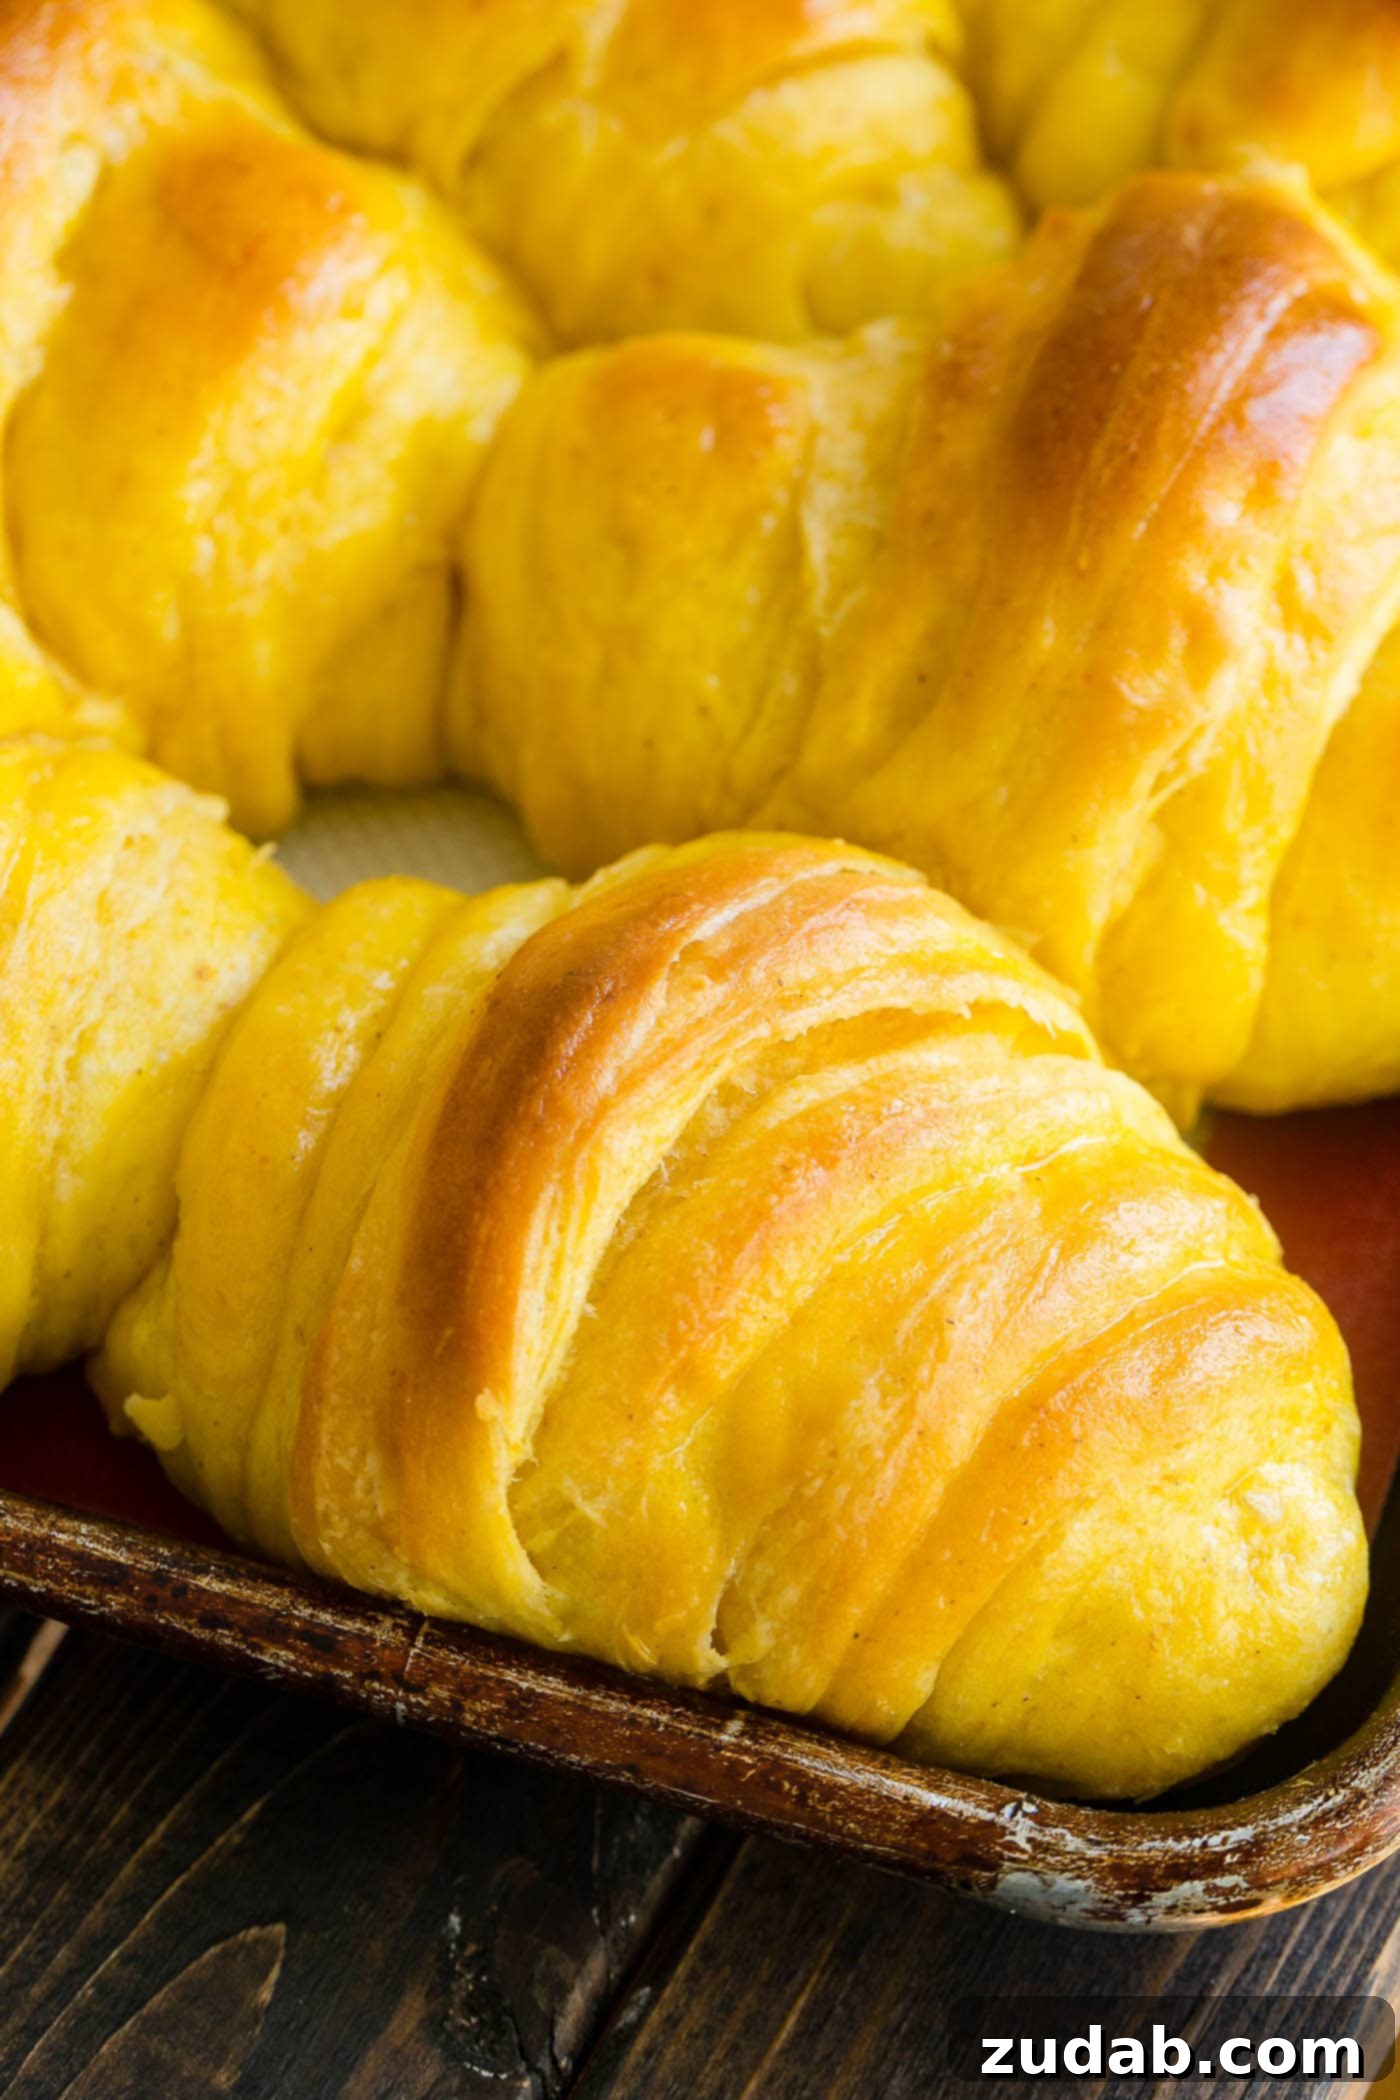
- **Cut and Roll:** Cut each layered circle into wedges (like slicing a pizza). Starting from the wide end of each wedge, tightly roll it towards the pointed tip to form a crescent shape.
- **Second Rise:** Arrange the shaped rolls on a lightly greased cookie sheet, leaving some space between them. Cover again and allow them to rise for another 1-2 hours, or until they have doubled in size.
- **Bake:** Preheat your oven to 350°F (175°C). Bake the rolls for 18-20 minutes, or until they are golden brown and sound hollow when tapped lightly on the bottom.
- **Butter and Serve:** As soon as the rolls come out of the oven, brush their tops generously with melted butter. Serve these delectable pumpkin rolls warm and enjoy their unparalleled softness.
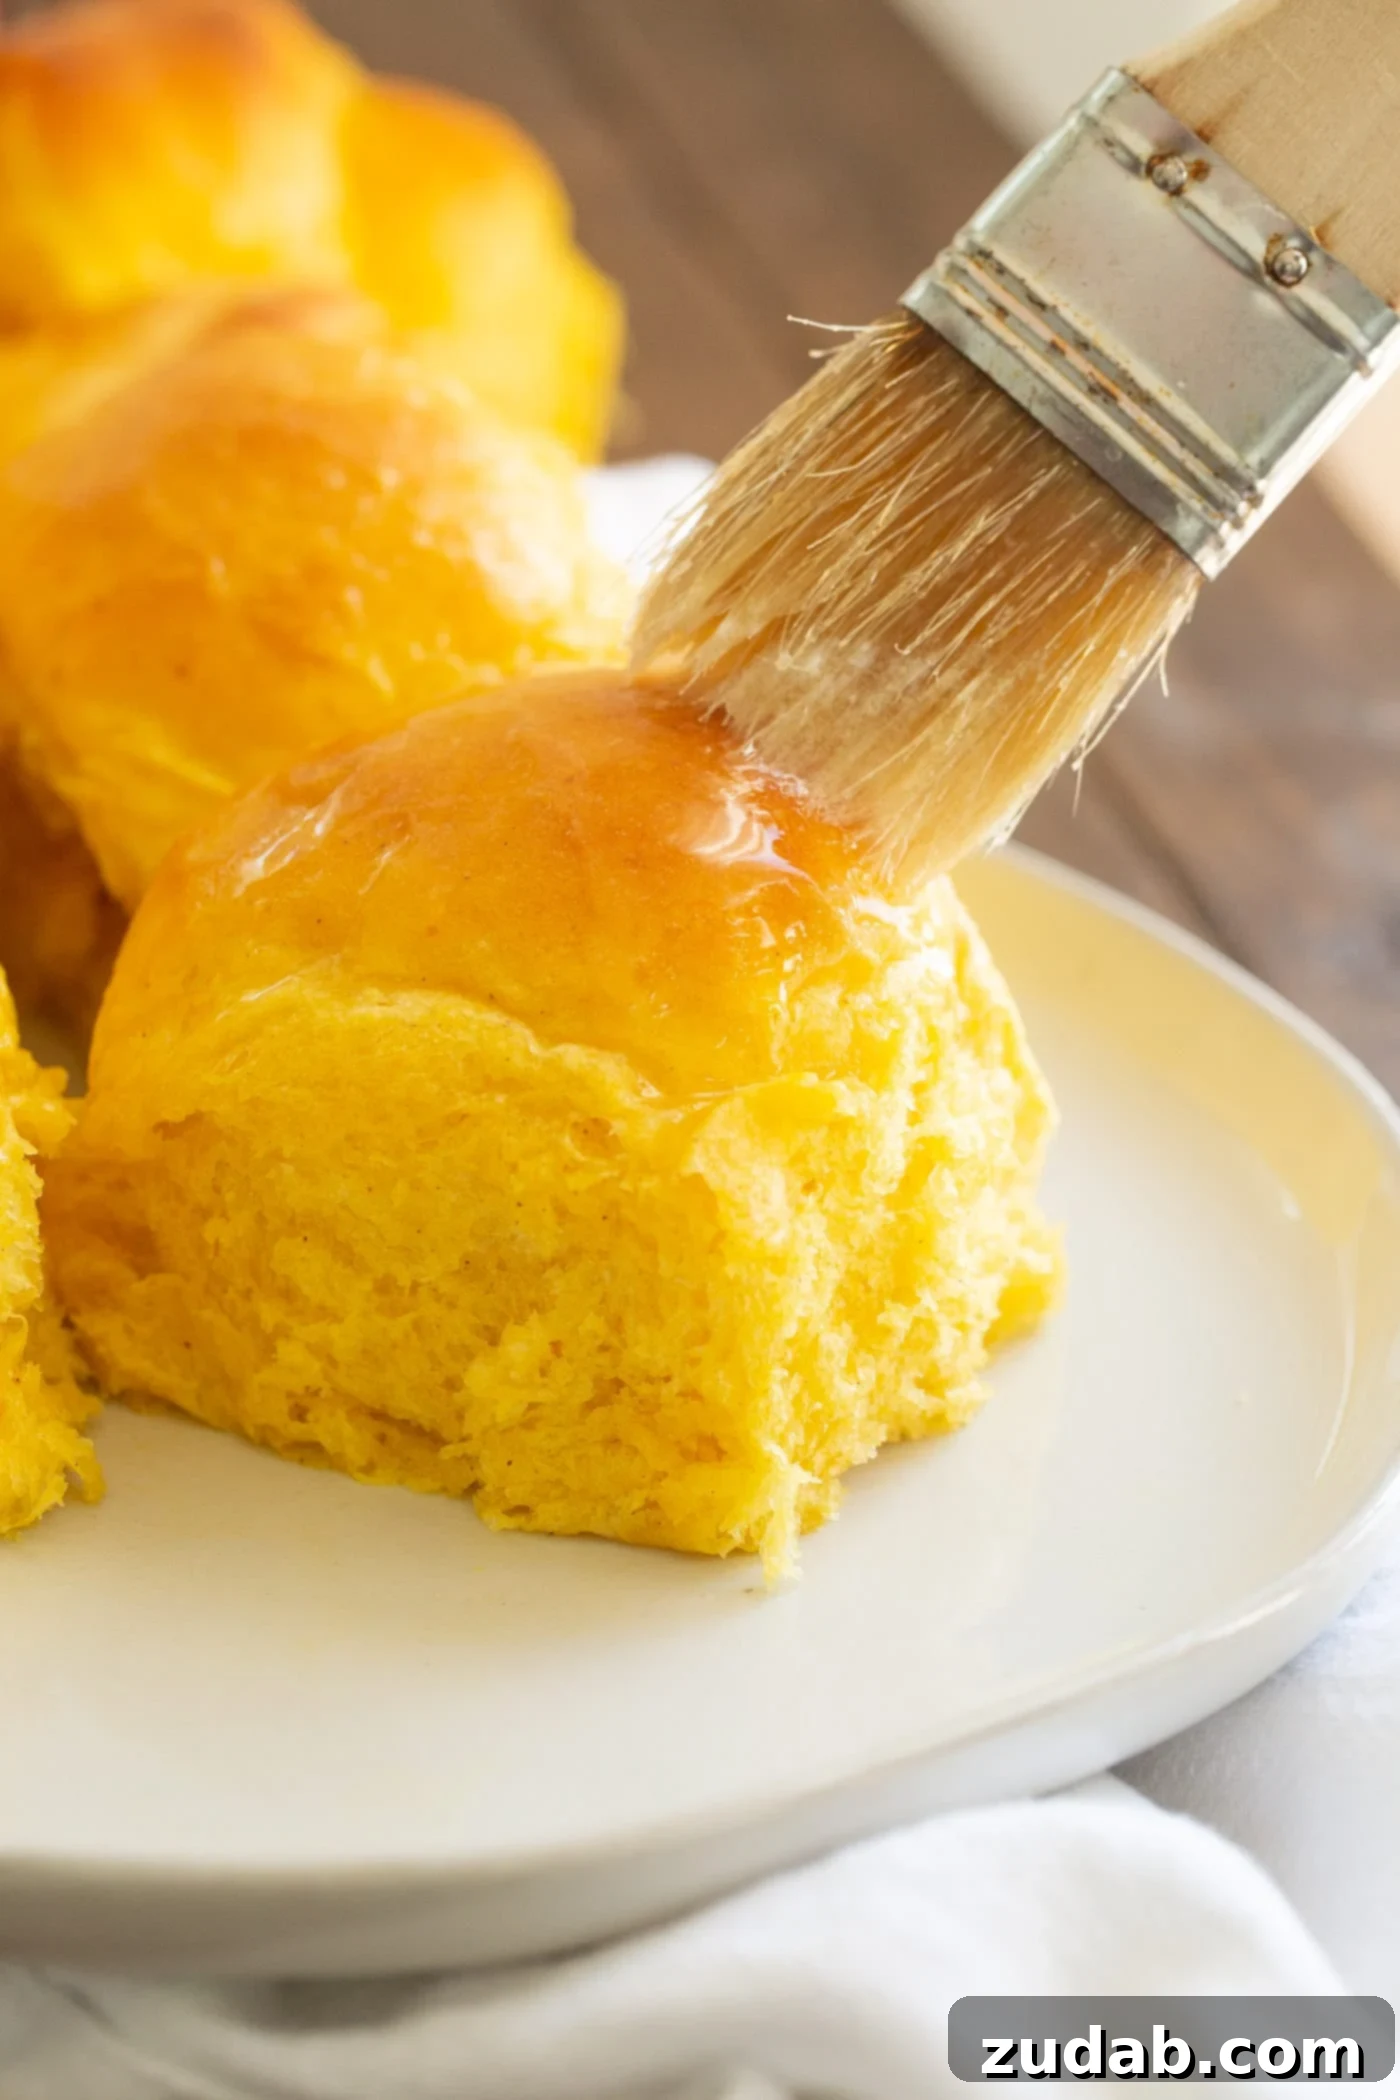
Creative Ways to Shape Your Dinner Rolls
While the crescent shape is classic, you have several options to shape your pumpkin dinner rolls, each adding a unique aesthetic to your table. Feel free to choose the method that best suits your preference or the occasion.
Elegant Dough Knots
Dough knots are a fantastic way to create visually appealing rolls with minimal effort. They look intricate but are surprisingly simple to make, offering a rustic yet refined appearance.
- On a lightly floured surface, take half of your dough and roll it into a large square, approximately 1/2-inch thick.
- Lightly butter half of the rolled dough. Fold the unbuttered half over the buttered half, like closing a sandwich, and gently press the edges to seal.
- Cut the folded dough into strips, about 1 inch wide. If the strips are excessively long, cut them in half to a manageable length.
- Take one dough strip and form a loose “O” shape, allowing the two ends to hang down, similar to how you would begin tying a shoe.
- Tuck one end of the strip through the center of the “O” and gently pull to create a knot.
- Tuck the loose ends of the knot underneath the roll as you place it on your prepared baking pan. Repeat with the remaining strips.
Classic Round Shaped Rolls
For a timeless, traditional dinner roll appearance, opt for simple round rolls. This method is quick, easy, and always a crowd-pleaser.
- Pinch off a portion of dough, roughly the size of a ping-pong ball, and flatten it slightly in the palm of your hand.
- Place a small dab of butter in the very center of the flattened dough.
- Gather the edges of the dough around the butter, pinching them tightly closed to encase the butter. Continue turning and pinching the dough in the palm of your hand until you form a smooth, tight ball. This technique helps create a soft interior and a beautiful, even shape.
- Place the formed round rolls on a cookie sheet, leaving enough space for them to expand during their second rise.
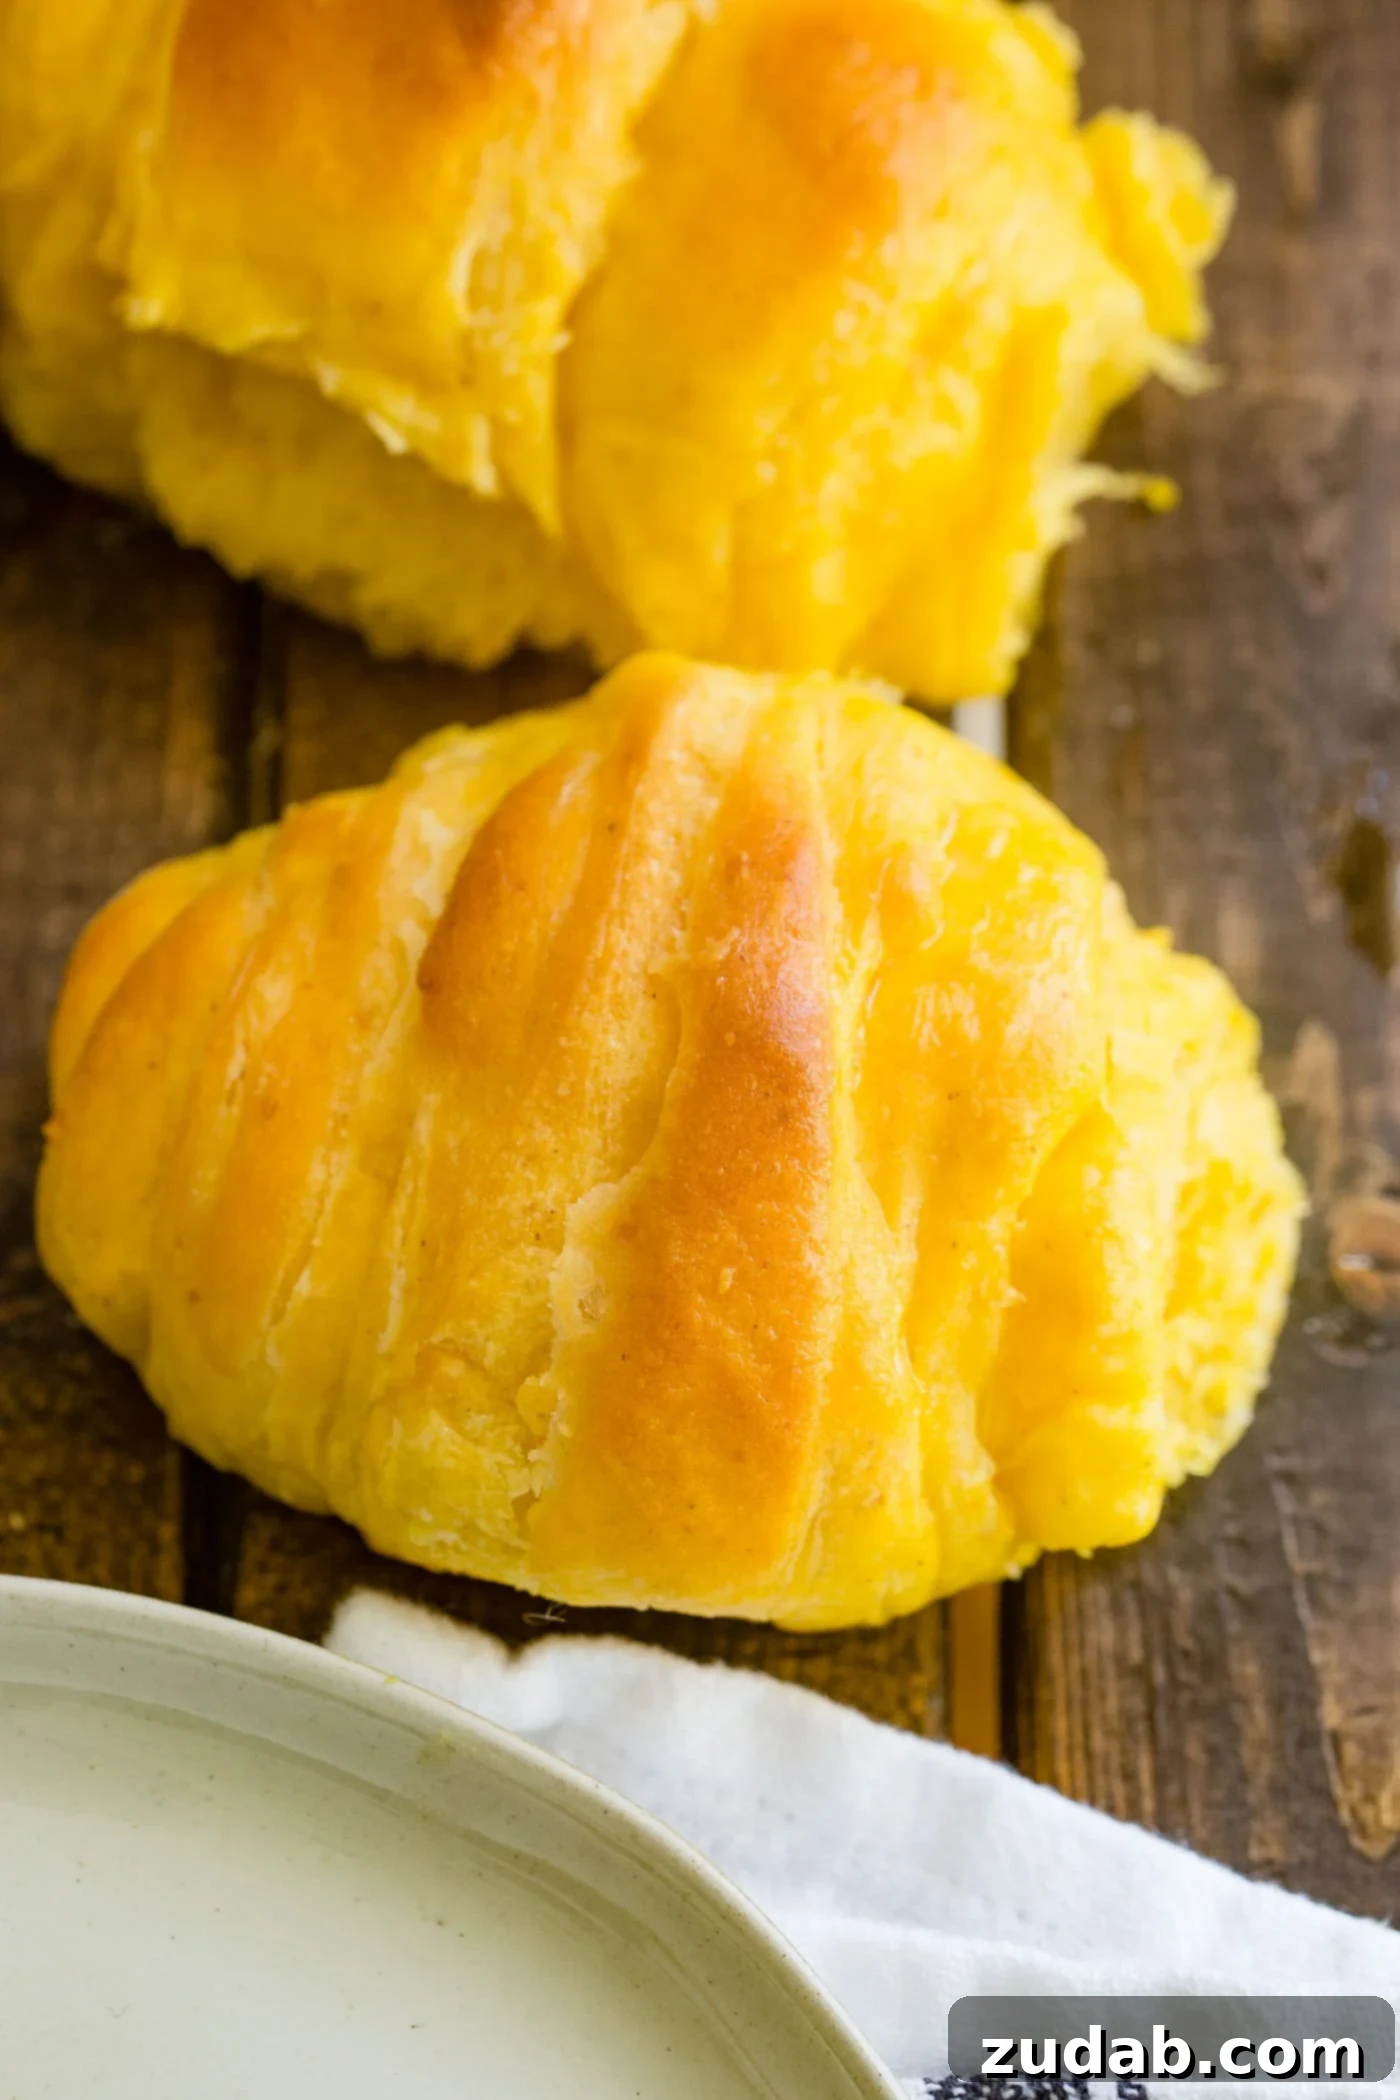
Perfect Crescent Roll Shaped Rolls
If you prefer the iconic crescent shape, follow these steps for flaky, buttery rolls.
- Roll out four separate circles of dough. Lightly butter two of these circles completely.
- Place an unbuttered circle directly on top of each buttered circle, effectively creating two thicker, layered dough circles.
- Using a pizza cutter or sharp knife, cut each layered circle into wedges (typically 8-12 wedges per circle, depending on desired roll size).
- Starting at the wider end of each wedge, tightly roll the dough towards the pointed tip.
- Place the crescent rolls on a baking sheet with the pointed tip tucked underneath to prevent them from unrolling during baking.
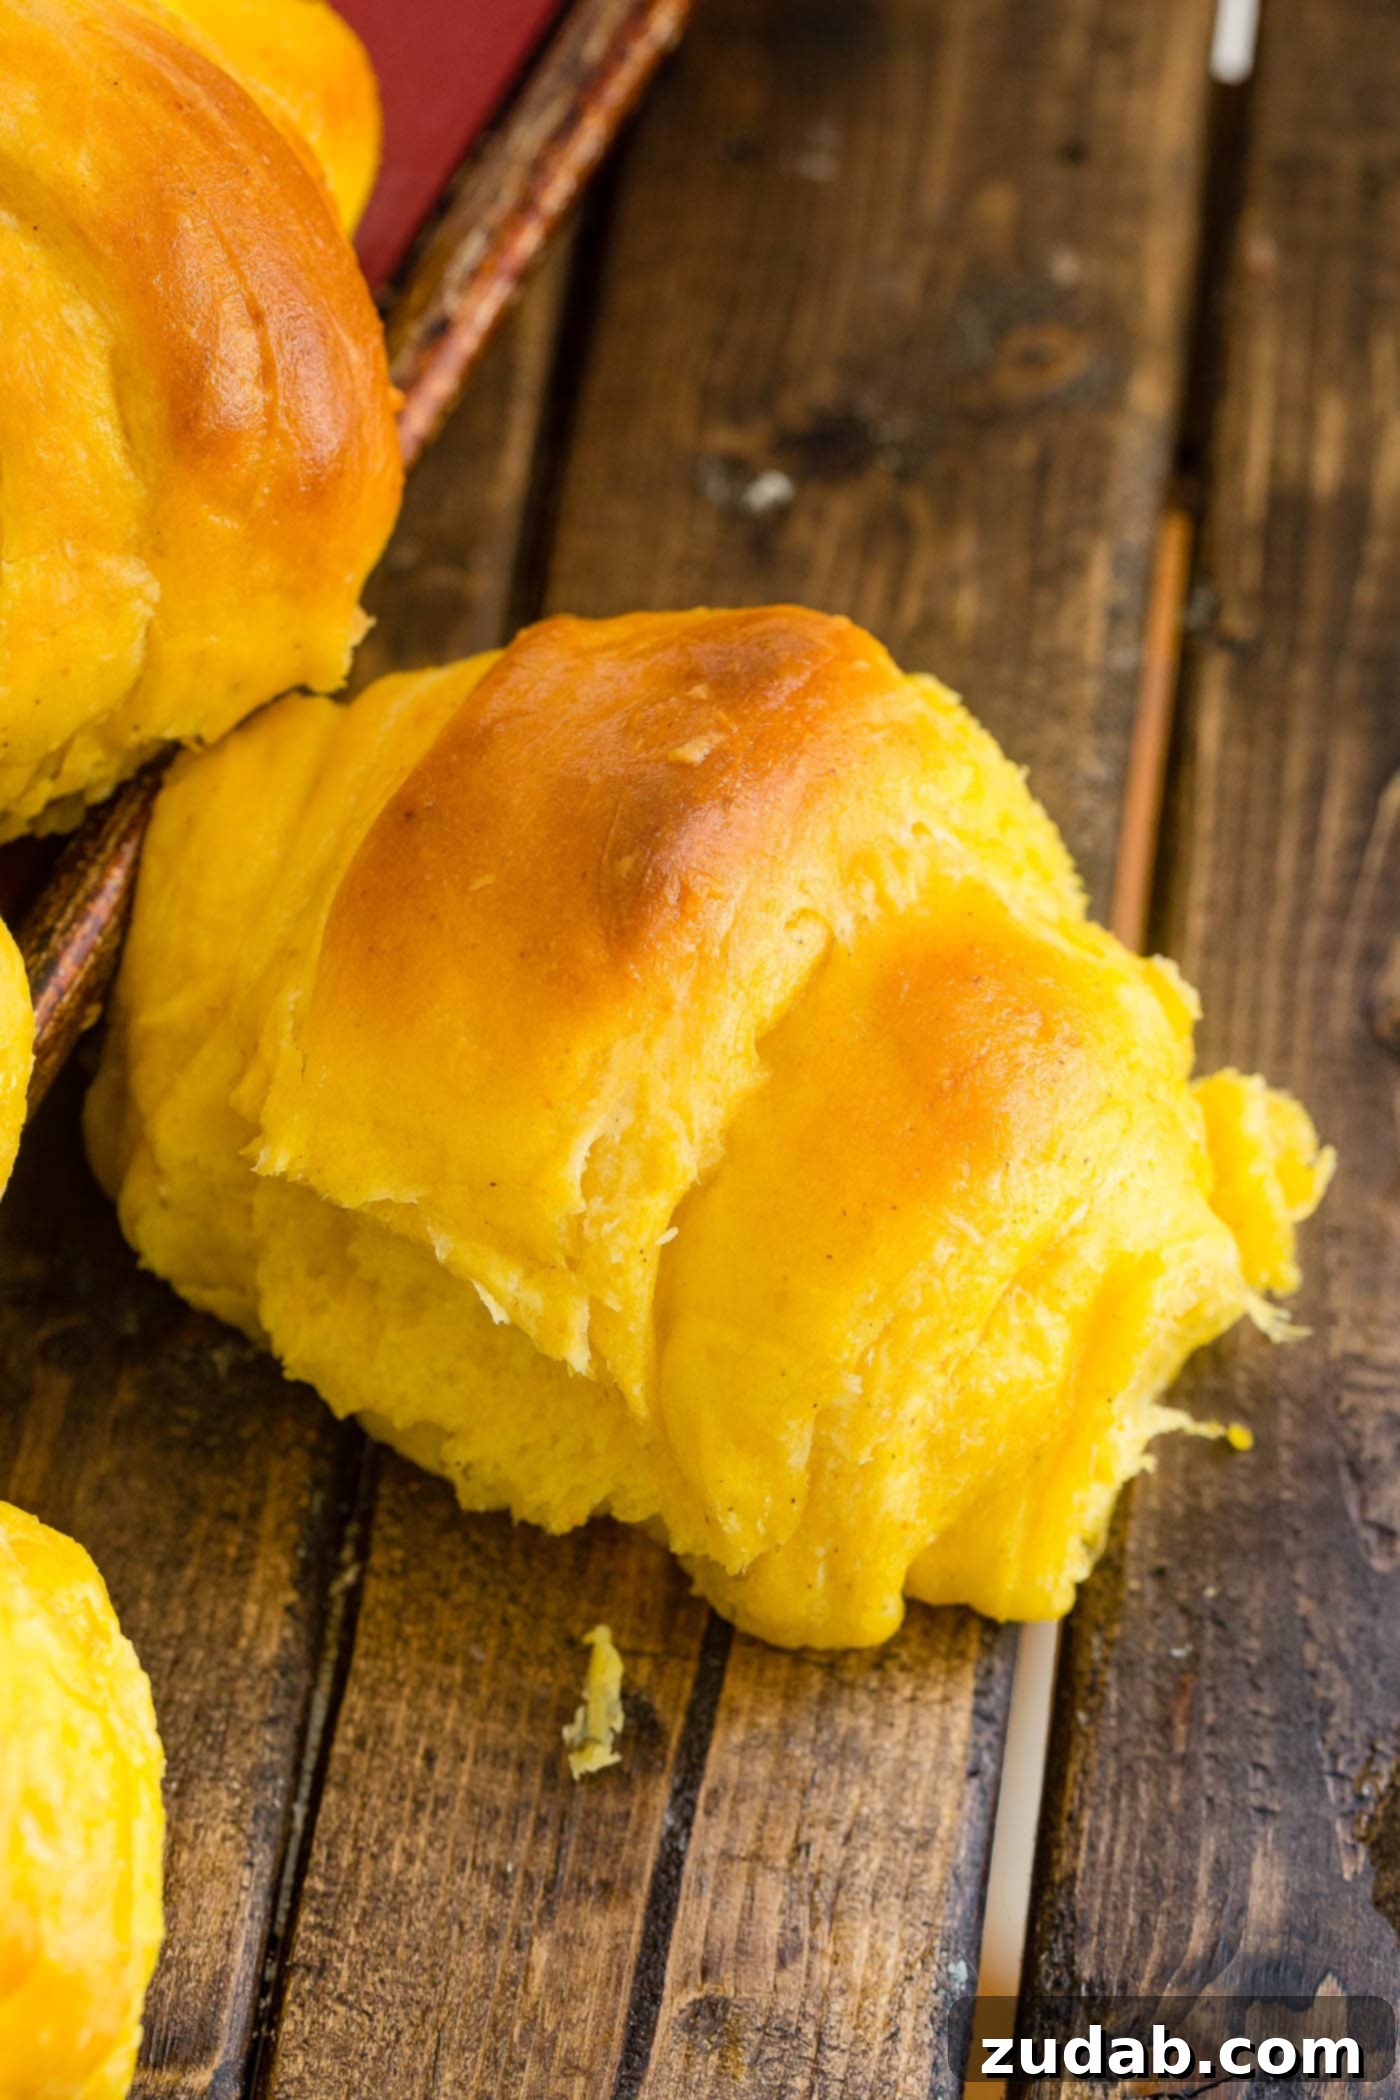
Frequently Asked Questions About Baking Pumpkin Rolls
Here are answers to some common questions that arise when baking these delectable pumpkin rolls. Understanding these details will help you achieve the best possible results.
What Can I use Instead of Butter?
While butter provides an unmatched richness and flavor, you can certainly use shortening in this roll recipe. If you find yourself with limited quantities of both, a combination of butter and shortening will also work effectively, yielding soft and flavorful rolls.
Do I Have to Scald Milk for Rolls?
Yes, scalding milk is indeed an essential step for making truly fluffy and tender rolls. Through careful testing and experience, it has been shown that heating milk to a specific temperature (never allowing it to boil) chemically alters its protein structure. This change ultimately results in a lighter, airier, and significantly softer roll. While skipping this step might still give you “pretty good” rolls, investing a few minutes in scalding the milk guarantees the absolute best, squishiest, and most melt-in-your-mouth texture imaginable.
How to Scald Milk Properly
Scalding milk is a simple process that requires just a little attention. It’s not about boiling, but rather heating it gently to a precise point.
- Pour the desired amount of milk into a medium saucepan or a microwave-safe glass measuring cup.
- **On the stovetop:** Heat the milk over medium heat. Watch carefully for small foamy bubbles to appear around the edges of the pot. A thin “skin” of milk will also begin to form on the surface if you gently touch it with a wooden spoon. Remove from heat immediately once these signs appear.
- **In the microwave:** Alternatively, heat the milk in the microwave until it is steaming hot but not boiling. This typically takes around 2 minutes for a few cups, but microwave times can vary.
- Once scalded, turn off the heat (if on stovetop) and proceed with the recipe as directed.
Can Roll Dough be Frozen?
Absolutely! This roll dough freezes beautifully, allowing you to prepare ahead for future meals or gatherings. Simply shape the rolls as desired and arrange them on a baking pan. Freeze them on the pan until they are solid, then transfer the frozen rolls to a sealed freezer bag. Freezing them individually on a pan first prevents them from sticking together in the bag.
What’s the Difference Between Instant Yeast and Active Dry Yeast?
Understanding the types of yeast is key to successful baking, especially for no-knead recipes. There are generally three main types: active dry yeast, instant yeast (also known as rapid rise or bread machine yeast), and fresh yeast.
- **Active Dry Yeast:** This yeast has larger granules and requires “proofing” before use. It needs to be dissolved in warm water (typically 105-115°F or 40-46°C) with a pinch of sugar for about 5-10 minutes until it becomes foamy. This step confirms the yeast is active and alive and cannot be skipped.
- **Instant Yeast (Rapid Rise or Bread Machine Yeast):** Instant yeast features a much finer texture, allowing it to be mixed directly into your dry ingredients without prior proofing. It’s designed to be more vigorous and activate faster, leading to quicker rises. For this pumpkin roll recipe, we highly recommend instant yeast for its reliability and ease of use. While bread machine and rapid rise yeasts are essentially instant yeasts, they sometimes contain dough conditioners like ascorbic acid, which can slightly affect dough elasticity, but they can generally be used interchangeably.
Can I Use Active Dry Yeast Instead of Instant Yeast?
Yes, you can substitute active dry yeast for instant yeast, but you’ll need to adjust the quantities and include the proofing step. Here are the conversion ratios:
- 1 teaspoon instant (bread machine) yeast = 1 1/4 teaspoons active dry yeast.
- 1 teaspoon active dry yeast = 3/4 teaspoon instant yeast.
- 1 package instant yeast (approx. 2 1/4 teaspoons) = 1 1/4 packages active dry yeast (approx. 2 4/5 teaspoons).
Remember to proof active dry yeast in lukewarm water with a bit of sugar before adding it to your other ingredients.
Can You Make Pumpkin Rolls Ahead of Time?
Absolutely! These pumpkin rolls are perfect for making ahead, which is a huge advantage for holiday planning. You have a couple of excellent methods:
- **Method 1 (Dough in the Fridge):** Prepare the dough through the first rise. After punching it down, place the dough in a lightly oiled bowl, cover it tightly with plastic wrap, and refrigerate it overnight (up to 24 hours). The next day, remove the bowl from the fridge and let the dough come to room temperature (about 1-2 hours) before proceeding with shaping and baking as usual.
- **Method 2 (Shaped Rolls in the Fridge):** Prepare the dough and let it complete its first rise. Then, shape the rolls according to your preference and place them on a baking sheet. Cover the baking sheet tightly with plastic wrap and refrigerate overnight. On baking day, remove the rolls from the fridge and let them sit on the counter for 1-2 hours to take the chill off and complete a final rise before baking.
Is Pumpkin Pie Filling the Same as Pumpkin Puree?
No, these two are distinctly different and are not interchangeable in this recipe. **Pumpkin pie filling** is a pre-seasoned product that contains added sugars, spices (like cinnamon, nutmeg, ginger), and often other ingredients for making pumpkin pie directly. **Pumpkin puree**, on the other hand, is simply pureed cooked pumpkin, with no added ingredients. For these rolls, you must use **only pumpkin puree** to control the flavor profile and sweetness.
Can I Use Bread Flour Instead of All-Purpose Flour?
While technically possible, bread flour has a higher protein content than regular all-purpose flour, which typically results in a chewier, more structured bread. For the desired soft, tender, and fluffy texture of these pumpkin rolls, all-purpose flour generally yields superior results. If you only have bread flour, you can use it, but be aware that the final texture might be slightly denser.
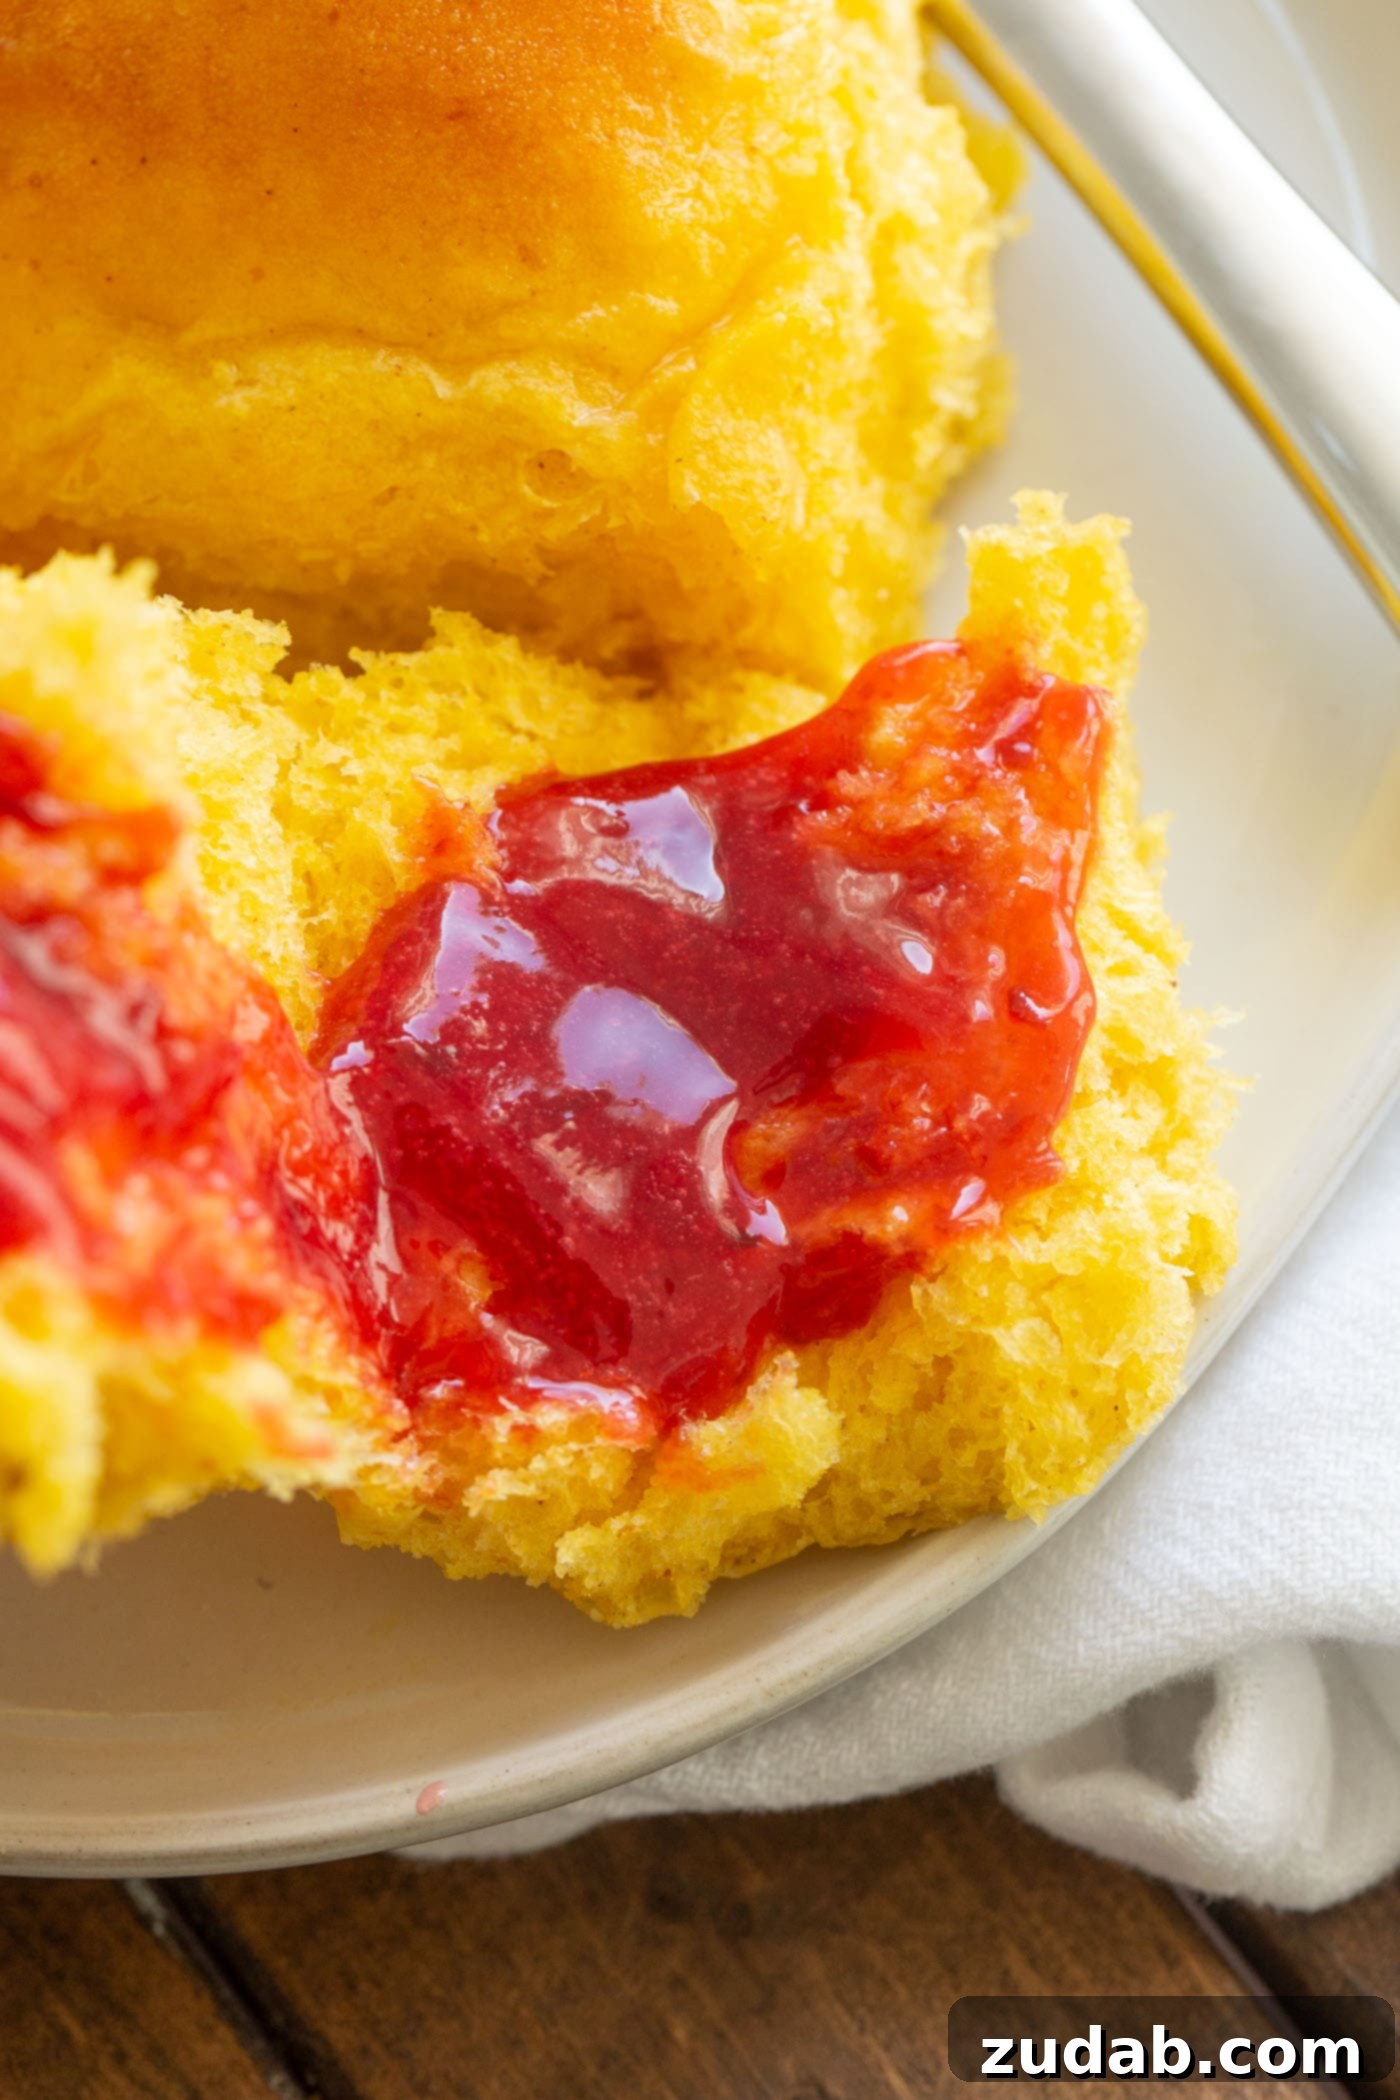
These soft pumpkin rolls pair wonderfully with so many things. Our dear friend, Janelle, recently shared some of her homemade plum jam with us, and I have to tell you, there are rolls with jam, and then there are rolls with *JAM!* This particular plum jam was the most astonishingly perfect accompaniment to these rolls. The sweet-tart fruitiness beautifully complemented the subtle earthiness of the pumpkin and the richness of the butter. If you can find or make some plum jam, you absolutely must try this pairing – it’s a game-changer!
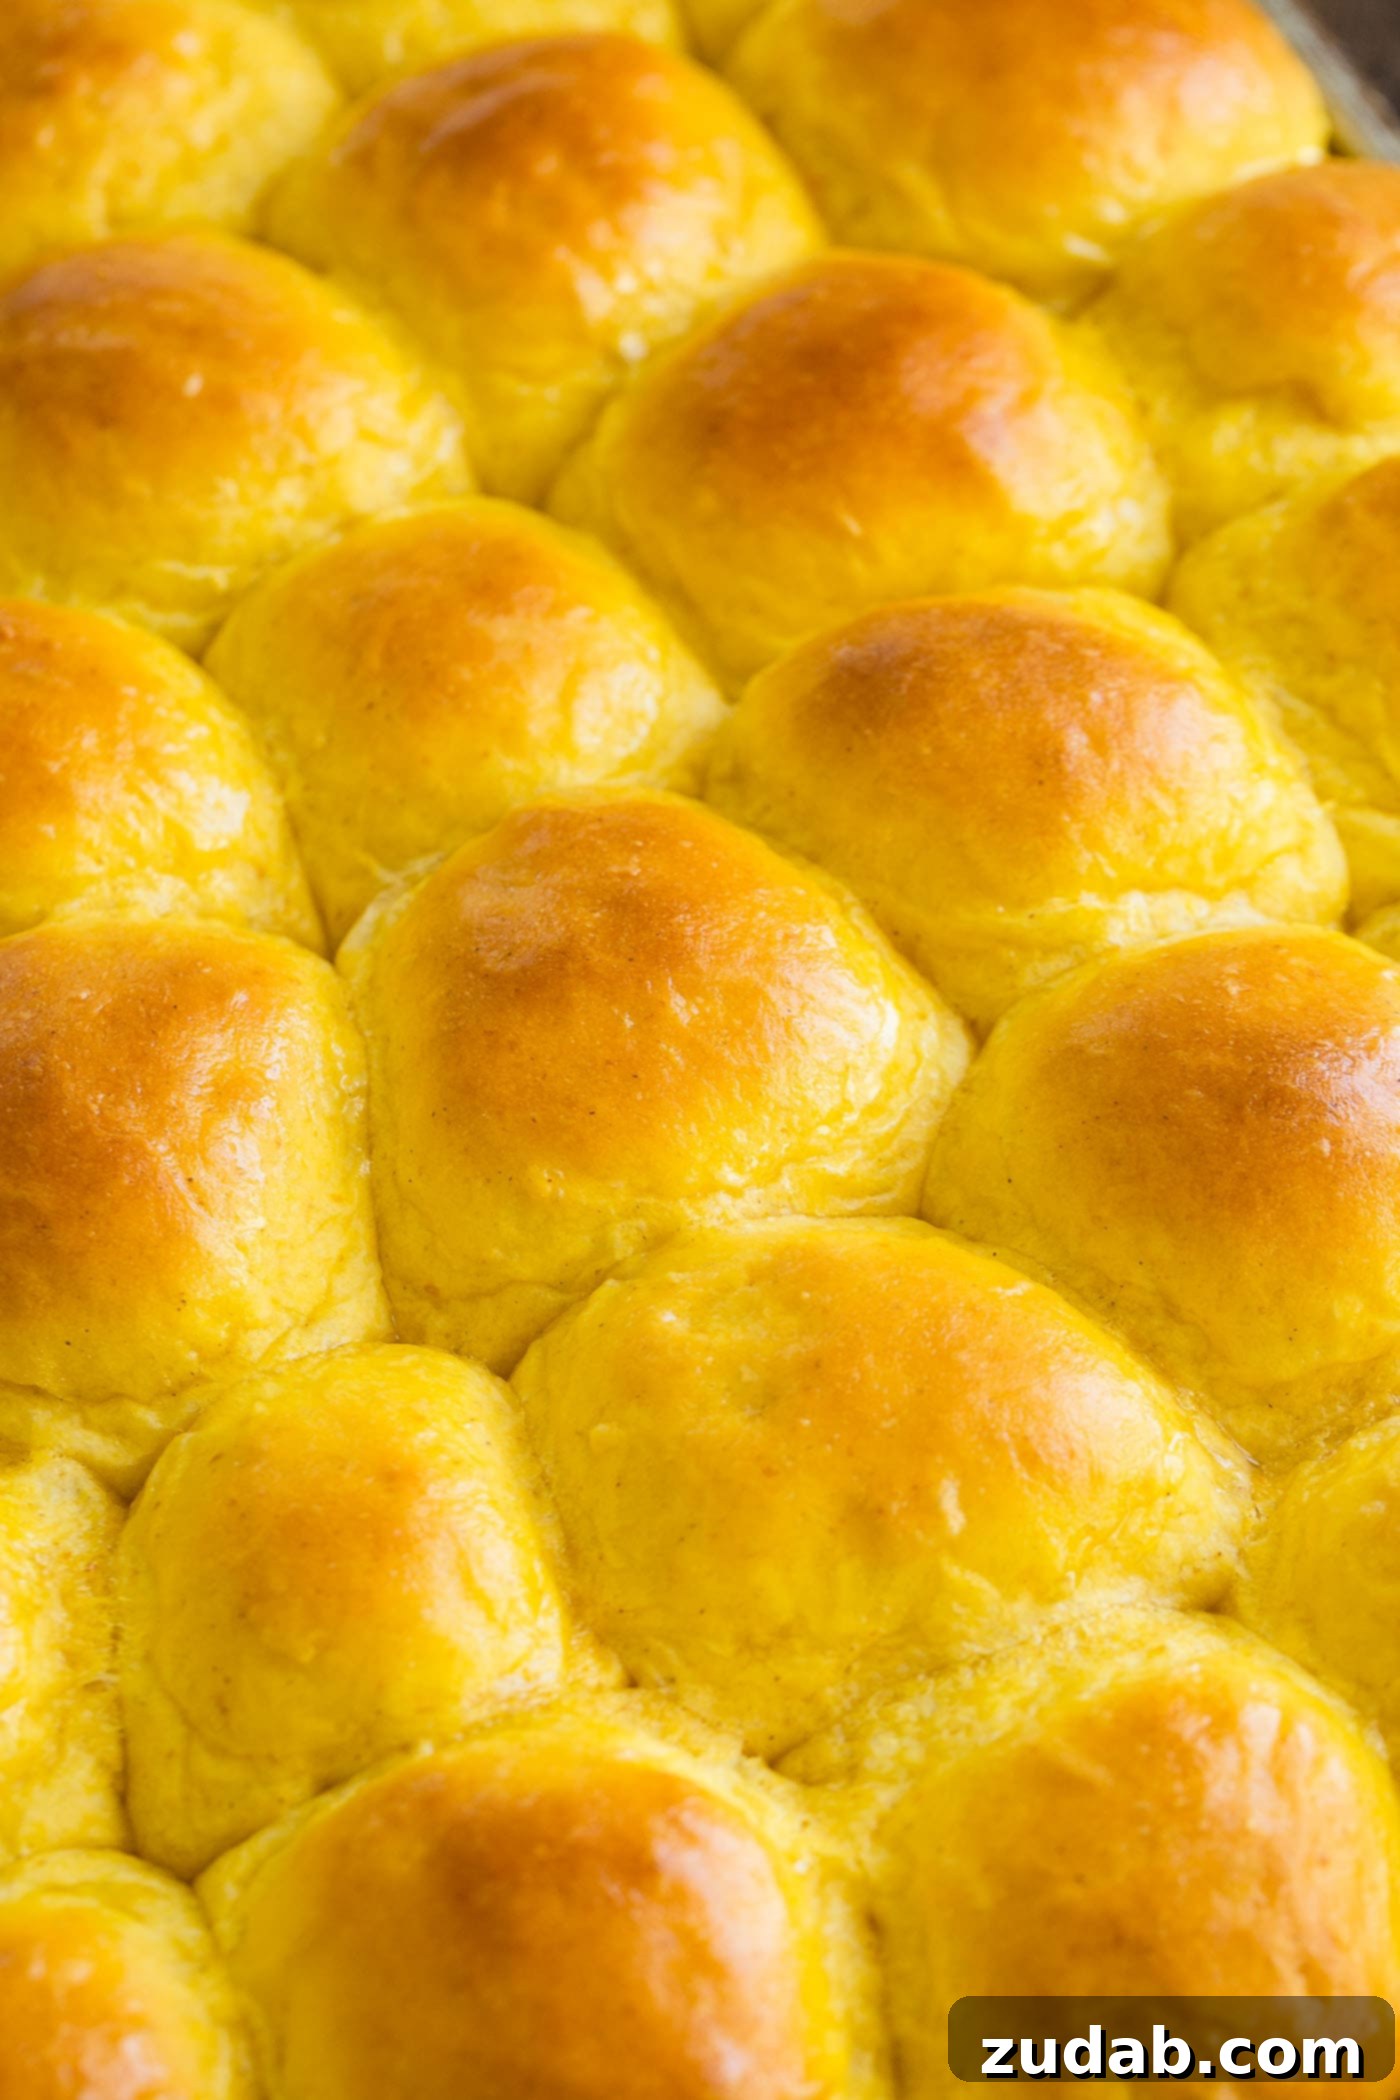
The Softest Pumpkin Rolls Recipe
By Sweet Basil
Prep Time: 2 hours
Cook Time: 15 minutes
Total Time: Approximately 6 hours 15 minutes (includes rising time)
Yield: 32 rolls
User Rating: 3.96 out of 5 stars (from 24 votes)
Ingredients
- 3/4 Cup Granulated Sugar
- 1 1/2 Sticks (3/4 Cup) Unsalted Butter
- 3 Cups Whole Milk, Scalded (see instructions below)
- 1 Cup Pumpkin Puree (ensure it’s 100% pumpkin, not pie filling)
- 1/2 teaspoon Ground Cinnamon
- 1 Tablespoon Salt
- 1 Tablespoon Instant Yeast (or 1 1/4 Tablespoons active dry yeast, proofed)
- 4 Large Eggs
- 8-10 Cups All-Purpose Flour
- 1/2 Cup Butter, softened, for rolling out and brushing rolls
Instructions
- Heat a medium saucepan over medium heat and add the milk. Cook until the edges begin to foam and froth, and a thin “skin” of milk starts to form on top. Do not allow it to boil. This is the scalding process.
- Remove the saucepan from the heat. Immediately add the sugar, butter, pumpkin puree, cinnamon, and salt to the hot milk. Stir thoroughly until all ingredients are combined and the butter has fully melted.
- Allow the mixture to cool completely to a lukewarm temperature. It should feel warm to the touch, like bathwater, but not hot, as excessive heat can kill the yeast.
- Once the mixture is lukewarm, sprinkle in the instant yeast and stir gently to combine. Then, add the eggs, stirring until they are fully incorporated into the mixture.
- Place 8 cups of the flour into a very large mixing bowl. Pour the milk mixture into the flour and stir with a sturdy spoon until the dough comes together. The dough will be very soft and slightly sticky – this is the correct consistency for a no-knead dough. If it’s too wet to handle even with flouring hands later, gradually add up to 2 more cups of flour, one tablespoon at a time, until it’s workable but still soft.
- Cover the bowl with a clean kitchen towel or plastic wrap. Place the bowl in a warm, draft-free spot and let the dough rise for at least one hour, or until it has visibly doubled in size.
- After the first rise, gently punch down the dough to release the air. Turn the dough out onto a heavily floured work surface (using some of your remaining flour, if any, or extra). Turn the dough over a few times to ensure all sides are coated, making it easier to handle and preventing excessive stickiness. Divide the dough into two equal portions.
- Take one portion of dough and roll it out to approximately 1/2-inch thickness. Lightly spread about 1/4 cup of softened butter over one half of the rolled dough. Fold the unbuttered half of the dough over the buttered half and gently press to seal the edges.
- Now, you have options for shaping:
- **For Dough Knots:** Cut the folded dough into 1-inch wide strips. Take each strip, form a loose “O” shape, and tuck one end through the hole, gently pulling to create a knot. Tuck the ends underneath.
- **For Traditional Round Rolls:** Pinch off ping-pong ball-sized portions of dough. Flatten each in your hand, place a small dab of butter in the center, then pinch the dough closed around the butter, forming a smooth ball.
- **For Crescent Rolls (as per previous instructions):** Divide the rolled dough into 4 circles first (instead of 2 portions). Butter two, layer unbuttered on top of buttered. Cut into wedges, then roll from fat end to point.
- Place your shaped rolls on a lightly greased cookie sheet, leaving adequate space between them for expansion. Cover the cookie sheet with a towel. Let the rolls rise for a second time, for 1-2 hours more, or until they have nearly doubled in size.
- While the rolls are completing their second rise, preheat your oven to 350°F (175°C).
- Bake the rolls in the preheated oven for 18-20 minutes, or until they are beautifully golden brown on top and cooked through.
- Immediately upon removing the rolls from the oven, brush their tops generously with the remaining 1/4 cup of softened or melted butter. This adds flavor, shine, and extra softness.
- Serve the softest pumpkin dinner rolls warm and watch them disappear!
Recipe Notes
- **Butter Substitute:** If you’re out of butter or prefer, butter-flavored shortening can be used as a replacement for both the dough and for brushing.
- **Scalding Milk Importance:** Do not skip the scalding step. It’s crucial for the light and fluffy texture. Just remember to cool the milk to lukewarm before adding yeast.
- **Dough Consistency:** The dough will be soft and shaggy, not firm like traditional bread dough. Don’t worry, this is normal and contributes to the rolls’ incredible softness.
- **Make-Ahead Options:**
- **Overnight Dough:** Mix the dough as directed, cover the bowl with plastic wrap, and refrigerate overnight. The next day, let it come to room temperature (1-2 hours) before shaping and baking.
- **Overnight Shaped Rolls:** After shaping the rolls, place them on a cookie sheet, cover tightly with plastic wrap, and refrigerate overnight. Let them rise at room temperature for 1-2 hours the next day before baking.
Nutrition Information
The following is an approximation per roll (based on 32 servings):
- Serving Size: Approx. 1 roll
- Calories: 188 kcal
- Carbohydrates: 30g
- Protein: 5g
- Fat: 5g
- Saturated Fat: 3g
- Cholesterol: 34mg
- Sodium: 266mg
- Potassium: 96mg
- Fiber: 1g
- Sugar: 6g
- Vitamin A: 1349 IU
- Vitamin C: 1mg
- Calcium: 37mg
- Iron: 2mg
Nutrition information is automatically calculated and should be used as an approximation only. Actual values may vary based on specific ingredients and preparation methods.