
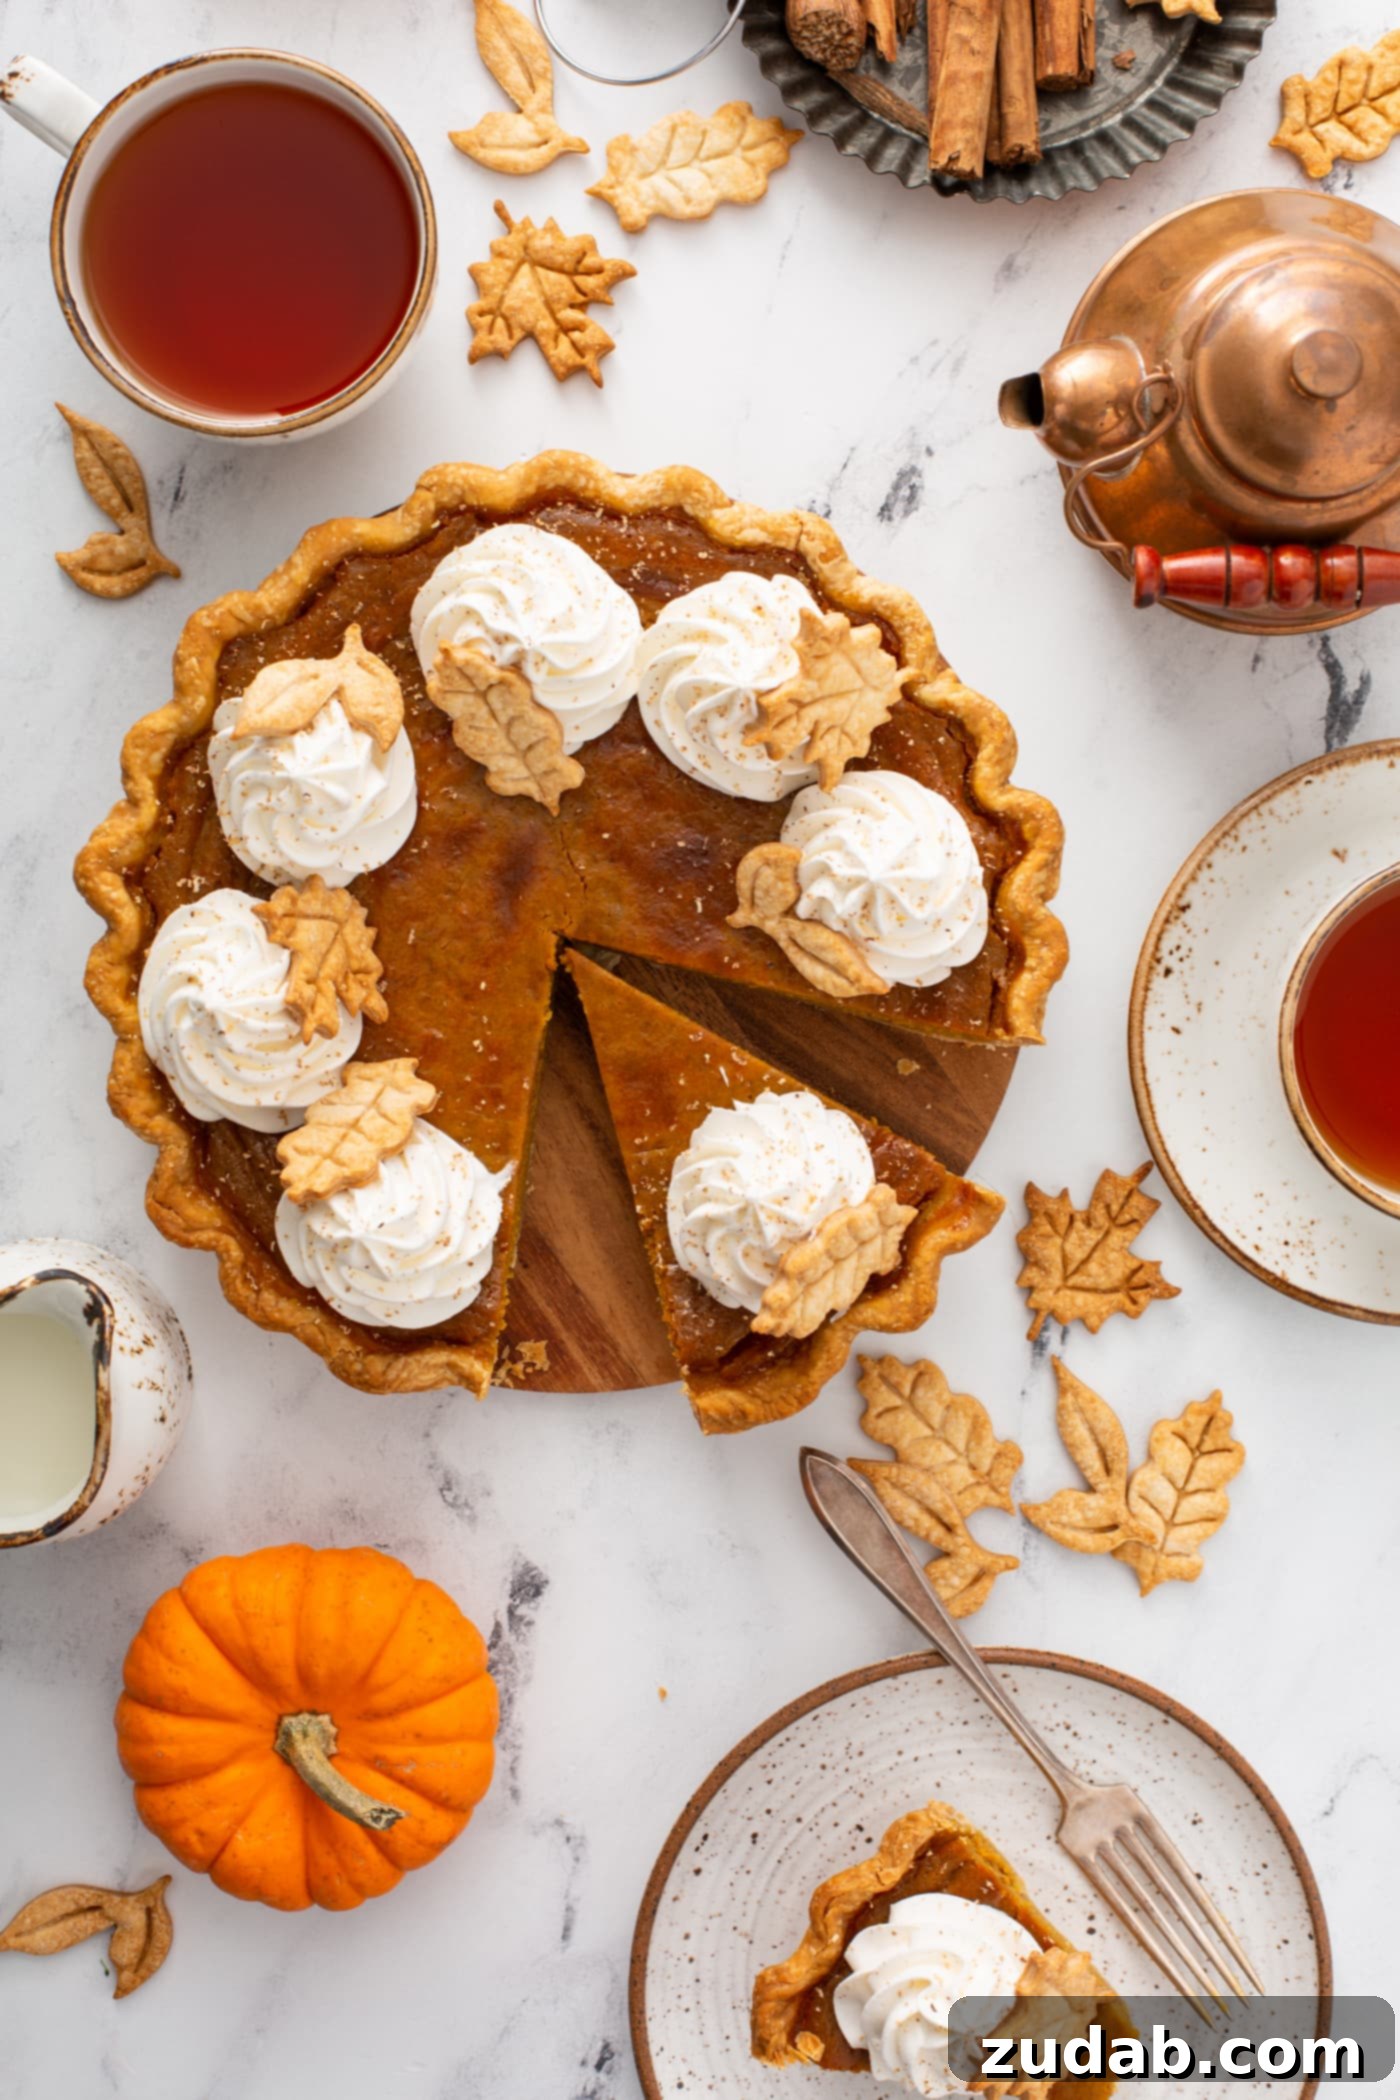
The Ultimate Homemade Pumpkin Pie: A Timeless Thanksgiving Tradition
There’s an undeniable magic in a classic pumpkin pie made entirely from scratch. As the aroma of warm spices fills your kitchen, it heralds more than just a dessert; it brings forth cherished memories and the comforting essence of fall holidays. Forget the often-disappointing store-bought varieties that lack depth and character. This meticulously crafted homemade version promises a filling that is exquisitely creamy and perfectly spiced, cradled in a buttery, flaky crust. It delivers that signature nostalgic Thanksgiving flavor we eagerly anticipate all year long.
If the thought of tackling pumpkin pie from scratch has ever made you hesitant, set those worries aside. This comprehensive guide will walk you through every single step, ensuring your pie bakes up with a smooth, velvety texture and perfect consistency every single time. Whether you’re hosting the grand Thanksgiving feast or simply yearning for a cozy autumn treat, this is truly the only pumpkin pie recipe you will ever need.
Why Homemade Pumpkin Pie Reigns Supreme
Oh, pumpkin pie, oh pumpkin pie, thy flavor is so deeply enchanting! Why should Christmas carols get all the fame when we could be singing praises for this magnificent dessert? While I know some out there might not share the same fervent adoration for pumpkin pie—and honestly, I struggle to comprehend such sentiments—its undeniable status as a holiday staple is universal. Every culinary blog worth its salt should feature beloved classic recipes, and this one undoubtedly ranks among my all-time favorites. Perhaps it shares the top spot with Mom’s Lemon Meringue Pie, a testament to its timeless appeal and comforting familiarity.
There’s something uniquely satisfying about creating a dish that evokes such strong emotional connections. The process of baking a pumpkin pie from its foundational elements transforms simple ingredients into an extraordinary culinary experience. It’s more than just a dessert; it’s a centerpiece that brings smiles, fosters conversations, and anchors memories. This pie isn’t just eaten; it’s savored, celebrated, and often becomes the sweet exclamation point at the end of a festive meal. Its rich texture and aromatic spices encapsulate the very essence of autumn and the joy of coming together.
A Journey Through Thanksgiving Past: Cherished Family Traditions
Growing up, Thanksgiving was always one of my most anticipated holidays. It wasn’t just about the food, though that was certainly a highlight, but about the unparalleled warmth of family. We would descend upon my grandpa’s house in Le Grande, Oregon, a bustling hub where cousins, aunts, and uncles converged, filling every nook and cranny. Folding tables and chairs were hastily set up in every available space, transforming the modest home into a vibrant, lively sanctuary. More often than not, the sheer number of eager family members meant us kids ended up perched on the floor, our plates piled high with holiday delights, sharing laughter and stories.
When we celebrated Thanksgiving at home in Vancouver, Washington, our house too would overflow with loved ones. Dad always extended an open invitation to anyone from church who might otherwise spend the day alone, ensuring no one was left without a place at the table. The cousins would play tirelessly, their joyful shouts echoing through the house, while the adults chatted and grazed on appetizers. Eventually, in the early afternoon, we’d gather for what we affectionately called “dinner.” Cleanup, simplified by an abundance of paper plates (a true stroke of genius for holiday sanity!), quickly transitioned into the next phase: the ladies and kids crafting festive Christmas decorations, the men engrossed in football games, and then, the moment everyone truly anticipated—pie time! These memories are woven with the flavors of homemade food and the comfort of family, making the holiday truly special.
And honestly, my favorite part wasn’t even the big meal itself. It was the blissful serenity of the next day: lounging around in pajamas, watching movies, and devouring countless turkey sandwiches on soft rolls, made with all the glorious leftovers. Those sandwiches, simple yet profoundly satisfying, often eclipsed the grandeur of the original feast in my affections, marking the true culmination of the holiday spirit.
Crafting New Traditions: Thanksgiving in Adulthood
As I’ve navigated adulthood, Thanksgiving has naturally taken on a different shape. In our current home, many people have deep roots and established family gatherings, which can sometimes make the holiday feel a touch quieter, a bit more solitary, especially when travel isn’t an option. It’s not the boisterous, overflowing celebration of my childhood, but this change has imparted an invaluable lesson: to emulate my father’s generosity and always scan the horizon for anyone who might need a warm place and a welcoming seat at our table. The spirit of hospitality, of ensuring no one spends the holiday alone, remains a cornerstone of our Thanksgiving.
Our traditions may have evolved, adapting to new circumstances and forging new paths, but one element remains steadfast and utterly indispensable: we still have pie. And let’s be honest, in the grand tapestry of life’s moments, the simple, sweet presence of a perfect pie truly makes everything feel okay, bridging distances and comforting hearts with every delicious slice.
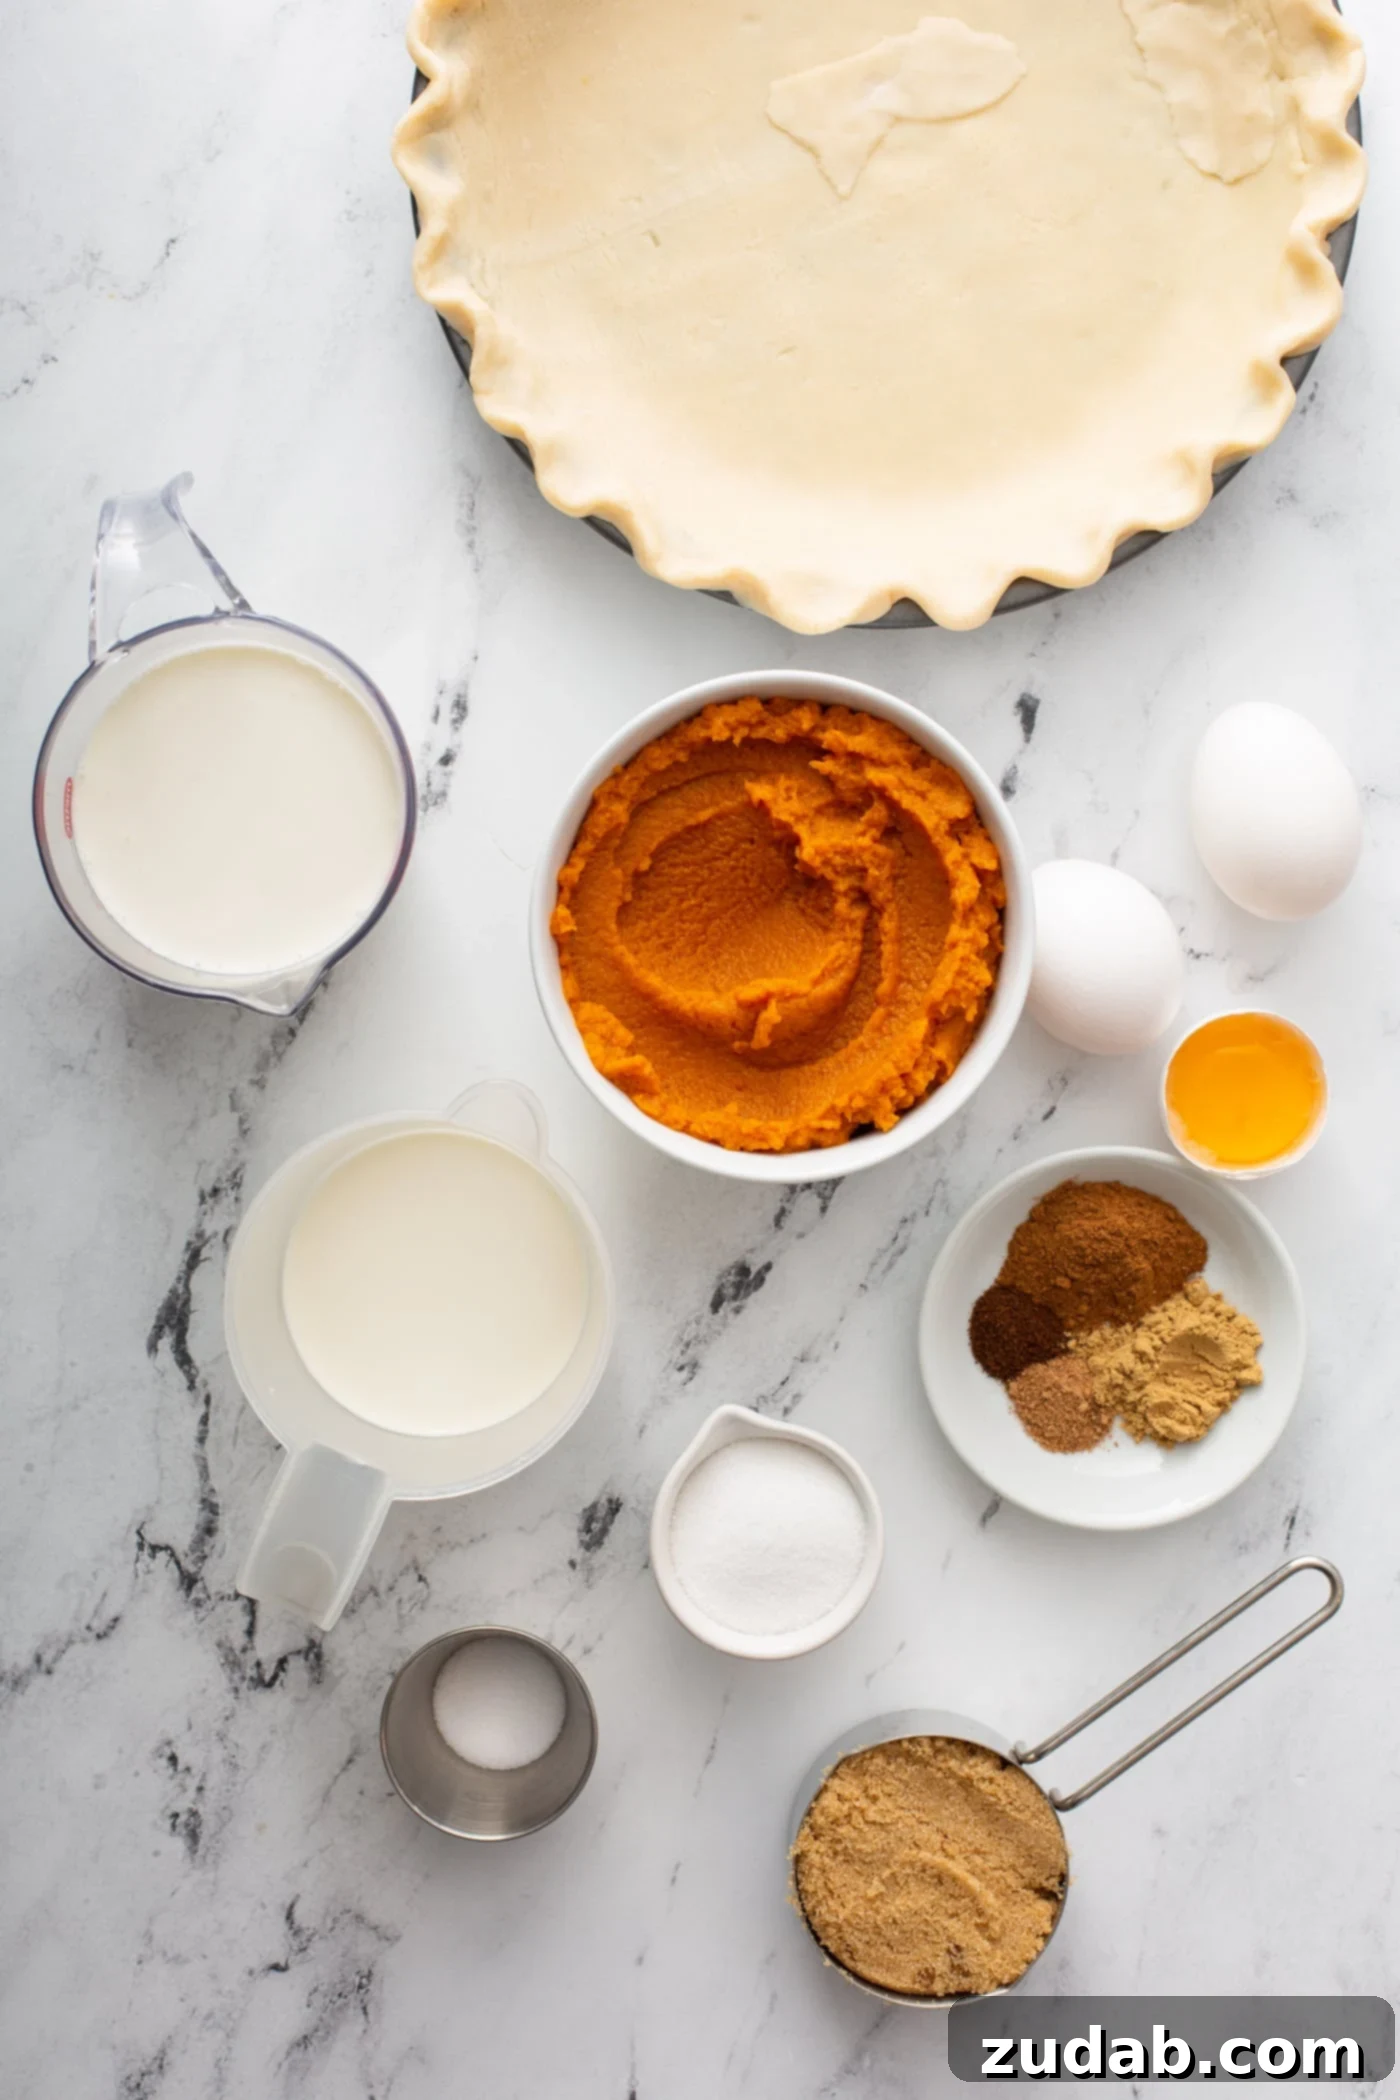
Essential Ingredients for the Perfect Pumpkin Pie Filling
The foundation of any exceptional pie is, without a doubt, a remarkable crust. For this homemade pumpkin pie, you’ll want to start by preparing either my absolute favorite pie crust recipe or Mom’s fail-proof magic crust. Both recipes yield enough dough for a double crust, meaning you’ll only need half of the prepared dough for a single pumpkin pie. The remaining half offers wonderful versatility: you can easily freeze it for future baking endeavors, or better yet, make a second pumpkin pie! Alternatively, it’s perfect for a delightful lemon meringue pie.
Now, for the rich, smooth, and aromatic filling that truly defines this classic dessert, here is your essential grocery list, along with a brief explanation of each ingredient’s crucial role:
- Pumpkin Purée: This is the heart of our pie. Ensure you select 100% pure pumpkin purée, not the pre-spiced pumpkin pie filling, which often contains added sugars and spices that can throw off the balance of our carefully crafted recipe. It provides the essential body, moisture, and authentic, earthy pumpkin flavor.
- Heavy Cream: Integral for creating that luxurious, indulgent richness and the incredibly silky, custard-like texture that makes this pie so irresistible.
- Half and Half: This dairy component cleverly balances the heavy cream, ensuring the filling remains wonderfully creamy without becoming overly dense or heavy.
- Salt: A small but mighty ingredient, salt is vital for enhancing all the other flavors. It brightens the spices and truly brings out the inherent sweetness and depth of the pumpkin.
- Granulated Sugar: Provides the primary sweetness to the pie and is crucial in helping the filling to set smoothly and achieve its characteristic firm yet tender consistency.
- Brown Sugar: Beyond just sweetness, brown sugar contributes a deeper, more complex caramel-like flavor. Its molasses content also adds extra moisture, enriching the overall taste and texture of the pie.
- Eggs: The binding agents for the filling. Eggs coagulate as they bake, transforming the liquid mixture into a stable, smooth custard. They are essential for the pie’s structure and creamy set.
- Cinnamon: The dominant warming spice that is synonymous with classic pumpkin pie. It provides a comforting, aromatic warmth that is instantly recognizable.
- Nutmeg: Adds another layer of warmth and a slightly sweet, subtly nutty note that complements the pumpkin beautifully, contributing to the pie’s complex spice profile.
- Ground Cloves: A potent spice that offers a bold, intensely aromatic depth. Just a hint of cloves delivers that distinctive, comforting signature fall flavor without overpowering the other spices.
- Ground Ginger: This spice brings a delightful brightness and a gentle, spicy kick. It perfectly balances the sweetness of the sugars and the richness of the pumpkin, adding a subtle zest.
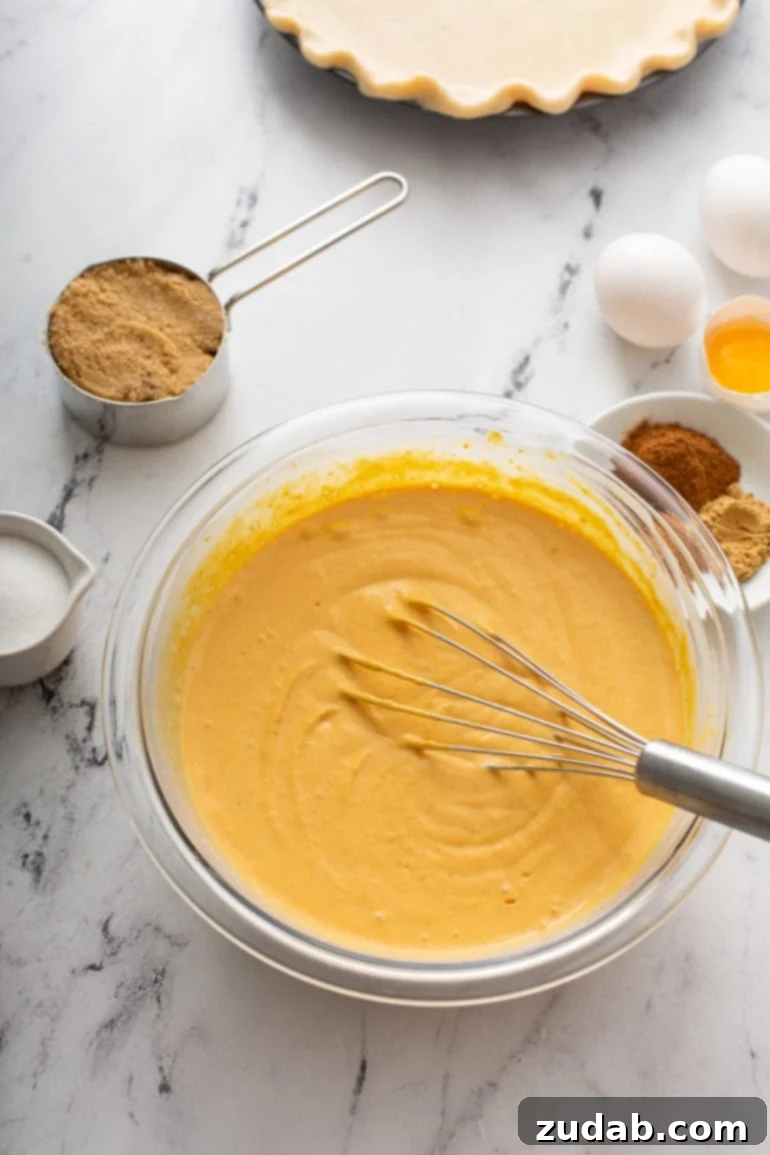
Step-by-Step Guide: How to Bake Your Flawless Pumpkin Pie
Don’t let its impressive appearance fool you; pumpkin pie is remarkably one of the easiest pies to make from scratch. The filling process is wonderfully straightforward: simply combine all the ingredients and pour them into your prepared crust. That’s it! The real magic happens in the oven. Follow these detailed steps to achieve a perfectly smooth, creamy, and utterly delicious homemade pumpkin pie:
- Prep the Oven: Begin by preheating your oven to 400°F (200°C). This initial high temperature is crucial for setting the crust and preventing a soggy bottom.
- Prepare the Pie Crust: Roll out half of your chosen pie dough (from our all-butter pie crust recipe or Mom’s magic crust) into a uniform circle, large enough to fit your 9-inch pie pan with a slight overhang. Carefully place the dough into the pie pan, gently pressing it against the bottom and sides without stretching. Trim any excess dough, leaving about a half-inch overhang, then crimp the edges decoratively.
- Chill the Pie Crust: To further prevent shrinkage and ensure a flaky texture, generously prick the bottom of the pie crust all over with a fork. This creates steam vents. Then, place the entire pie pan in the refrigerator for at least 30 minutes. This chilling period allows the gluten to relax, helping the crust maintain its shape during baking.
- Blind Bake the Pie Crust: Line the chilled pie crust with parchment paper, then fill it with pie weights, dried beans, or uncooked rice. This supports the crust and prevents it from puffing up or slumping. Place a piece of aluminum foil loosely over the top of the crust to shield the crimped edges from over-browning. Bake for 15 minutes at 400°F (200°C). After 15 minutes, carefully remove the foil and pie weights, then return the crust to the oven for another 6-8 minutes, or until the bottom is lightly golden and appears dry.
- PRO TIP: Blind baking is a critical step! It partially cooks the crust before the wet filling goes in, creating a barrier that prevents the dreaded soggy bottom—a common pitfall in custard pies.
- Make the Pie Filling: While the crust cools slightly, prepare your luscious filling. In a large saucepan or pot, combine the pumpkin purée, salt, granulated sugar, brown sugar, and all the fragrant spices (cinnamon, nutmeg, cloves, and ginger). Place the pot over medium heat and bring the mixture to a gentle simmer, stirring constantly with a whisk or rubber spatula. Continue to cook and stir for 5 minutes; this helps to evaporate some of the pumpkin’s moisture, resulting in a richer, less watery filling. Next, stir in the heavy cream and half and half. Continue cooking over medium to medium-high heat for another minute, stirring until the mixture begins to sputter and pop at a simmer. This ensures all flavors meld beautifully.
- Temper the Eggs: In a separate small bowl, whisk together the eggs and egg yolk until smooth. To prevent the eggs from scrambling when added to the warm pumpkin mixture, you must temper them. Slowly, a tablespoon at a time, add some of the warm pumpkin mixture to the whisked eggs, whisking continuously. Do this 3-4 times until the eggs are gradually warmed. Then, slowly pour the tempered egg mixture into the pot with the pumpkin filling, whisking constantly until fully combined and smooth. Pour the entire filling into your warm, blind-baked pie crust.
- Bake: Return the pie to the oven. Bake at the initial high heat of 400°F (200°C) for 25 minutes. This high heat helps to quickly set the outer edges of the pie. Immediately after 25 minutes, lower the oven temperature to 350°F (175°C) and continue baking for another 10 minutes, or until the pie is puffed up slightly in the middle and barely moves when gently nudged. If the crust edges start to get too dark during baking, loosely cover them with strips of aluminum foil to prevent burning.
- PRO TIP: The pie is perfectly cooked when the center still has a slight wobble, like gelatin, but the edges are firm and slightly puffed. It will continue to set as it cools.
- Cool: This step is crucial for the pie’s final texture and preventing cracks. Carefully remove the baked pie from the oven and place it on a wire cooling rack. Allow it to cool undisturbed for a minimum of 2 hours at room temperature. This allows the custard to fully set.
- Topping: Once completely cooled, top your magnificent creation with a generous dollop of freshly whipped cream or a dusting of powdered sugar just before serving.
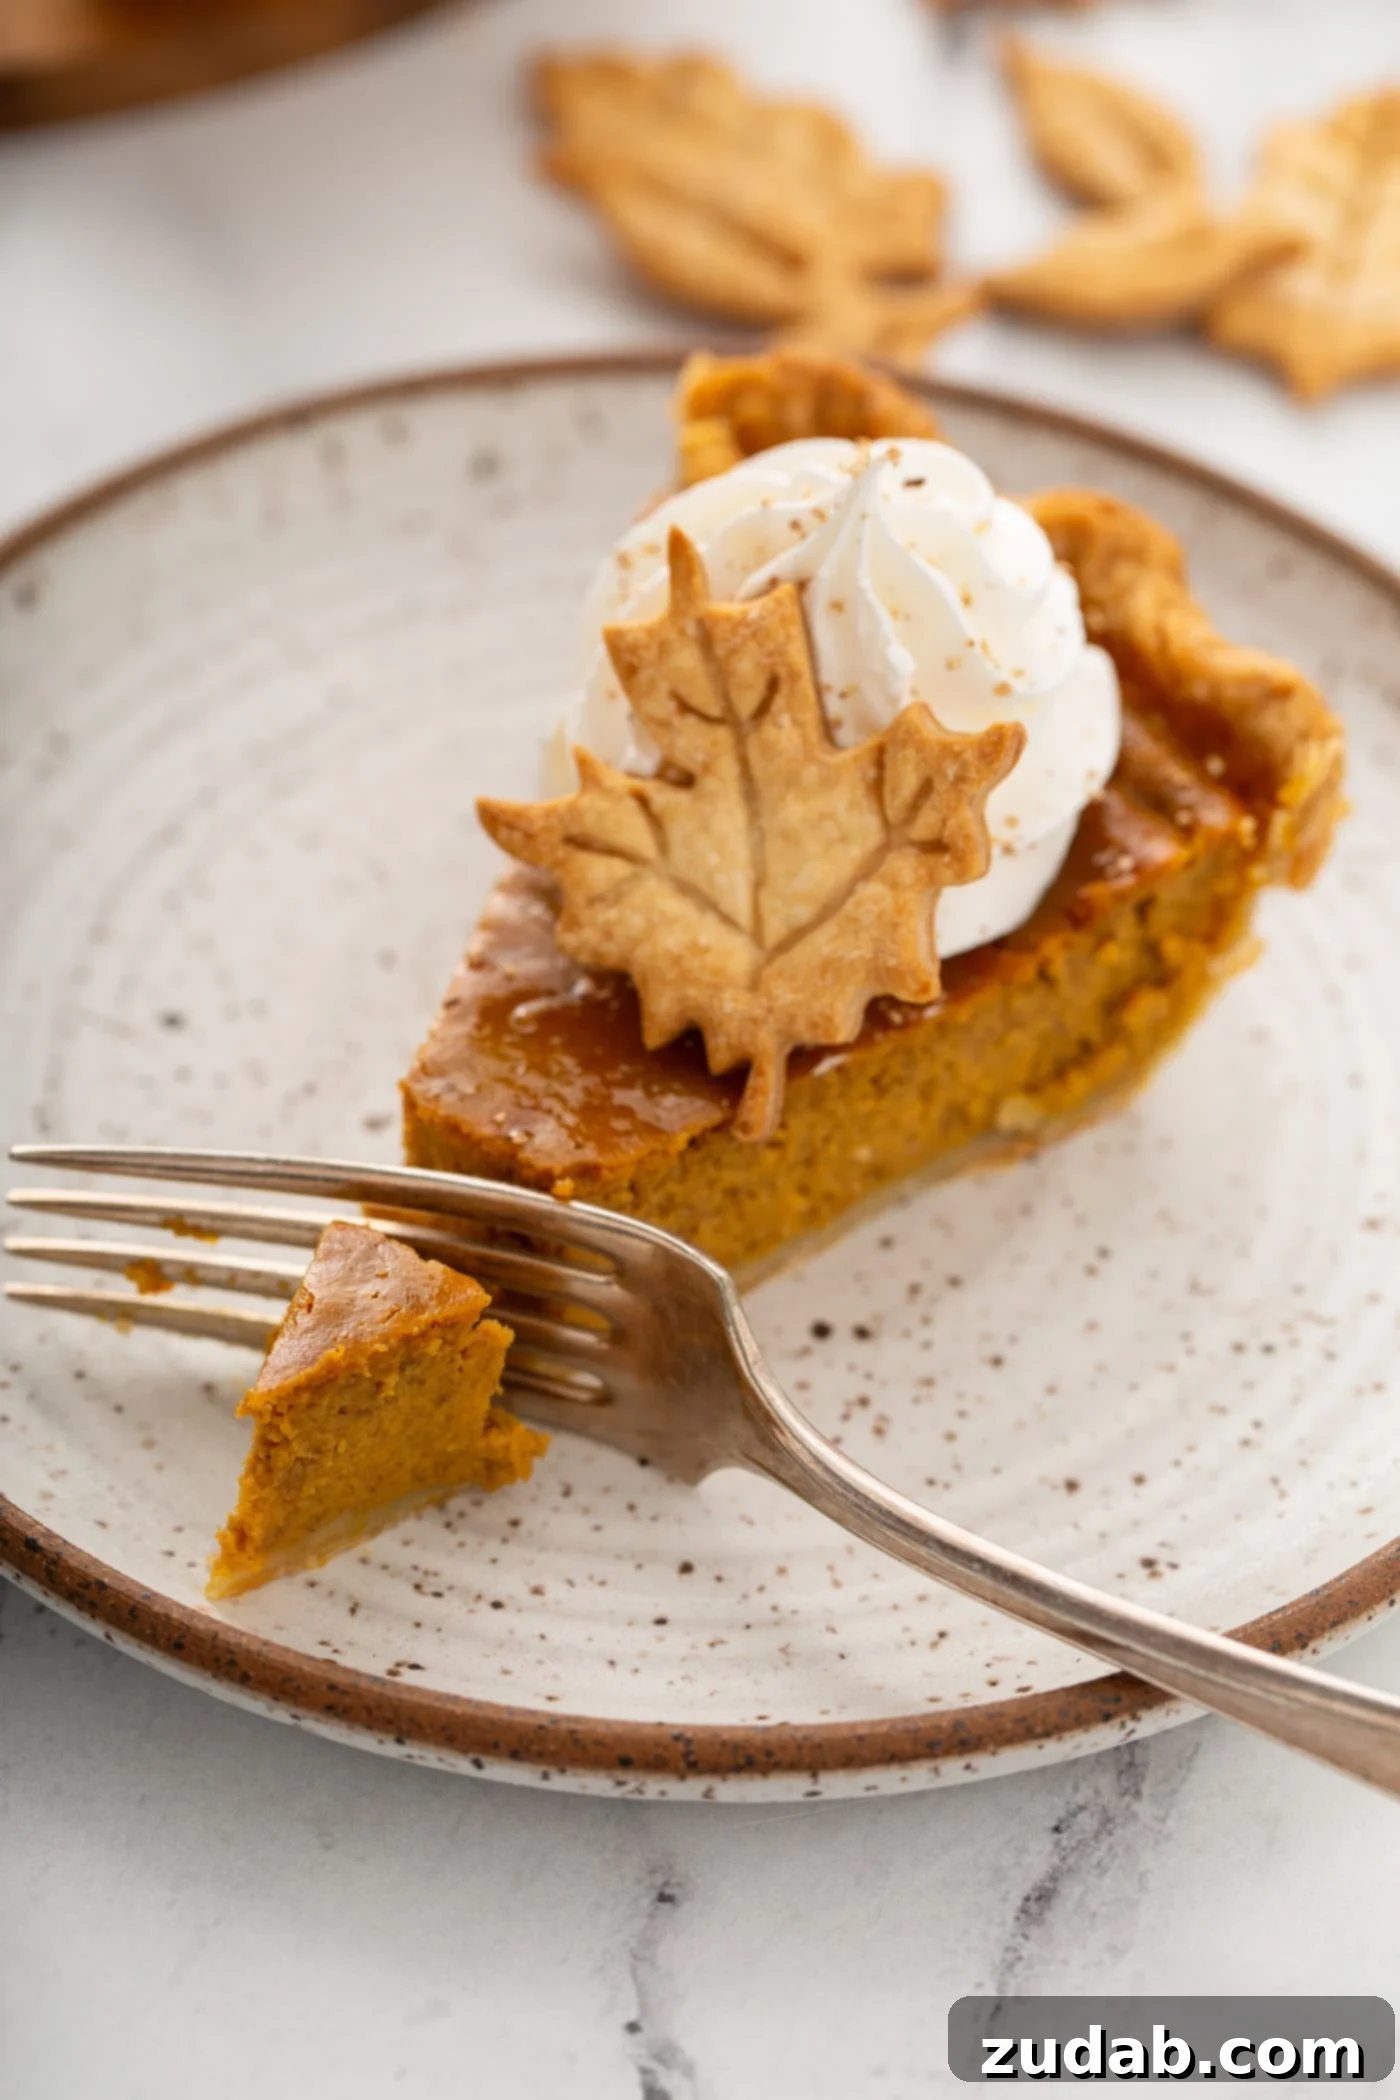
Elevate Your Pie: Creative Topping Ideas
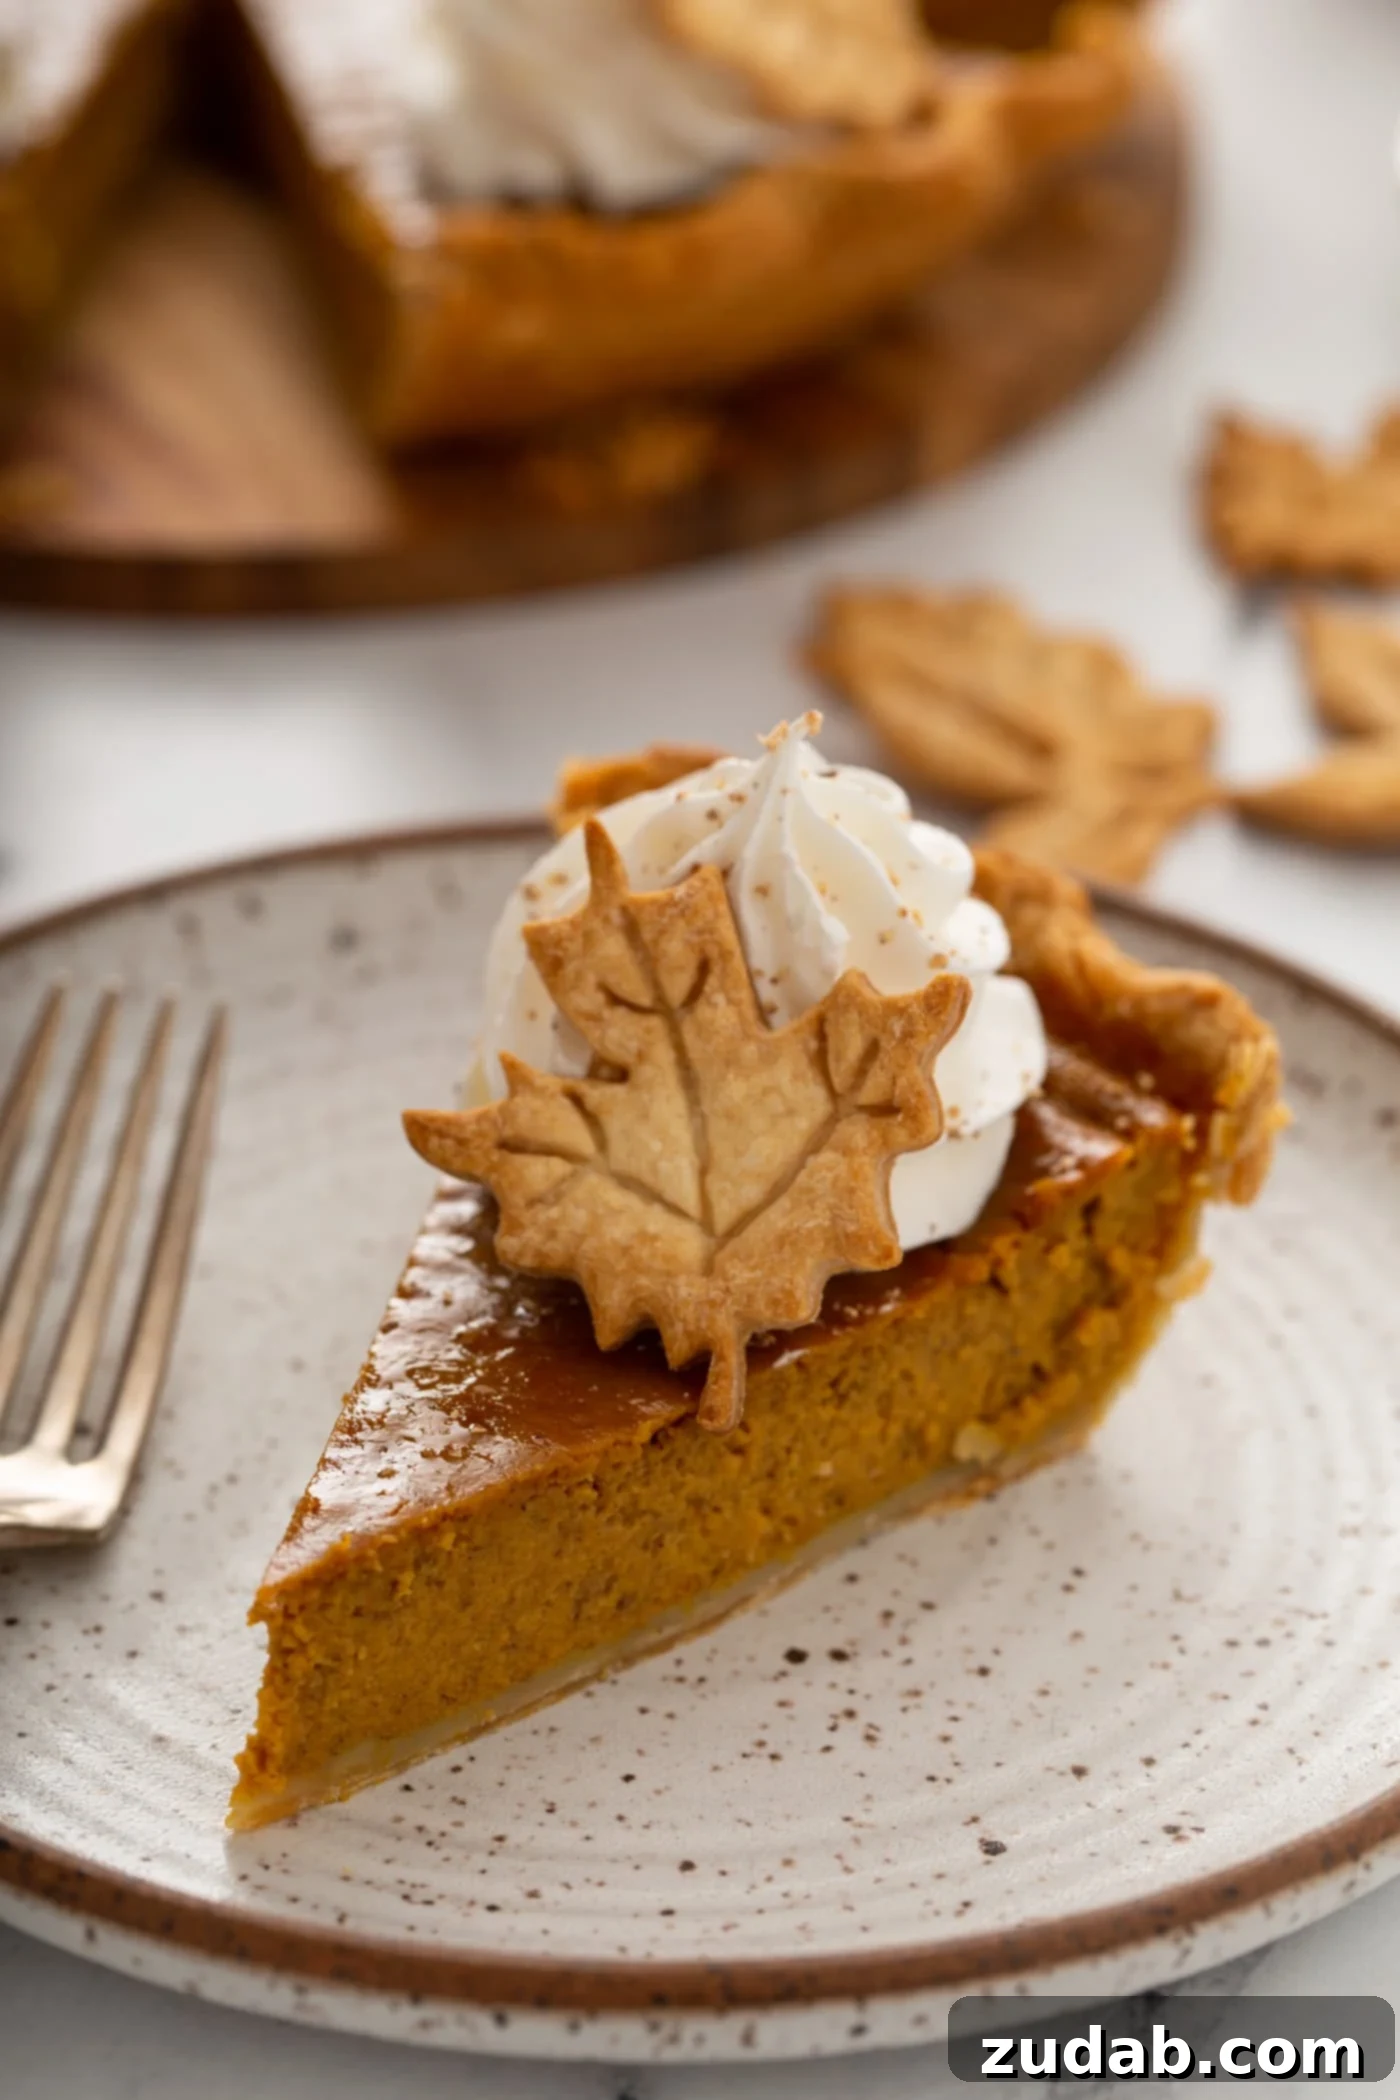
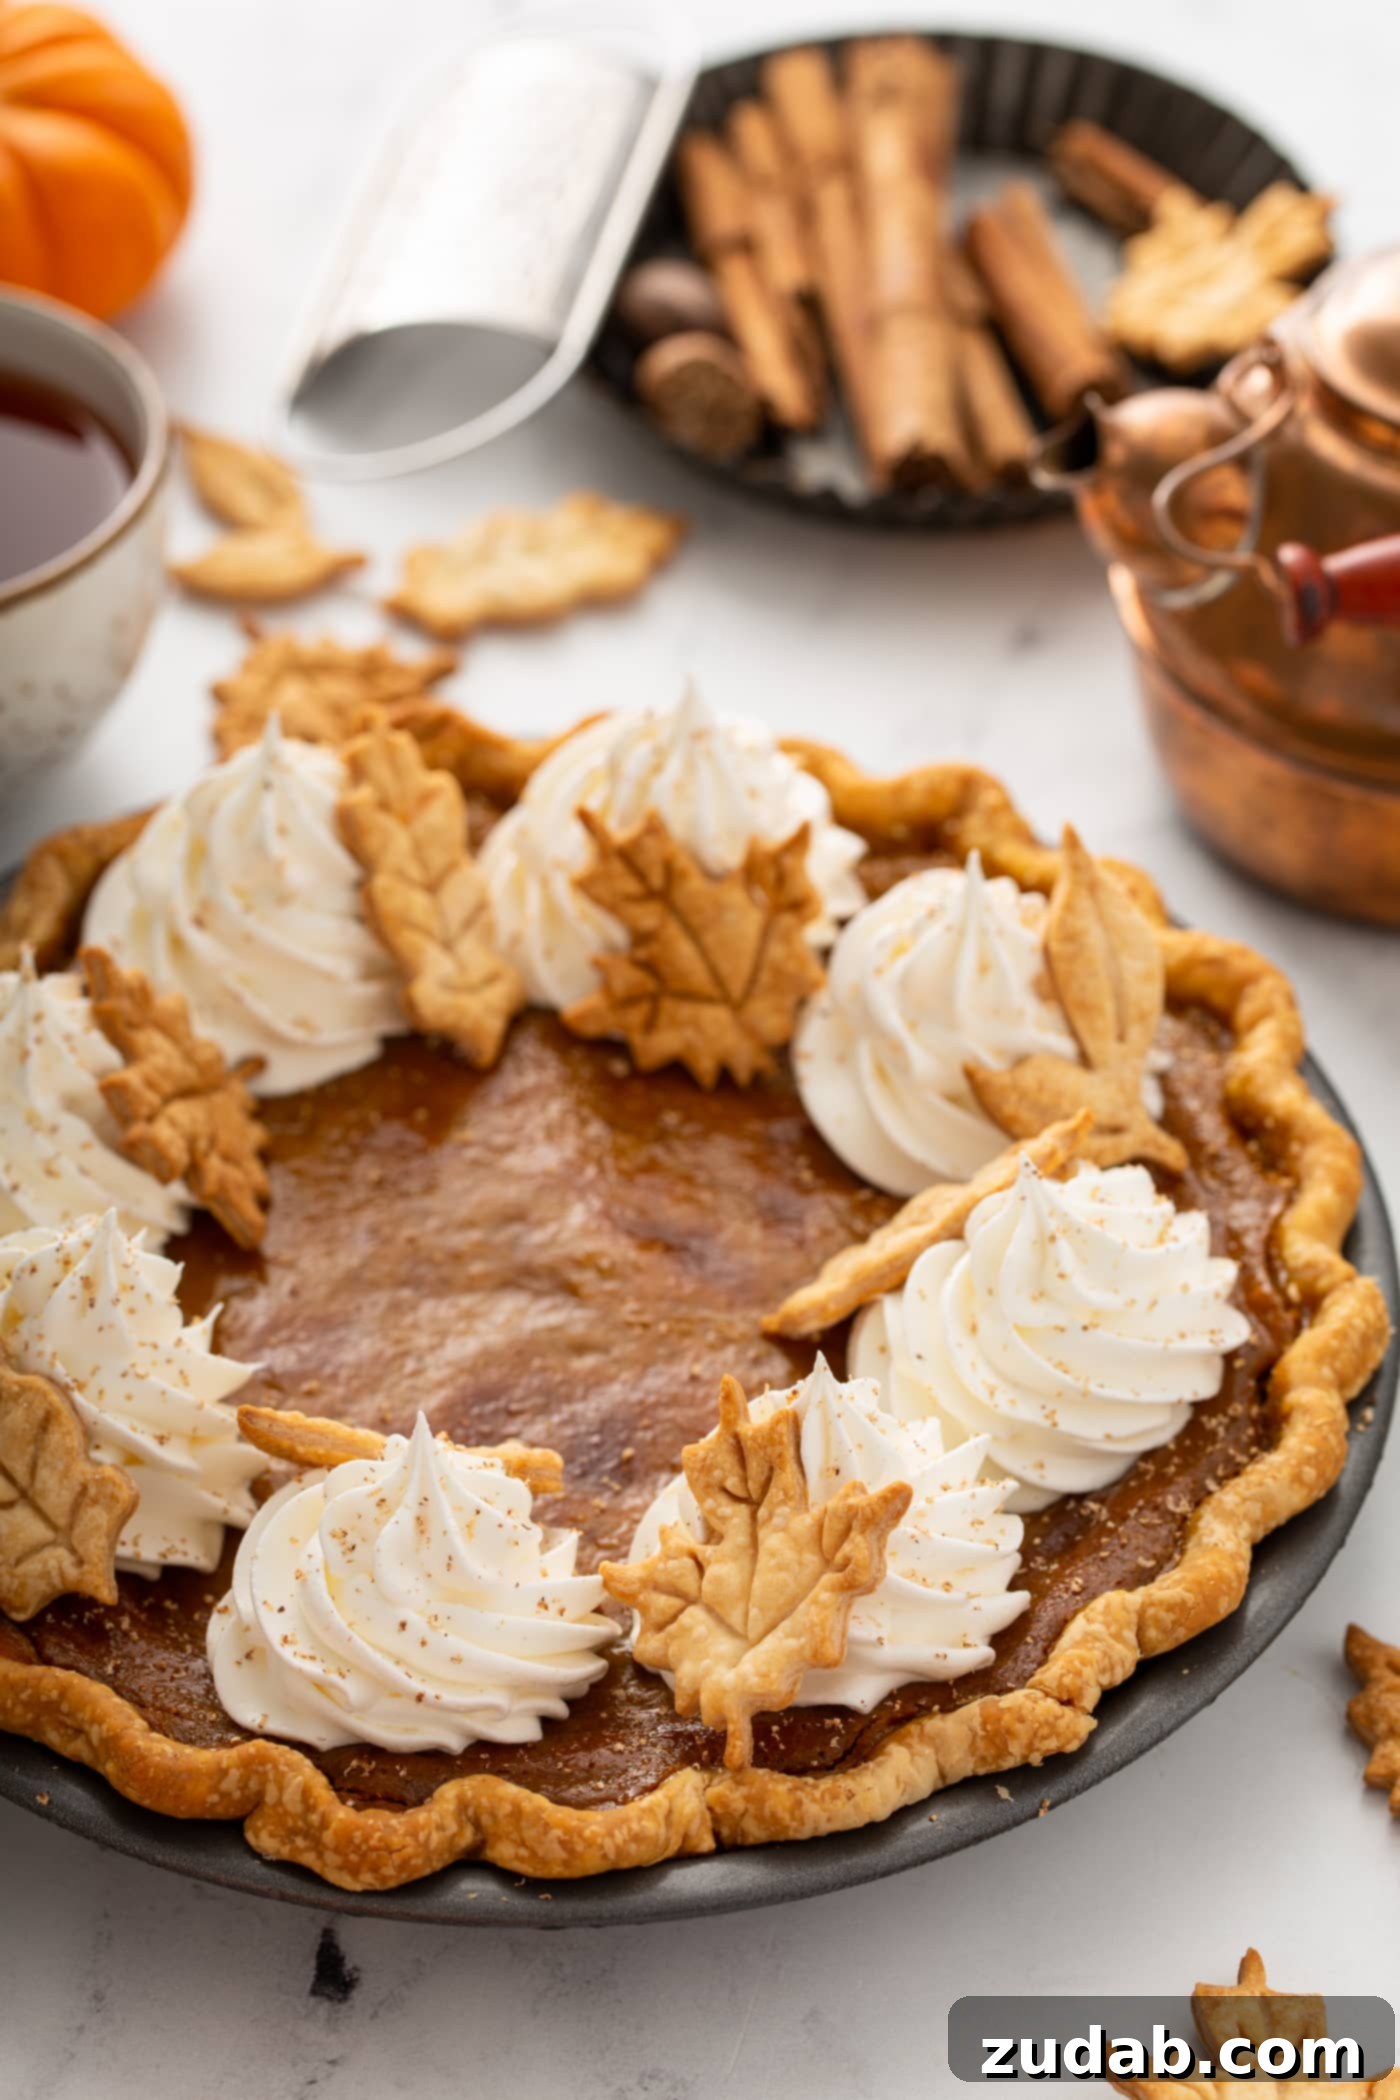
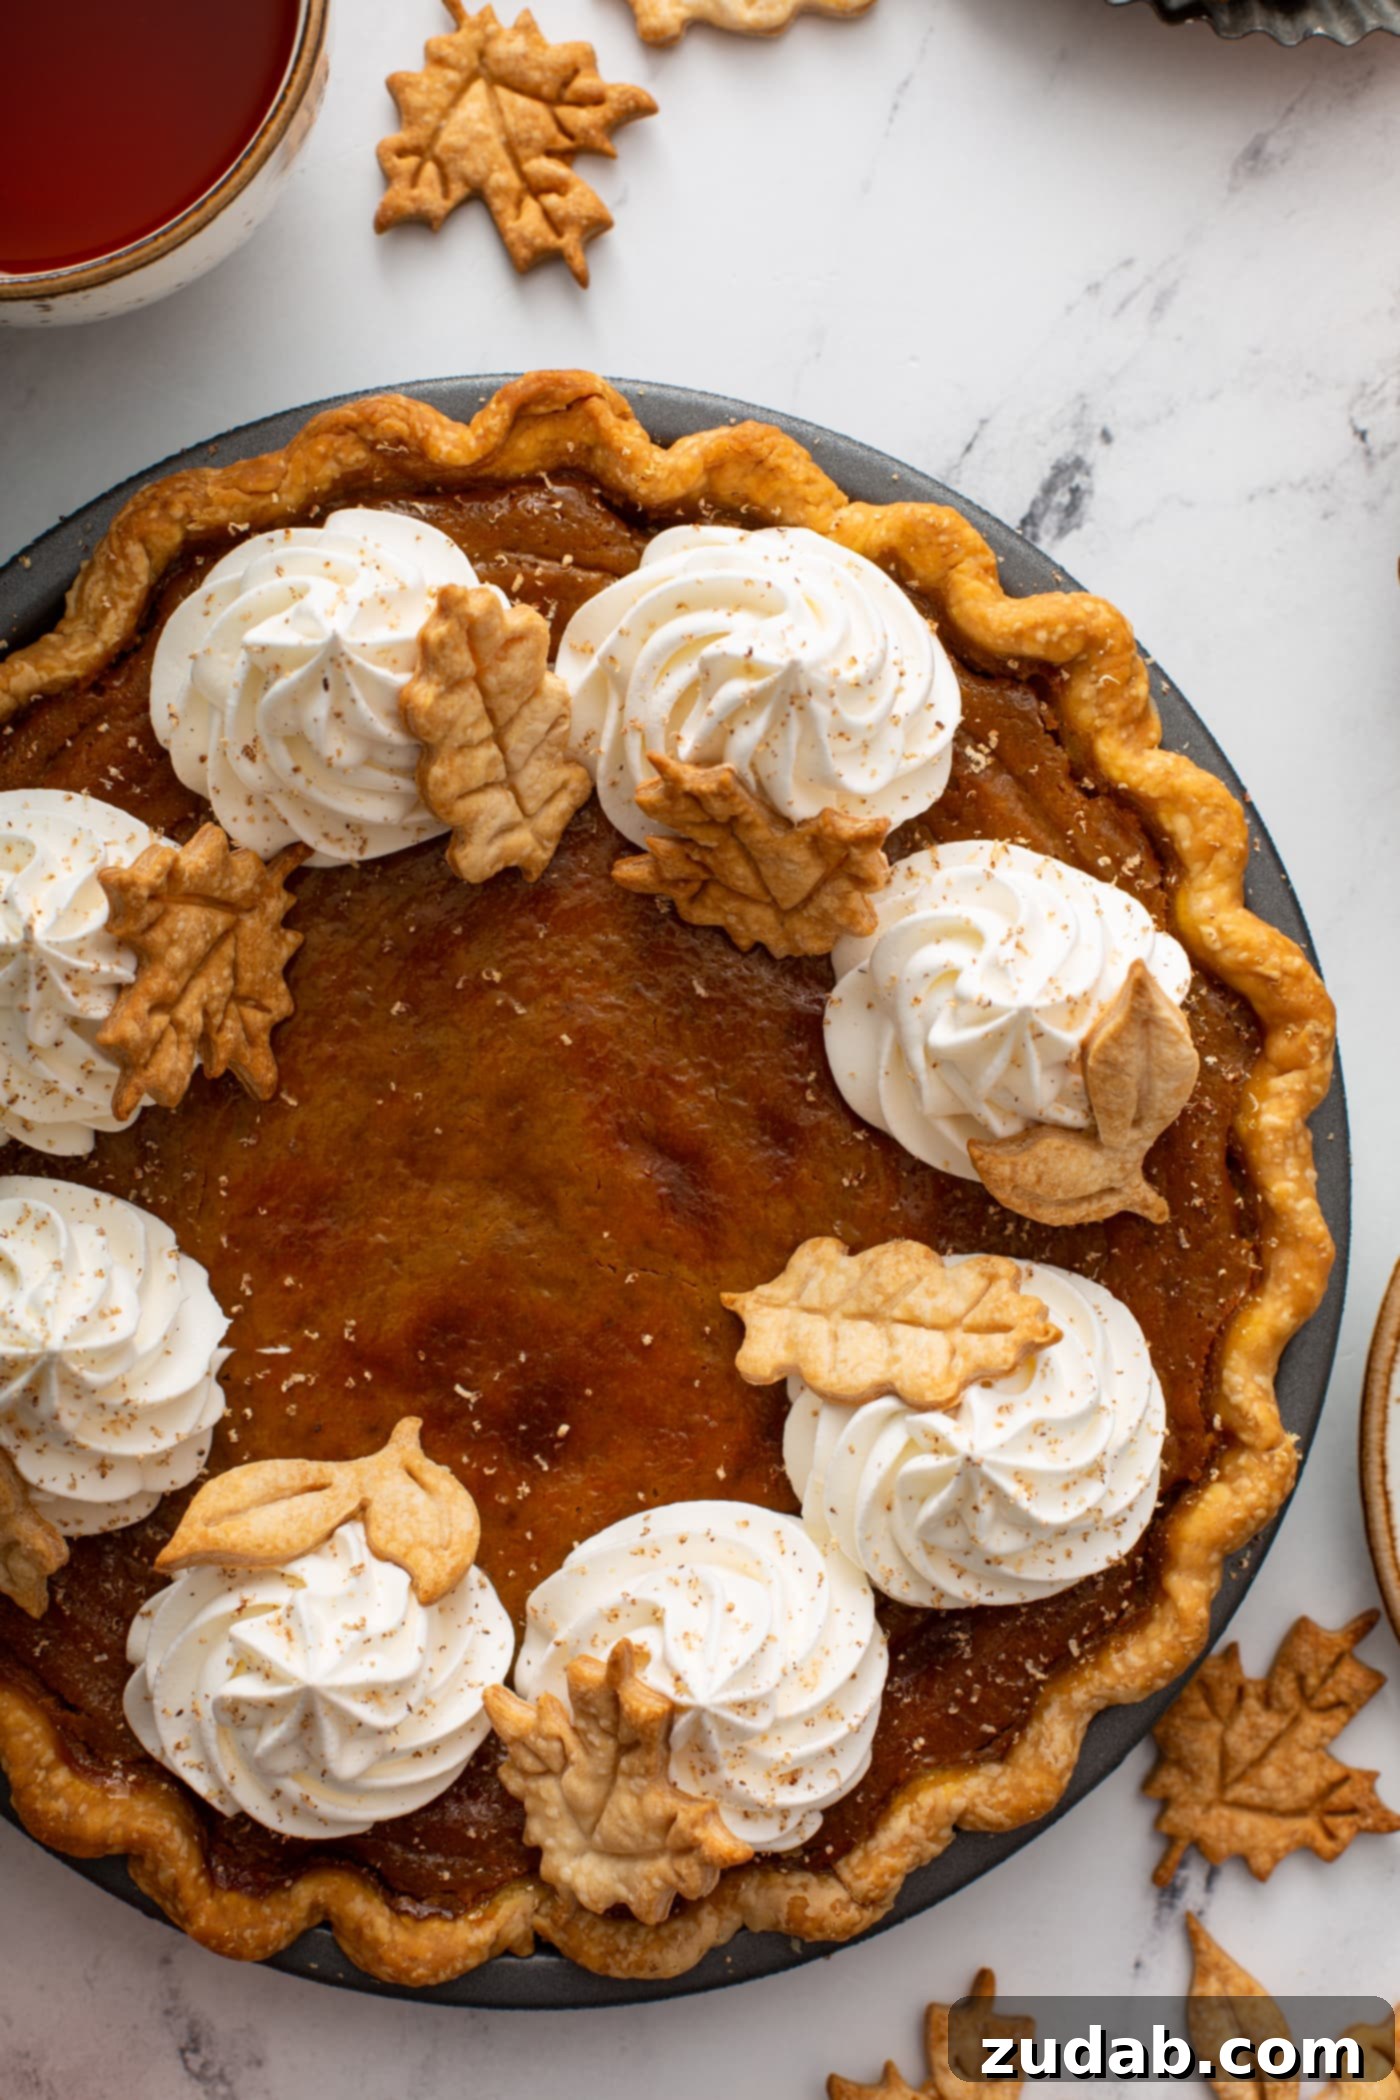
Have you seen that hilarious meme featuring a pumpkin pie absolutely buried under four inches of whipped cream? It never fails to make me chuckle, because honestly, a generous dollop of whipped cream on pumpkin pie is simply divine! I wholeheartedly recommend making stabilized whipped cream for your pie. Not only does it hold its shape beautifully, allowing you to create those picture-perfect piped dollops, but it also prevents it from weeping or deflating, keeping your pie looking fresh and appealing for longer.
Beyond classic whipped cream, there are myriad ways to adorn your homemade pumpkin pie. A light dusting of cinnamon or freshly grated nutmeg adds an extra aromatic touch. For a more decadent twist, consider a drizzle of warm caramel sauce, or a sprinkle of toasted pecans or candied walnuts for added texture and nutty flavor. You could even create a cinnamon sugar topping by mixing a bit of granulated sugar with cinnamon and sprinkling it over the pie before baking for a subtly sweet crunch on top.
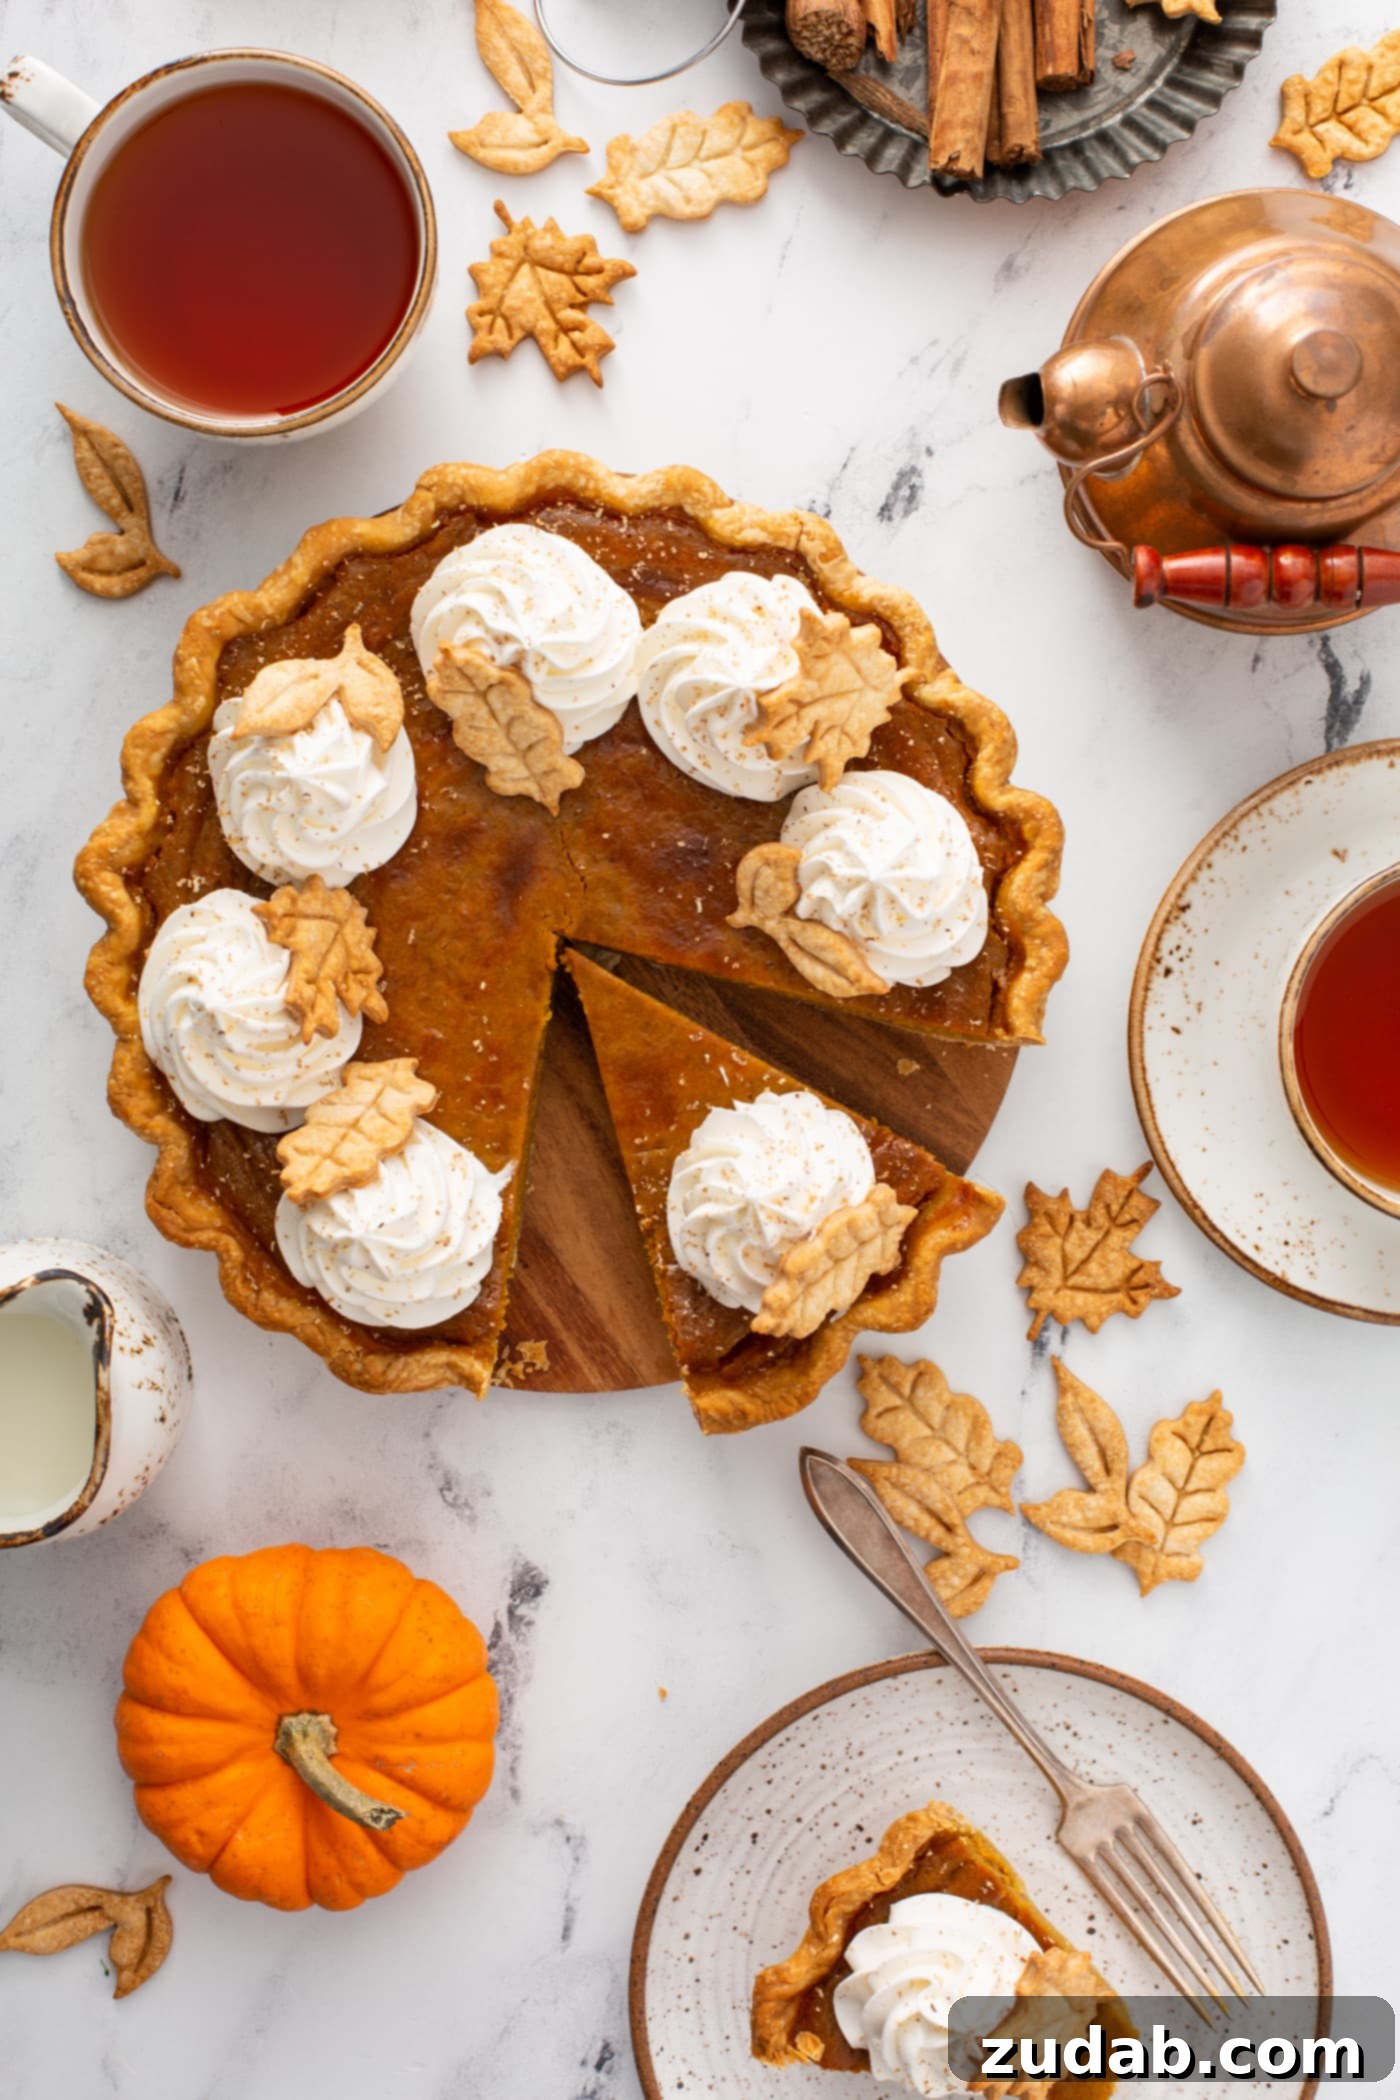
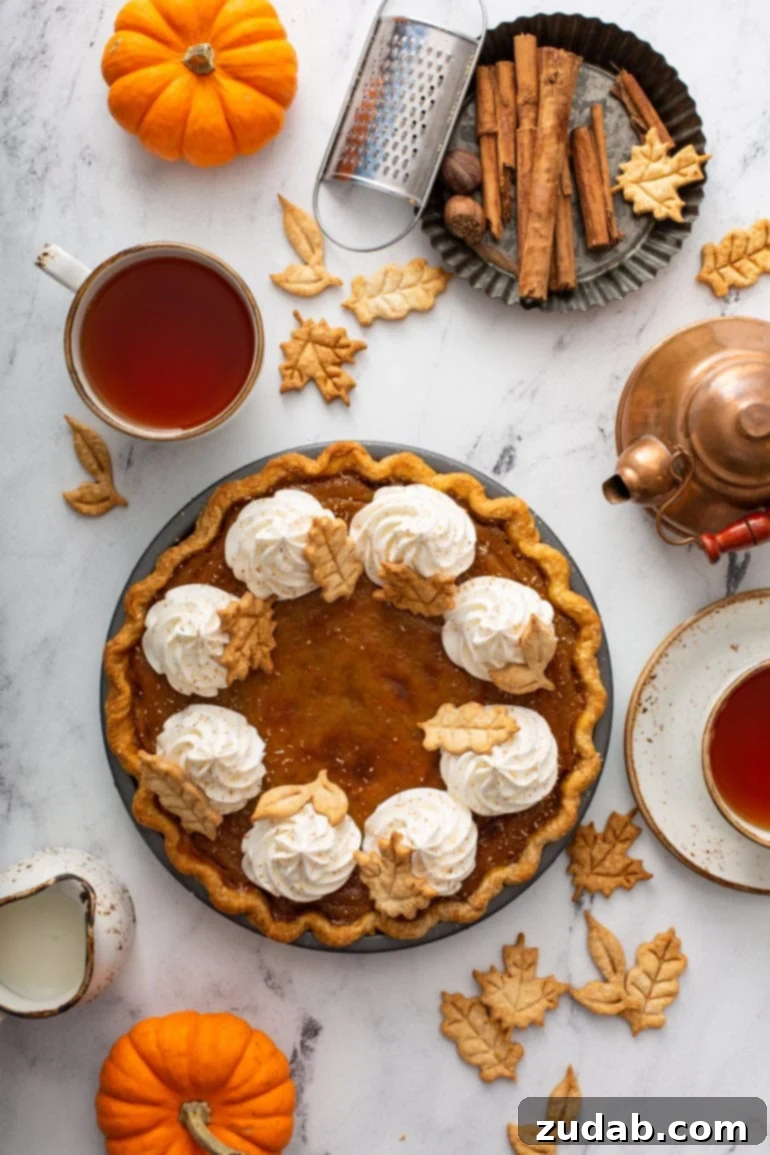
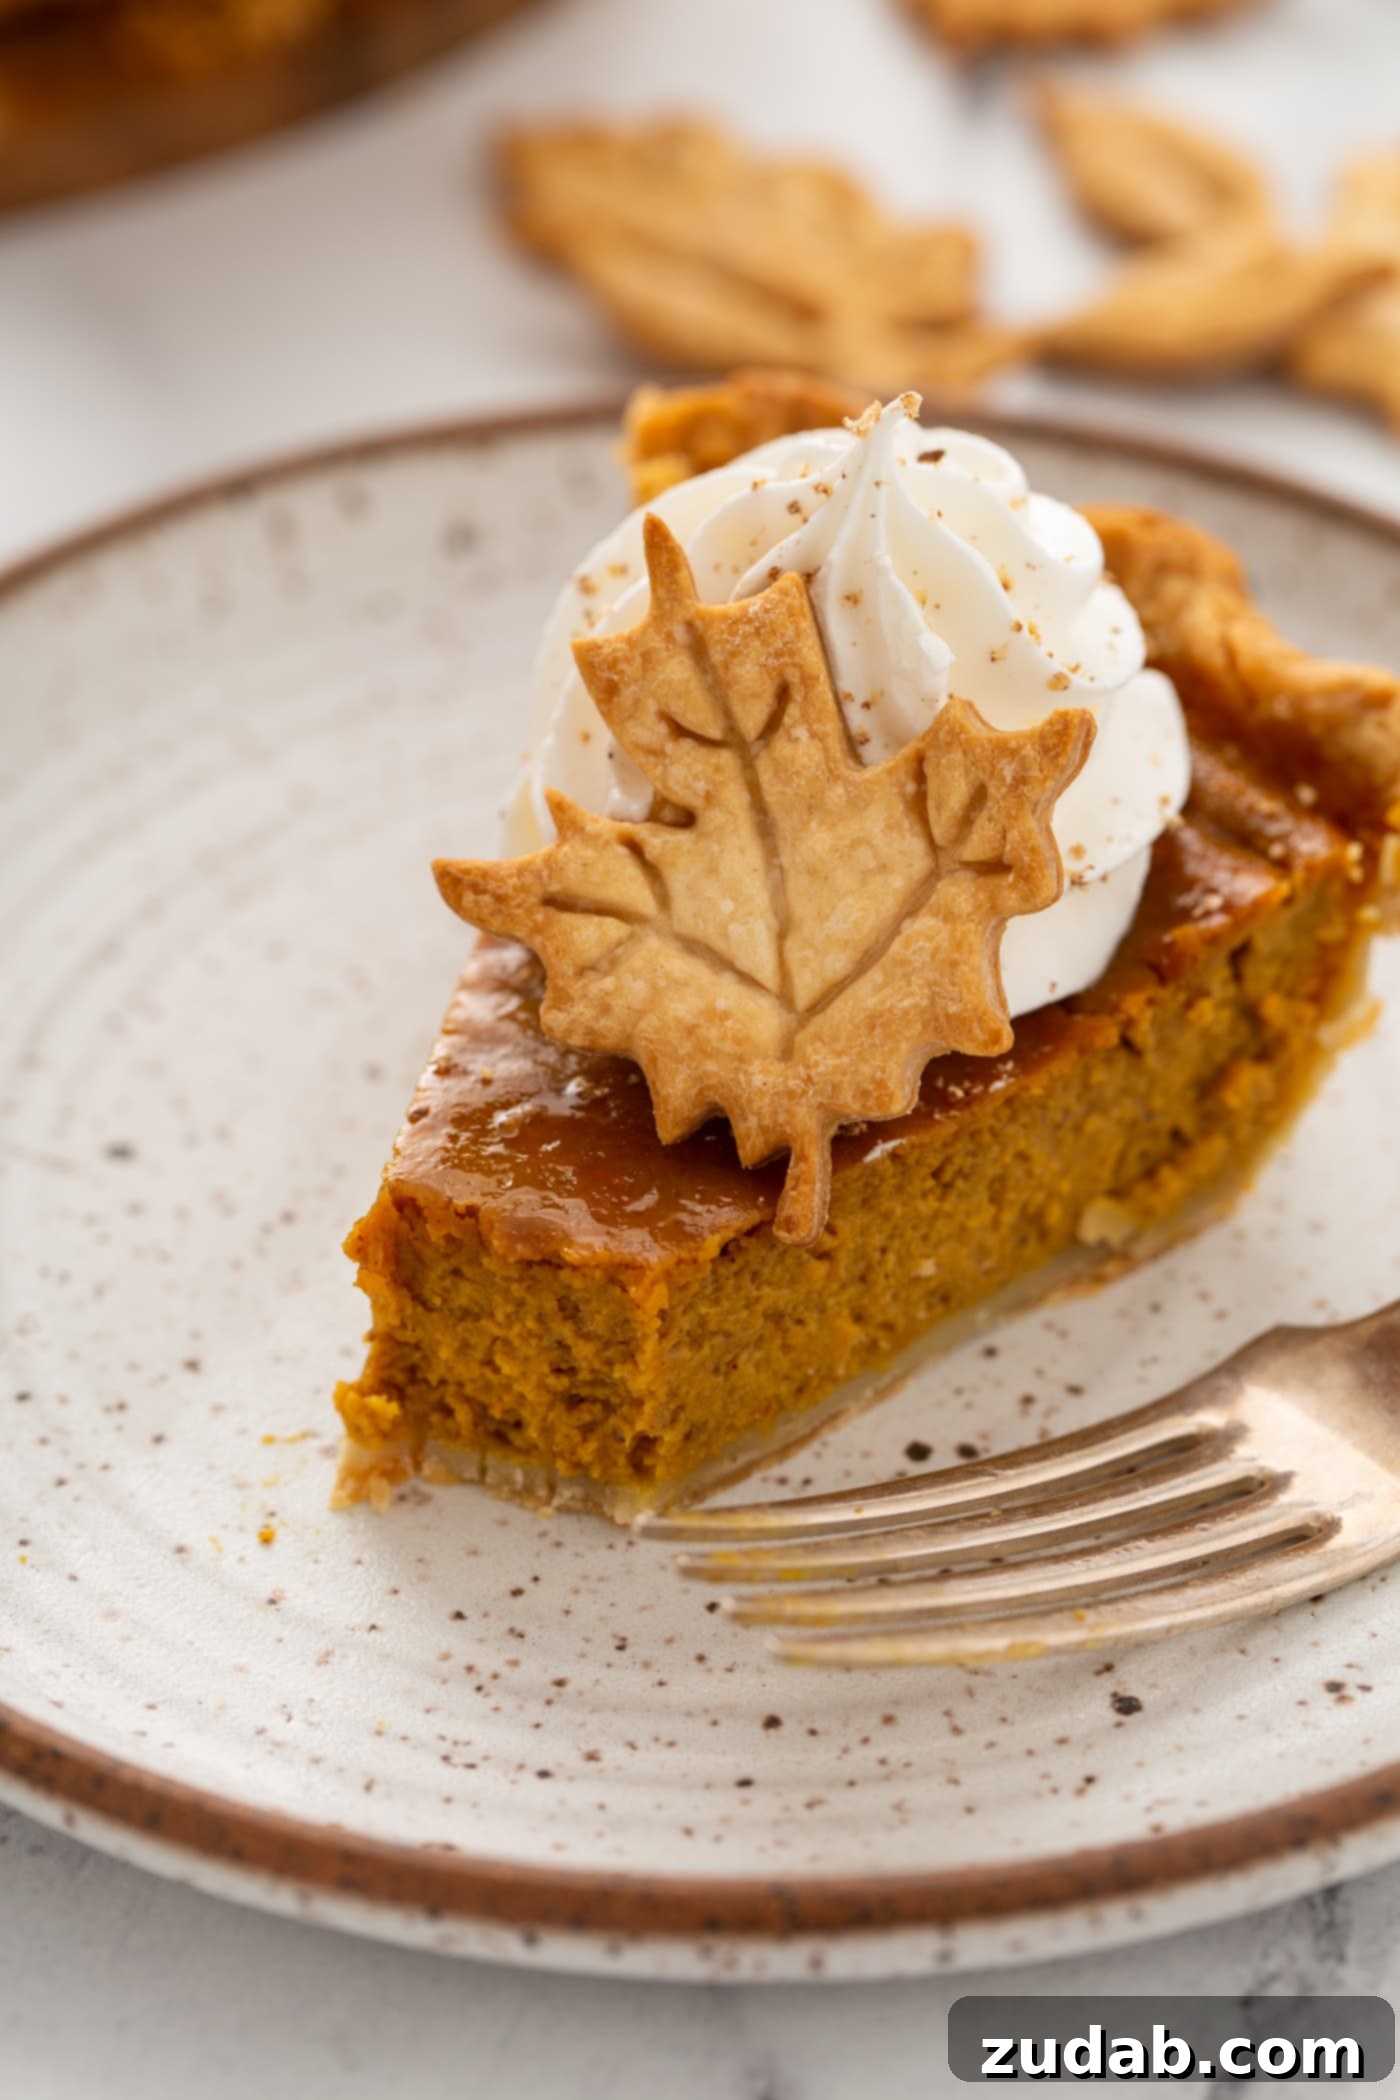
I’m also utterly obsessed with the charming pie stamps that create the adorable leaves you see in these photos. They add such a delightful, custom touch, and believe me, I’m usually not one for “cute”! They are incredibly easy to use too: simply roll out your extra half of the pie crust dough, use the stamps to cut out various leaf shapes, and bake them on a parchment-lined baking sheet at 375°F (190°C) for about 15-20 minutes, or until golden brown. Arrange these beautiful crust leaves on top of your whipped cream for a truly artisanal presentation that will impress everyone at your holiday table.
Frequently Asked Questions About Pumpkin Pie
- Why does pumpkin pie crack?
- The primary culprit behind a cracked pumpkin pie is almost always over-baking. When the pie bakes for too long or at too high a temperature, the custard sets too quickly and too firmly, leading to tension that causes the surface to crack as it cools and contracts. Our method of starting with a quick high-heat bake and then lowering the temperature helps mitigate this, allowing the pie to cook gently and evenly. Additionally, ensuring your pie cools slowly and undisturbed for at least 2 hours allows the custard to finish setting gradually, preventing stress on the delicate surface.
- Is pumpkin pie better with fresh or canned pumpkin?
- Nine times out of ten, when asked about any ingredient, I would enthusiastically advocate for fresh. However, for pumpkin pie, I confidently assert that canned pumpkin purée is unequivocally the superior choice. Canned pumpkin offers a consistent texture and moisture content that is difficult to achieve with fresh pumpkin, which can vary wildly in water content and flavor intensity. The controlled processing of canned pumpkin ensures it sets up beautifully, results in a silkier texture, and ultimately delivers a more reliably delicious and traditional pumpkin pie flavor.
- Can I use a store-bought crust?
- Absolutely, of course! While I will always champion the incomparable flavor and flakiness of a homemade pie crust, I completely understand that time is often a precious commodity, especially during busy holiday preparations. If a store-bought crust makes your holiday baking less stressful, then by all means, use one! Just be sure to blind bake it according to the package directions to prevent a soggy bottom.
- How do I know when pumpkin pie is done?
- The key to a perfectly baked pumpkin pie is to look for a specific tell-tale sign: the center should be slightly puffed up and, when gently nudged, should have a very slight, delicate wobble, much like a barely set gelatin. The edges of the pie will be set and firm. Resist the urge to overbake until the center is completely firm, as this is precisely what leads to cracking. Once you observe that slight wobble, remove the pie from the oven; it will continue to set as it cools on the wire rack.
- Is Pumpkin Pie Filling Gluten-Free?
- Following this recipe, the pumpkin pie filling itself is naturally gluten-free, as it contains no wheat or other sources of gluten. However, it’s crucial to remember that the traditional pie crust is not gluten-free. If you require a completely gluten-free pie, you would need to use a certified gluten-free pie crust.
- What is the best way to avoid a soggy pie crust?
- The most effective strategy to combat a soggy crust is blind baking. As detailed in our instructions, partially baking the crust before adding the filling creates a barrier against moisture. Ensuring your pie crust is well-chilled before blind baking also helps it maintain its structure and flakiness. Additionally, using a metal pie pan tends to conduct heat more efficiently, promoting a crispier bottom crust compared to glass or ceramic.
- Should pumpkin pie be served warm or cold?
- Pumpkin pie is typically served chilled, as this allows the custard filling to fully set and firm up, achieving its optimal texture. While some prefer a slightly warmed slice, especially on a cold day, chilling it first is essential for structural integrity. If you do wish to serve it warm, allow it to chill completely first, then gently warm individual slices for a short period in the microwave or a low oven. Always serve with a fresh dollop of whipped cream, whether warm or cold!
Make-Ahead, Storage & Freezing Tips for Convenience
One of the many virtues of homemade pumpkin pie is its excellent make-ahead potential, making it an ideal candidate for busy holiday meal preparation. This significantly reduces stress on Thanksgiving Day, freeing up valuable oven space and time.
Make-Ahead Instructions: You can easily prepare and bake your pumpkin pie as directed in the recipe instructions up to 2 days before your meal. After baking, ensure the pie cools completely on a wire rack at room temperature. Once cooled, wrap it securely but gently in plastic wrap to prevent it from absorbing refrigerator odors or drying out. Store the wrapped pie in the refrigerator for up to 2 days. For the best presentation, wait to top it with whipped cream or other garnishes until just before serving.
Storing Leftovers: Any leftover pumpkin pie should always be stored in the refrigerator due to its custard-based filling. For optimal freshness, cover the pie loosely with plastic wrap or aluminum foil. Properly stored, leftovers will maintain their delicious quality for 3-4 days in the fridge.
Freezing for Longer Storage: Pumpkin pie freezes exceptionally well, making it a fantastic option for extended preservation. To freeze, first ensure the pie is completely cooled to room temperature. Then, wrap it tightly with multiple layers of plastic wrap, followed by a layer of aluminum foil to prevent freezer burn. Place the securely wrapped pie in a sealed freezer bag or an airtight container. It will keep beautifully in the freezer for up to 1 month. To serve, remove the frozen pie and let it thaw slowly in the refrigerator for 10-12 hours, or overnight, before topping and enjoying. Avoid thawing at room temperature to maintain food safety and texture.
Truly, it just isn’t Thanksgiving without a homemade pumpkin pie made from scratch gracing the dessert table. The effort, the aroma, and the exquisite taste combine to create an experience far beyond a simple meal. So, gather your family, invite your friends, or welcome anyone who needs a place to feel loved around your table this holiday season, and serve up a slice of this perfect classic pumpkin pie. It’s more than just a dessert; it’s a symbol of warmth, tradition, and togetherness that will create lasting memories for everyone.
Explore More Delicious Pie Recipes
- Homemade Apple Pie
- Razzleberry Pie
- Pecan Pie
- Dulce de Leche Banana Cream Pie
- French Chocolate Silk Pie
- Sweet Potato Pie
- Blueberry Pie
- ALL OF OUR PIE RECIPES!
Classic Pumpkin Pie From Scratch
This homemade pumpkin pie recipe is made completely from scratch with a silky smooth filling, warm spices, and a tender, buttery crust. It’s rated 4.47 out of 5 stars by 13 votes.
Prep Time: 15 mins
Cook Time: 1 hr 10 mins
Total Time: 1 hr 25 mins
Servings: 8
By: Carrian Cheney
Ingredients
- 1 Pie Crust, (makes enough for two pie crusts, you’ll only use half the dough for this pie; see note below)
- 2 Cups Pumpkin Puree, (not pumpkin pie filling)
- ½ teaspoon Salt
- ¼ Cup White Sugar
- ½ Cup Brown Sugar
- 2 teaspoons Cinnamon
- ¼ teaspoon Ground Nutmeg
- ¼ teaspoon Ground Cloves
- ¾ teaspoon Ground Ginger
- 1 Cup Heavy Cream
- ½ Cup Half and Half
- 2 large Eggs, whisked
- 1 large Egg Yolk, whisked
Unit System: US Customary – Metric
Instructions
- Preheat the oven to 400°F (200°C).
- Prepare your pie crust according to your chosen recipe (e.g., Oh Sweet Basil’s all-butter pie crust). Form the crust in a 9-inch pie plate, crimp the edges, prick the bottom generously with a fork, and place it in the fridge to chill for 30 minutes.
- Add pie weights (or dried beans/rice) to the crust, line with parchment paper, and drape foil loosely over the top to prevent excessive browning of the edges. Bake for 15 minutes. Carefully remove the foil and pie weights, then bake for another 6-8 minutes, or until the crust is lightly golden and dry. Remove the pie crust from the oven.
- Meanwhile, in a large pot, combine the pumpkin purée, salt, granulated sugar, brown sugar, cinnamon, ground nutmeg, ground cloves, and ground ginger. Turn the heat to medium and bring the mixture to a simmer, stirring constantly with a whisk or rubber spatula. Continue to cook and stir for 5 minutes.
- Add the heavy cream and half and half to the pot, stirring for another minute over medium to medium-high heat until the mixture begins to sputter and gently simmer.
- In a separate bowl, beat the 2 large eggs and 1 large egg yolk until smooth. To temper the eggs, slowly add a tablespoon of the warm pumpkin mixture to the beaten eggs while continuously whisking. Repeat this a few times to gradually warm the eggs. Then, slowly pour the tempered egg mixture into the pot with the pumpkin filling, whisking continuously until fully incorporated and smooth. Pour the entire mixture into the warm, blind-baked pie shell.
- Bake the pie at 400°F (200°C) for 25 minutes. Immediately reduce the oven temperature to 350°F (175°C) and continue baking for an additional 10 minutes, or until the pie is slightly puffed up in the middle and barely moves in the center when gently nudged. The edges may show slight cracks, which is normal. If the pie crust edges begin to brown too quickly, you may want to place strips of aluminum foil around them for the last 20 minutes of baking.
- Carefully remove the baked pie from the oven and place it on a wire cooling rack. Allow it to sit undisturbed for at least 2 hours to cool completely and allow the custard to fully set.
- Serve with fresh whipped cream or a dusting of powdered sugar.
Recipe Notes
This pie crust recipe (linked above) makes enough dough for two standard pie crusts. You will only use half of the prepared dough to make this single pumpkin pie. To store the remaining half, wrap it tightly in plastic wrap, place it in a ziploc bag, and store it in the freezer for future use.
Always keep leftover pumpkin pie in the refrigerator.
Nutrition
Nutrition information is automatically calculated, so should only be used as an approximation.
- Serving: 1 slice
- Calories: 341kcal
- Carbohydrates: 37g
- Protein: 5g
- Fat: 20g
- Saturated Fat: 10g
- Polyunsaturated Fat: 2g
- Monounsaturated Fat: 6g
- Trans Fat: 0.004g
- Cholesterol: 104mg
- Sodium: 273mg
- Potassium: 237mg
- Fiber: 3g
- Sugar: 23g
- Vitamin A: 10117IU
- Vitamin C: 3mg
- Calcium: 82mg
- Iron: 2mg