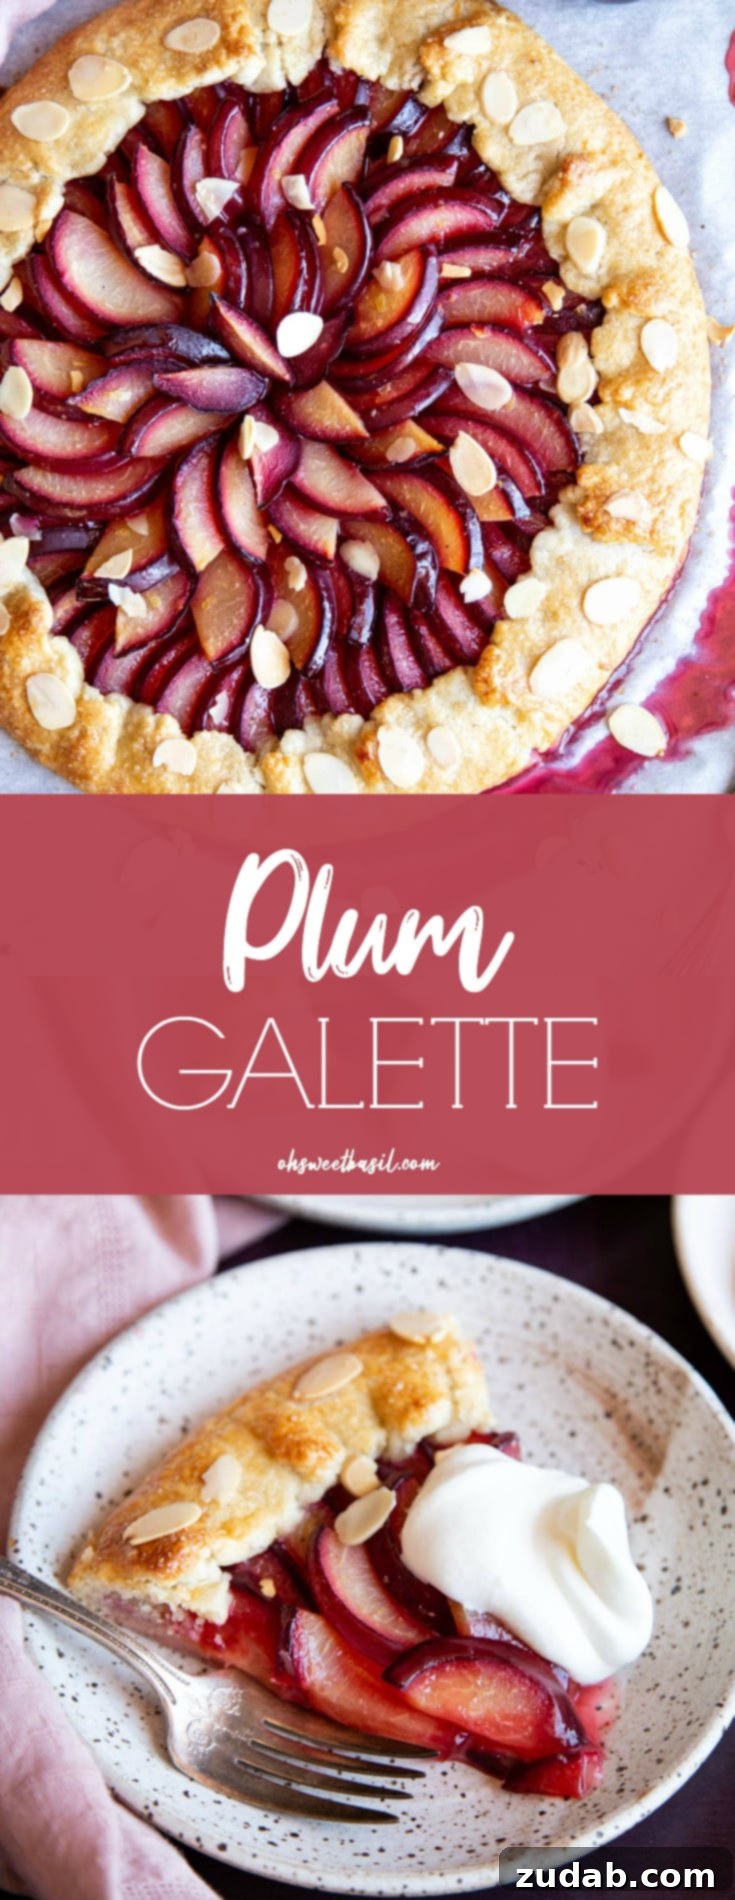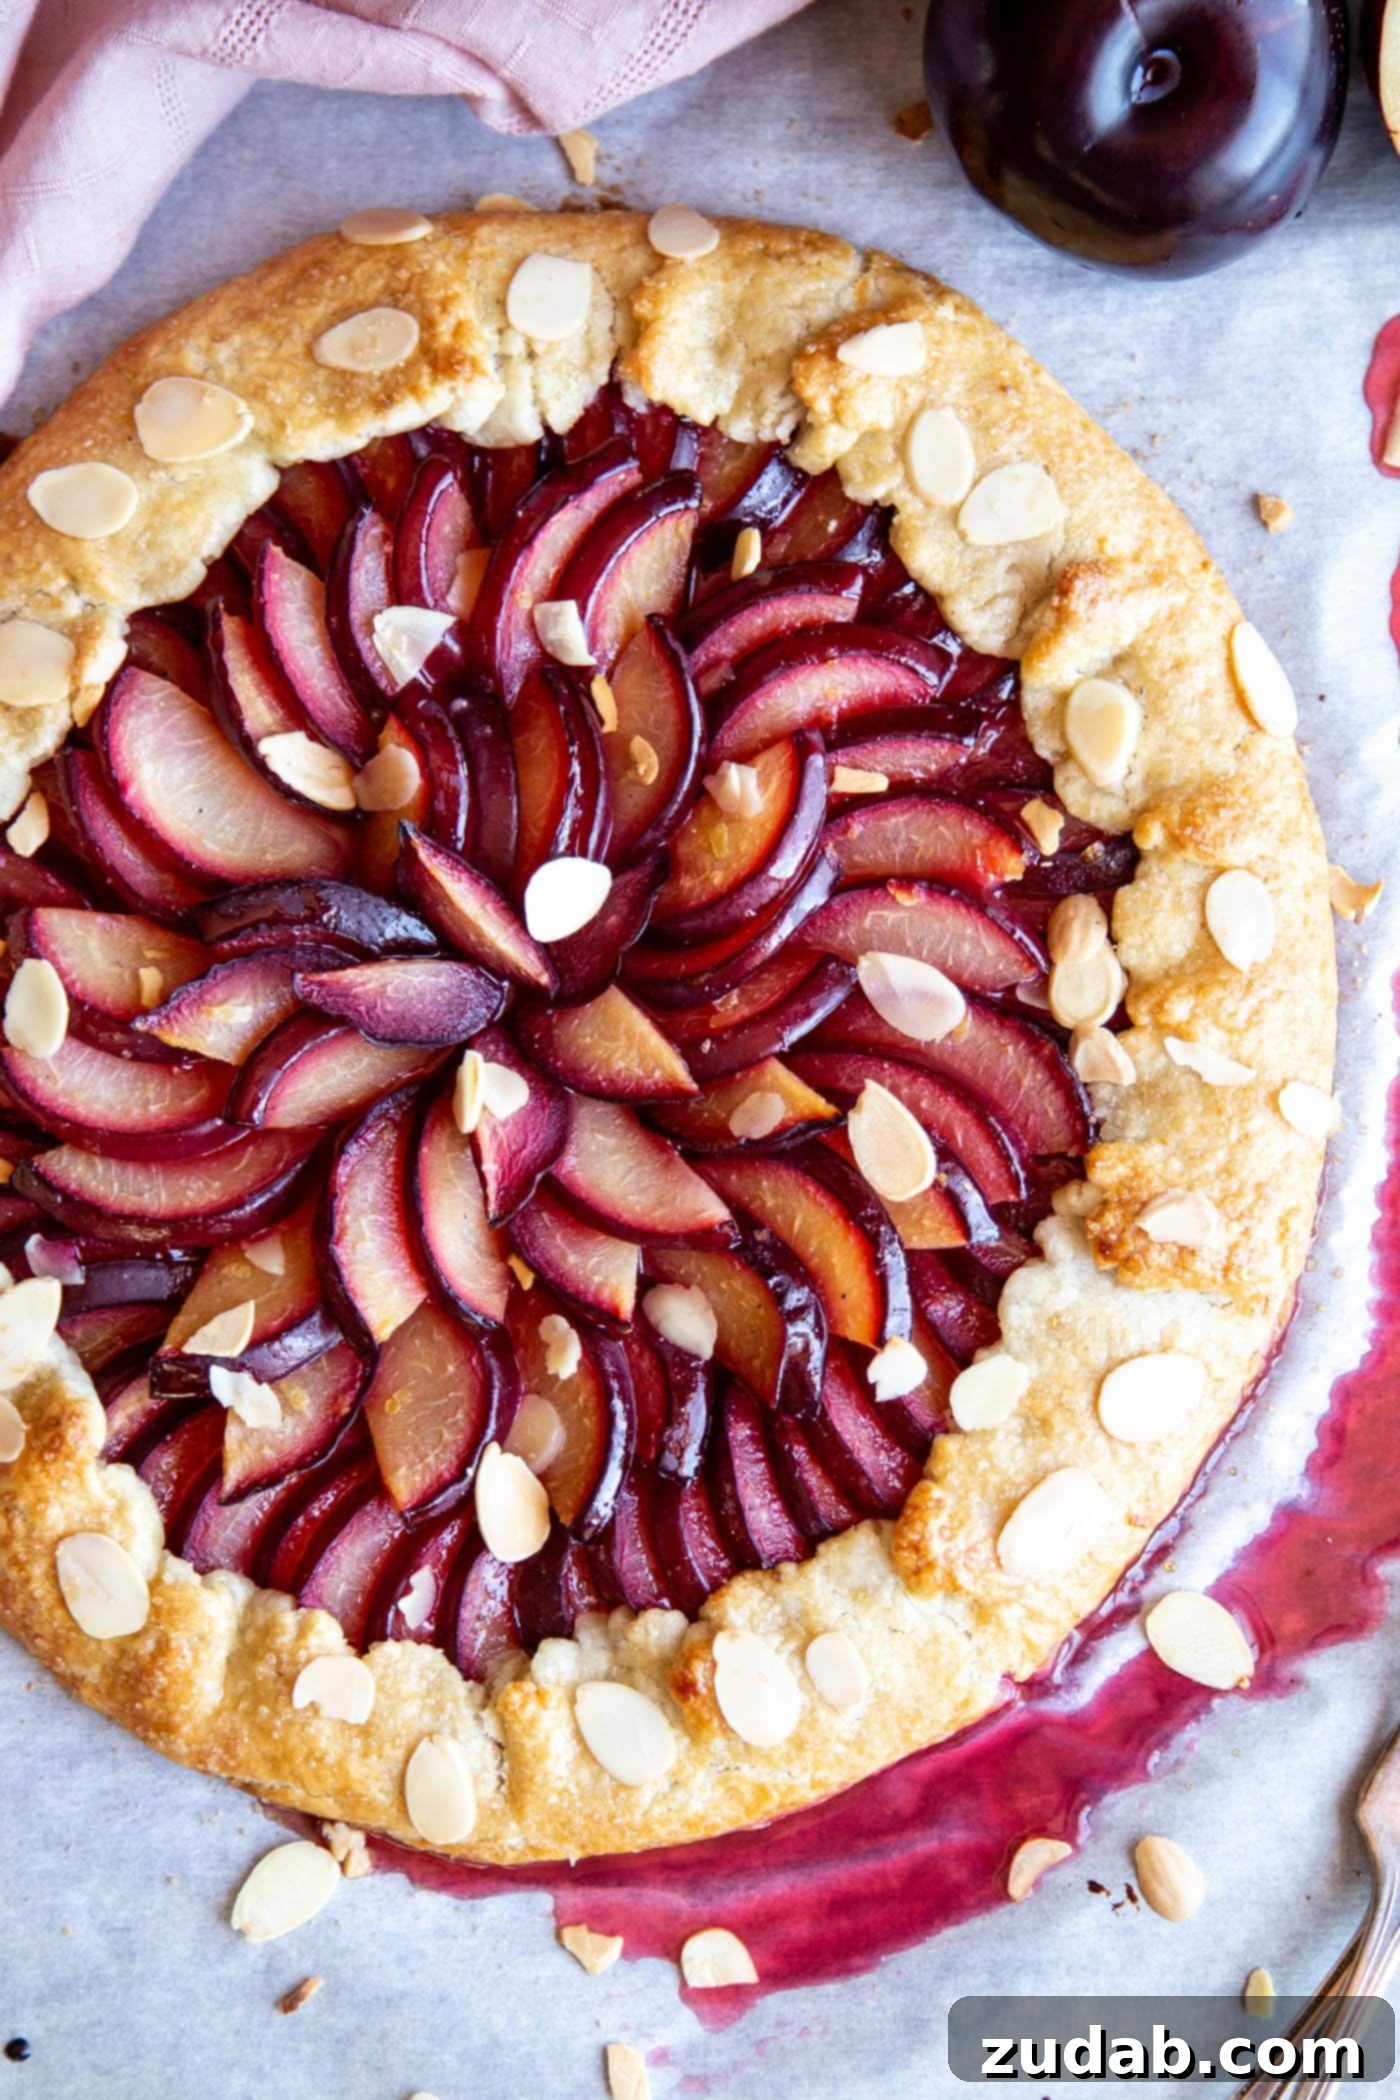
As the warm days of summer gently fade into the crisp embrace of autumn, there’s a transitional dessert that perfectly captures the essence of both seasons: the glorious Plum Galette. This incredibly easy and delightfully rustic fruit tart allows you to savor the last of the juicy plum season while welcoming the comforting spices of fall. Imagine a golden, flaky pie crust cradling a vibrant, sweet-tart plum filling, all infused with the warm embrace of cinnamon. It’s a dessert that feels both sophisticated and utterly approachable, proving that you don’t need to be a pastry chef to create something truly spectacular.
Are you yearning for the cozy flavors of autumn, dreaming of classic Fall desserts like a rich Pumpkin Bundt Cake or a comforting Apple Pear Pie? While those delightful treats await, let me introduce you to this simple yet elegant Plum Galette – a brilliant bridge between seasons that celebrates the late summer harvest and hints at the spiced goodness to come. Its free-form nature means it’s forgiving and fun to make, making it an ideal choice for both seasoned bakers and beginners.
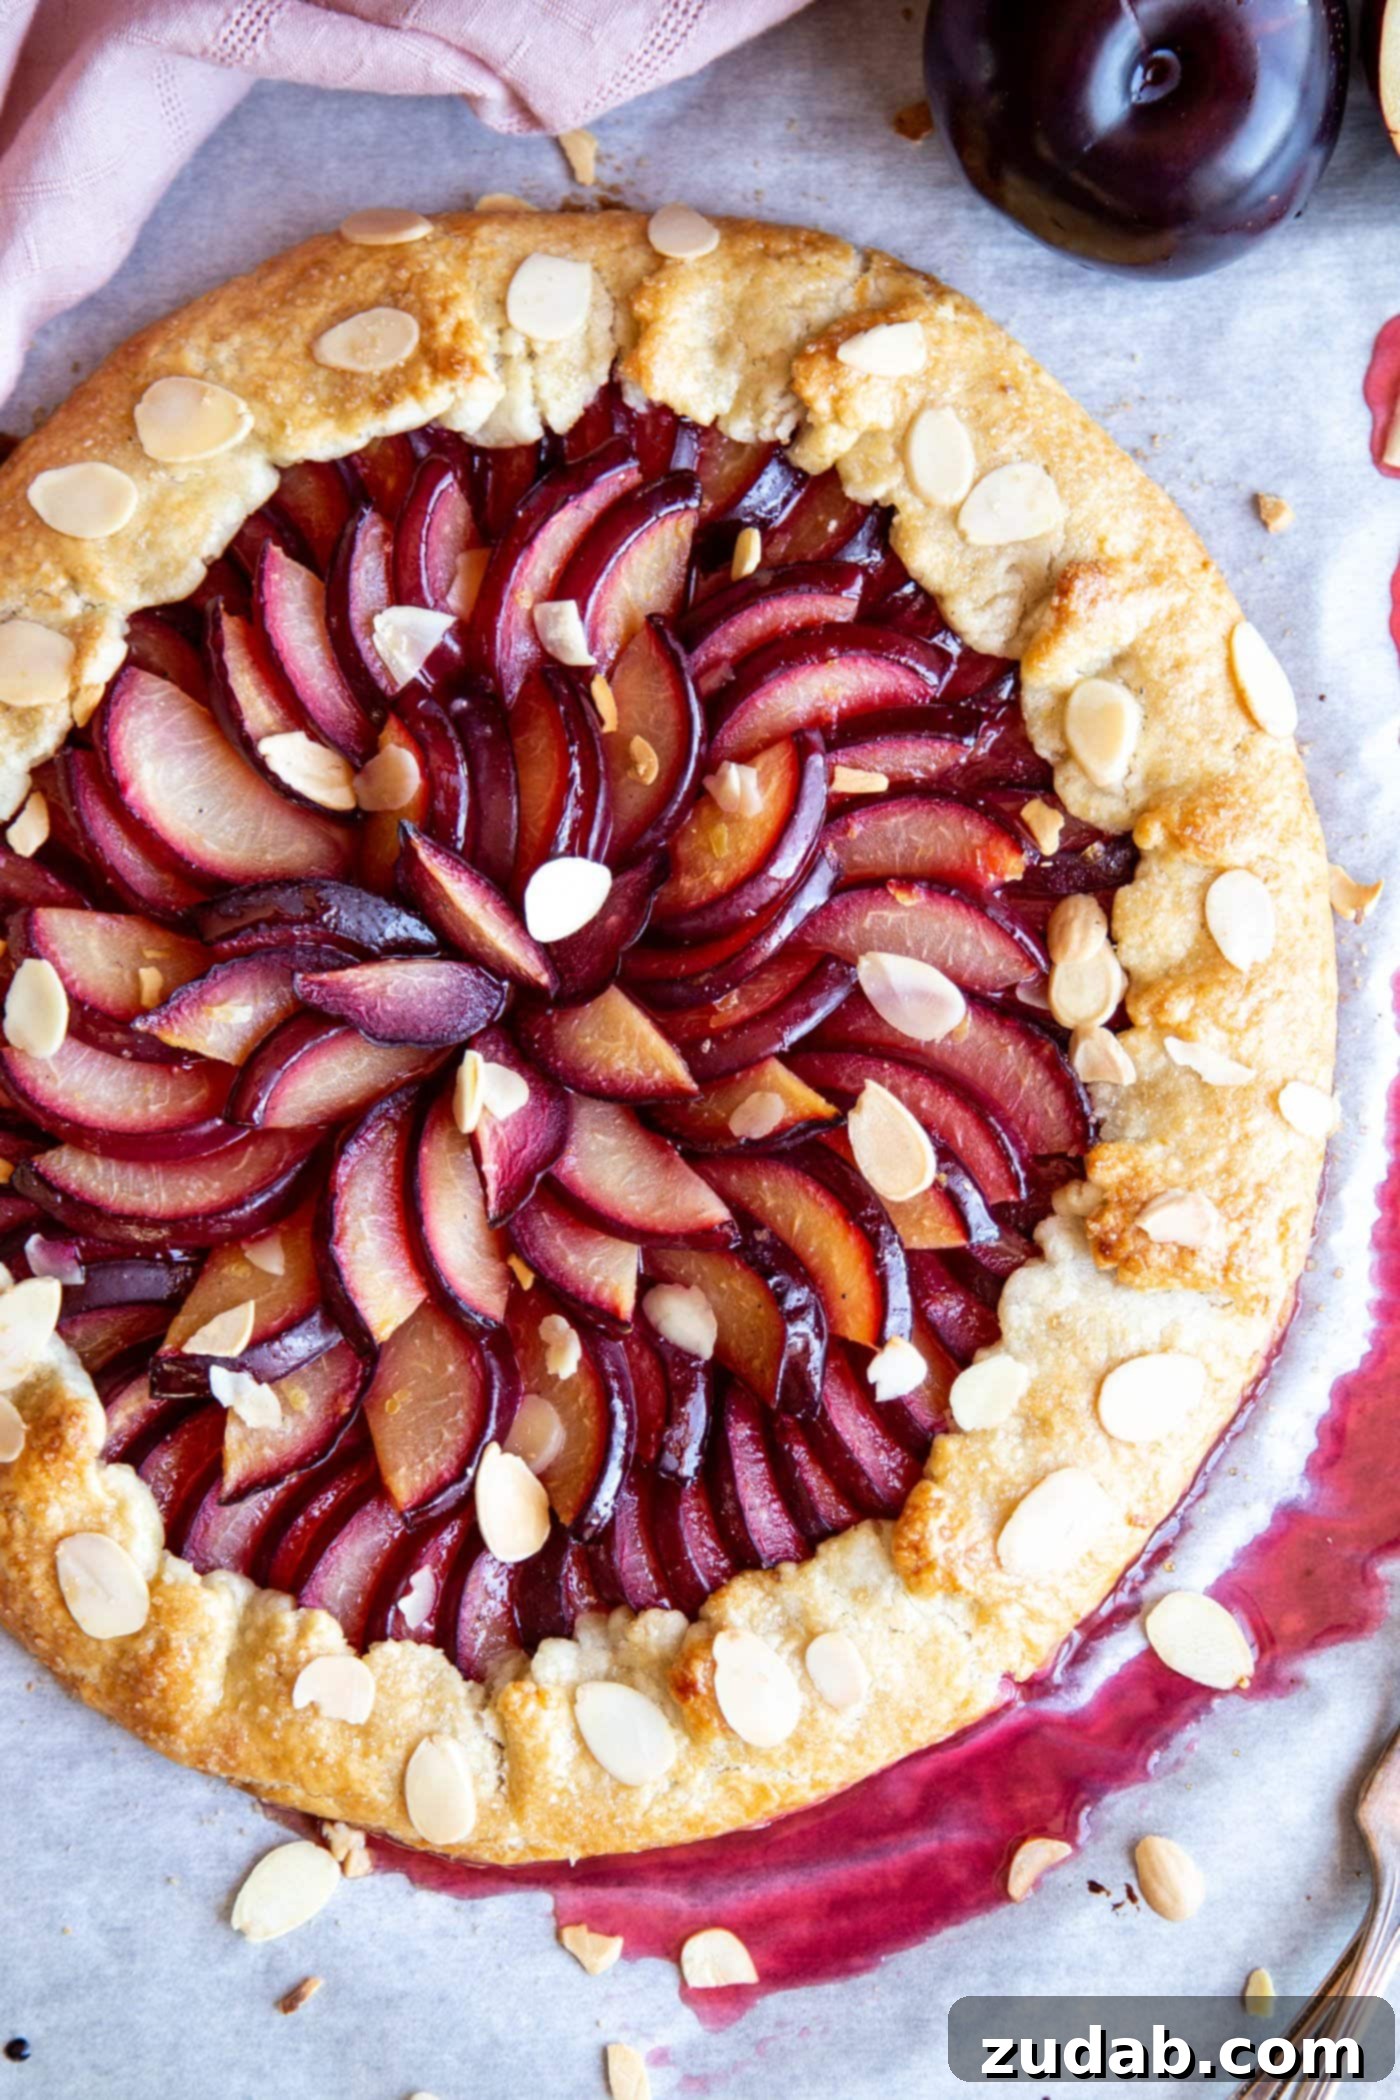
Why You’ll Fall in Love with This Easy Plum Galette
This Plum Galette isn’t just a dessert; it’s an experience. Here’s why it’s destined to become a staple in your kitchen:
- Effortlessly Elegant: Galettes are famous for their rustic, free-form charm. No need for a perfect pie plate or intricate crimping – the beauty lies in its natural, imperfect folds. This makes it incredibly satisfying to bake, even if you’re new to pastry.
- Showcases Seasonal Flavor: Plums are at their peak during late summer and early fall, offering a burst of sweet-tart flavor that truly shines in this simple tart. It’s the ideal way to utilize fresh, ripe plums.
- Irresistible Texture Contrast: You get the best of both worlds – a delightfully flaky, buttery crust providing the perfect counterpoint to the soft, juicy, and warmly spiced plum filling. Each bite is a symphony of textures.
- Perfect for Any Occasion: Whether it’s a casual weeknight treat, a weekend brunch, or a charming dessert for entertaining, this plum galette fits right in. Serve it warm with a scoop of vanilla ice cream or a dollop of whipped cream for an unforgettable experience.
- Simple Ingredients, Big Flavor: With a handful of pantry staples and fresh plums, you can create a dessert that tastes far more complex than its ingredient list suggests.
Recommended Equipment for Your Homemade Plum Galette
Having the right tools can make your baking experience even smoother. While some items are optional, they can significantly enhance the process of creating your perfect Plum Galette:
- Food Processor: An absolute game-changer for pie crust. It makes quick work of cutting cold butter into flour, ensuring minimal handling and a super flaky result. If you don’t have one, a pastry blender or even your fingertips will work, but be sure to work quickly to keep the butter cold.
- Rolling Pin: Essential for achieving an evenly thin crust. A good quality rolling pin, whether French-style or with handles, will make rolling out your dough a breeze.
- Pastry Brush: Ideal for applying the egg wash to your galette crust, giving it that beautiful golden sheen and helping to prevent sogginess. It’s also handy for brushing away excess flour.
- Baking Sheet Lined with Parchment Paper: Crucial for easy cleanup and preventing the galette from sticking, especially if any juicy filling bubbles over.
- Large Mixing Bowls: For combining your ingredients and preparing the plum filling.
- Sharp Knife: For slicing the plums evenly.
Getting Started: The Importance of a Chilled Pie Crust
Before diving into the delicious plums, your first step should always be to prepare the pie crust. This isn’t just a recommendation; it’s a golden rule for achieving that coveted flaky texture that makes a galette truly exceptional. The dough needs to rest in the refrigerator for at least 30 minutes, and ideally up to an hour, before you attempt to roll it out.
Why is this chilling period so critical? It all comes down to the butter. When cold butter pieces are incorporated into the flour, they create small pockets. As the galette bakes in a hot oven, the water in these butter pieces turns into steam, which then puffs up the layers of dough, resulting in a wonderfully light and airy, flaky crust. If the butter melts too much during the mixing or rolling process, these distinct layers won’t form, leading to a tough or crumbly crust instead. Chilling the dough keeps the butter solid, ensuring those beautiful layers develop during baking. It also allows the gluten in the flour to relax, making the dough easier to roll out without shrinking back.
What Exactly is a Galette? Unveiling the Charm of Rustic Tarts
If you’re new to the world of galettes, prepare to meet your new favorite dessert! A galette is a delightful French pastry that often draws comparisons to a pie, yet it boasts a unique, charmingly rustic identity all its own. The key differentiator is its free-form nature – unlike a pie, a galette is not baked in a specific pie dish. Instead, the pastry dough is rolled out, filled with fruits or savory ingredients, and then the edges are simply folded over the filling, creating a beautifully imperfect, open-faced tart.
This “rustic pie” characteristic is precisely what makes galettes so appealing and incredibly easy to make. There’s no pressure for perfection; in fact, their slightly uneven, hand-formed appearance is part of their inherent beauty and charm. It’s a dessert that celebrates authenticity and simple pleasure, allowing the natural goodness of the fruit to take center stage. The simplicity of a galette also means less fuss, fewer specialized tools, and a quicker path to a homemade, impressive-looking dessert.
Essential Ingredients for Your Perfect Plum Galette
Creating a truly memorable Plum Galette begins with quality ingredients. Each component plays a vital role in achieving that perfect balance of flaky crust and juicy, flavorful filling. Here’s a detailed look at what you’ll need:
For the Flaky Crust:
- Unsalted Butter: Crucially, use cold and cubed unsalted butter. Keeping it cold is the secret to a super flaky crust, as detailed earlier. Unsalted butter allows you to control the salt content precisely.
- All-Purpose Flour: The backbone of our pastry. All-purpose flour provides the right structure and texture for a tender yet robust crust that can hold up to the juicy filling.
- Granulated Sugar: A touch of sugar in the crust adds subtle sweetness and helps with browning, complementing the fruit filling without making the crust overtly sweet.
- Kosher Salt: Essential for enhancing all the flavors in the crust. Salt helps to balance the sweetness and brings out the buttery notes, making the pastry more delicious.
- Ice Cold Water: Just like the butter, the water must be ice cold. I recommend filling a glass with ice and then adding water to ensure it’s as cold as possible. This prevents the butter from melting during mixing, contributing to that coveted flakiness.
For the Juicy Plum Filling:
- Fresh Ripe Plums: The star of the show! Choose ripe but firm plums for the best flavor and texture. Good news: you don’t need to peel them! The skins add a beautiful color and a slight tanginess that works wonderfully. Any variety of plum will work, so pick your favorite or what looks best at your local market.
- Granulated Sugar: Sweetens the plums and helps them release their natural juices, which is key for maceration. Adjust the amount based on the sweetness of your plums and your personal preference.
- Kosher Salt: A pinch of salt might seem unusual for a sweet filling, but it’s a flavor enhancer that balances the sweetness of the sugar and plums, making the fruit taste even more vibrant.
- Ground Cinnamon: This warm spice is the perfect companion to plums, offering that signature cozy, transition-to-fall flavor. Feel free to adjust the amount or experiment with other warm spices.
- Tapioca Flour (or Cornstarch): This is your thickening agent. It absorbs the excess moisture released by the plums during baking, preventing a watery filling and, more importantly, a soggy crust. Tapioca flour is excellent as it creates a clear, glossy filling, but cornstarch works just as well.
For the Golden Egg Wash and Sparkling Topping:
- Large Egg: Used for the egg wash, which is a mixture of egg and milk. It contributes to a beautiful golden-brown, shiny crust and acts as a barrier to prevent the crust from becoming soggy.
- Milk: Combined with the egg to create a smooth egg wash, helping the crust achieve a rich, golden, and slightly glossy finish.
- Sliced Almonds (Optional): These add a lovely nutty flavor and a delightful textural crunch to the finished galette, complementing the plums beautifully.
- Turbinado Sugar (or Demerara Sugar): Primarily for aesthetics, this coarse sugar sprinkles over the crust provides a gorgeous sparkling finish and a slight crunch, making your galette look even more inviting.
Specific measurements for each ingredient, along with detailed step-by-step instructions, are provided in the comprehensive recipe section below.
How to Craft Your Irresistible Plum Galette: A Step-by-Step Guide
Creating this rustic plum galette is a rewarding experience, and the process is surprisingly straightforward. While I’ve used an all-butter pie crust (pâte brisée) for its unparalleled flakiness and flavor, you are welcome to use your favorite homemade pie dough recipe, perhaps a cherished family recipe like Mom’s Magic Pie Crust, or even a good quality store-bought rollable pie dough to save time.
Phase 1: Preparing the Flaky Pie Dough
- Combine Dry Ingredients: In a large mixing bowl (or a food processor fitted with a dough blade), whisk together your all-purpose flour, granulated sugar, and kosher salt. This ensures all dry ingredients are evenly distributed.
- Incorporate Cold Butter: Add the cold, cubed unsalted butter to the dry ingredients. If using a food processor, pulse several times until the butter is roughly pea to bean-sized. Some variation in size is fine, but avoid over-processing. If mixing by hand, use a pastry blender or your fingertips to cut the butter into the flour mixture until it resembles coarse crumbs with some larger, pea-sized pieces of butter remaining.
- Add Ice Water: Gradually drizzle in the ice-cold water, a tablespoon at a time. If using a food processor, turn it on and pour the water through the feed tube until the dough just starts to come together. Stop immediately. If mixing by hand, gently fold the water into the flour mixture until a shaggy dough forms. Be careful not to overmix, as this can develop the gluten too much and result in a tough crust.
- Form and Chill: Turn the dough out onto a lightly floured surface or a cutting board. Gently gather it into a cohesive disk. Avoid kneading it excessively. Wrap the dough tightly in plastic wrap and refrigerate for at least 30 minutes, or up to an hour. This chilling time is crucial for the butter to firm up and for the gluten to relax, making the dough easier to roll and ensuring a flaky crust.
Phase 2: Preparing the Plum Filling
- Slice the Plums: While the dough chills, preheat your oven to 400°F (200°C). Wash and pat dry your plums. Slice them into even ⅛-inch to ¼-inch thick pieces. There’s no need to peel them; the skins add color and a lovely texture.
- Macerate the Plums: In a medium bowl, gently toss the sliced plums with 2 tablespoons of the granulated sugar. Let this mixture sit for 5 to 10 minutes. This process, called maceration, encourages the plums to release some of their excess juices. This step is vital for preventing a soggy bottom crust, which we’ll discuss more in the tips section.
- Discard or Reserve Juice: Once the plums have macerated, carefully drain and discard the released plum juice. If you prefer, you can reserve this flavorful juice to reduce into a glaze later, perfect for brushing over the finished galette.
- Flavor the Filling: Add the remaining granulated sugar, a pinch of kosher salt, ground cinnamon, and tapioca flour (or cornstarch) to the macerated plums. Toss gently until the plums are evenly coated. The tapioca flour will help thicken the filling as it bakes.
Phase 3: Assembling and Baking Your Galette
- Roll Out the Dough: Remove the chilled pie dough from the refrigerator. On a lightly floured piece of parchment paper, roll the dough out into an approximate 11-inch to 12-inch circle. The parchment paper will make transferring the galette to the baking sheet much easier.
- Prepare for Filling: Carefully transfer the rolled-out dough (still on its parchment paper) to a baking sheet. In a small bowl, separate one egg yolk and one egg white. Lightly beat the egg white. Brush the surface of the dough with the beaten egg white, leaving a 1 to 1.5-inch border around the edge. This egg white layer acts as another barrier against sogginess. Briefly refrigerate the dough again while you finish preparing the plums.
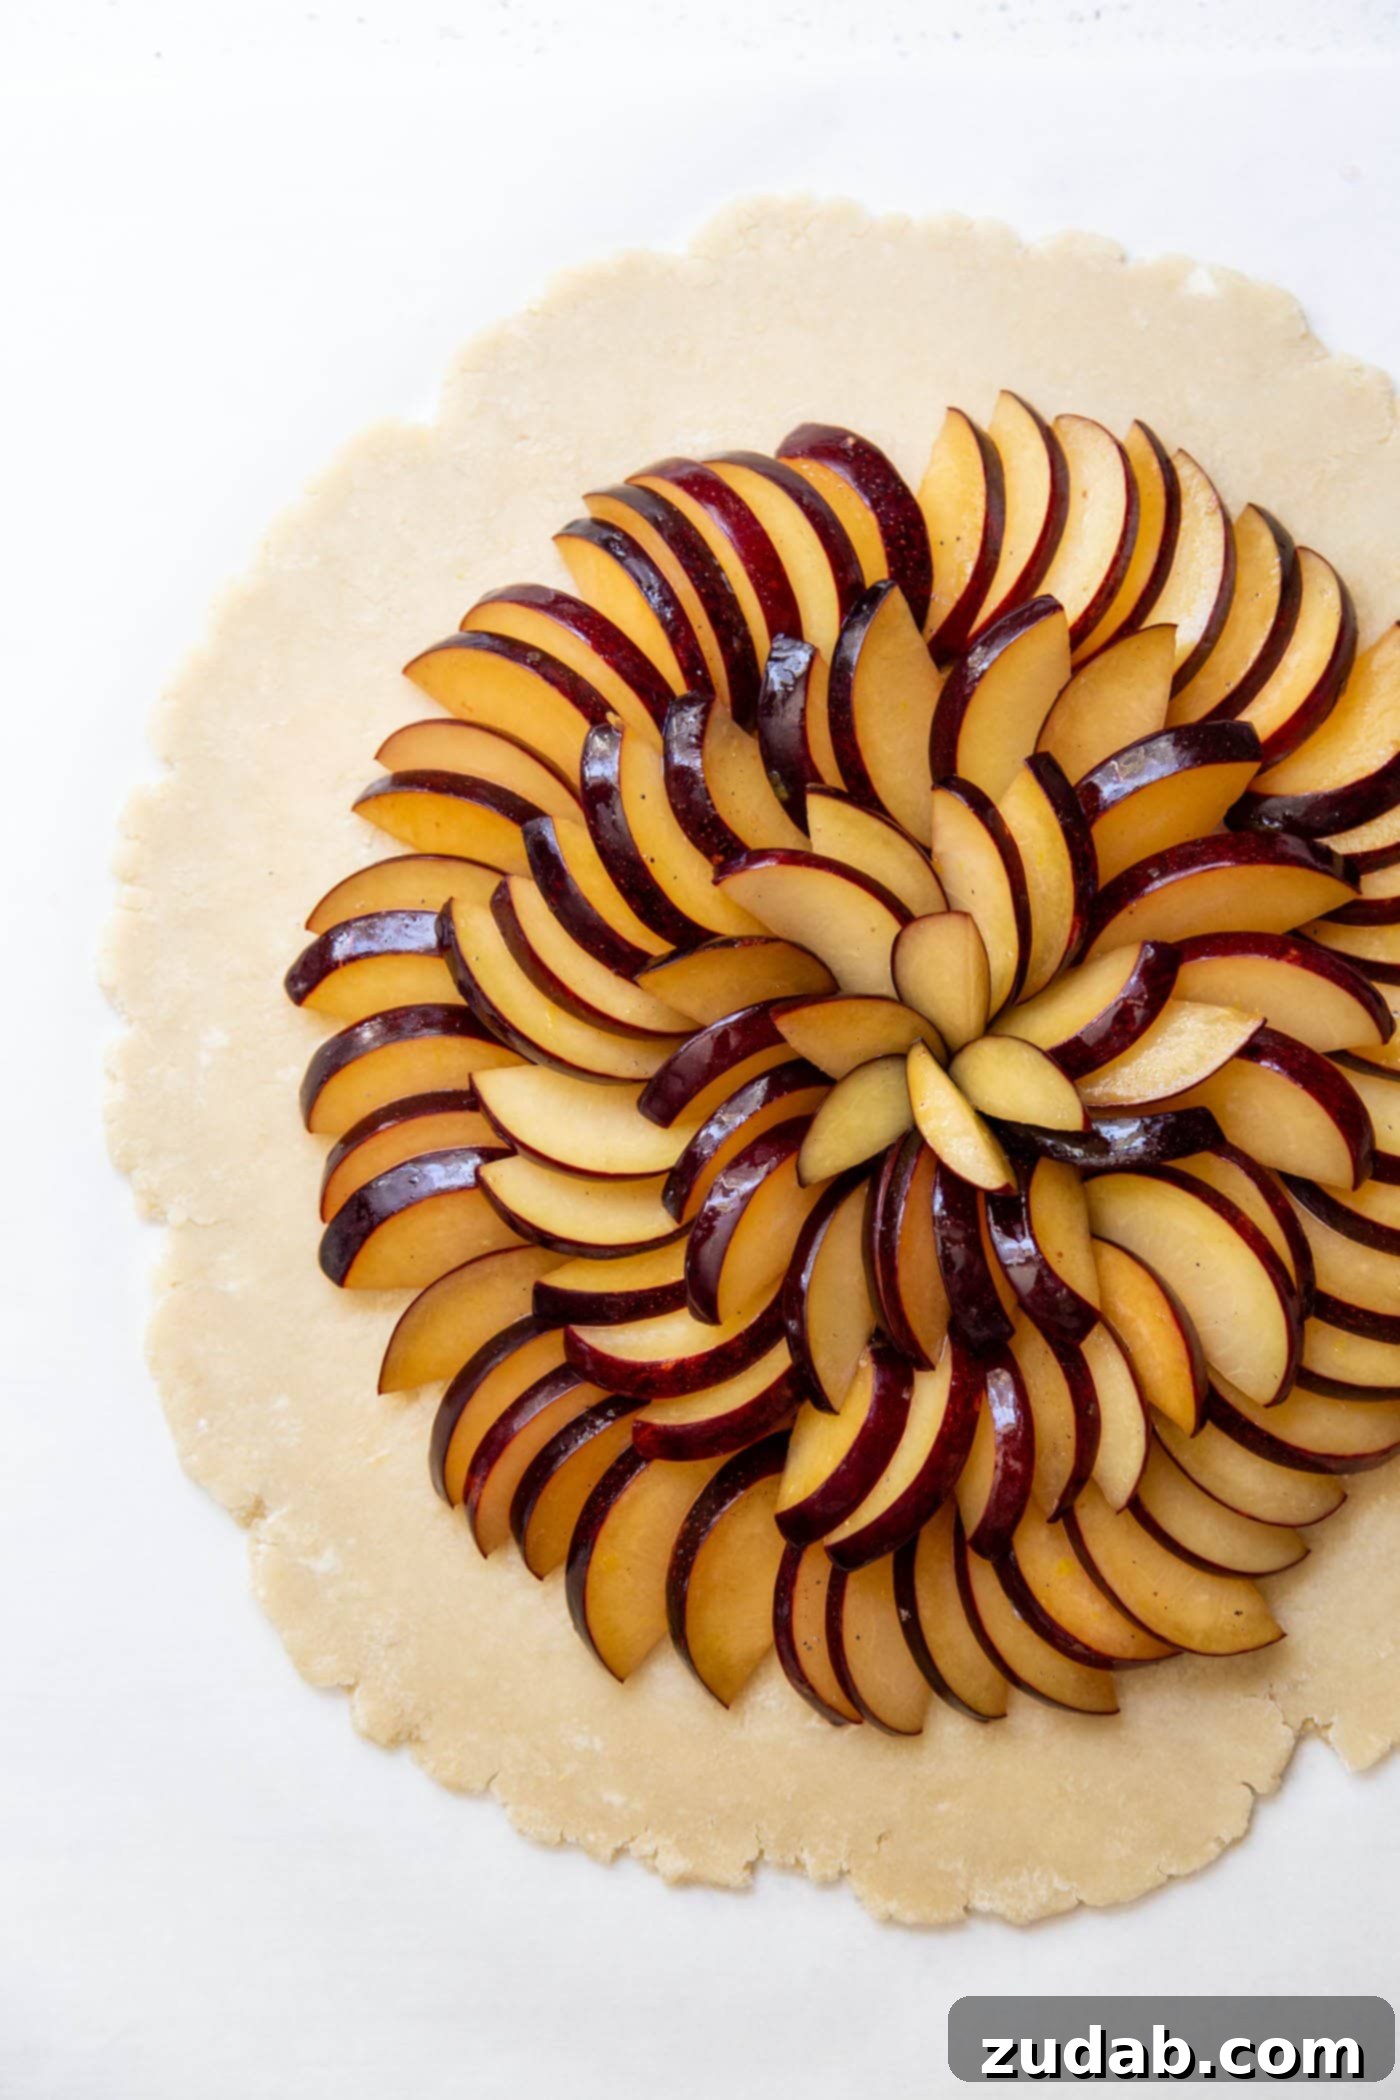
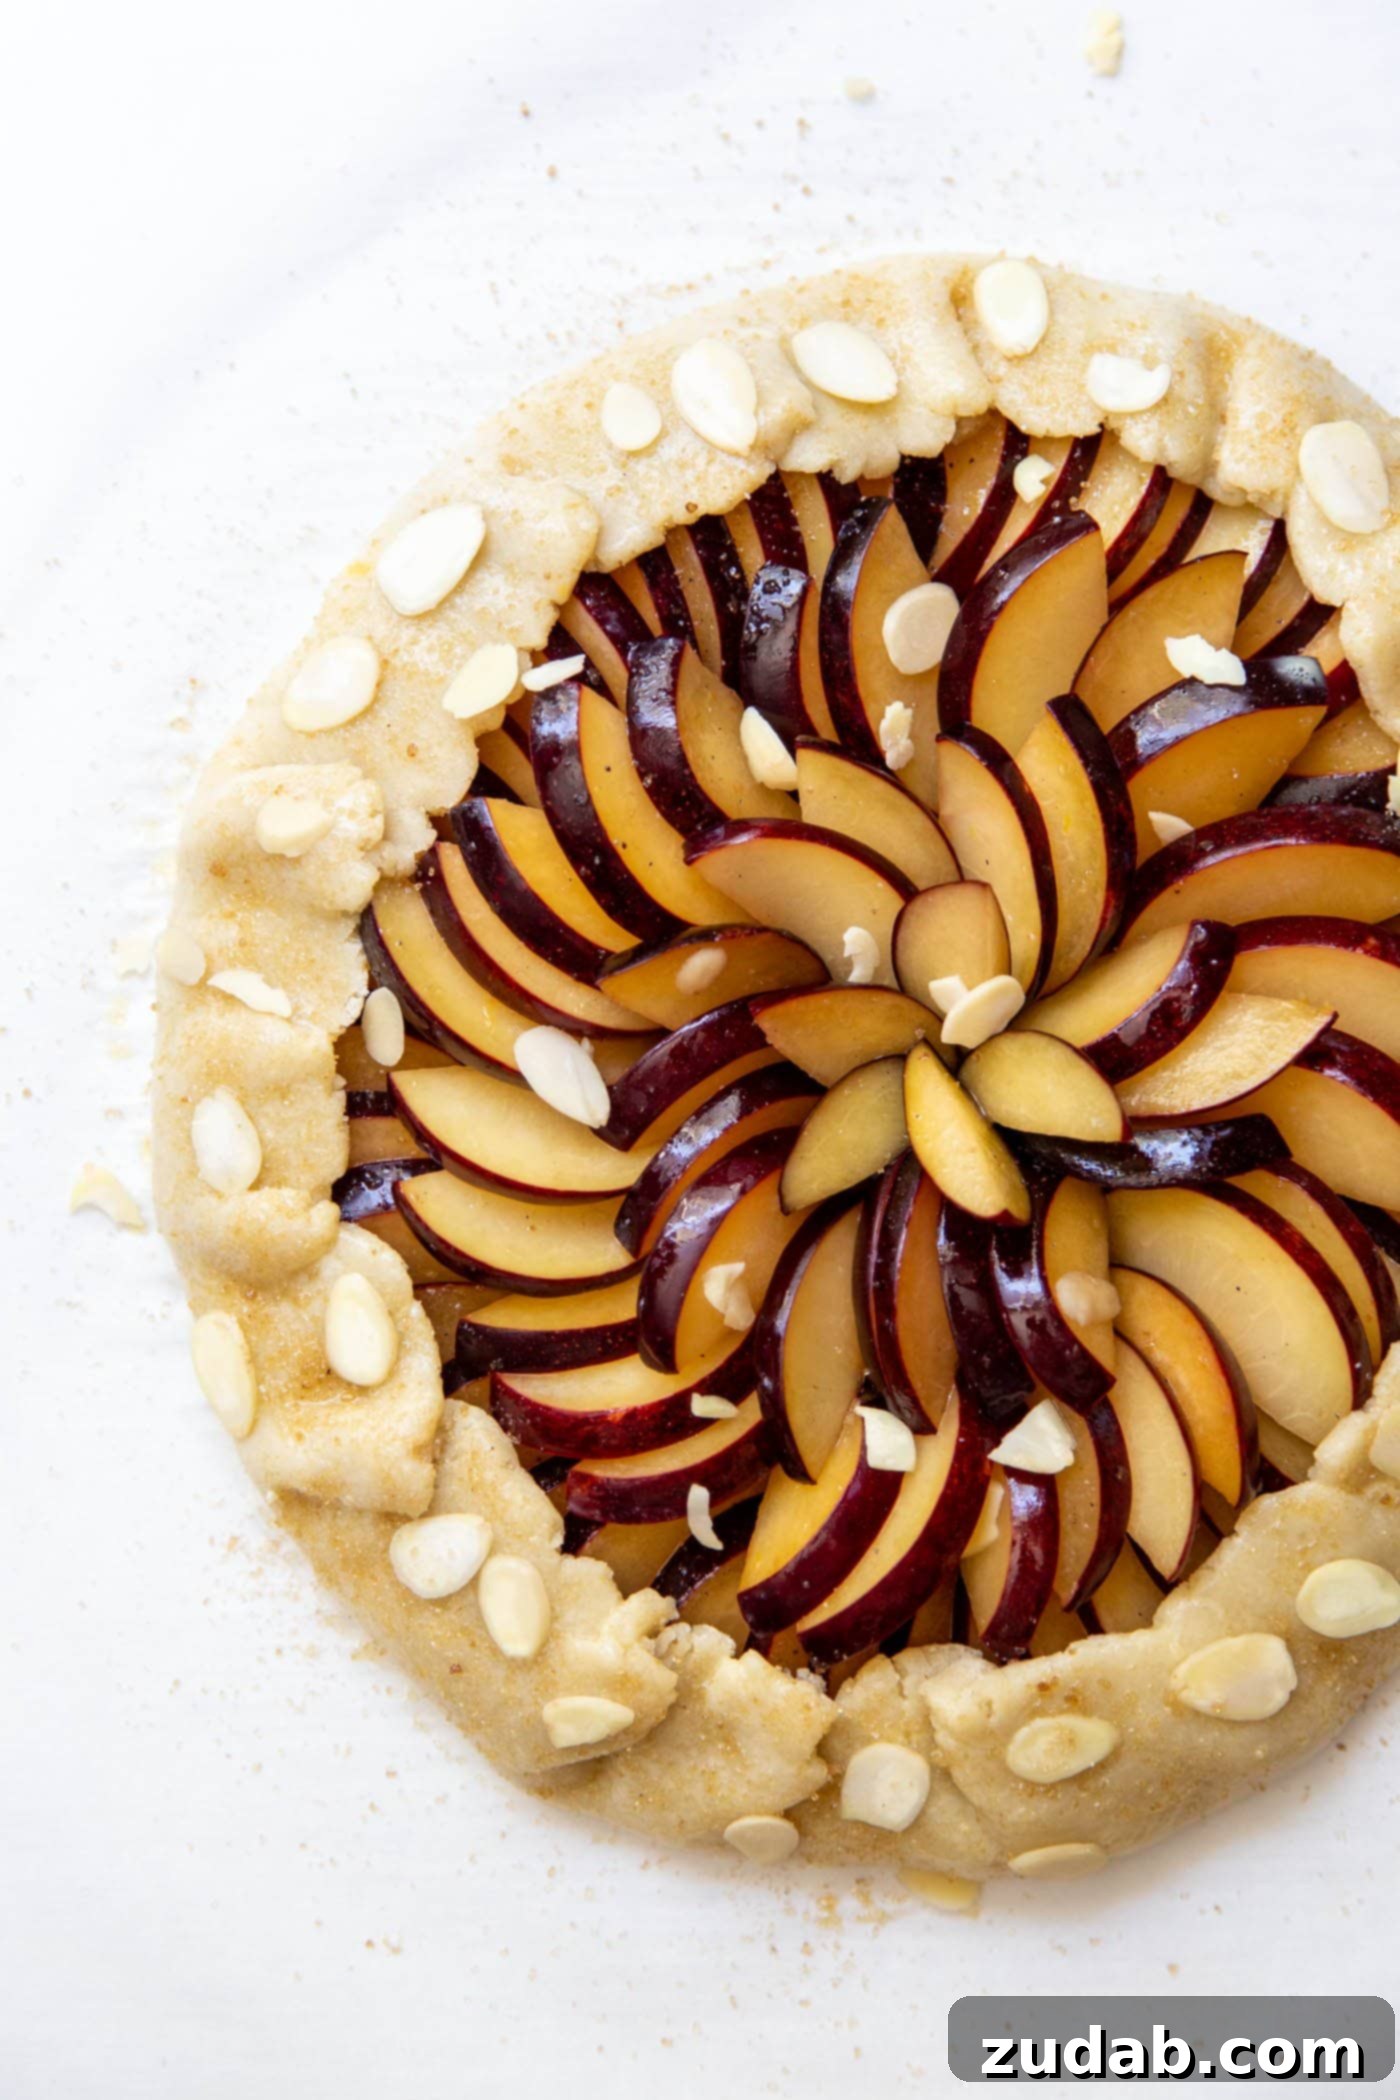
- Arrange the Plums: Retrieve the dough from the fridge. Arrange the coated plum slices decoratively in concentric circles on top of the dough, starting from the outer edge and working your way inward. Leave that 1 to 1.5-inch border free of fruit. If there’s any residual juice in the plum mixing bowl, you can pour it over the fruits just before baking, but be cautious not to add too much.
- Fold the Edges: Gently fold the exposed dough border over the outer edge of the plum filling, creating a rustic, free-form crust. Don’t worry about it looking perfect – the charm is in its imperfection!
- Apply Egg Wash and Topping: In the bowl with the egg yolk, add a splash of milk and whisk them together to create your egg wash. Generously brush this egg wash over the folded crust. Then, sprinkle the crust and a bit of the exposed plums with sliced almonds (if using) and turbinado sugar for that beautiful sparkle and crunch.
- Bake to Perfection: Transfer the baking sheet to the preheated 400°F (200°C) oven. Bake for approximately 30 to 35 minutes, or until the crust is deeply golden brown and the plum filling is bubbly and tender.
- Cool and Serve: Once baked, carefully remove the galette from the oven. Let it cool completely on a wire rack for at least 2 hours. This cooling period is essential for the filling to set properly, ensuring clean slices.
Enjoy your homemade Plum Galette! It’s truly a labor of love that yields an exquisite, comforting dessert.
Expert Tips for a Flawless Plum Galette Every Time
While making a galette is generally straightforward, a few key tips can elevate your baking and ensure you achieve the best possible results, especially preventing a common issue: a soggy bottom crust.
Mastering the Art of a Non-Soggy Galette Bottom
A soggy bottom crust is the bane of many fruit tarts, but it’s entirely preventable with a couple of smart techniques:
- Macerate and Drain Your Plums Diligently: This is arguably the most crucial step. By tossing the sliced plums with a bit of sugar and letting them sit for 5-10 minutes, you encourage them to release a significant amount of excess juice. This juice, if left in the filling, will steam the bottom crust, making it soft and unappetizing. Always discard this initial juice or, if you’re feeling ambitious, reserve and reduce it into a delightful glaze to brush over the baked galette. Don’t skip this step!
- Apply an Egg White Barrier: Brushing the rolled-out pie crust with a thin layer of beaten egg white before adding the filling creates a protective barrier. As the galette bakes, the egg white cooks quickly, forming a seal that helps prevent the fruit juices from seeping into and softening the dough.
- Use a Thickening Agent: Tapioca flour or cornstarch are your best friends here. They absorb the remaining moisture from the plums during baking, ensuring the filling is beautifully thick and jammy, rather than watery.
- Bake at a High Temperature: Starting your galette at a relatively high temperature (400°F / 200°C) helps to quickly crisp up the bottom crust before the fruit has a chance to release all its juices.
Additional Baking Wisdom:
- Keep Everything Cold: We can’t stress this enough for the crust. Cold butter and cold water are paramount for a flaky, tender pastry. Handle the dough as little as possible to avoid warming it up.
- Don’t Overfill: While tempting to pile on the fruit, overfilling can lead to juices overflowing and burning on your baking sheet, or making the crust difficult to fold. Leave that crucial 1 to 1.5-inch border.
- Even Slices for Even Cooking: Aim for uniform plum slices. This ensures they cook evenly and contributes to the galette’s appealing presentation.
- Watch for Doneness: The galette is done when the crust is deeply golden brown and the filling is visibly bubbling and tender. If the crust browns too quickly, you can loosely tent it with foil.
Delicious Plum Galette Variations to Explore
One of the joys of a rustic galette is its versatility. Once you’ve mastered the basic Plum Galette, feel free to get creative and experiment with these delightful variations:
- A Citrusy Brightness: Elevate the plum filling by adding a teaspoon of fresh lemon or orange zest. The bright, aromatic citrus notes beautifully complement the sweetness of the plums and the warmth of the cinnamon, adding an extra layer of complexity.
- Fancy Plum Almond Galette: For an extra layer of decadence and sophistication, consider adding a thin layer of almond paste. Roll out or press some homemade almond paste onto the bottom of the crust before arranging the sliced plums. This creates a rich, marzipan-like base that pairs exquisitely with the fruit, similar to a classic Almond Apple Tart.
- Spice It Up: Cinnamon is wonderful, but plums are incredibly versatile when it comes to spices. Experiment with different warm spices to suit your mood:
- Allspice: Offers a complex flavor reminiscent of cloves, cinnamon, and nutmeg.
- Cardamom: Adds a unique, exotic, and slightly citrusy floral note.
- Cloves: Provides a strong, pungent, and sweet aroma.
- Ginger: Adds a zesty, warm, and slightly peppery kick, especially lovely with plums.
- Mixed Stone Fruit Delight: Don’t limit yourself to just plums! This galette recipe is fantastic with a mix of other stone fruits. Combine plums with apricots, nectarines, or peaches for a multi-layered flavor profile and stunning visual appeal. Ensure all fruits are ripe and macerated to prevent excess moisture.
Frequently Asked Questions About Plum Galettes
Can I Use Store-Bought Pie Dough for my Galette?
Absolutely! Using a good quality store-bought pie dough is a fantastic time-saver, especially if you’re short on time or new to making pastry from scratch. The key is to choose a brand that comes in a rollable sheet rather than one already shaped into a pie pan. This allows you to achieve the free-form, rustic look that defines a galette. Follow the package directions for thawing, and then proceed with rolling it out as described in the recipe.
Is Galette Crust the Same as Pie Dough?
Yes, fundamentally, the dough used for a galette is indeed the same as a classic pie dough (pâte brisée). Both are typically made from flour, cold butter, a touch of sugar and salt, and ice water, designed to create a flaky, tender crust. This means if you have a cherished, tried-and-true favorite pie crust recipe, you can absolutely use it for your plum galette. The main difference lies in the assembly: pie dough is baked in a dish, while galette dough is free-form.
Can You Prepare a Galette the Night Before Baking?
While planning ahead is often a good idea in baking, I would generally not recommend assembling a fruit galette the night before you plan to bake it. The juicy plums, even after maceration, will continue to release moisture as they sit on the unbaked crust overnight. This prolonged contact with moisture will almost certainly lead to a soggy bottom crust, which is exactly what we’re trying to avoid! However, you can certainly make the pie dough a day or two in advance and keep it tightly wrapped in plastic in the refrigerator. Then, on baking day, simply roll out the dough, prepare your fruit, assemble, and bake.
Storing Your Leftover Plum Galette
Proper storage ensures you can enjoy your delicious Plum Galette for days to come. Here’s how to keep it fresh:
- Room Temperature: If you plan to finish the galette within 12-24 hours, you can leave it loosely covered on the counter overnight. This is often preferred for serving as it keeps the crust at its crispiest.
- Refrigeration for Longer Storage: For anything longer than a day, it’s best to refrigerate your plum galette. Wrap it loosely with plastic wrap or aluminum foil, or store it in an airtight container. When refrigerated, the galette will maintain its freshness and quality for 5 days to a week.
- Reheating (Optional): While delicious cold straight from the refrigerator, warming up a slice can truly enhance the experience and re-crisp the crust. Simply place a slice (or the entire galette) in a preheated oven at 350°F (175°C) for about 5-10 minutes, or until warmed through and the crust is crisp again.
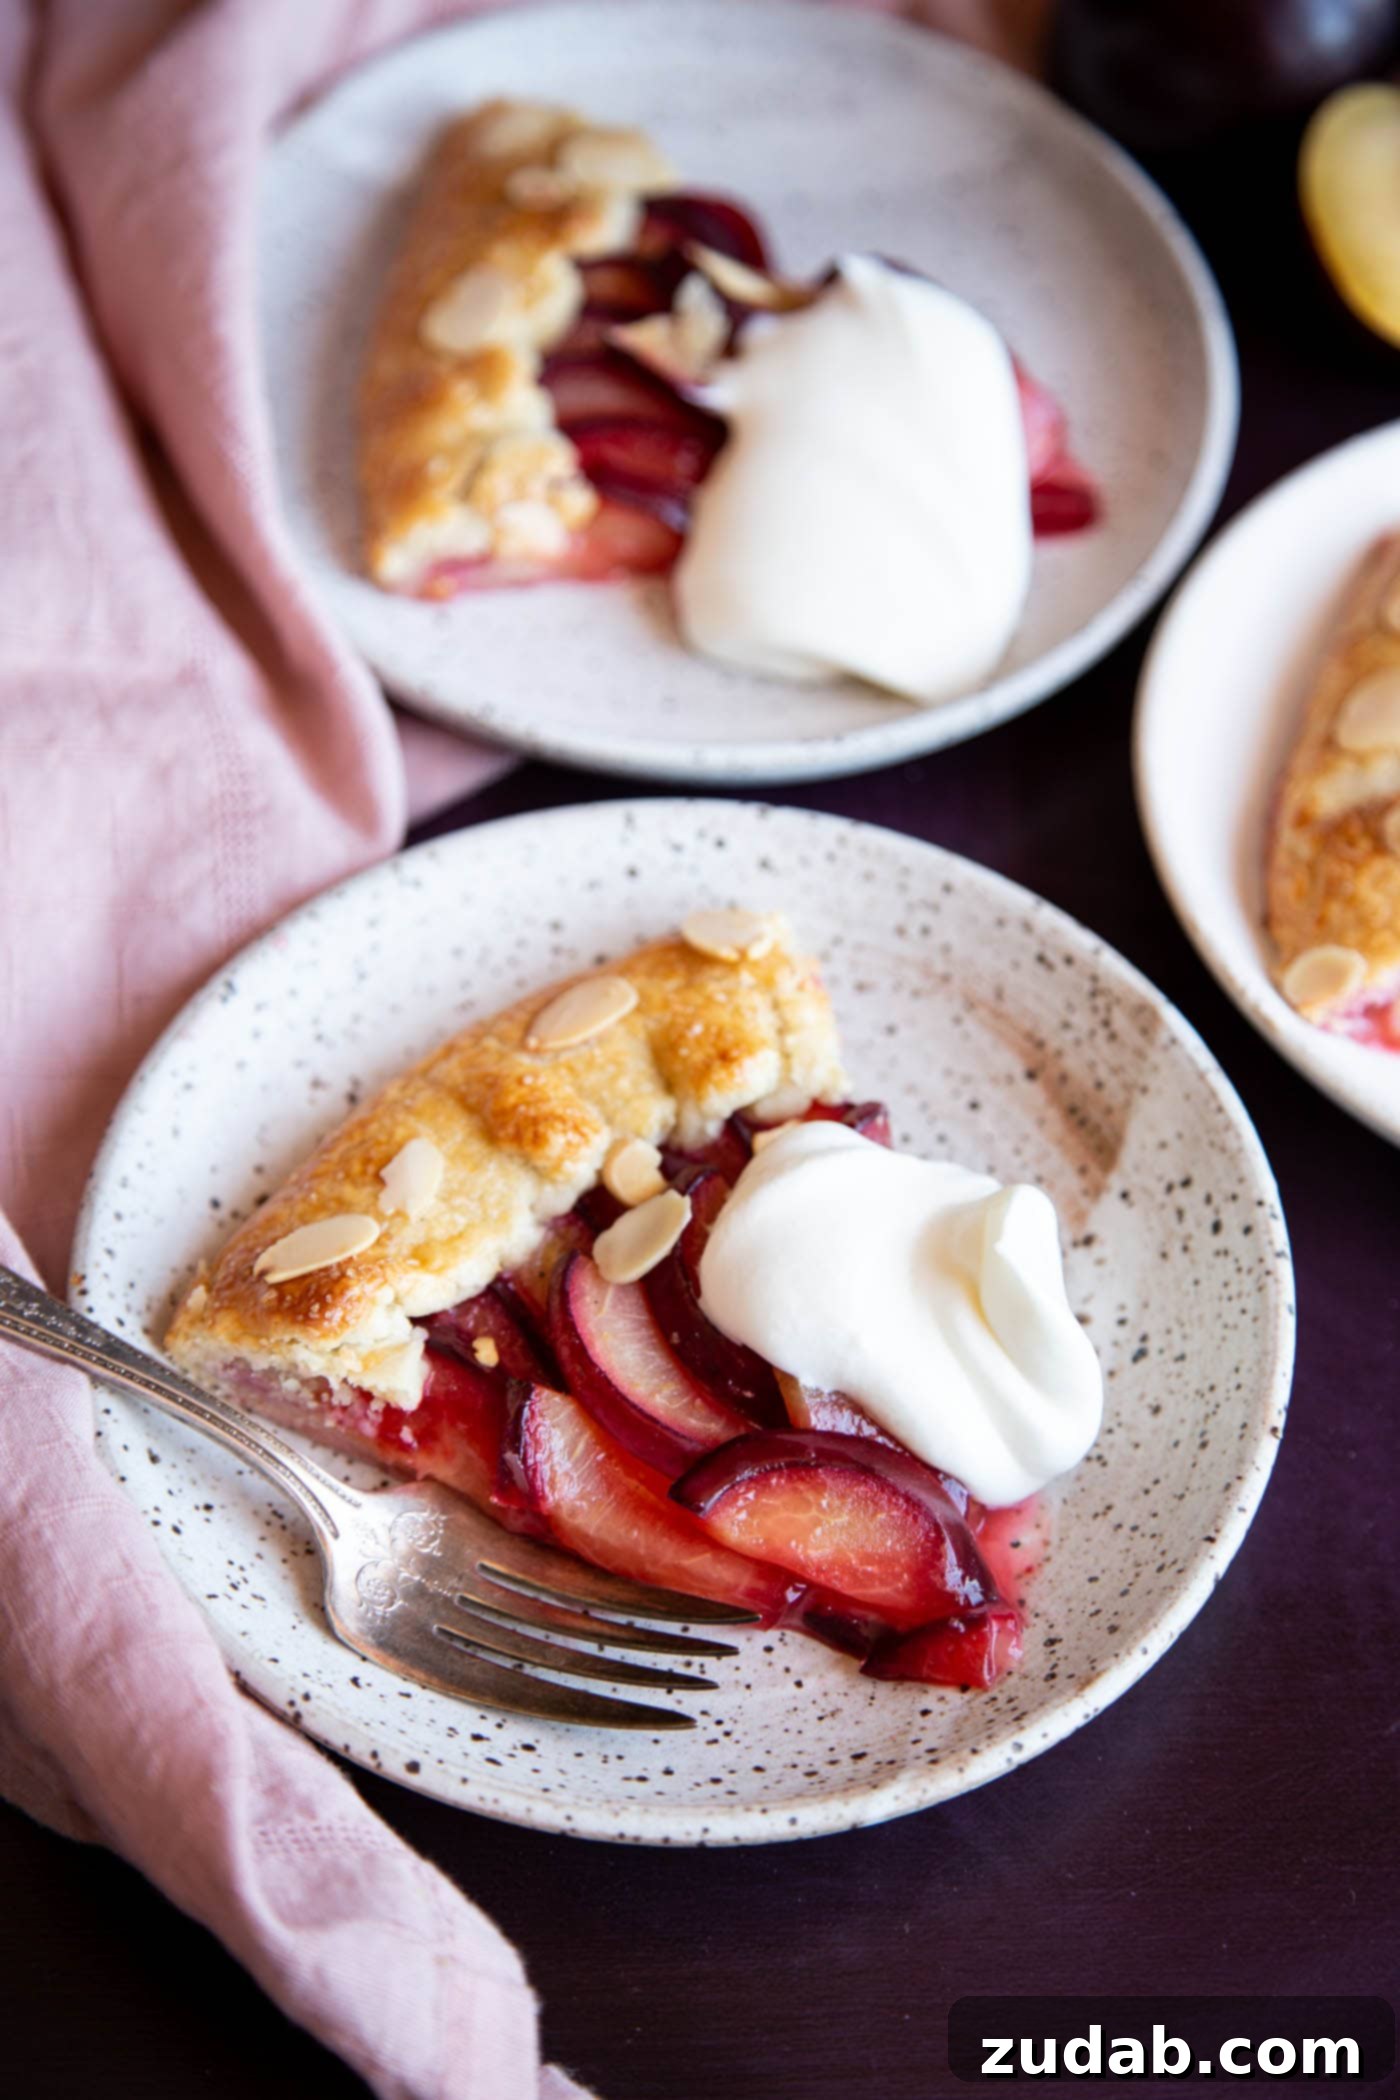
Serve your warmed or chilled Plum Galette with a generous dollop of homemade whipped cream, a scoop of creamy vanilla ice cream, or even a drizzle of the reserved plum juice glaze for an extra touch of indulgence. The contrasts of warm and cold, creamy and tart, are simply divine!
In my opinion, fresh plums are often underutilized in the vast world of summer and early fall desserts. This Plum Galette not only celebrates this fabulous fruit but transforms it into a scrumptious, easy-to-make masterpiece that is perfect for any occasion. It’s a testament to how simple ingredients, when treated with care, can yield extraordinary results. So, seize the season and bake this delightful rustic tart – your taste buds will thank you!
More Seasonal Desserts You’ll Adore
If you loved this Plum Galette, you’re sure to enjoy these other delightful seasonal desserts, perfect for embracing the flavors of summer and fall:
- Peach Blackberry Galette: Another fantastic free-form tart showcasing juicy peaches and tart blackberries.
- Classic Apple Crisp: A timeless fall favorite with tender apples and a crunchy oat topping.
- Strawberry Rhubarb Galette: A sweet and tangy spring/summer treat, also beautifully rustic.
- Decadent Pumpkin Roll: A show-stopping, spiced pumpkin cake with a creamy filling.
- Warm Spice Cake: Layers of moist, aromatic cake perfect for cooler evenings.
- Easy Apple Dumplings with Sprite: A fun and surprisingly simple dessert with a secret ingredient.
- Comforting Peach Crisp: A bubbly, warm peach crisp, ideal for outdoor cooking or a simple home dessert.
Plum Galette Recipe
By Wild Wild Whisk
Prep Time: 30 mins | Cook Time: 35 mins | Total Time: 1 hr 5 mins
Servings: 8
This super easy Plum Galette features a flaky pie crust filled with juicy plums, flavored with warm cinnamon. It’s the perfect transition dessert from summer to fall!
Ingredients
Crust
- 4 Ounces Unsalted Butter, cold and cubed
- 1 ¼ Cup All-Purpose Flour
- 2 Tablespoon Granulated Sugar
- ¼ teaspoon Kosher Salt
- 3 Tablespoon Cold Water (ice water is best)
Filling
- 6 Large Ripe Plums, sliced ⅛”-¼” thick
- ½ Cup Granulated Sugar, divided
- Pinch Kosher Salt
- ½ teaspoon Ground Cinnamon, more to taste
- 2 Tablespoon Tapioca Flour (or cornstarch)
Egg Wash and Topping
- 1 Large Egg (separated into yolk and white)
- 1 Tablespoon Milk
- A Handful of Sliced Almonds, optional
- Turbinado Sugar, for sparkling finish
Instructions
Make the Dough
- Add flour, 2 tablespoons granulated sugar, and ¼ teaspoon kosher salt in a small bowl and mix thoroughly with a whisk. Then transfer to a food processor fitted with the dough blade.
- Cube the cold butter and add to the flour mixture. Pulse several times until butter is about pea and bean size. Variation in size is okay, but no smaller than a pea.
- Turn the food processor to “on” position and drizzle 3 tablespoons cold water over the dough mixture through the water hole. As soon as the dough starts to pull together, turn the food processor off. You may need to stop the food processor in between and use a spatula to get the flour at the bottom to mix up.
- Turn the dough out on the counter or cutting board and shape into a disk. Wrap in plastic wrap and rest in the refrigerator for at least 1 hour.
Make the Galette
- Preheat the oven to 400°F (200°C).
- Slice plums into ⅛”-¼” slices, no need to peel. Toss plum slices with 2 tablespoons of sugar and let them stand for about 5 – 10 minutes to release their juice.
- In the meantime, take pie dough out of the fridge and roll into a circle about 11”-12” in diameter on a parchment paper lined baking sheet.
- Separate the egg yolk and egg white in two separate bowls. Beat the egg white and brush it over the surface of the dough, leaving a 1 – 1.5” border. Refrigerate the pie dough briefly.
- Discard the plum juice from maceration. Mix the plums with the remaining granulated sugar (¼ cup), pinch of kosher salt, 2 tablespoons tapioca flour (or cornstarch), and ½ teaspoon cinnamon.
- Take the pie dough out of the refrigerator and arrange the plum slices in concentric circles, leaving the 1 – 1.5” border. Fold the extra dough inward to cover the fruit on the outer edge. If there is any extra juice left in the mixing bowl after the second mix, pour it over the fruits just before placing the galette in the oven.
- Add the egg yolk to the beaten egg white (if you separated them, or use a fresh egg yolk + milk if you used the white for the barrier), along with 1 tablespoon of milk. Beat together to make the egg wash. Brush this egg wash generously over the exposed crust, then sprinkle with sliced almonds and turbinado sugar.
- Bake for 30 – 35 minutes until the crust is golden brown and the filling is bubbly.
- Remove from the oven and let cool completely on a wire rack for about 2 hours to allow the filling to set.
Recipe Notes
- Always macerate the plums with a little sugar first and discard the released juice to prevent a soggy crust and potential burning of juices on your baking sheet.
- You can reserve the initial plum juice and reduce it over heat to create a simple glaze to brush over the finished galette for extra flavor and shine.
- Adjust the amount of sugar in the filling based on the natural sweetness of your plums. Taste a plum first!
Nutrition
Serving: 1 slice, Calories: 278kcal, Carbohydrates: 38g, Protein: 4g, Fat: 13g, Saturated Fat: 8g, Polyunsaturated Fat: 1g, Monounsaturated Fat: 4g, Trans Fat: 0.5g, Cholesterol: 51mg, Sodium: 84mg, Potassium: 123mg, Fiber: 1g, Sugar: 21g, Vitamin A: 558IU, Vitamin C: 5mg, Calcium: 20mg, Iron: 1mg
Nutrition information is automatically calculated, so should only be used as an approximation.