
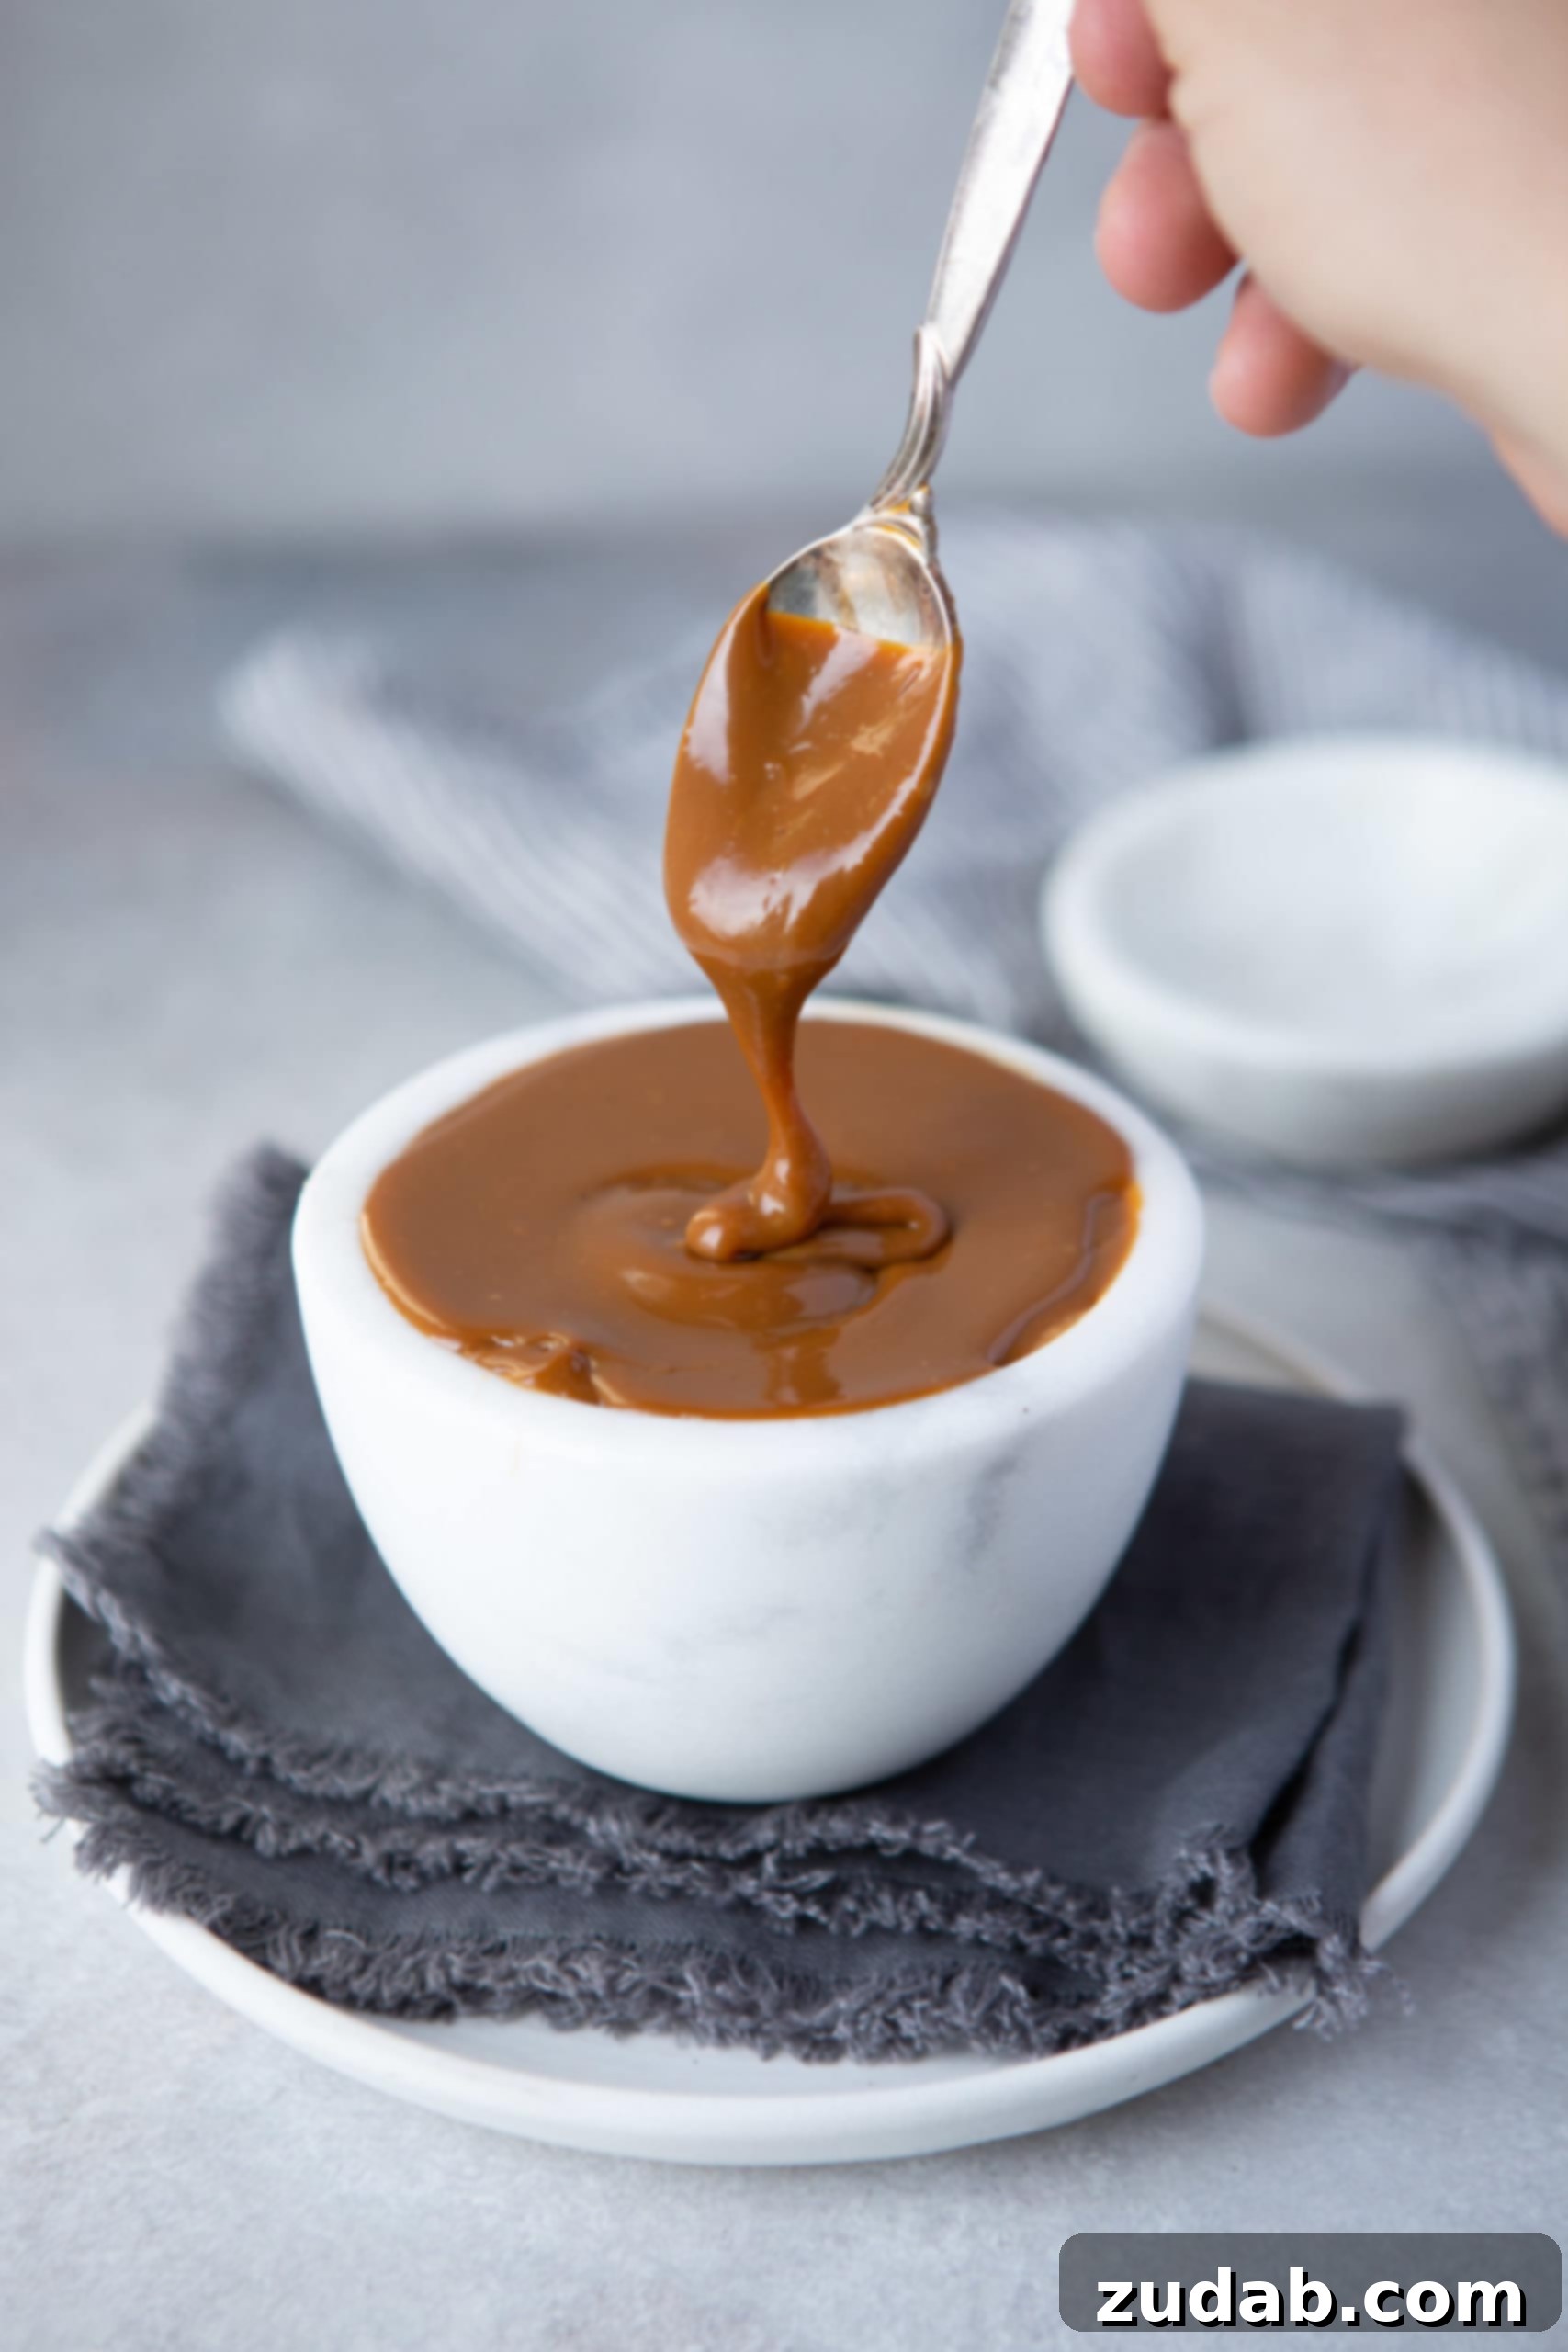
Have you ever experienced the sheer joy of a spoonful of rich, velvety dulce de leche? That irresistible, slow-cooked caramel-like confection that melts in your mouth? What if we told you that this liquid gold, a staple in many exquisite desserts, can be easily made right in your own kitchen with just one simple ingredient?
Yes, it’s true! All it takes is a humble can of sweetened condensed milk and a bit of time, and you’ll be on your way to creating a homemade treat so delicious, you’ll want to lick the spoon clean – guaranteed!
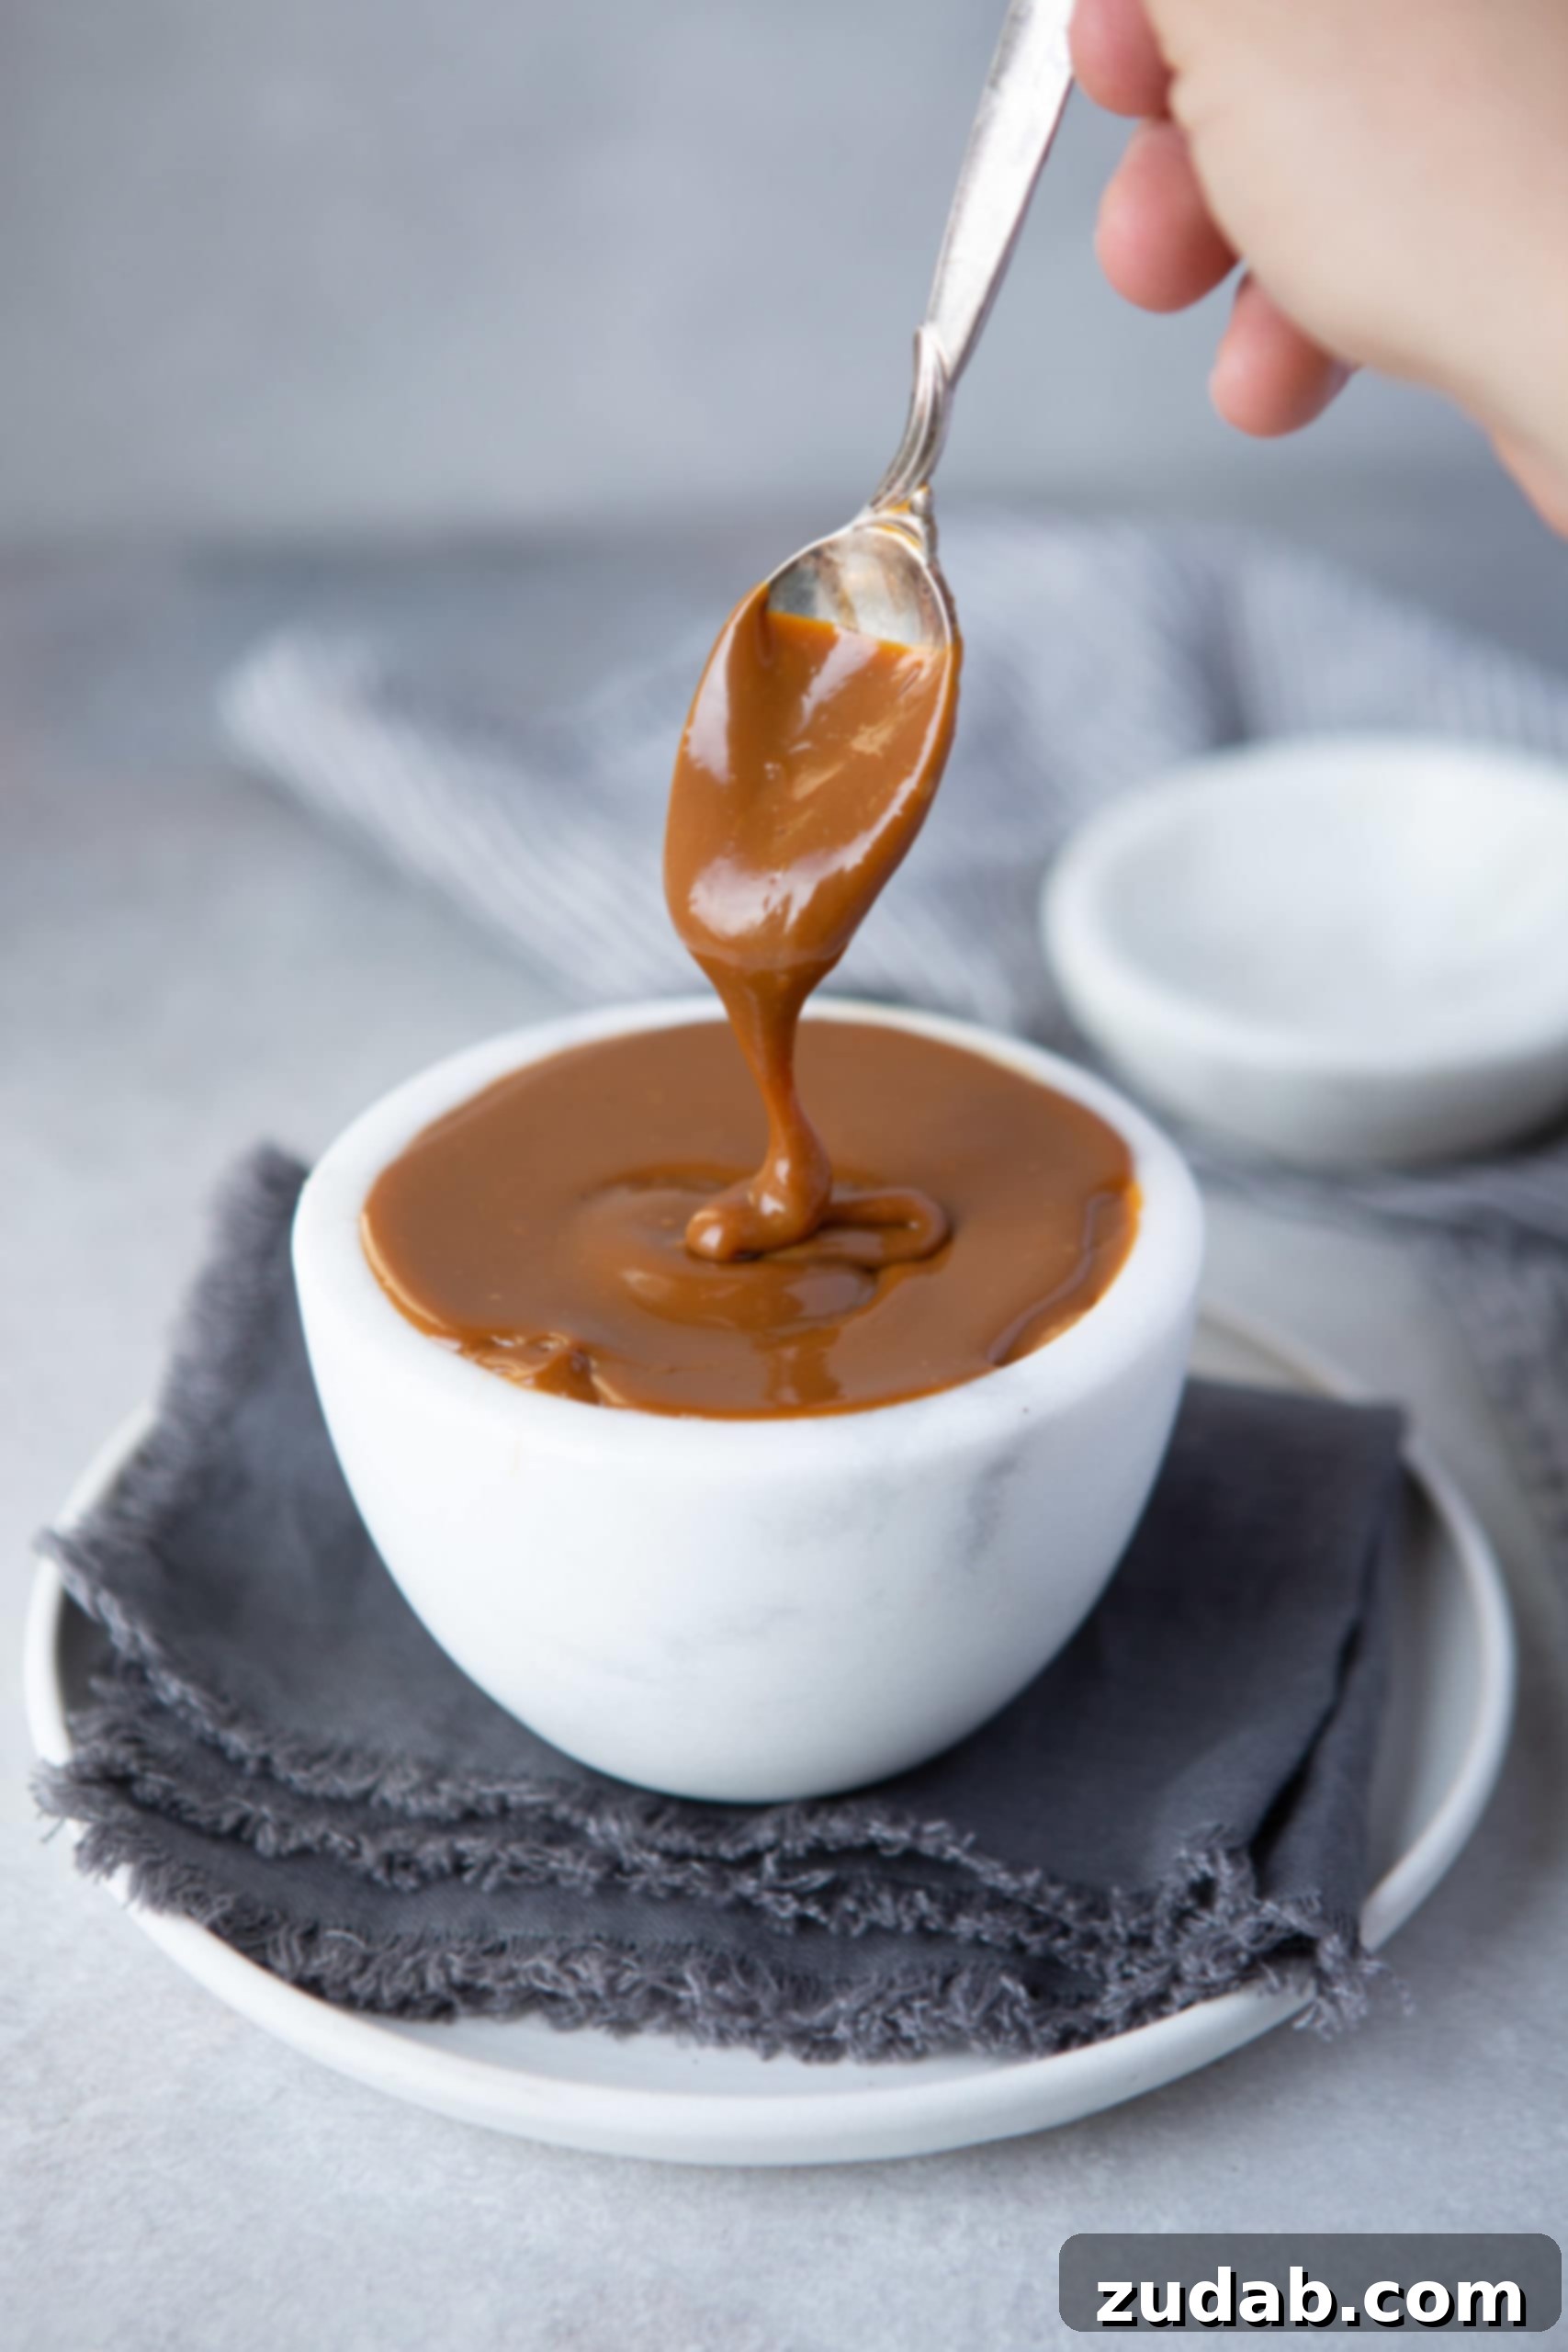
The Great Dulce de Leche Shortage: Why Homemade is Your Best Bet!
Lately, it seems that finding a can of pre-made dulce de leche on supermarket shelves has become a quest worthy of an epic tale. Across various regions, from bustling cities to quiet towns like those in Utah, this beloved ingredient has mysteriously vanished. Shelves stand empty, yet the price tags stubbornly remain, a silent testament to its recent presence and our collective longing. Where did it all go? Is it a supply chain issue? A global phenomenon? Will our favorite dessert components ever return?
This widespread scarcity has sparked a culinary crisis for many, including us! We dream of recreating our cherished recipes: a decadent Banana Dulce de Leche Pie, rich Dulce de Leche Molten Lava Cakes, delightful Dulce de Leche Chocolate Cheesecake Bars, or our famously irresistible Nutella Dulce de Leche Stuffed Chocolate Chip Cookies. The thought of not being able to whip up these treats is truly disheartening!
Until these answers materialize and our favorite sweet spreads reappear, we’re taking matters into our own hands. It’s time to master the art of how to make dulce de leche from scratch. Not just as a temporary fix, but as a newfound skill that will empower your dessert creations for years to come!
What Exactly is Dulce de Leche?
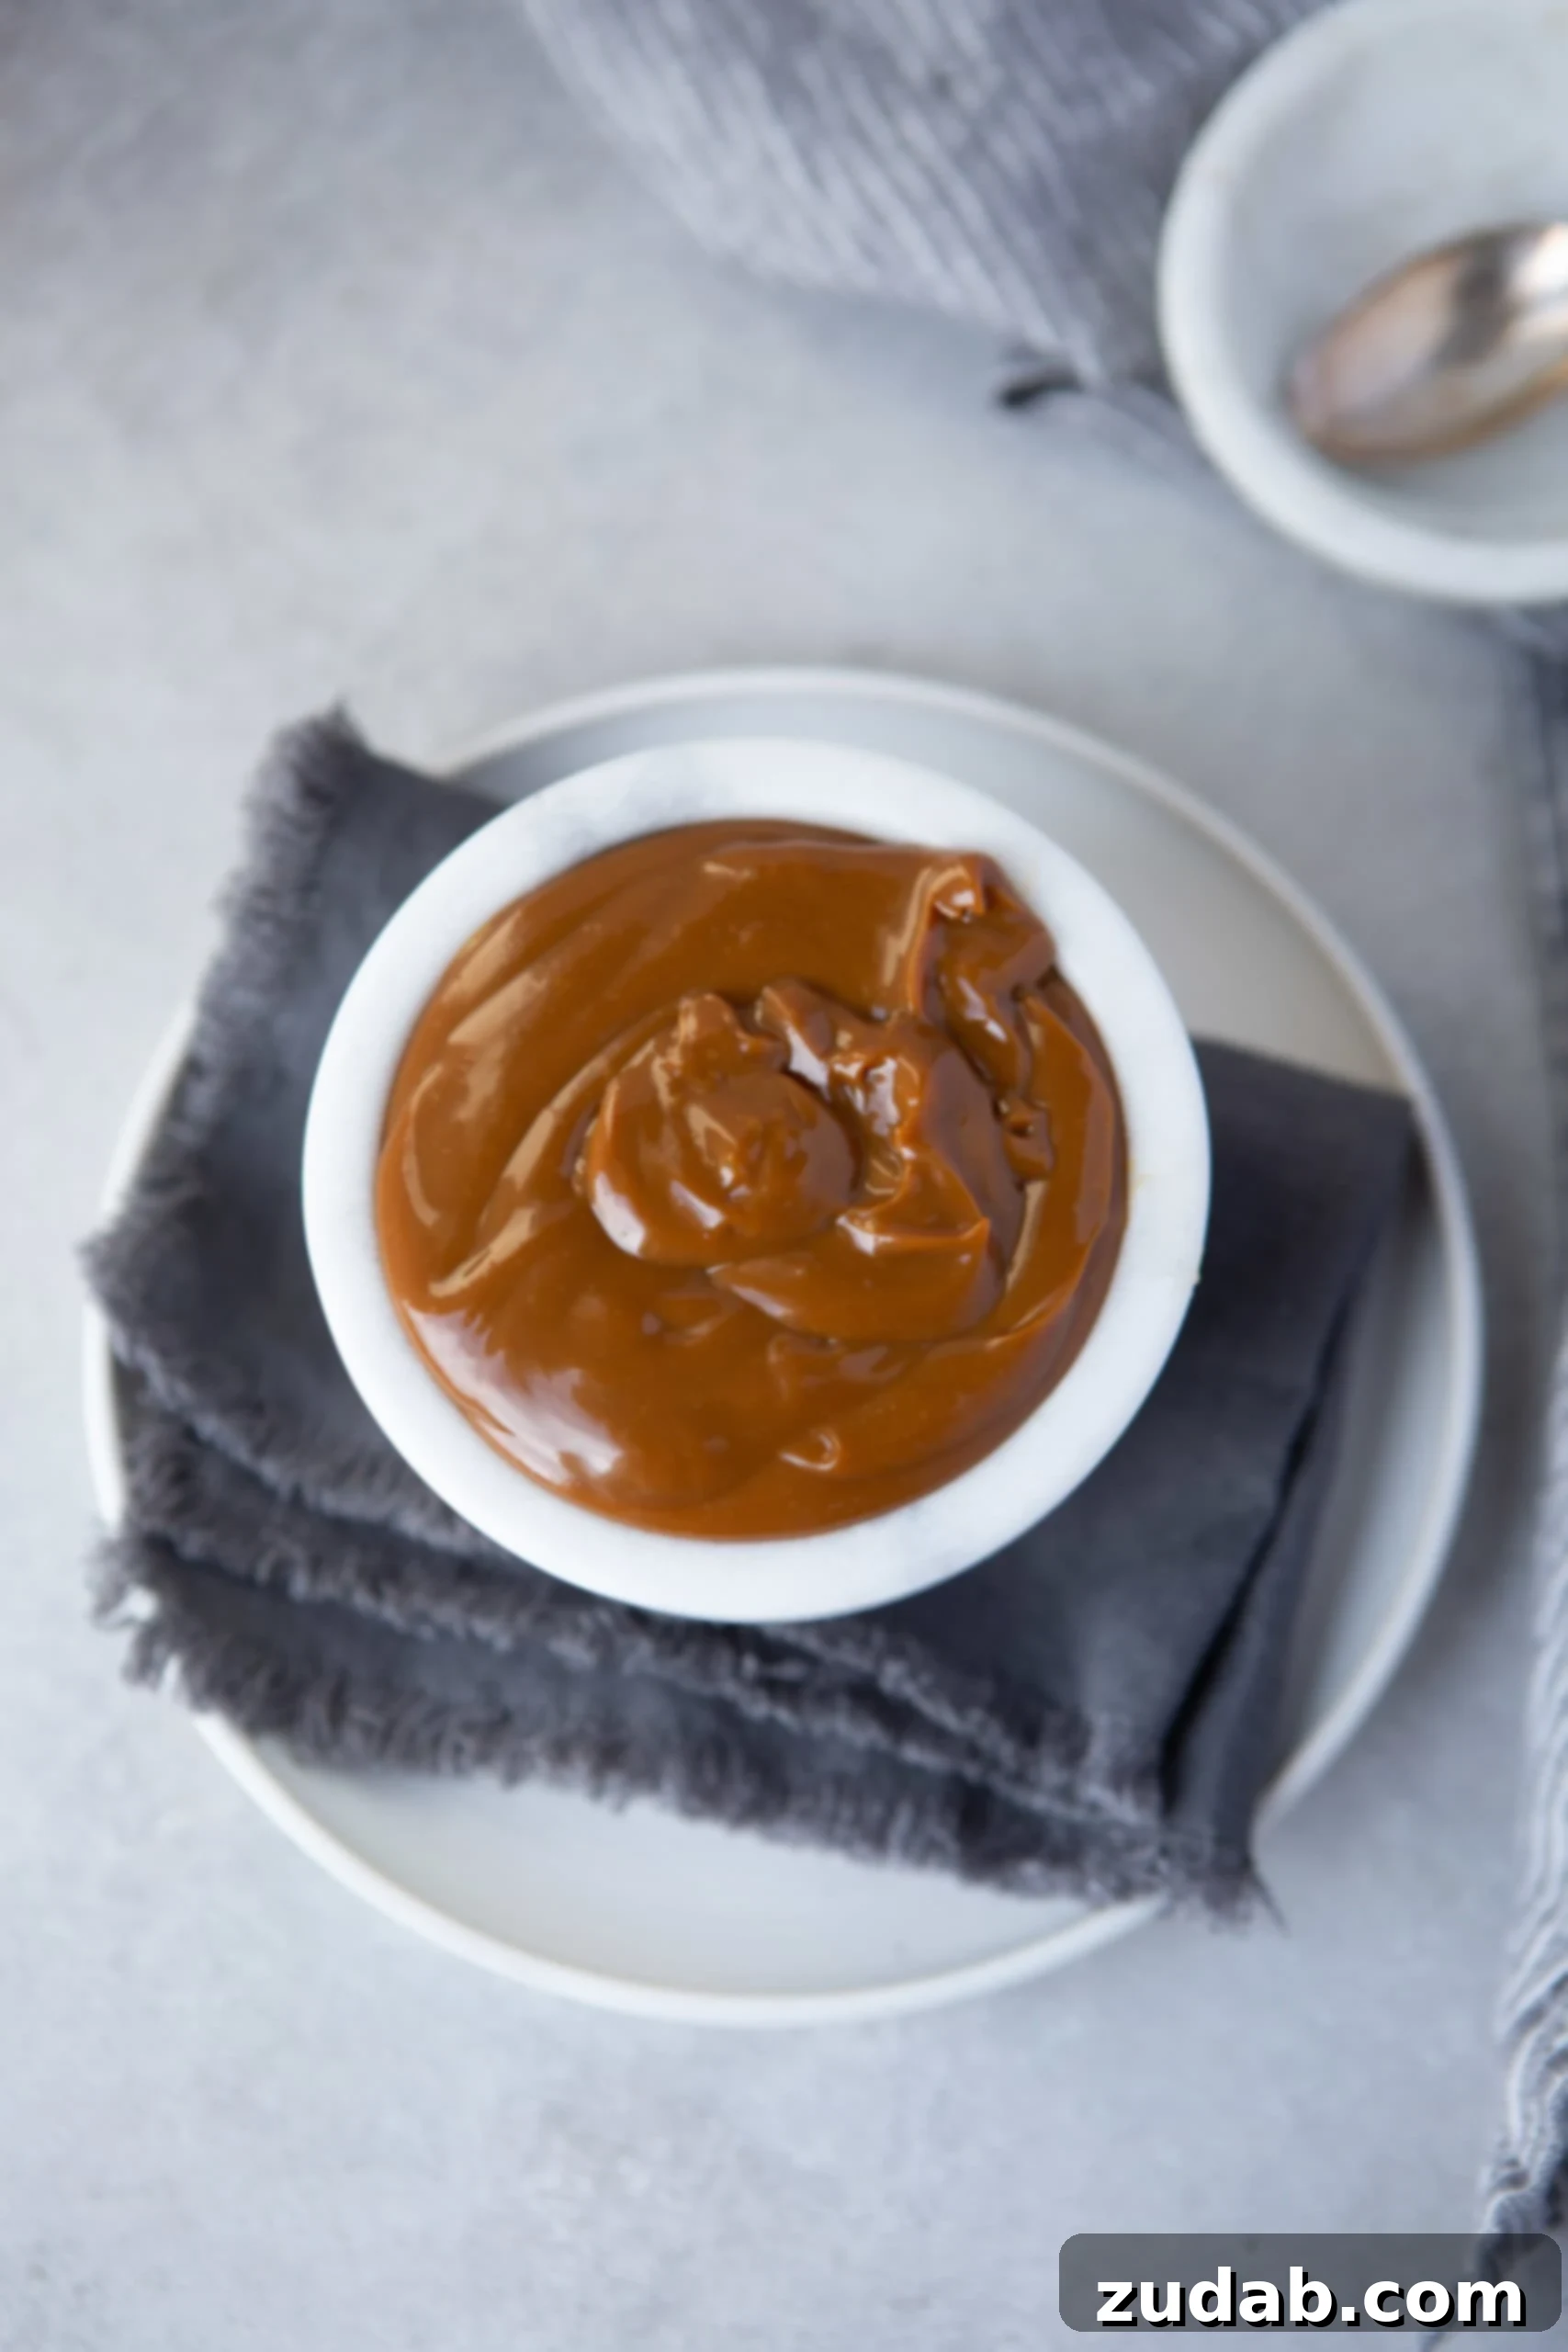
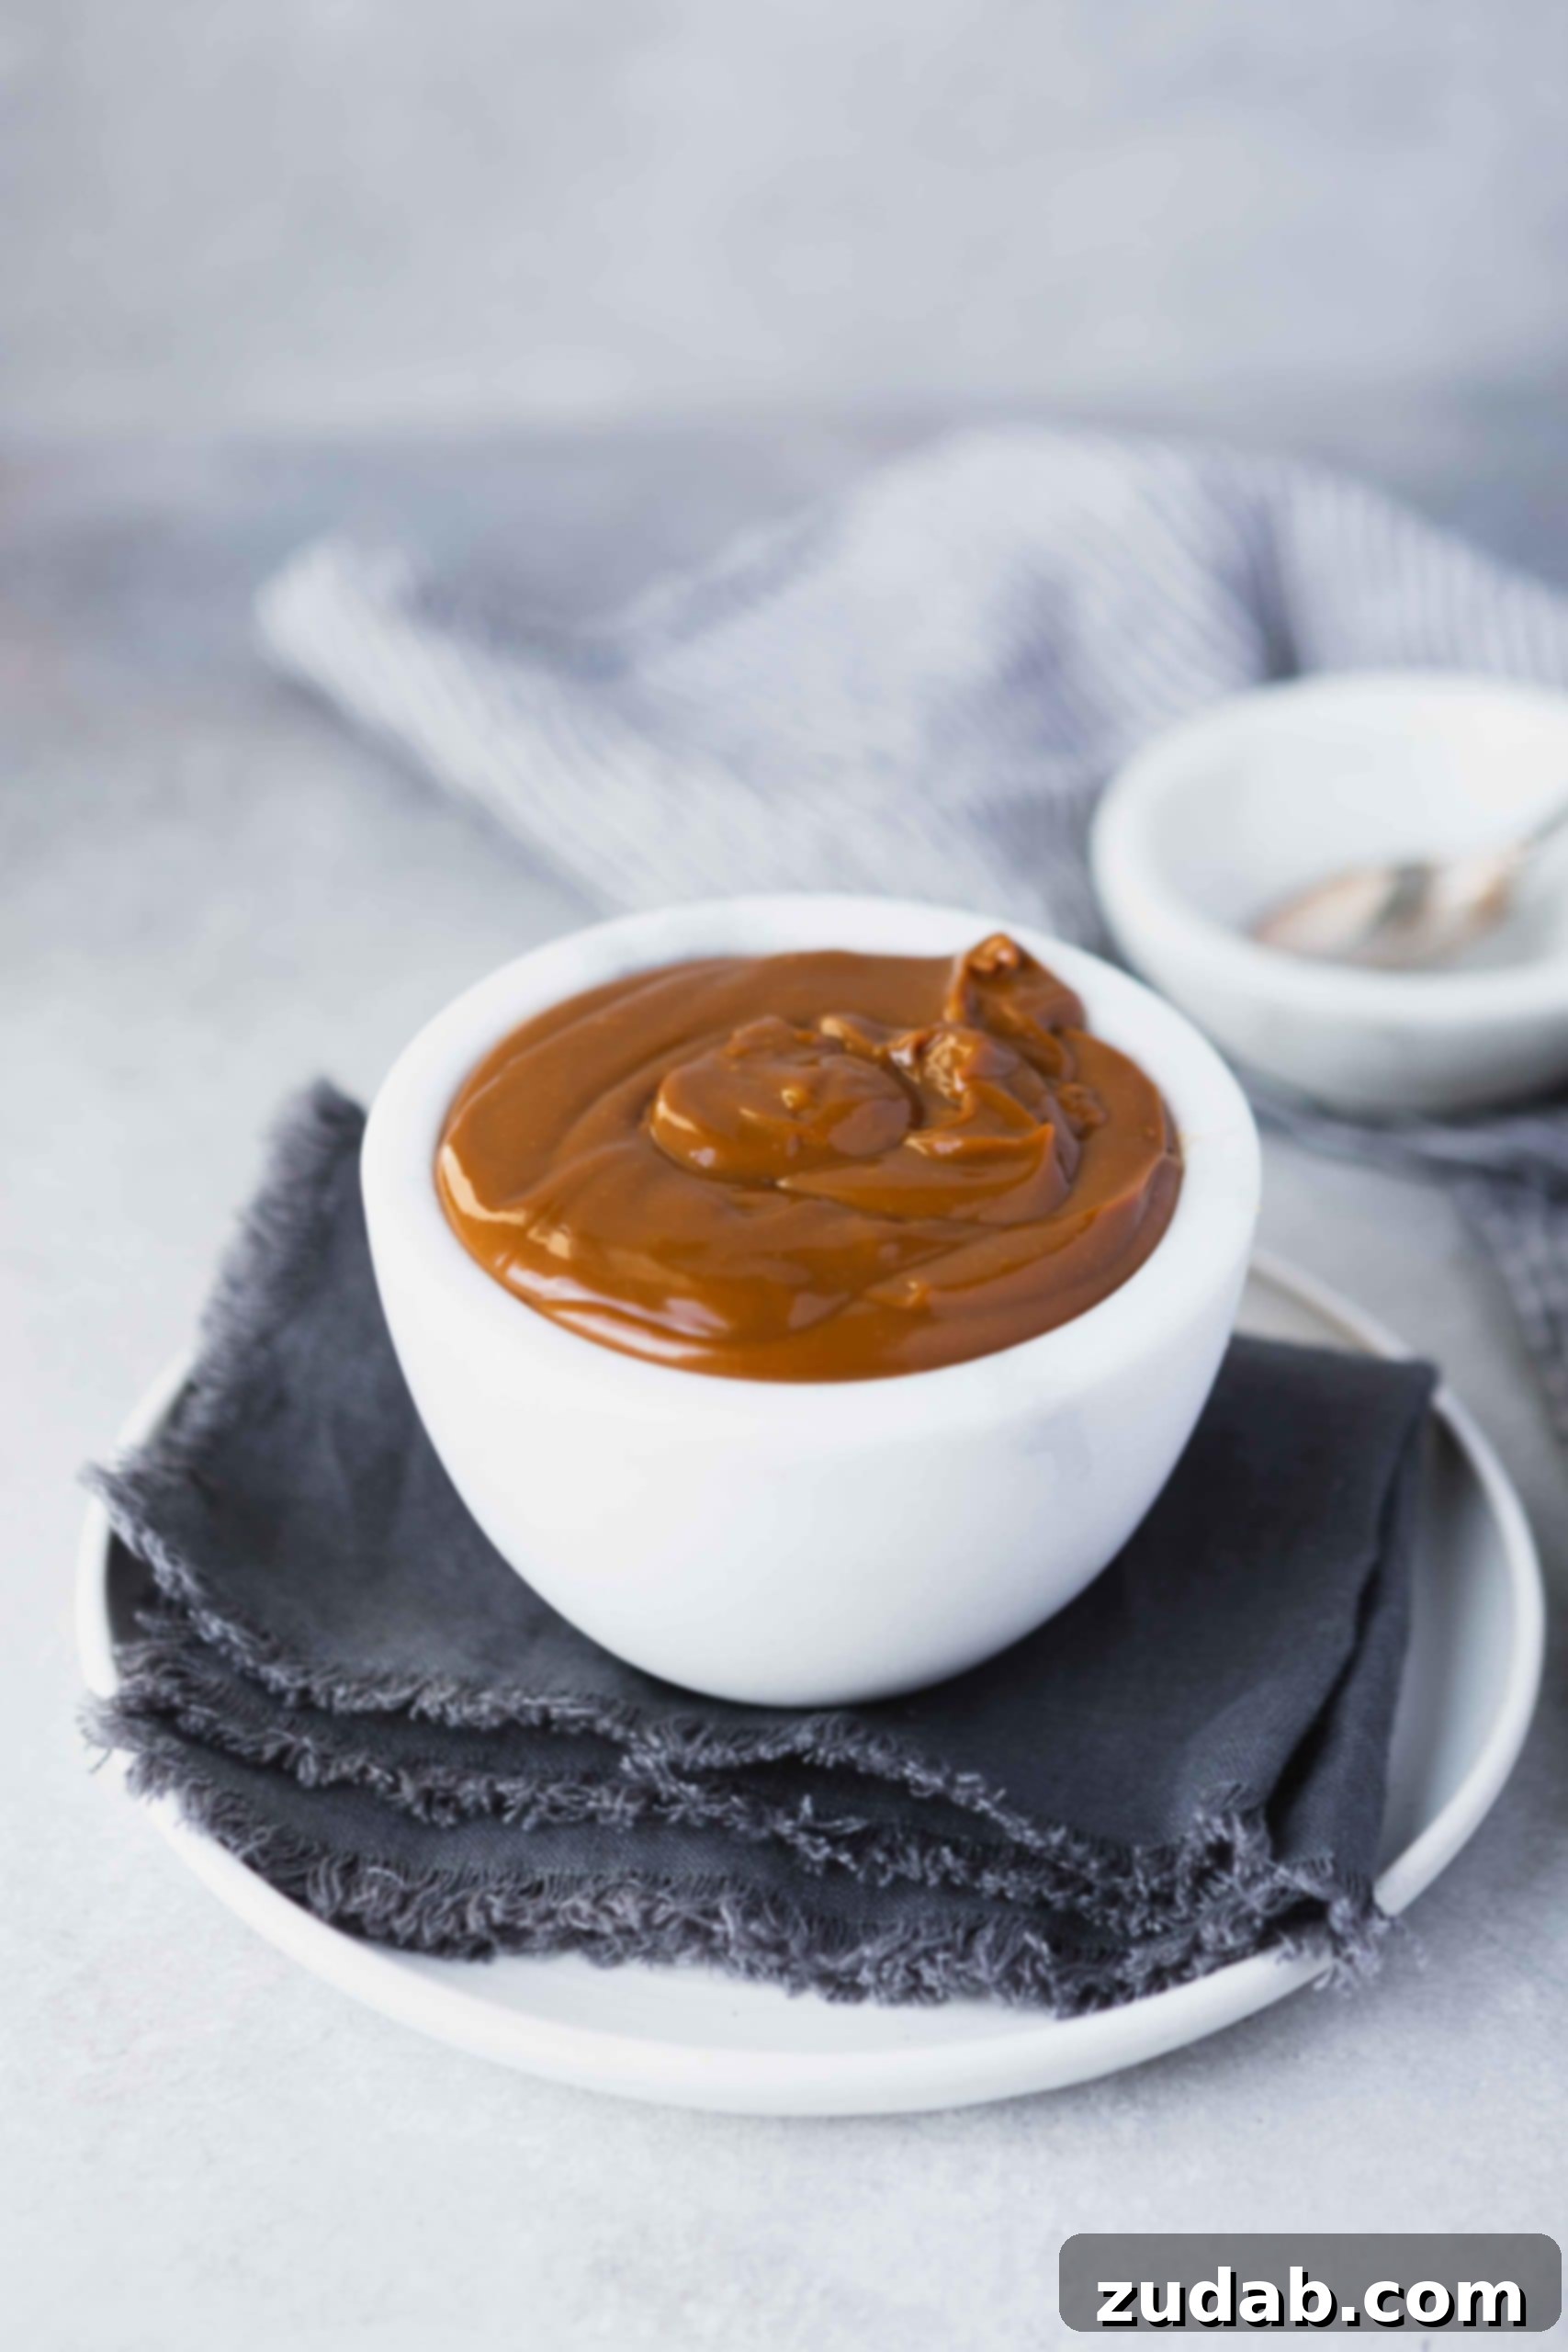
At its heart, dulce de leche, which translates to “candy of milk” or “sweet of milk,” is a traditional Latin American confection. While often compared to caramel, it boasts a distinct flavor and preparation method. True caramel is typically made by heating sugar until it liquefies and turns amber. Dulce de leche, on the other hand, is born from the slow cooking of milk and sugar, or more commonly, sweetened condensed milk. This gentle, prolonged heating causes the milk sugars to caramelize and undergo the Maillard reaction, resulting in its characteristic deep brown color and rich, complex flavor.
Flavor Profile: What Does Dulce de Leche Taste Like?
Imagine the comforting sweetness of caramel, but with an added depth and creaminess, a hint of toasted milk notes that elevate it beyond a simple sugar syrup. Dulce de leche is exceptionally smooth, buttery, and boasts a profound caramelized flavor that’s both sweet and subtly nutty. It’s less sharp than traditional caramel and has a softer, more spreadable consistency, making it incredibly versatile.
Minimalist Ingredients for Maximum Flavor
Are you ready for the shortest ingredient list you might ever encounter for a dessert this divine? Because when it comes to homemade dulce de leche, simplicity reigns supreme!
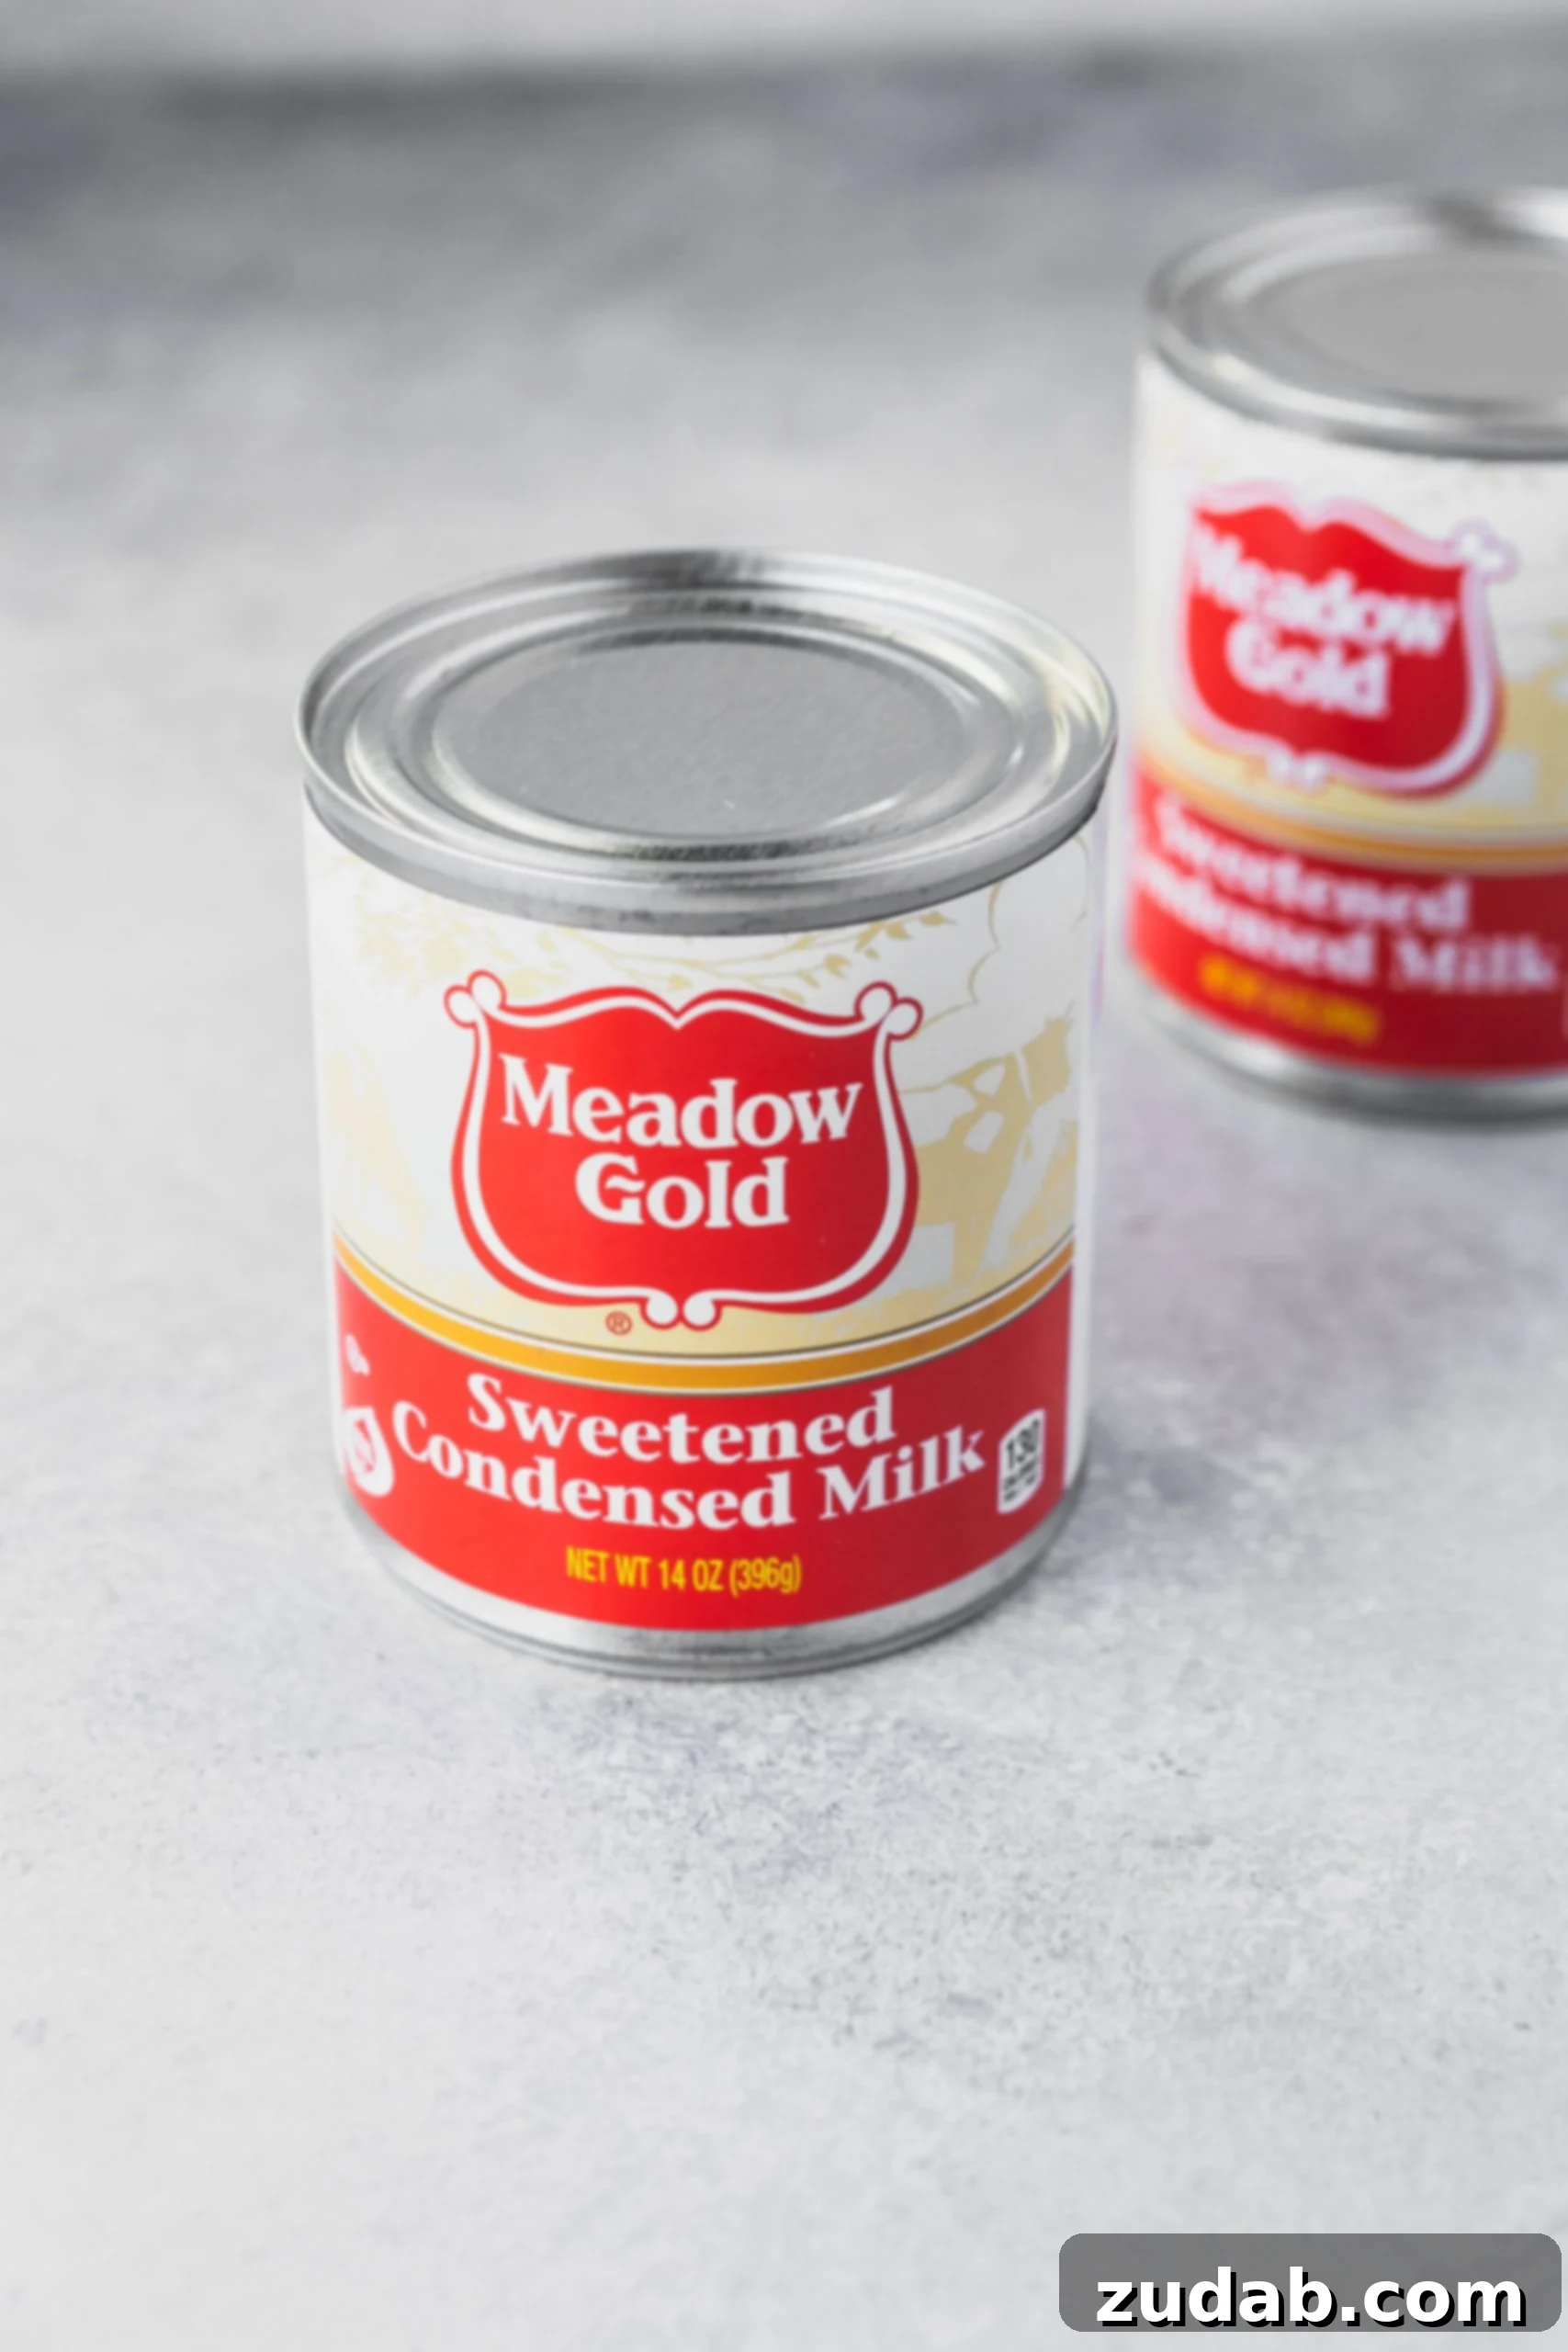
- Sweetened Condensed Milk: This is your hero ingredient. It’s essentially cow’s milk from which water has been removed, and a significant amount of sugar has been added. The pre-sweetened nature makes it the perfect base for our caramelization process.
- Water: While not a direct ingredient that becomes part of the final product, water is crucial for both cooking methods we’ll explore.
That’s it! Just one main ingredient and some water, and you’re well on your way to creating a culinary masterpiece. The magic truly lies in the transformation of this humble milk product into something extraordinary.
How to Make Dulce de Leche at Home: Two Foolproof Methods
There are a couple of popular and effective ways to transform sweetened condensed milk into beautiful dulce de leche. Both methods require patience, but the hands-on time is minimal, allowing the magic to happen almost by itself. Choose the method that best fits your kitchen setup and daily schedule.
Method 1: The Classic Stovetop Boil (Can Method)
This is arguably the most traditional and straightforward approach. By simmering an unopened can of sweetened condensed milk in water, you allow the gentle heat to slowly caramelize the contents. This method is wonderfully hands-off, but requires careful attention to the water level.
- Prepare the Can: Carefully remove the paper label from the can of sweetened condensed milk. This prevents paper bits from floating in your water and ensures even heat distribution.
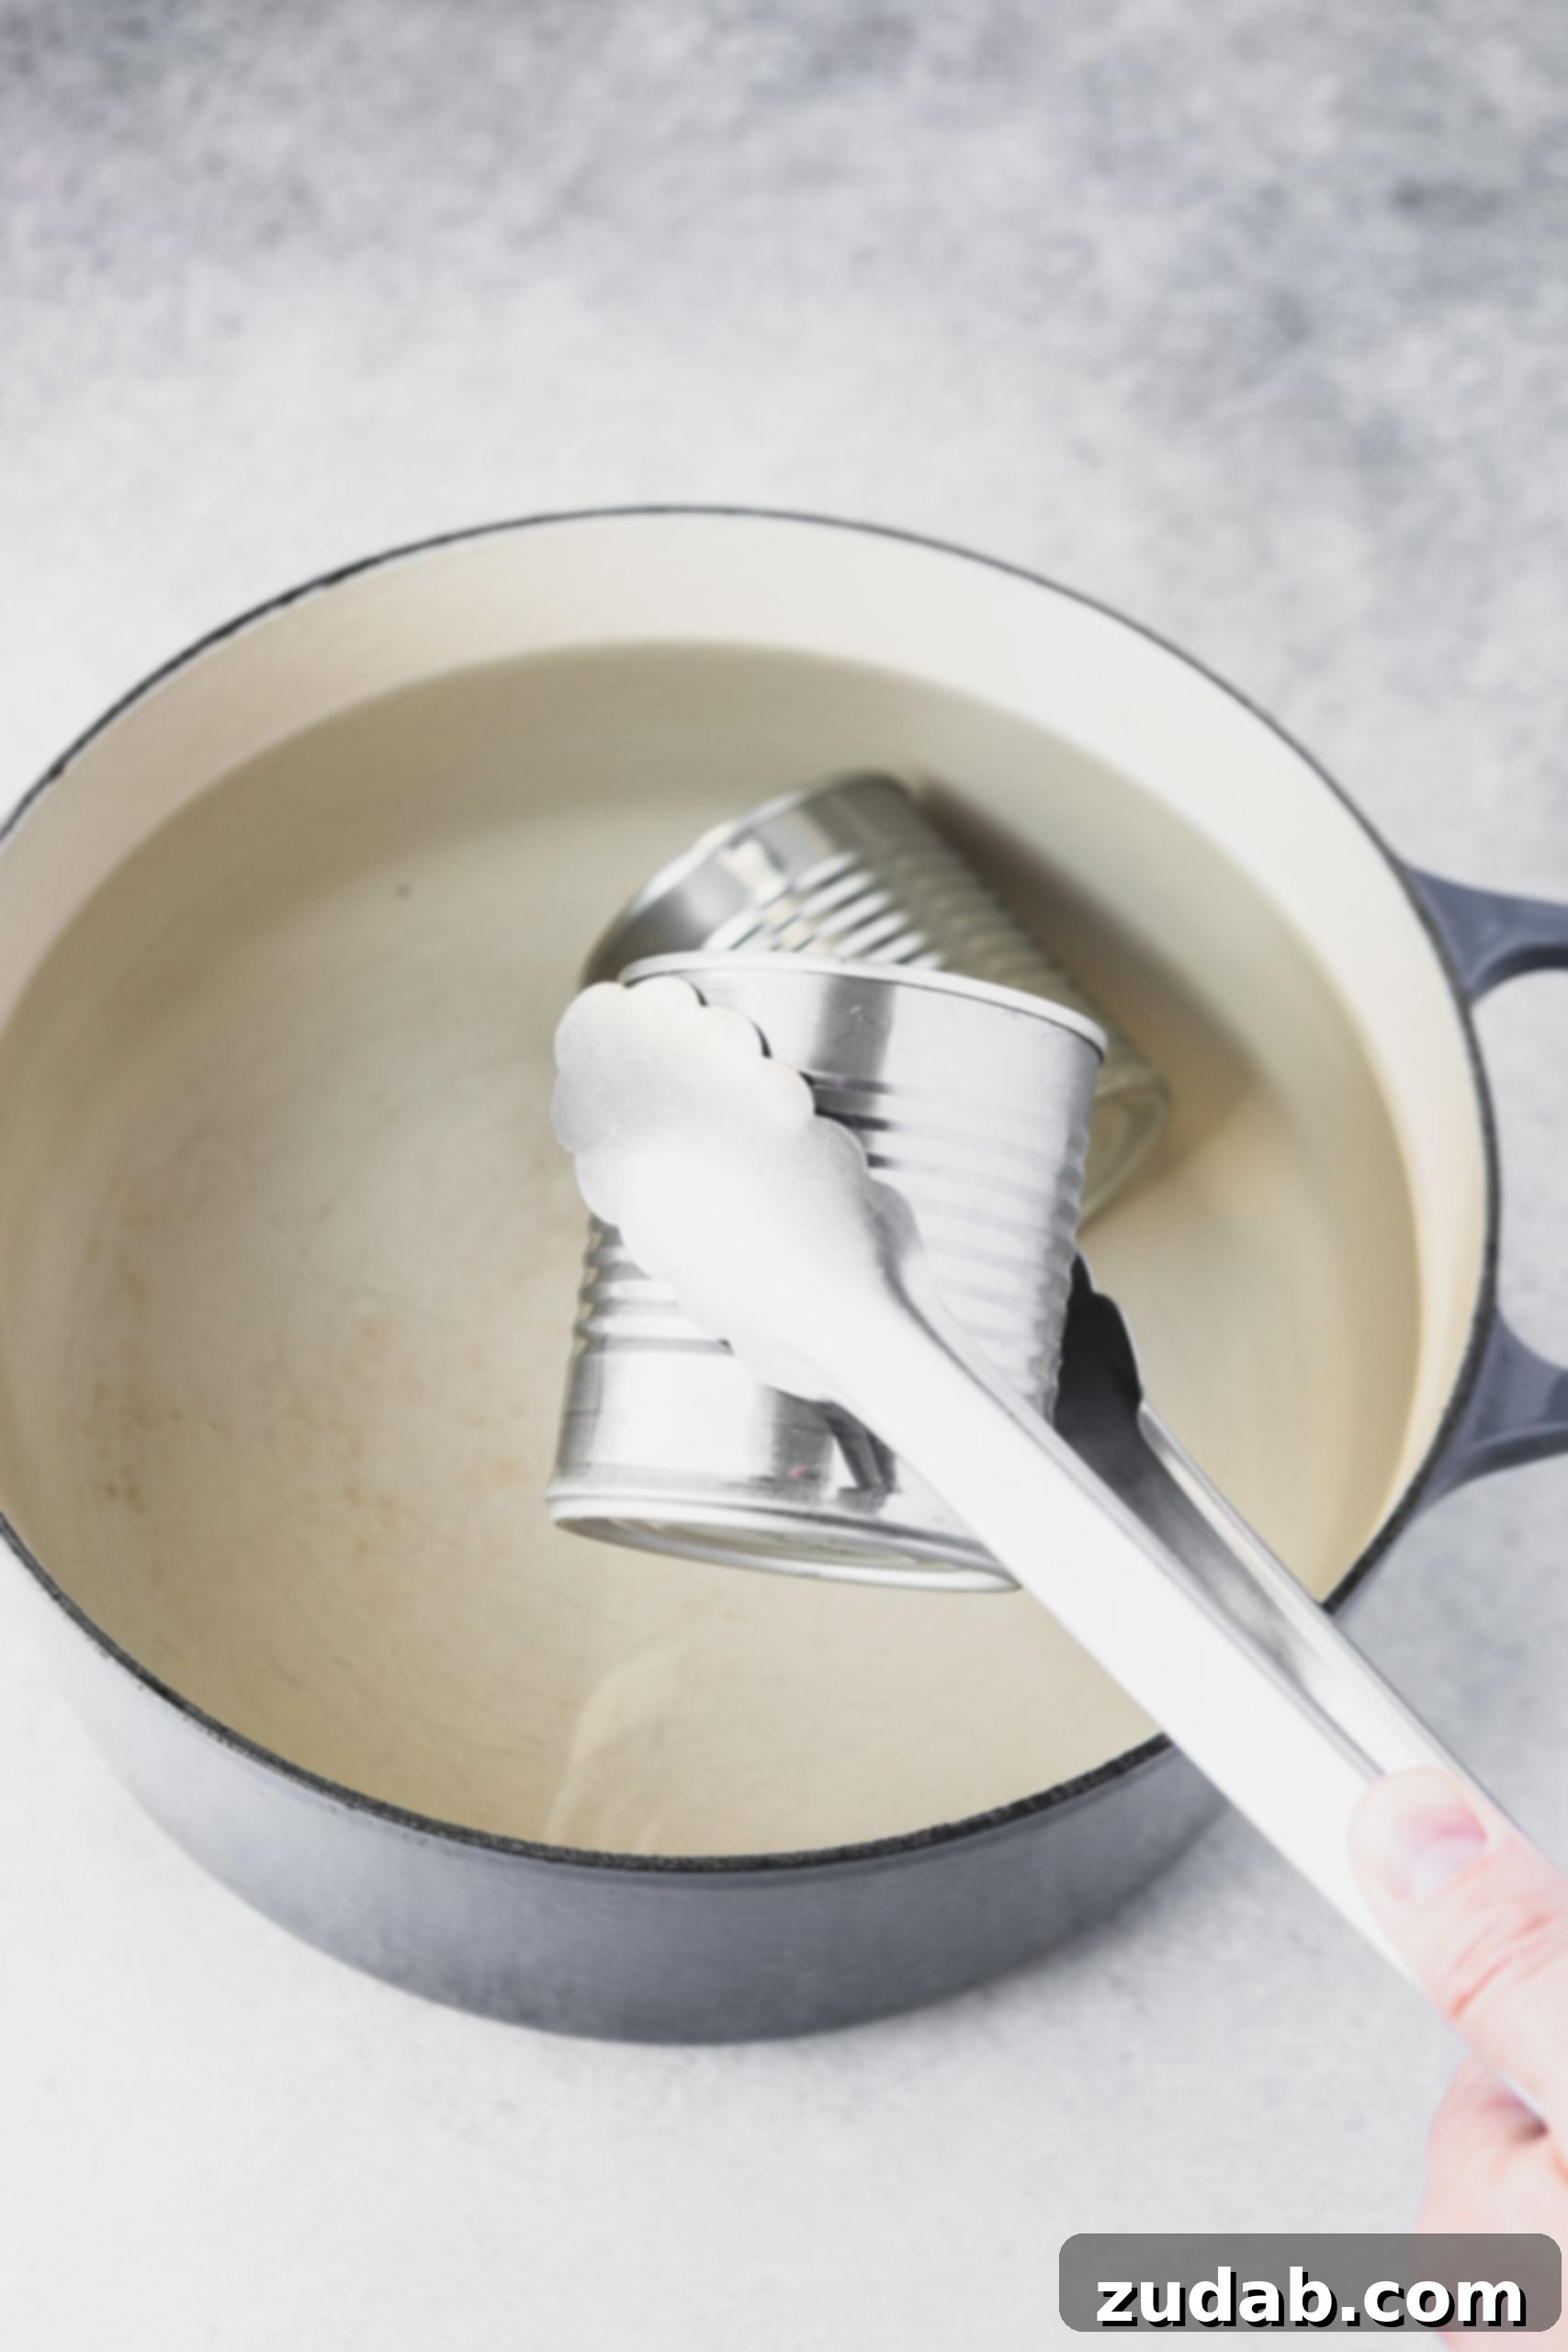
- Submerge in Water: Place the unopened can horizontally in a large saucepan. Fill the saucepan with enough water to completely cover the can by at least 1-2 inches. It’s crucial that the can remains fully submerged throughout the cooking process.
- Bring to a Boil: Place the saucepan over medium-high heat and bring the water to a rolling boil.
- Simmer Slowly: Once boiling, reduce the heat to a gentle simmer. The water should be bubbling lightly, not aggressively boiling. Simmer for 2 to 2.5 hours, depending on your desired color and thickness. For a lighter, more golden dulce de leche, aim for 2 hours. For a deeper, richer, and thicker caramel, extend to 2.5 hours, or even up to 3 hours for an extra dark, intense flavor.
- PRO TIP: Maintain Water Level! This is the most critical step for safety and success. As the water simmers, it will evaporate. Regularly check the water level and add more hot water as needed to ensure the can remains fully submerged. Allowing the can to dry out can cause it to overheat and potentially explode, which is a rare but serious safety concern.
- Cool and Serve: Once the simmering time is complete, carefully remove the can from the hot water using tongs. Allow the can to cool completely on a wire rack before opening. Never open a hot can of dulce de leche, as the pressurized contents can spray out and cause severe burns. Once cooled, open the can and scoop out your homemade dulce de leche. Give it a good stir, and it’s ready to enjoy!
Method 2: The Oven Bake (Bain-Marie Method)
For those who prefer not to boil an unopened can or desire a slightly less hands-on approach after initial setup, the oven method is an excellent alternative. This technique uses a bain-marie (water bath) to gently and evenly cook the milk, preventing scorching and ensuring a smooth finish.
- Preheat Oven: Preheat your oven to 425°F (220°C).
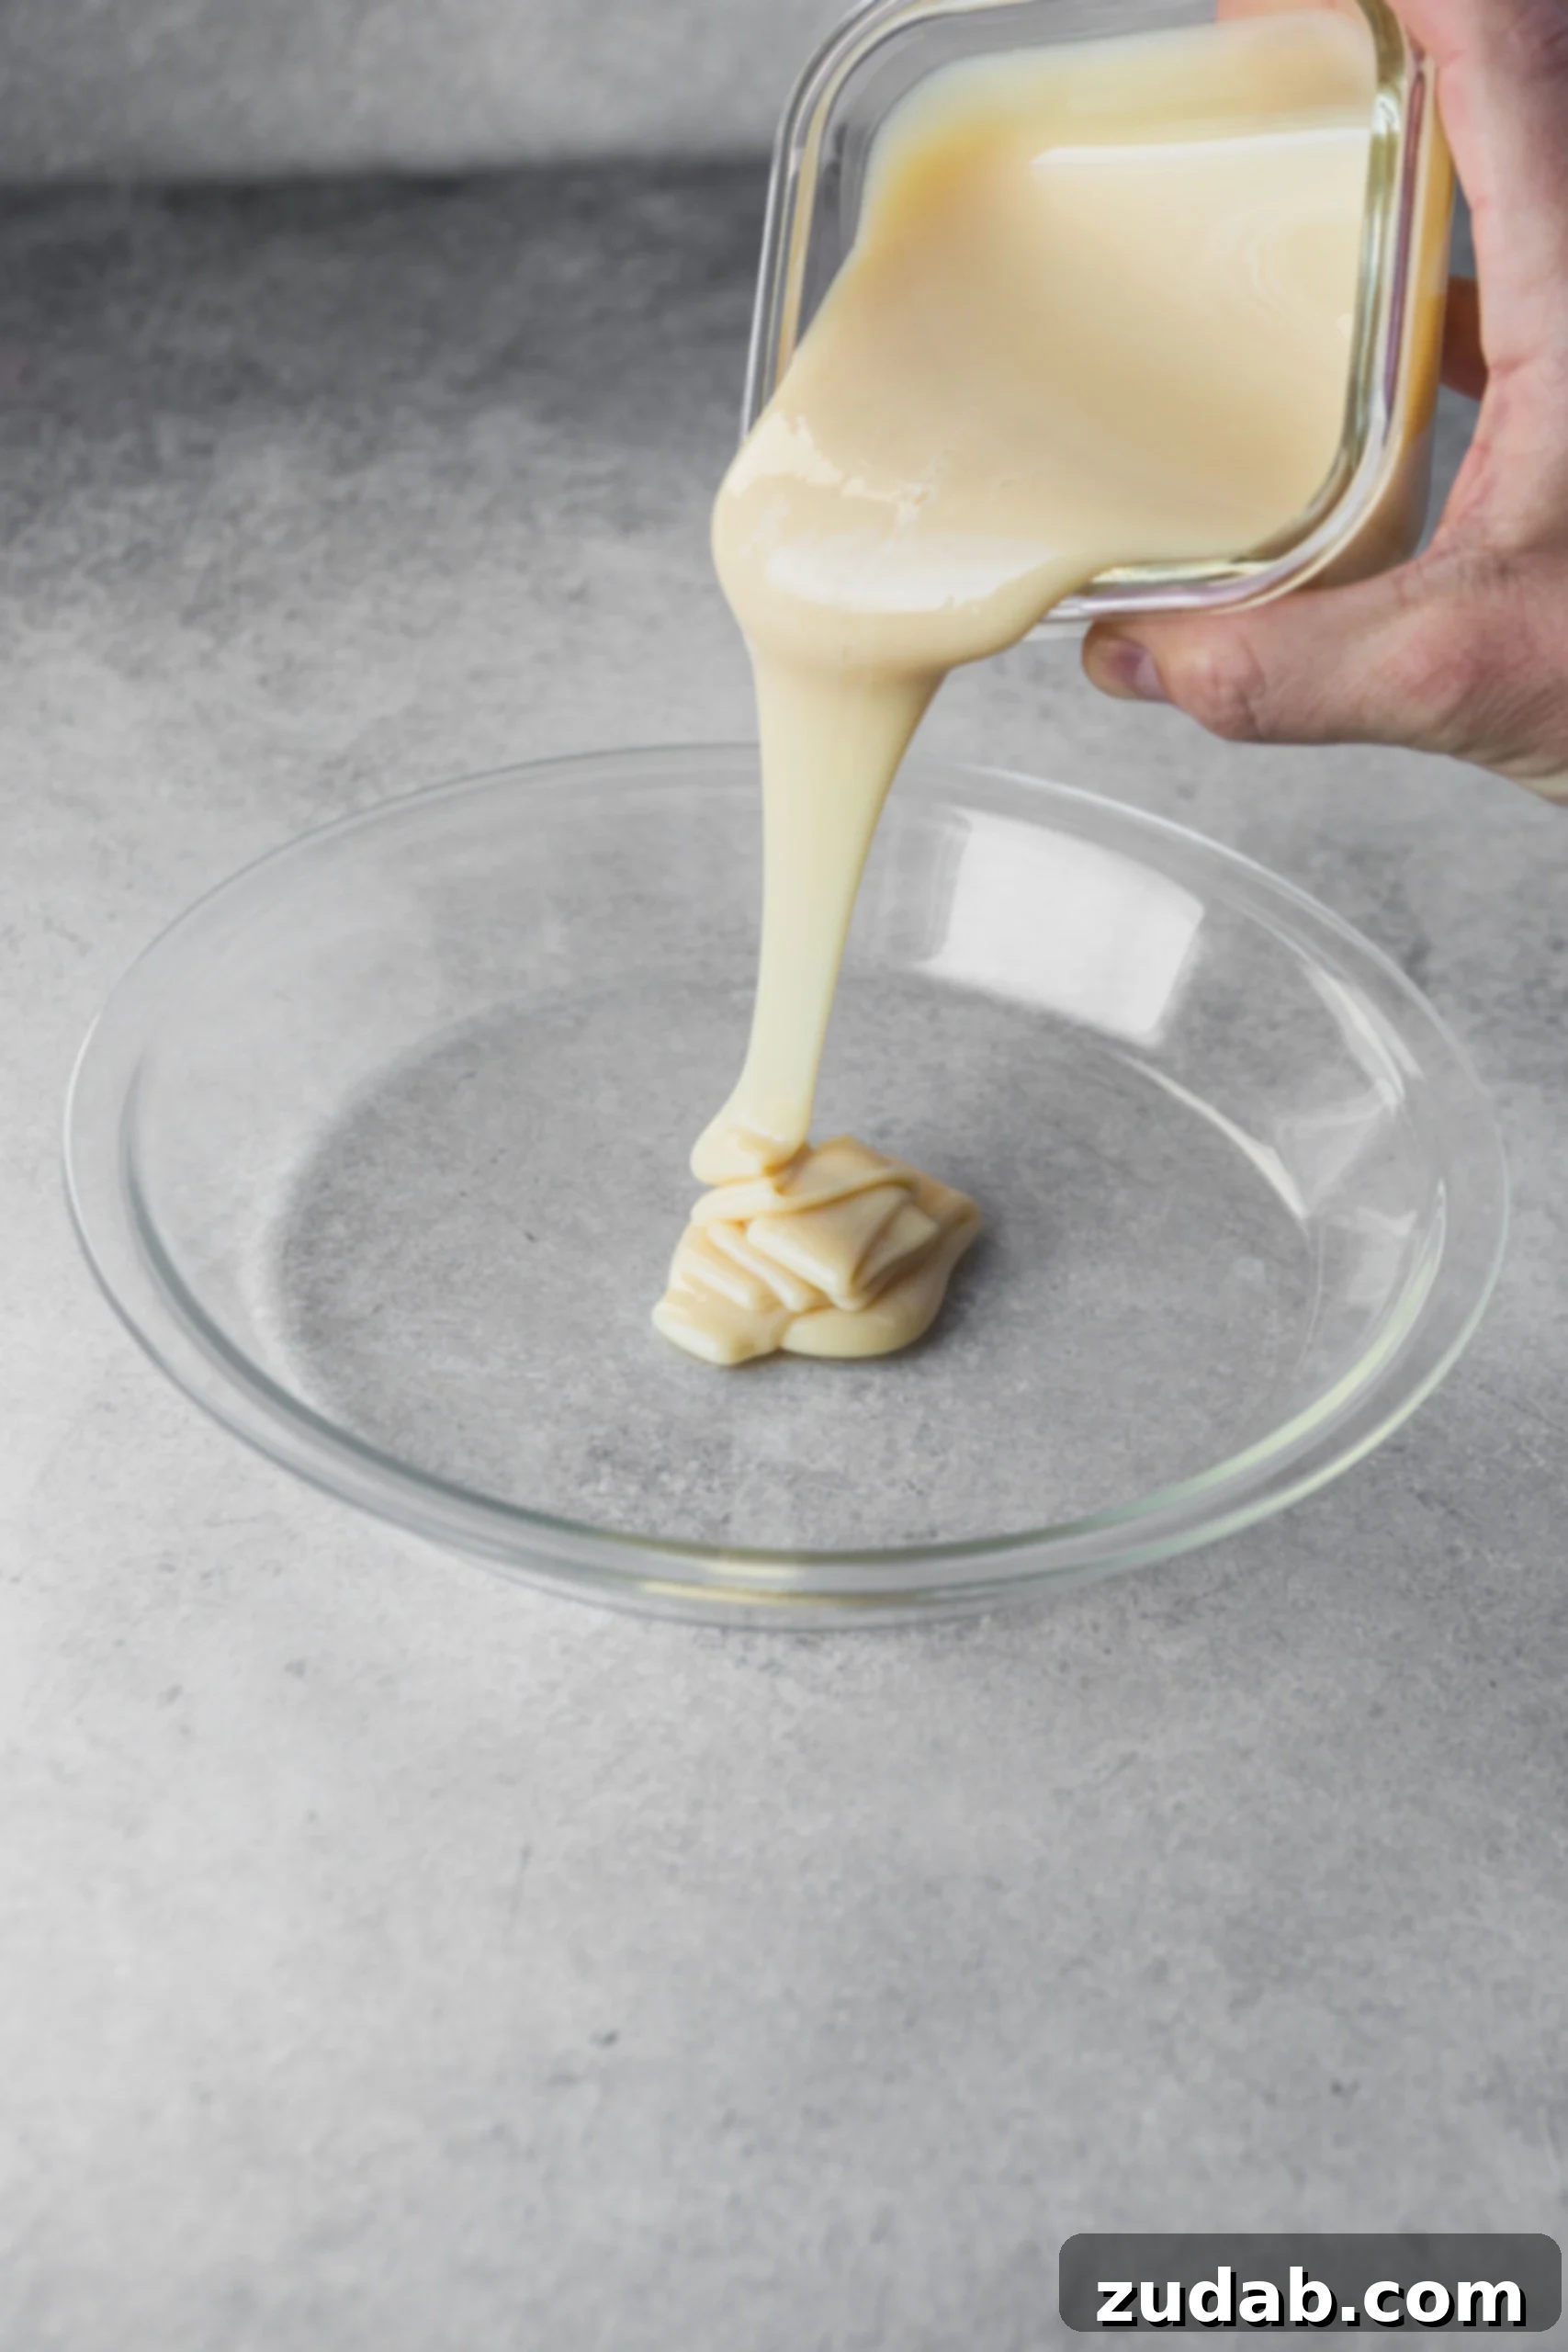
- Prepare the Milk: Open the can of sweetened condensed milk and pour its contents into an oven-safe pie dish, a shallow casserole dish, or even a glass baking pan.
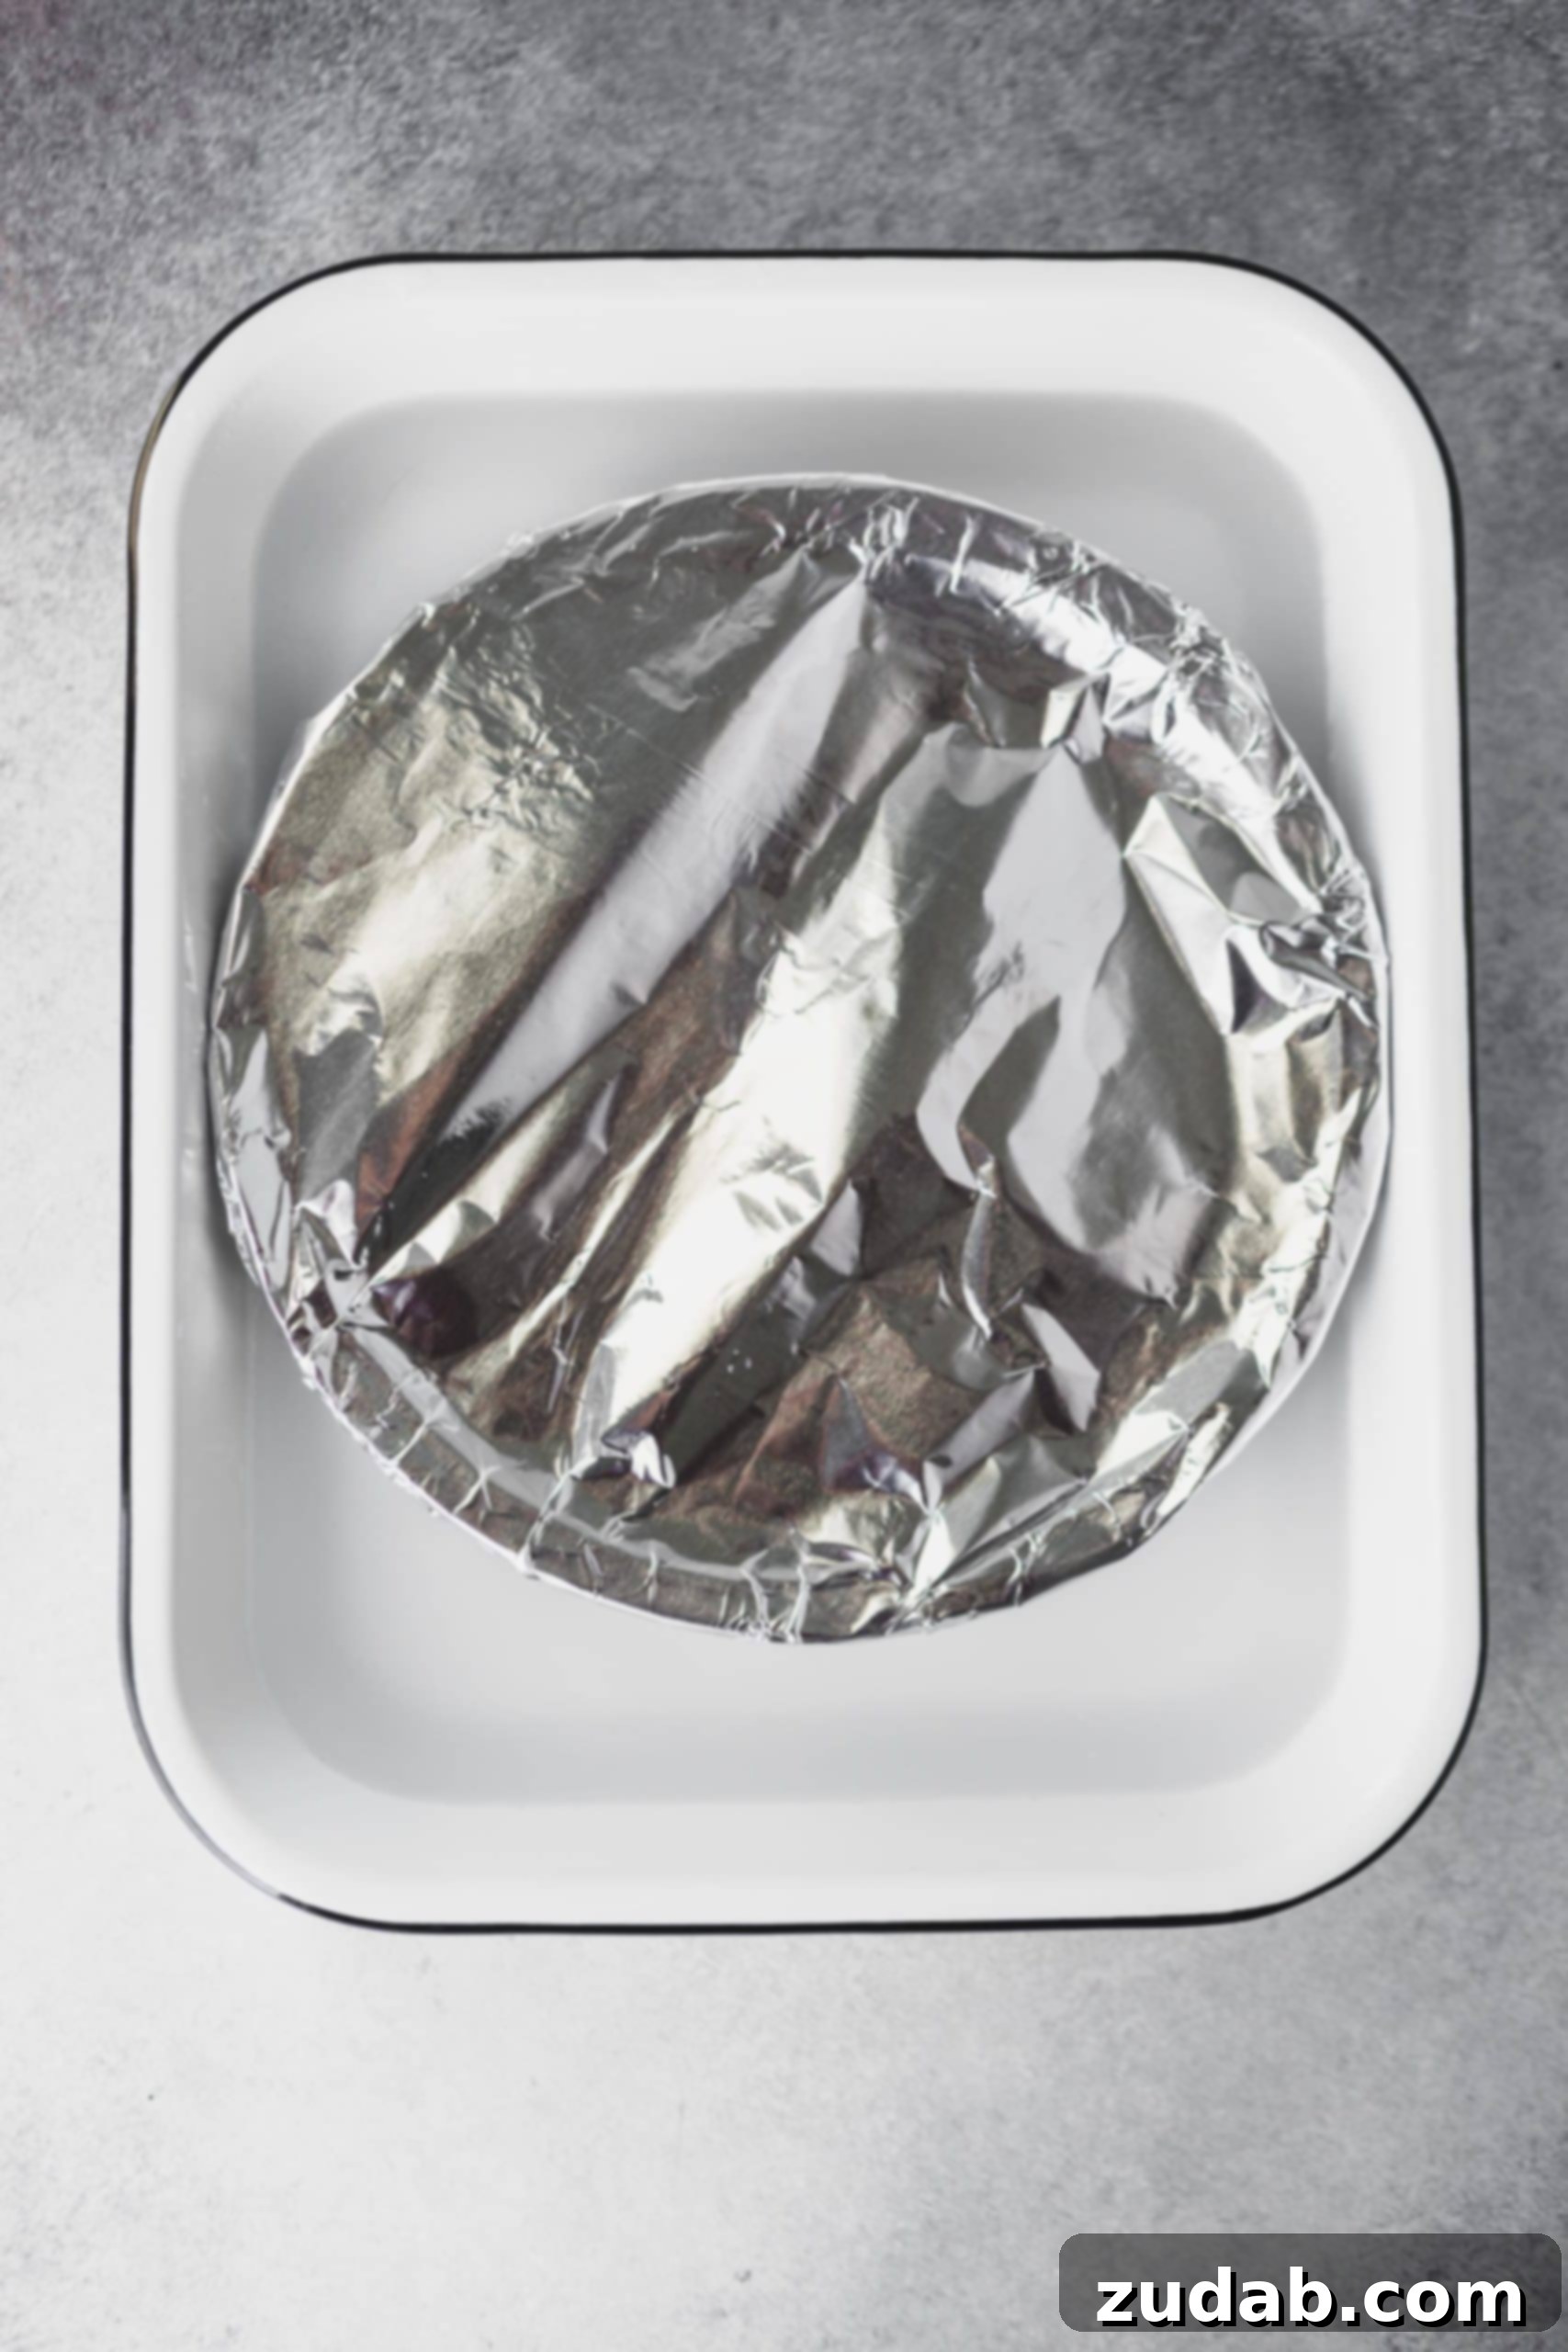
- Cover Tightly: Cover the dish very tightly with aluminum foil. Pinch the edges securely to create a tight seal. This is crucial to prevent the dulce de leche from drying out and to ensure the steam stays trapped, aiding in even cooking.
- Create a Water Bath: Place the foil-covered pie dish into a larger baking dish or roasting pan. Carefully pour hot water into the larger dish, creating a water bath around the smaller dish. The water should come up about 1 inch high around the sides of the pie dish.
- Bake and Cool: Carefully transfer the entire water bath setup to the preheated oven. Bake for approximately 2 hours. The duration may vary slightly depending on your oven and desired caramel depth. After baking, carefully remove the dishes from the oven. Let the dulce de leche cool completely in the water bath before removing the foil.
- Whisk for Smoothness: Once fully cooled, uncover the dulce de leche. It might appear slightly firm or have a few lumps. Use a whisk to vigorously stir and smooth out any lumps until it reaches a creamy, uniform consistency. If it’s too thick, you can whisk in a tiny amount of hot water or milk, a teaspoon at a time, until it reaches your desired texture.
Which Dulce de Leche Method is Right for You?
Both the stovetop and oven methods yield incredibly delicious homemade dulce de leche. The choice often comes down to personal preference and convenience:
- Stovetop Method (Can Method): This is ideal if you prefer truly minimal hands-on time once it’s simmering. The main requirement is to keep an eye on the water level. It’s a great option for those with limited oven space or who are already cooking other dishes in the oven.
- Oven Method (Bain-Marie): This method provides consistent, gentle heat, reducing the risk of scorching. It’s slightly more involved in the setup (transferring milk to a dish, covering), but requires less monitoring of water levels during the bake itself. It also yields a smoother consistency from the start, though a quick whisk is usually beneficial.
No matter which method you choose, the result is a gloriously rich, creamy, and deeply caramelized dulce de leche that far surpasses anything store-bought!
Storing Your Homemade Dulce de Leche
Once your dulce de leche has cooled completely, transfer it to an airtight container or a clean glass jar with a lid. It will keep beautifully in the refrigerator for up to 2-3 weeks. For longer storage, you can even freeze it for several months. Just thaw it in the refrigerator overnight and give it a good stir before using.
Endless Culinary Possibilities: What is Dulce de Leche Used For?
The beauty of homemade dulce de leche lies not only in its irresistible flavor but also in its incredible versatility. This velvety sweet treat can elevate a simple snack or transform an elaborate dessert. Here are just a few ways to indulge:
- Decadent Topping: Drizzle it generously over ice cream, pancakes, waffles, crepes, or French toast for a luxurious breakfast or dessert. It’s also fantastic on fresh fruit like bananas or apples.
- Rich Filling: Use it as a luscious filling for cakes, cupcakes, tarts, or pastries. It’s the star of classic Argentinean alfajores (sandwich cookies).
- Baking Ingredient: Incorporate it directly into your baking recipes. Swirl it into brownie batter, mix it into cookie dough, or use it to make a unique and flavorful cheesecake.
- Beverage Enhancer: Stir a spoonful into your coffee, hot chocolate, or milkshakes for an extra layer of creamy sweetness.
- Straight from the Spoon: Let’s be honest, sometimes the simplest way to enjoy dulce de leche is straight from the jar with a spoon. No judgment here!
Your Favorite Recipes, Reimagined with Homemade Dulce de Leche
The disappearance of store-bought dulce de leche might have put a damper on our baking plans, but with this easy homemade recipe, the possibilities are once again limitless! We were delighted to confirm that sweetened condensed milk is still readily available, meaning our dessert dreams are back on track. Crisis averted!
Here are some of our absolute favorite recipes that truly shine with the addition of rich, creamy homemade dulce de leche:
- Dulce de Leche Chocolate Cheesecake Bars: Layers of chocolatey goodness and smooth dulce de leche combine for an unforgettable treat.
- Nutella and Dulce de Leche Stuffed Cookies: Imagine warm, gooey cookies with a surprise center of Nutella and dulce de leche. Pure bliss!
- Dulce de Leche Stuffed Chocolate Mexican Cookies: A delightful twist on a classic, with a sweet dulce de leche filling.
- Chocolate Caramel Molten Lava Cakes: The perfect individual dessert with a molten dulce de leche center that oozes out with every spoonful.
- Dulce de Leche Banana Cream Pie: A tropical-inspired pie featuring fresh bananas and the unmistakable flavor of dulce de leche.
- Nutella Dulce de Leche Chocolate Chip Cookie Pie: A giant, shareable cookie pie loaded with two of the best sweet spreads.
- Millionaire Skookie: A skillet cookie that lives up to its name, featuring layers of shortbread, caramel (dulce de leche), and chocolate.
- Dulce de Leche Churro Donuts: The beloved flavors of churros and dulce de leche come together in a delicious donut form.
Homemade Dulce de Leche
Sweet Basil
2 hours 30 minutes
2 hours 30 minutes
1 can

Ingredients
- 1 Can Sweetened Condensed Milk
- Water (for cooking)
Instructions
Stove Top Method
-
Peel the paper label off the can of sweetened condensed milk. Place the unopened can in a large saucepan and fill with enough water to cover the can by 1-2 inches.1 Can Sweetened Condensed Milk
-
Place over medium-high heat and bring the water to a boil. Once boiling, reduce to a gentle simmer.
-
Simmer for 2 to 2.5 hours for a light to medium caramel color. For a darker, richer dulce de leche, simmer for up to 3 hours. Regularly check the water level and add more hot water as needed to ensure the can remains fully submerged.
-
Carefully remove the can from the water using tongs and let it cool completely on a wire rack before opening. Stir well before serving.
Oven Method
-
Preheat your oven to 425°F (220°C).
-
Pour the sweetened condensed milk into an oven-safe pie dish or shallow baking dish. Cover tightly with aluminum foil, crimping the edges to seal.
-
Place the covered pie dish into a larger baking pan. Fill the larger pan with hot water to about 1 inch depth around the pie dish.
-
Bake for 2 hours. Carefully remove from the oven and let cool completely (still in the water bath) before uncovering. Whisk well to remove any lumps and achieve a smooth, creamy consistency.
Recipe Notes
Nutrition
Calories: 1271kcal,
Carbohydrates: 215g,
Protein: 31g,
Fat: 34g,
Saturated Fat: 22g,
Cholesterol: 135mg,
Sodium: 503mg,
Potassium: 1469mg,