
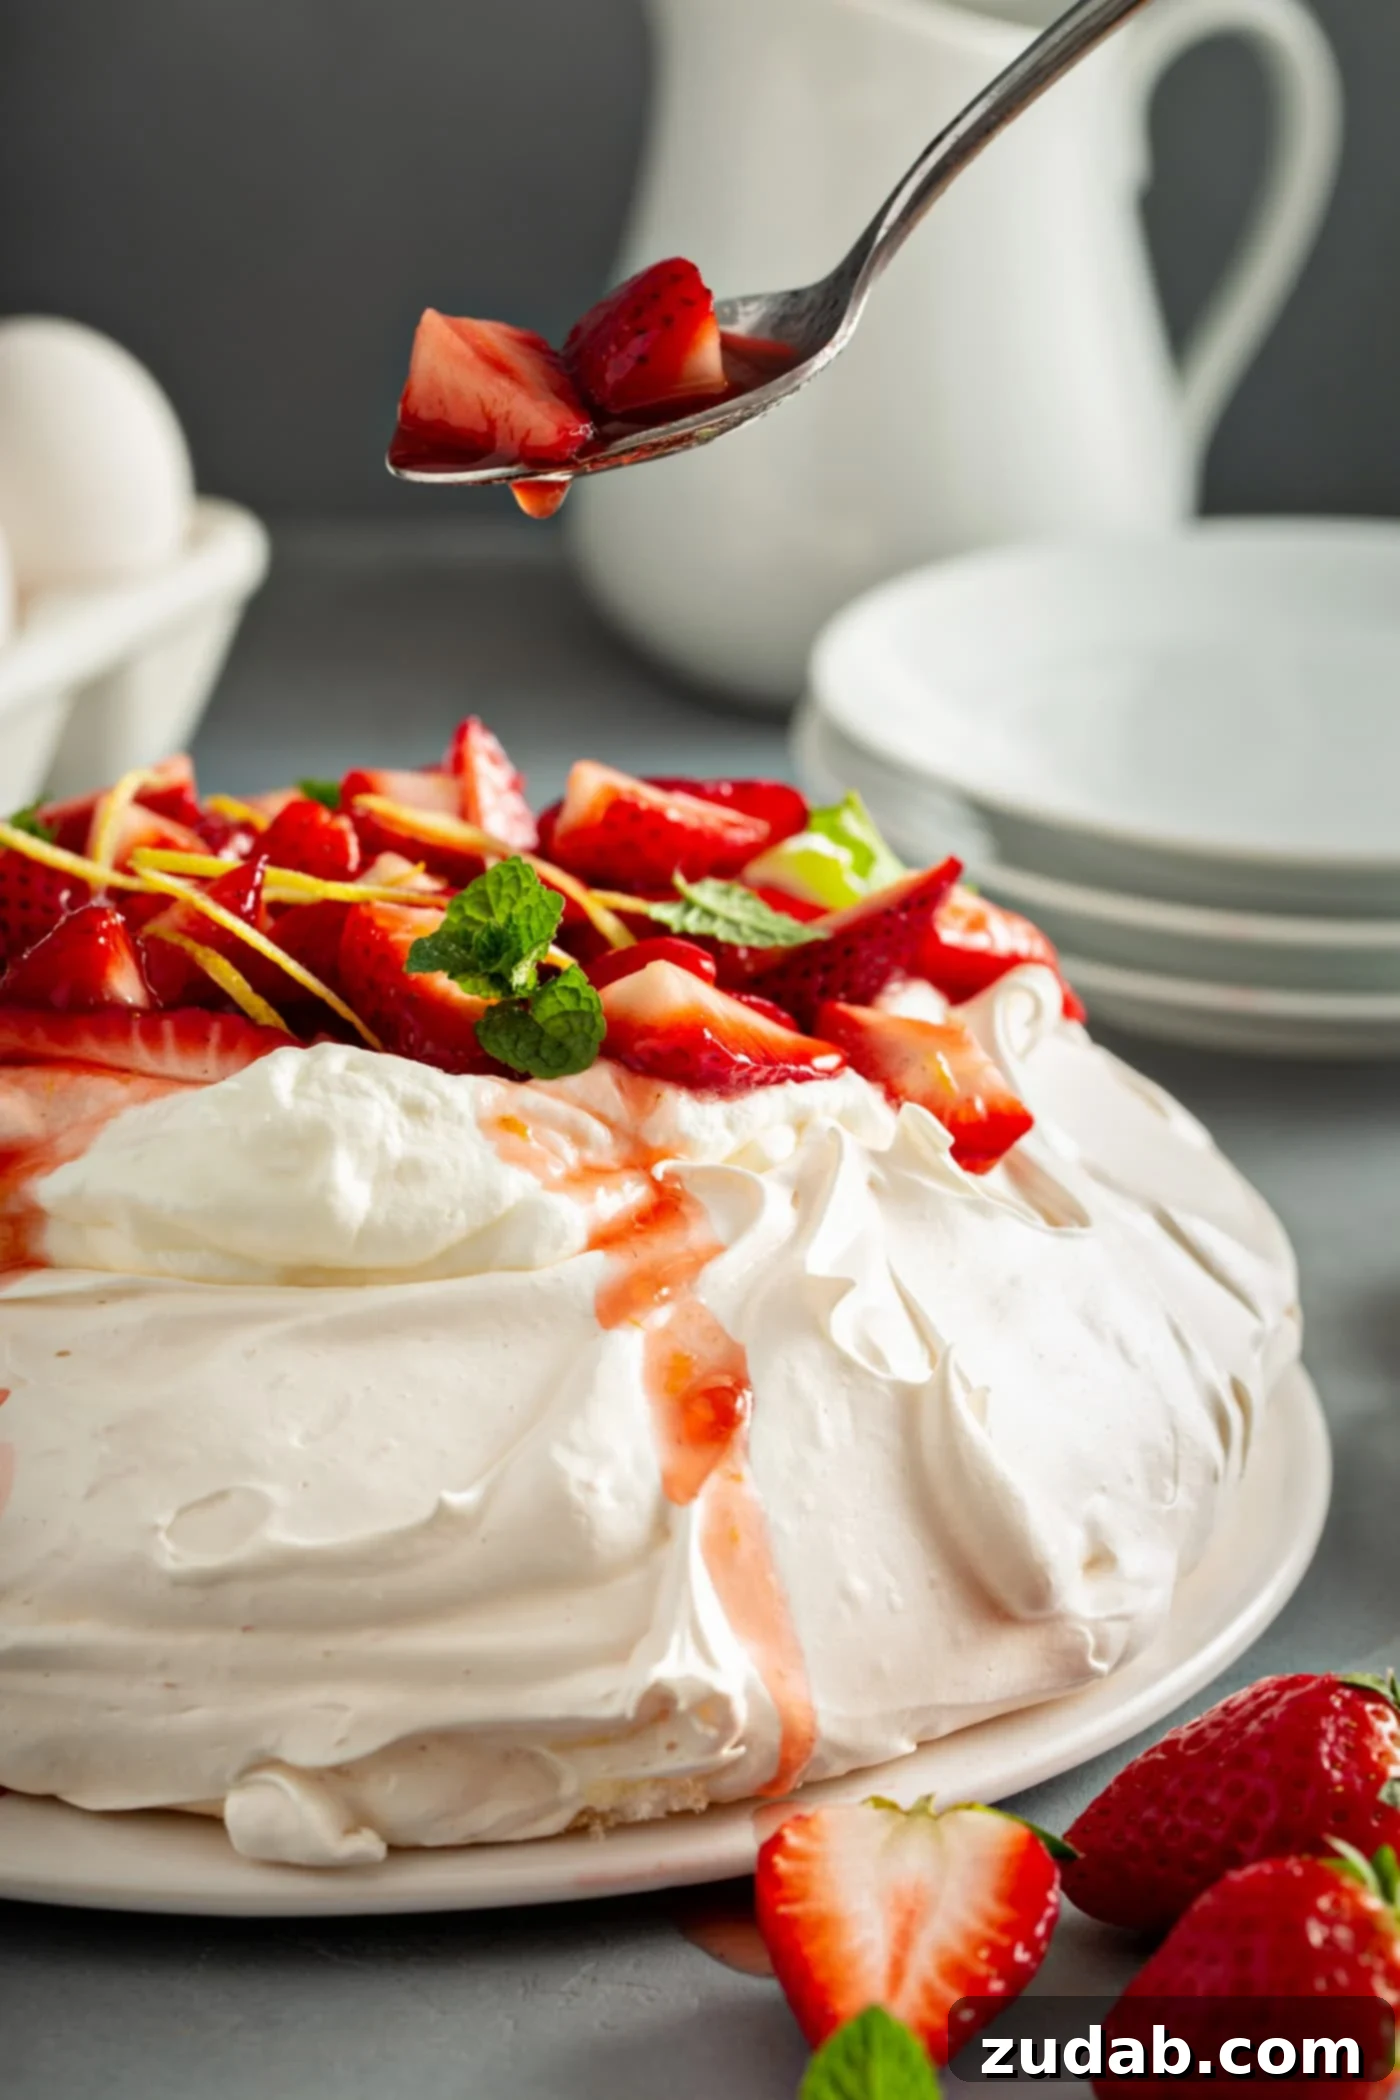
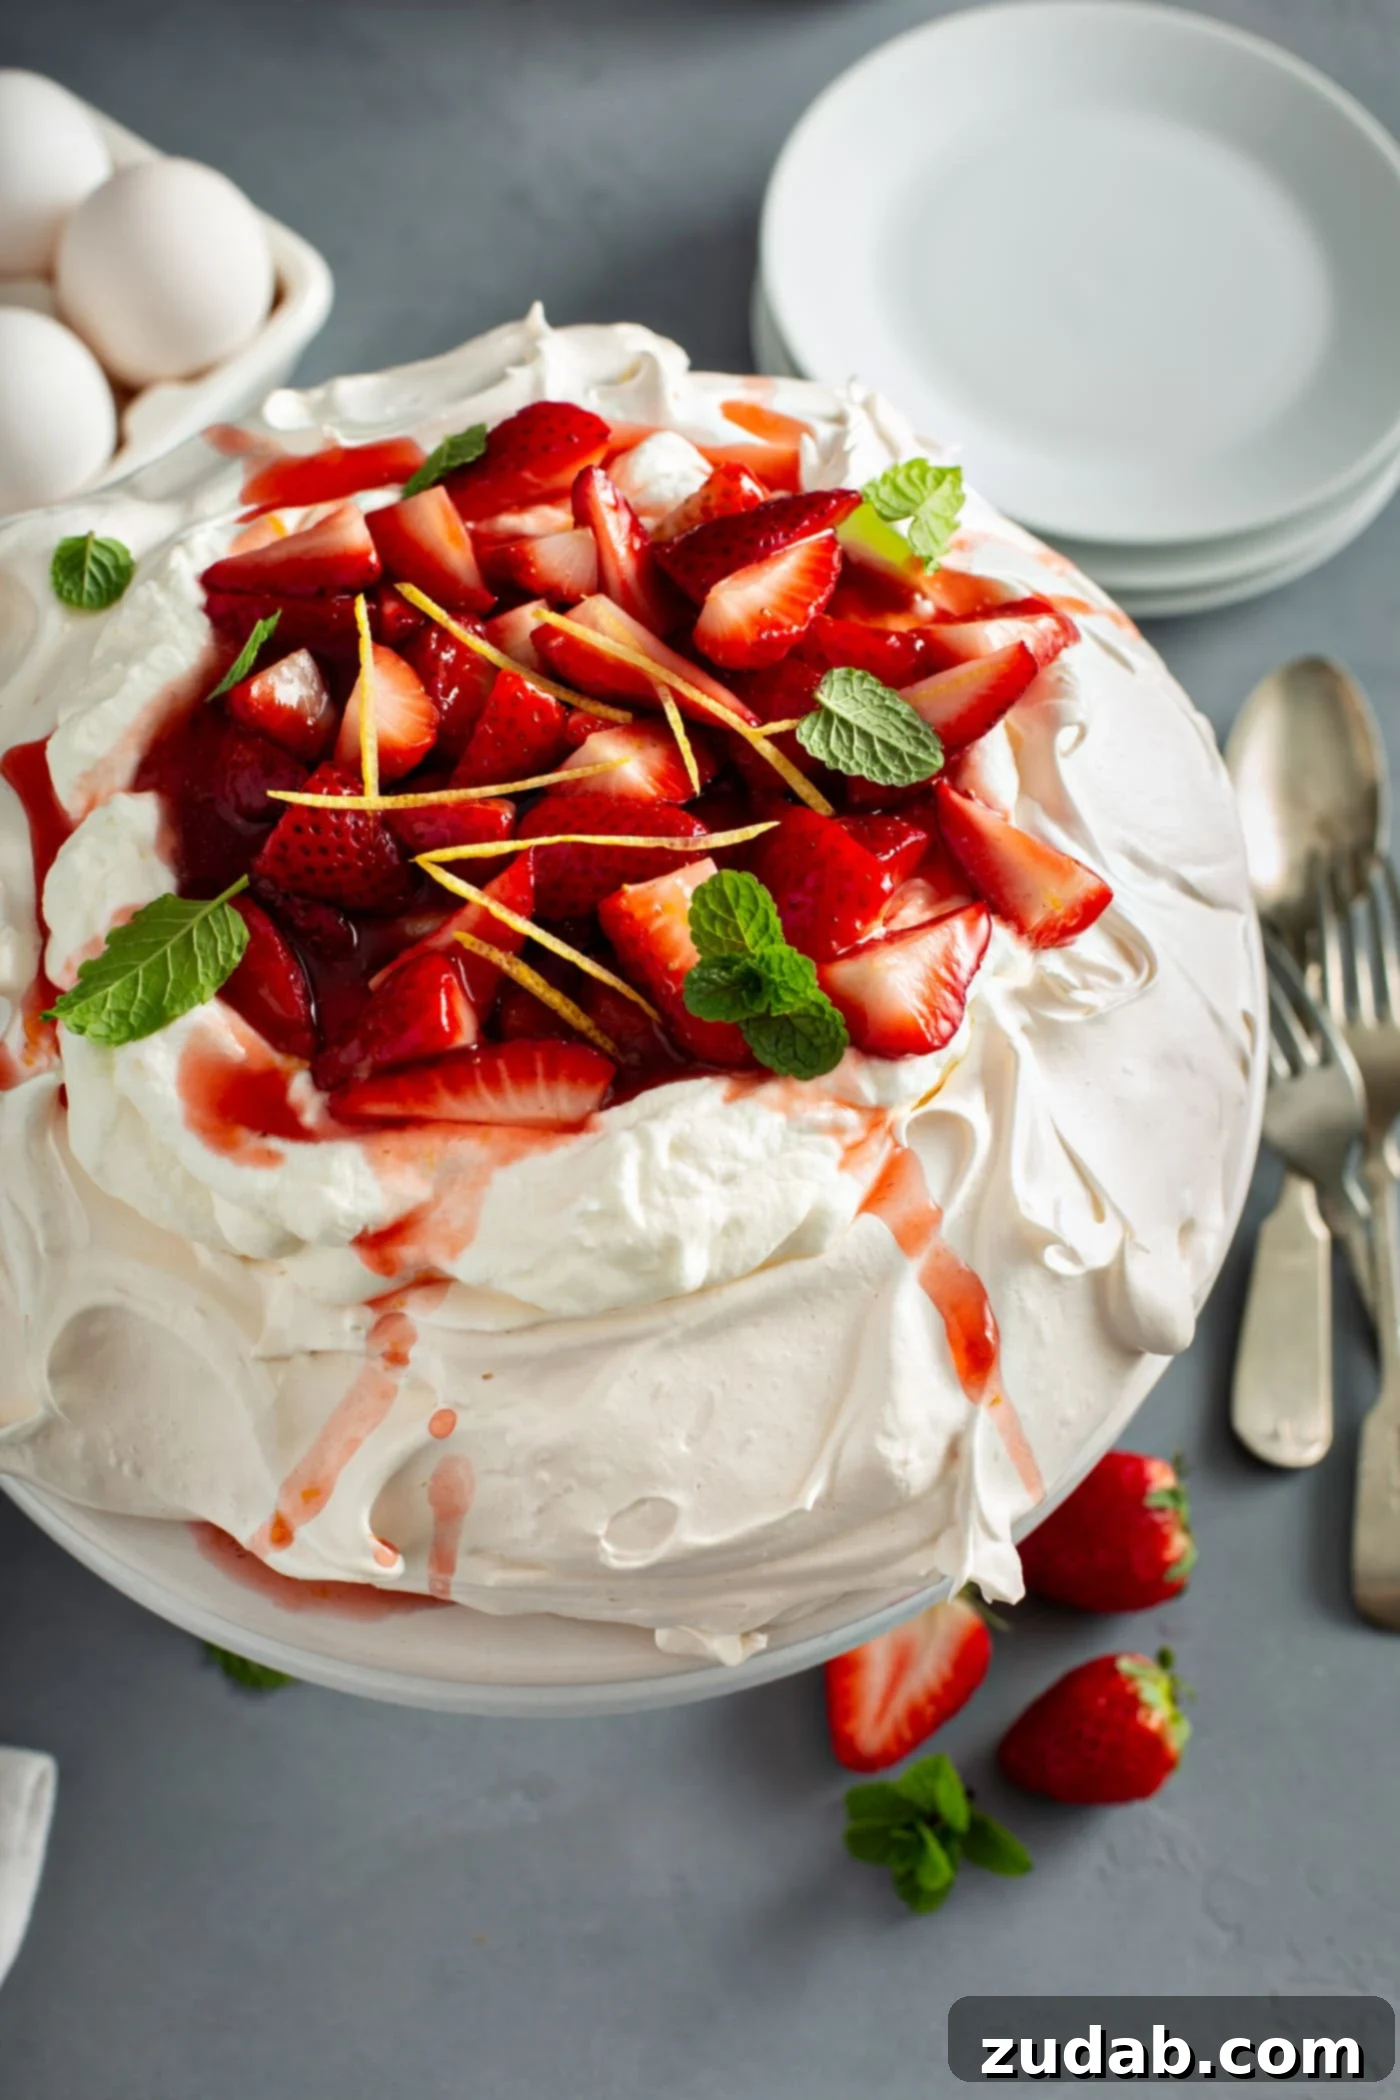
Pavlova: a name that conjures images of delicate elegance and culinary mastery, yet this ethereal dessert is surprisingly simple to create. Imagine a cloud of perfectly whipped egg whites, gently baked to achieve a crisp exterior and a soft, marshmallow-like interior, then generously adorned with luscious whipped cream and a vibrant array of fresh fruit. It’s a truly enchanting dessert that effortlessly elevates any occasion, making it a favorite for both experienced bakers and those new to the kitchen.
Despite its sophisticated appearance, a homemade Pavlova is remarkably straightforward. This meringue-based wonder is ideal for special gatherings like Mother’s Day or as a refreshing summer dessert. With just a few basic steps and a relaxed, hands-off baking process, you can achieve perfection while you kick back and let your oven do the work. The beauty of Pavlova lies in its delightful contrasts – a delicate crunch giving way to a dreamy, yielding center, all brought together with subtly sweet flavors.
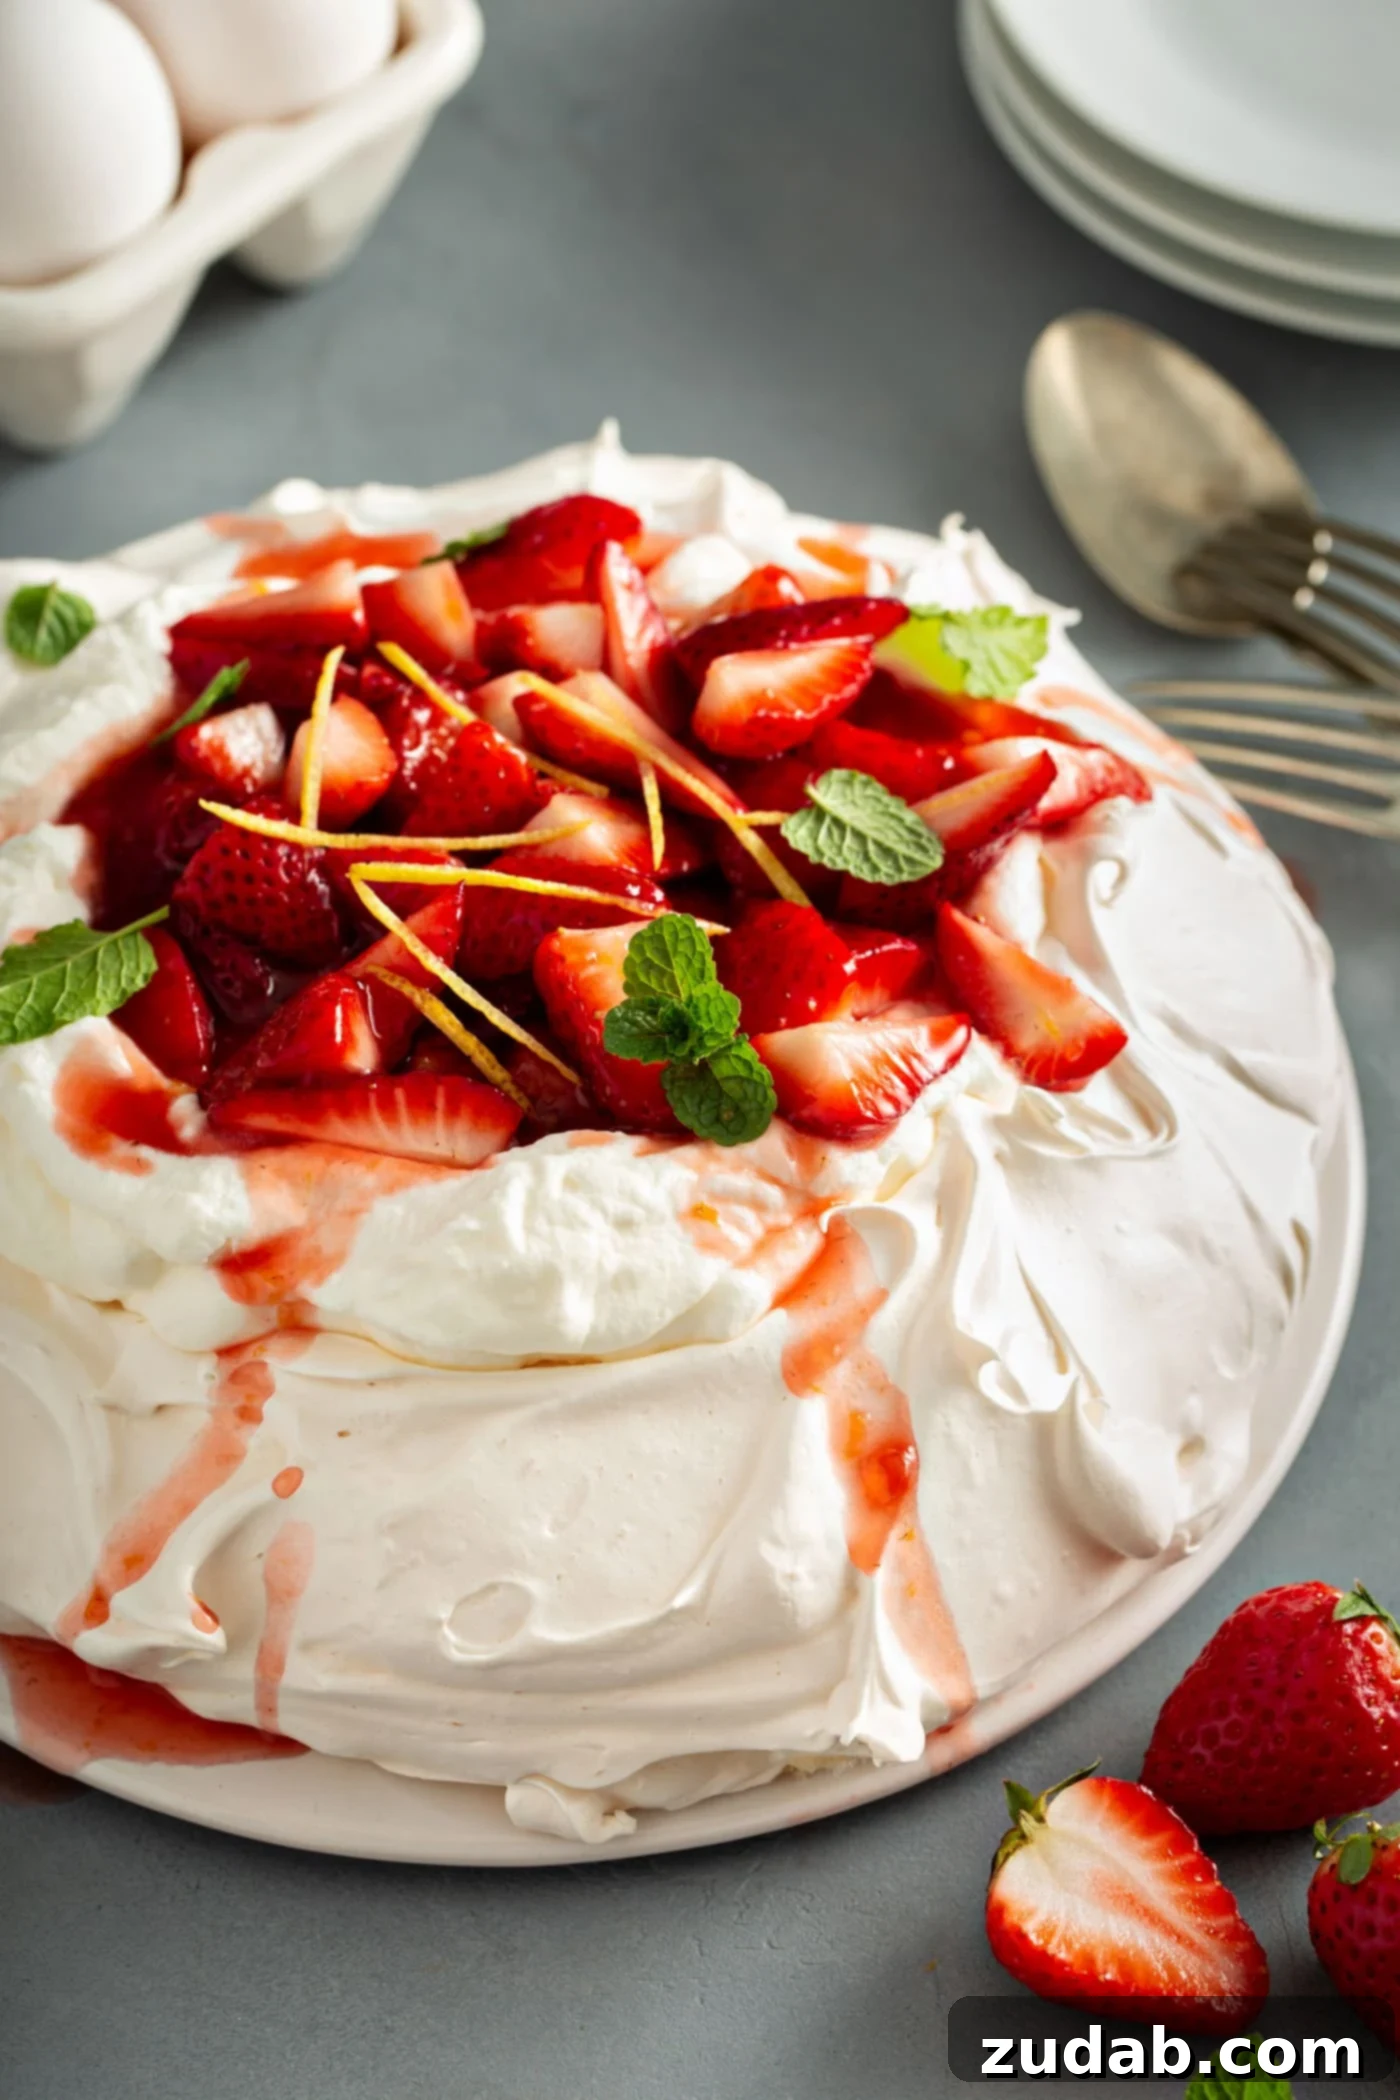
The magic of a well-crafted Pavlova dessert is truly in its textures. Each bite offers a satisfying crispiness from the meringue shell, followed by a wonderfully soft, airy, and marshmallow-like core. Its subtle sweetness provides a perfect canvas for your chosen toppings. While this recipe specifically celebrates the vibrant taste of strawberries, the versatility of Pavlova means you can customize it with virtually any fresh fruit. The combination of sweet meringue, creamy whipped cream, and juicy strawberries is an absolute delight!
What Is Pavlova? A Dessert with a Rich History
Pavlova is a truly iconic meringue-based dessert, famously named after the renowned Russian ballerina, Anna Pavlova. While its exact origins remain a subject of friendly debate between New Zealand and Australia, both countries lay claim to its invention, each with compelling historical accounts. Regardless of its precise birthplace, there’s no denying that this light, airy, and utterly delicious creation has captivated dessert lovers worldwide. Typically, a Pavlova features a crisp, delicate crust that gives way to a soft, almost marshmallow-like interior, often topped with freshly whipped cream and an abundance of seasonal fruits.
The creation of Pavlova is said to have coincided with Anna Pavlova’s tours to Australia and New Zealand in the 1920s. Legend has it that chefs in both countries were inspired to create a dessert as light and graceful as the ballerina herself. The result was this cloud-like confection, which perfectly embodies the elegance and lightness associated with ballet. It quickly became a beloved dessert, celebrated for its unique texture and visual appeal. This dessert stands apart from traditional meringues due to its signature soft, chewy center, which is achieved through a specific baking and cooling process.
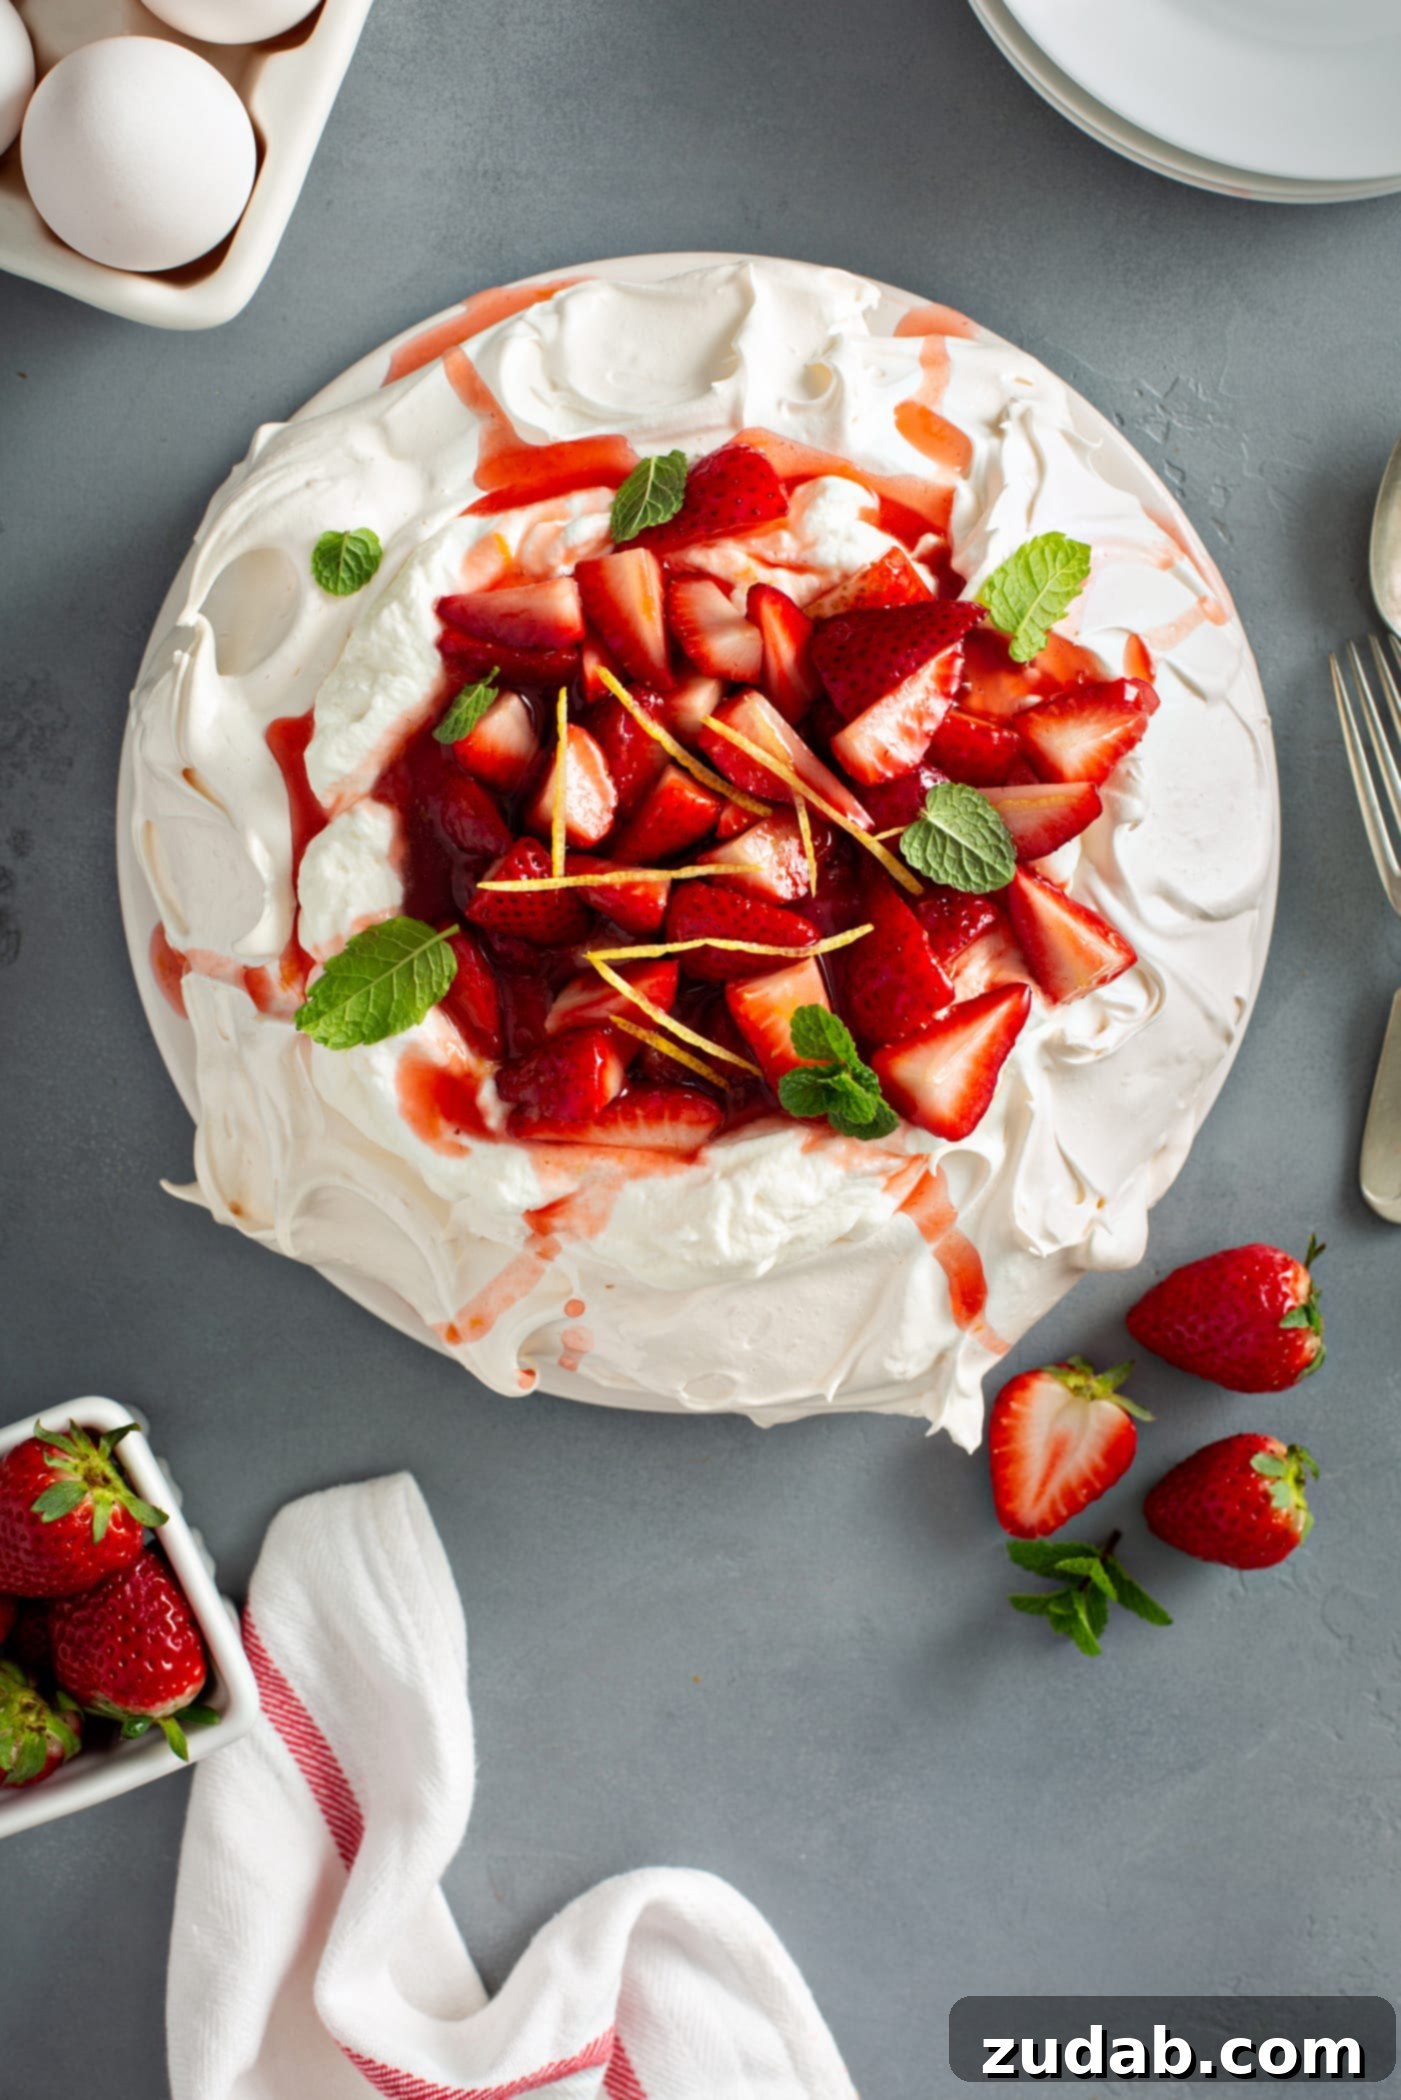
Why You’ll Adore This Easy Strawberry Pavlova Recipe
This Strawberry Pavlova recipe is more than just a dessert; it’s an experience. Its appeal lies in several key factors that make it a standout choice for any occasion:
- **Effortless Elegance:** While it looks incredibly impressive, the process is surprisingly simple. It’s perfect for home cooks who want to create a show-stopping dessert without hours of labor.
- **Unique Texture Symphony:** The delightful contrast between the crunchy exterior and the melt-in-your-mouth marshmallow interior is simply irresistible. This textural play sets Pavlova apart from other desserts.
- **Fresh, Vibrant Flavors:** The light, sweet meringue provides the perfect backdrop for the bright, juicy flavors of fresh strawberries, enhanced by a hint of lemon and strawberry jam. It’s a celebration of seasonal produce.
- **Versatility:** While we’re highlighting strawberries here, Pavlova is incredibly adaptable. You can easily swap out the fruit for other berries, kiwi, passion fruit, mango, or even a mix of your favorites, making it a year-round delight.
- **Perfect for Entertaining:** Its impressive appearance makes it an ideal dessert for dinner parties, family gatherings, or holiday celebrations. Plus, the meringue base can be prepared ahead of time, reducing last-minute stress.
- **Light and Refreshing:** Unlike many heavy desserts, Pavlova feels light and airy, making it a wonderful choice after a rich meal or as a delightful afternoon treat.
What Ingredients Do I Need to Make the Best Pavlova?
Creating a perfect Pavlova requires a few specific ingredients, most of which you likely already have on hand. Each component plays a crucial role in achieving the desired texture and flavor. There are no real substitutes for these core ingredients, so stick to the list for optimal results:
For the Meringue Layer:
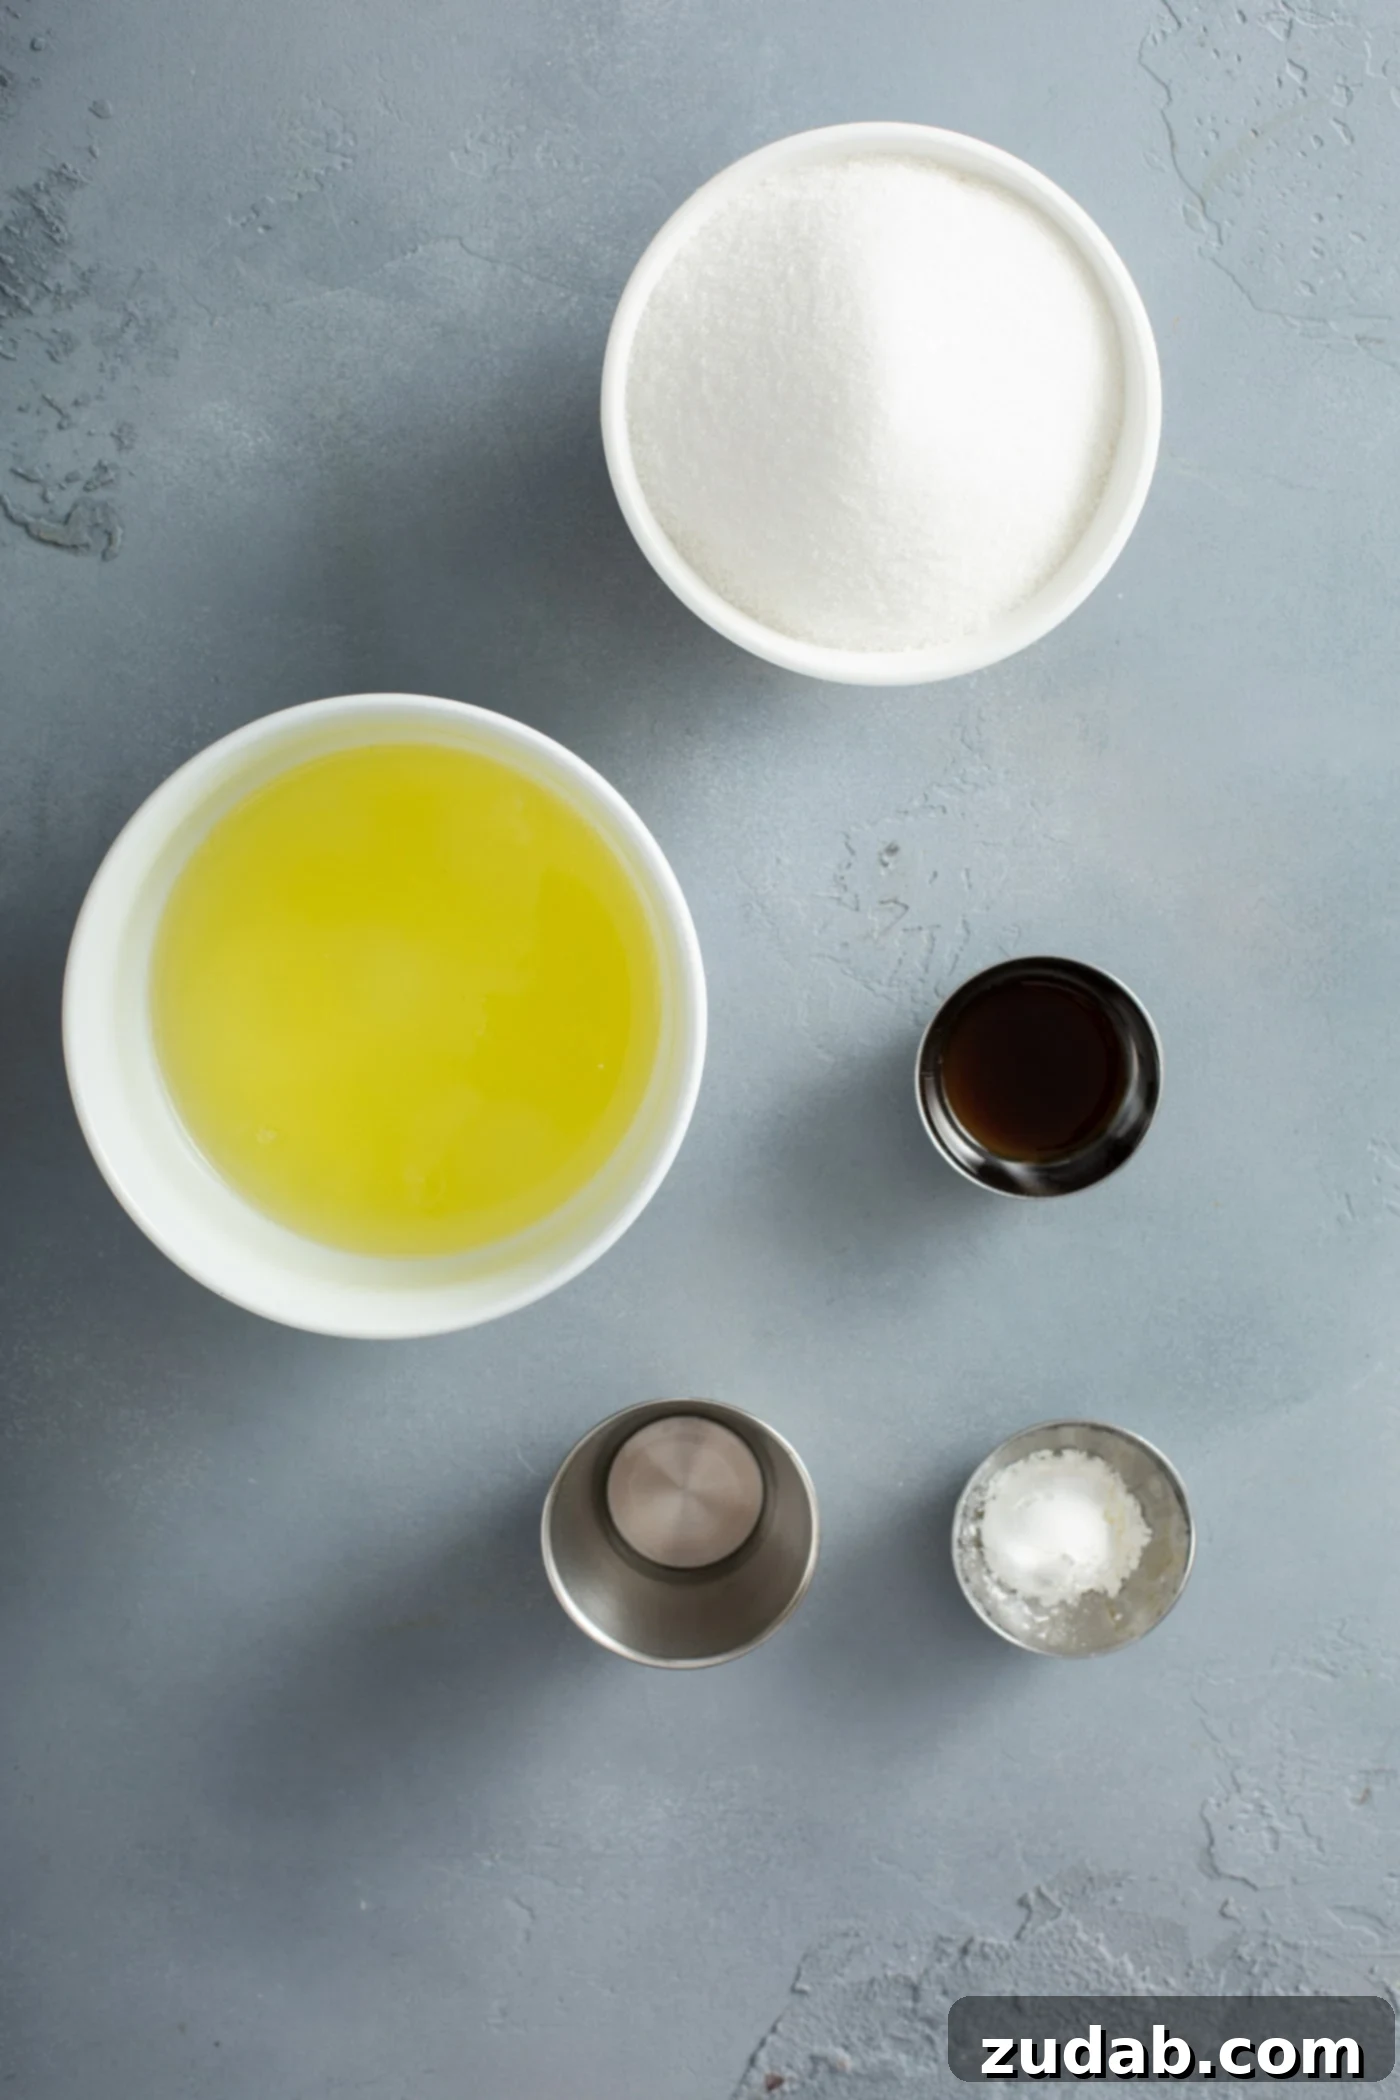
- Egg Whites (room temperature): This is paramount! Room temperature egg whites whip up with significantly more volume and stability than cold ones, resulting in a lighter, airier meringue.
- Sugar: Granulated sugar is gradually added to the egg whites, not only sweetening them but also stabilizing the meringue, giving it that glossy, stiff texture.
- White Vinegar: A small amount of white vinegar helps to create that characteristic chewy, marshmallow-like center in your Pavlova. It aids in protein coagulation, keeping the meringue soft inside.
- Cornstarch: Cornstarch is the secret weapon for a truly crisp exterior and a tender interior. It absorbs moisture, preventing the meringue from becoming sticky or weeping.
- Vanilla Extract: Pure vanilla extract adds a wonderful depth of flavor to the meringue, complementing the sweetness and fruit toppings.
For the Whipped Cream and Fruit Topping:
While the meringue base might be stocked in your pantry, a quick trip to the store might be in order for these fresh, vibrant additions – and they are absolutely worth it!
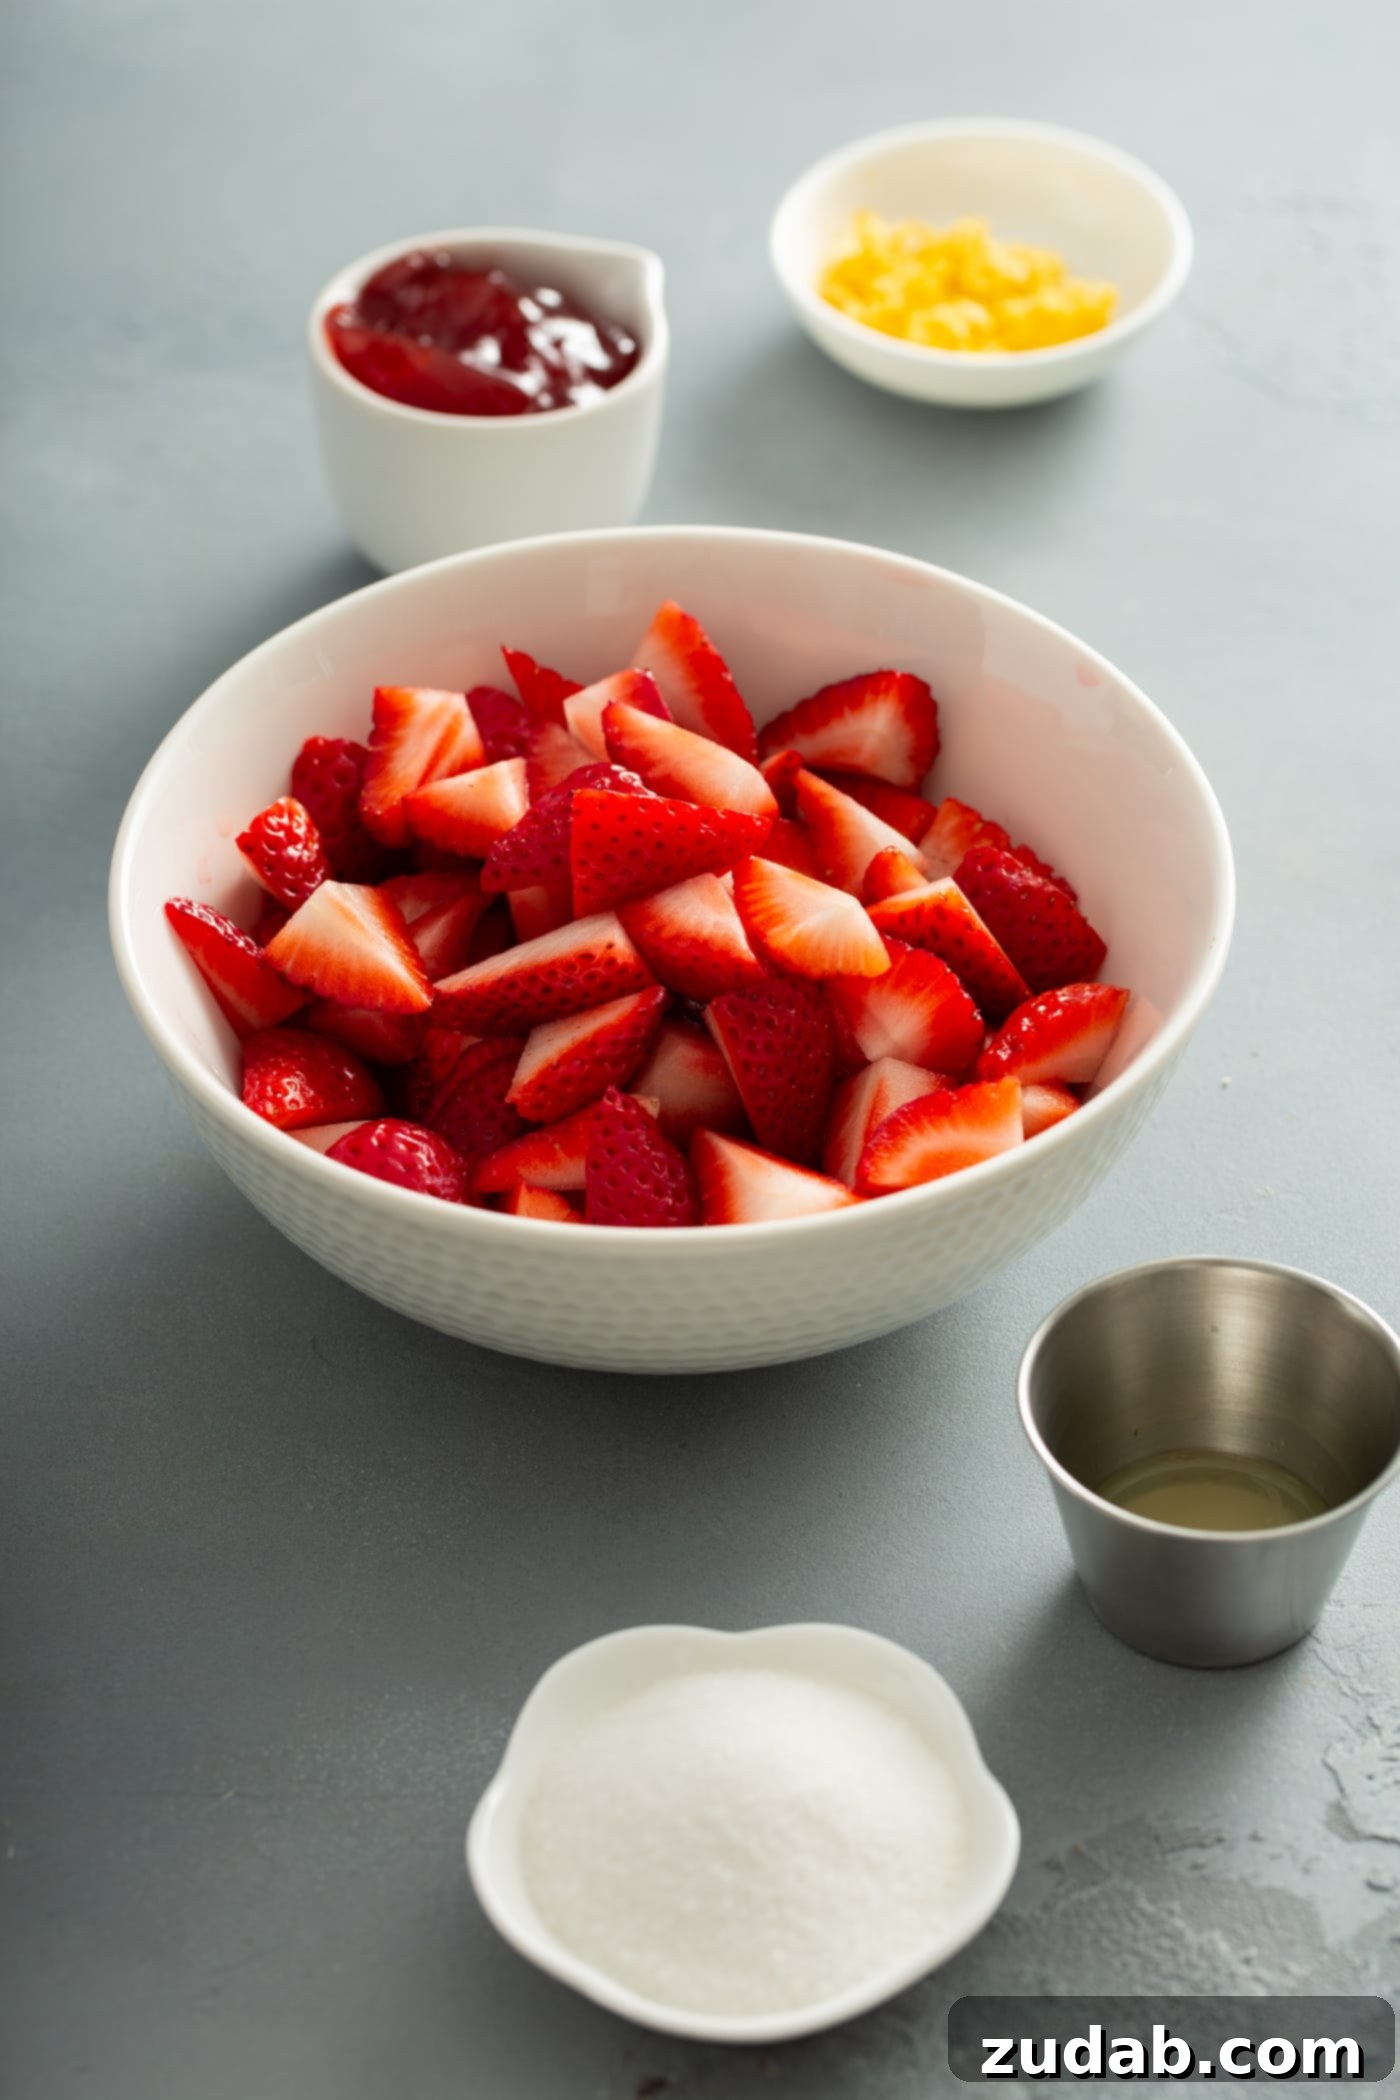
- Fresh Strawberries: The star of our topping! Choose ripe, juicy strawberries for the best flavor and texture.
- Strawberry Jam: A spoonful of good quality strawberry jam intensifies the berry flavor of the macerated strawberries, adding a lovely glossy sheen and a touch of extra sweetness.
- Lemon Zest: The finely grated zest of a lemon provides a bright, aromatic counterpoint to the sweetness, lifting all the flavors in the topping.
- Lemon Juice: A splash of fresh lemon juice helps to macerate the strawberries, drawing out their natural juices and creating a delightful light syrup.
- Homemade Whipped Cream: Freshly made whipped cream is essential. Its light, airy texture and rich flavor perfectly complement the meringue and fruit. Avoid store-bought aerosol cans for the best results.
How to Master the Art of Pavlova Making: A Step-by-Step Guide
Making Pavlova is an art that’s surprisingly easy to master. The key is precision with ingredients and measurements, as substitutions are generally not recommended. Follow these detailed steps carefully, and you’ll be rewarded with a spectacular dessert:
- **Preparation is Key:** Begin by preheating your oven to a low temperature of 250 degrees Fahrenheit (120 degrees Celsius). This low and slow baking is crucial for achieving the perfect Pavlova texture. Next, take a piece of parchment paper and either trace a 9-inch circle using a plate as a guide or use pre-cut parchment rounds designed for cake pans. Place this parchment paper onto a baking sheet. This circle will serve as your guide for shaping the meringue.
- **Whipping the Egg Whites:** Place your room temperature egg whites into the impeccably clean bowl of a stand mixer fitted with a whisk attachment. Start whisking at high speed for about 1 minute, or until the egg whites become frothy and slightly opaque.
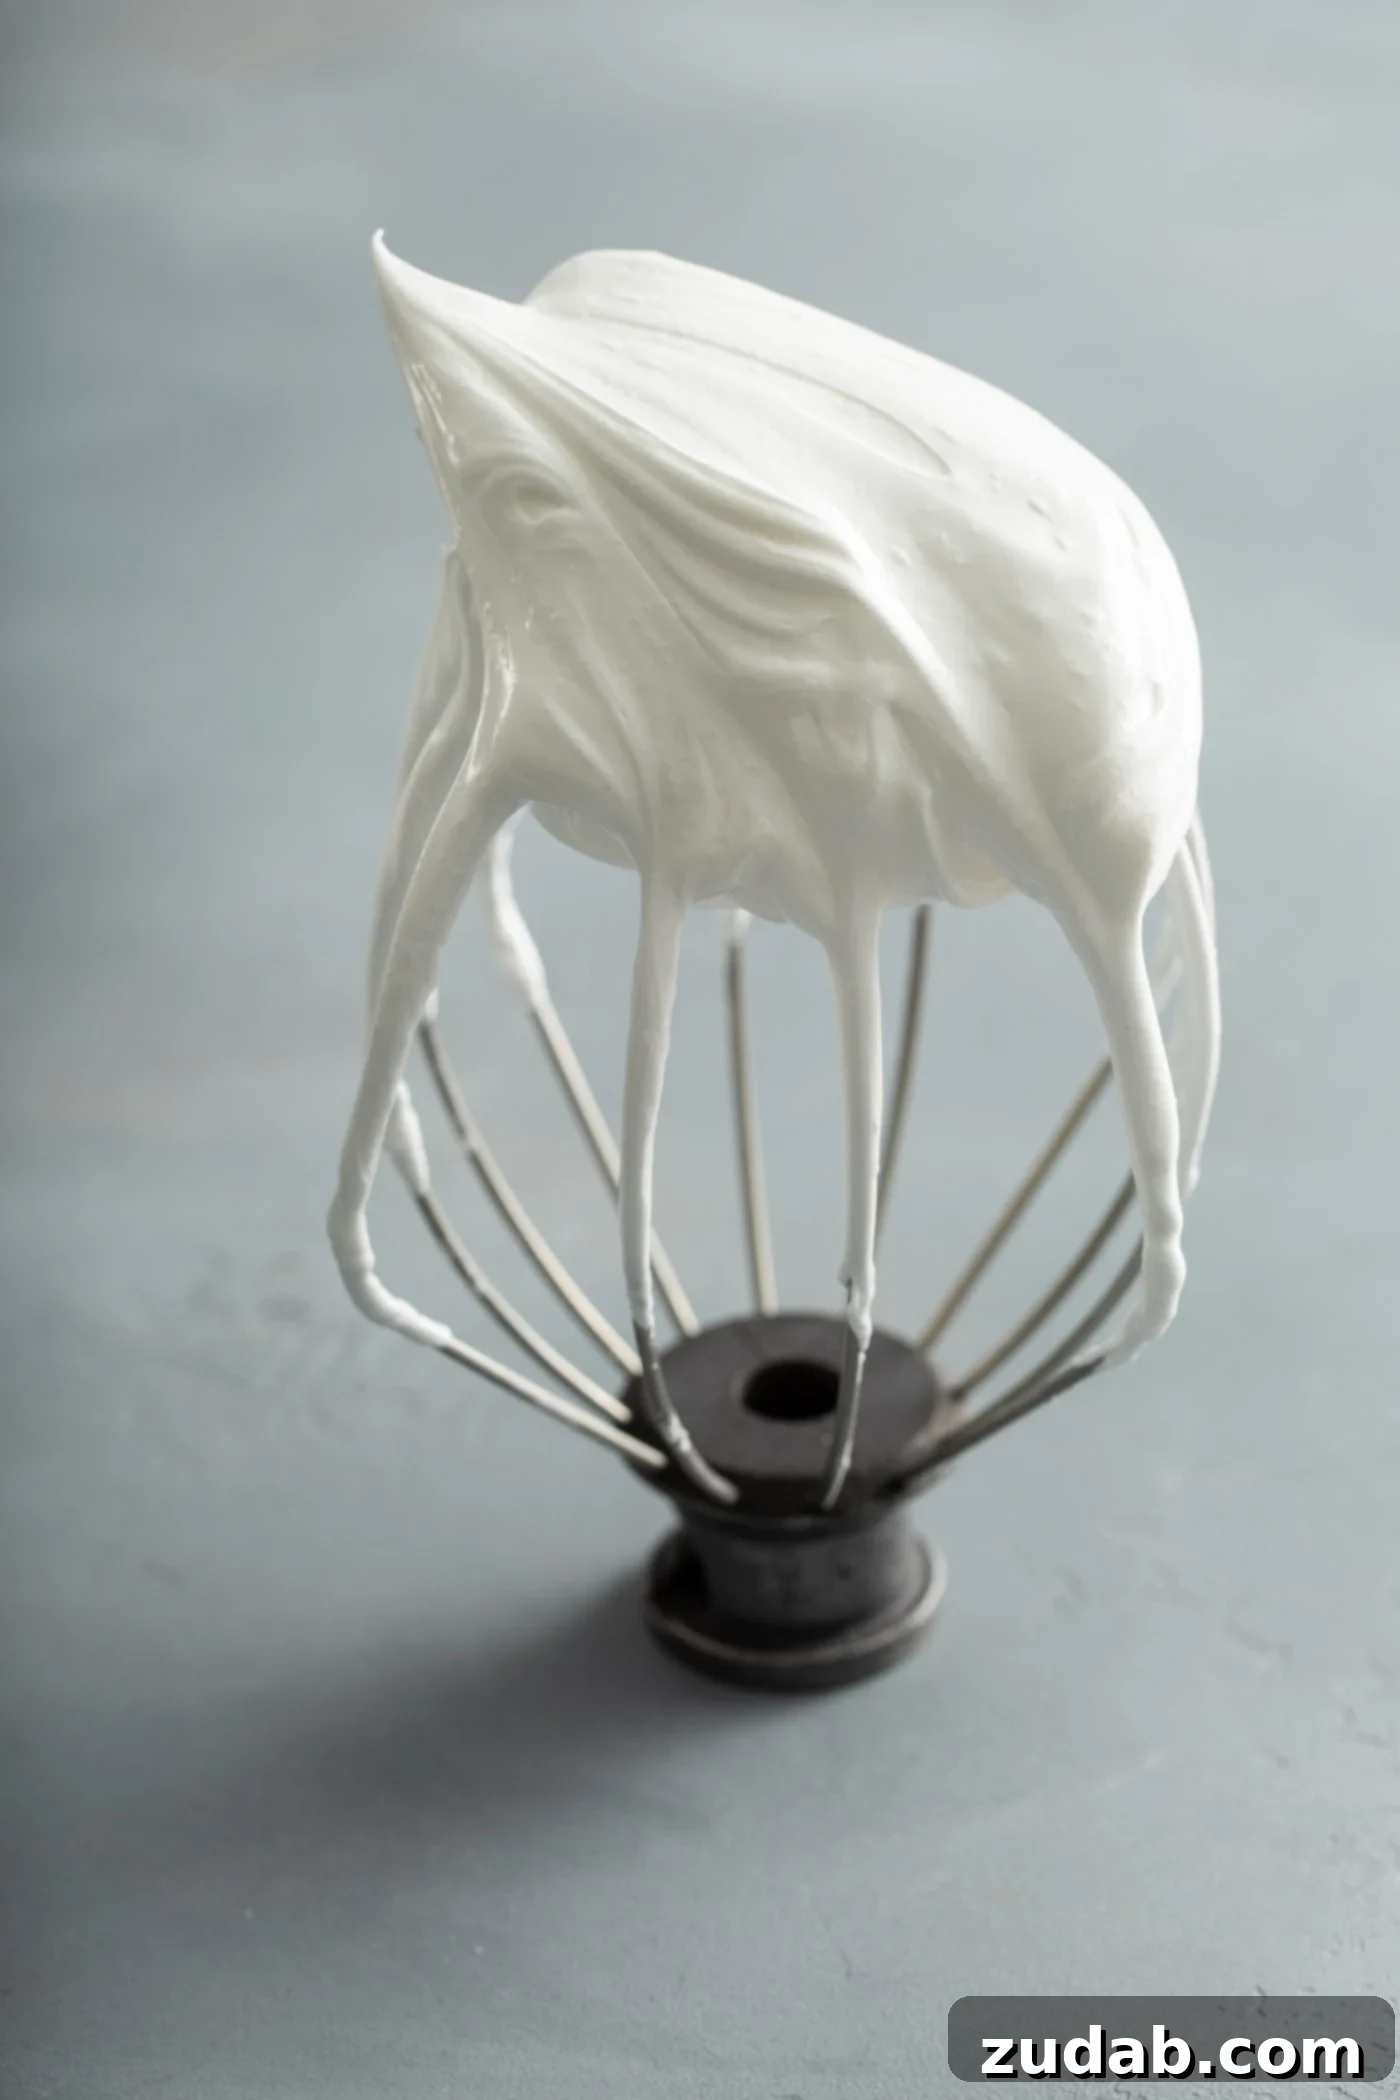
- **Gradual Sugar Addition:** With the mixer still running at high speed, begin to slowly add 1 cup of sugar, a tablespoon at a time. This gradual addition allows the sugar to fully dissolve and integrate, creating a stable and glossy meringue. Continue whisking for approximately 3-4 minutes, or until the meringue is glossy and forms stiff peaks. You’ll know it’s ready when you lift the whisk, and the peaks hold their shape firmly, without drooping. If you rub a small amount of meringue between your fingers, it should feel smooth, indicating the sugar has dissolved.
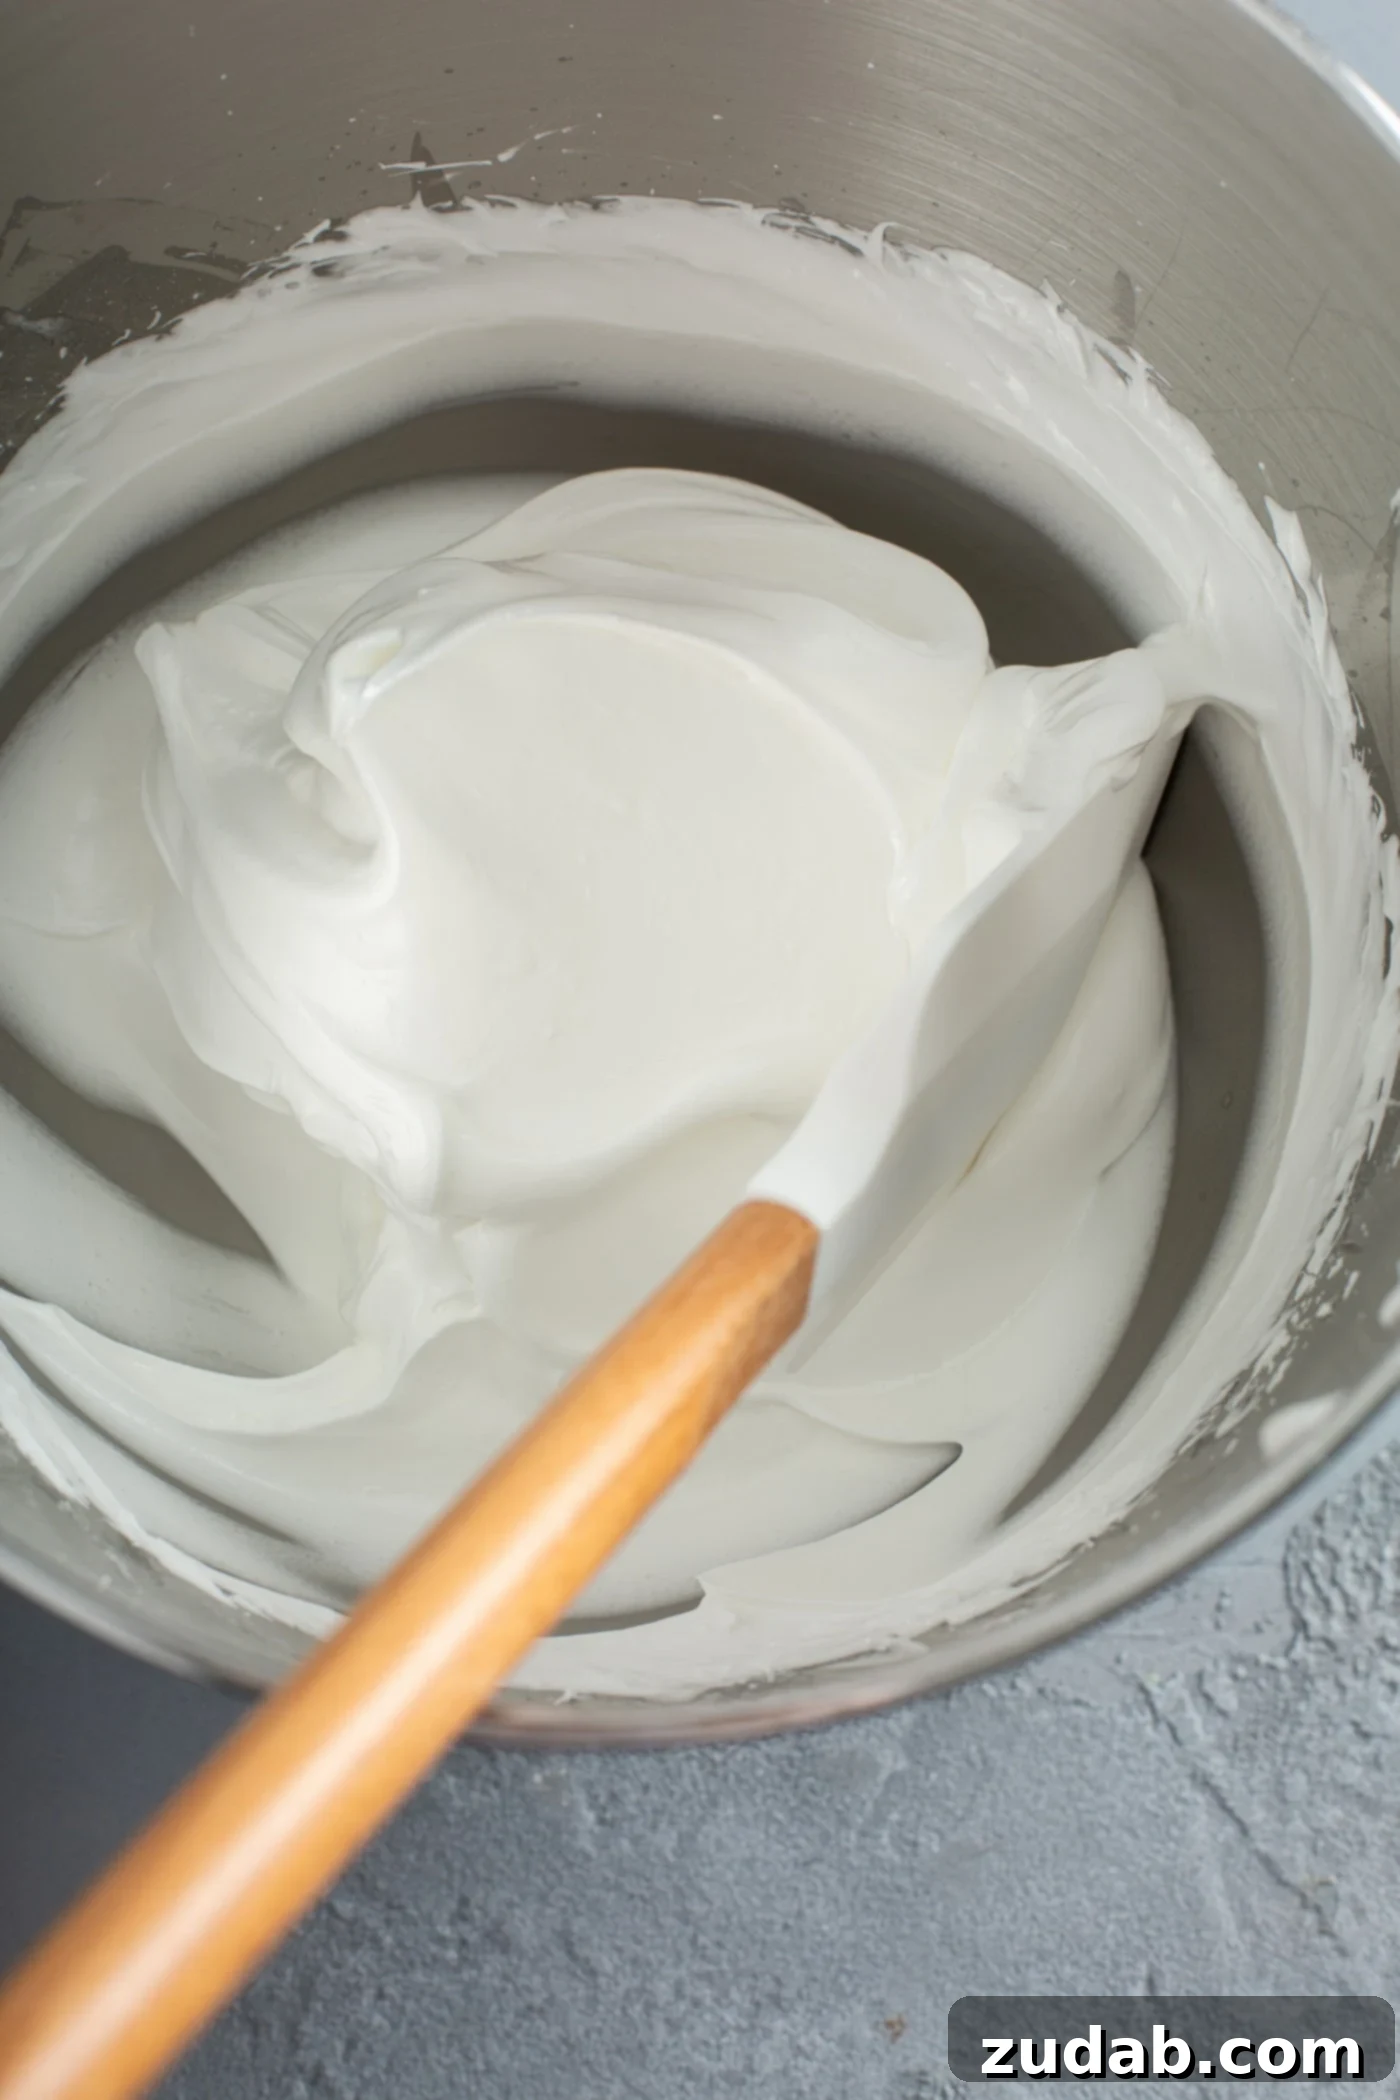
- **Folding in the Secret Ingredients:** Turn off the stand mixer. Remove the bowl and gently switch to a rubber spatula. Carefully fold in the white vinegar, cornstarch, and vanilla extract. The key here is to fold, not stir, to maintain as much air as possible in the meringue.
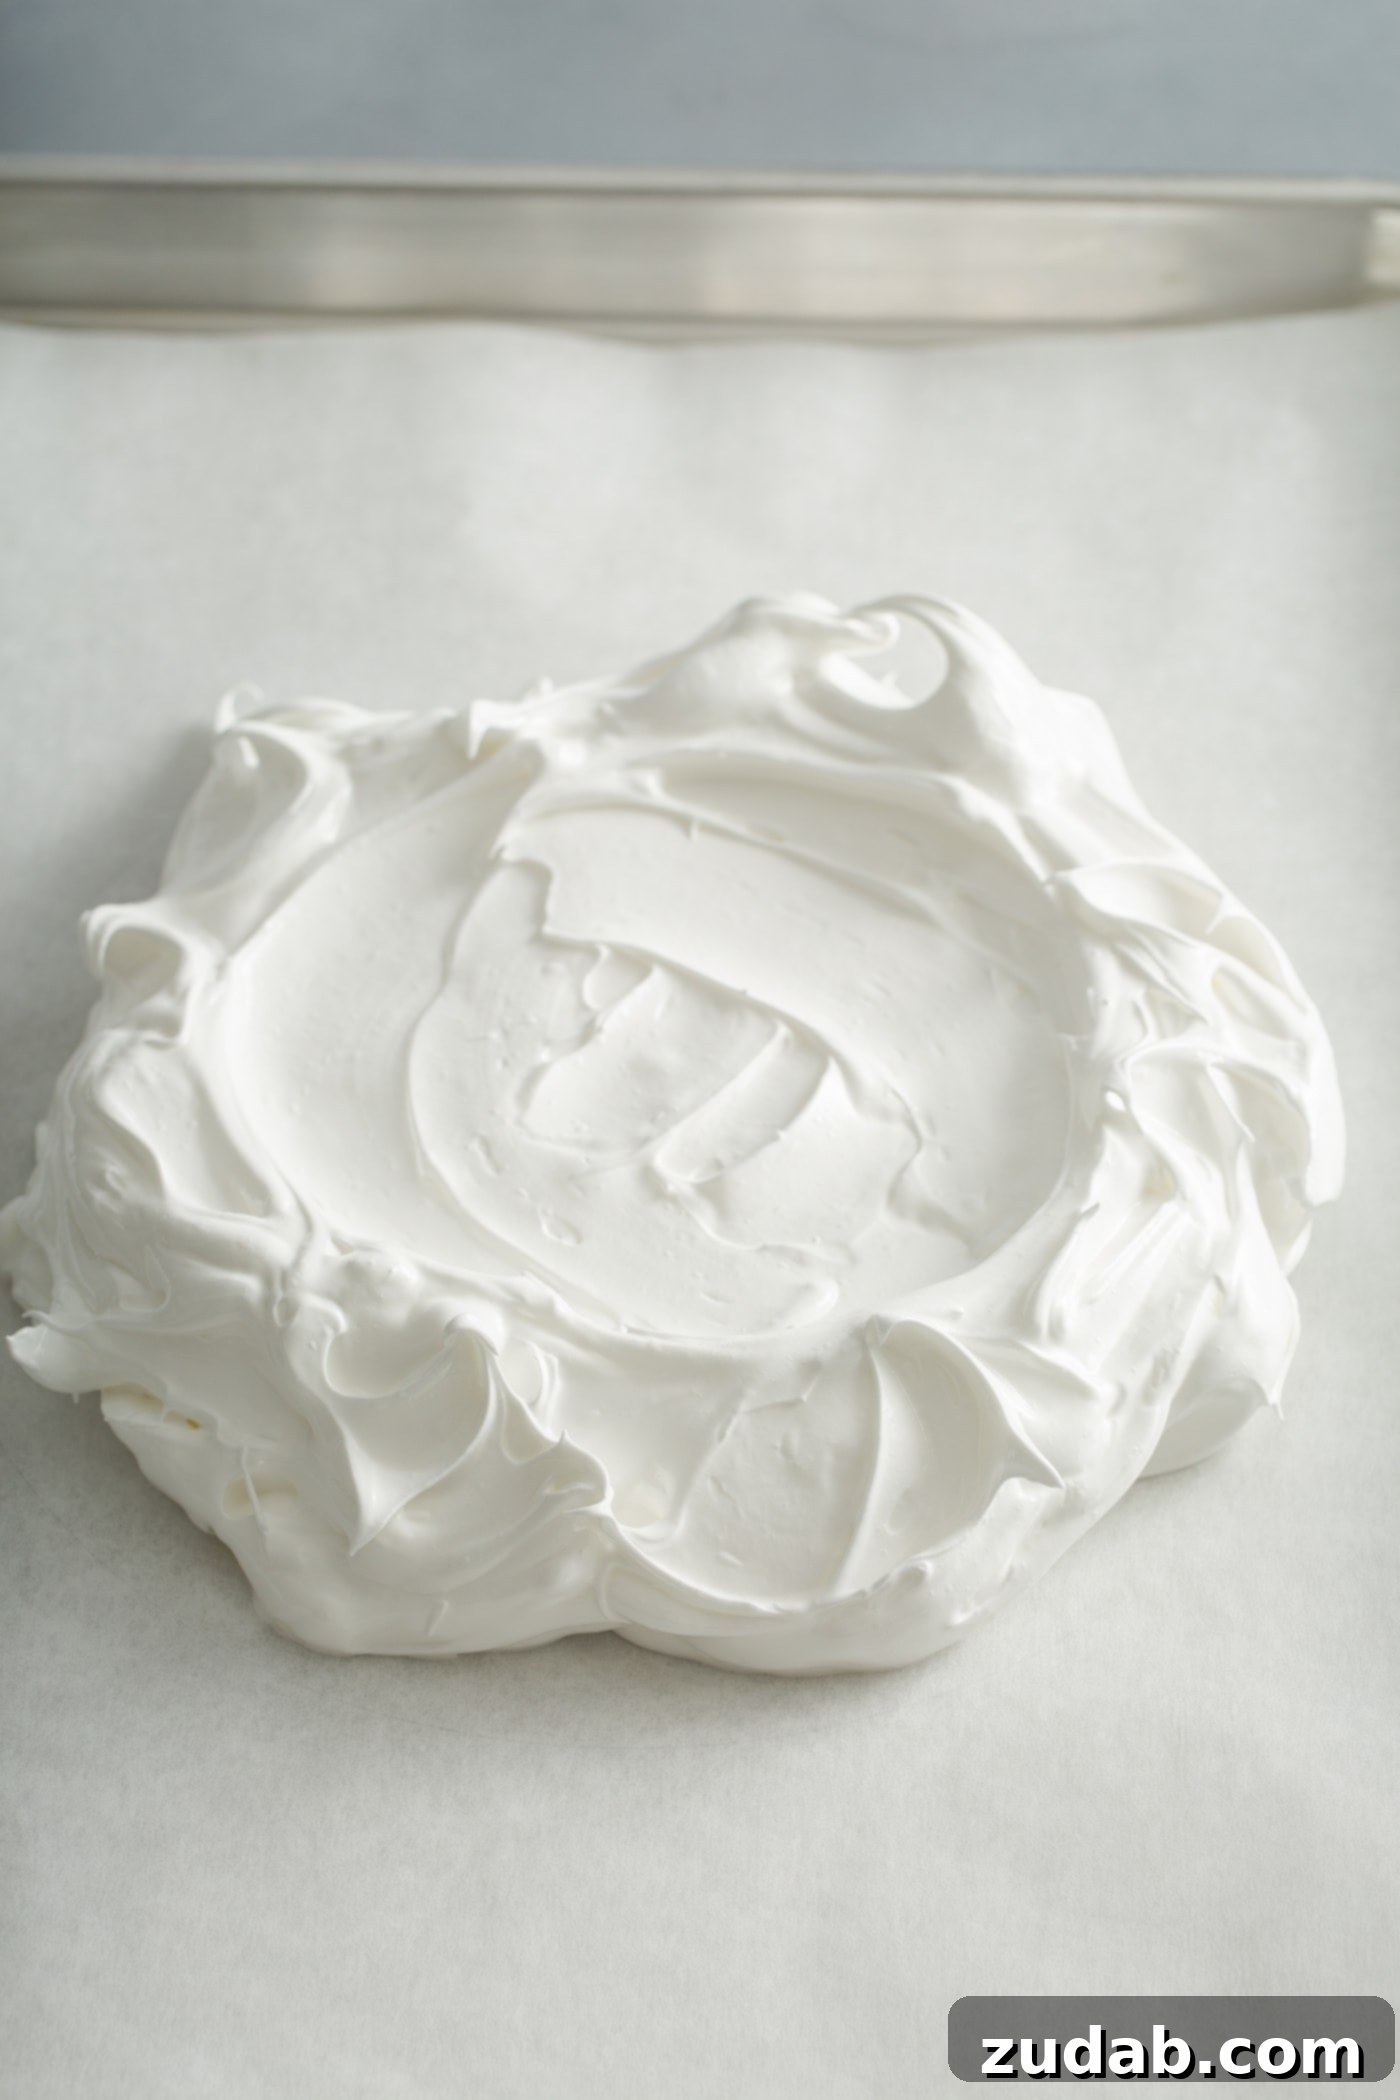
- **Shaping Your Pavlova:** Carefully spoon the meringue onto the center of the parchment paper, using your drawn 9-inch circle as a guide. Use your spatula to spread the meringue evenly into a large disk. For added visual appeal and texture, create subtle swirls and peaks on the surface of the meringue. These will crisp up beautifully during baking, adding to the dessert’s charm. However, if you prefer a smoother, more classic look, that works perfectly too.
- **The Low and Slow Bake & Cool:** Bake the meringue in your preheated oven for 90 minutes. After 90 minutes, turn off the oven completely. **It is crucial to leave the Pavlova in the oven to cool down completely, without opening the oven door.** This slow cooling process helps prevent cracking and ensures the meringue retains its crisp exterior and signature marshmallowy interior. This could take an additional 1 to 2 hours, or even longer.
- **Prepare the Strawberry Topping:** While the meringue is baking and cooling, prepare your delicious strawberry topping. In a medium bowl, gently combine the quartered strawberries, strawberry jam, the remaining 2 tablespoons of sugar, lemon zest, and lemon juice. Stir everything together and allow the mixture to macerate at room temperature. This process draws out the natural juices from the strawberries, creating a wonderful glossy syrup.
- **Whip the Cream:** Just before serving, prepare your fresh whipped cream. For tips and tricks on how to make the best, most stable whipped cream, refer to our detailed whipped cream post.
- **Assemble and Serve:** Once the Pavlova meringue is completely cooled, carefully transfer it to a serving platter. Generously top the meringue with your freshly whipped cream, then spoon over the macerated strawberries and their delicious juices. Serve immediately for the best texture and flavor.
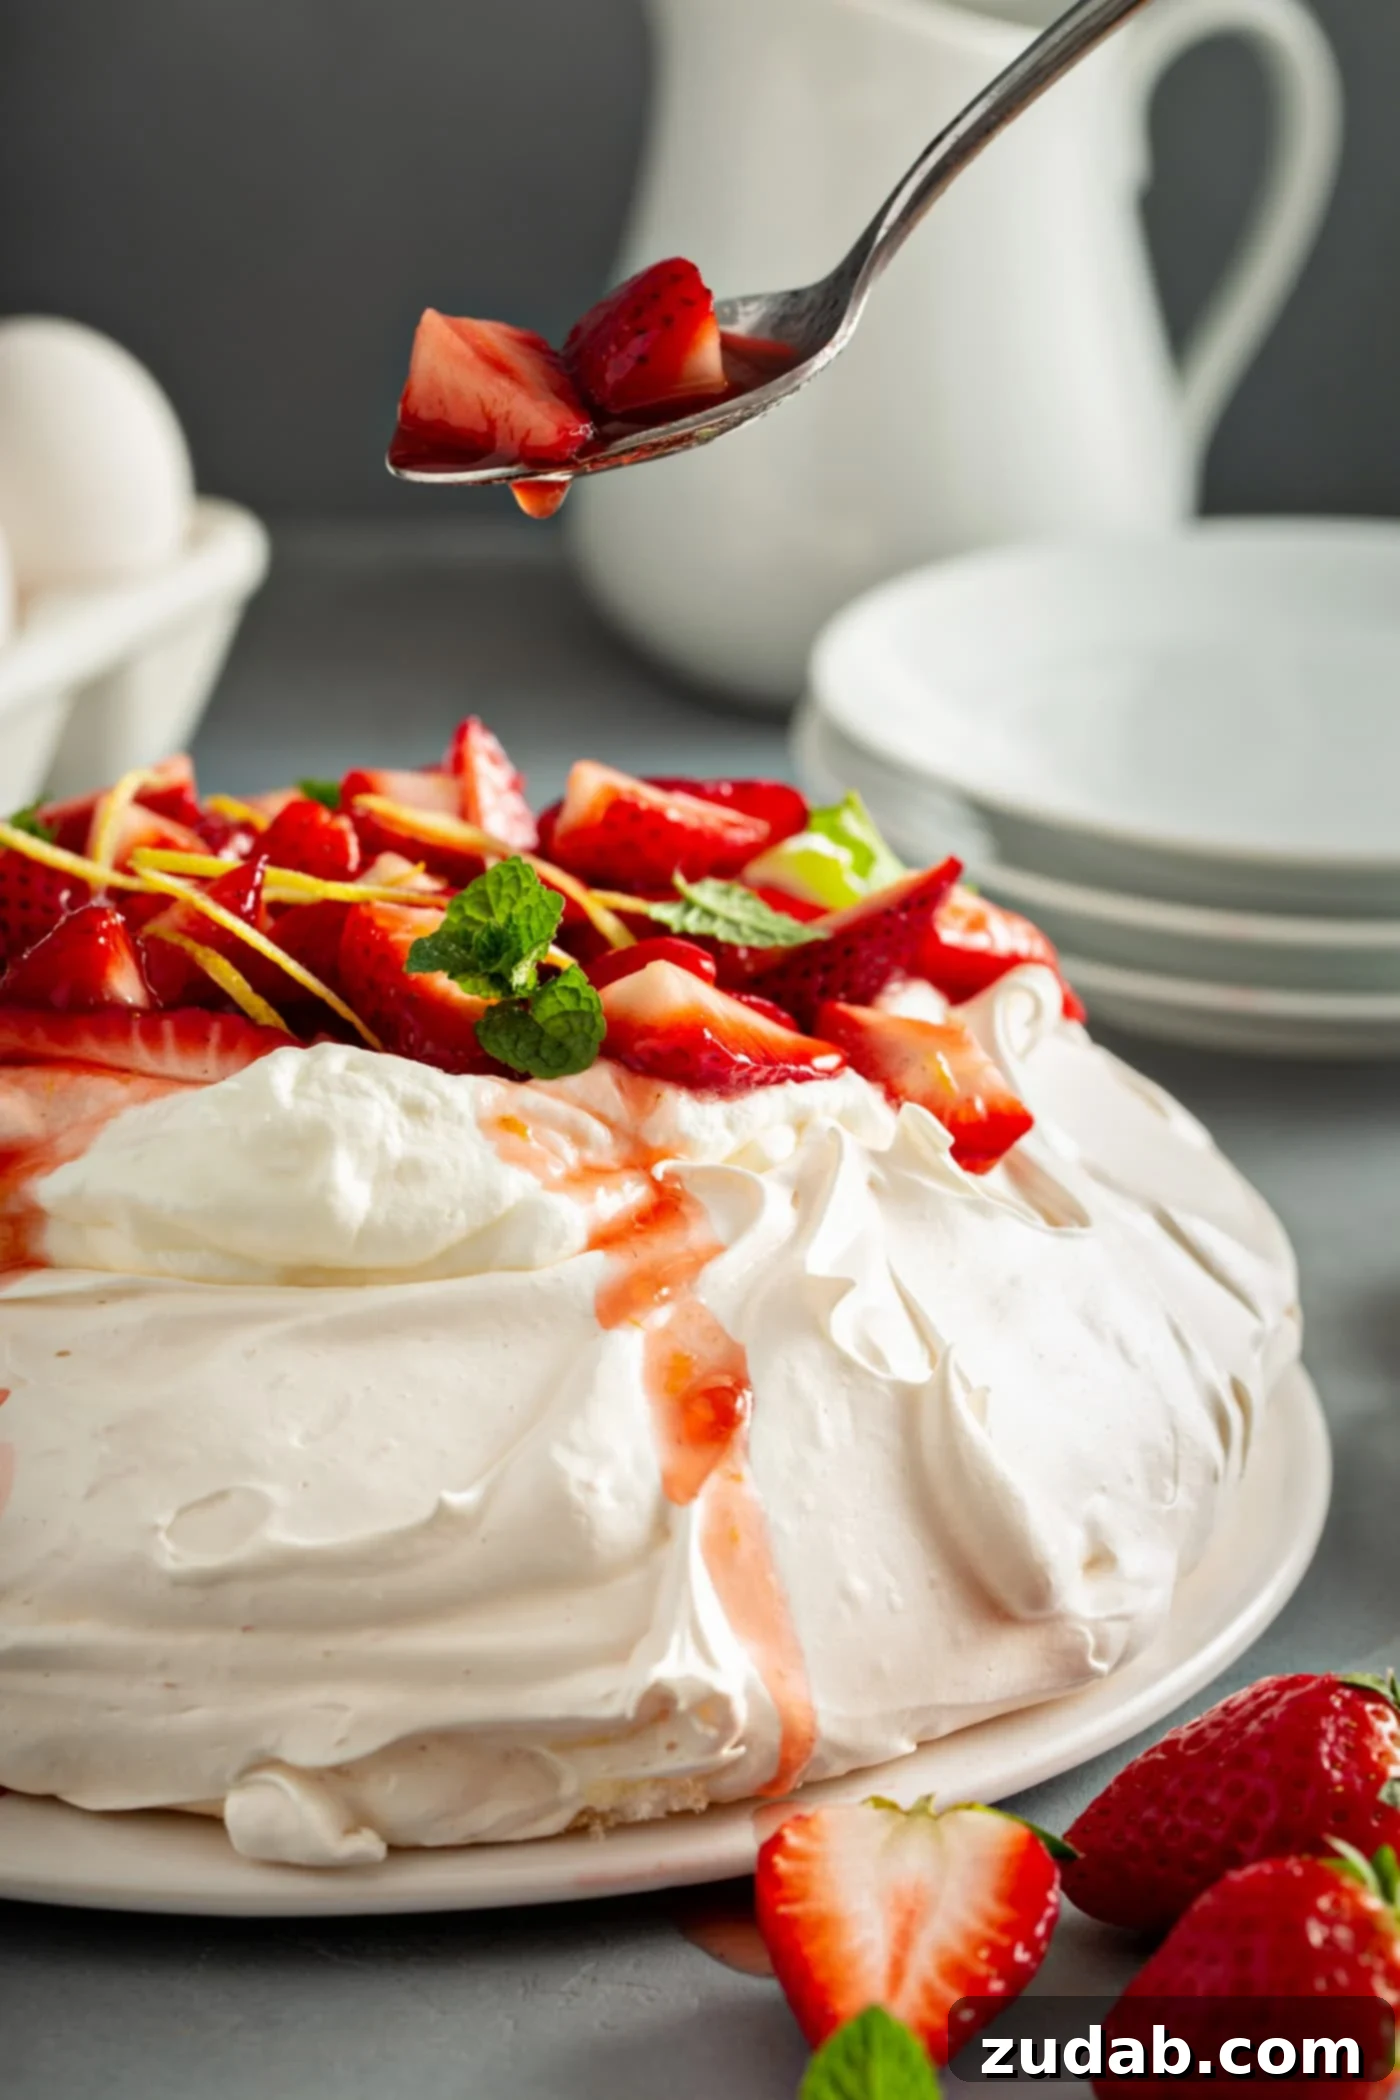
Expert Tips for Making the Perfect Pavlova Every Time
Achieving Pavlova perfection is within reach with a few simple tricks and careful attention to detail. Over the years, I’ve gathered some invaluable tips that make all the difference:
- **Room Temperature Egg Whites are Non-Negotiable:** This is arguably the most critical tip! Egg whites at room temperature whip up faster and achieve significantly more volume and stability than cold ones. This increased volume results in a lighter, airier meringue base. Plan ahead and separate your eggs at least 30 minutes to an hour before you start, allowing them to warm up.
- **Spotless Equipment:** Ensure your mixing bowl and whisk attachment are absolutely clean and free of any grease or fat. Even a tiny speck of yolk or oil can prevent your egg whites from whipping properly, resulting in a flat, dense meringue. Wipe down your bowl and whisk with a paper towel dampened with a bit of lemon juice or vinegar to be extra sure.
- **Parchment Paper is a Must:** Always use parchment paper for baking your Pavlova. Do not substitute with foil or wax paper, as these can stick to the delicate meringue or cause uneven baking. Parchment paper allows for easy release once the Pavlova is cooled.
- **Gradual Sugar Addition and Dissolution:** When adding sugar to the egg whites, do so slowly and incrementally. This gives the sugar crystals time to dissolve, which is essential for a stable, glossy meringue. If the sugar isn’t fully dissolved, your meringue can become gritty or “weep” liquid.
- **Resist the Urge to Open the Oven Door:** While your Pavlova is baking and especially during the cooling process, **do not open the oven door.** Sudden changes in temperature can cause the meringue to crack or collapse. Let it cool completely in the switched-off oven for the best results.
- **Make-Ahead Meringue Base:** One of the fantastic advantages of Pavlova is that the meringue base can be prepared up to 4 days in advance. Once fully cooled, store it in an airtight container at room temperature. Do not refrigerate, as moisture can make it soggy.
- **Embrace Imperfection:** Don’t stress if your Pavlova develops a few cracks during baking or cooling. These are often seen as part of its rustic charm and do not affect the taste or texture. Plus, they’ll be covered by whipped cream and fruit anyway!
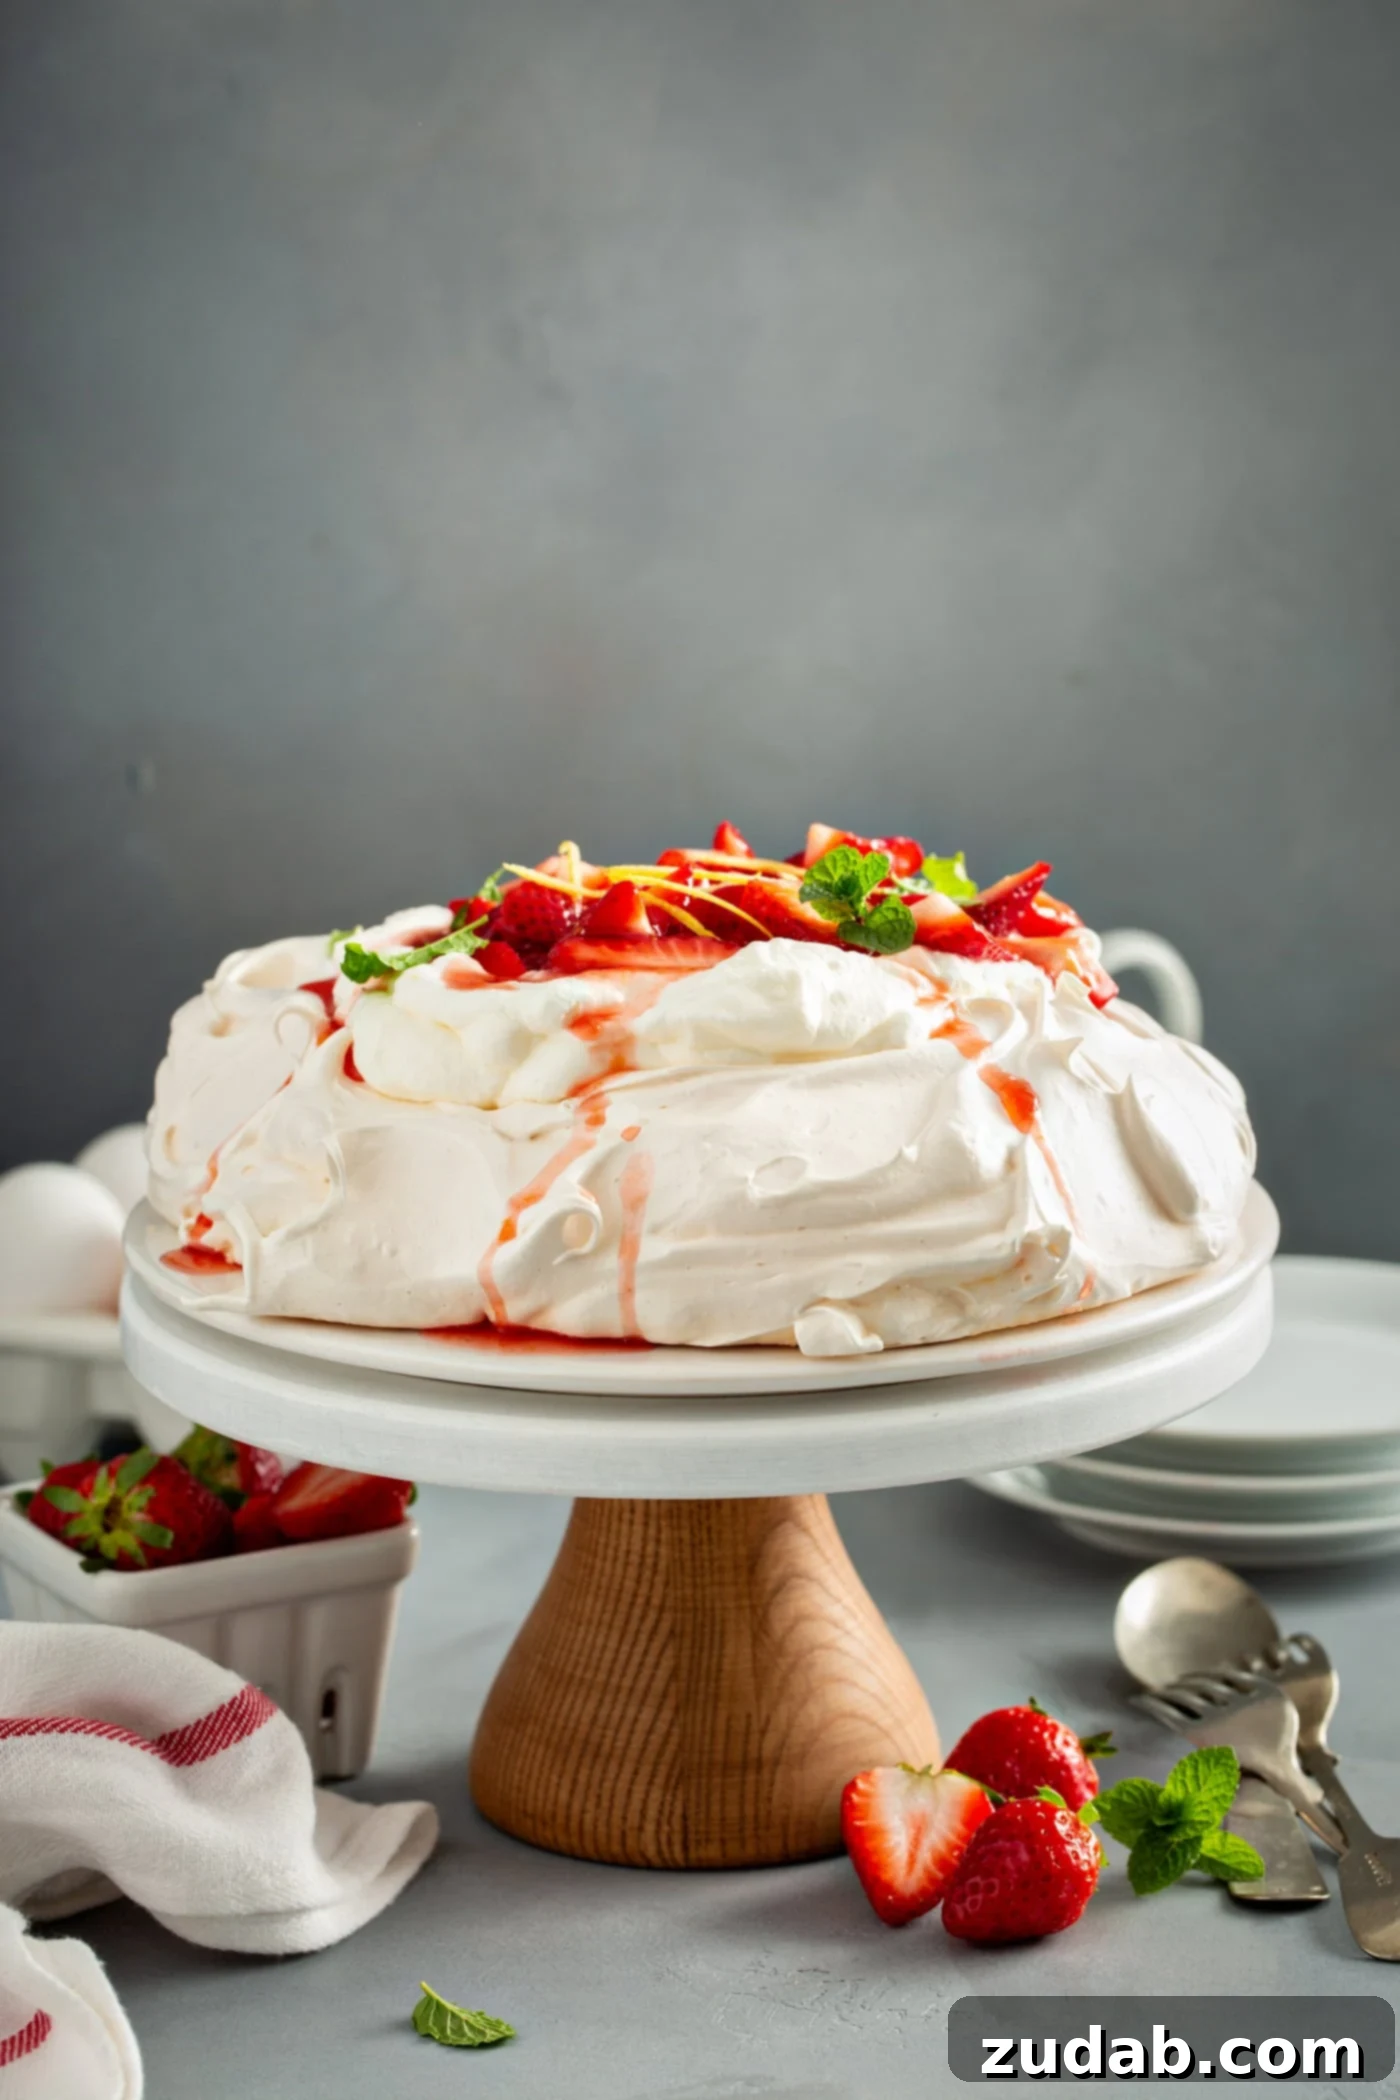
How Do You Know When Pavlova Is Done Baking?
Knowing when your Pavlova is perfectly baked is key to achieving that ideal crisp exterior and chewy interior. After the specified baking time, a finished Pavlova will exhibit a pale, dry, and slightly firm crust. It should have expanded and risen beautifully. If you gently tap the side, it should sound hollow. While it’s best not to open the oven door during the baking or initial cooling phase, once the cooling is complete and the oven is fully cool, you can test the interior.
When you gently break open a truly perfect Pavlova, you’ll find a delightful contrast: a distinct crispness on the outside and a soft, thick, sticky, marshmallow-like texture within. In my experience, following the recommended 90 minutes of baking at a low temperature, followed by a complete cool-down period inside the switched-off oven, consistently yields a perfectly cooked Pavlova. Trust the process, and resist the urge to peek!
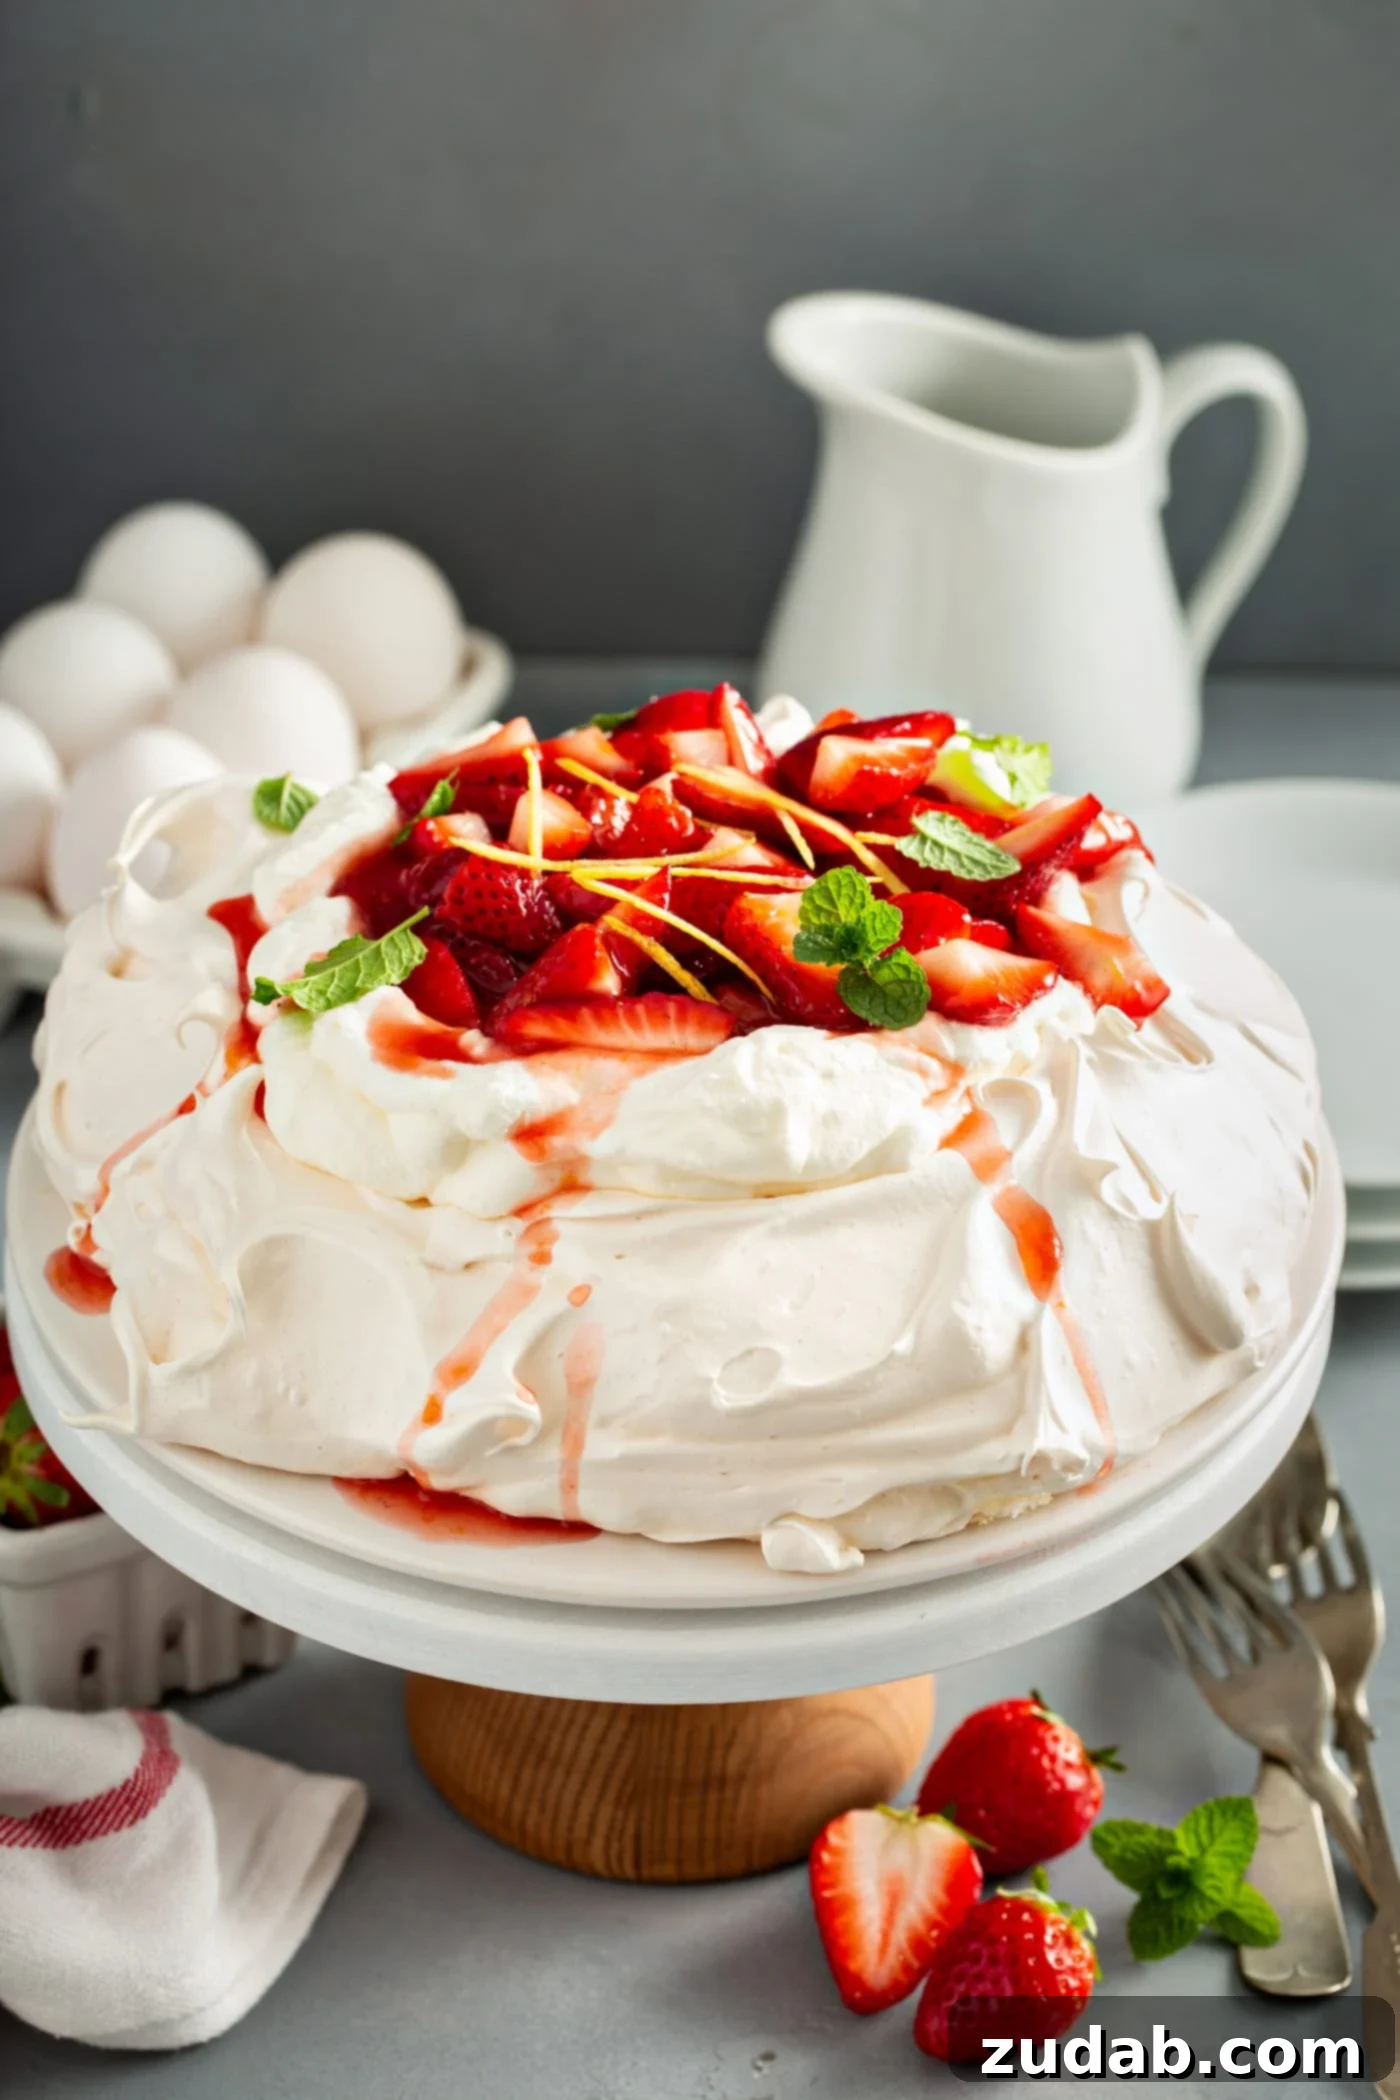
How Long Will Pavlova Keep? Storage Guidelines
For the absolute best taste and texture, Pavlova is truly at its peak when enjoyed on the day it’s made, or within 24 hours of assembly. The delicate meringue can start to soften over time, especially once topped with moist ingredients.
If you have leftovers of an *assembled* Pavlova, carefully wrap it in plastic wrap and store it in an airtight container at room temperature. When stored properly, it will generally keep for up to 2 days, though the meringue’s crispness may diminish slightly. Remember, the key is to minimize exposure to moisture.
If you’ve baked the meringue shell ahead of time and it hasn’t been assembled with toppings, it can be stored in an airtight container at room temperature for up to 4 days, remaining perfectly crisp and ready for assembly just before serving.
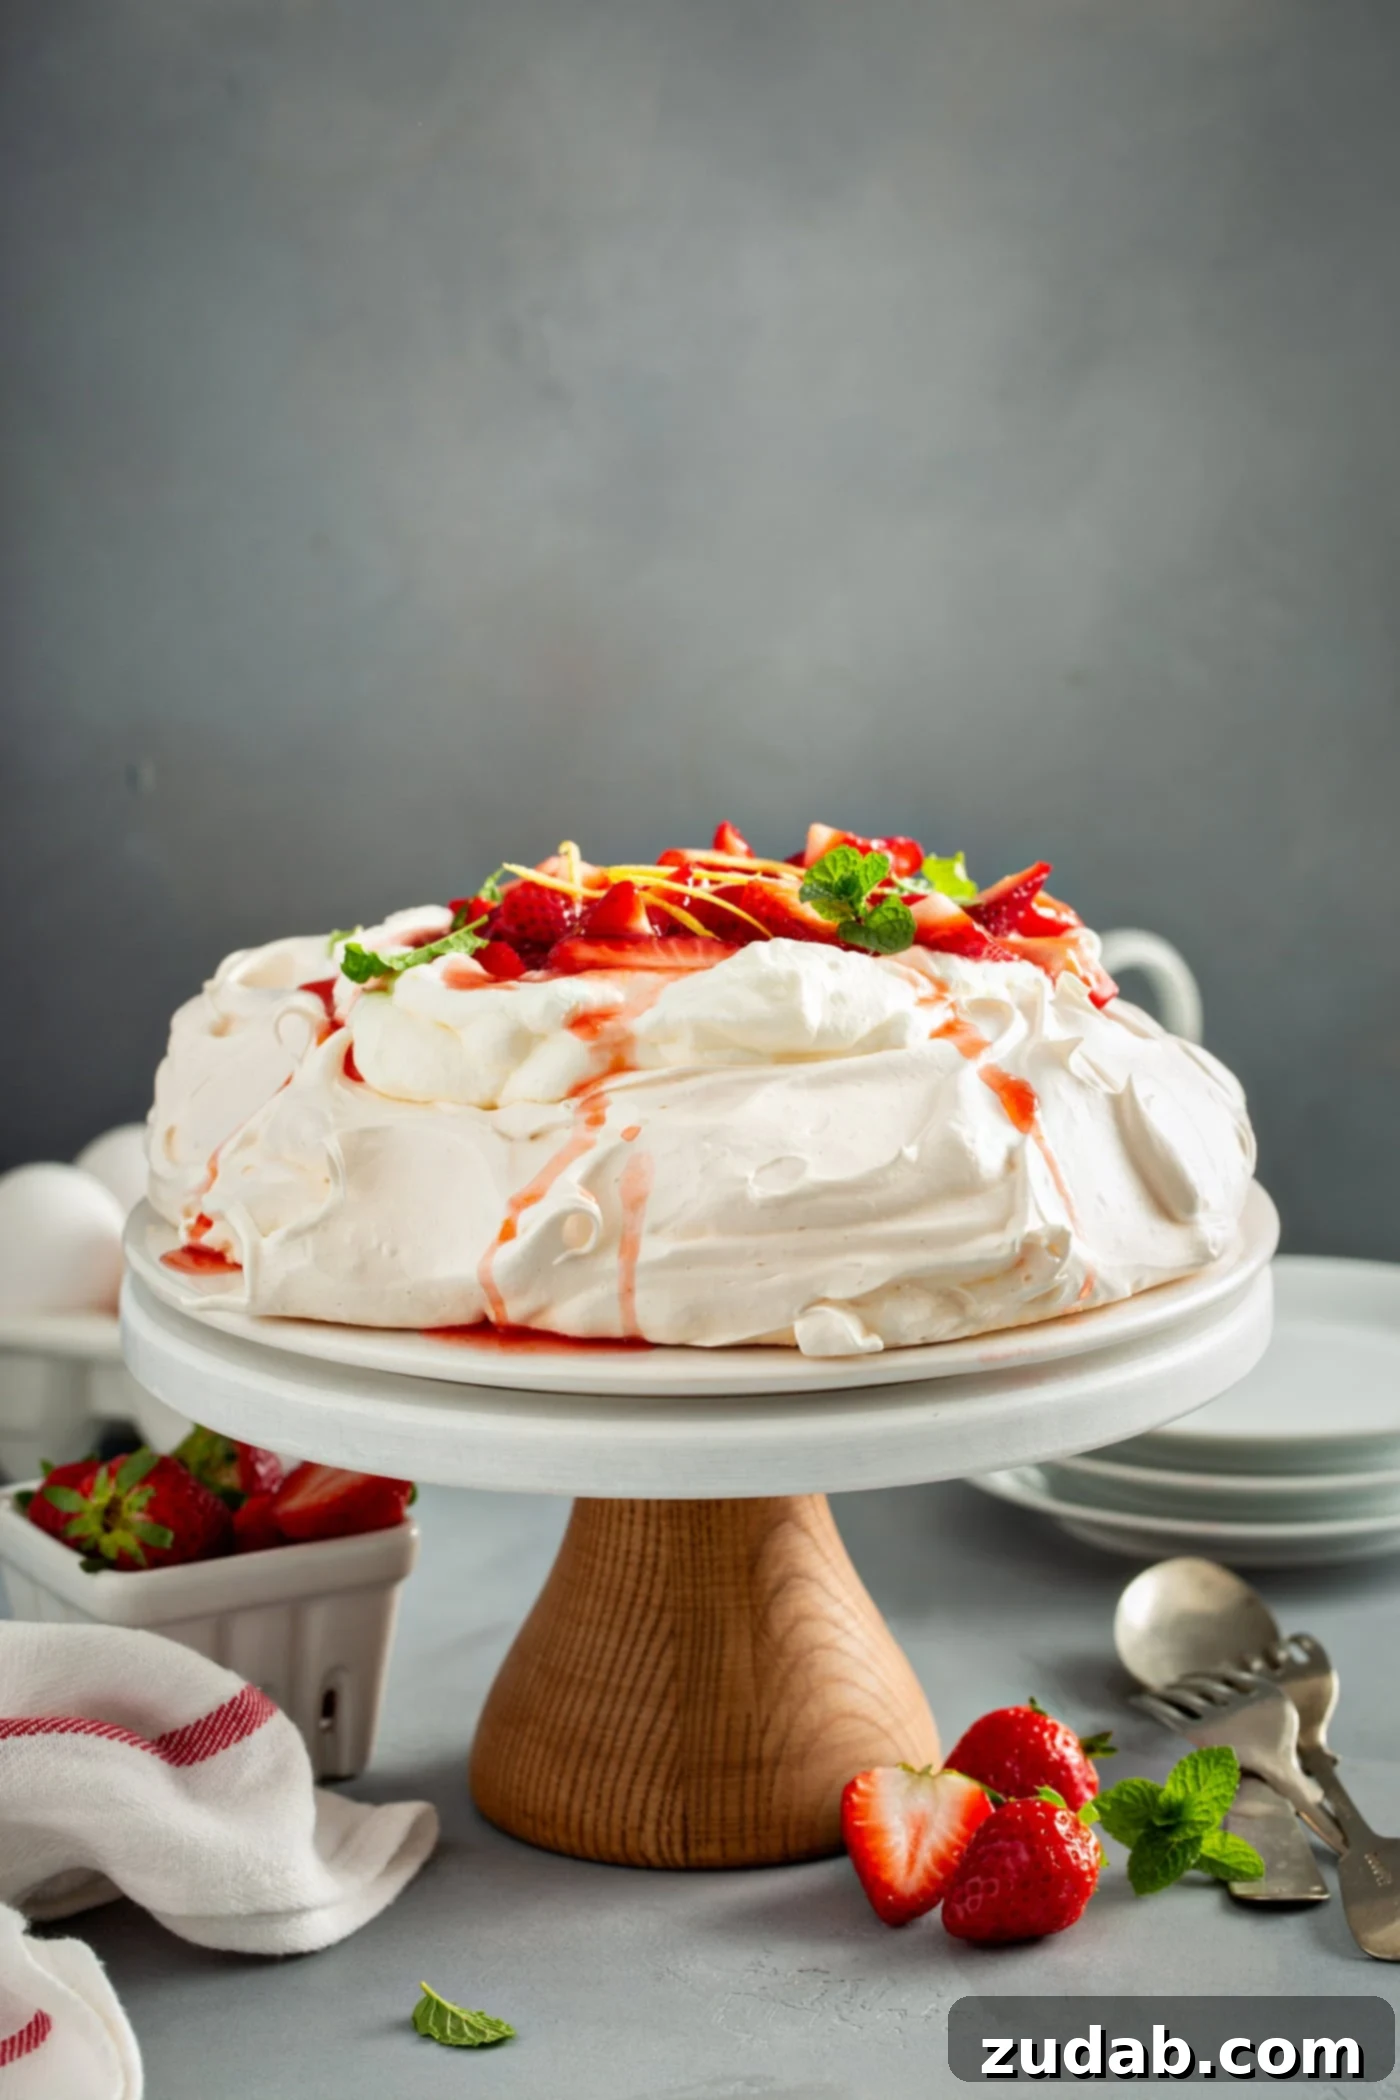
Does Pavlova Need To Be Refrigerated? Absolutely Not!
This is one of the most important rules when it comes to Pavlova care: **do NOT refrigerate your Pavlova, especially the meringue base itself!** The refrigerator contains a lot of moisture, which is the enemy of a crisp meringue. Placing Pavlova in the fridge will cause it to absorb that moisture, quickly turning it soggy and sticky, ruining its signature texture.
The meringue base should always be stored at room temperature in an airtight container to maintain its crispness. Once assembled with whipped cream and fruit, it’s still best kept at room temperature for as long as possible before serving. If you have leftovers, they can be loosely covered and kept at room temperature for a short period, or for slightly longer in an airtight container at room temperature. If absolutely necessary for an assembled Pavlova, a very short stint in the fridge (no more than an hour or two) right before serving might be acceptable, but prolonged refrigeration is to be avoided at all costs to preserve that glorious crisp-then-marshmallow texture.
Beyond Strawberries: Other Delicious Pavlova Topping Ideas
While this Pavlova with Strawberries is an absolute triumph, the beauty of this elegant dessert lies in its incredible versatility. The simple, sweet meringue base is a blank canvas, ready to be adorned with a myriad of delicious toppings. Here are some fantastic ideas to inspire your next Pavlova creation:
- **Mixed Berries:** A medley of fresh raspberries, blueberries, and blackberries offers a burst of color and a delightful mix of sweet and tart flavors.
- **Tropical Delight:** Sliced kiwi, mango, and passion fruit seeds create a vibrant, exotic Pavlova perfect for a summer gathering.
- **Lemon Curd & Blueberries:** A generous swirl of homemade lemon curd under a heap of fresh blueberries provides a bright, tangy contrast to the sweet meringue.
- **Peaches & Cream:** In season, thinly sliced fresh peaches (perhaps lightly grilled) with a drizzle of honey and a scattering of mint leaves are divine.
- **Rhubarb & Ginger:** For a more sophisticated touch, a gently stewed rhubarb compote with a hint of ginger offers a wonderful balance of tart and spicy notes.
- **Chocolate Indulgence:** A drizzle of melted dark chocolate over the whipped cream, perhaps with some toasted nuts or chocolate shavings, adds a rich, decadent layer.
- **Fig & Honey:** Fresh figs, quartered and arranged over whipped cream, with a generous drizzle of good quality honey, offer an elegant and subtly sweet option.
- **Berry Coulis & Pistachios:** A vibrant berry coulis (puréed and strained berries) with a sprinkle of chopped pistachios adds both flavor and crunch.
Truth be told, I always request strawberry shortcake for Mother’s Day because it is my greatest obsession, but this Pavlova with Strawberries is definitely going on the list this year! Why not have both, especially when something so exquisite is so easy to prepare?
More Perfect Dessert Ideas for Any Occasion:
If you’re looking for more delightful treats to satisfy your sweet tooth or impress your guests, explore these other fantastic recipes:
- Cinnamon Roll Cheesecake Bars
- Cinnamon Lemon Poppy Seed Bundt Cake
- Raspberry Sweet Rolls
- Strawberry Shortcake
- Lime Cheesecake with Triple Berry Sauce
- Mini Lemon Poppy Seed Bundt Cakes
- Nutella Stuffed Strawberry Chocolate Cupcakes
- Raspberry Lemon Bars
- Strawberry Jello Cake
- Peanut Butter Cheesecake Oreo Brownies
Pavlova With Strawberries
By Sweet Basil
Prep: 10 mins | Cook: 1 hr 30 mins | Total: 1 hr 40 mins
Servings: 6
Ingredients
- 4 Egg Whites, room temperature
- 1 Cup Sugar, plus 2 Tablespoons, divided
- 1 teaspoon White Vinegar
- 3/4 teaspoon Vanilla Extract
- 1 teaspoon Cornstarch
- 1 Pound Strawberries, quartered
- 1/4 Cup Strawberry Jam
- 1/2 Lemon, zest
- 1/2 teaspoon Lemon Juice
- Fresh Whipped Cream
Instructions
- Preheat oven to 250 degrees Fahrenheit (120°C).
- Draw a 9-inch circle on a piece of parchment paper and place it on a baking sheet. This will serve as your guide for the meringue layer.
- Place egg whites in the bowl of a stand mixer with a whisk attachment. Whisk at high speed for at least 1 minute, until frothy. Slowly add 1 cup of sugar and continue whisking until glossy, stiff peaks form (about 3-4 minutes). Switch to a rubber spatula and gently fold in the vinegar, vanilla, and cornstarch.
- Mound the meringue in the center of the parchment paper and use a spatula to evenly spread it out, forming a large disk within your drawn circle. Creating swirls and waves in the meringue is recommended for added texture and visual appeal, but a smooth finish is also fine.
- Bake for 90 minutes. After baking, turn the oven off and allow the meringue to cool completely in the oven, without opening the door, for at least 1 hour. This slow cooling process prevents cracking and ensures a perfect texture.
- Meanwhile, combine the quartered strawberries, strawberry jam, the remaining 2 tablespoons of sugar, lemon zest, and lemon juice. Gently fold them together and set aside to macerate.
- Prepare fresh whipped cream just before serving. Transfer the completely cooled meringue to a serving platter, then generously top with whipped cream and the macerated berries.
- Refrigerate any leftovers for up to 1 day.
Recipe Notes
Pavlova meringue base should be stored in an airtight container at room temperature for up to 2 days if unassembled. Do not refrigerate Pavlova, as moisture will cause it to become soggy. Best eaten fresh on the day it’s made.
Nutrition
Serving: 1g, Calories: 209kcal, Carbohydrates: 50g, Protein: 3g, Fat: 1g, Saturated Fat: 1g, Polyunsaturated Fat: 1g, Monounsaturated Fat: 1g, Sodium: 39mg, Potassium: 173mg, Fiber: 2g, Sugar: 44g, Vitamin A: 11IU, Vitamin C: 51mg, Calcium: 19mg, Iron: 1mg
Nutrition information is automatically calculated, so should only be used as an approximation.
REMEMBER TO SUBSCRIBE TO our FREE Oh Sweet Basil NEWSLETTER AND RECEIVE EASY RECIPES DELIVERED INTO YOUR INBOX EVERY DAY!
When you try a recipe, please use the hashtag #ohsweetbasil on INSTAGRAM for a chance to be featured in our stories! FOLLOW OH, SWEET BASIL ON FACEBOOK | INSTAGRAM | PINTEREST | TWITTER FOR ALL OF OUR LATEST CONTENT, RECIPES AND STORIES.