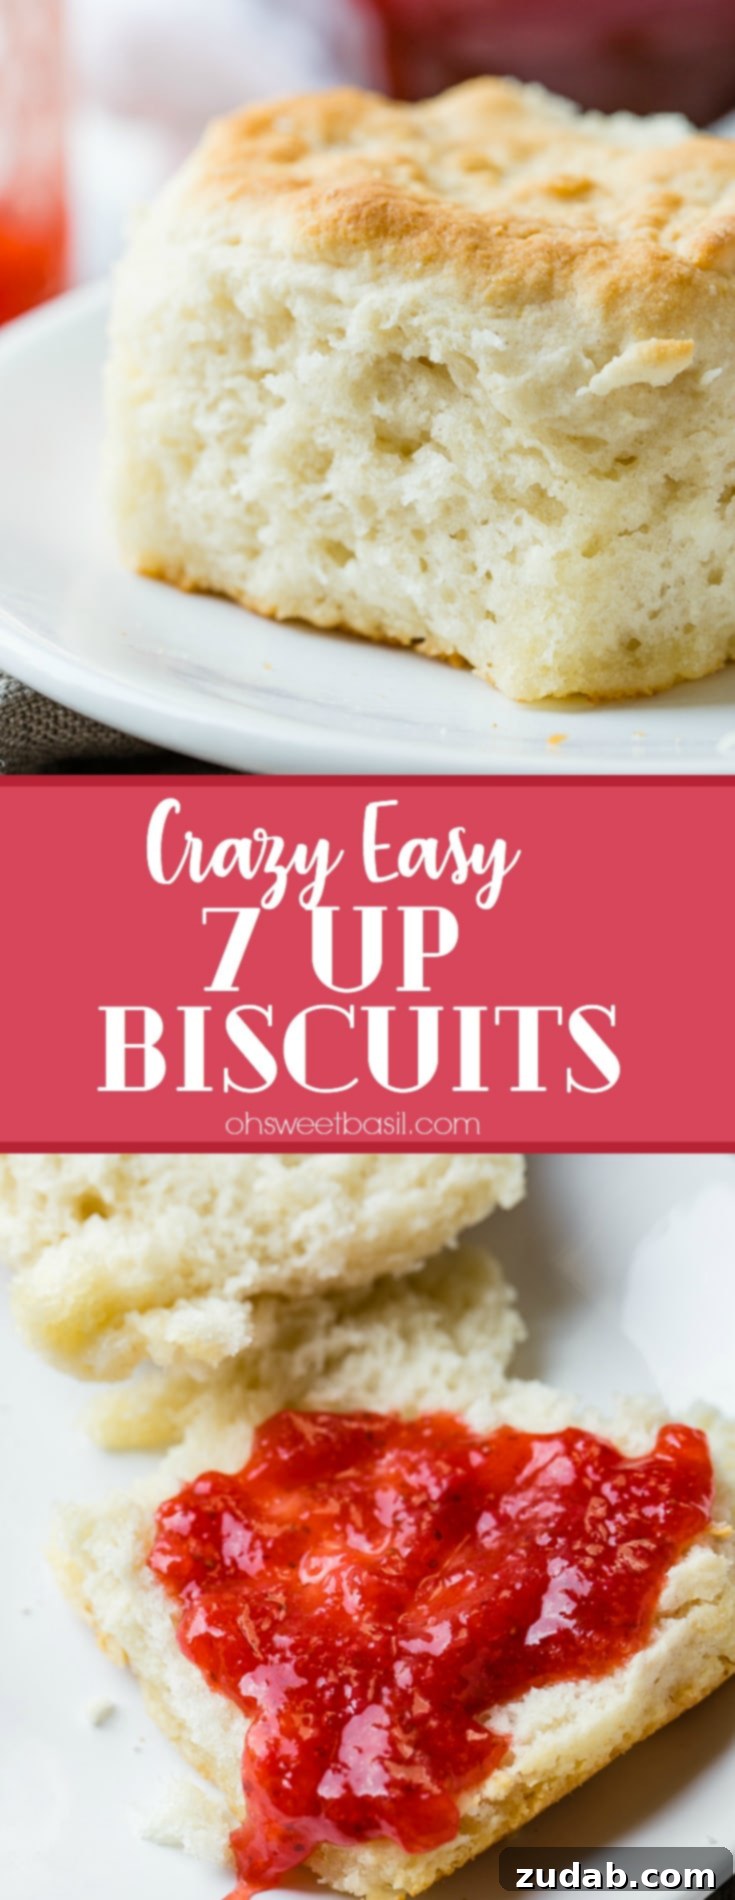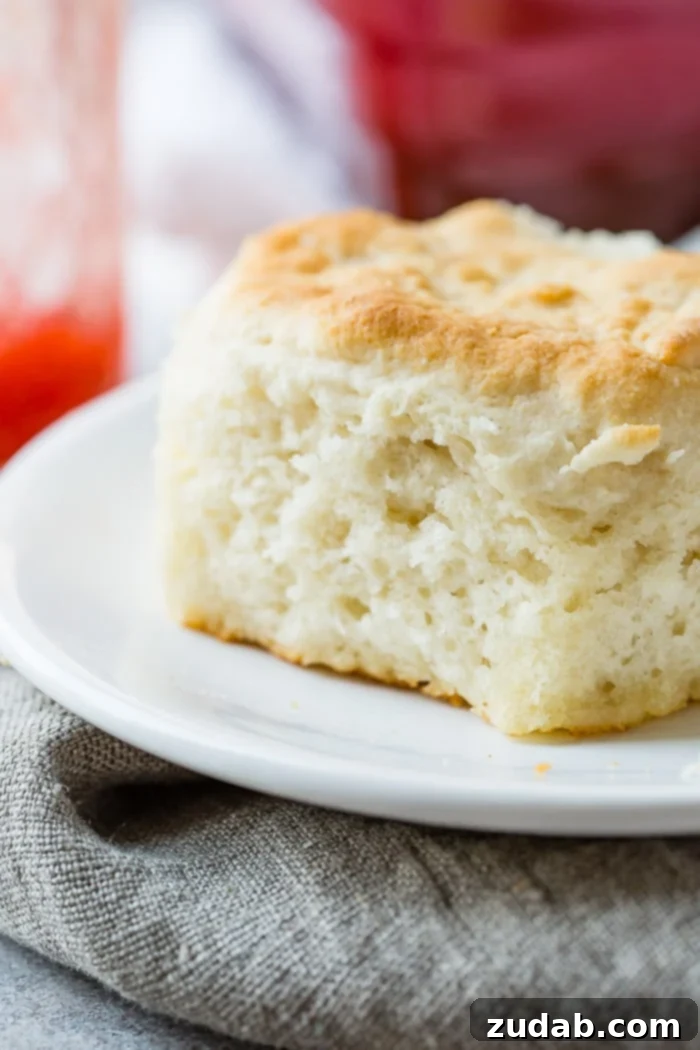
Effortlessly Fluffy: The Ultimate 7 Up Biscuits with Bisquick Recipe
Prepare to revolutionize your baking with these incredibly simple yet irresistibly fluffy 7 Up Biscuits! Forget the complexities of traditional biscuit making; this recipe is a game-changer, requiring just four common ingredients and a mere 15 minutes of your time from start to finish. Whether you’re planning a cozy family dinner, hosting a grand Thanksgiving feast, or preparing a festive Christmas spread, these light-as-air biscuits promise to be a show-stopping side dish that everyone will rave about.
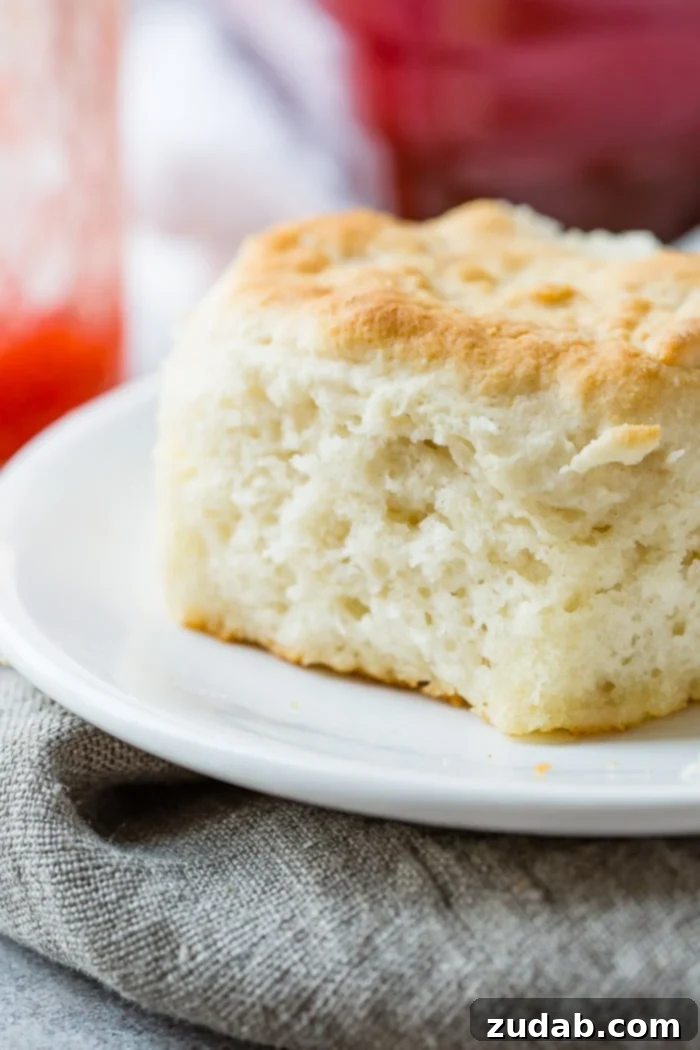
Why 7 Up Biscuits with Bisquick Will Change Your Baking Game
For many home cooks, the thought of baking biscuits from scratch can be a little daunting. The delicate balance of keeping butter perfectly cold, painstakingly cutting it into the flour, and then dreading the moment you overmix the dough, only to end up with flat, dense, or dry disappointments – it’s enough to send anyone running for the pre-made variety. We’ve all been there, staring at a sad, deflated biscuit, wondering where we went wrong.
That’s precisely why discovering these incredibly easy 7 Up Biscuits was such a revelation. It takes all the guesswork and intimidation out of biscuit baking, transforming what was once a challenge into a simple, enjoyable process. There’s something truly magical about the texture and taste of a perfectly baked biscuit – that buttery richness, the tender crumb, and the way it melts in your mouth. What makes these biscuits stand out is that they deliver on all these fronts without the usual fuss. No need to fret over cold butter in the dough itself (though a generous slather of melted butter later is essential!), these Bisquick and 7 Up wonders practically bake themselves into a light, airy perfection. You’d never guess the secret ingredient is a common lemon-lime soda!
Essential Ingredients for Your Fluffy 7 Up Biscuits
One of the many charms of this 7 Up biscuit recipe is its minimal ingredient list. You’ll only need four items, many of which you might already have in your pantry or refrigerator. Let’s break down what’s needed to create these delectable treats:
- Bisquick: The cornerstone of this recipe, Bisquick provides the flour, leavening, and shortening all in one convenient mix, simplifying the process immensely.
- 7 Up: This is the secret ingredient! The carbonation in 7 Up (or a similar lemon-lime soda) acts as an additional leavening agent, contributing significantly to the biscuits’ incredible fluffiness and tenderness. It also adds a subtle, pleasant tang.
- Sour Cream: Adding sour cream introduces richness, moisture, and a slight tang that complements the 7 Up beautifully. It helps create a tender, soft interior that truly sets these biscuits apart.
- Butter: Melted butter is poured into the baking dish before the biscuits are placed, ensuring a golden, buttery crust and preventing sticking. This clever technique infuses every biscuit with delicious flavor without the fuss of cutting butter into the dough.
Step-by-Step Guide to Baking Perfect Biscuits with Bisquick and 7 Up
Making these Bisquick and 7 Up biscuits is genuinely straightforward, but the key to their legendary fluffiness lies in a gentle hand during the dough handling. Here’s how to achieve biscuit perfection every time:
- Preheat Your Oven and Prepare the Pan: Begin by preheating your oven to 425°F (220°C). While the oven heats, melt the butter and pour it evenly into a 9×13-inch baking dish. This creates a delicious, buttery base for your biscuits.
- Combine Wet and Dry Ingredients: In a large mixing bowl, combine the Bisquick, 7 Up, and sour cream. Stir these ingredients together gently using a wooden spoon or a sturdy fork. Avoid using a whisk, as the dough will be extremely sticky and difficult to remove. Mix just until the ingredients are combined; overmixing develops gluten, which leads to tough biscuits.
- Flour Your Work Surface: Sprinkle about 1/4 cup of additional Bisquick onto a clean countertop or a large pastry board. This dusting is crucial for handling the sticky dough.
- Turn Out and Gently Knead the Dough: Carefully scoop the sticky biscuit dough onto the Bisquick-dusted surface. Sprinkle another 1/4 cup of Bisquick over the top of the dough. Now, with clean hands, gently slide your hands underneath the dough, lift one half, and fold it over the other. Turn the dough a quarter turn and repeat this folding process. Continue this gentle folding and turning until the dough is soft and no longer excessively sticky to your hands, unless you squeeze it tightly. The goal is to incorporate just enough flour to make it workable, without overworking the dough itself.
- Pat the Dough to Thickness: Gently, ever so gently, pat the dough out evenly with your hands. While many recipes suggest a 1-inch thickness, for those coveted mile-high biscuits, aim for about 1 1/2 to 2 inches thick. This extra height allows the biscuits to rise beautifully.
- Cut the Biscuits: Gather a small pile of Bisquick on the counter and dip your biscuit cutter into it, jiggling it slightly. This trick prevents the dough from sticking to the cutter. Cut out the biscuits, pressing straight down without twisting (twisting seals the edges and inhibits rising). Carefully transfer each cut biscuit into the prepared baking dish with the melted butter.
- Reform and Cut Remaining Dough: Gently gather the dough scraps, lightly pat them together, and continue cutting out biscuits until all the dough is used. Remember to handle the dough as little and as gently as possible to maintain its tender texture.
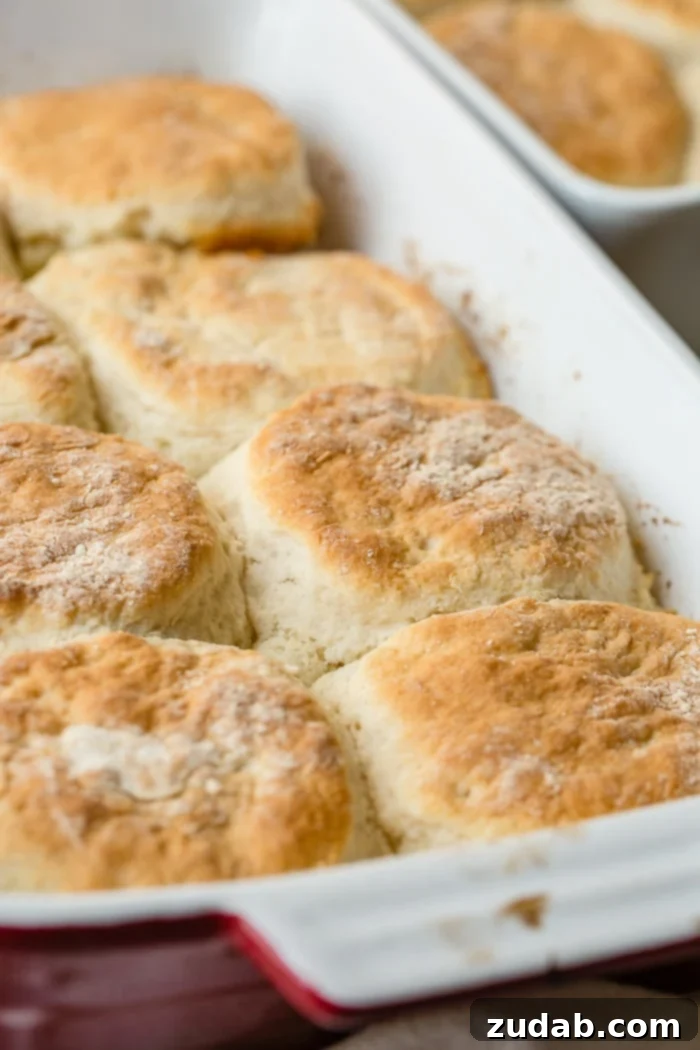
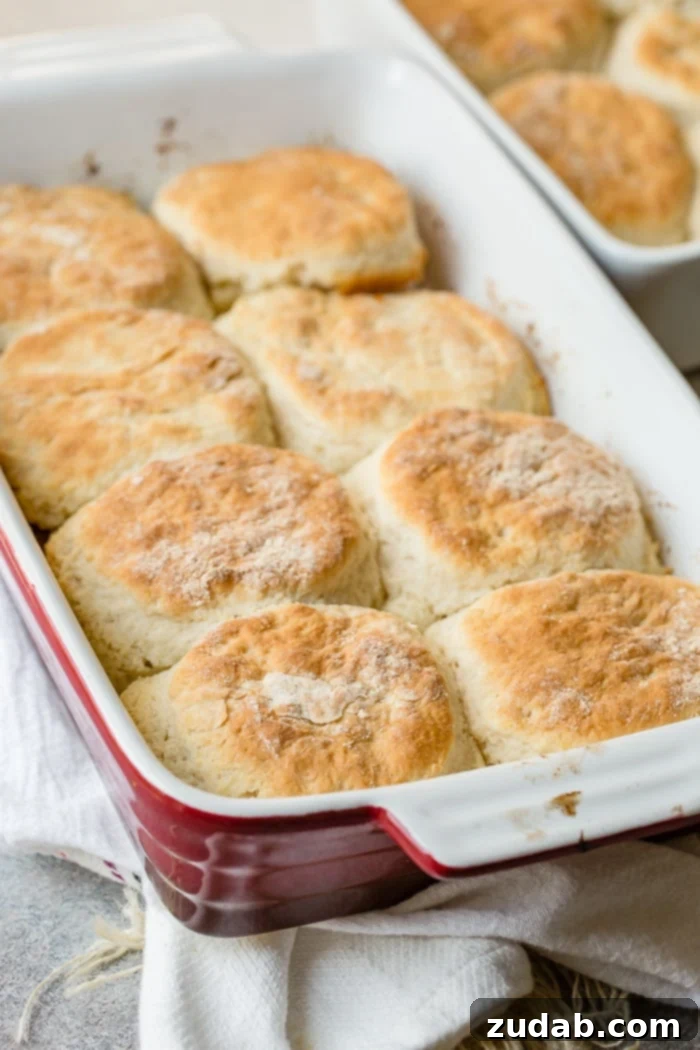
- Bake to Golden Perfection: Place the baking dish in the preheated oven and bake for only about 10-12 minutes, or until the biscuits are risen high and their tops are beautifully golden brown.
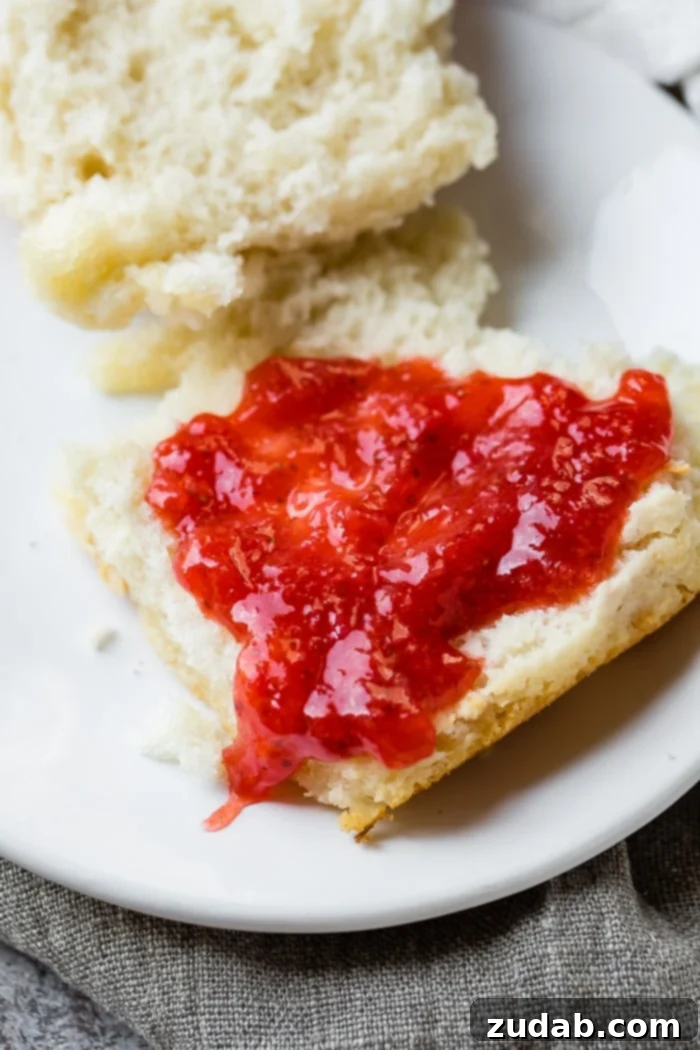
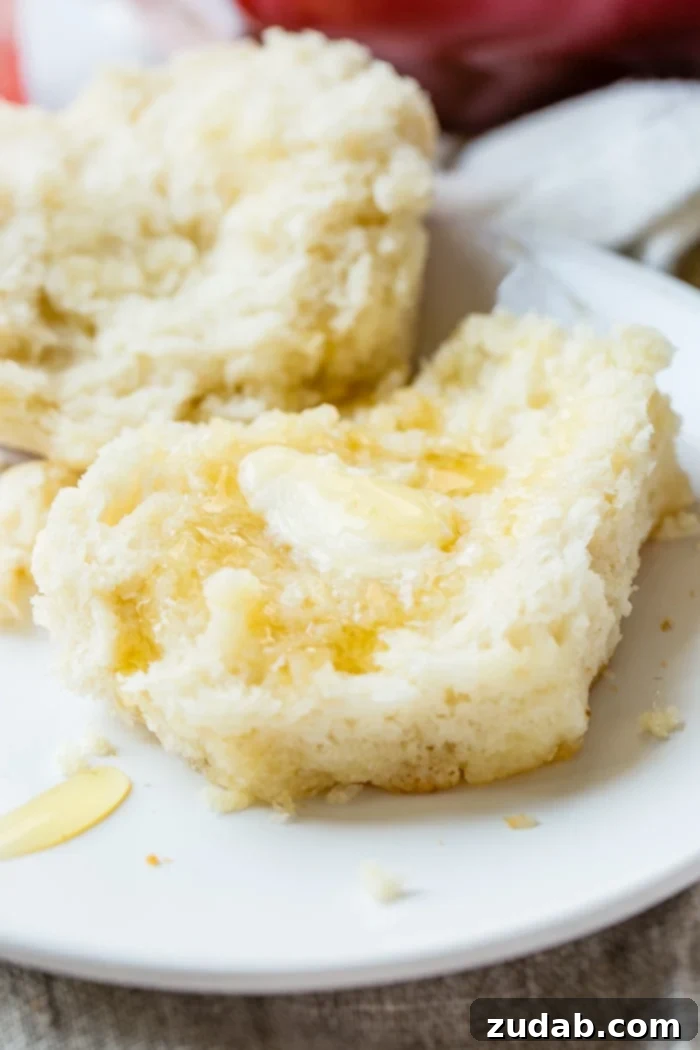
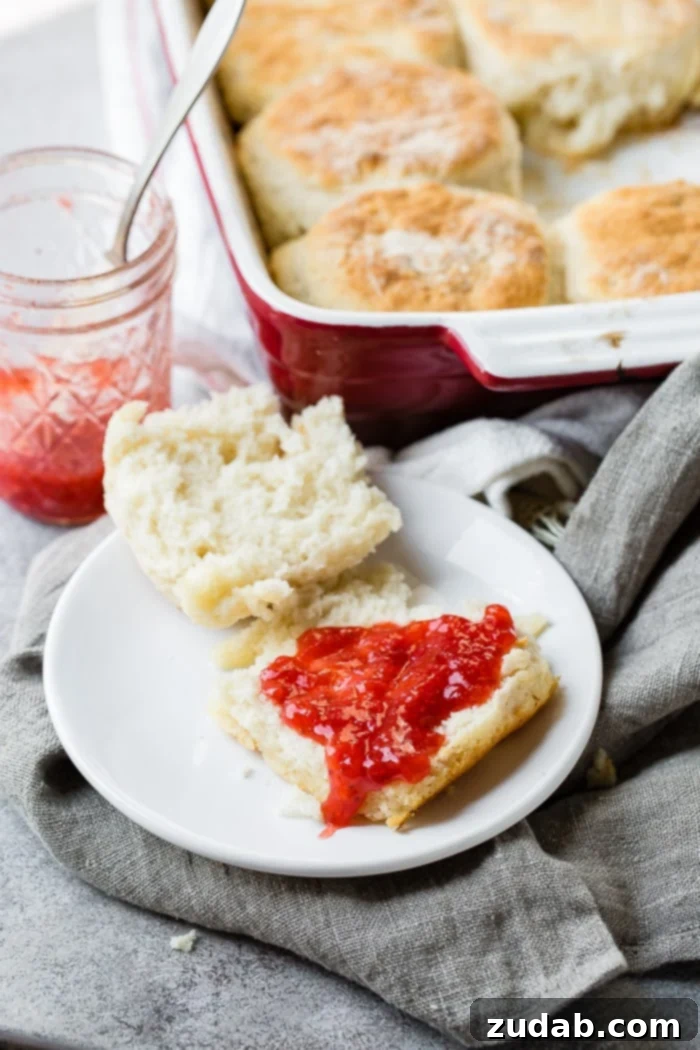
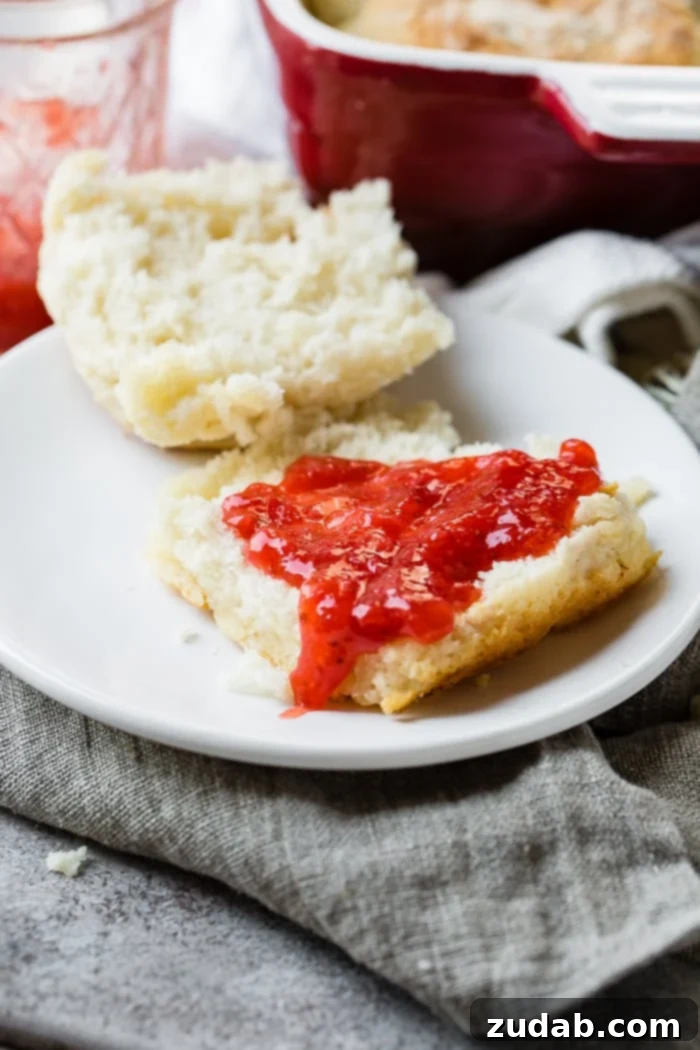
- Cool and Serve: Remove the pan from the oven. Let the biscuits cool slightly in the pan before serving. Enjoy them warm, slathered with extra butter, honey, or your favorite jam!
Frequently Asked Questions about 7 Up Biscuits
How Do You Know When Biscuits Are Done?
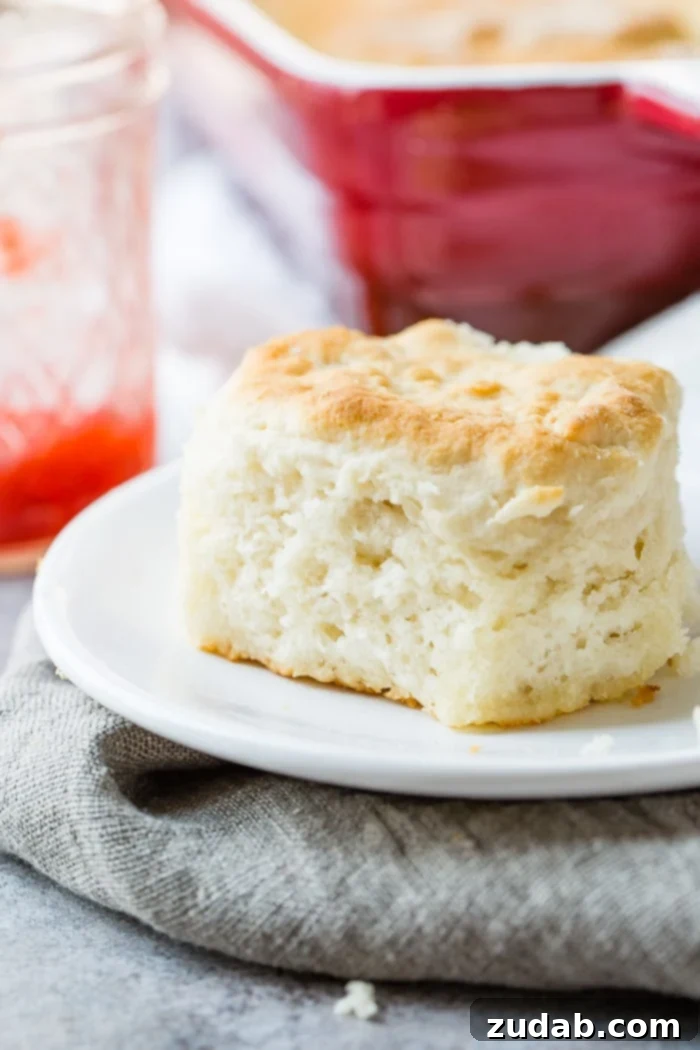
Determining when your biscuits (or scones and shortcakes) are perfectly baked is crucial for optimal texture and flavor. Look for these indicators: they should have risen significantly, achieving a visibly fluffy height. The tops should be a beautiful golden brown, indicating a crisp exterior. Additionally, a gentle tap on the top of a biscuit should reveal a firm surface that doesn’t sink back down, which would suggest a still-wet interior.
How Long Do Biscuits Last?
Proper storage is key to enjoying your freshly baked 7 Up Biscuits for as long as possible. At normal room temperature, when stored in an airtight container, freshly baked biscuits will typically retain their quality for about 1 to 2 days. If you wish to extend their freshness, storing them in an airtight container in the refrigerator can keep them well for about 1 week. For longer storage, see our freezing tips below.
Why Did My Biscuits Come Out Flat?
Flat biscuits are a common baking disappointment, and the most likely culprit is often overmixing. This is a recurring issue with many quick breads, muffins, and pancakes. These types of doughs thrive on quick, light handling—just enough to combine the ingredients without developing the gluten too much. Use a fork or a large rubber spatula with gentle, swift strokes. Another potential reason for flat biscuits could be expired baking powder (or in this case, old Bisquick). Baking powder’s leavening power diminishes over time, so always check the expiration date to ensure your ingredients are fresh and active.
Do I Have to Use Bisquick?
Yes, Bisquick is a fundamental ingredient in this specific recipe, as it’s formulated to provide the perfect balance of flour, leavening, and shortening for a quick and easy biscuit. However, if you find yourself without Bisquick or live in an area where it’s unavailable, you’re in luck! You can easily make your own homemade Bisquick alternative with a few pantry staples.
Can I Use Diet 7 Up or Another Type of Soda?
While we’ve only tested this 7 Up biscuit recipe with regular 7 Up, which contributes to both the leavening and a subtle sweetness, using diet 7 Up might affect the flavor and texture. Diet sodas contain artificial sweeteners that can behave differently in baking, potentially altering the browning or the overall moistness of the biscuits. For best results, we recommend sticking to regular 7 Up.
As for other sodas, you can likely achieve similar results using regular Sprite or another lemon-lime flavored soda. The key is the carbonation and a similar flavor profile. We’ve even had success with unflavored or lime seltzer water and plain Greek yogurt instead of sour cream, proving the versatility of this method. These substitutions yielded beautifully fluffy biscuits, demonstrating that the carbonation and moisture are the most critical elements, even if the flavor nuances shift slightly.
Expert Tips for Making the Best 7 Up Biscuits
- Avoid Overmixing: This cannot be stressed enough. Overmixing is the arch-nemesis of fluffy biscuits. Mix only until the ingredients are just combined. A sticky dough is a good sign; don’t be tempted to add too much extra flour.
- Gentle Handling is Key: When folding and patting the dough, be incredibly gentle. Think of it more as coaxing the dough into shape rather than aggressively kneading it. Minimal handling keeps the biscuits tender.
- Use the Right Tool for Mixing: Do NOT use a whisk to stir the Bisquick, 7 Up, and sour cream. The dough is exceptionally sticky, and you’ll regret the cleanup. A sturdy wooden spoon or even a strong fork works best for combining.
- Don’t Twist the Cutter: When cutting biscuits, press your cutter straight down and pull it straight up. Twisting the cutter seals the edges of the biscuit dough, which can prevent them from rising to their full, fluffy potential.
- Chill Your Cutter (Optional but Recommended): For even cleaner cuts and a bit more lift, you can chill your biscuit cutter in the freezer for a few minutes before use.
- Consider Gluten-Free Bisquick: While this recipe was originally tested with regular Bisquick, many brands offer gluten-free Bisquick alternatives. If you’re gluten-intolerant, this might be a viable option to try.
- Full-Fat Sour Cream for Best Rise: While lower-fat sour cream can be used, we’ve found that using regular, full-fat sour cream tends to yield taller, fluffier biscuits with a richer flavor.
- Freezing Leftover Biscuits: Cooked 7 Up Biscuits freeze wonderfully. Allow them to cool completely, then place them in an airtight freezer bag or container. They can be frozen for up to 2-3 months. To reheat, thaw them at room temperature and warm in a moderate oven (around 300°F/150°C) until heated through.
- Make-Ahead Dough: While these are quick, you can prepare the dough, cut the biscuits, and arrange them in the buttered pan, then cover and refrigerate for a few hours before baking. This is great for holiday mornings.
Other Easy Bread Recipes You’ll Love
- Homemade Baguette
- Garlic Parmesan Focaccia
- French Bread
- Buttermilk Biscuits
- Skillet Cornbread
- Homemade Naan
- Best Potato Rolls
- Feta Muffins
- Easy No Knead Artisan Bread
- One Hour Rolls
- Whole Wheat Potato Rolls
- Sweet Potato Rolls
- Herbed Focaccia Bread
- Cheesy Ranch Rolls
- Sweet Cornbread
- All our BREAD RECIPES here!
7 Up Biscuits Recipe
By Sweet Basil
Prep Time: 5 mins | Cook Time: 10 mins | Total Time: 15 mins
Servings: 15

These 7 Up Biscuits are super fluffy! This recipe calls for just 4 ingredients and comes together in about 15 minutes! Perfect for family dinners, Thanksgiving, and Christmas!
Ingredients
- 1/2 Cup Butter
- 4 Cups Bisquick, + 1/2 cup for kneading
- 1 Cup 7 UP
- 1 Cup Sour Cream
Instructions
- Preheat the oven to 425 degrees F (220°C).
- Melt the butter and pour into a 9×13-inch pan.
- In a large bowl, stir together the Bisquick, 7 Up, and sour cream. The dough will be extremely sticky. Use a wooden spoon or fork.
- Sprinkle 2 tablespoons to 1/4 cup of Bisquick on the counter, and turn the dough out onto the counter.
- Sprinkle 2 tablespoons to 1/4 cup Bisquick over the dough.
- Gently slide your fingers under the dough and lift it up and over the dough so it folds in half.
- Turn the dough and gently repeat until the dough is no longer sticky unless you squeeze the dough.
- Gently pat the dough 1 1/2 to 2 inches thick.
- Place a biscuit cutter or jar in the leftover Bisquick to flour it and gently cut out biscuits, repeating in the flour as necessary. Press straight down, do not twist.
- Carefully bring the dough scraps back together and pat it out until you’ve used all the dough.
- Place the biscuits in the buttered pan and bake for 10-12 minutes.
- Remove from the oven to cool slightly and enjoy!
Recipe Notes
- Biscuits will keep for 2-3 days at room temperature in an airtight container, or up to 1 week in the refrigerator. They can also be frozen for longer storage.
Nutrition
Serving: 1g, Calories: 227kcal, Carbohydrates: 22g, Protein: 3g, Fat: 14g, Saturated Fat: 7g, Cholesterol: 25mg, Sodium: 476mg, Potassium: 74mg, Fiber: 1g, Sugar: 6g, Vitamin A: 285IU, Vitamin C: 1mg, Calcium: 76mg, Iron: 1mg
Nutrition information is automatically calculated, so should only be used as an approximation.