
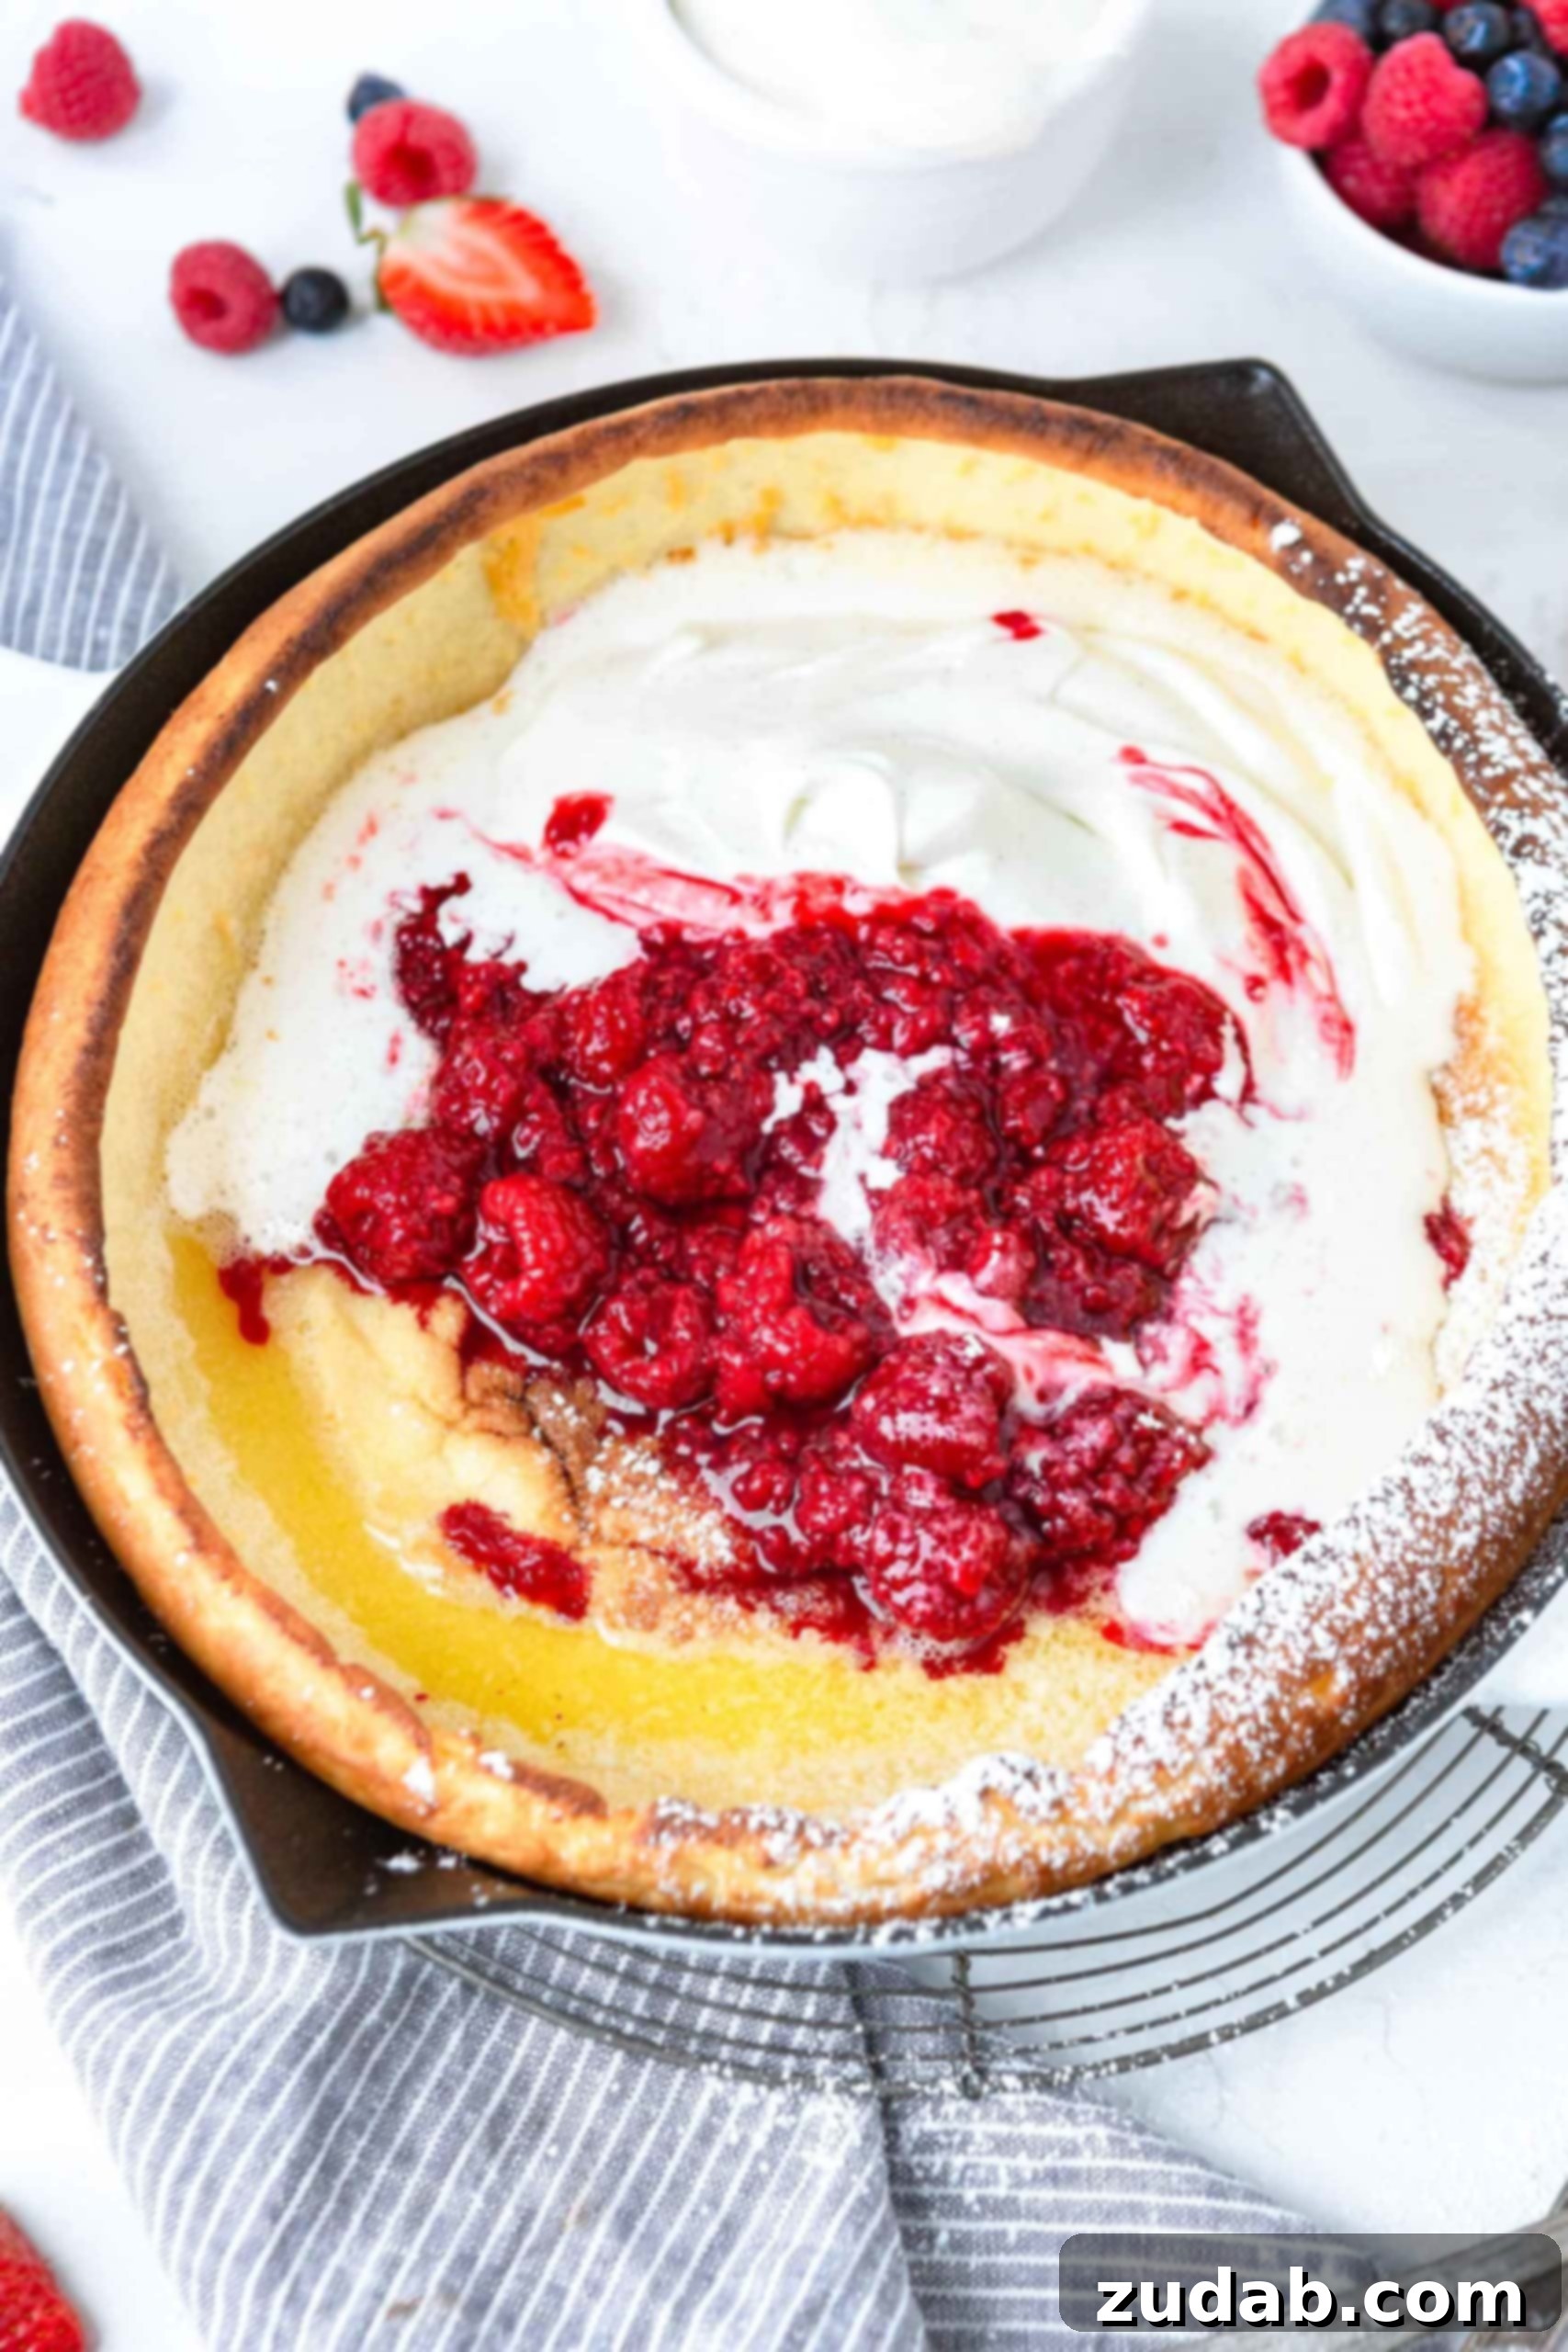
The Ultimate Dutch Baby Pancake Recipe: A Family Favorite for Any Meal
Imagine a breakfast so effortlessly elegant, yet so utterly comforting, that it gathers everyone around the table with an eager anticipation. That’s the magic of the Dutch Baby Pancake! This oven-baked marvel, with its dramatically puffed edges and delightfully custardy center, transforms simple mornings into extraordinary feasts. Crowned with a cloud of whipped cream and a burst of vibrant berries, it’s a dish so captivating, your family might just linger a little longer.
Forget the endless flipping of individual pancakes. The Dutch Baby is a showstopper that bakes to perfection in one go, offering a unique texture profile that combines the best of a fluffy pancake, a delicate crepe, and a airy popover. It’s a versatile canvas for both sweet and savory cravings, making it an ideal choice for a special weekend brunch or even a fun breakfast-for-dinner treat.
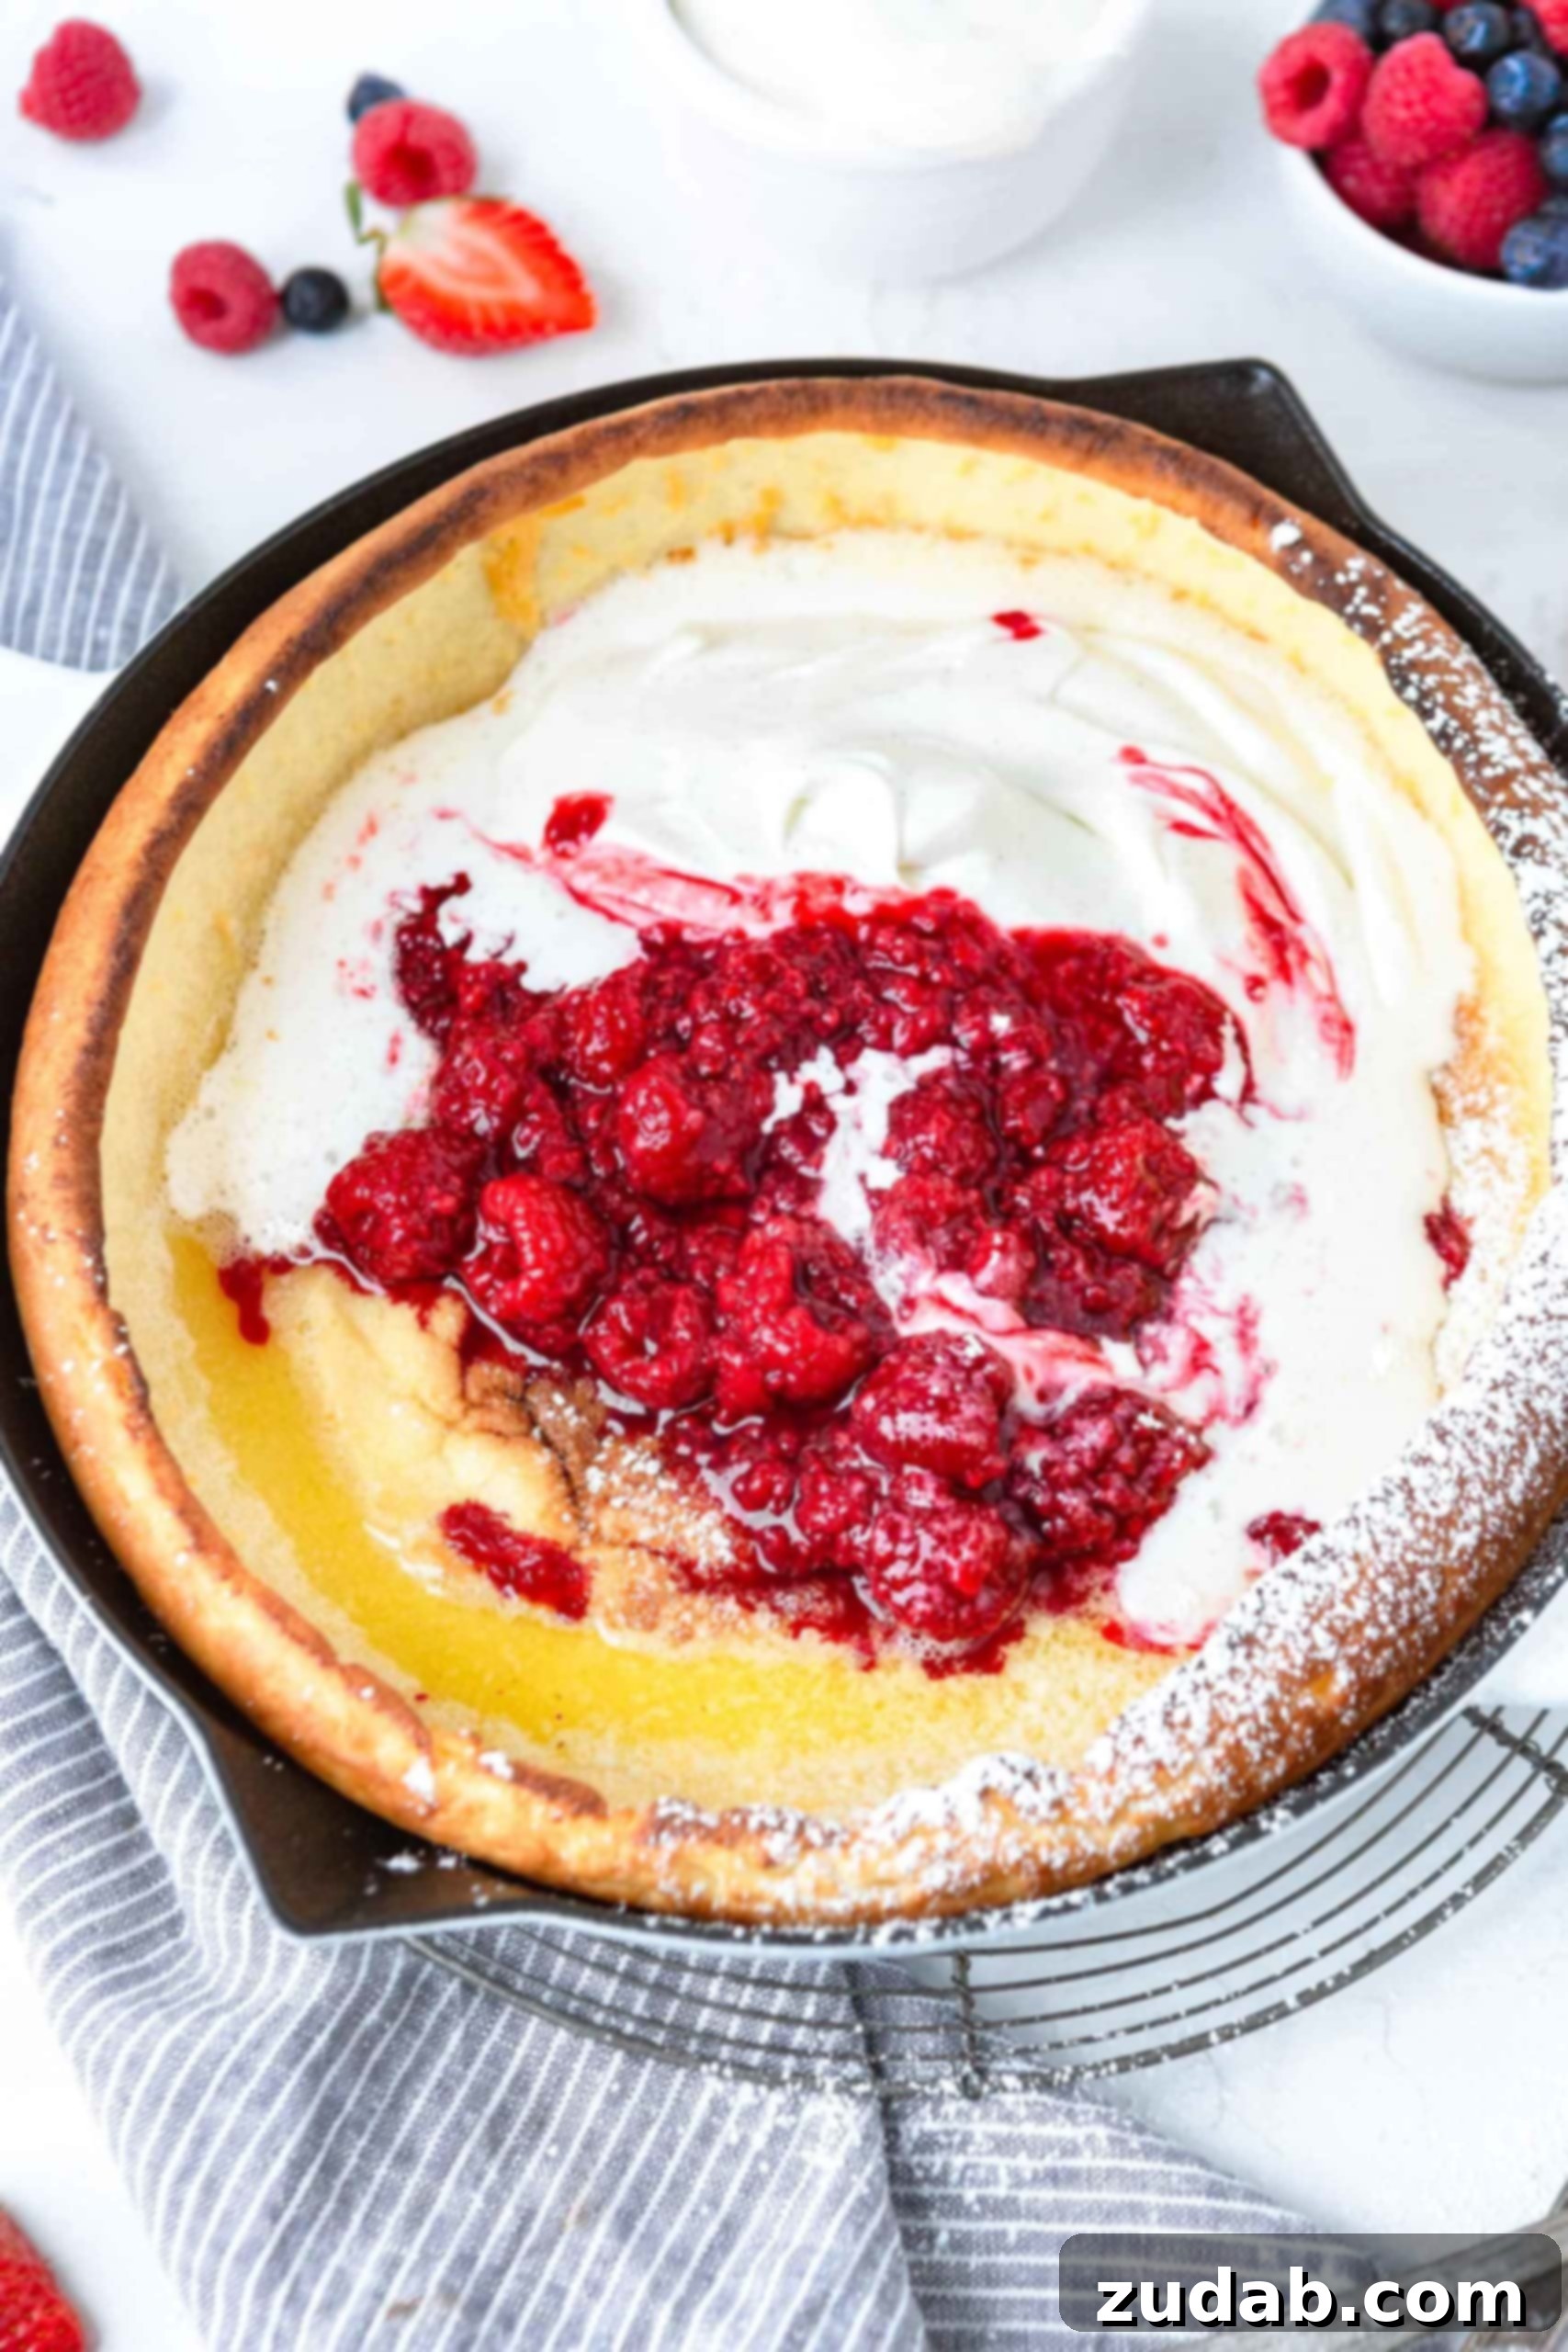
What Exactly is a Dutch Baby Pancake?
A Dutch Baby pancake, often referred to as a German pancake, is a large, oven-baked pancake typically prepared in a cast iron skillet. Unlike traditional stovetop pancakes, this batter is poured into a hot, buttered pan and baked at a high temperature. The intense heat causes the edges to spectacularly puff up and climb the sides of the skillet, creating a dramatic, bowl-like shape, while the center remains tender and custardy.
The texture is truly what sets it apart. The airy, crispy edges provide a delightful contrast to the soft, almost crépe-like bottom. It’s a culinary chameleon, capable of being transformed into a sweet dessert with powdered sugar, fresh fruit, and syrup, or a savory sensation topped with ingredients like ham, cheese, chives, or even smoked salmon and crème fraîche. Its impressive presentation makes it perfect for entertaining, yet its simple preparation means it’s accessible for any home cook. Plus, the convenience of baking one large pancake means everyone can enjoy a hot, fresh slice at the same time, eliminating the common dilemma of cold pancakes while others are still cooking.
Dutch Baby vs. German Pancake: Unraveling the Mystery
The terms “Dutch Baby pancake” and “German pancake” are often used interchangeably, and for good reason—they are, in essence, the same dish. The primary distinction typically lies in the baking vessel and sometimes, slight regional recipe variations. German pancakes, or Pfannkuchen, were traditionally baked in a larger, flatter pan, sometimes a casserole dish, and might have been known for a slightly denser texture.
The “Dutch Baby” moniker, on the other hand, is generally attributed to a restaurant in Seattle, Manca’s Cafe, in the early 20th century. Legend has it that the owner’s daughter coined the term, a corruption of “Deutsch” (German), to describe the individual-sized, skillet-baked version of the German pancake. Regardless of the name, both refer to a delightful, oven-puffed pancake that delivers a unique and satisfying breakfast experience. The core ingredients and technique remain remarkably consistent, focusing on a thin, egg-rich batter that achieves its signature puff in the oven’s high heat.
Why This Dutch Baby Pancake Recipe Will Become Your Family’s Favorite
There’s a reason the Dutch Baby pancake holds a special place in many households, and it’s quickly becoming a beloved tradition in ours too. I remember Cade’s college roommates making these on weekends – a bunch of boys gathered around a skillet, creating something delicious. It just goes to show how simple and satisfying this recipe truly is!
Here’s why you’ll adore it:
- Effortless Elegance: It looks incredibly impressive, yet requires minimal effort. Just blend, pour, and bake!
- Family-Friendly: One large pancake means no more standing over the stove flipping individual servings. Everyone eats together, enjoying a warm, fresh piece straight from the oven.
- Quick Preparation: With only about 10 minutes of prep time, you can have a gourmet-looking breakfast ready for the oven in a flash.
- Versatility: Whether you crave sweet or savory, the Dutch Baby is your canvas. From classic berries and powdered sugar to adventurous ham and cheese, the possibilities are endless.
- Unique Texture: The crispy, golden edges contrasting with the soft, custardy center provide a delightful culinary experience that appeals to all ages.
Simple Ingredients, Spectacular Results
One of the many beauties of the Dutch Baby pancake lies in its incredibly straightforward ingredient list. You likely have most, if not all, of these staples in your pantry and refrigerator right now. This makes it a perfect spontaneous treat for a lazy Saturday morning or a quick, satisfying meal any time.
- Flour: All-purpose flour provides the essential structure for the pancake.
- Milk: Adds moisture and richness to the batter, contributing to its tender texture.
- Lemon Zest: A secret weapon! Just a touch of fresh lemon zest brightens the flavor, cutting through the richness and adding a subtle, delightful aroma. Don’t skip this!
- Salt: A pinch of salt balances the flavors and enhances the sweetness.
- Eggs: The star of the show! A generous amount of eggs is crucial for the dramatic puff and custardy texture that defines a Dutch Baby.
- Butter: Essential for both flavor and to create that perfectly crispy, golden crust in the hot skillet.
Using high-quality, fresh ingredients will always yield the best results, so opt for fresh eggs and good butter if possible. The exact measurements for each ingredient can be found in the detailed recipe card further down this page.
Mastering the Art of Dutch Baby Pancakes: A Step-by-Step Guide
Making a Dutch Baby pancake is surprisingly simple, almost foolproof, and incredibly rewarding. Even my daughter loves to take the lead on this one! Here’s a detailed breakdown of the process to ensure your Dutch Baby turns out perfectly puffed and golden every time:
- Preheat for Success: Start by preheating your oven to a hot 425°F (220°C). This high heat is crucial for achieving that dramatic puff.
- Melt the Butter: Place your butter directly into your cast iron skillet (or other oven-safe baking dish). Pop the skillet into the preheating oven and let the butter melt completely and get sizzling hot. You want it bubbly and browned slightly, which prevents sticking and adds a wonderful flavor.
- Whip Up the Batter: While the butter melts, combine the flour, milk, lemon zest, salt, and eggs in a blender. Pulse until the mixture is completely smooth and airy, with no lumps of flour remaining. The smoother the batter, the better the puff!
- Careful Pour: Once the butter is melted and hot, carefully remove the skillet from the oven. Swirl the butter around to coat the bottom and sides evenly. Immediately pour the smooth batter into the hot skillet. The batter should sizzle upon contact.
- Bake to Perfection: Return the skillet to the preheated oven. Bake for approximately 20-25 minutes, or until the pancake is dramatically puffed around the edges, deeply golden brown, and the center is set. Resist the urge to open the oven door during baking, as this can cause the pancake to deflate.
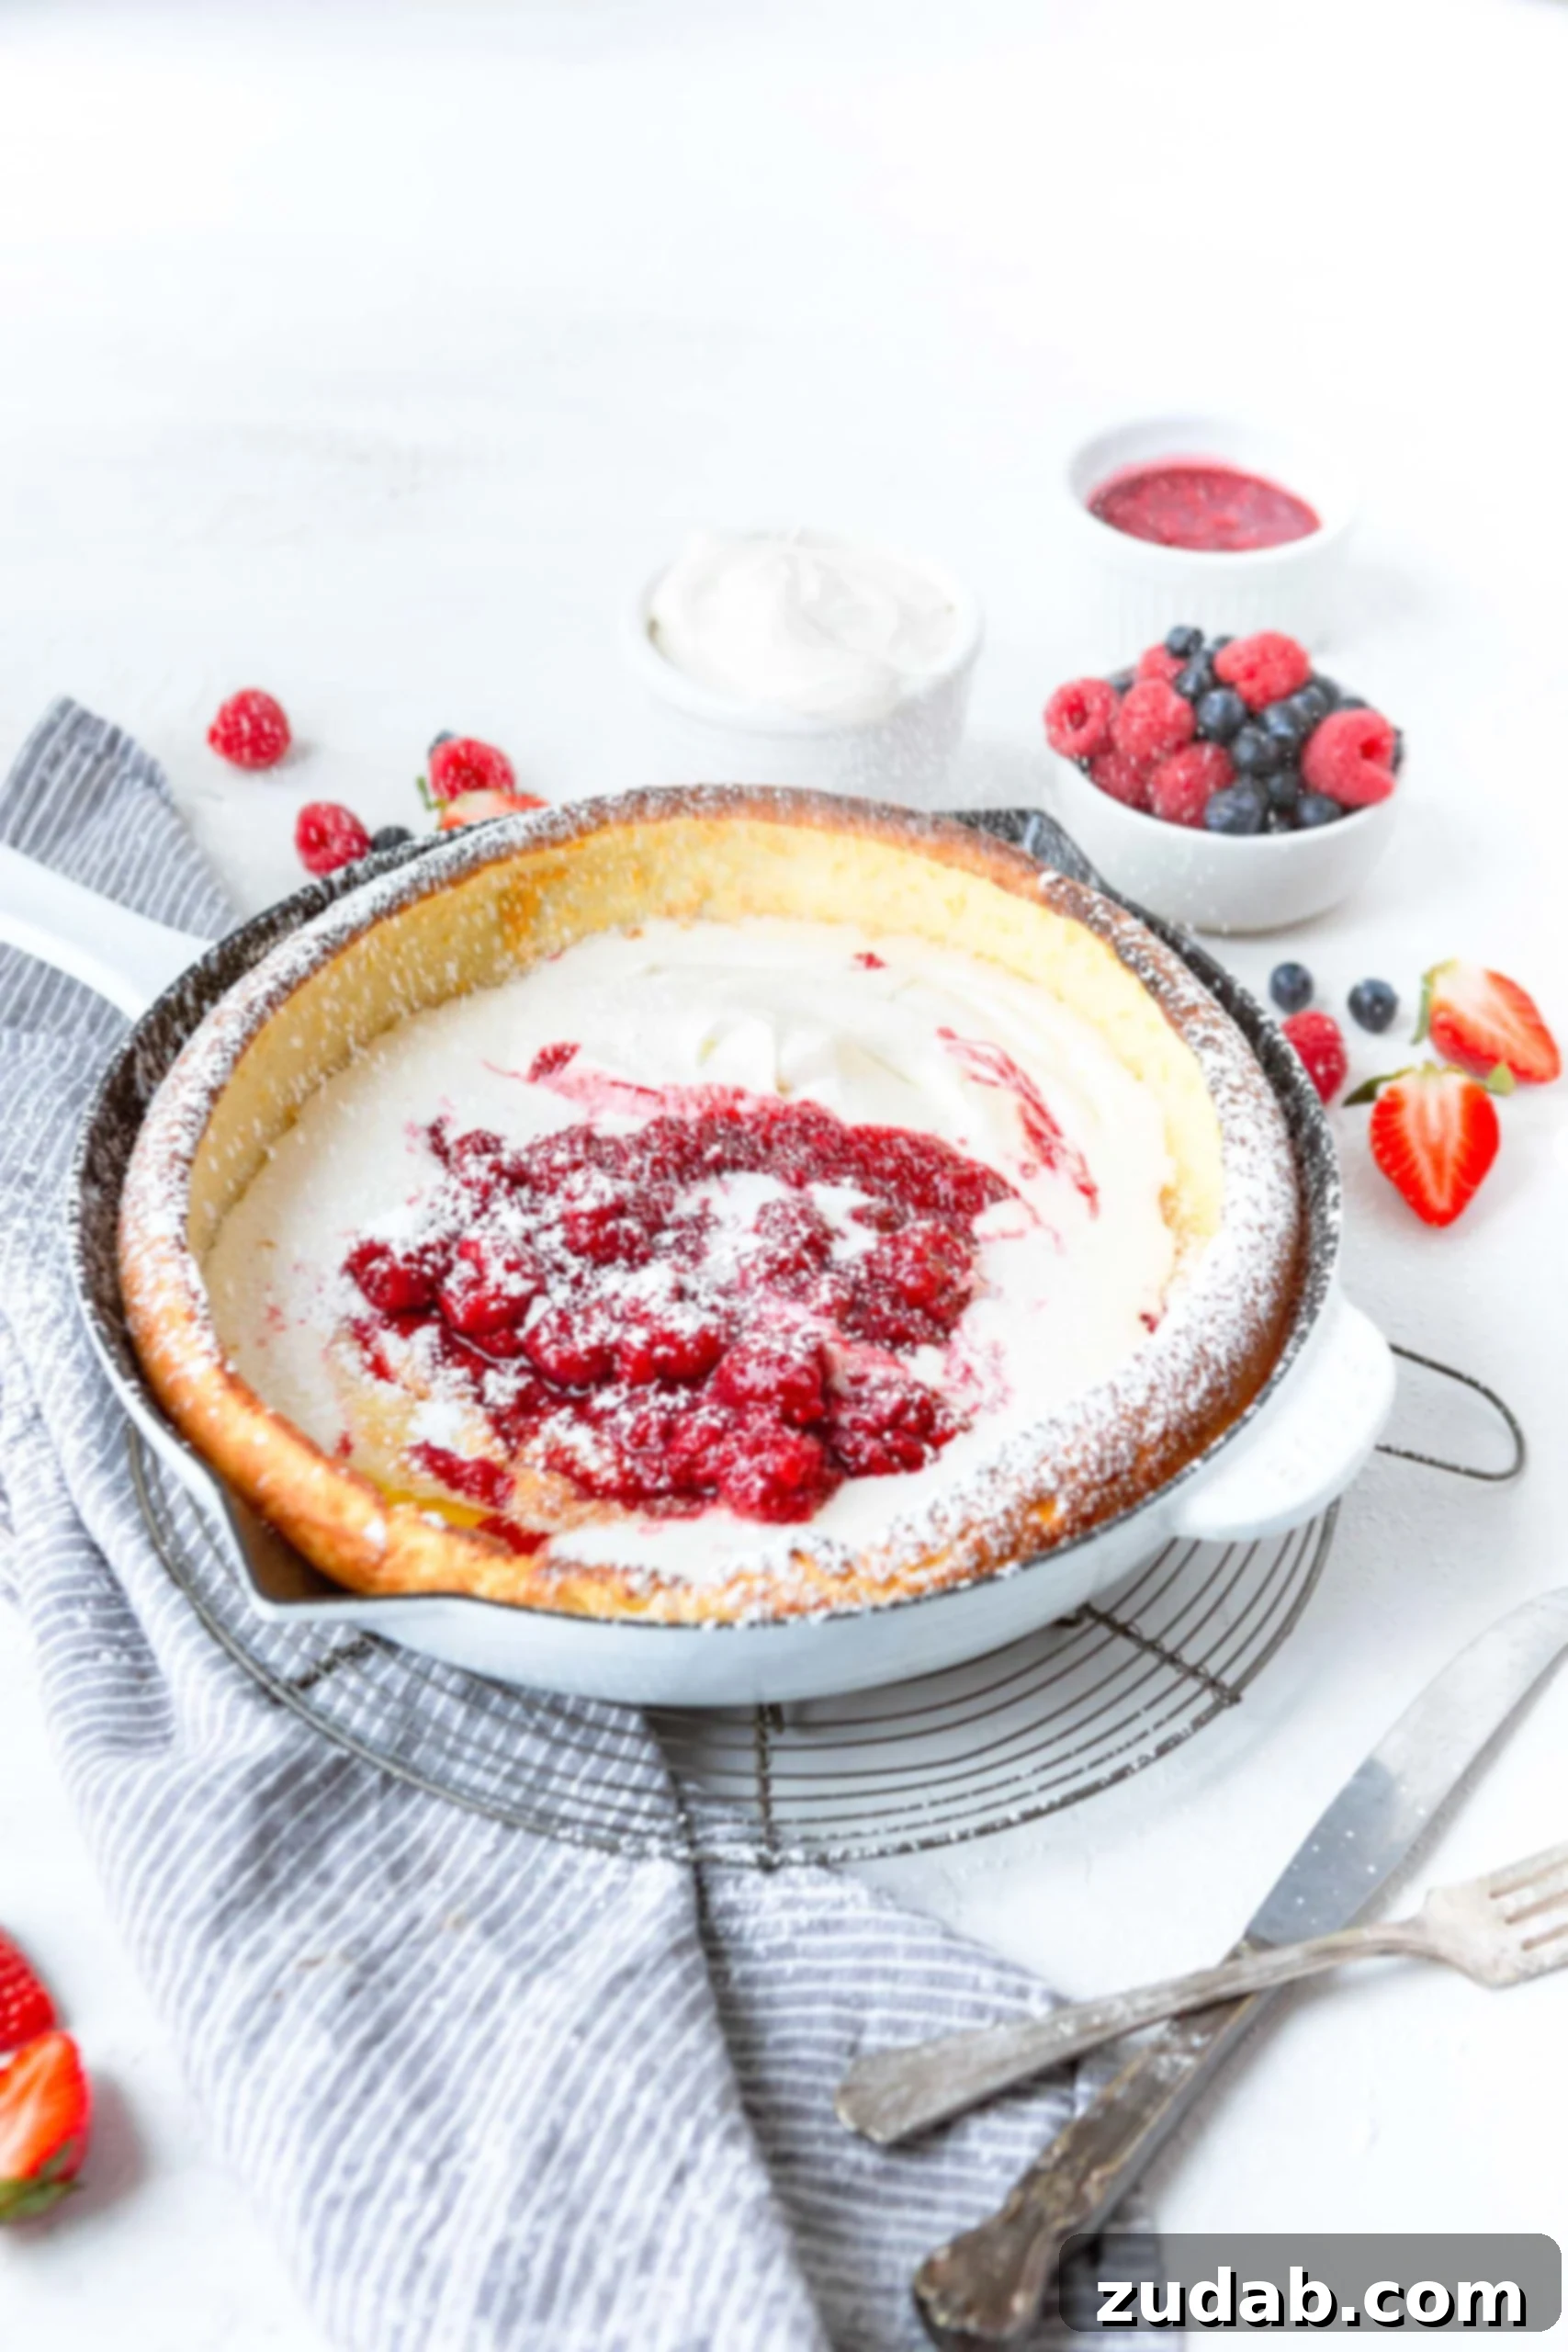
- Serve Immediately: Once baked, promptly remove the Dutch Baby from the oven. It will deflate slightly as it cools, which is completely normal and creates that wonderful “bowl” for toppings.
- Top and Enjoy: While still warm, generously top your magnificent Dutch Baby pancake with your favorite accompaniments. The possibilities are endless!
For precise measurements and detailed timings, refer to the comprehensive recipe card below.
Delicious Topping and Serving Ideas
The beauty of a Dutch Baby pancake truly shines when it comes to toppings. Its neutral flavor and impressive shape make it a perfect canvas for both sweet and savory creations. Here are some of our favorite ways to enjoy it:
Sweet Toppings:
- Fresh Fruit: A colorful assortment of berries (strawberries, blueberries, raspberries), sliced bananas, peaches, or even roasted apples.
- Powdered Sugar: A classic dusting adds a touch of sweetness and elegant finish.
- Maple Syrup: A drizzle of warm, pure maple syrup is always a winner.
- Honey Butter: A dollop of homemade honey butter melts beautifully into the warm pancake.
- Jams or Jellies: Raspberry, strawberry, or apricot jam adds a fruity burst.
- Nutella: For a rich, chocolate-hazelnut indulgence.
- Peanut Butter: Creamy or crunchy, a spread of peanut butter offers a satisfying protein boost.
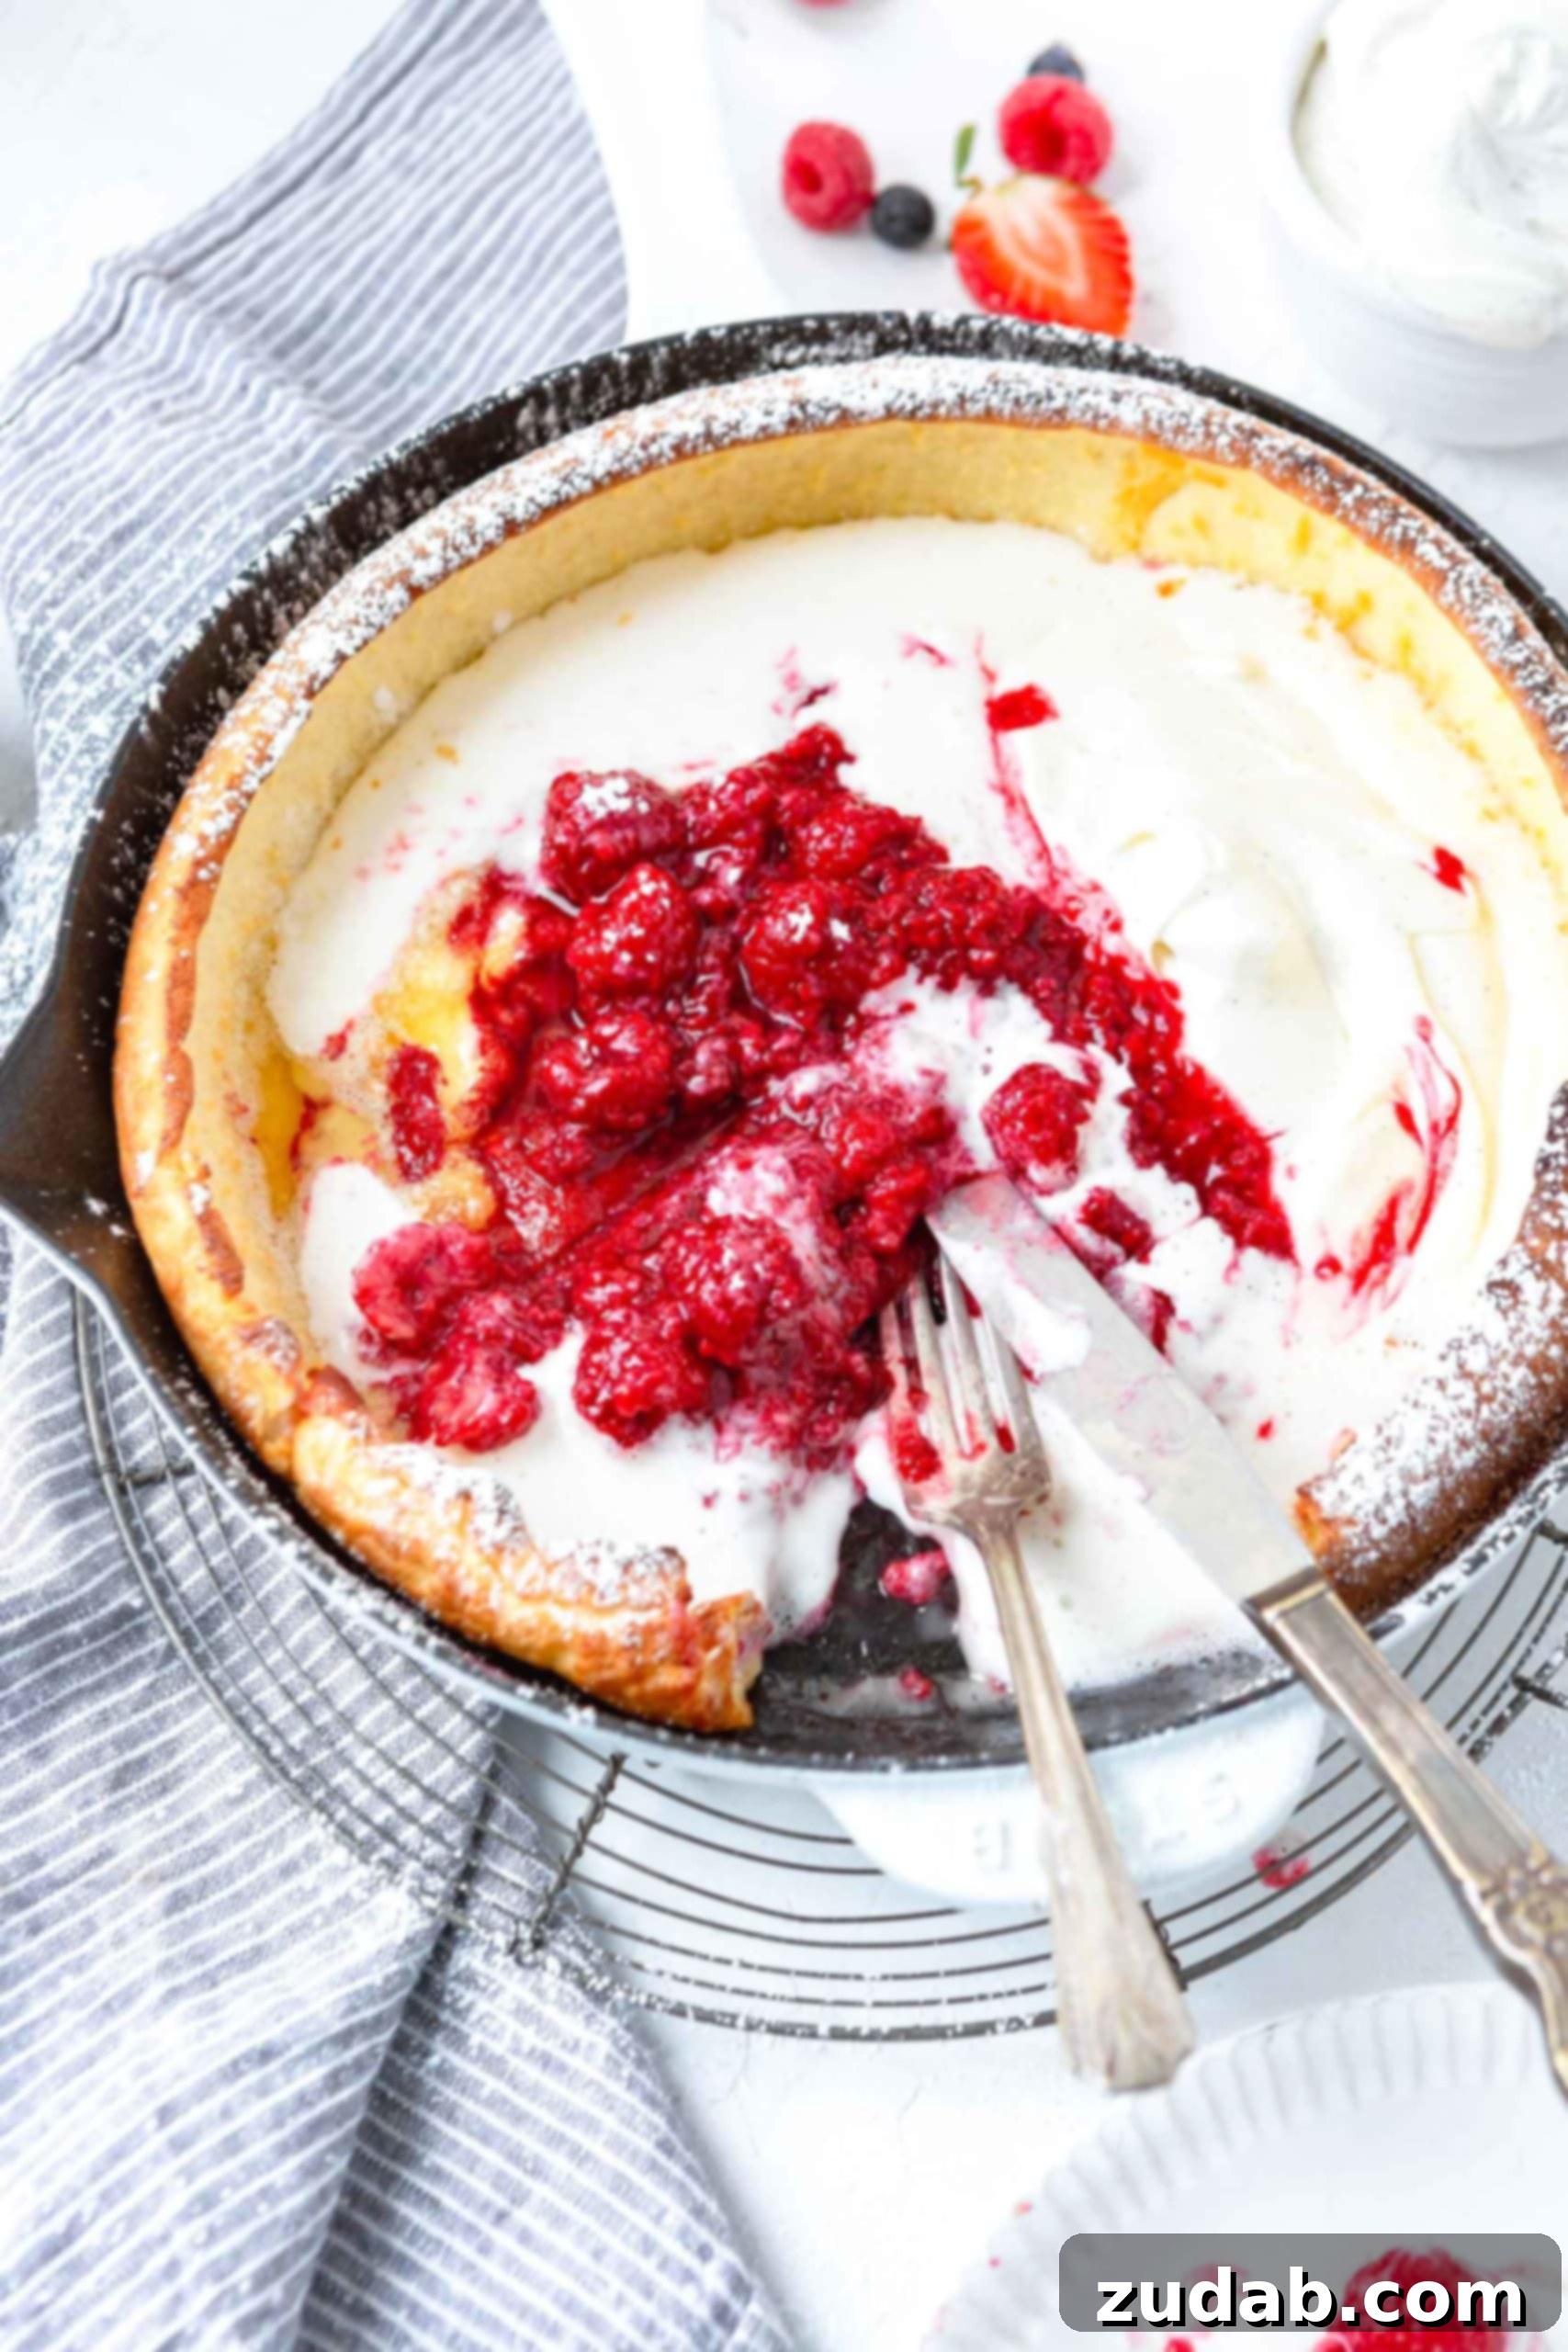
- Whipped Cream or Ice Cream: A fluffy cloud of whipped cream or a scoop of vanilla ice cream makes it an extra special treat, especially for dessert.
- Lemon Curd: A tangy and sweet complement, especially with fresh berries.
Savory Toppings:
Don’t limit yourself to sweet! Dutch Babies are fantastic with savory additions:
- Ham and Cheese: Cubed ham and shredded cheddar or Gruyere cheese, melted directly on top after baking.
- Sautéed Mushrooms and Herbs: A rustic and earthy option.
- Smoked Salmon and Dill: A sophisticated brunch choice, especially with a dollop of crème fraîche.
- Fried Egg and Bacon: Turn it into a complete breakfast platter.
- Caramelized Onions and Goat Cheese: A gourmet combination that’s surprisingly easy.
And for me, a little something savory always hits the spot with pancakes. A side of crispy bacon is absolutely a must-have!
Essential Tools for Your Dutch Baby Adventure
While the Dutch Baby pancake recipe is incredibly simple, having the right tools can make the process even smoother and guarantee optimal results. You don’t need fancy gadgets, but a couple of key items are highly recommended:
- Cast Iron Skillet: This is the gold standard for Dutch Babies. Cast iron heats incredibly evenly and retains heat beautifully, which is essential for that signature dramatic puff and crispy crust. A 10-inch skillet is ideal for this recipe, serving about 4-6 people.
- Blender: While not strictly mandatory (you can whisk by hand!), a blender makes achieving a perfectly smooth, airy batter incredibly easy. The rapid blending incorporates air, which contributes to the pancake’s impressive rise.
Having these tools will set you up for Dutch Baby success, but don’t worry if you don’t have them all; we’ve got alternatives discussed below!
Frequently Asked Questions (FAQs) About Dutch Baby Pancakes
Got questions about making the perfect Dutch Baby? We’ve got answers to help you troubleshoot and enjoy this delightful dish!
Do I Have to Use a Cast Iron Skillet?
While a cast iron skillet is highly recommended for its superior heat retention and even cooking, it’s not absolutely essential. You can certainly bake a Dutch Baby in any other oven-safe baking dish. A 9×9 inch square glass baking pan or even a pie dish can work beautifully. Just ensure your chosen pan is oven-safe and can withstand high temperatures. The key is to get the pan and butter very hot before adding the batter to encourage maximum puff.
Is a Blender Required for the Batter?
No, a blender is not strictly required, though it is my preferred method for ease and efficiency. The goal is a super smooth batter without any lumps, and a blender achieves this quickly while also incorporating air for a lighter texture. If you don’t have a blender, you can absolutely mix the batter by hand with a whisk, or use a hand mixer or a stand mixer. Just make sure to whisk vigorously until all flour lumps are gone and the mixture is well combined and slightly aerated.
Can Dutch Baby Pancake Batter Be Made Ahead?
Yes, you can absolutely prepare the Dutch Baby batter ahead of time! Simply mix all the ingredients (except the butter for the pan) in your blender or bowl, then transfer the batter to an airtight container. Store it in the refrigerator for up to 24 hours. When you’re ready to bake, give the batter a quick whisk or pulse in the blender to re-incorporate everything before pouring it into the hot, buttered skillet. However, for the best texture and fluffiest results, we always recommend baking Dutch Babies fresh, straight out of the oven.
How Long Will Cooked Dutch Baby Pancakes Keep?
While Dutch Babies are truly best enjoyed immediately, any leftovers can be stored. Place cooled pancake pieces in an airtight container or a resealable freezer bag and keep them in the refrigerator for up to 3-5 days. Honestly, in our house, there are rarely any leftovers because they’re simply too delicious to resist!
What’s the Best Way to Reheat Dutch Baby Pancakes?
The easiest and quickest way to reheat individual slices of Dutch Baby pancake is in the microwave for 30-60 seconds, or until warmed through. If you prefer to avoid the microwave or are reheating a larger piece, you can warm it in the oven. Place it on a baking sheet and bake at 300°F (150°C) for about 5-10 minutes, or until heated. A toaster oven also works wonderfully for smaller portions, crisping up the edges nicely.
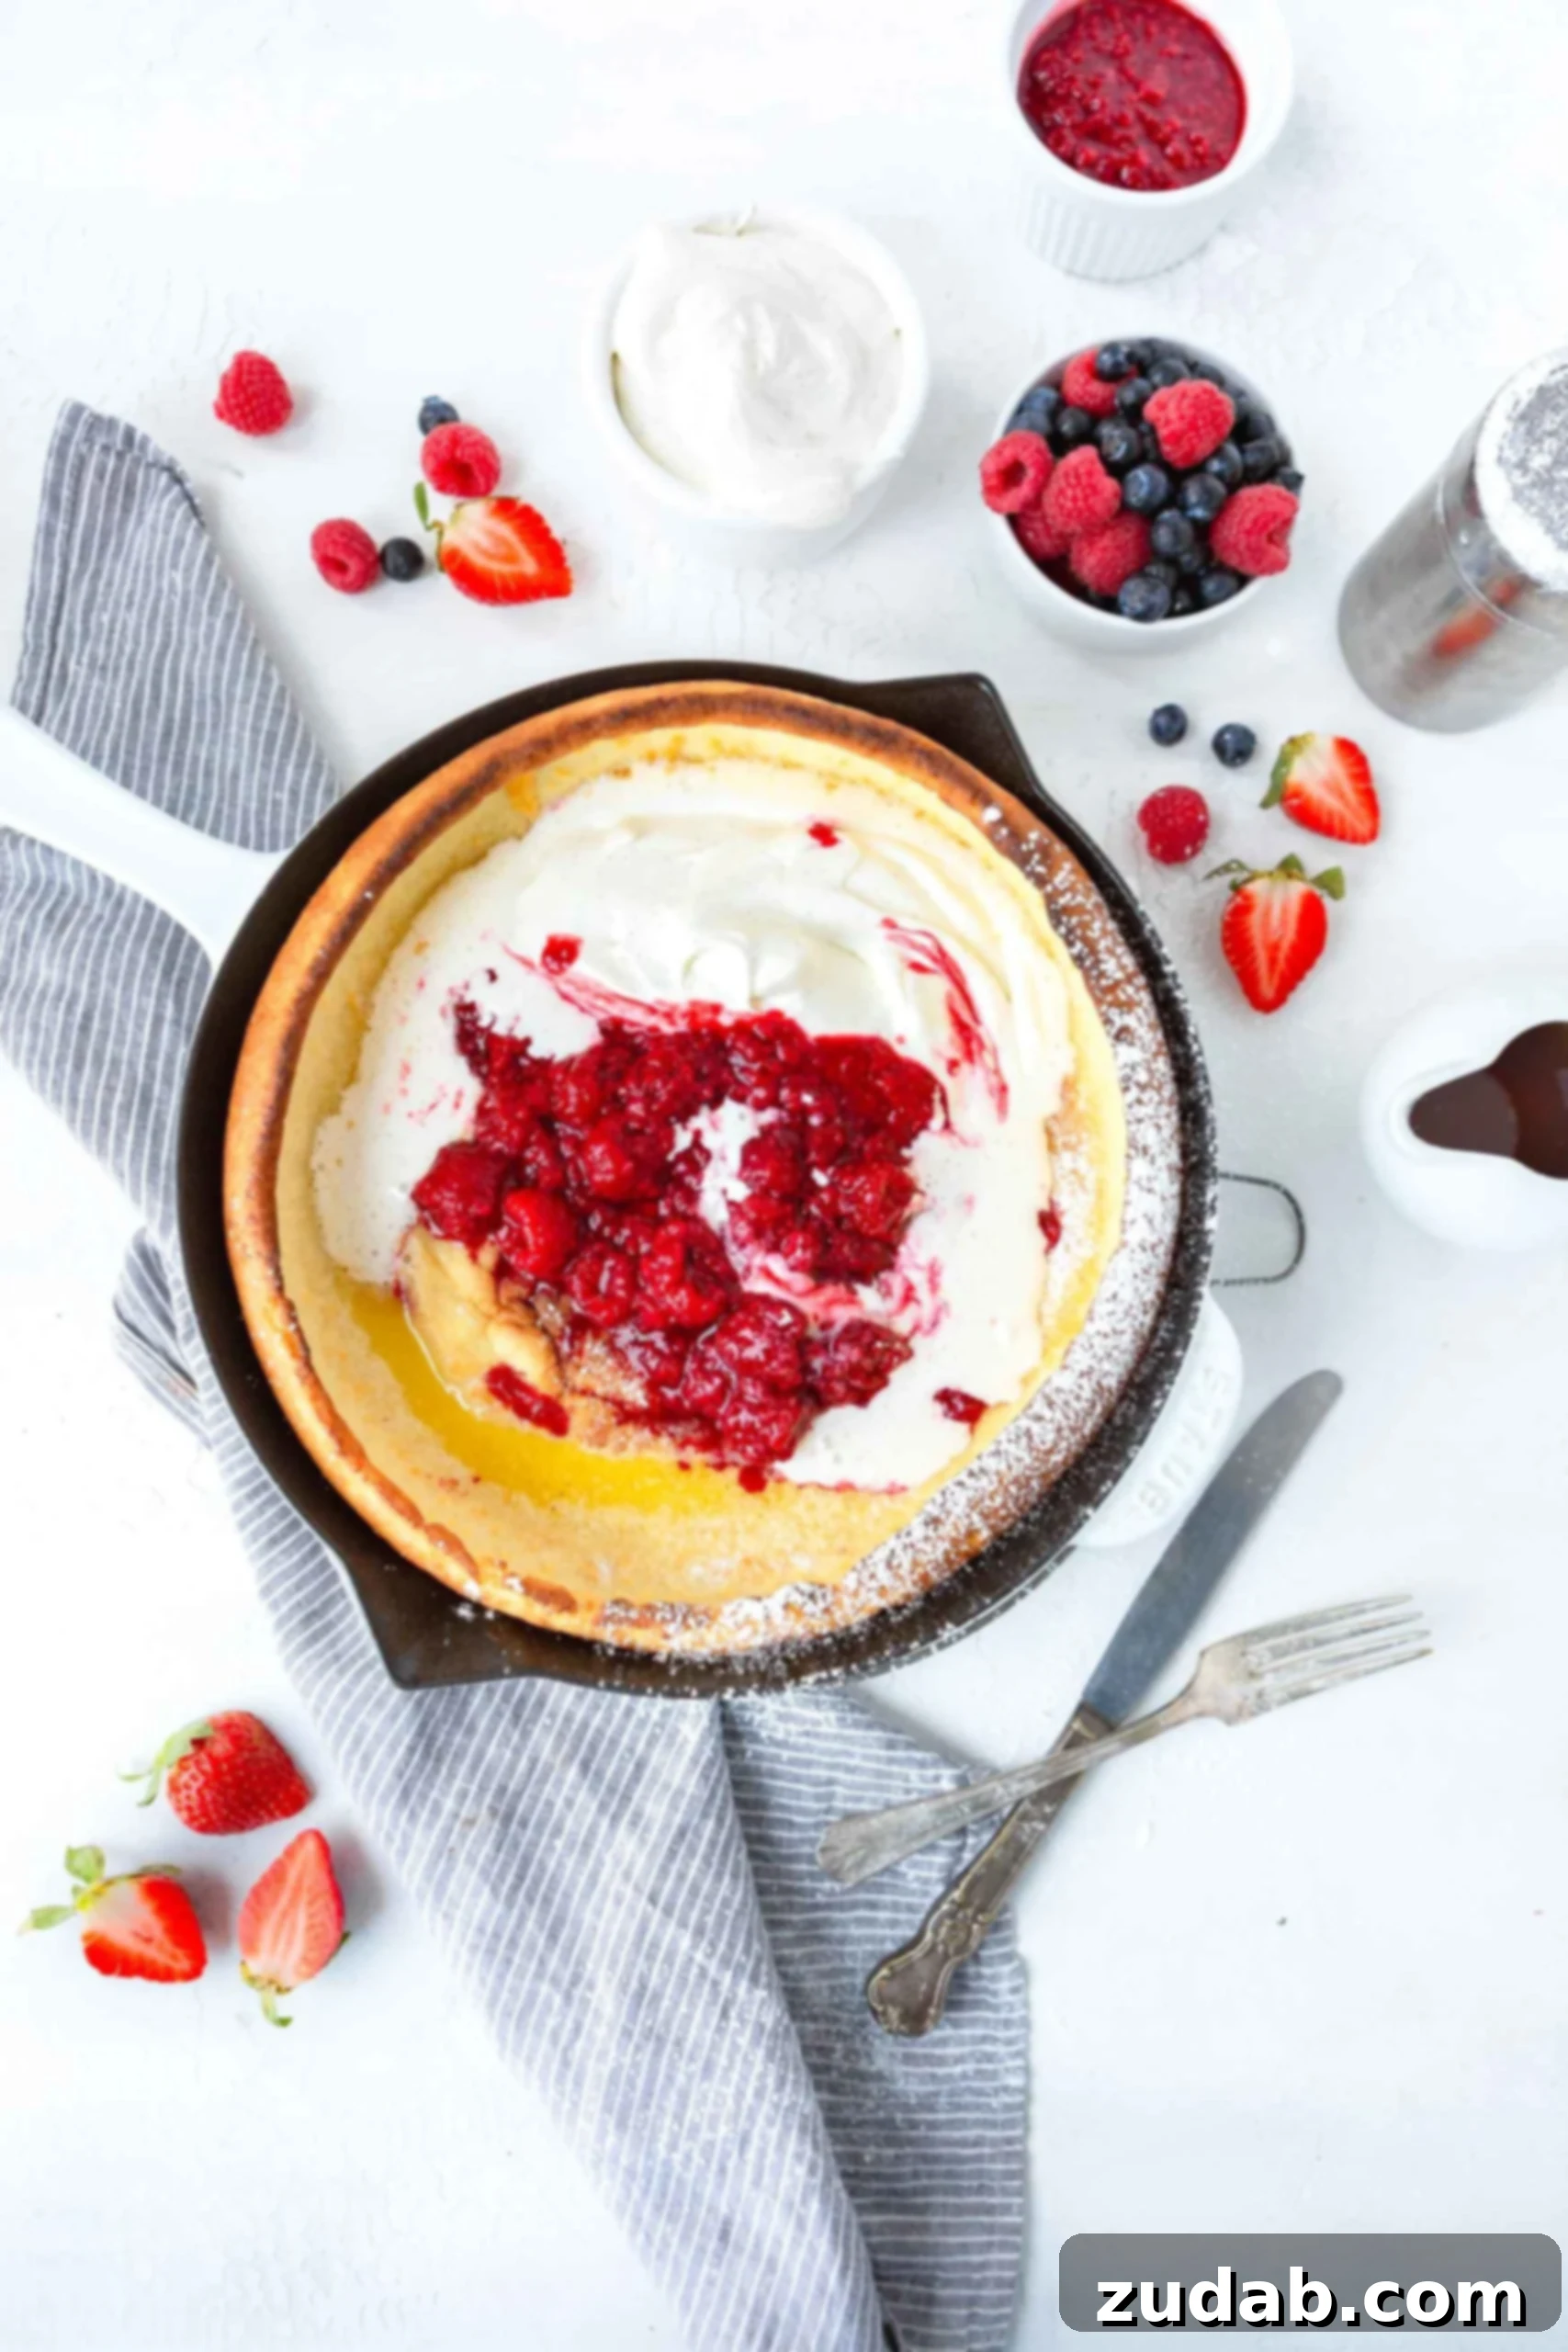
Make your next weekend breakfast or brunch truly special with a delightful Dutch Baby Pancake! Whether you pile it high with sweet berries and powdered sugar or opt for a savory twist, this impressive and easy recipe is sure to become a beloved tradition. Don’t forget to share your perfect Dutch Baby creations with us on social media!
More Sweet Breakfast Options to Love:
- Buttermilk Pancakes
- Apple Pie Slow Cooker Oatmeal
- Classic French Toast
- Orange Sweet Rolls
- Waffles
- Cinnamon Rolls
- Blueberry French Toast Bake
- Homemade Yogurt
- Cinnamon Roll Pigs in a Blanket
- French Toast Sticks
- Peach Coffee Cake
- Liege Waffles
- Slow Cooker Overnight Steel Cut Oats
- All our BREAKFAST RECIPES!
Dutch Baby Pancake
Ingredients
- 1 Cup Flour
- 1 Cup Milk
- 1/4 teaspoon Lemon Zest, Fresh
- 1 Pinch Kosher Salt
- 6 Large Eggs
- 4 Tablespoons Butter
Instructions
-
Heat the oven to 425°F (220°C).
-
Mix the first 5 ingredients by pulsing in a blender until smooth.1 Cup Flour, 1 Cup Milk, 1/4 teaspoon Lemon Zest, 1 Pinch Kosher Salt, 6 Large Eggs
-
Place the butter in a 10″ cast iron skillet and place the pan in the oven until the butter is melted and bubbling.4 Tablespoons Butter
-
Remove from oven and pour batter in.
-
Place back in oven and bake for 20-25 min, or until puffed and golden.
-
The edges should rise up dramatically like a bowl when done.
-
Remove dutch baby from the oven and fill with whipped cream, berries and sprinkle with a heavy dousing of powdered sugar. Serve immediately.
Nutrition
Nutrition information is automatically calculated, so should only be used as an approximation.
REMEMBER TO SUBSCRIBE TO our FREE Oh Sweet Basil NEWSLETTER AND RECEIVE EASY RECIPES DELIVERED INTO YOUR INBOX EVERY DAY!
When you try a recipe, please use the hashtag #ohsweetbasil on INSTAGRAM for a chance to be featured in our stories! FOLLOW OH, SWEET BASIL ON FACEBOOK | INSTAGRAM | PINTEREST | TWITTER FOR ALL OF OUR LATEST CONTENT, RECIPES AND STORIES.