
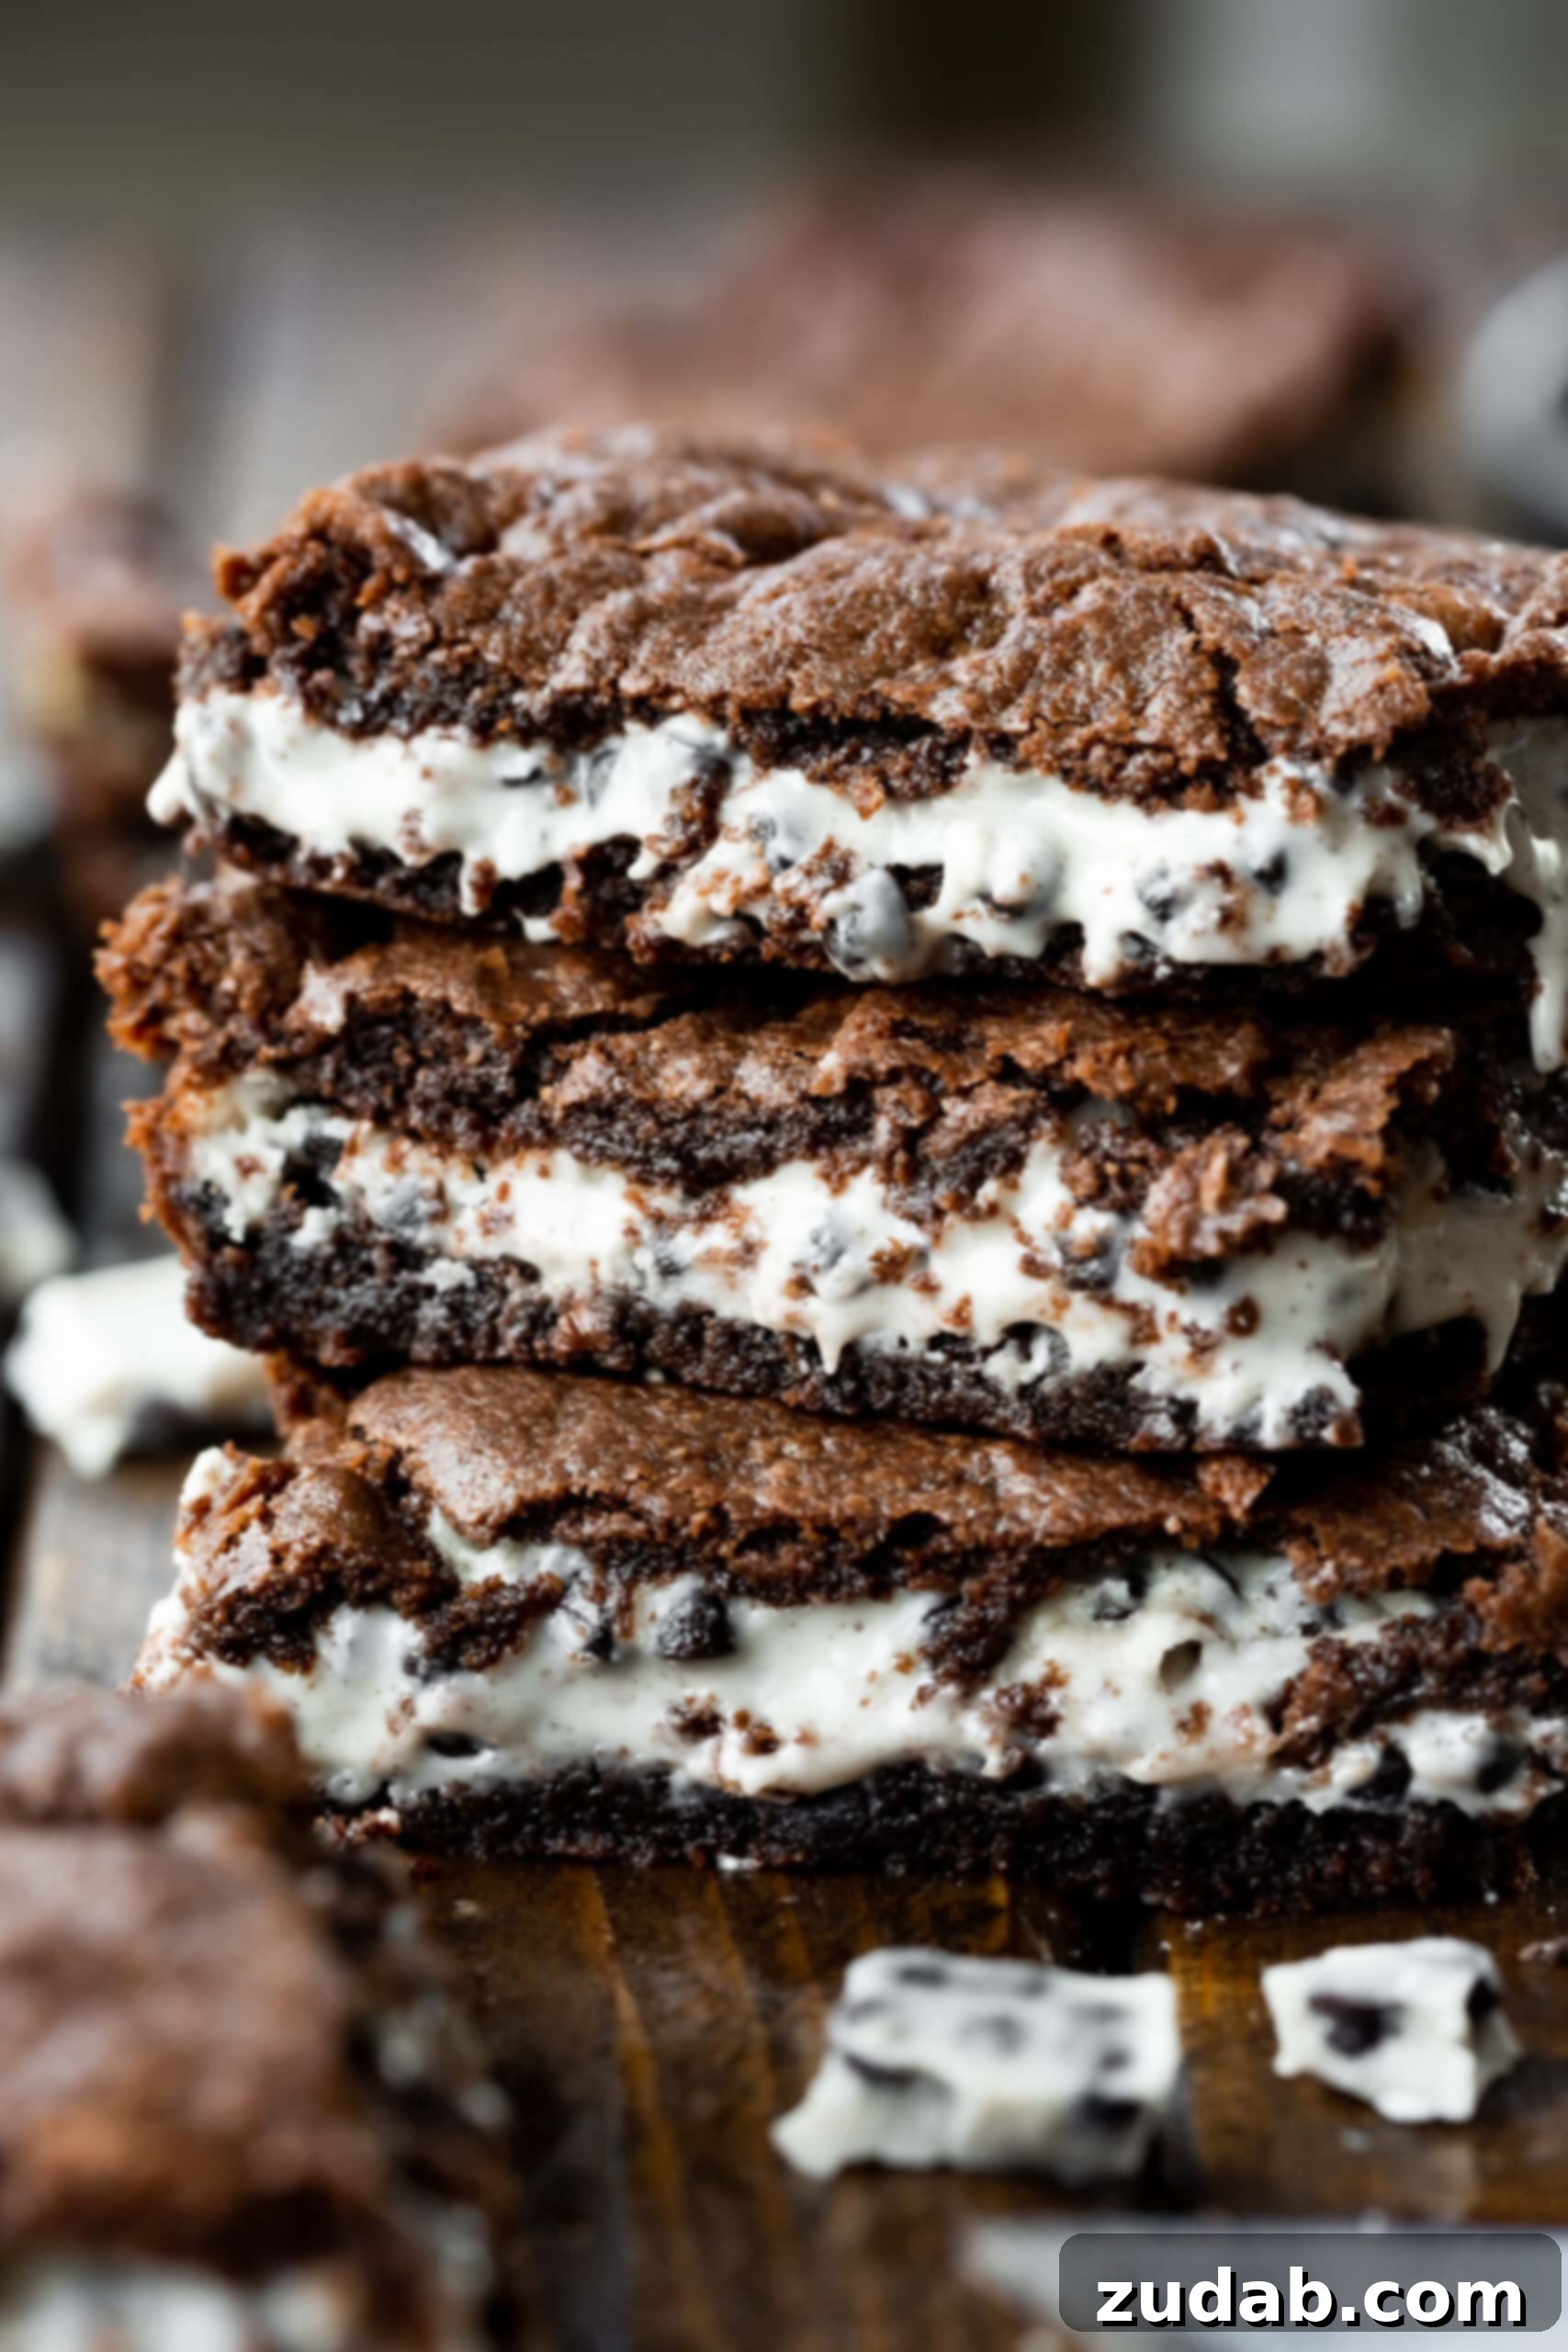
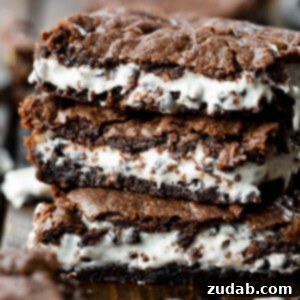
Indulge in the ultimate treat with these incredible Cookies and Cream Brownies! Imagine a deeply fudgy brownie base, crowned with a rich, creamy white chocolate center, and finished with another layer of tender brownie. The best part? This show-stopping dessert requires just 4 simple ingredients, making it surprisingly effortless to create in your own kitchen. Prepare for these brownies to become an instant favorite, a new staple that will delight everyone who tastes them.
Our household instantly fell in love with these delectable brownies, featuring the iconic Hershey’s Cookies ‘N’ Creme candy bars. They’re not just easy; they deliver a premium bakery-quality experience right at home. The combination of dense, chocolatey fudge and a luscious, melt-in-your-mouth cookies and cream layer is truly unparalleled. It’s a harmonious blend of textures and flavors that elevates the classic brownie to an extraordinary dessert. We even stock up on these candy bars just to ensure we’re always ready to whip up a batch!
What makes these brownies truly exceptional is their perfectly fudgy, gooey, and intensely chocolatey character. We achieve this fantastic texture with the clever use of a chocolate fudge cake mix, which simplifies the baking process without compromising on flavor or richness. You’ll adore the delicate “crust” that forms on top, contrasting beautifully with the tender, molten interior. Every bite offers that desired chewiness and decadent moisture that defines a truly great brownie.
Honestly, even if this were a plain brownie recipe without the incredible center, it would still likely be a top contender in our collection. But it’s the addition of that cookies and cream layer that transforms them into something truly spectacular. The creamy, dreamy white chocolate infused with cookie bits elevates the entire experience, creating a symphony of sweet indulgence. It’s an irresistible twist that makes these brownies absolutely unforgettable.
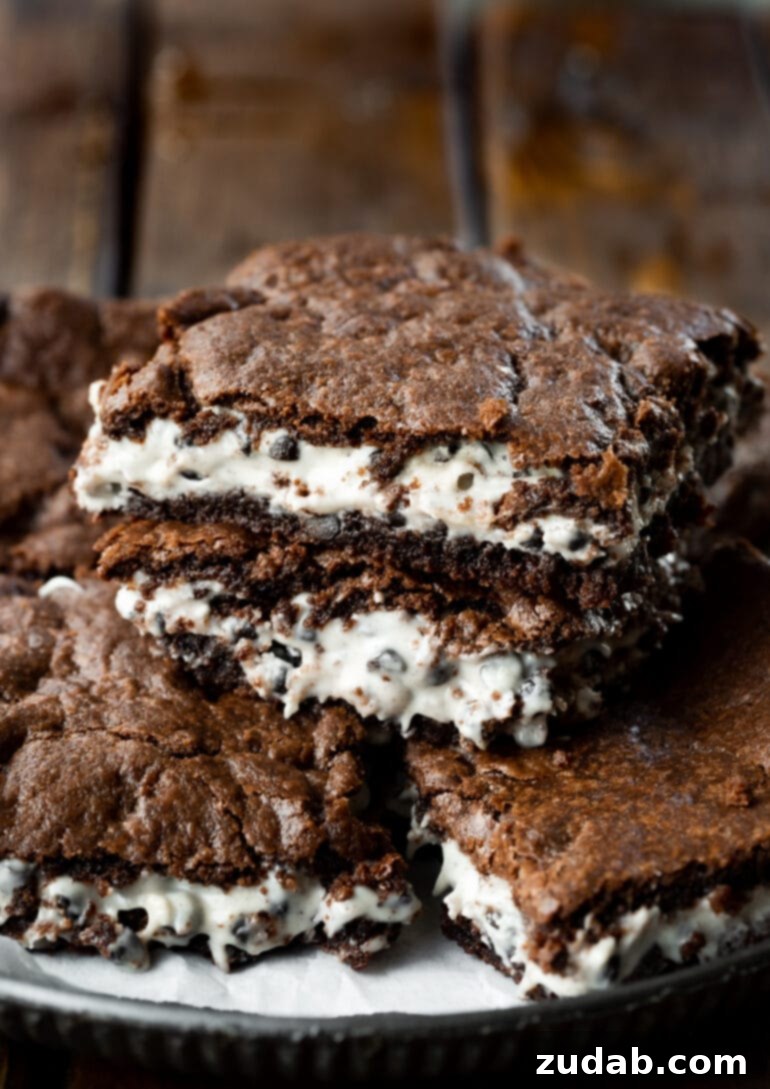
Essential Ingredients for Your Cookies & Cream Brownies
One of the many charms of this recipe is its minimal ingredient list. You only need four items, and chances are, most are already in your pantry or easily found at any grocery store. Simplicity meets sensational flavor with these key components:
- Chocolate Fudge Cake Mix: This is our secret weapon for effortlessly achieving a deeply fudgy and rich brownie texture. While many brands will work, we particularly favor Betty Crocker for its consistent results and decadent flavor profile. A standard box provides the perfect foundation, lending a moistness and density that’s hard to beat from scratch, and dramatically cutting down on prep time.
- Margarine (Melted and Cooled): This is a crucial ingredient, and we emphasize that it really has to be margarine, not butter or oil, for the specific texture we’re aiming for. Margarine has a higher water content and a different fat composition than butter, which contributes uniquely to the ultimate fudginess and chewiness of these brownies. Ensure it’s melted and then cooled to avoid over-activating the cake mix or altering the batter’s consistency.
- Evaporated Milk: This ingredient is key to enhancing the richness and fudginess of the brownie layers. Unlike regular milk, evaporated milk is a concentrated form, meaning it has less water and a creamier texture. This concentration adds an unparalleled depth of flavor and contributes significantly to the dense, moist crumb that makes these brownies so irresistible.
- Hershey’s Cookies ‘N’ Creme Candy Bars: The star of our creamy center! You’ll need approximately 10 ounces in total. You can either purchase a bag of smaller, individually wrapped candy bars for convenience or grab a few regular-sized bars and break them into pieces. These bars melt into a luscious, white chocolatey layer speckled with crunchy cookie bits, creating that signature cookies and cream experience.
Exact measurements for each ingredient, along with detailed instructions, are conveniently located in the complete recipe card at the very end of this post. Don’t skip any of these simple components; each plays a vital role in crafting the perfect cookies and cream brownie.
Crafting Delicious Layered Brownies: A Step-by-Step Guide
While these brownies are incredibly easy to make, creating their signature layered structure involves a slightly different approach than a traditional one-bowl brownie. The process is straightforward and yields impressive results, but it does require a few distinct steps to build that irresistible creamy center. Here’s how to master this unique layering technique for perfectly fudgy and flavorful brownies:
- Preheat Your Oven: Start by preheating your oven to 350°F (175°C). This ensures the oven is at the correct temperature for even baking, preventing the brownies from cooking too quickly on the outside and remaining raw in the middle. While the oven preheats, lightly grease an 8×8 or 9×9 inch baking pan to prevent sticking.
- Prepare the Brownie Dough: In a large mixing bowl, combine the chocolate fudge cake mix, the melted and cooled margarine, and the evaporated milk. Using a sturdy spoon or a stand mixer with a paddle attachment, mix these ingredients until they are thoroughly combined. The dough will be remarkably thick and quite greasy due to the margarine, which is exactly the consistency you want for these fudgy brownies. If it seems too warm or difficult to handle, a quick chill in the fridge can help.
- Form the First Layer: Take precisely half of the prepared brownie dough. Press this portion evenly into the bottom of your greased 8×8 or 9×9 inch baking pan. Ensure it forms a uniform layer from edge to edge. A good tip is to lightly grease your hands or use a piece of parchment paper to help press the sticky dough smoothly into place.
- First Bake (Partial): Place the pan in the preheated oven and bake for 6-7 minutes, or until the brownie bottom begins to firm up around the edges. This partial bake creates a stable base for the cookies and cream layer, preventing the candy bars from sinking too deeply into the raw batter.
- Layer with Candy Bars: Once the first brownie layer is partially baked, remove the pan from the oven. Immediately, arrange the unwrapped Hershey’s Cookies ‘N’ Creme candy bars in a single, even layer over the warm brownie. The heat from the brownie will gently begin to soften the candy, preparing it for the top layer.
- Create the Top Brownie Layer (Patchwork Method): This step is where the magic happens for the top layer, and it’s essential for achieving that gorgeous layered effect without disturbing the candy bars. The dough will be thick and greasy, so a special technique is required:
- Pro Tip: Cool Hands are Key! To prevent the margarine in the dough from melting on your hands and making it impossible to work with, it’s crucial to keep your hands cool. If needed, run your hands under cold water and thoroughly dry them before starting this step.
- Flatten Dough Portions: Scoop a large spoonful of the remaining dough into your (cold) hand. Gently press the dough out flat into a thin, disc-like shape, about the size of a candy bar.
- Carefully Place Patches: Lift one edge of the flattened dough from your hand, tilting your hand to encourage it to release in one coherent piece. Carefully transfer and place this “patch” directly over the candy bars in the baking pan.
- Repeat and Cover: Continue this patchwork process, taking spoonfuls of dough, flattening them, and carefully placing them over the candy bars until the entire surface is covered. Don’t worry if it looks a bit rustic; it will bake together beautifully. Re-cool and dry your hands as often as necessary to maintain a firm dough. This method ensures the top layer is evenly distributed without smearing the melted candy.
- Finish Baking: Return the pan to the oven and continue baking for another 15-18 minutes, or until the top layer is set and shows signs of crackling. Remember, these brownies are designed to be gooey and fudgy, so a clean toothpick test won’t apply here due to the melted candy bar center. Refer to the visual cues described in the “How Do You Know When Brownies are Done?” section below.
- Cool Completely: Allow the brownies to cool in the pan for a significant amount of time before slicing and serving. This cooling period is critical for the layers to set properly and for the fudgy texture to fully develop. Patience is rewarded with perfectly structured, delicious brownies.
For even more precise details and visual aids, please consult the comprehensive recipe card located at the conclusion of this article.
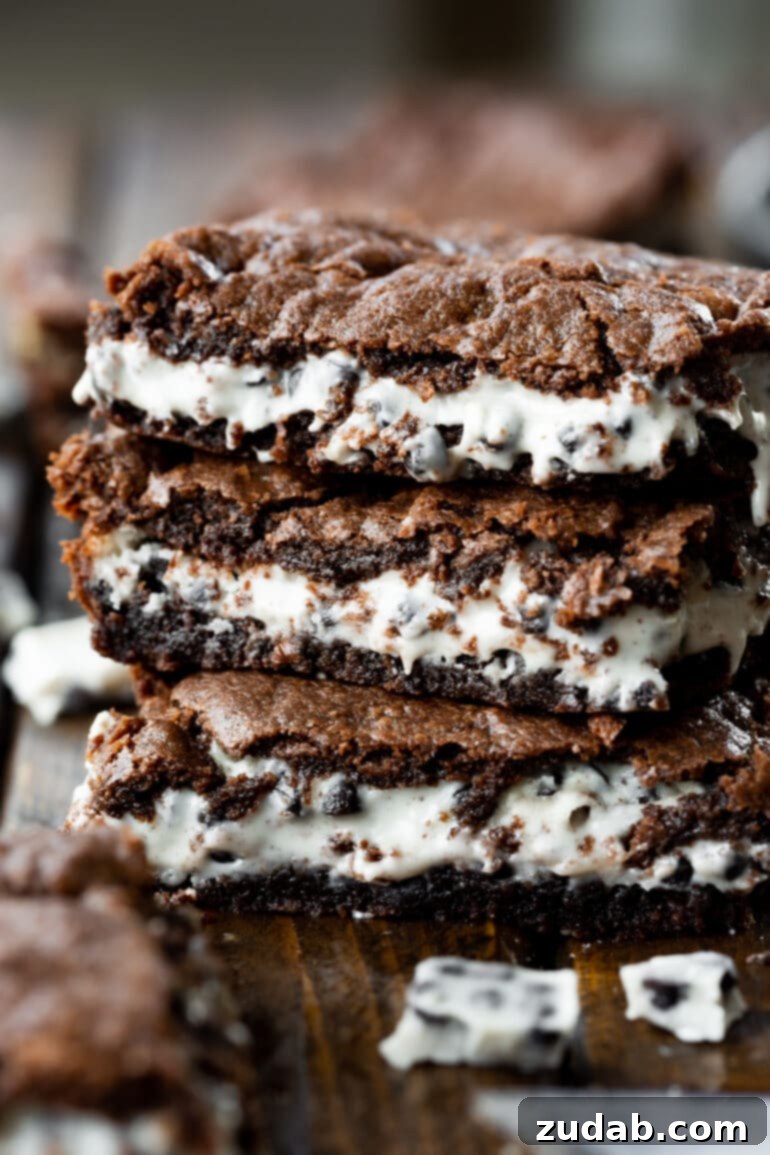
Understanding Brownie Doneness: Beyond the Toothpick Test
Determining when brownies are perfectly baked can be a bit of an art, especially with a recipe as unique as these cookies and cream brownies. The traditional “toothpick test” is often recommended: insert a toothpick into the center of your baked goods, and if it comes out clean, they’re done. If there’s wet batter, continue baking for a few more minutes and retest.
However, this method needs a slight adjustment for our layered cookies and cream brownies. Due to the luscious, melty Hershey’s Cookies ‘N’ Creme candy bar layer in the middle, a toothpick inserted into the center will almost certainly come out with melted white chocolate and cookie bits, even if the brownie layers are perfectly cooked. Therefore, for this particular recipe, it’s best to rely on visual cues and the suggested baking time.
Look for a top that has set and developed a slightly crackled appearance. The edges should be visibly firm, but the center might still have a slight jiggle. If the top looks cooked and crackled, and you’ve adhered closely to the recommended baking duration, your brownies are most likely ready to be removed from the oven. Trust your senses – the aroma will also be a good indicator of impending deliciousness!
Unlocking the Secret to Perfectly Gooey Brownies
Everyone desires that irresistibly gooey, melt-in-your-mouth brownie texture, and it’s a goal easily achieved with a few key insights. Beyond just the precise ingredient proportions, baking time and temperature are the most significant factors influencing a brownie’s final consistency. Being attentive during the baking process is paramount.
For the ultimate fudgy and gooey brownie, the trick is often to slightly underbake them. A brownie baked just three minutes too short can transform into an unpleasantly gooey (but still delicious!) treat, while one baked three minutes too long can become tough, dry, and crumbly. The ideal sweet spot creates that perfect balance of a set exterior with a soft, yielding, and wonderfully moist interior.
With these cookies and cream brownies, that luscious center from the melted candy bars further contributes to the overall gooeyness. You’ll notice how marvelously melty and rich these brownies are from the moment they emerge from the oven. Their perfect consistency is a testament to careful baking, ensuring every bite is a dream of chocolate and creamy cookie bliss. You’re not just going to like these brownies; you’re going to absolutely adore them!
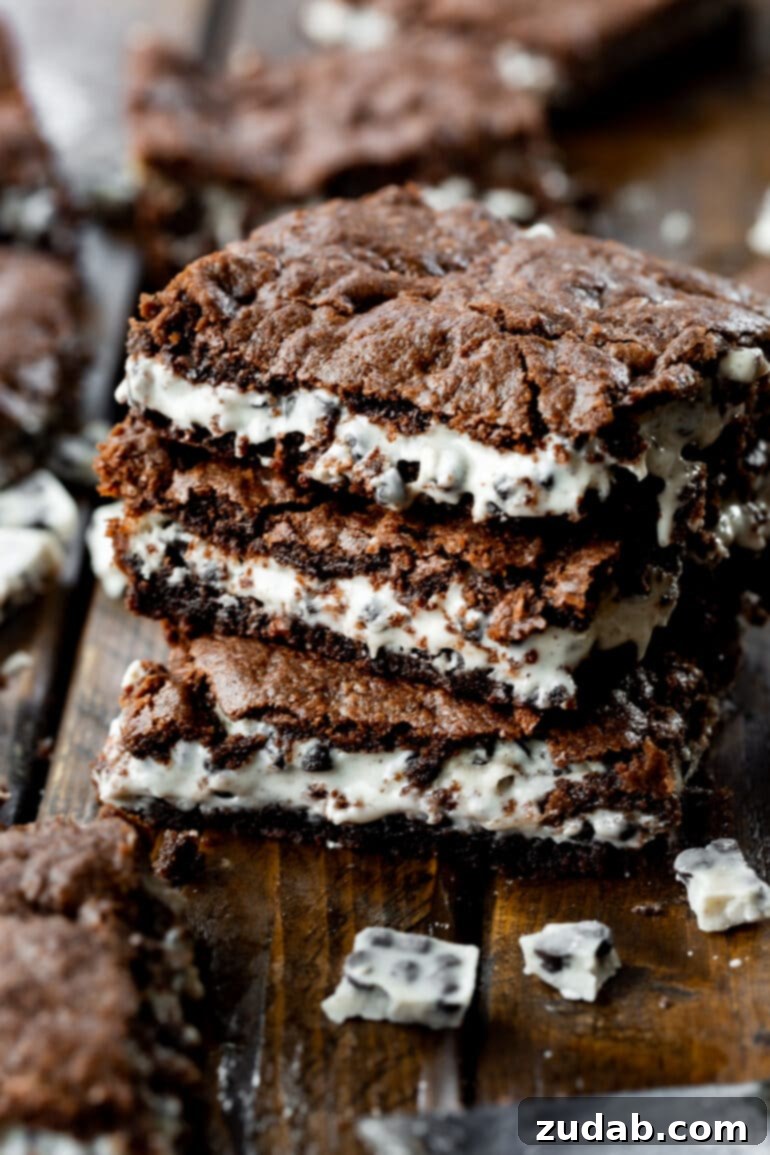
Scaling Up: Doubling This Recipe for a 9×13 Pan
Feeding a crowd or simply craving more of these irresistible brownies? This recipe is wonderfully adaptable and can easily be doubled to fit a larger 9×13 inch baking dish. When doubling, make sure to multiply all of the ingredients by two. The result will be a batch of luxuriously thick, fudgy brownies that are sure to be a massive crowd-pleaser at any gathering or celebration. You might need to adjust the baking time slightly, typically adding an extra 5-10 minutes, so keep a close eye on them using the visual cues discussed earlier.
Pro Tip for Thinner Brownies: If you prefer a slightly thinner brownie but still want to make a larger batch for a 9×13 pan, here’s a clever adjustment: double only the Hershey’s Cookies ‘N’ Creme candy bars, and keep all other brownie batter ingredients (cake mix, margarine, evaporated milk) at their original single-batch measurements. This method will give you a delicious, ample pan of brownies with a delightful creamy center, without making the brownie layers overly thick. It’s perfect for those who love a generous cookie and cream layer!
Can You Freeze Brownies? Essential Tips for Storage
Yes, brownies freeze beautifully, making them an excellent make-ahead dessert or a convenient treat to have on hand whenever a craving strikes! Proper freezing techniques are key to preserving their delicious taste and texture.
To freeze these cookies and cream brownies:
- Cool Completely: The most important step is to allow your brownies to cool down to room temperature entirely. Warm brownies will create condensation in the freezer, leading to ice crystals and potential freezer burn.
- Keep Them Whole (Initially): For best results, do not cut the brownies into individual servings before freezing. Keeping them in a larger slab helps maintain their moisture and prevents the edges from drying out.
- Wrap Tightly: Once completely cool, wrap the entire slab of brownies tightly in at least two layers of plastic wrap. Ensure there are no gaps for air to enter.
- Add a Second Layer of Protection: For an extra layer of defense against freezer burn, wrap the plastic-wrapped brownies again with aluminum foil. This dual wrapping provides maximum protection.
- Freeze: Place the well-wrapped brownies in the freezer. They can be stored for up to 3 months without a significant loss in quality.
When you’re ready to enjoy them, simply remove the frozen brownies from the freezer and let them thaw at room temperature while still wrapped. This slow thawing process helps to re-distribute moisture. Once fully thawed, you can slice them into individual servings and enjoy their fresh-baked taste and texture. This makes them perfect for unexpected guests or a quick dessert anytime!
At their core, the best brownies should be exquisitely gooey, intensely fudgy, and brimming with rich chocolate flavor. This particular cookies and cream brownies recipe not only meets all those criteria but elevates the experience with the added creaminess and delightful crunch from the Hershey’s Cookies ‘N’ Creme candy bars. The result is a truly irresistible dessert that combines classic comfort with an exciting, modern twist. Once you try them, you’re guaranteed to be utterly obsessed!
More Brownie Recipes You’ll Love:
- Cream Cheese Brownies
- Caramel Brownies from Scratch
- Cosmic Brownies Copycat
- Peanut Butter Caramel Brownies
- Blackberry Cheesecake Brownies
- S’mores Brownies
- Mint Brownies
Cookies and Cream Brownies
Ingredients
Recipe By Me
- 1 Box Betty Crocker Chocolate Fudge Cake Mix, *See note
- 3/4 Cup Margarine, melted, and cooled
- 1/3 Cup Evaporated Milk
- 1 Bag Hershey’s Cookies N Creme small Candy Bars or a few King Size Bars, 10 oz
Instructions
-
Heat the oven to 350°F (175°C).
-
Mix the cake mix, margarine (cooled), and evaporated milk in a mixing bowl until completely incorporated.1 Box Betty Crocker Chocolate Fudge Cake Mix, 3/4 Cup Margarine, 1/3 Cup Evaporated Milk
-
The dough should be thick and very greasy; this is the correct consistency.
-
Press 1/2 of the dough into a greased 8×8 or 9×9 inch pan. Ensure it’s an even layer.
-
Bake for 6-7 minutes or until the brownie is starting to firm up around the edges.
-
Lay the unwrapped candy bars evenly over the partially baked brownie bottom.1 Bag Hershey’s Cookies N Creme small Candy Bars or a few King Size Bars
-
To create the top layer, take a large spoonful of the remaining dough and press it out flat in your (cold) hand.
-
Carefully lift one edge of the flattened dough off your hand, tilting it so it comes off in one sheet, and place it over the candy bars.
-
Continue “patching” the dough over the candy bars until they are completely covered. Recool your hands as needed to prevent the dough from melting.
-
Place the pan back in the oven for another 15-18 minutes, or until the top layer is set and slightly crackled.
-
These brownies are designed to be gooey, and the melted chocolate center means your toothpick likely won’t come out clean; rely on visual cues for doneness.
-
Set aside to cool for at least 30-60 minutes before slicing and enjoying for best texture.
Recipe Notes
Brownies can be frozen for up to 3 months. Ensure they are completely cooled and wrapped tightly in plastic wrap and then foil to prevent freezer burn. Thaw at room temperature before serving.
Nutrition
Nutrition information is automatically calculated, so should only be used as an approximation.
Like this? Leave a comment below!