
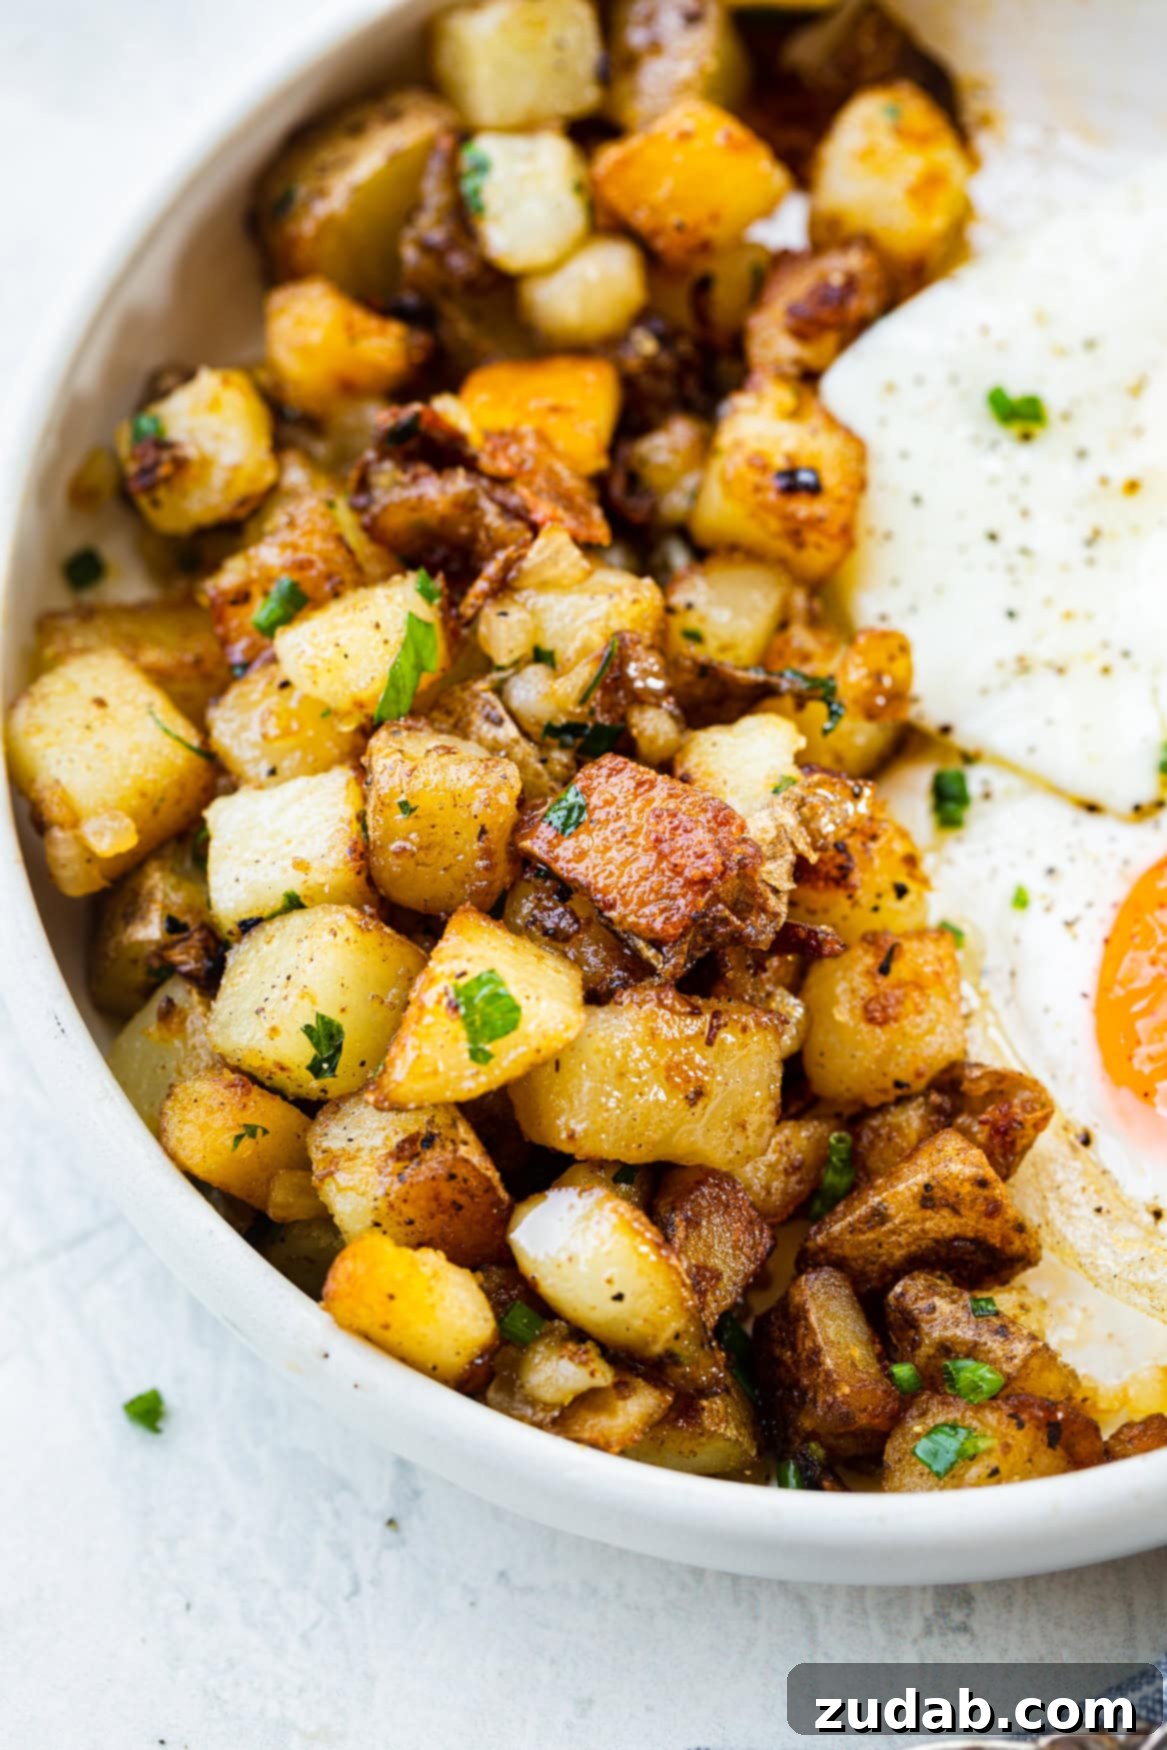
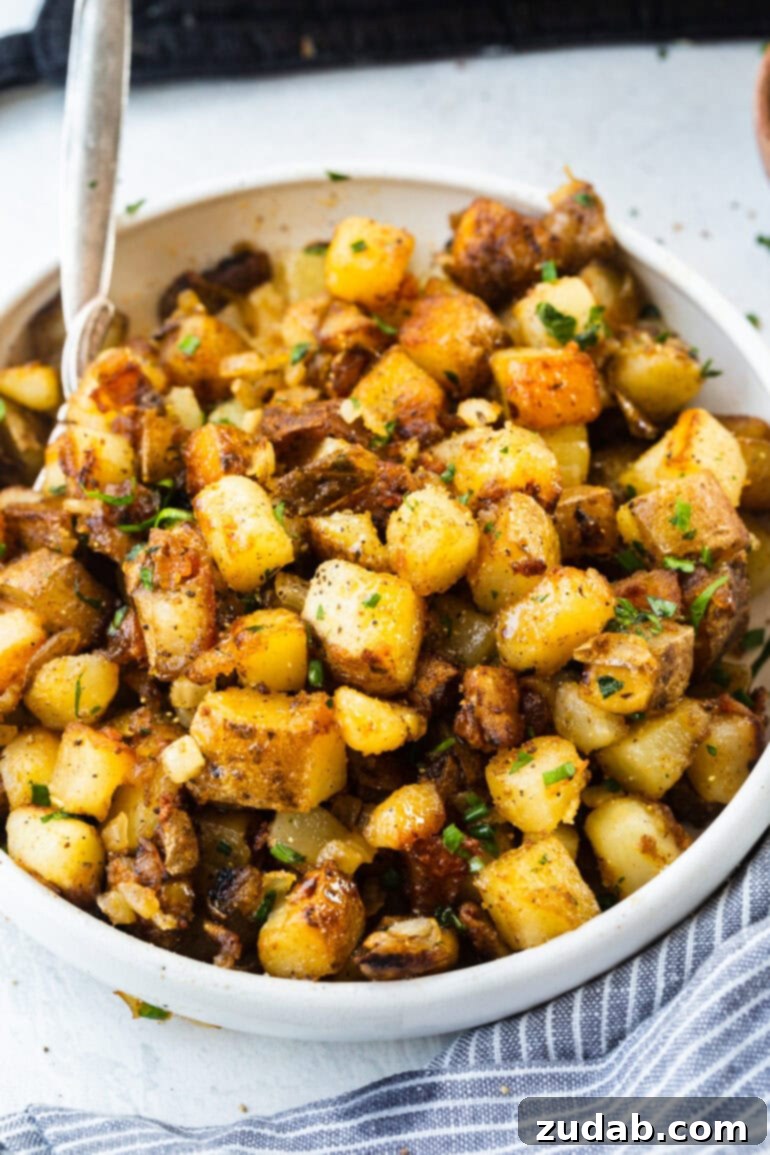
There’s nothing quite as satisfying as a plate of perfectly cooked home fries. With their irresistible crispy exterior and wonderfully fluffy interior, these golden potato cubes are a beloved side dish that transcends meal times, making them ideal for breakfast, lunch, or dinner. They evoke a sense of comfort and simple joy, and once you master this diner-style home fries recipe, you’ll understand why they’re a staple in homes and eateries alike. This comprehensive guide will walk you through every step to achieve those coveted, restaurant-quality results right in your own kitchen.
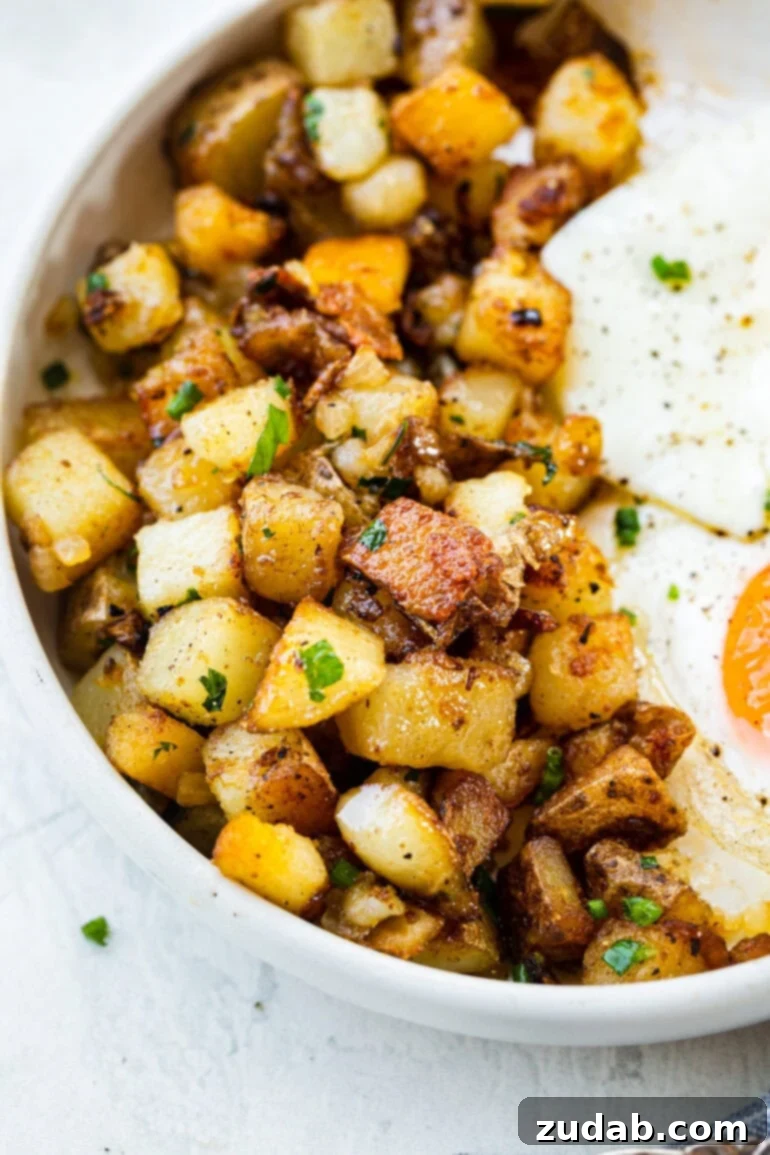
The humble potato holds a special place in many hearts and culinary traditions. For me, the comforting aroma of potatoes cooking instantly brings back cherished memories of home, warmth, and happiness. While I may not have frequented diners much, the allure of those legendary diner potatoes, with their distinct crispness and savory flavor, was undeniable. This recipe is designed to recreate that iconic experience, providing you with skillet potatoes that are not just a side, but a highlight of any meal. Whether you call them fried potatoes, breakfast potatoes, or simply home fries, prepare to elevate your potato game.
Unlocking the Secret to The Best Home Fries
Achieving perfectly crispy yet tender home fries involves a few simple, yet crucial, techniques. This guide will reveal the secrets, from selecting the right potato to the magic of baking soda, ensuring your homemade home fries are nothing short of spectacular. We’ll focus on creating that coveted golden-brown crust and a melt-in-your-mouth interior, a texture that is surprisingly easy to achieve with our straightforward method. Get ready to impress your family and friends with this timeless classic.
Simple Ingredients for Irresistible Home Fries
You’ll be delighted to know that making these incredible crispy home fries requires just a handful of basic ingredients, most of which are likely already in your pantry. We’re talking about seven simple components that, when combined with the right technique, transform into a masterpiece of flavor and texture. Here’s what you’ll need to gather:
- Russet Potatoes: The star of our dish, chosen for their high starch content which yields a fluffy interior.
- Baking Soda: An optional but highly recommended ingredient that’s key to maximum crispiness.
- Vegetable Oil: For frying, ensuring a golden-brown, crunchy crust.
- White Onion: Adds a savory depth and aromatic sweetness.
- Seasoned Salt: A simple yet effective way to infuse flavor into the potatoes.
- Ground Black Pepper: For a touch of warmth and spice.
- Unsalted Butter: Added at the end for richness and a beautiful finish.
Exact measurements for each ingredient, along with detailed nutritional information, can be found in the comprehensive recipe card below. These ingredients work in harmony to create the classic taste and texture of authentic diner-style fried potatoes.
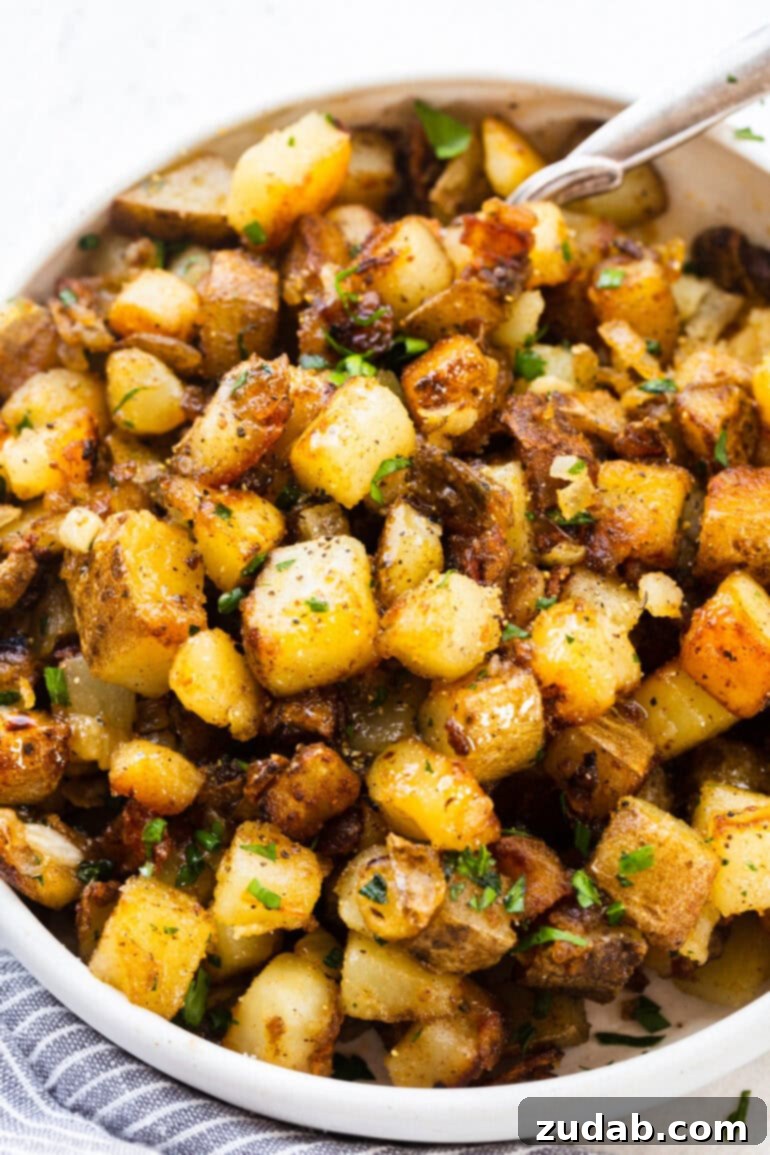
Crafting Perfect Diner-Style Home Fries: A Step-by-Step Guide
The journey to phenomenal home fries begins with careful preparation and attention to detail. One crucial tip throughout the cooking process is to ensure the potatoes don’t dry out in the pan; if they do, a touch more oil will keep them perfectly coated and crisping beautifully. Let’s break down each step to ensure your skillet home fries are a resounding success:
- Preparation is Key (Prep): Begin by thoroughly washing your Russet potatoes. While peeling is optional, many prefer it for a smoother texture. Cut the potatoes into uniform half-inch cubes. Consistency in size is important as it ensures even cooking, a cornerstone of perfect home fries.
- The Optional Boil for Extra Crispness (Boil): For truly exceptional crispiness, we recommend an initial boiling step. Place the cubed potatoes in a large pot and cover them with cold water. This allows the potatoes to heat up gradually, preventing the outsides from overcooking before the insides are tender.
- The Baking Soda Advantage (Cook): Add 1 teaspoon of baking soda to the potato water. This seemingly small addition is a game-changer for texture, which we’ll explain in more detail below. Cover the pot and bring the water to a rolling boil. Once boiling, remove the lid and continue to cook the potatoes until the cubes are easily pierced with a fork but not mushy—they should be tender yet still hold their shape. This typically takes 5-7 minutes.
- Thorough Drainage and Drying (Drain): Once the potatoes are fork-tender, promptly drain them in a colander. This stops the cooking process and prevents them from becoming waterlogged. Crucially, pat the potatoes thoroughly dry with paper towels. Excess moisture is the enemy of crispiness, so take your time with this step.
- Sautéing the Aromatics (Sauté): While your potatoes are boiling, heat a tablespoon of vegetable oil in a large skillet (a cast-iron skillet is excellent for even heat distribution and superb browning) over medium heat. Add the chopped white onions and sauté them until they are soft, translucent, and fragrant. Remove the sautéed onions from the skillet and set them aside on a plate. Cooking the onions separately ensures they don’t burn while the potatoes are still crisping.
- The Browning Phase (Cook): Add the remaining vegetable oil to the same skillet and increase the heat to medium-high. Once the oil is shimmering, add the dried potato cubes in a single layer. Avoid overcrowding the pan; you may need to cook the potatoes in batches to achieve optimal crispiness. Allow the potatoes to cook undisturbed on each side until they develop a beautiful golden-brown crust and become wonderfully crispy. Stir as needed to ensure even browning across all sides.
- Expert Tip: As you work through batches, if the potatoes or the pan appear dry, don’t hesitate to add a little more oil. This continuous oil coating is essential for that perfect crispy texture.
- Bringing It All Together (Combine): Once all the potato batches are cooked to golden, crispy perfection, return all the browned potatoes to the skillet. Add the sautéed onions and the unsalted butter. Season generously with seasoned salt and ground black pepper. Toss everything together to combine, ensuring the butter melts and coats all the potatoes and onions, infusing them with rich flavor.
- Serve Immediately (Serve): Transfer the hot, savory home fries to a serving dish and enjoy them straight away. The best home fries are always served fresh and warm to appreciate their maximum crispness and flavor.
For your convenience, the complete, printable recipe card with all measurements and instructions is located at the bottom of this article.
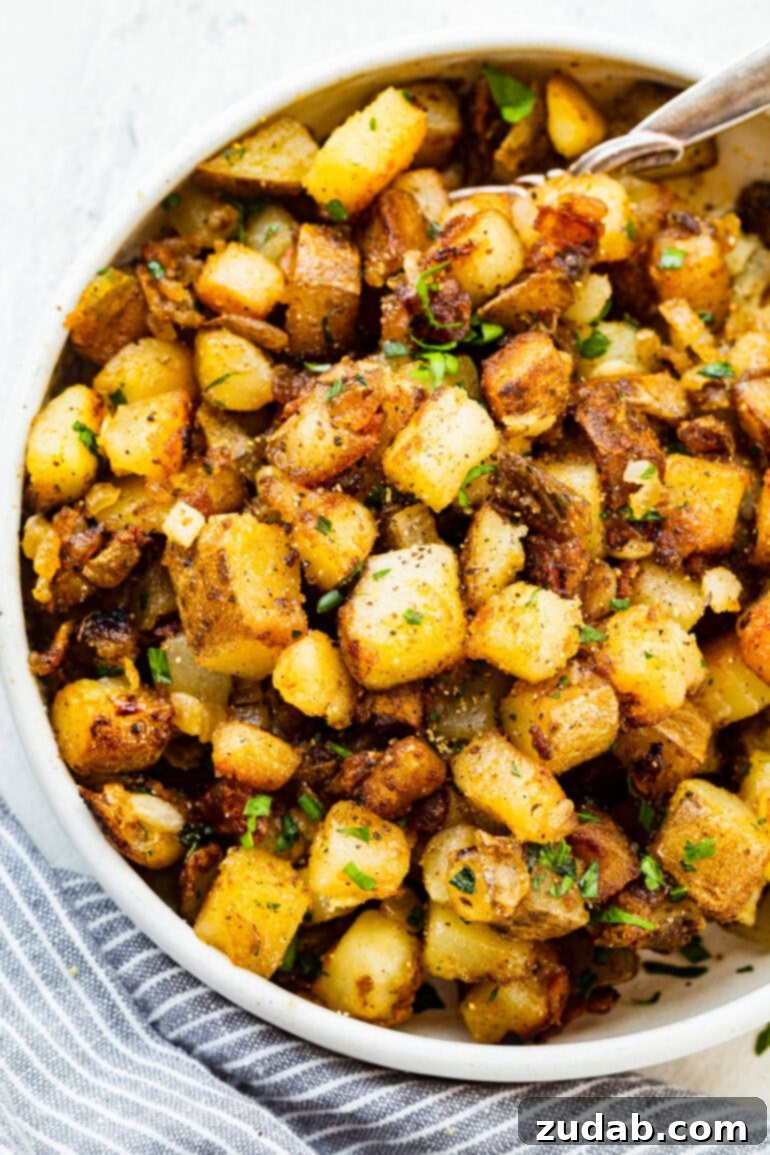
Top Tips for Unbeatable Skillet Potatoes: Achieving the Perfect Texture
Making truly exceptional skillet potatoes, with that ideal balance of crispy outside and soft, tender inside, boils down to a few key techniques. Follow these expert tips for results that rival your favorite diner:
- Uniform Potato Cubes: The importance of cutting your potatoes into similar, half-inch cubes cannot be overstated. This uniformity ensures that every piece cooks at the same rate, both during the boiling and the pan-frying stages. Inconsistent sizes lead to some pieces being undercooked or soggy, while others burn.
- The Power of Parboiling: Pre-boiling, or parboiling, the potatoes before pan-frying them is the secret to achieving that wonderfully soft and fluffy interior. This step partially cooks the potatoes, so when they hit the hot oil, less time is needed to cook through, allowing more energy to focus on developing that golden, crispy crust without drying out the inside.
- Sauté Onions Separately: Resist the urge to cook your onions and potatoes together from the start. Onions cook much faster than potatoes and will inevitably burn by the time your potatoes are perfectly crispy. By sautéing the onions separately and adding them back in at the end, you ensure both components are cooked to perfection.
- Don’t Overcrowd the Pan: This is perhaps the most critical rule for crispy potatoes. Overcrowding lowers the pan’s temperature, causing the potatoes to steam rather than fry. This results in soft, soggy potatoes instead of crispy ones. Cook your potatoes in batches, giving each batch ample space in the hot oil. You’ll combine all the perfectly browned potatoes and onions back into the skillet for a final toss and reheat just before serving.
Home Fries vs. Fried Potatoes: What’s the Difference?
While often used interchangeably, home fries and general “fried potatoes” do have distinct characteristics, though both are undeniably delicious. Understanding these differences can help you appreciate the specific charm of each preparation:
- Home Fries: These are typically potatoes cut into cubes or irregular chunks, often parboiled first for internal tenderness, and then pan-fried on the stovetop until they develop a crispy, golden-brown crust. They are usually seasoned with salt, pepper, and sometimes onions, often served as a hearty breakfast or brunch side.
- Fried Potatoes (General Term): This is a broader category. It can refer to anything from deep-fried items like French fries (which are thinly cut and deep-fried until crisp) to other pan-fried potato preparations. The key distinction from home fries often lies in the cut (e.g., sticks for fries) and the cooking method (deep-frying versus pan-frying).
- Hash Browns: It’s also worth noting that home fries are distinct from hash browns, which involve shredded or grated potatoes that are pan-fried, often pressed into a patty for maximum surface crispiness.
Each potato preparation offers a unique culinary experience, but for that classic, comforting diner vibe, cubed home fries are the undisputed champions.
The Science of Crispiness: Why Baking Soda is a Home Fries Essential
The inclusion of baking soda in this home fries recipe might seem unconventional, but it plays a remarkably important role in achieving that coveted crisp exterior. Here’s the simple science behind it:
When you add baking soda to the boiling water, it increases the water’s pH, making it more alkaline. This alkaline environment breaks down the pectin (a type of fiber) on the surface of the potato pieces. As a result, the outer layer of the potato becomes slightly mushy and creates a starchy paste. When these parboiled, starchy potatoes hit the hot oil in the skillet, that paste quickly dehydrates and crisps up, forming a beautifully crunchy crust. Meanwhile, the interior remains wonderfully soft and fluffy because the initial boiling has already tenderized it.
This technique is a secret weapon for any cook aiming for truly crispy fried potatoes, transforming a simple ingredient into a culinary marvel.
Choosing the Best Potatoes for Unforgettable Home Fries
The type of potato you choose significantly impacts the final texture of your home fries. For this recipe, we highly recommend and prefer:
- Russet Potatoes: These are the ideal choice for home fries because they are high in starch and low in moisture. This composition allows them to cook up incredibly soft and fluffy on the inside while easily developing a super crispy, golden crust when fried. Their starchiness is perfect for creating that desirable starchy paste with the help of baking soda.
- Yukon Gold Potatoes: Another excellent option are Yukon Gold potatoes. They are a medium-starch potato, offering a creamy, buttery interior. While they might not get quite as explosively crispy as Russets, their rich flavor and lovely texture make them a fantastic alternative if Russets aren’t available or if you prefer a slightly creamier potato.
Avoid waxy potatoes like red potatoes or new potatoes, as their low starch content means they won’t achieve the same fluffy interior or crispy exterior that defines classic home fries.
Perfect Pairings: What to Serve with Your Home Fries
One of the many charms of home fries is their incredible versatility. As mentioned, they can be a fantastic side dish for any meal of the day. Their savory, satisfying crunch complements a wide range of flavors, making them a go-to choice for countless culinary combinations. Here are some popular and delightful pairings:
Breakfast and Brunch Favorites:
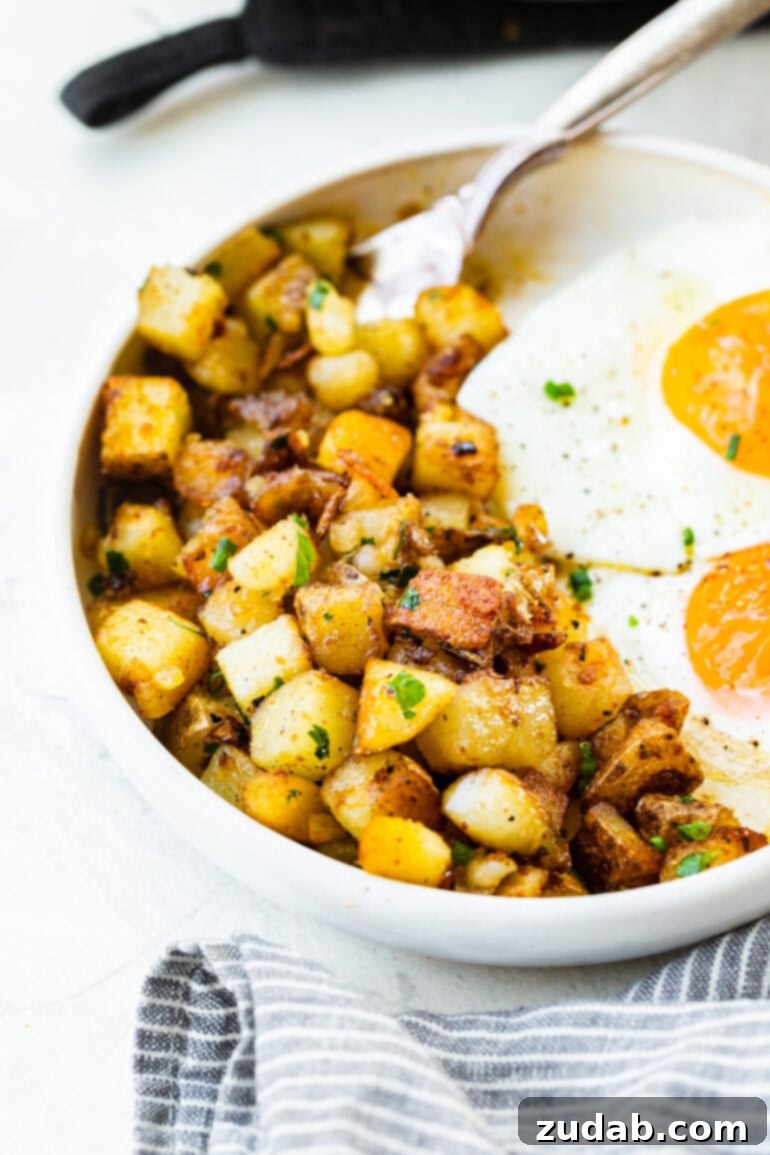
- Classic Eggs: Whether you prefer perfectly fried eggs, fluffy scrambled eggs, or a hearty omelet, home fries are their natural companion.
- Sweet & Savory Combos: Don’t shy away from pairing them with breakfast sweets like golden French toast or stacks of light and airy buttermilk pancakes. The contrast of sweet and savory is truly delightful.
- Breakfast Meats: A side of sizzling bacon, savory sausage links, or a juicy ham steak are all fantastic with home fries.
Dinner and Lunch Companions:
- Steak: Home fries are an excellent, comforting alternative to traditional baked or mashed potatoes with a succulent garlic butter steak.
- Hearty Mains: They pair wonderfully with comforting dishes like classic meatloaf or a perfectly seasoned roasted whole chicken.
- Sandwiches & Burgers: Serve them alongside your favorite deli sandwich or a juicy burger for a satisfying meal that goes beyond standard fries.
Truly, these versatile fried potatoes are fantastic with just about anything you can imagine!
Storing and Reheating Home Fries to Maintain Crispness
While home fries are undoubtedly best enjoyed hot and fresh, sometimes you end up with leftovers. Proper storage and reheating techniques are key to preserving their delicious flavor and desirable texture.
Refrigeration:
Allow your leftover home fries to cool completely before transferring them to an airtight container. Store them in the refrigerator for up to 2 days. This will prevent bacterial growth and maintain their quality.
Reheating Methods:
To bring your home fries back to life with much of their original crispiness, avoid the microwave if possible, as it can make them soggy. Instead, opt for one of these methods:
- Stovetop (Recommended): Heat a small amount of oil or butter in a skillet over medium-high heat. Add the home fries in a single layer and cook, stirring occasionally, until they are heated through and re-crisped to your liking. This is generally the best method for restoring crispness.
- Oven: Spread the home fries in a single layer on a baking sheet. Reheat in a preheated oven at 375°F (190°C) for 10-15 minutes, or until hot and crispy.
- Air Fryer: For an even quicker re-crisping, preheat your air fryer to 375°F (190°C). Place the home fries in a single layer in the basket and cook for 5-8 minutes, shaking the basket halfway through.
Freezing for Future Enjoyment:
Yes, breakfast potatoes can also be frozen for longer storage! Once cooked, allow them to cool completely. Then, spread them in a single layer on a baking sheet and flash-freeze for about an hour. Once frozen solid, transfer them to a freezer-safe ziploc bag or an airtight container. They will keep well in the freezer for up to 3 months.
When you’re ready to enjoy them, thaw the frozen home fries to room temperature first. Then, reheat them using one of the stovetop, oven, or air fryer methods suggested above for the best results.
Variations and Customizations for Your Home Fries
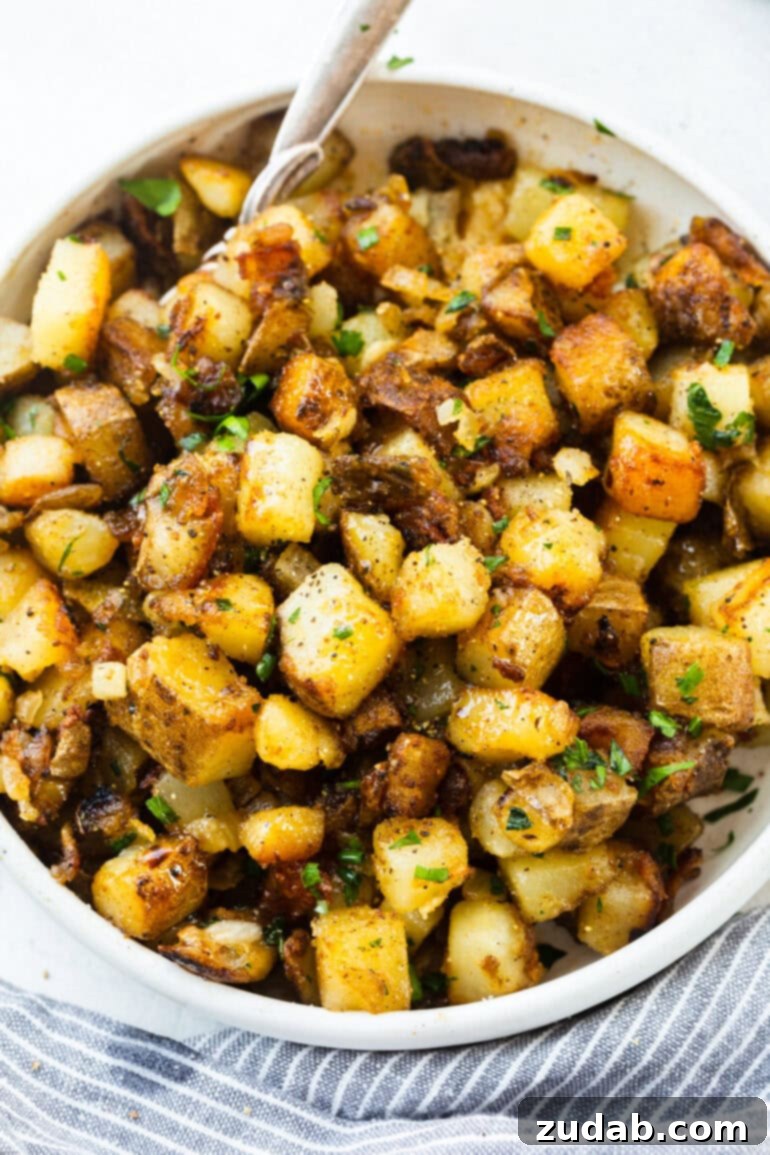
While the classic diner-style home fries are perfect as is, feel free to get creative and customize them to your taste. Here are a few ideas to inspire you:
- Herb Infusion: Add fresh or dried herbs like rosemary, thyme, or oregano to the skillet during the last few minutes of cooking for an aromatic twist.
- Spicy Kick: A pinch of cayenne pepper, red pepper flakes, or a dash of hot sauce after cooking can add a delightful heat.
- Garlic Lover’s Dream: Minced garlic can be sautéed with the onions or added in the last few minutes of cooking for a pungent flavor boost.
- Vegetable Boost: Incorporate finely diced bell peppers (red, green, or yellow), jalapeños, or even mushrooms with the onions for added flavor and texture.
- Cheese Please!: A sprinkle of shredded cheddar, Monterey Jack, or Parmesan cheese over the hot home fries just before serving adds a gooey, savory layer.
- Smoked Paprika: For a smoky depth and a vibrant color, add a teaspoon of smoked paprika along with the seasoned salt.
These simple additions can transform your home fries into a unique dish that perfectly suits your palate.
The Final Verdict: Your New Favorite Potato Dish
Mastering the art of making delicious and crispy home fries in the comfort of your own home is a truly rewarding experience. With this easy-to-follow, step-by-step guide, you no longer need to venture out to a restaurant to satisfy your craving for perfect skillet potatoes. From breakfast to dinner, these comforting, golden cubes are guaranteed to become a household favorite. So, grab your potatoes, fire up that skillet, and prepare to enjoy the best home fries you’ve ever tasted!
More Delicious Potato Side Dishes to Explore:
- Crispy Skin Baked Potatoes
- Ultimate Cheesy Potato Casserole
- Easy 3-Ingredient Chorizo Potatoes
- Instant Pot Green Beans and Potatoes
- Creamy Gruyere Potatoes
- The Best Classic Potato Salad
The Best Home Fries Recipe
Sweet Basil
10
mins
20
mins
30
mins
4
Ingredients
-
2
Russet Potatoes,
large, unpeeled (or peeled if desired) -
1
teaspoon
Baking Soda,
optional (for extra crispiness) -
3
Tablespoons
Vegetable Oil,
divided -
1/2
Cup
White Onion,
chopped -
1/2
teaspoon
Seasoned Salt -
1/4
teaspoon
Ground Black Pepper -
1
Tablespoon
Unsalted Butter,
divided
Instructions
-
Wash the Russet potatoes thoroughly. You can peel them if you prefer, or leave the skin on for extra texture and nutrients. Cut the potatoes into uniform half-inch cubes.
For extra crispy potatoes (highly recommended), proceed to the boiling step. If you’re short on time, this step can be skipped, but the texture won’t be as crispy.
2 Russet Potatoes -
Place the cubed potatoes into a large pot and cover them with cold water. Add 1 teaspoon of baking soda to the water.1 teaspoon Baking Soda
-
Cover the pot and bring the water to a boil over high heat. Once boiling, remove the lid and continue to cook for 1-2 minutes, or until the potato cubes are easily pierced with a fork but still hold their shape. Drain the potatoes thoroughly in a colander, then pat them completely dry with paper towels to remove all excess moisture.
-
While the potatoes are boiling, heat 1 tablespoon of the vegetable oil in a large skillet (preferably cast iron) over medium heat. Add the chopped white onions and sauté them until they are soft and translucent, about 5-7 minutes. Remove the cooked onions from the skillet and set them aside on a plate.3 Tablespoons Vegetable Oil,
1/2 Cup White Onion -
Add the remaining 2 tablespoons of vegetable oil to the same large skillet and increase the heat to medium-high. Add the dried potatoes in a single layer, ensuring not to overcrowd the pan. You may need to cook the potatoes in multiple batches to ensure maximum crispiness. Add additional oil if the pan or potatoes appear dry during cooking.3 Tablespoons Vegetable Oil
-
Allow the potatoes to cook, undisturbed, for several minutes on each side until they turn golden brown and develop a crispy crust. Stir periodically to brown all sides evenly. The key to browning is allowing them to sit without constant stirring.
-
Once all potato batches are cooked and crispy, return all the potatoes, along with the cooked onions and unsalted butter, to the skillet. Season generously with seasoned salt and ground black pepper. Toss everything together vigorously to combine all the flavors and melt the butter, gently reheating the onions and potatoes if needed. Serve immediately while hot and crispy.1/2 teaspoon Seasoned Salt,
1/4 teaspoon Ground Black Pepper,
1 Tablespoon Unsalted Butter
Nutrition
Serving:
0.5
cup
,
Calories:
118
kcal
,
Carbohydrates:
21
g
,
Protein:
3
g
,
Fat:
3
g
,
Saturated Fat:
2
g
,
Polyunsaturated Fat:
0.2
g
,
Monounsaturated Fat:
1
g
,
Trans Fat:
0.1
g
,
Cholesterol:
8
mg
,
Sodium:
571
mg
,
Potassium:
476
mg
,
Fiber:
2
g
,
Sugar:
2
g
,
Vitamin A:
90
IU
,
Vitamin C:
8
mg
,
Calcium:
20
mg
,
Iron:
1
mg
Nutrition information is automatically calculated, so should only be used as an approximation.