
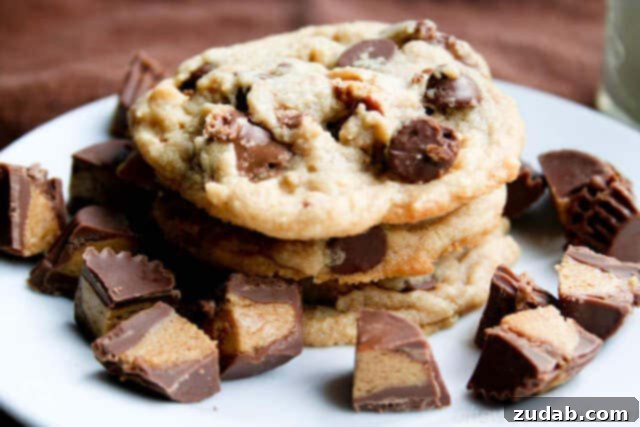
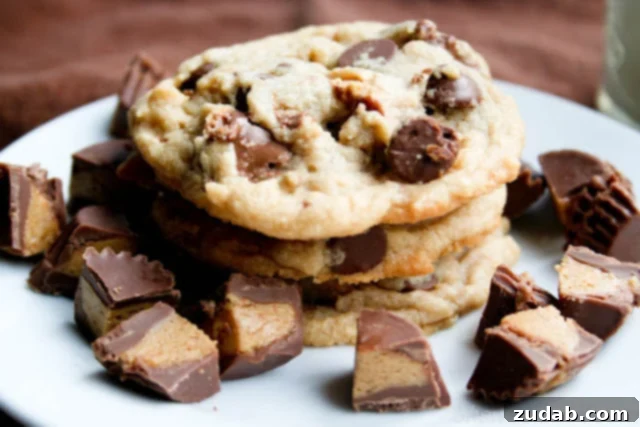
There’s something truly magical about the combination of creamy peanut butter and rich chocolate, especially when it comes in the form of a soft, chewy cookie. These Reese’s Peanut Butter Cup Cookies are not just any cookies; they are an extraordinary treat that will undoubtedly capture your heart and palate from the very first bite. As a devoted peanut butter enthusiast, I can confidently say that these cookies represent the pinnacle of peanut butter perfection, elevated by the irresistible surprise of Reese’s Peanut Butter Cup chunks.
Each cookie offers a tender, melt-in-your-mouth texture that perfectly balances the robust flavor of peanut butter without being overwhelming. What truly sets these apart are the delightful “nuggets” of mini peanut butter cups scattered throughout. These little pockets of peanut butter and chocolate goodness add an incredible burst of flavor and a fantastic textural contrast that makes every bite an adventure. It’s hard to resist scanning the entire batch to find the one with the most glorious peanut butter cup clusters – a delightful quest for any cookie lover!
The Ultimate Solution for Leftover Holiday Candy
Do you ever find yourself with an abundance of leftover candy after holidays like Easter, Halloween, or Valentine’s Day? It’s a common dilemma – you don’t want it to go to waste, but eating it all plain can be a bit much. This recipe is the perfect answer to transform those surplus sweets into something spectacular! Instead of letting those colorful treats languish in a bowl, integrate them into your baking for an exciting twist on classic desserts. While experimenting with other candies, like Milky Way bars in brownies, has taught me valuable lessons about melting points and ideal applications (freezing them first might be the key!), Reese’s Peanut Butter Cups are consistently a dream to bake with. Their robust structure holds up beautifully, offering distinct pockets of flavor and texture in every cookie.
Baking with leftover candy is a fantastic way to extend the holiday joy and get creative in the kitchen. It reduces waste, adds a unique element to your homemade treats, and often leads to surprisingly delicious results. Plus, it’s a fun activity to do with kids, letting them pick their favorite candy additions. For these particular cookies, the chopped Reese’s Peanut Butter Cups are non-negotiable – they are the star of the show and provide that unmistakable sweet and salty harmony that makes these cookies so addictive.
Why These Reese’s Cookies Will Become Your Family’s New Favorite
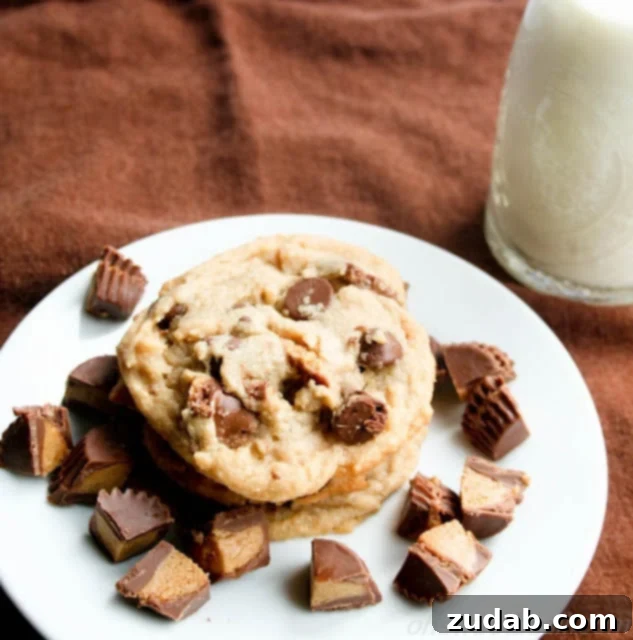
Move over, traditional chocolate chip cookies! There’s a new contender for the title of “best cookie ever,” and it’s these glorious peanut butter cup creations. The blend of sweet, salty, and incredibly rich flavors, combined with a perfectly soft and chewy texture, makes these cookies utterly irresistible. They are a guaranteed crowd-pleaser, perfect for school lunches, after-dinner treats, or sharing at any gathering. The vibrant combination of peanut butter and chocolate appeals to almost everyone, making these a truly versatile and beloved dessert.
The beauty of this recipe lies not only in its incredible flavor but also in its simplicity. With minimal fuss, you can whip up a batch of these delectable cookies that will have everyone asking for more. So, next time you’re thinking about baking, skip the usual and dive into the delightful world of Reese’s Peanut Butter Cup Cookies. I am absolutely convinced that these will become your kids’ (and your!) next favorite cookie – a sweet sensation that will make you forget all about their chocolate chip counterparts. It’s all about the peanut butter cup!
Mastering the Art of Freezing Cookie Dough
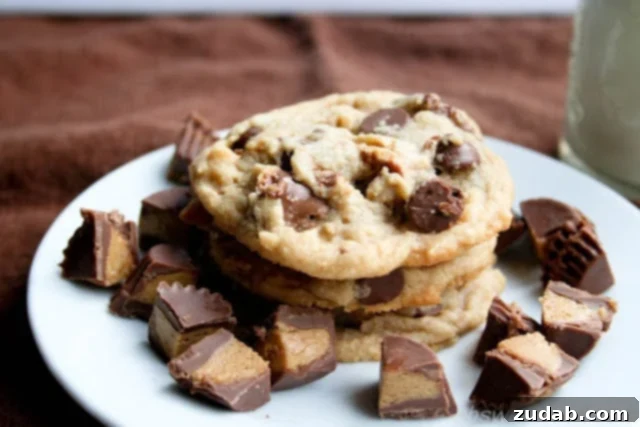
Freezing cookie dough is a game-changer for any home baker. It’s an excellent way to prepare ahead, have fresh-baked cookies on demand, and prevent food waste. With properly frozen cookie dough, you’re always just minutes away from warm, gooey treats. Cookie dough can be safely frozen for up to 3 months, making it a fantastic solution for meal prep or impromptu dessert cravings. Let’s explore the best methods for freezing your cookie dough to ensure perfect results every time.
Method 1: Freezing Individual Cookie Dough Portions
This is arguably the most popular and convenient method for drop cookies like our Reese’s Peanut Butter Cup Cookies. It allows you to bake just a few cookies at a time, minimizing temptation and maximizing freshness.
- Scoop the Dough: Prepare your cookie dough according to the recipe. Using a cookie scoop (or two spoons), drop uniform portions of dough onto a parchment-lined baking sheet. Make sure the dough balls are not touching.
- Flash Freeze: Place the baking sheet with the scooped dough into the freezer for 1-2 hours, or until the dough balls are firm enough to handle without sticking. This crucial step, known as “flash freezing,” prevents the dough balls from clumping together when stored.
- Transfer to Storage: Once firm, transfer the frozen cookie dough balls into a heavy-duty, freezer-safe airtight container or a re-sealable freezer bag. Press out as much air as possible before sealing to prevent freezer burn.
- Label and Date: Always label your container or bag with the type of cookie dough and the date it was frozen. This helps you keep track of your inventory and ensures you use the dough within its 3-month shelf life.
- Baking from Frozen: When you’re ready to bake, simply place the frozen cookie dough balls on a baking sheet. You may need to add an extra 2-4 minutes to the baking time specified in the recipe. There’s no need to thaw the dough beforehand!
Method 2: Freezing Cookie Dough Logs
This method is ideal if you prefer to slice your cookies or want to prepare a large batch of uniform cookies at once. It’s particularly useful for recipes that call for rolling and cutting.
- Form a Log: After preparing your cookie dough, divide it into manageable portions. On a piece of plastic wrap, shape each portion into a log, about 1.5 to 2 inches in diameter.
- Wrap Tightly: Wrap the dough log very tightly in multiple layers of plastic wrap, ensuring no air is trapped. You can then add a layer of aluminum foil for extra protection against freezer burn.
- Freeze: Place the wrapped dough logs in the freezer until solid.
- Label and Date: As with individual portions, remember to label your logs with the cookie type and date.
- Baking from Frozen: When ready to bake, you have two options:
- Slice and Bake: Remove the log from the freezer, unwrap it, and use a sharp knife to slice off cookie-sized portions. Place them on a baking sheet and bake, adding a few extra minutes to the baking time.
- Thaw and Bake: Alternatively, you can let the entire log thaw in the refrigerator overnight, then slice and bake as usual.
Regardless of the method you choose, freezing cookie dough is a wonderful way to enjoy fresh, homemade cookies with minimal effort whenever the craving strikes!
How Long Will Baked Cookies Keep?
While fresh-from-the-oven cookies are always a delight, knowing how to properly store them is key to enjoying their deliciousness for as long as possible. Here’s a guide to keeping your Reese’s Peanut Butter Cup Cookies fresh, whether at room temperature, in the refrigerator, or in the freezer.
Room Temperature Storage for Ultimate Freshness
For immediate enjoyment, fresh-baked cookies store best at room temperature. Properly stored, soft, chewy cookies like these Reese’s Peanut Butter Cup delights will last 2-3 weeks, though they are usually devoured much sooner!
- Airtight is Key: Always store your cookies in an airtight container or a heavy-duty, re-sealable storage bag. Exposure to air is the primary culprit for cookies going stale and hard.
- Separation is Best: If you’re storing different types of cookies, it’s often best to keep them in separate containers. Strong flavors from one cookie can transfer to another.
- Bread Trick: For extra soft cookies, you can place a half slice of plain white bread or a tortilla in the container with your cookies. The cookies will absorb moisture from the bread, helping them stay soft. Just remember to replace the bread every day or two to prevent mold.
Freezing Baked Cookies for Long-Term Enjoyment
Freezing baked cookies is an excellent way to preserve their freshness for an extended period, allowing you to enjoy homemade treats weeks or even months down the line. Baked cookies can last up to 3 months in the freezer without a significant loss in quality.
- Cool Completely: Before freezing, ensure your cookies are completely cooled to room temperature. Freezing warm cookies will create condensation, leading to ice crystals and soggy cookies.
- Flash Freeze (Optional but Recommended): For best results and to prevent cookies from sticking together, arrange them in a single layer on a baking sheet lined with parchment paper. Place the baking sheet in the freezer for 1-2 hours until the cookies are firm.
- Pack for Protection: Once flash-frozen (or simply cooled if skipping the flash freeze), transfer the cookies to a heavy-duty freezer bag or an airtight freezer-safe container. For added protection against freezer burn, you can layer cookies between sheets of parchment paper within the container.
- Remove Air and Seal: If using a freezer bag, press out as much air as possible before sealing. This minimizes freezer burn and helps maintain the cookies’ texture and flavor.
- Label and Date: Don’t forget to label your container or bag with the type of cookie and the date it was frozen.
- Thawing and Reheating: To enjoy frozen baked cookies, simply remove them from the freezer and let them thaw at room temperature for an hour or two. For a “fresh-baked” experience, you can gently warm them in a microwave for 10-15 seconds or in a preheated oven (around 275°F/135°C) for 5-7 minutes.
With these storage tips, your delicious Reese’s Peanut Butter Cup Cookies can be enjoyed long after they’ve come out of the oven, ensuring you always have a sweet treat on hand!
Reese’s Peanut Butter Cup Cookies
Reese’s Peanut Butter Cup Cookies
By Sweet Basil
Prep Time: 10 mins
Cook Time: 10 mins
Total Time: 20 mins
Servings: 24 cookies
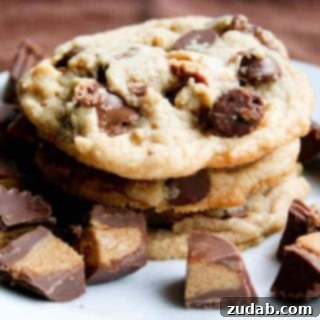
These cookies are wonderfully tender and feature a perfect balance of peanut butter flavor. The delightful chunks of Reese’s Peanut Butter Cups make them absolutely irresistible.
Ingredients
- 1/2 Cup Butter, Softened (let it sit at room temperature, do NOT microwave)
- 1/2 Cup White Sugar
- 1/2 Cup Light Brown Sugar
- 1/2 Cup Creamy Peanut Butter (JIF is highly recommended for best results)
- 1 Large Egg
- 1 teaspoon Whole Milk
- 1/2 teaspoon Vanilla Extract
- 1/2 teaspoon Baking Soda
- 1/2 teaspoon Baking Powder
- 1/2 teaspoon Salt
- 1 1/4 Cup All-Purpose Flour
- 1/4 Cup Chocolate Chips
- 1/2 Cup Peanut Butter Cups, chopped (mini Reese’s work great!)
Instructions
- Preheat your oven to 350°F (175°C).
- In a large mixing bowl, combine the softened butter, white sugar, light brown sugar, creamy peanut butter, large egg, whole milk, and vanilla extract.
- Beat the wet ingredients together until the mixture is smooth and all ingredients are well incorporated.
- In a separate, smaller bowl, whisk together the dry ingredients: baking soda, baking powder, salt, and all-purpose flour. Whisking ensures an even distribution, which helps the cookies bake perfectly.
- Gradually add the dry ingredient mixture into the wet ingredients. Mix until just combined. Be careful not to overmix, as this can lead to tough cookies.
- Using a wooden spoon or spatula, gently fold in the chocolate chips and chopped Reese’s Peanut Butter Cups until they are evenly distributed throughout the dough.
- Drop spoonfuls of cookie dough onto an ungreased or parchment-lined baking sheet. Space them about 2 inches apart.
- Bake in the preheated oven for 8-10 minutes, or until the edges are lightly golden and the centers are just set.
- Remove the cookies from the oven and let them cool on the baking sheet for a minute or two before transferring them to a wire rack to cool completely.
Recipe Notes
These delicious cookies can be frozen for up to 3 months. Follow the detailed instructions above for freezing cookie dough or baked cookies.
Nutrition
Serving: 1 cookie
Calories: 137kcal
Carbohydrates: 16g
Protein: 2g
Fat: 7g
Saturated Fat: 3g
Cholesterol: 17mg
Sodium: 136mg
Potassium: 59mg
Fiber: 1g
Sugar: 10g
Vitamin A: 132IU
Calcium: 15mg
Iron: 1mg
Nutrition information is automatically calculated and should only be used as an approximation.
Like this recipe? We’d love to hear your thoughts! Leave a comment below!