
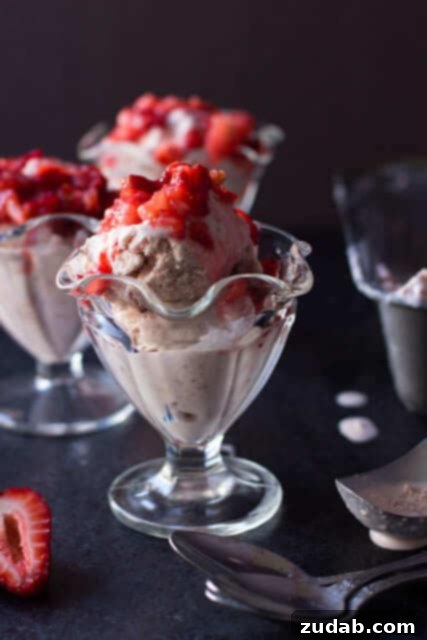
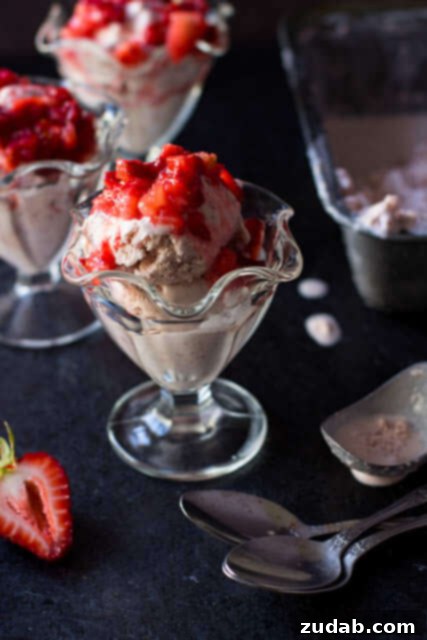
Summer evokes a cascade of cherished memories: the warmth of backyard gatherings, the aroma of delectable food, and, most vividly, the simple joy of savoring old-fashioned strawberry ice cream under my grandma’s sprawling fruit trees. It’s a flavor that transcends mere taste, transporting me back to idyllic summer vacations. While I’ve previously shared glimpses of my remarkable grandma in my post on Heirloom Apple Rolls, her story is rich with anecdotes and wisdom, offering endless inspiration. This particular memory, however, is inextricably linked to the creamy, sweet delight of homemade strawberry ice cream.
There truly is an undeniable magic woven into old fashioned strawberry ice cream, especially as the summer sun shines brightly. For me, it serves as a delicious portal to the summers spent at my grandma’s welcoming home in Jerome, Idaho. Our extended family would converge there, finding shade and adventure beneath the magnificent fruit trees whose branches were perfect for climbing and secretive hiding spots. We’d set up long tables laden with an array of mouth-watering dishes, while Grandma shared captivating tales of her life, all against the comforting backdrop of her homemade ice cream churning slowly. This isn’t just a dessert; it’s a legacy, a testament to simple pleasures and enduring family bonds that make every spoonful a journey back in time.
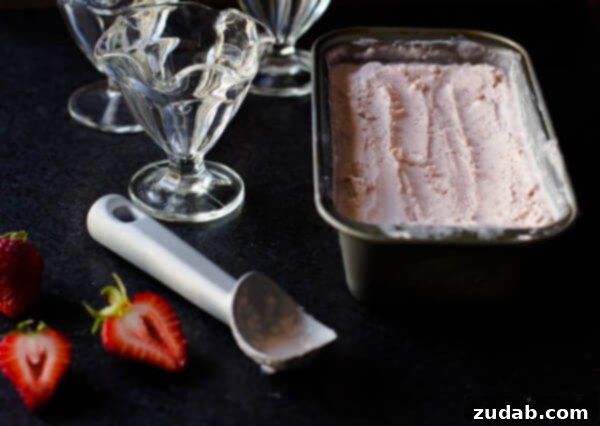
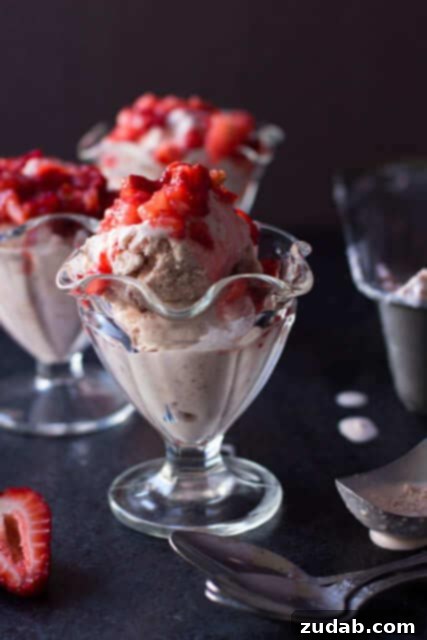
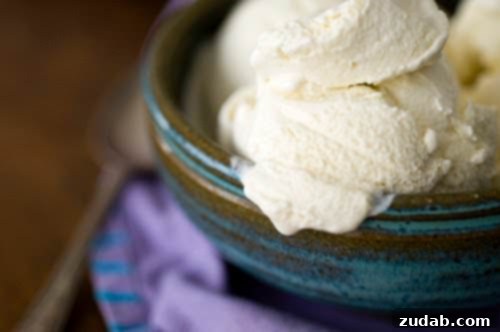
This evocative photograph, with its slightly darker and more contemporary aesthetic, paradoxically reminds me so much of my grandma. It’s as if these are the distant, treasured memories, patiently waiting in a quiet corner of my mind, ready to be recalled with perfect clarity. Grandma’s house was a sanctuary of peace, tranquility, and unwavering safety. Her stories, always centered on her own extraordinary life, were infinitely more captivating than any fairytale. As I gaze at the strawberry ice cream, I’m irresistibly drawn into the past, listening to one of my all-time favorite stories: the hilarious tale of her and the outhouse. My grandma was a shy, tender-hearted woman, who, despite her gentle nature, married a true practical jokester with a heart of pure gold. I often hope he watches over me, and I am profoundly grateful that one day we will be together again.
But, let’s get back to that unforgettable outhouse story…
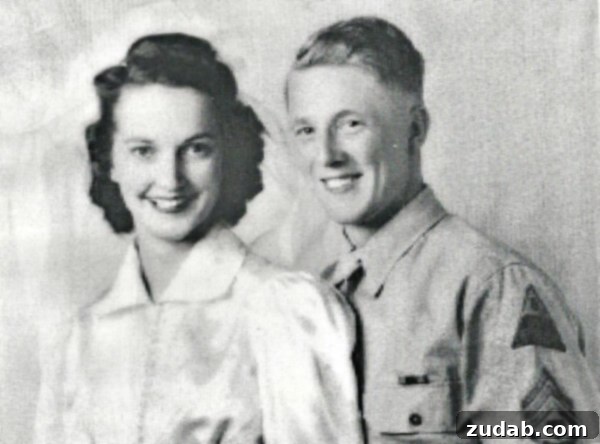
“Putting the war behind us and learning to adjust to our new way of life was not easy for either of us. Mealtime was especially hard. I worked so diligently to please him with delicious meals. I baked fresh bread and tried to cook tasty foods that I knew he cherished. We would just get our plates filled, and I’d wait expectantly for him to tell me how wonderful it tasted. Suddenly, he would turn pale, stand up, and leave the table. This always left me shaken and in tears.
Much later, he confessed that whenever he looked at a plateful of food, he could see all those hungry people in Europe, the ones he had just left behind. He simply couldn’t bring himself to take even a single bite. Oh, that horrible war! Would he ever be able to forget and find happiness again? I, too, had my own lessons to learn. Slowly, I began to understand that laughter is often the best prescription for healing mental wounds.
For some reason, I never wanted anyone to see me go to the outhouse. I would wait until my husband had gone out into the field before I would venture down that path.
One morning, I heard the tractor start up and head towards the field. I hurried down the path and had just gotten seated when I heard the tractor returning to the yard. ‘He must have forgotten something,’ I thought. ‘I’ll just be quiet, and he will never know where I am.’ The tractor’s sound grew louder and louder, yet I remained silent. I peered out through a tiny crack and saw the bumper of the tractor push up against the door.
‘My gosh! What is he doing? Has he completely lost his mind? Will he really push me over?’ He began rocking that little building back and forth. ‘This is not a joke. He is truly crazy!’
I knew it was time to break my silence. I stood up and let out a blood-curdling scream. As I peeked out through the crack of the door, I saw his blue eyes twinkle, and his shoulders shake with laughter as he backed off and finally headed for the field. ‘What a creep!’ Now I had no secrets at all. He knew I had to use the outhouse, just like everyone else.”
I absolutely adore that story. It perfectly encapsulates the darling lady Grandma was, and forever will be. Her spirit of resilience, humor, and unwavering love for her family is truly inspiring. Not long ago, I had the pleasure of attending a dinner with Land O’ Lakes, where we engaged in a wonderful discussion about vintage recipes and the importance of preserving and reviving them. I suppose that’s where the seed for this particular post was planted. It’s a journey back to a cherished part of my past, a memory I’m determined to keep alive and never let fade.
Making Homemade Ice Cream Without a Machine
While an ice cream maker undoubtedly produces the smoothest and most consistent ice cream, you can absolutely achieve a wonderfully creamy result without any specialized equipment. This “no-churn” method is surprisingly simple and perfect for those spontaneous cravings or when you don’t have an ice cream machine on hand.
Here’s how to make delicious homemade ice cream without an ice cream freezer:
- **Prepare Your Container:** Choose a freezer-safe container with a wide, flat surface, such as a 9×13-inch cake pan or a shallow metal baking dish. Place it in the freezer for at least 30 minutes, or until thoroughly chilled. A cold container helps the ice cream freeze more evenly.
- **Mix Your Ingredients:** In a large bowl, combine all your ice cream ingredients as specified in your recipe. Ensure they are well-mixed and uniform.
- **Initial Freeze:** Pour the mixture into your pre-chilled pan. Return the pan to the freezer for about 20-30 minutes. The goal is for the edges to begin freezing solid, but the center should still be soft.
- **First Whip:** Remove the pan from the freezer. Using a hand mixer (or a sturdy whisk for a good arm workout!), thoroughly mix the semi-frozen ice cream. Break up any icy bits along the edges and incorporate them into the softer center. This step is crucial for preventing large ice crystals and creating that desirable creamy texture.
- **Repeat the Process:** Put the pan back into the freezer. Repeat the mixing process every 30 minutes. This regular stirring helps aerate the mixture and distribute the freezing evenly, minimizing crystallization.
- **Final Freeze:** Continue repeating step 5 until the ice cream is frozen firm and has reached your desired consistency. This typically takes several hours, or even overnight, depending on your freezer and the quantity of ice cream.
Once frozen, transfer the ice cream to an airtight container to prevent freezer burn and store it in your freezer until you’re ready to enjoy this delightful homemade treat.
Old Fashioned Strawberry Ice Cream Recipe
Old Fashioned Strawberry Ice Cream
Sweet Basil
5 mins
10 mins
15 mins
4
Ingredients
- 2 Cups Whole Milk
- 1 1/2 Cup Strawberries, smashed
- 5 Large Egg Yolks
- 1/4 Cup Sugar
- 1 Cup Cream
- Dash Salt
Instructions
-
Heat the milk and smashed strawberries gently over medium heat until very hot, but not boiling.
-
In a separate bowl, whisk the egg yolks and sugar until the mixture is light in color and creamy.
-
Slowly temper the eggs by gradually adding 3 tablespoons of the hot milk mixture to the egg mixture while continuously whisking. This prevents the eggs from scrambling.
-
Pour all of the tempered egg mixture back into the pan with the remaining milk and berries.
-
Gently cook the custard over low to medium heat, stirring constantly, until it starts to thicken and reaches 160 degrees F on an instant-read thermometer. Be careful not to let it exceed 180 degrees F, or it may curdle. If you don’t have a thermometer, cook until the custard is thick enough to coat the back of a wooden spoon.
-
Immediately strain the hot custard into a clean bowl to remove any berry solids and ensure a smooth texture. Then, add the cold cream and a dash of salt, stirring until well combined.
-
Chill the custard mixture completely in the refrigerator. This step is crucial for achieving the best texture; ideally, chill for at least 4 hours or overnight.
-
Once thoroughly chilled, follow your ice cream maker’s instructions to churn the mixture into ice cream. If using the no-churn method (as described above), follow those instructions. Store the finished ice cream in a tight-lidded container in the freezer until ready to serve.
To serve
-
Scoop out the ice cream into dishes and serve immediately, perhaps with a garnish of extra smashed or sliced fresh strawberries for an added burst of flavor.
Recipe Notes
Homemade ice cream, when stored properly in an airtight container, will keep wonderfully in the freezer for 2 or more weeks, maintaining its delightful taste and texture.
Nutrition
Nutrition information is automatically calculated, so should only be used as an approximation.
Like this? Leave a comment below!
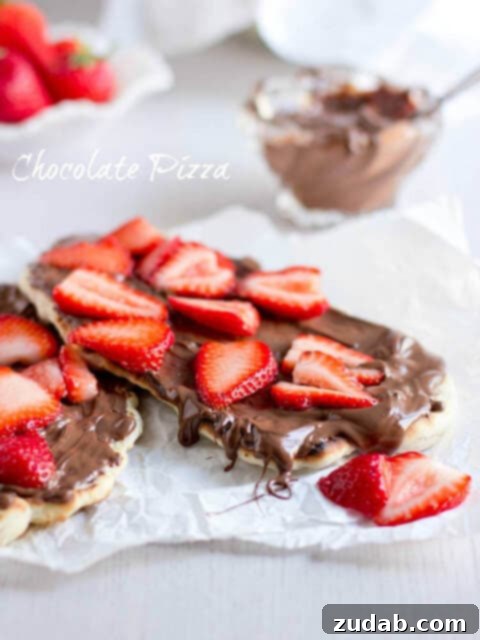
Grilled pizza with nutella and strawberries
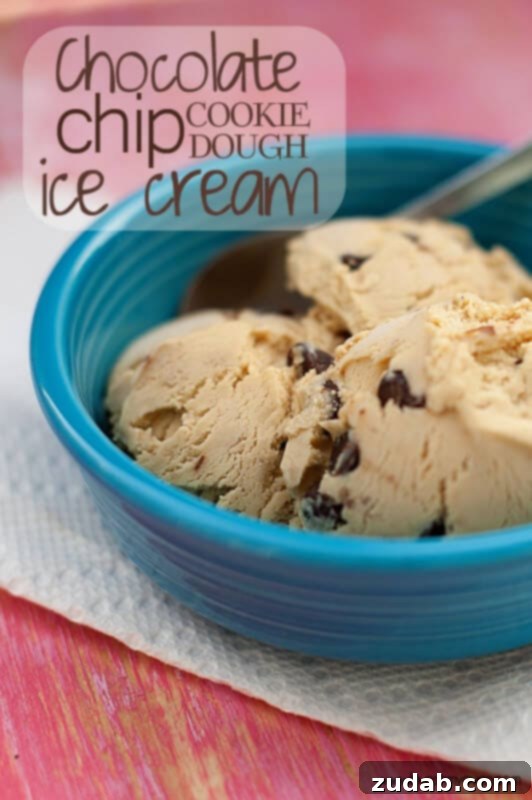 Chocolate Chip Cookie Dough Ice Cream– Buns in My Oven
Honey Lavender Ice Cream– Home sick Texan