
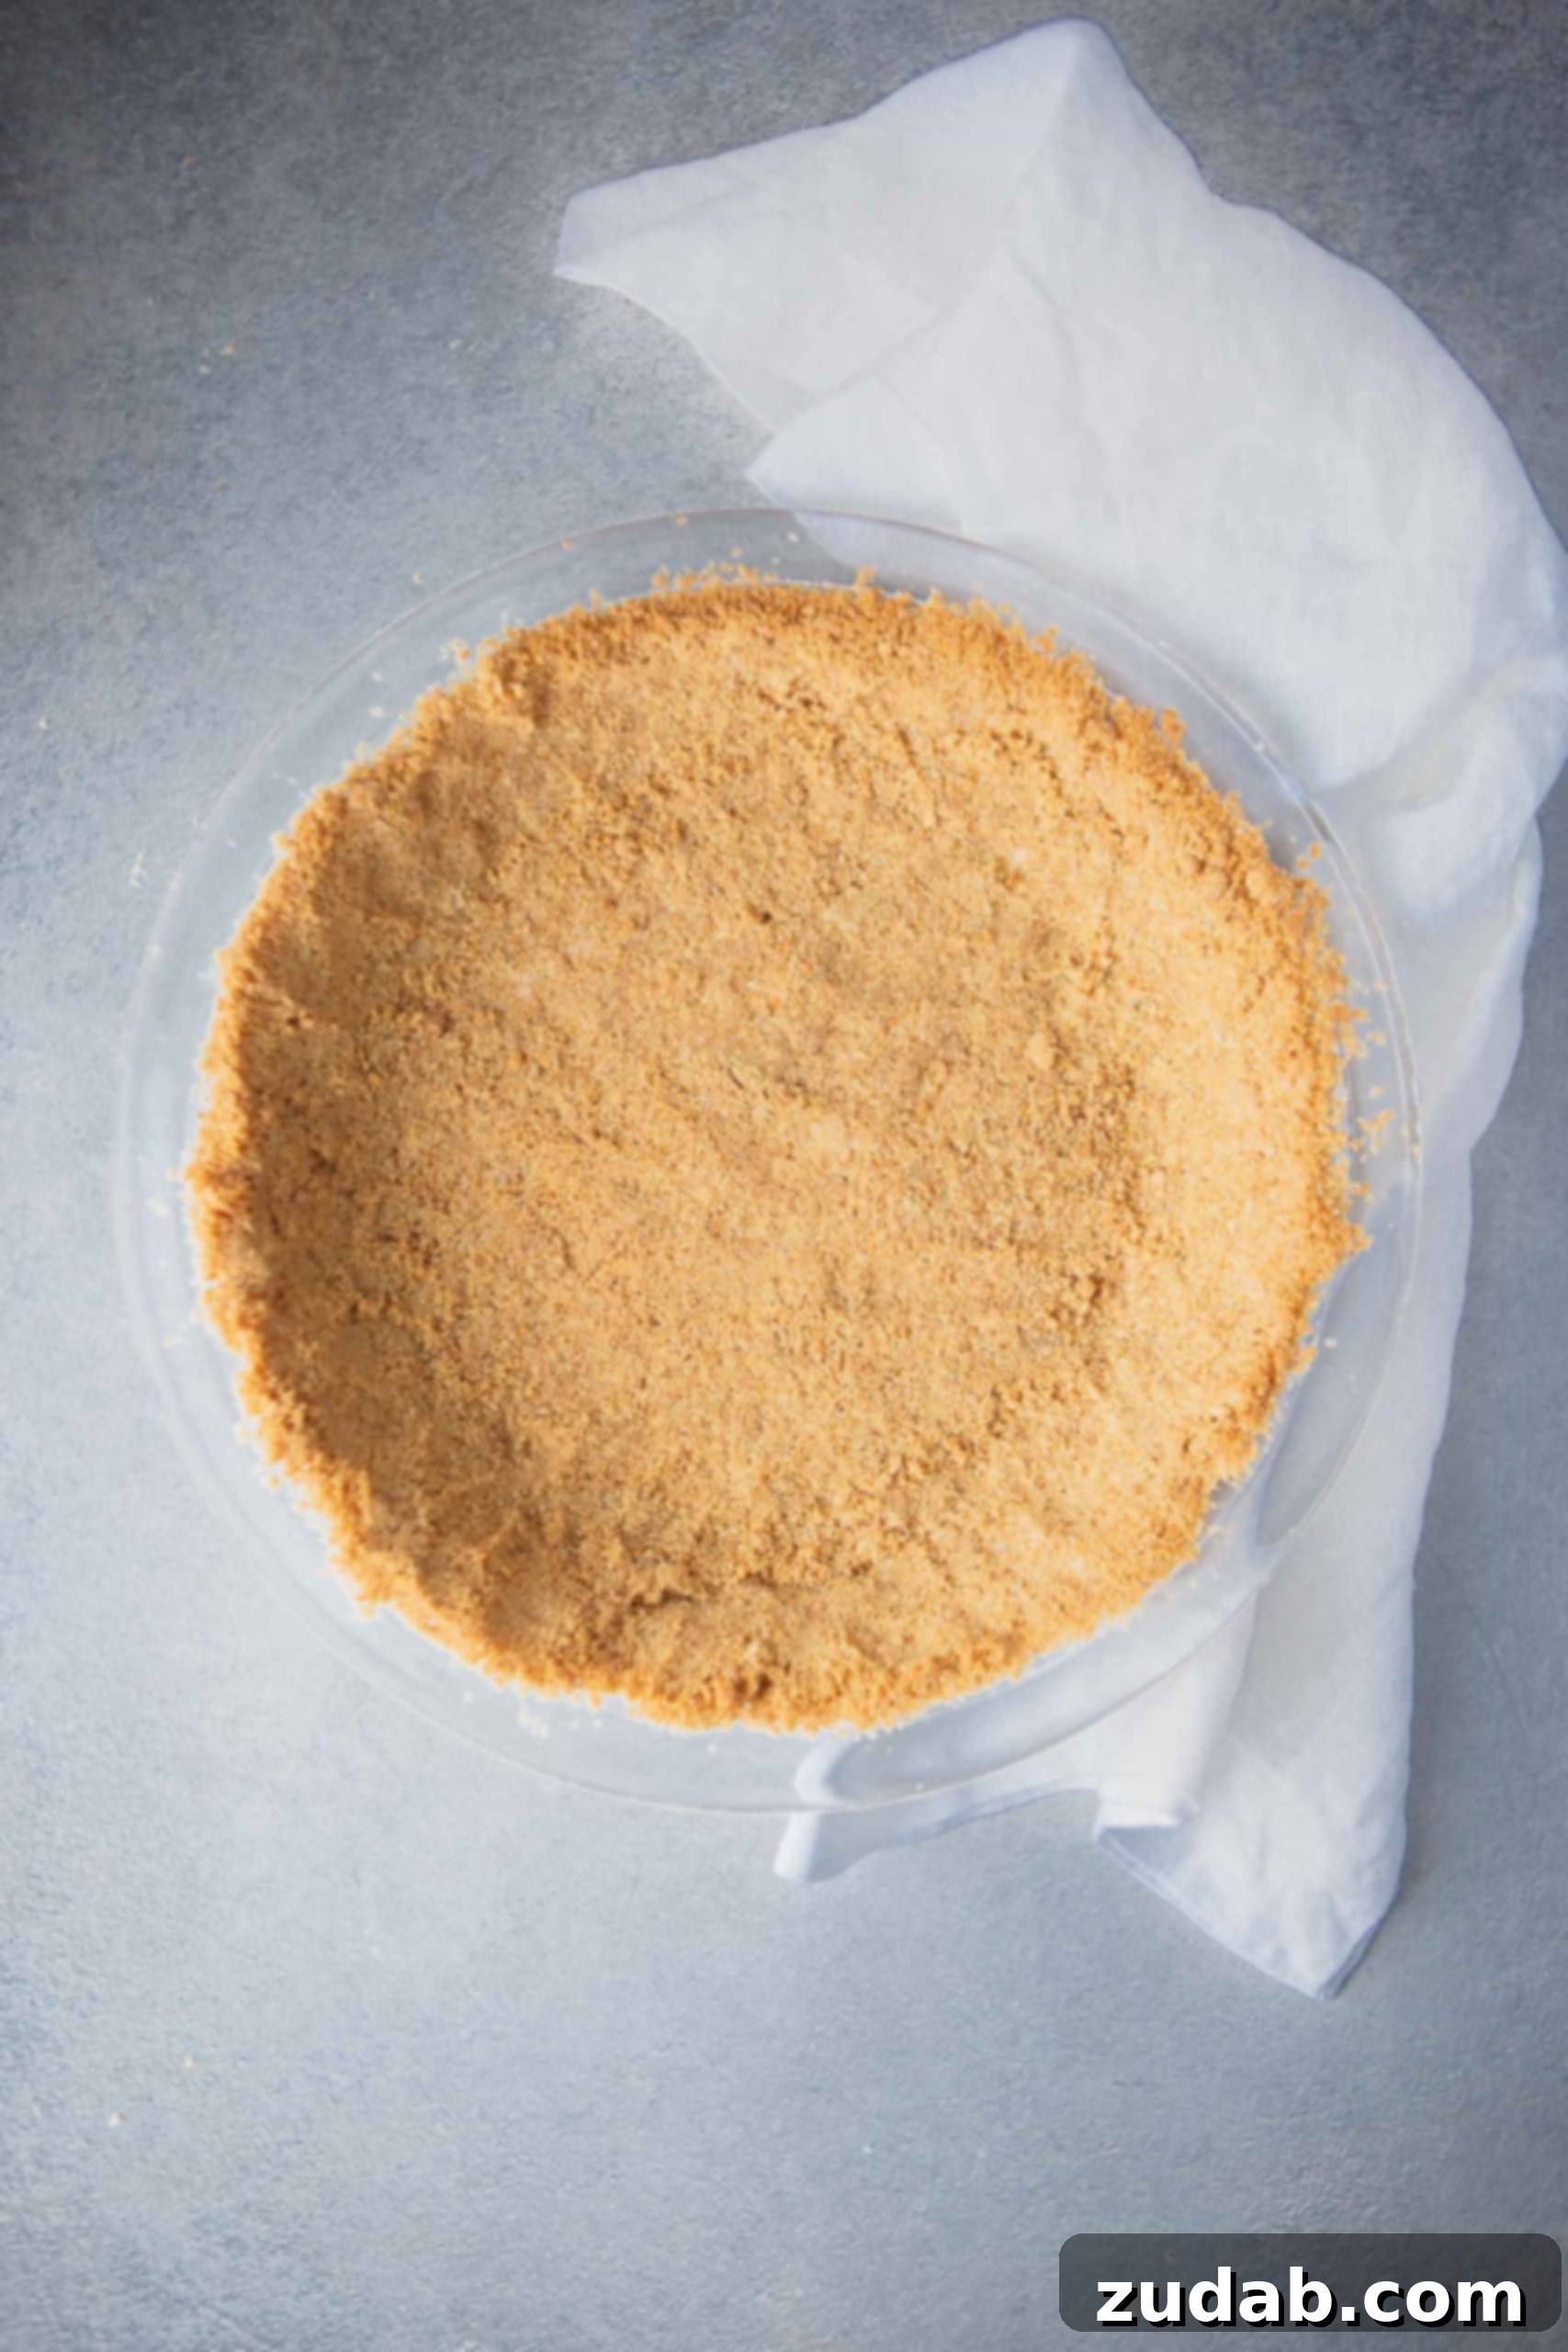
The humble, yet incredibly versatile, graham cracker crust stands as the beloved foundation for an endless array of delectable desserts. Requiring only three simple ingredients and minimal effort, this trusty traditional crust is everyone’s favorite part of a pie or cheesecake. Forget flimsy, store-bought alternatives; crafting your own homemade graham cracker crust elevates any dessert, promising a perfect balance of sweetness and crunch with a rich, buttery flavor that’s truly irresistible.
For those moments when you crave that perfect, crumbly base but can’t quite recall the precise measurements, this comprehensive guide is your go-to resource. It’s designed to be a quick reference, making it faster to consult online than to dig through a physical recipe box. Whether you’re a seasoned baker or a kitchen novice, mastering this classic crust is a game-changer for your dessert repertoire. It’s so simple, you’ll wonder why you ever considered buying one.
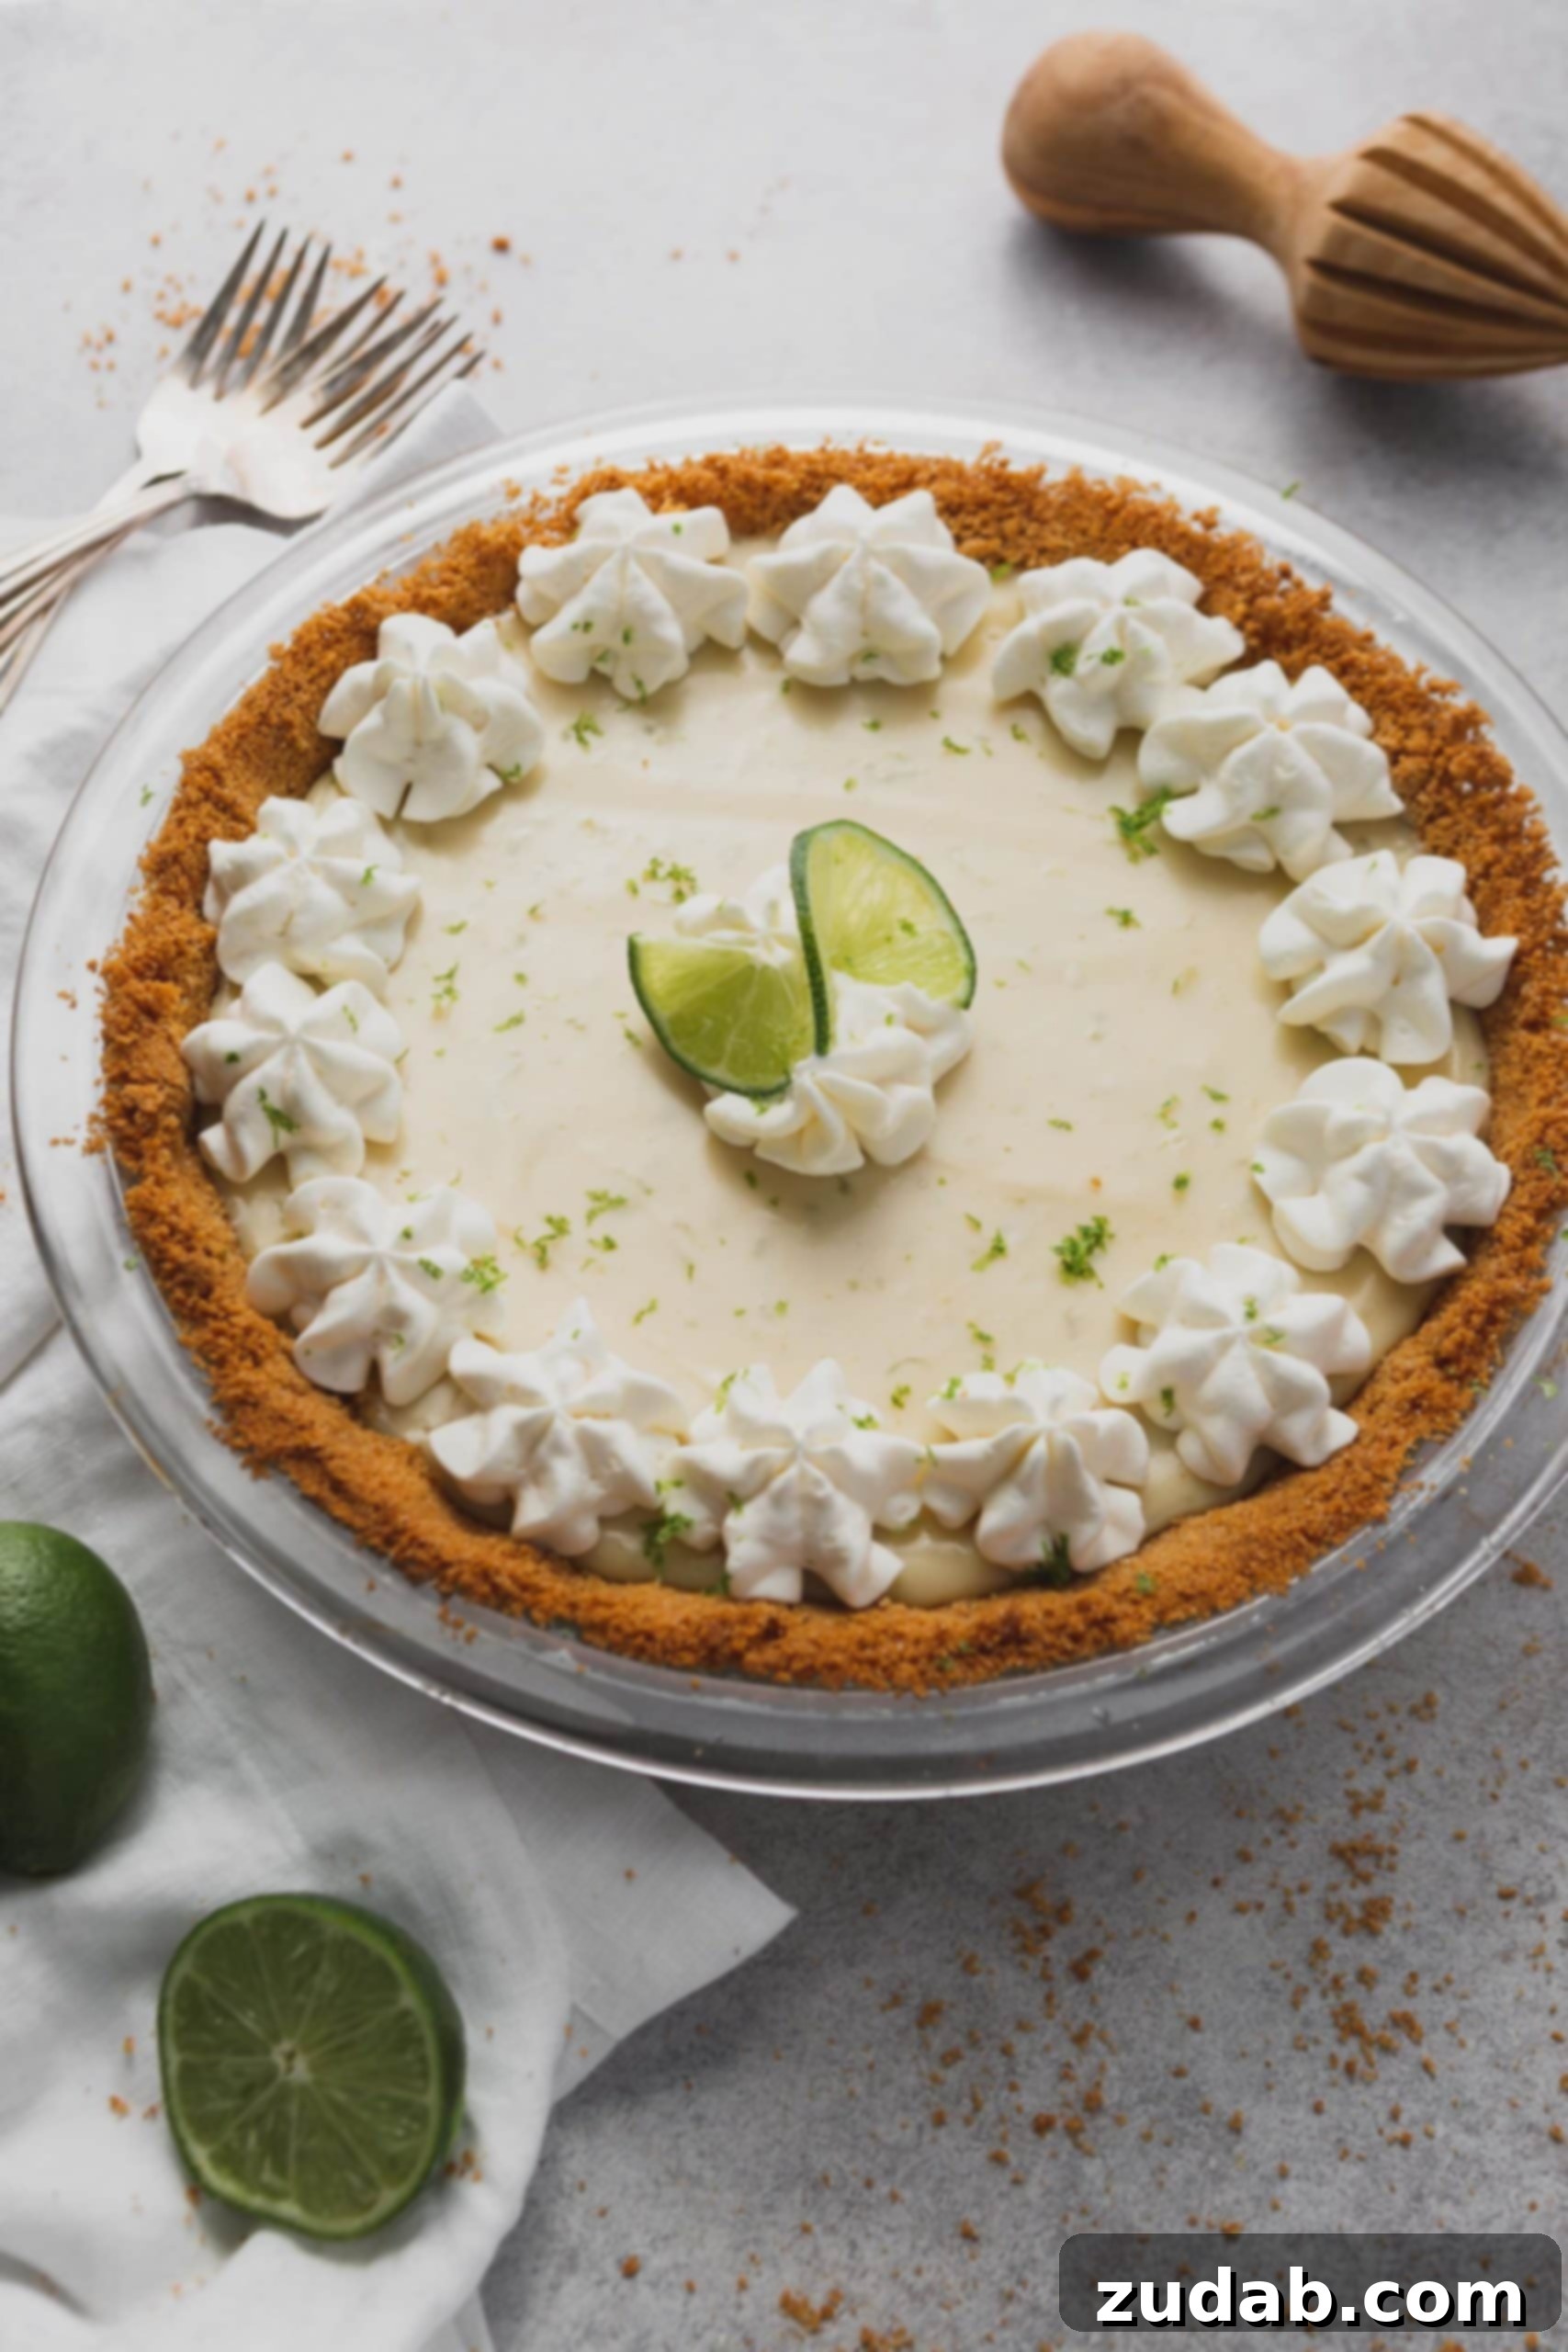
Confession time: While preparing a key lime pie recently, I was in such a rush to photograph this recipe that I inadvertently used a generous amount more graham cracker crumbs than specified. Yet, to my delight, the crust still turned out beautifully. This little mishap only reinforces the forgiving nature of this recipe – it’s truly hard to mess up! So, even if you stray slightly from the exact measurements, you’re likely to achieve a winning result. The goal here is simple: a flawless, flavorful crust every single time.
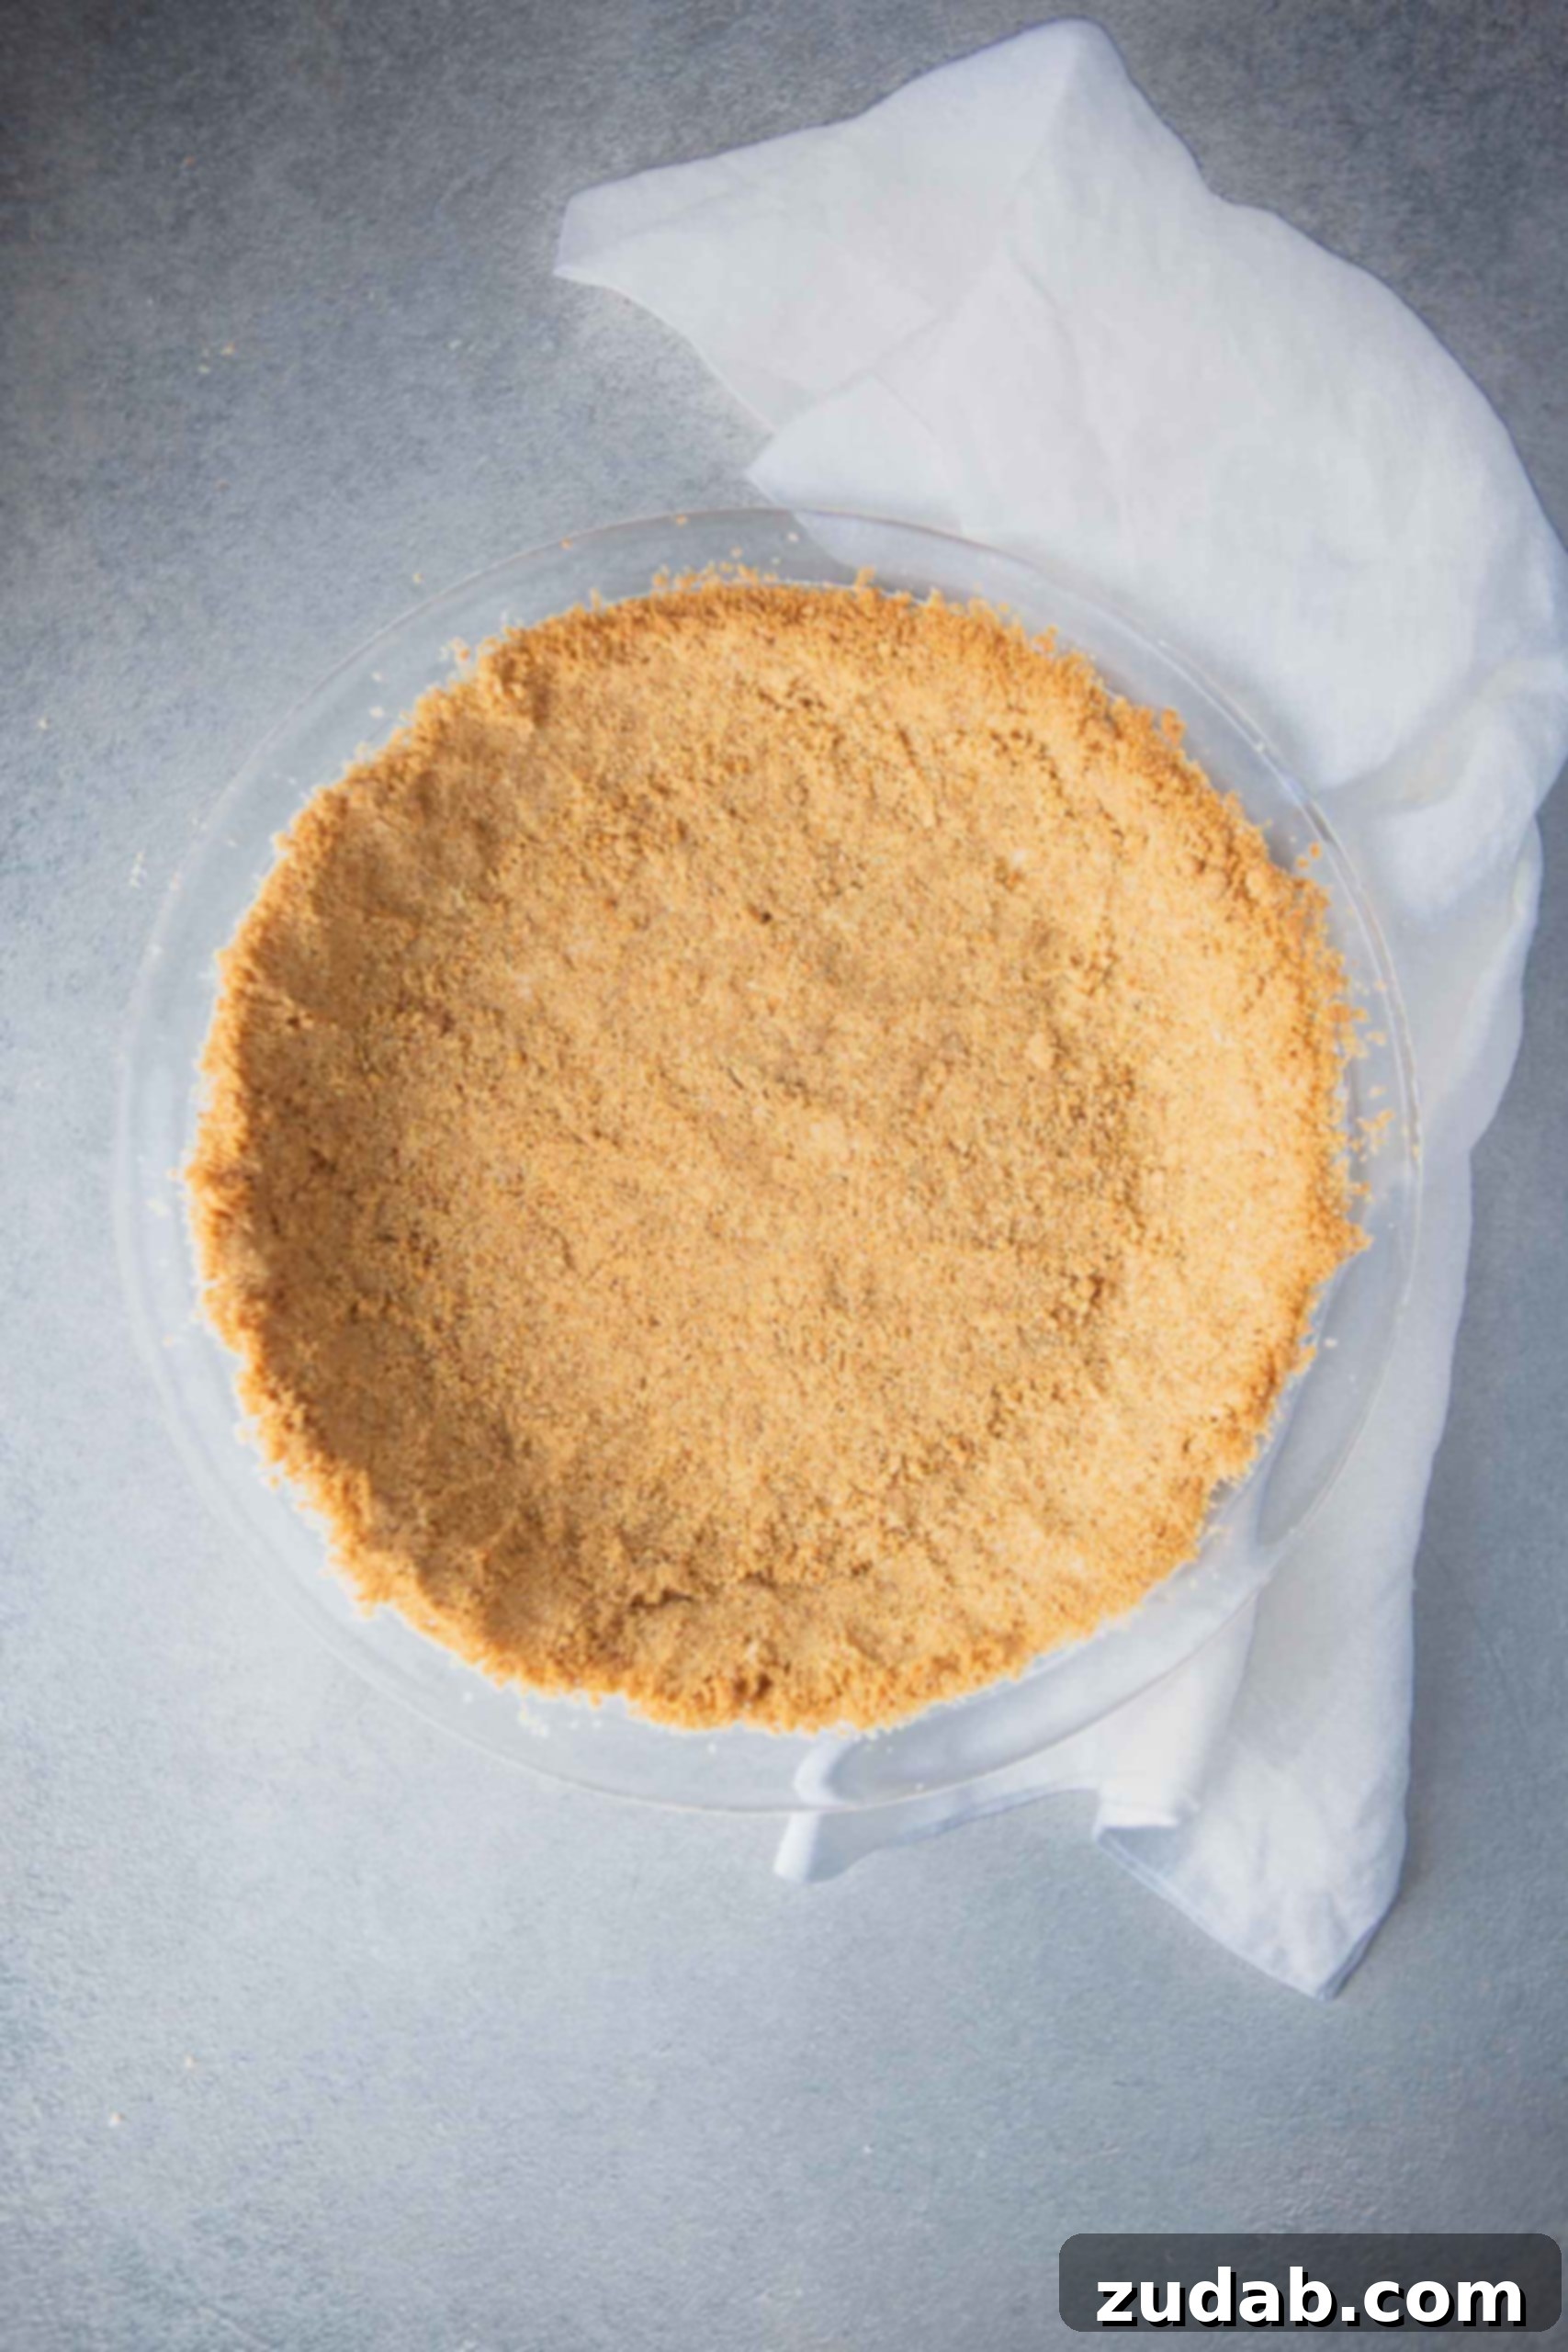
The Simplicity of Ingredients for Your Perfect Graham Cracker Crust
As promised, crafting this iconic crust requires just three fundamental ingredients. Their quality and proper preparation are key to achieving that ideal texture and flavor:
- Graham Cracker Crumbs: The backbone of our crust, providing that signature slightly sweet, toasted flavor and coarse texture.
- Granulated Sugar: Essential for sweetening the crust and, crucially, helping the crumbs bind together beautifully when melted with the butter.
- Unsalted Butter (Melted): The magical binder that transforms dry crumbs into a cohesive, pressable crust, imparting rich flavor and a crisp texture upon baking or chilling.
You’ll find the precise measurements for each of these ingredients in the static recipe card located further down this page. While the list is short, the impact of these components working in harmony is immense, creating a foundation that can truly make or break your dessert.
Crafting Your Own Graham Cracker Crumbs: A Step-by-Step Guide
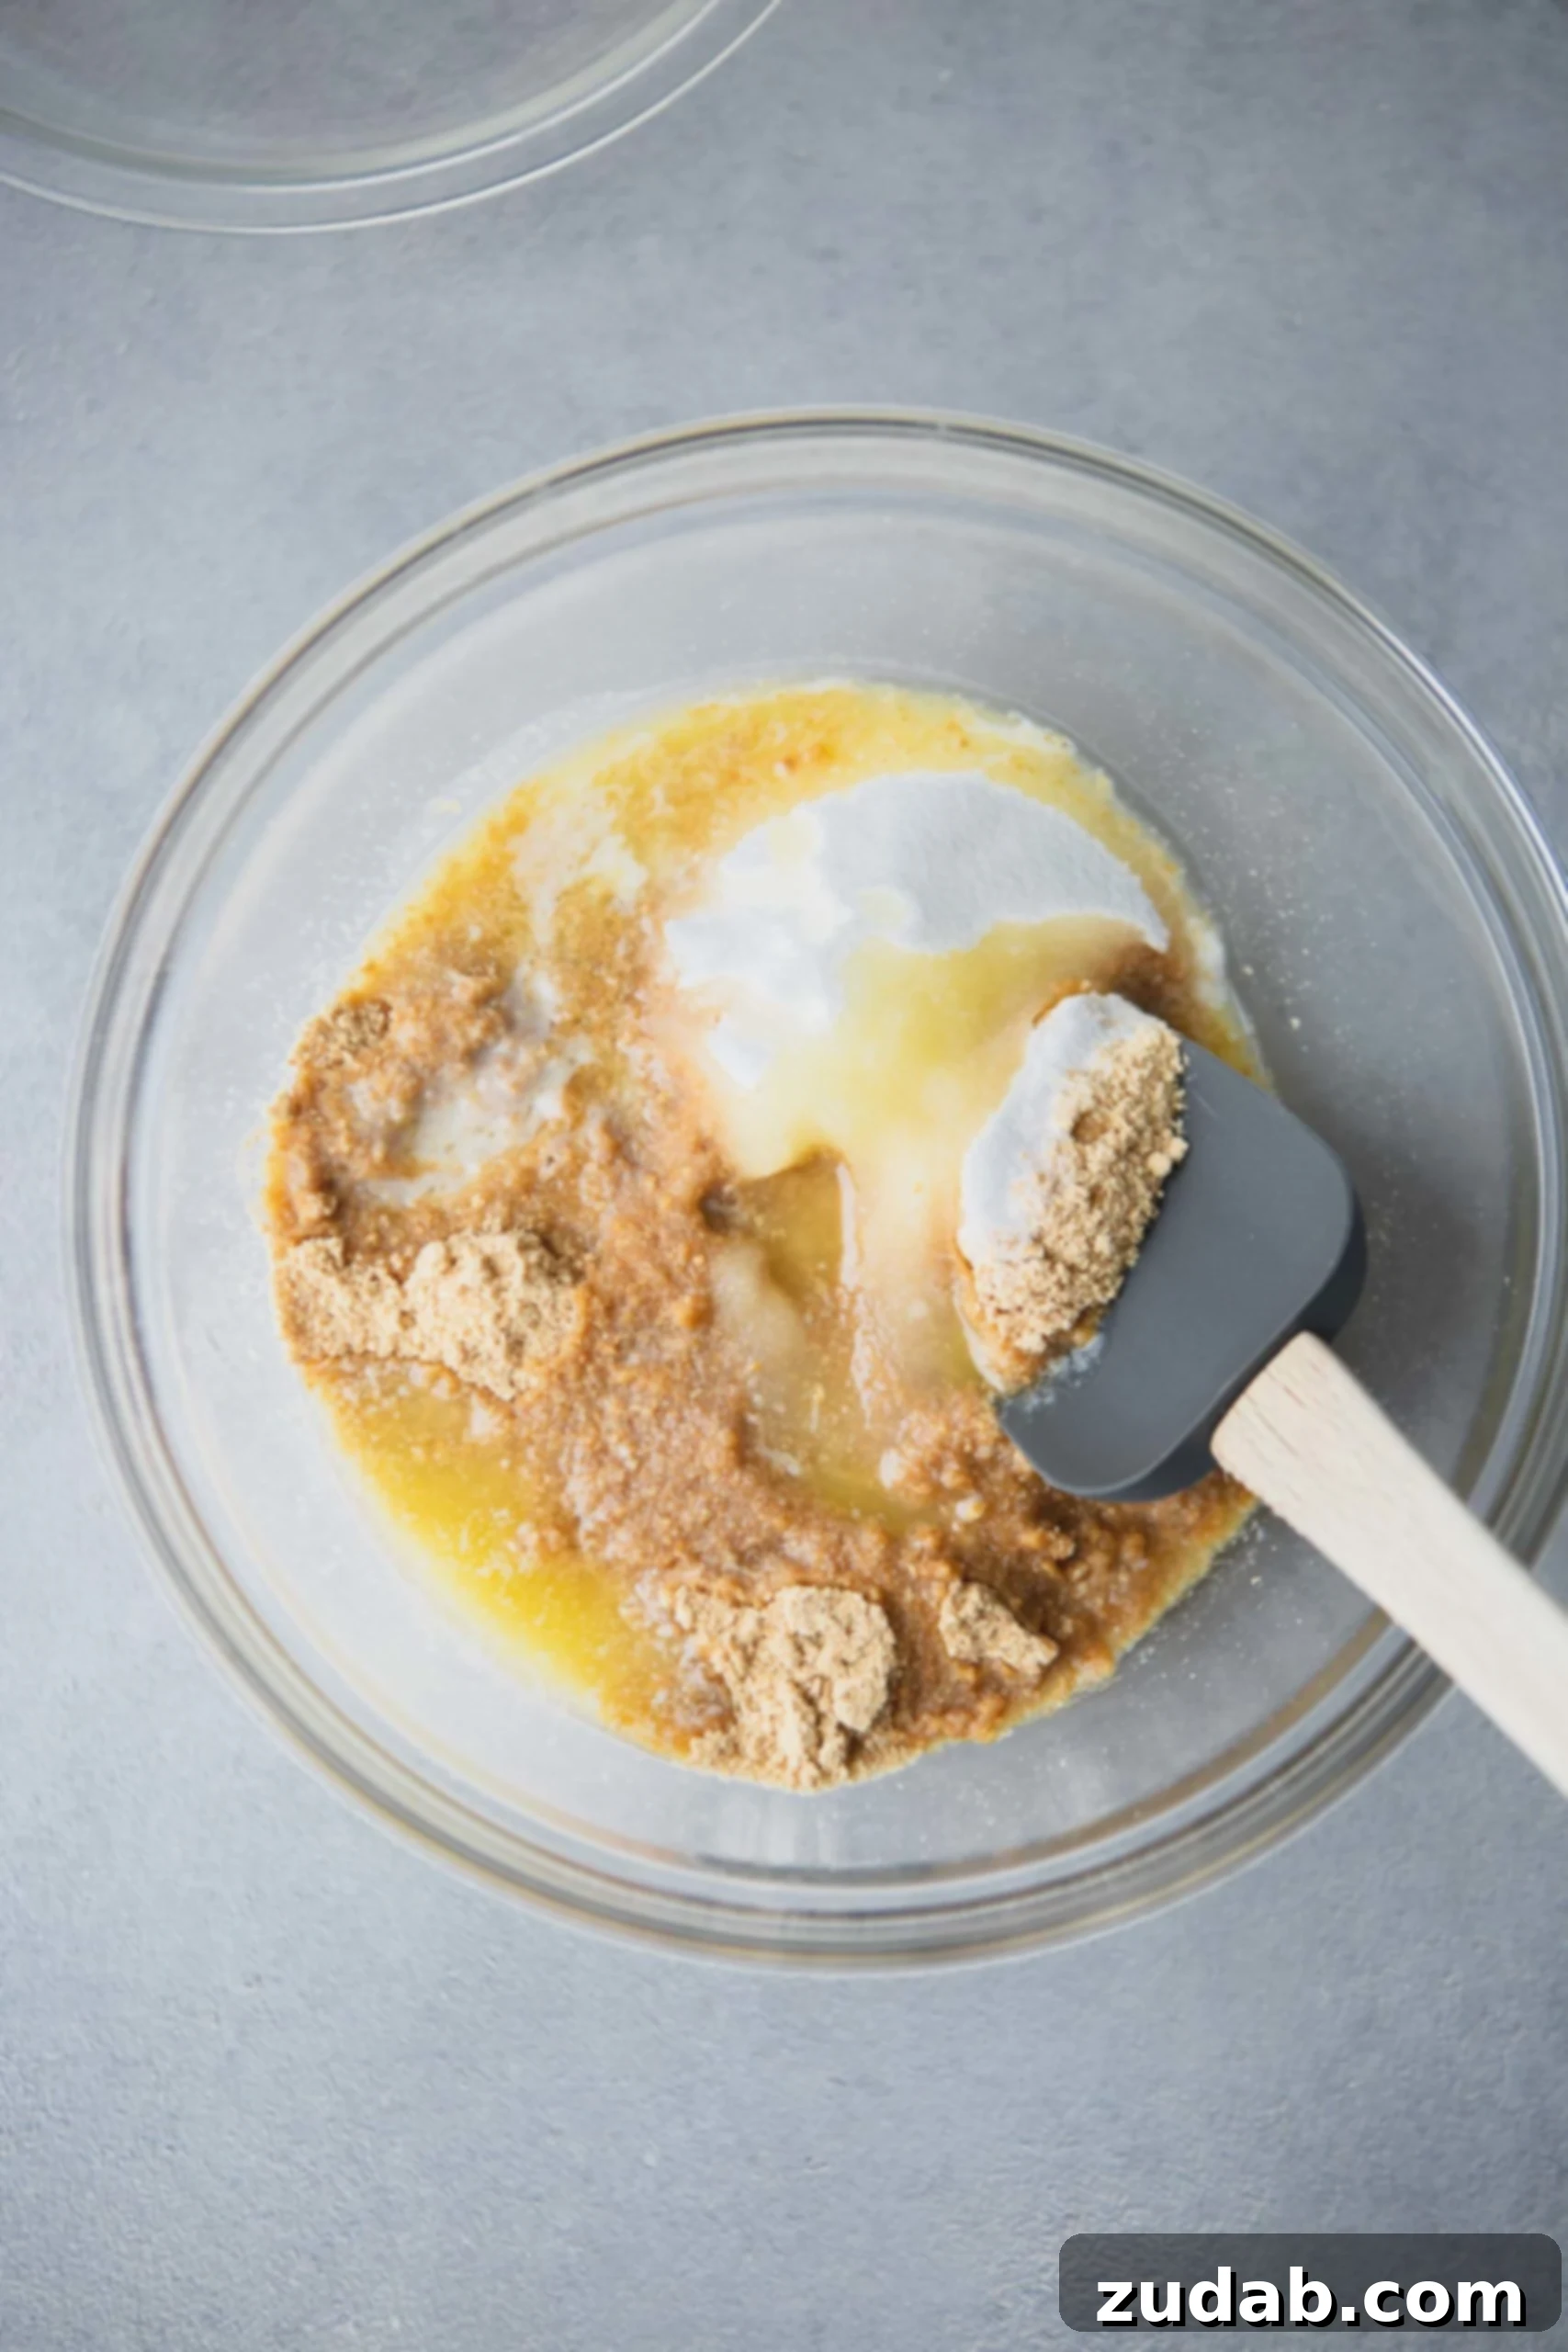
While pre-made graham cracker crumbs are readily available in most grocery stores today, there’s something undeniably satisfying and often superior about making your own. Not only does it give you control over the texture, but it also ensures maximum freshness and flavor. Achieving the right consistency in your crumbs is paramount for a perfectly uniform and well-bound crust.
Here are a few effective methods to create your own homemade graham cracker crumbs:
Method 1: The Food Processor or Blender (Recommended for Speed and Consistency)
This is by far the quickest and most efficient method. Simply break your full graham cracker sheets into smaller halves or quarters. Then, transfer them to your food processor or high-speed blender (like a Blendtec, as I often use). Pulse the crackers until they reach a fine, sandy consistency. Be careful not to over-process them into a paste; you want fine crumbs, not a powder or a sticky dough. A consistent, fine crumb texture ensures even binding and a solid crust.
Method 2: The Ziploc Bag and Rolling Pin (A Great Workout!)
If you don’t have a food processor or prefer a more hands-on approach, the rolling pin method works wonderfully. Place your graham cracker sheets into a sturdy, freezer-safe Ziploc bag. Seal the bag, pressing out as much air as possible. Then, using a rolling pin, meat mallet, or even a sturdy bottle, gently but firmly crush the crackers until they turn into fine crumbs. This method might take a little more effort and time to achieve a uniform texture, but it’s effective and quite therapeutic!
How Many Graham Crackers for 2 Cups of Crumbs?
A common question when making your own crumbs is how many crackers you’ll need. Typically, it takes about 44 individual graham cracker squares (or 11 full graham cracker sheets, which usually consist of four squares each) to yield approximately 2 cups of fine graham cracker crumbs. This is a good general guideline, but it’s always best to measure your crumbs after crushing to ensure accuracy for your recipe.
Crafting the Perfect Graham Cracker Crust: The Two Essential Steps
The beauty of this recipe lies in its elegant simplicity. With just two straightforward steps, you can create a golden-brown, buttery crust that serves as the perfect base for almost any dessert. It’s almost dangerous how easy it is to make something so incredibly delicious!
-
Combine and Press All Ingredients Evenly
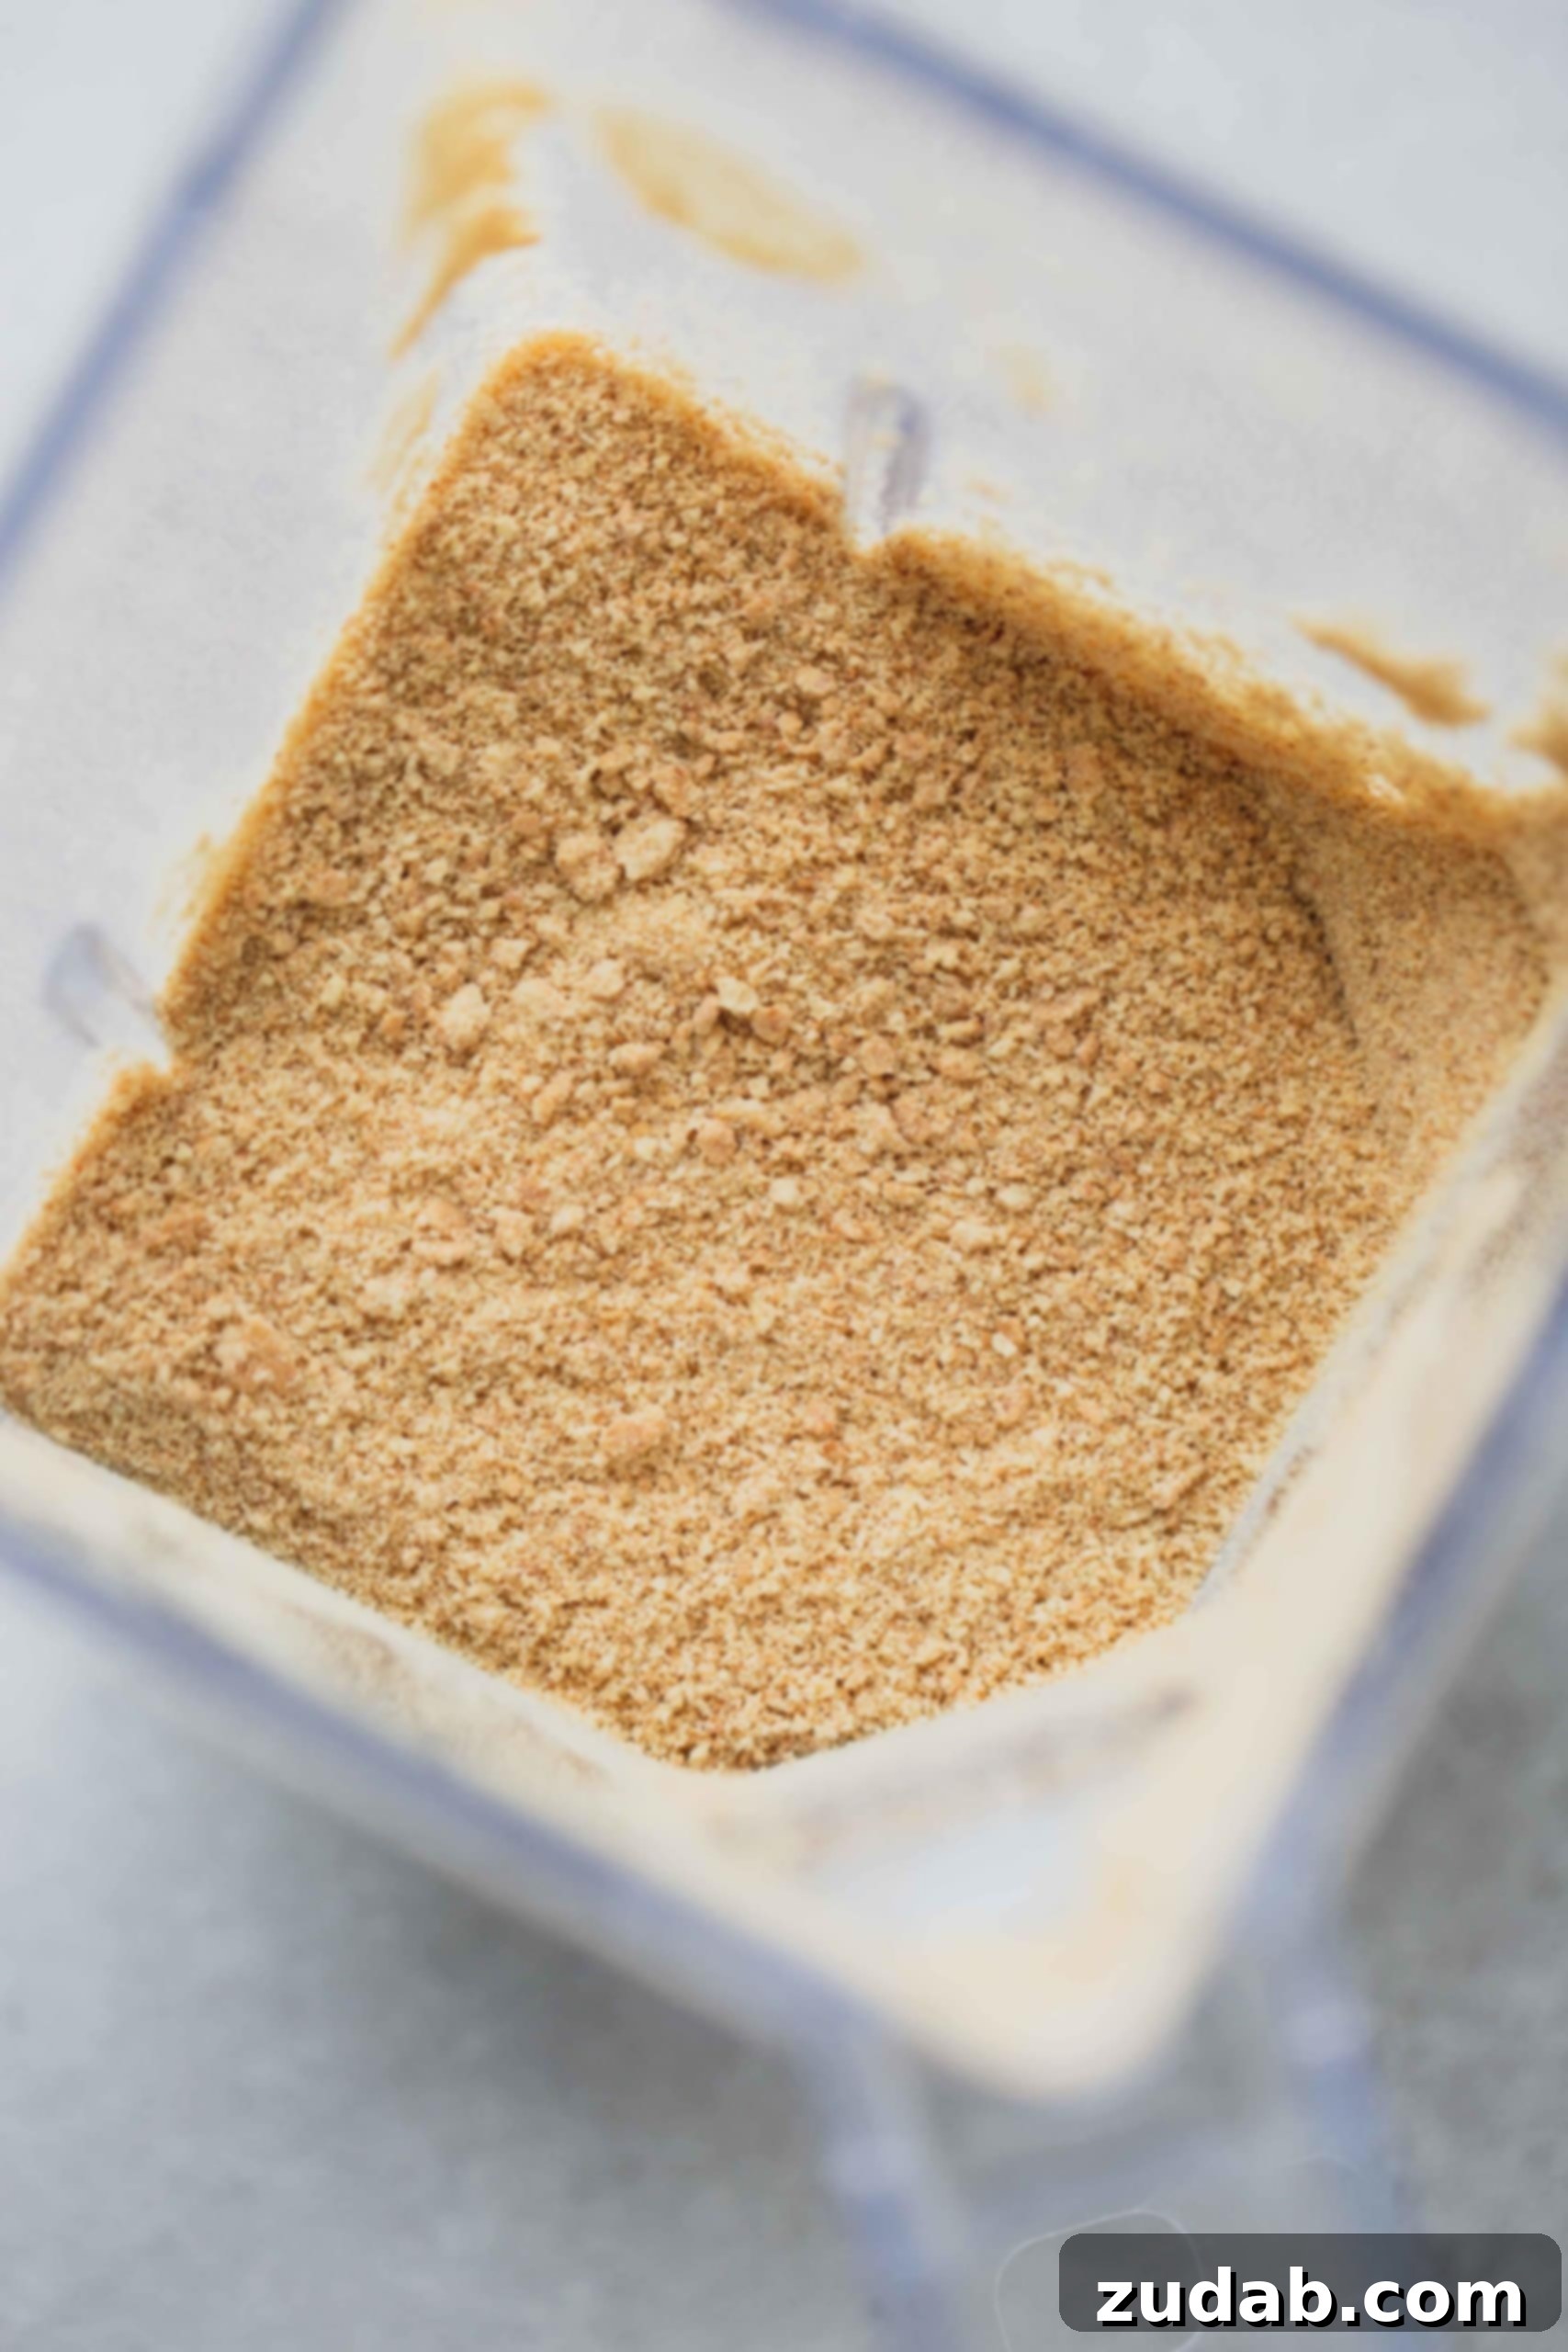
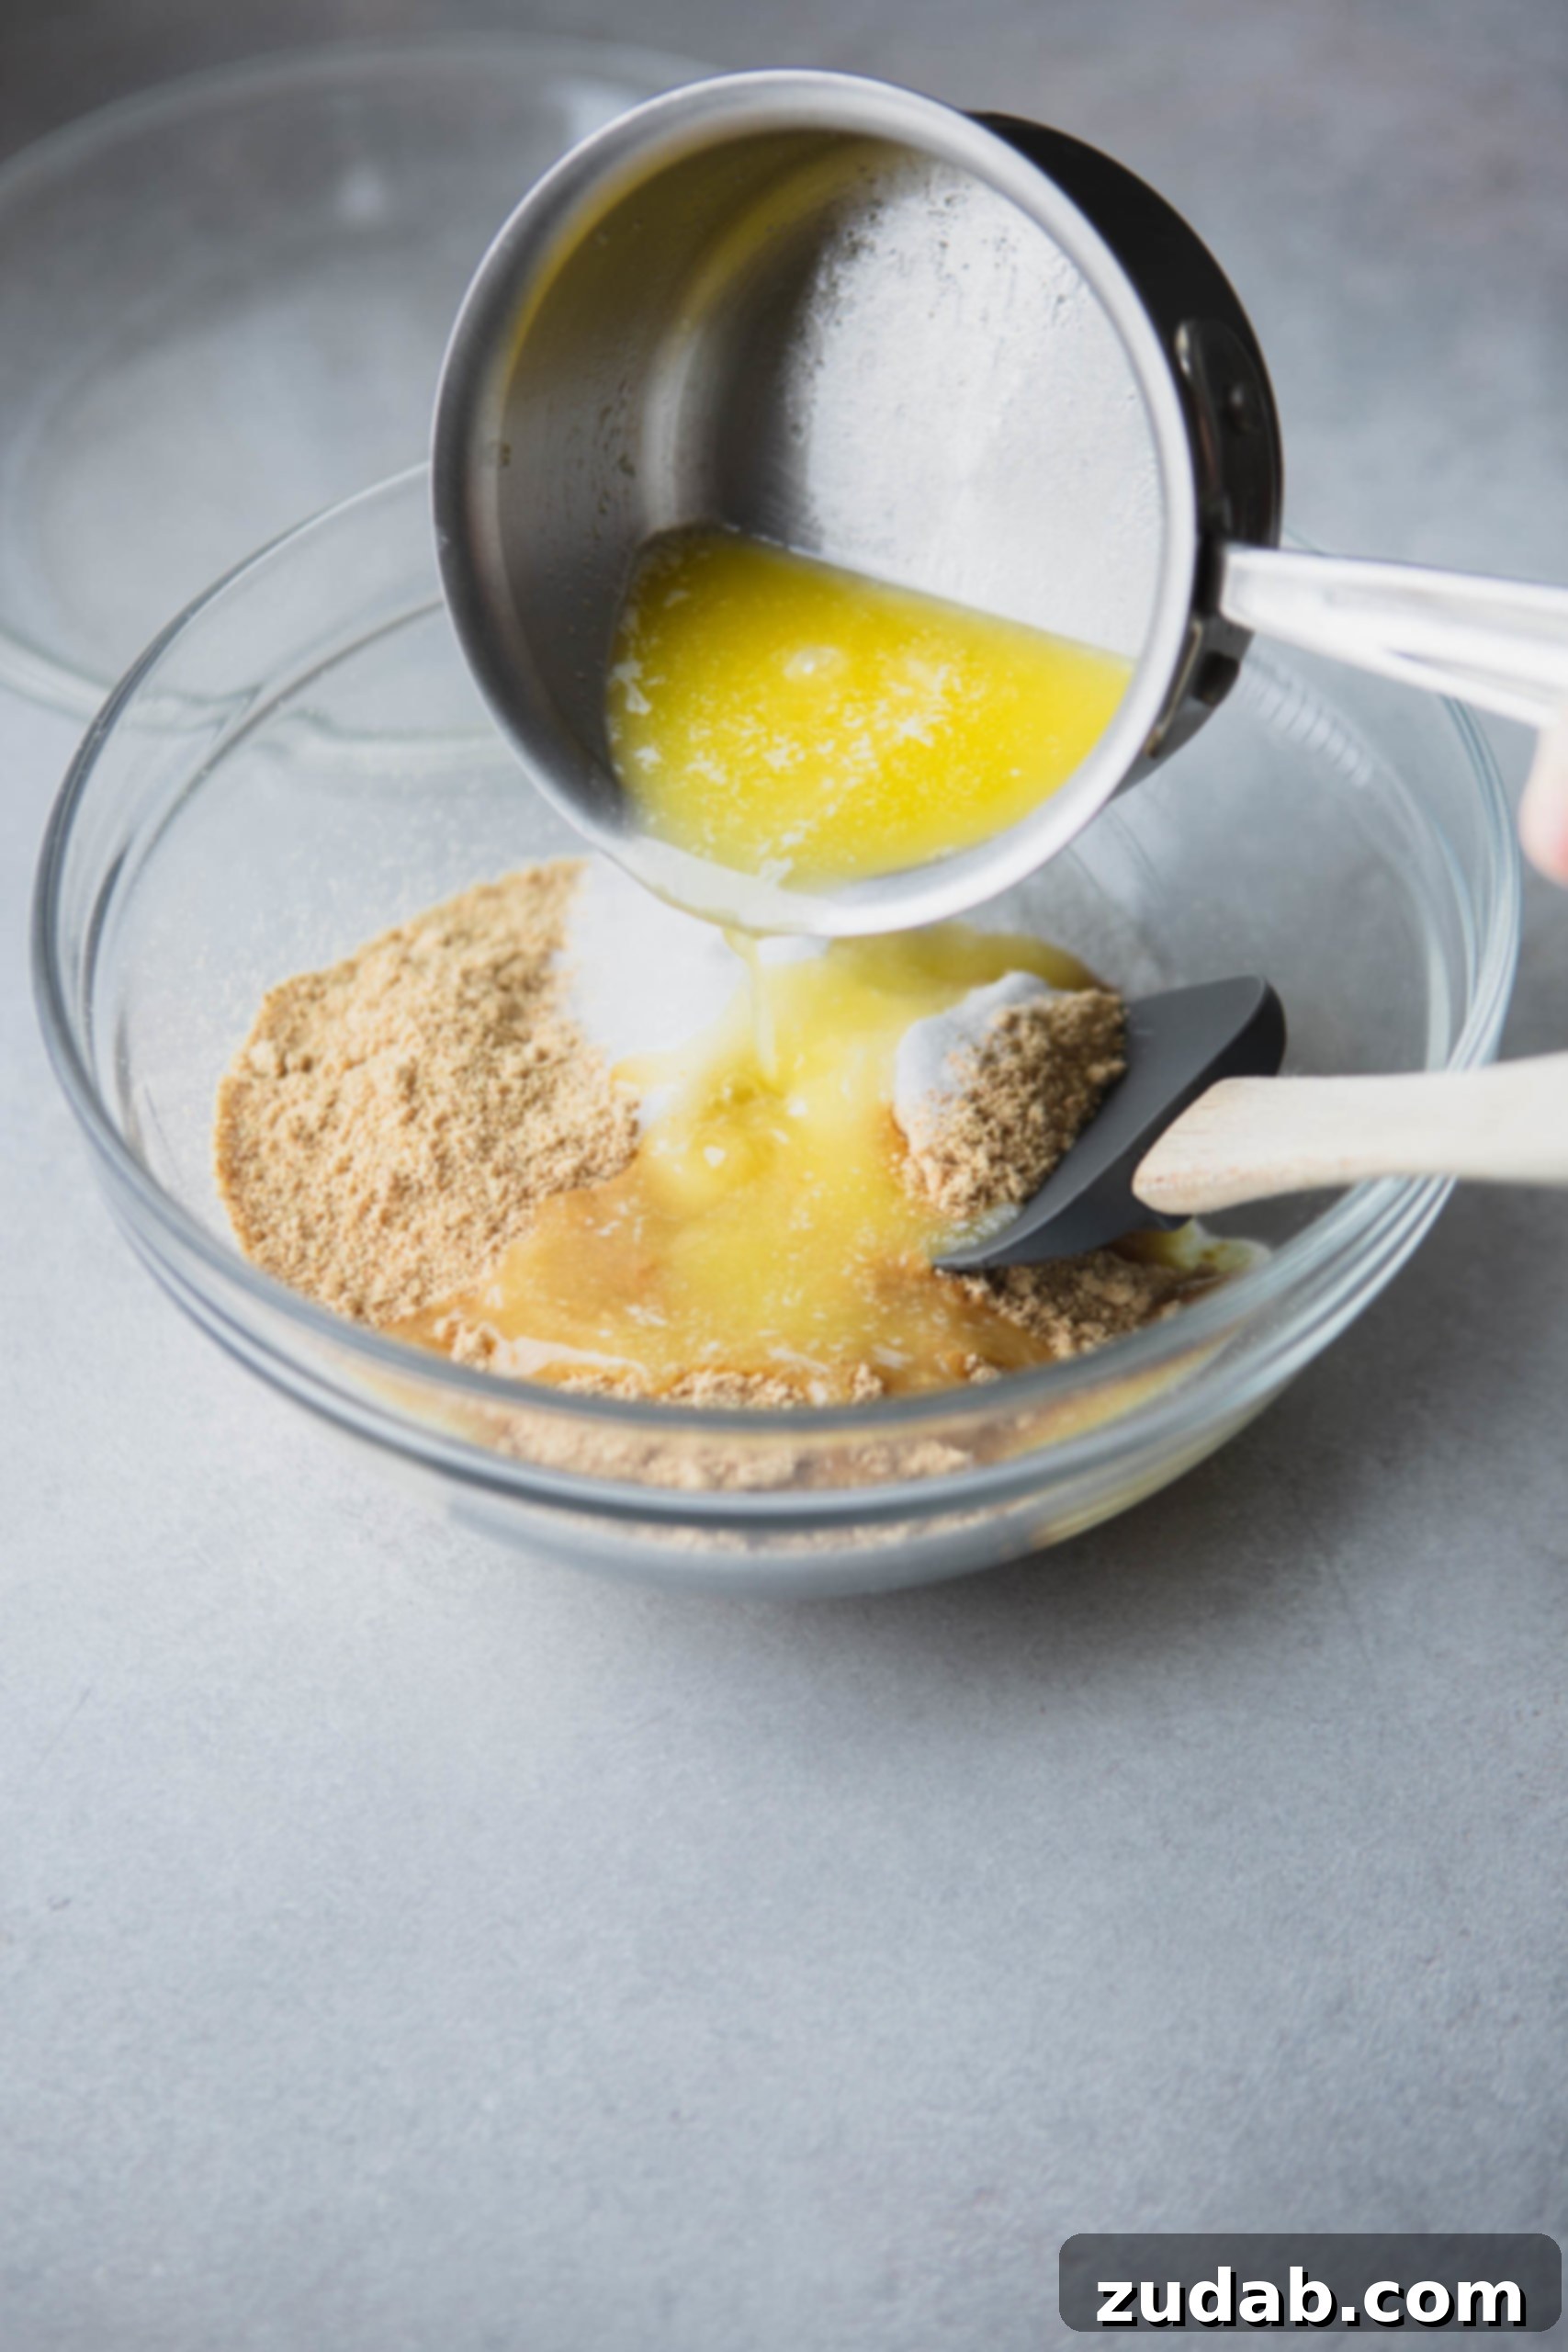
In a medium mixing bowl, combine your finely crushed graham cracker crumbs, granulated sugar, and melted unsalted butter. Use a spatula, spoon, or even your hands (ensuring they’re clean!) to mix everything thoroughly until the crumbs are evenly moistened. The mixture should resemble wet sand – every crumb should be coated with the buttery sugar mixture, allowing it to hold together when pressed.
Once combined, transfer the mixture to your chosen pie plate or tart pan. Begin by gently pressing the crumbs into the bottom of the pan, spreading them evenly. Then, work your way up the sides, ensuring an even thickness. The key to a sturdy crust is firm and consistent pressure.
- PRO TIP: To achieve a perfectly smooth and uniform crust, especially on the bottom and up the sides, use the flat bottom of a measuring cup or a sturdy glass. As pictured below, the flat surface allows you to apply even pressure, creating a compact and professional-looking crust that won’t crumble when sliced.
- Choosing Your Pan: A standard 9-inch pie plate is ideal for this recipe. However, this crust is also fantastic for springform pans (for cheesecakes) or even individual ramekins for mini desserts. Adjust the pressing technique slightly for different pan shapes, focusing on achieving a tight, even layer.
-
Bake or Chill, Then Cool Completely
Once your crust is perfectly pressed into the pan, it’s time to either bake it or chill it, depending on your dessert. For most baked pies and cheesecakes, baking the crust provides a sturdier, crispier texture and a beautiful golden color. Bake your crust in a preheated oven at 350°F (175°C) for 8-10 minutes, or until lightly golden brown. This brief bake time helps set the crust and prevents it from becoming soggy when filled.
For no-bake desserts, such as certain cheesecakes or cream pies, a chilled crust is sufficient. Simply place the pressed crust in the refrigerator for at least 30 minutes (or ideally, an hour) to firm up before adding your filling. The butter will solidify in the cold, acting as a binder.
Regardless of whether you bake or chill, it’s crucial to let the crust cool completely before adding any filling. A warm crust will melt your filling and lead to a less desirable texture. For baked crusts, allow it to cool on a wire rack at room temperature. For chilled crusts, ensure it’s firm before proceeding.
Frequently Asked Questions About Graham Cracker Crusts
Making a perfect graham cracker crust is straightforward, but a few common questions often arise. Here are some answers to help you troubleshoot and perfect your homemade crust:
Do I Have to Bake My Graham Cracker Crust?
Not always! Whether to bake your graham cracker crust depends entirely on the type of dessert you’re making. For baked pies and cheesecakes, baking the crust for 8-10 minutes is highly recommended. This step pre-toasts the crumbs, enhancing their flavor and creating a firmer, crispier base that acts as a barrier against moisture from the filling, preventing a soggy bottom. For no-bake desserts, simply chilling the crust in the refrigerator for at least 30-60 minutes will allow the butter to solidify and bind the crumbs sufficiently. The chilling method is perfect for recipes that rely on the crust remaining soft and yielding.
What Can I Use Instead of Butter in Graham Cracker Crust?
While unsalted butter offers the best flavor and texture, you do have alternatives if dietary restrictions or preferences require them. Melted margarine can be used as a 1:1 substitute for butter, providing a similar binding and richness. For a vegan option, melted coconut oil is an excellent choice. Ensure you use refined coconut oil if you don’t want a coconut flavor in your crust, or unrefined if you enjoy the subtle tropical note it imparts. Vegetable shortening can also work, though it may result in a slightly different texture.
Can Graham Cracker Crust Be Frozen?
Absolutely! Graham cracker crusts freeze exceptionally well, making them a fantastic make-ahead component for busy bakers. To freeze, prepare and press the crust into your pie plate as usual. You can either bake it first and then cool completely, or freeze it unbaked. Wrap the entire pie plate tightly with plastic wrap, then cover it again with aluminum foil to prevent freezer burn. A well-wrapped graham cracker crust can be stored in the freezer for 2-3 months. When ready to use, simply thaw in the refrigerator for a few hours before filling.
How Do I Prevent a Soggy Graham Cracker Crust?
Soggy crusts are a common complaint, but easily avoidable! Here are key tips:
- Bake When Recommended: For fillings with high moisture content (like many fruit or custard pies), pre-baking the crust is crucial. This helps create a barrier against the filling.
- Ensure Proper Cooling: Always allow your crust to cool completely before adding the filling. A warm crust will cause fillings to warm and release moisture, leading to sogginess.
- Thorough Mixing: Make sure all graham cracker crumbs are evenly coated with melted butter. The butter is the binding agent; without it, crumbs won’t hold together or resist moisture effectively.
- Firm Pressing: Press the crumbs firmly into the pan. A compact crust is less porous and therefore less likely to absorb moisture.
Can I Use Other Types of Cookies or Crackers?
Definitely! The beauty of this recipe is its adaptability. While graham crackers are classic, you can easily substitute them with other crushed cookies or crackers to create different flavor profiles. Popular alternatives include:
- Oreos: For a rich, chocolatey crust perfect for chocolate cheesecakes or cream pies.
- Vanilla Wafers (Nilla Wafers): Ideal for banana cream pie or lighter, fruit-based desserts.
- Biscoff Cookies (Speculoos): Adds a delightful spiced, caramel note that pairs wonderfully with fall desserts.
- Shortbread Cookies: For a buttery, less sweet crust.
Remember to adjust the sugar content slightly depending on the sweetness of your chosen cookie.
The Ultimate Base for Your Favorite Desserts
There you have it! A short and sweet, quick and easy guide to making the traditional graham cracker crust. This simple recipe is a fundamental building block for countless dessert creations, adding an unparalleled depth of flavor and texture that store-bought versions simply can’t replicate. From rich cheesecakes to creamy pies and delightful dessert bars, a homemade graham cracker crust is the secret ingredient that elevates every bite.
Embrace the ease and versatility of this classic recipe. Once you’ve made it from scratch, you’ll find yourself reaching for this method again and again, transforming everyday desserts into extraordinary culinary experiences. Happy baking!
Dessert Recipes That Shine with a Graham Cracker Crust:
- Lemon Blueberry No Bake Cheesecake
- Peanut Butter Banana Cream Pie
- Mini Strawberry Cheesecakes
- Lemon Raspberry Cheesecake Bars
- Caramel Cheesecake Bars
- Mini Cheesecakes with Raspberry Sauce
- Lime Cheesecake with Triple Berry Sauce
- White Chocolate Coconut Cream Pie
5 out of 5 Stars (Based on 1 vote)
Graham Cracker Crust
Sweet Basil
5 mins
10 mins
15 mins
8
Pin This Recipe
Print Recipe
Ingredients
- 1 3/4 Cups Graham Cracker Crumbs
- 1/3 Cup Sugar
- 7 Tablespoons Butter, melted
US Customary – Metric (Unit conversion button/link removed as it’s dynamic)
Instructions
-
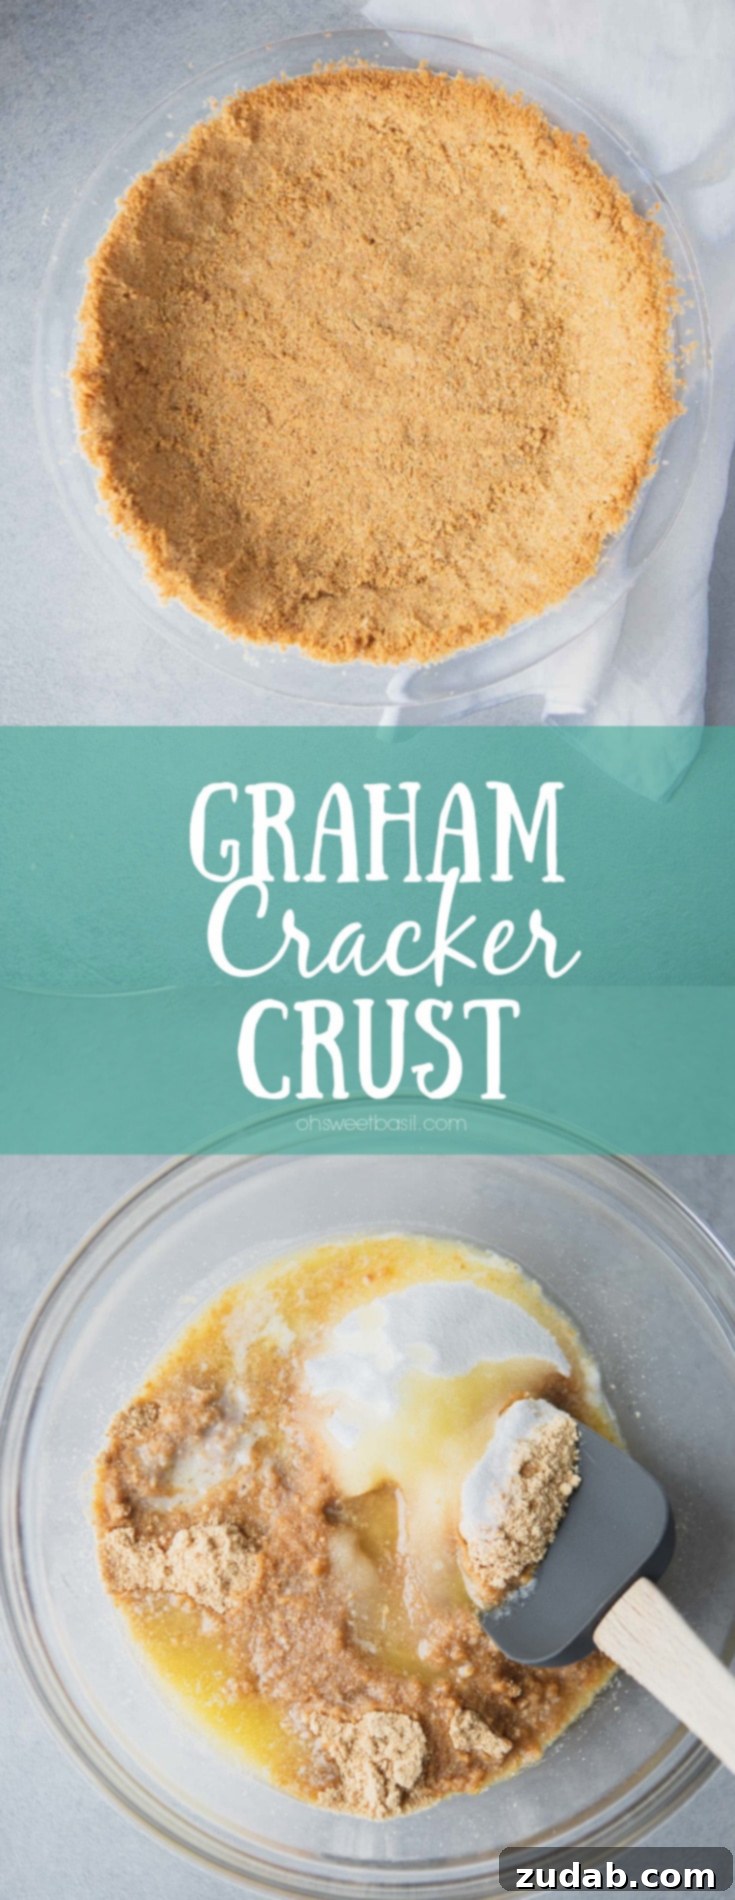
Combine all ingredients in a bowl.1 3/4 Cups Graham Cracker Crumbs, 1/3 Cup Sugar, 7 Tablespoons Butter
-
Press into a 9″ pie dish and bake at 350 for 8-10 minutes. Remove from oven to cool.
Recipe Notes
Nutrition
Calories: 187kcal,
Carbohydrates: 20g,
Protein: 1g,
Fat: 12g,
Saturated Fat: 7g,
Trans Fat: 1g,
Cholesterol: 26mg,
Sodium: 191mg,
Potassium: 31mg,
Fiber: 1g,
Sugar: 12g,
Vitamin A: 306IU,
Calcium: 15mg,
Iron: 1mg
Nutrition information is automatically calculated, so should only be used as an approximation.
Like this? Leave a comment below!
REMEMBER TO SUBSCRIBE TO our FREE Oh Sweet Basil NEWSLETTER AND RECEIVE EASY RECIPES DELIVERED INTO YOUR INBOX EVERY DAY!
When you try a recipe, please use the hashtag #ohsweetbasil on INSTAGRAM for a chance to be featured in our stories! FOLLOW OH, SWEET BASIL ON FACEBOOK | INSTAGRAM | PINTEREST | TWITTER FOR ALL OF OUR LATEST CONTENT, RECIPES AND STORIES.