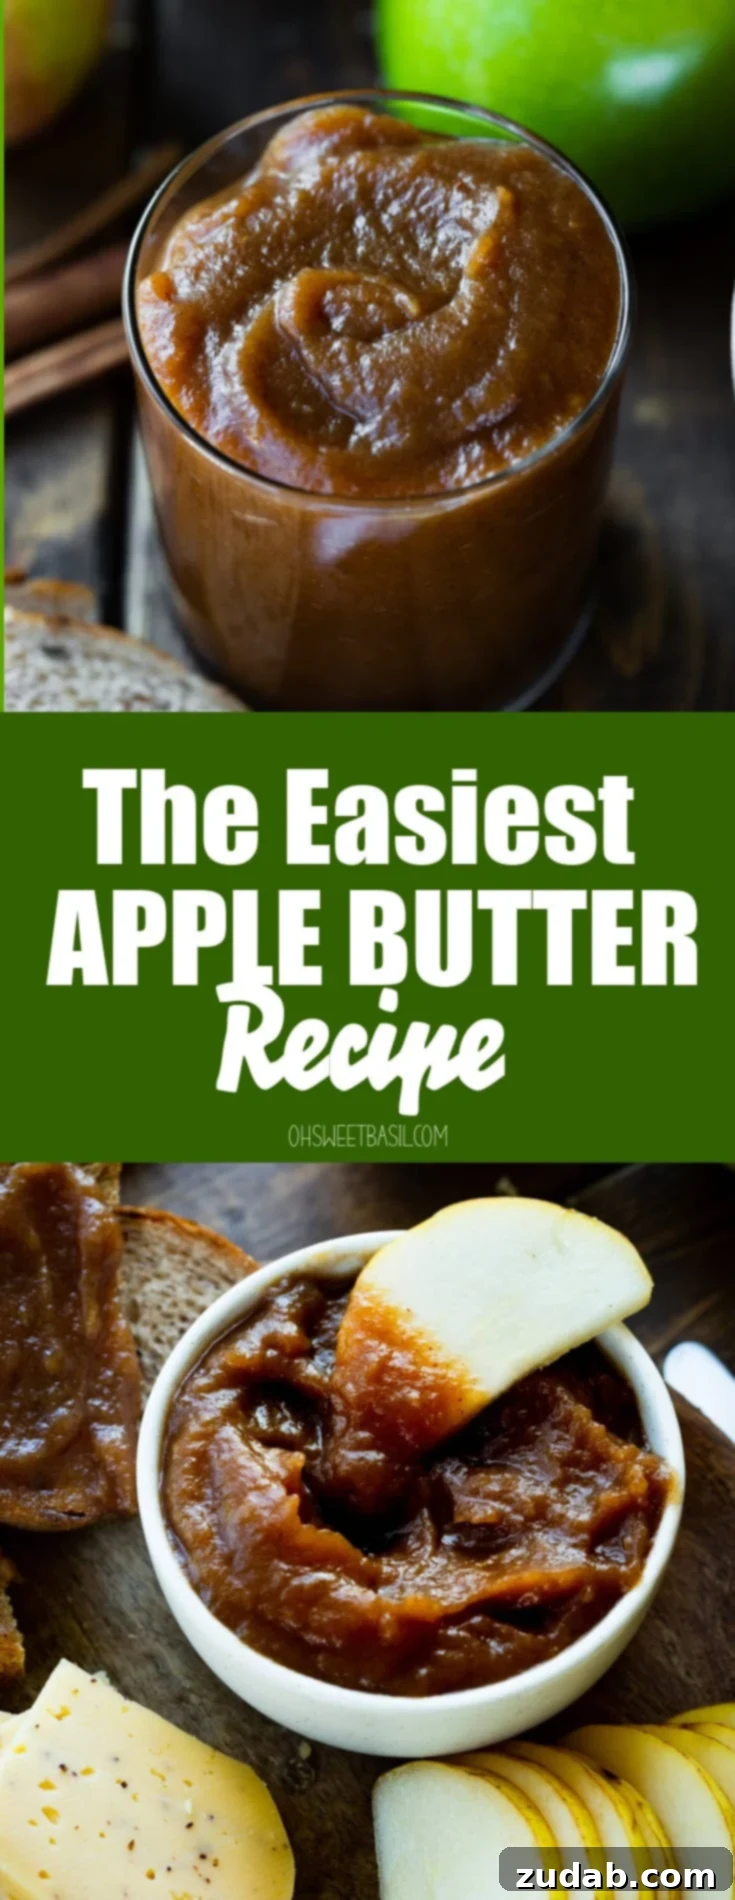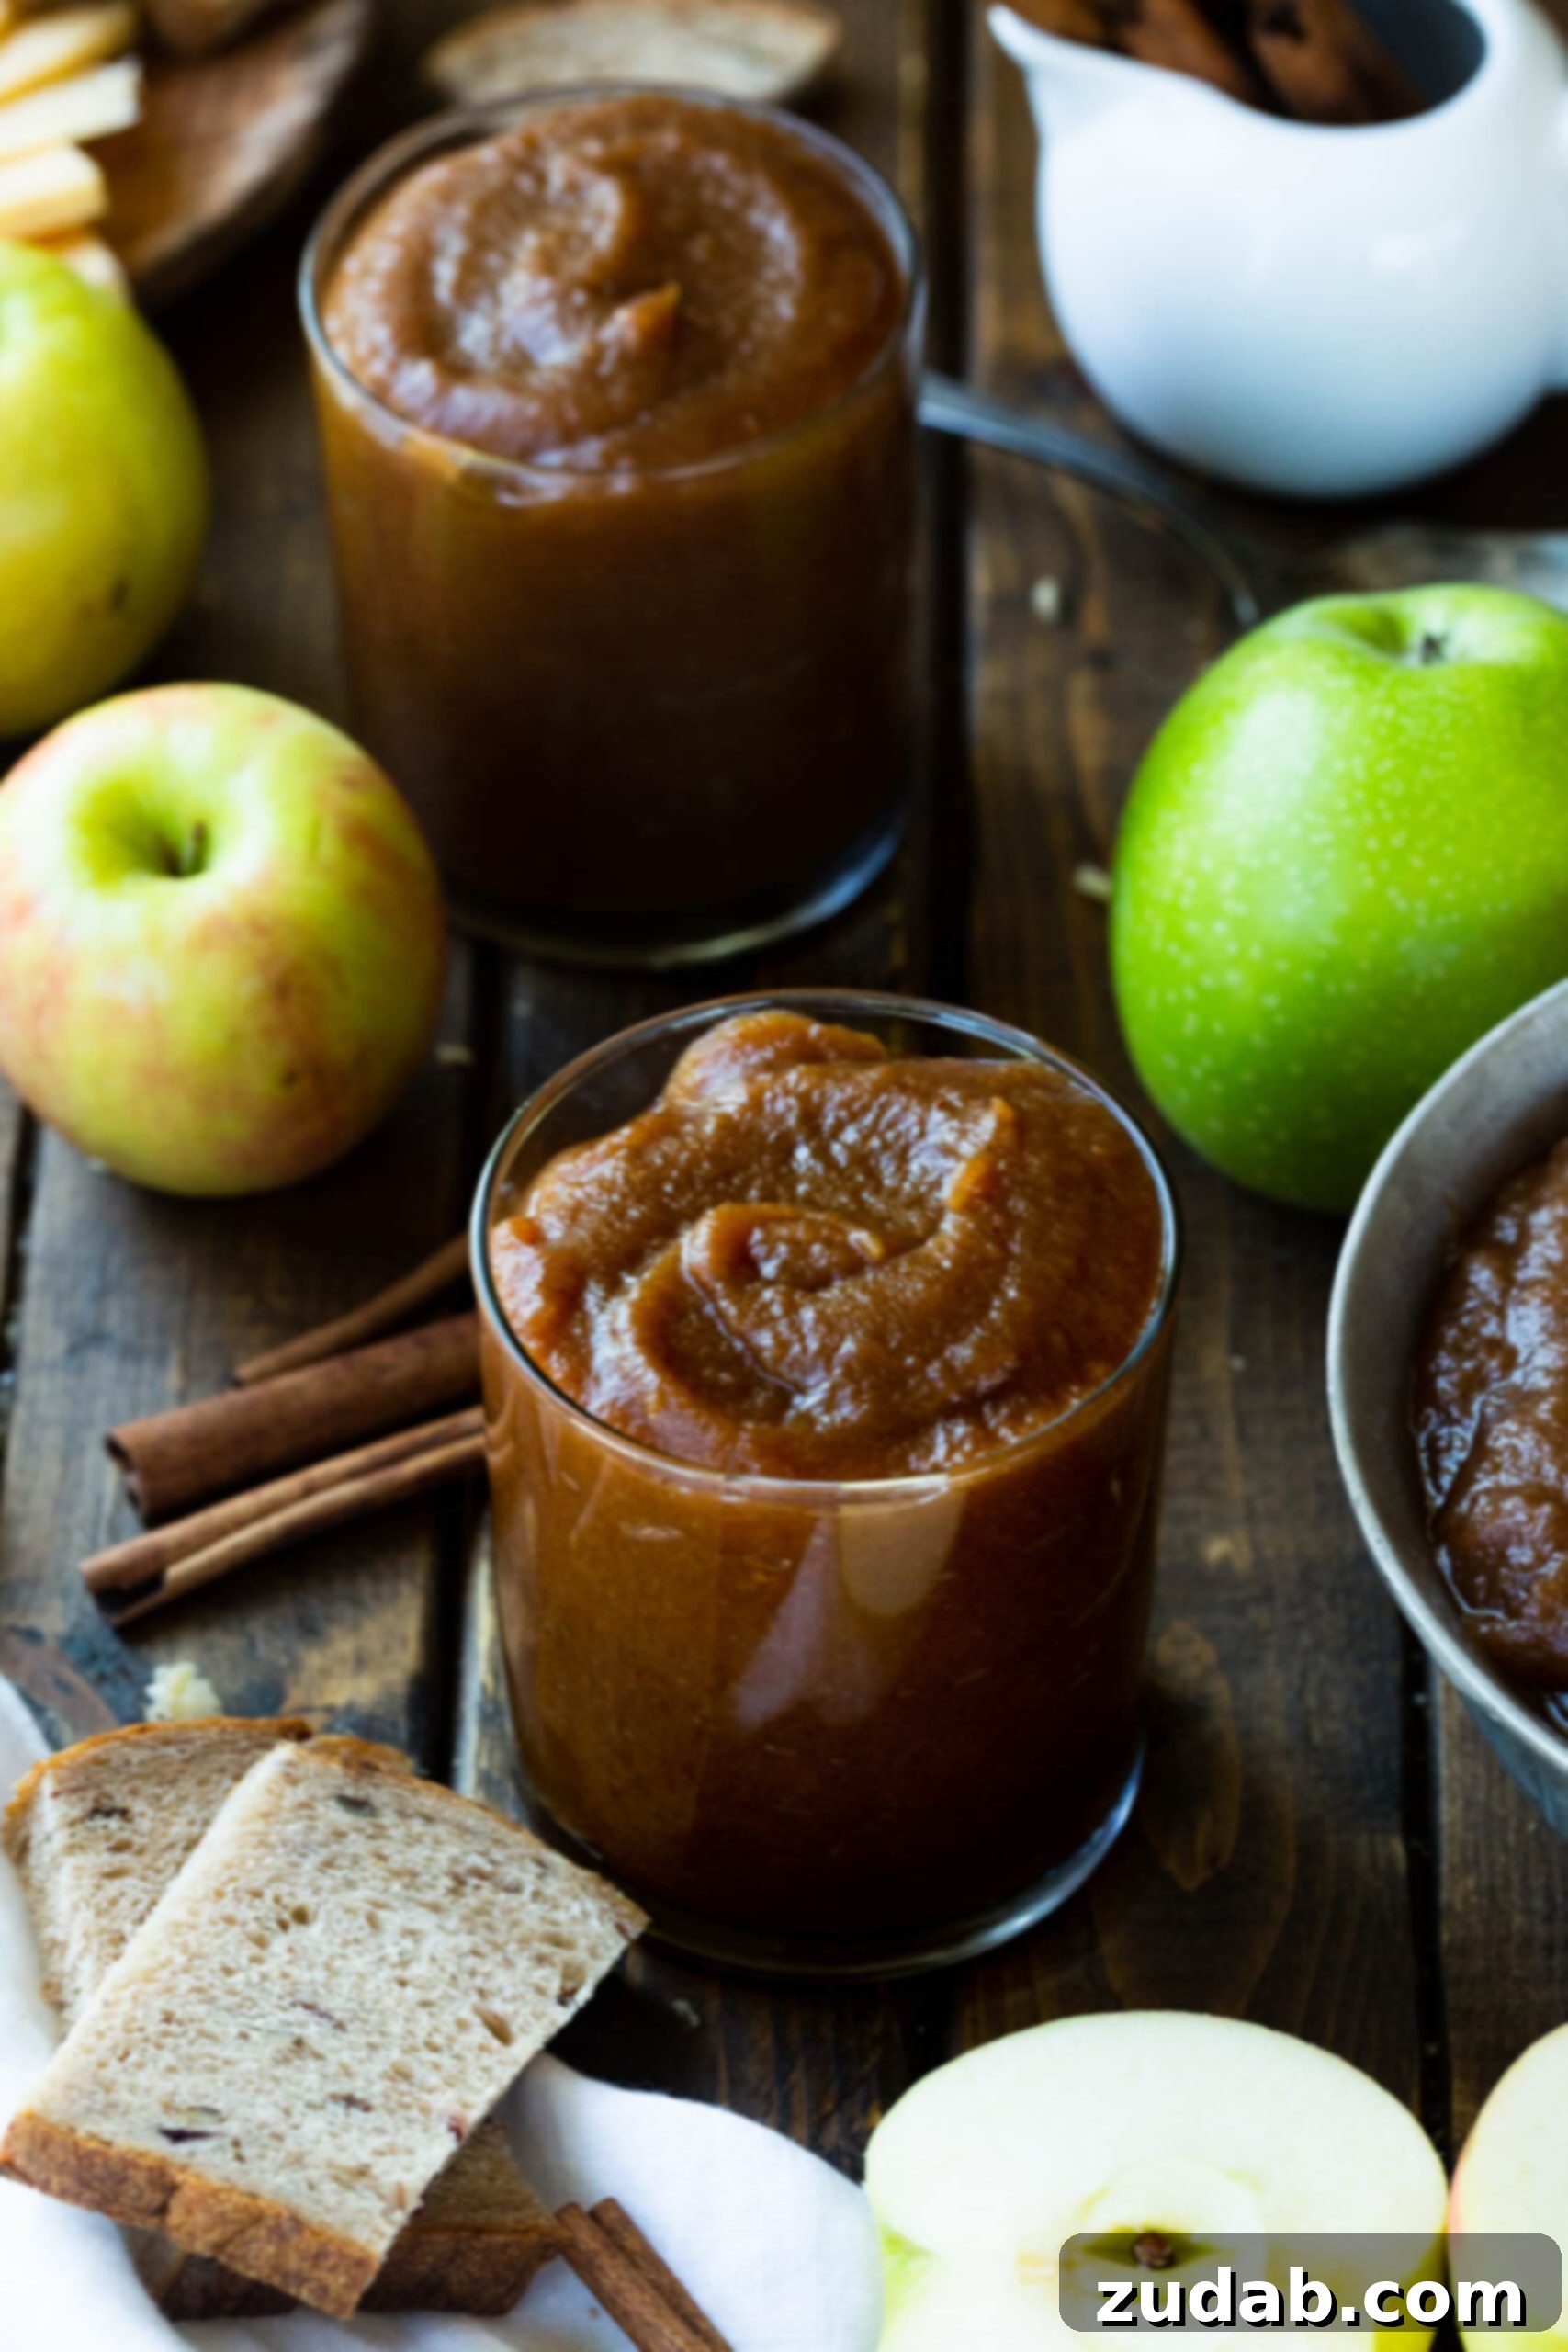
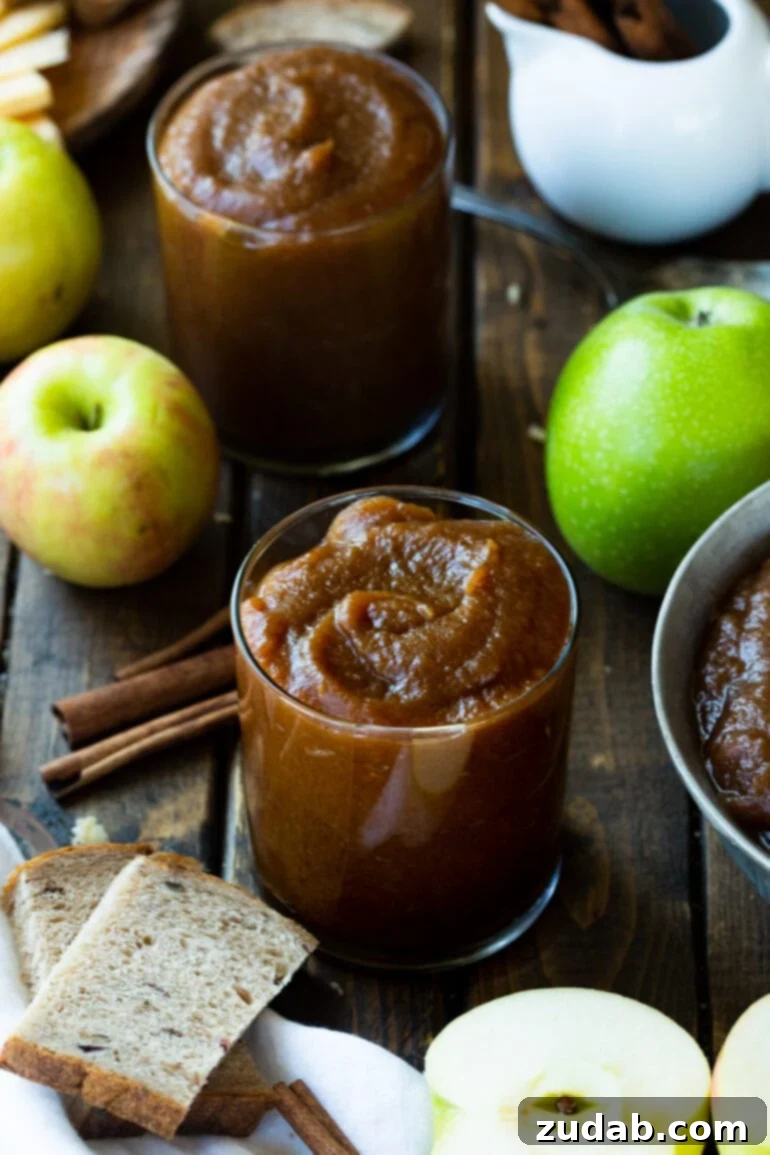
Welcome to the ultimate guide for crafting the most luscious and easiest apple butter recipe right in your own kitchen! Forget about complicated methods; this recipe promises a delightful experience from start to finish. Using only fresh, wholesome ingredients, you’ll create a rich, smooth spread that captures the heartwarming essence of autumn, tasting every bit as comforting as the homemade apple butter you might remember from childhood.
Growing up, my world revolved around my mom’s home-canned applesauce – a truly exceptional treat, especially since she doesn’t even like cooked apples! She made it purely for us, and I’ve cherished it ever since. But apple butter? That’s a whole new level of deliciousness. This versatile spread is perfect on toast, as a savory accompaniment to pork or chicken, or folded into quick breads and cakes. It’s a fall staple you won’t want to live without!
With just six simple ingredients (and one optional one!), this incredible apple butter sauce can be yours. Imagine your home filled with the inviting aromas and delightful flavors of the fall season – pure bliss!
Recommended Equipment for Apple Butter Making
While this recipe is incredibly simple, having the right tools can make the process even smoother and more enjoyable. Here’s what we recommend:
- Immersion Blender: Essential for achieving that silky-smooth texture directly in your slow cooker.
- Apple Peeler or Swivel Peeler: Speeds up the apple preparation, making the peeling process much quicker.
- 6-Quart Slow Cooker: A generously sized slow cooker is crucial to accommodate the substantial quantity of apples required for a full batch of this delicious apple butter.
- Airtight Jars or Containers: For proper storage of your freshly made apple butter.
Before You Begin: Preparing Your Apples
The key to a smooth and flavorful apple butter starts with proper apple preparation. Before you embark on your culinary journey, ensure all your apples are ready:
- Core: Use an apple corer or a paring knife to carefully remove the core from each apple, discarding any seeds.
- Peel: While not strictly mandatory for texture (as discussed below), peeling the apples contributes to a more refined and consistently smooth final product.
- Slice: Cut the cored and peeled apples into roughly bite-sized pieces. This helps them cook down more evenly and quickly in the slow cooker.
What Exactly is Apple Butter?
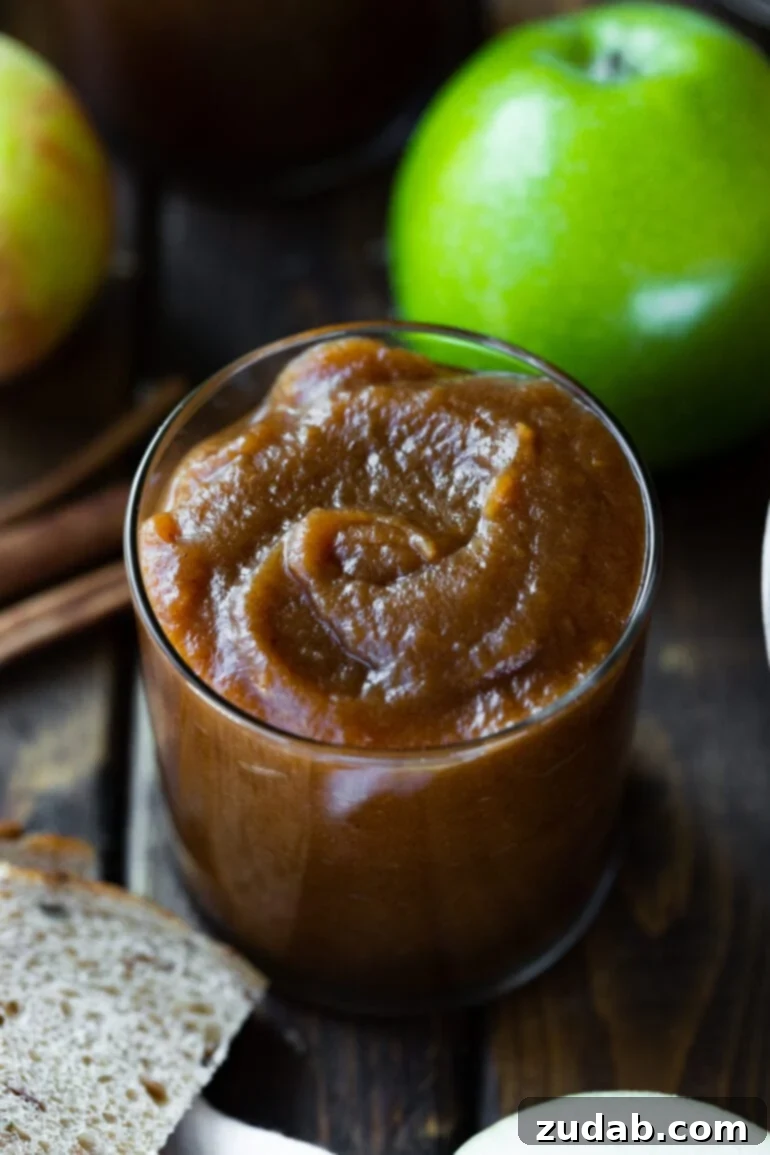
Despite its name, apple butter contains no actual butter or dairy. The “butter” in its name refers to its rich, smooth, and spreadable consistency, akin to softened dairy butter. Essentially, apple butter is a highly concentrated form of sweetened apples that have been slow-cooked until intensely flavorful, then pureed to a velvety-smooth, thick sauce. Think of it as a deeply flavored apple jam or a super-reduced, spiced applesauce with an incredibly intense apple essence. Its characteristic deep, dark color comes from the extended cooking process, which caramelizes the sugars and concentrates the natural apple flavors.
Why You Should Make Homemade Apple Butter
Making apple butter from scratch is a rewarding experience that offers numerous advantages over store-bought varieties:
- Superior Flavor: Homemade apple butter boasts an unparalleled depth of flavor. The slow cooking process caramelizes the natural sugars in the apples, creating a rich, complex taste that store-bought versions often can’t match.
- Control Over Ingredients: You decide exactly what goes into your apple butter. This means you can choose the freshest apples, adjust sugar levels to your preference, and ensure no artificial preservatives or unwanted additives are included.
- Customizable Spices: Tailor the spice blend to your liking! Love cinnamon? Add a little extra. Prefer a hint of ginger or allspice? The possibilities are endless for creating a unique flavor profile.
- Amazing Aroma: The scent of apples and warm spices simmering for hours will fill your home with an irresistible, comforting aroma that truly embodies the essence of fall.
- Cost-Effective: When apples are in season and plentiful, making your own apple butter can be significantly cheaper than buying it, especially in bulk.
- Perfect for Gifting: A batch of homemade apple butter, beautifully packaged in a jar, makes a thoughtful and delicious gift for friends, family, and neighbors during the holiday season or any time of year.
- Versatility: As you’ll discover, apple butter is incredibly versatile, far beyond just toast. Its uses extend to savory dishes, desserts, and even as a healthy snack.
Apple Butter Ingredients: The Heart of Fall Flavors
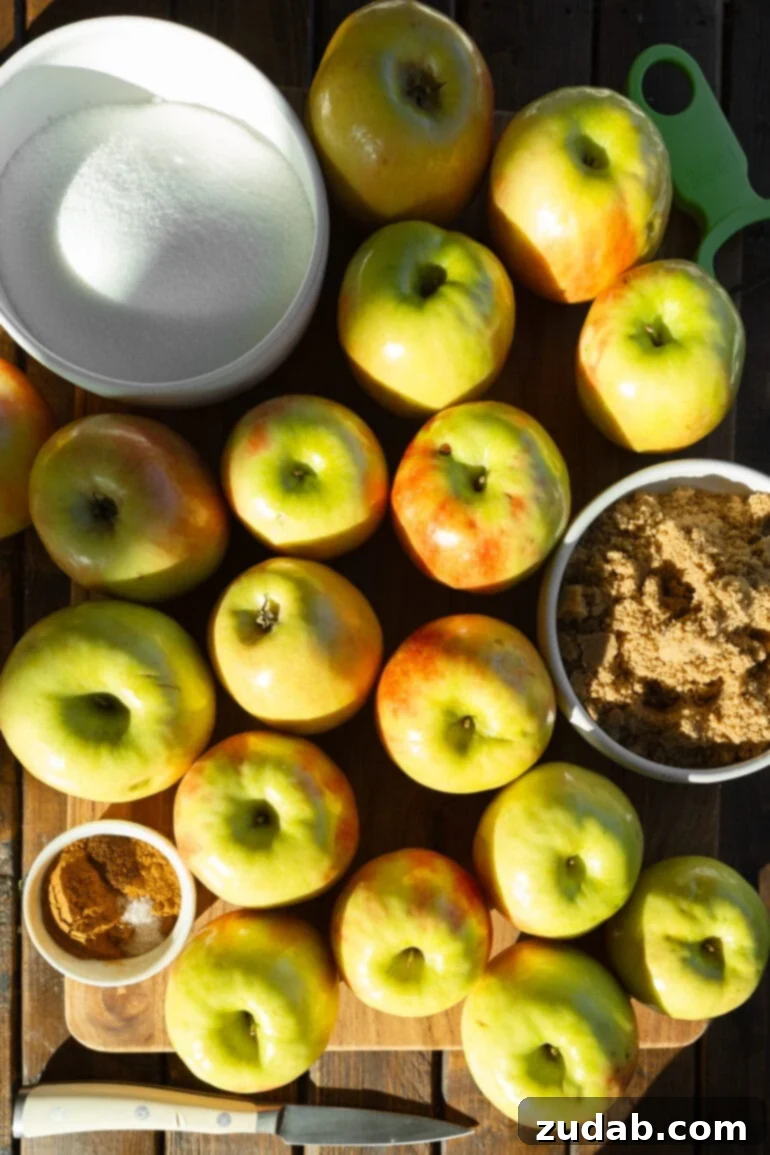
This easy apple butter recipe relies on a handful of straightforward ingredients, each playing a crucial role in developing its signature rich flavor and smooth texture. Here are the 6 (or possibly 7, with an optional addition) ingredients you’ll need:
- Apples: You’ll need approximately 6 pounds of fresh apples, which typically translates to about 16 medium-sized apples, depending on their variety and size. It’s best to weigh the apples after coring, peeling, and cutting them to ensure accuracy. This recipe works beautifully with a mix of sweet and tart apples for a balanced flavor.
- TIP: A generous 6-quart slow cooker is essential to comfortably hold this many apples as they cook down.
- Dark Brown Sugar: While light brown sugar can certainly be used, I highly recommend dark brown sugar. Its higher molasses content contributes a deeper, richer caramel note and a more robust flavor to the apple butter, enhancing that classic autumnal taste.
- Granulated Sugar: Regular white granulated sugar plays a vital role in caramelizing the apples, intensifying their sweetness and contributing to the desirable deep brown color and thick consistency.
- Cinnamon: An undeniable staple in any apple recipe, especially those meant to evoke the warmth of fall. Use a good quality ground cinnamon for the best aromatic impact.
- Ground Cloves: Just a touch of ground cloves adds an extra layer of warmth, complexity, and a subtly spicy depth that complements the apples and cinnamon perfectly.
- Salt: A pinch of salt might seem unexpected, but it’s a critical flavor enhancer. It cleverly cuts through the sweetness, balances the spices, and ultimately makes all the other flavors pop and harmonize beautifully.
- Vanilla Extract (Optional): For an added layer of aromatic sweetness and depth, a teaspoon of vanilla extract can elevate your apple butter to new heights. It’s a fantastic optional addition that truly rounds out the flavors.
This section provides a general overview of the ingredients. Precise measurements for all components can be found in the comprehensive recipe card located at the very end of this post.
VARIATIONS: For an instant flavor twist, consider using apple pie spice or pumpkin pie spice in place of the individual cinnamon and cloves. These pre-blended spice mixes offer a convenient way to introduce a complex array of fall flavors with minimal effort.
How to Make Apple Butter in a Slow Cooker: A Simple Guide
Making apple butter in a slow cooker is undeniably the easiest and most hands-off method, perfect for busy schedules. While the cooking time is extensive, the active preparation is minimal, allowing the appliance to do most of the work for you. Here’s a streamlined overview of the steps:
- Combine Sugars and Spices: In a small bowl, thoroughly mix the granulated sugar, cinnamon, ground cloves, and salt. This ensures an even distribution of flavor throughout your apple butter.
- Prepare the Slow Cooker: Add all of your prepared apples (cored, peeled, and sliced) to your 6-quart slow cooker. Evenly sprinkle the dark brown sugar over the apples, followed by the sugar and spice mixture. Stir gently but thoroughly to ensure every apple piece is well coated.
- Slow Cook and Puree:
- Cover the slow cooker and cook on the LOW setting for a full 10 hours. This long, slow cooking process is crucial for breaking down the apples, caramelizing the sugars, and deepening the flavors.
- Once the initial cooking time is complete, use an immersion blender to puree the cooked apples directly in the slow cooker until you achieve a silky-smooth consistency.
- TIP: If you don’t own an immersion blender, carefully transfer the softened apples in batches to a regular blender or food processor. Blend until smooth, then return the puree to the slow cooker.
- Final Simmer: After pureeing, cook the apple butter for an additional hour on LOW, uncovered. This final simmering stage allows any remaining excess moisture to evaporate, further thickening the apple butter and intensifying its flavors and deep color. If adding vanilla extract, stir it in during this final hour.
- Store: Once cooled slightly, transfer the hot crockpot apple butter into clean jars or other airtight containers. Refer to the storage section below for detailed tips on refrigeration, freezing, and canning.
For a complete list of ingredients with precise measurements and detailed, step-by-step instructions for this slow cooker apple butter recipe, please consult the recipe card at the conclusion of this article.
How to Make Instant Pot Apple Butter: A Faster Alternative
For those times when you need homemade apple butter a bit quicker, your Instant Pot can be a fantastic tool. While it won’t achieve the same deep caramelization and color as the 10-hour slow cook, it still produces a wonderfully flavorful apple butter. Here’s how to adapt the recipe for an Instant Pot:
- Prepare Ingredients: Follow the same initial steps as the slow cooker method: combine white sugar and spices in a small bowl. Add prepared apples to the Instant Pot, cover with brown sugar and the spice mixture, then stir to coat evenly.
- Pressure Cook: Secure the lid and set the Instant Pot to cook on HIGH pressure for 90 minutes.
- Natural Release: Once the cooking cycle is complete, allow for a natural pressure release. This is crucial as it helps finish cooking the apples and prevents liquid from spurting out when you open the lid.
- Puree: Once the pressure has naturally released, carefully open the lid. Use an immersion blender to puree the apples directly in the Instant Pot until smooth, or transfer to a regular blender in batches.
- Achieving Deep Color and Flavor: The Instant Pot’s pressure cooking yields softer apples but less caramelization. To get closer to the deep caramel color and intense flavor typical of slow-cooked apple butter, you have two options:
- Sauté Function: After pureeing, use the Instant Pot’s Sauté function on LOW or NORMAL (with the lid off) and let the apple butter simmer, stirring frequently, until it darkens and thickens to your desired consistency. This can take an additional 30-60 minutes.
- Slow Cook Function: Alternatively, after the initial pressure cook and puree, you can switch the Instant Pot to its Slow Cook function (without latching the lid) and let it simmer for several hours. This will mimic the traditional slow cooker method, deepening the flavor and color significantly.
- Preventing Burns: Sometimes, with the intense heat of the Instant Pot, apples can stick to the bottom during the initial pressure cook. To prevent this, you might need to add about 1/2 cup of apple juice or water to the apples before cooking, especially if your apples aren’t very juicy.
Remember, the deep, rich caramel color and ultra-concentrated flavor are primarily achieved through extended, low-and-slow cooking. While the Instant Pot offers speed, a longer simmering phase post-pressure cook will help you get closer to that classic apple butter profile.
Do You Have to Peel the Apples for Apple Butter?
The question of whether to peel apples for apple butter is a common one, and the answer largely comes down to personal preference and desired texture. While I personally lean towards peeling for a consistently smooth result, it’s not an absolute requirement:
- For a Super Smooth Texture: Peeling the apples before cooking ensures that your apple butter will be incredibly silky and free of any fibrous bits from the peels. This is generally the preferred texture for traditional apple butter.
- For a Bit More Texture (and nutrients!): If you don’t mind a slightly less uniform consistency or even a very subtle textural element, you can skip peeling. The peels contain beneficial fiber and nutrients. A powerful immersion blender or regular blender can still break down the peels quite well, though you might notice tiny flecks of skin in the final product.
- Consider Your Blender: The power of your blender plays a significant role here. A high-speed blender will obliterate peels more effectively than a less powerful one. If you’re unsure, or if time is a factor, peeling is a safer bet for a classic smooth finish.
Ultimately, do what you have time for and what suits your textural preference!
What Apples Are Best for Homemade Apple Butter?
Choosing the right apples is fundamental to creating outstanding apple butter. While many varieties work, a blend of apples often yields the most balanced and complex flavor profile. For this particular recipe, I achieved fantastic results using a combination of:
- Golden Delicious: These apples are sweet, soft when cooked, and have a lovely aroma, contributing a mellow sweetness and smooth texture.
- Honeycrisp: Known for their crisp texture and balanced sweet-tart flavor, Honeycrisp apples add a wonderful depth and a hint of brightness to the butter.
- Pink Lady: Offering a delightful balance of sweet and tart, Pink Lady apples contribute to the overall complexity and can help create a beautiful, rich color.
However, feel free to experiment with any combination of your favorite apples! Excellent choices include:
- Fuji: Sweet and juicy, great for a naturally sweeter butter.
- Gala: Mildly sweet with a crisp texture, they cook down well.
- Cosmic Crisp: A newer variety offering a balance of sweetness and tartness, excellent for cooking.
- McIntosh: Soft, juicy, and known for cooking down beautifully, often used in applesauce.
- Jonagold: A cross between Jonathan and Golden Delicious, offering a sweet-tart flavor perfect for baking and cooking.
- Braeburn: Firm and tangy, they add a nice tart contrast to sweeter varieties.
- Granny Smith: If you prefer a tarter apple butter, or want to balance out very sweet varieties, Granny Smith is an excellent addition, contributing a sharp, bright flavor.
A general rule of thumb is to use a mix of apples that cook down well (like Golden Delicious or McIntosh) and those that offer a good balance of sweet and tart flavors. This prevents the apple butter from being overly sweet or too bland.
How to Store Homemade Apple Butter
One of the many joys of making a large batch of homemade apple butter is its excellent storage capability, allowing you to enjoy the flavors of fall for an extended period. To keep your freshly made apple butter at its best, proper storage is key:
- Refrigeration: For immediate enjoyment or short-term storage, transfer your cooled apple butter into clean, airtight containers, such as Ball pint jars. It will keep beautifully in the refrigerator for up to three weeks. These jars are also quite affordable, often available in packs of 12 for around $15, making them a practical choice not just for apple butter but also for canning, making dressings, or even as drinking glasses!
- Freezing: Apple butter freezes exceptionally well, making it ideal for longer storage. Allow the apple butter to cool completely before transferring it to freezer-safe containers, leaving a little headspace for expansion. For the longest shelf life and to prevent freezer burn, consider using vacuum-seal bags. Frozen apple butter can maintain its quality for up to a year, allowing you to savor its autumnal goodness long after the season ends.
Always ensure containers are clean and properly sealed to maintain freshness and prevent contamination.
Why You’ll Absolutely Love This Apple Butter Recipe
This apple butter recipe isn’t just another fall treat; it’s a culinary gem that you’ll return to year after year. Here’s why it stands out:
- Effortlessly Easy: While the slow cooker requires a lengthy cooking time, the hands-on workload is incredibly minimal. Once your apples are prepped, it’s simply a matter of combining them with a handful of other ingredients and letting your appliance work its magic. This makes it perfect for busy weekends or even overnight cooking.
- Unforgettable Flavor: Prepare for an intense, concentrated apple flavor, beautifully enhanced by the warm spices and just the right amount of sweetness. It’s a comforting, nostalgic taste that embodies everything wonderful about the fall season.
- Generous Yield: One batch of this recipe produces a substantial amount of apple butter. This is fantastic for stocking your pantry, ensuring you have plenty to enjoy yourself, and makes it an ideal recipe for sharing with appreciative friends, family, and neighbors.
- Excellent for Storage: This apple butter stores exceptionally well, whether in the refrigerator for several weeks or frozen for up to a year. This means you can make it once and enjoy its deliciousness right away, or preserve it to savor the flavors of autumn whenever you desire.
Creative Ways to Use Apple Butter: Beyond Toast!
The beauty of this homemade apple butter lies in its incredible versatility. Because this recipe yields an abundance, you’ll have plenty to experiment with. Here are some delightful ways to incorporate apple butter into your meals and snacks:
- Classic Spread: The most obvious and beloved use! Slather it generously on toast, crusty bread, warm biscuits, or fluffy English muffins.
- Breakfast Topping: Elevate your morning routine by using it as a luscious topping for pancakes, waffles, French toast, oatmeal, or even yogurt parfaits.
- Savory Enhancer: Don’t limit it to sweet dishes! Apple butter pairs incredibly well with savory meats. Cook it alongside pork chops for a sweet and tangy glaze, or whisk it into marinades for chicken or turkey. It also makes a surprisingly delicious spread for a gourmet grilled cheese sandwich!
- Baking Ingredient: Incorporate apple butter directly into your baked goods. Use it to replace some of the fat or sugar in muffins, quick breads, cakes, or even cookies for added moisture and apple flavor.
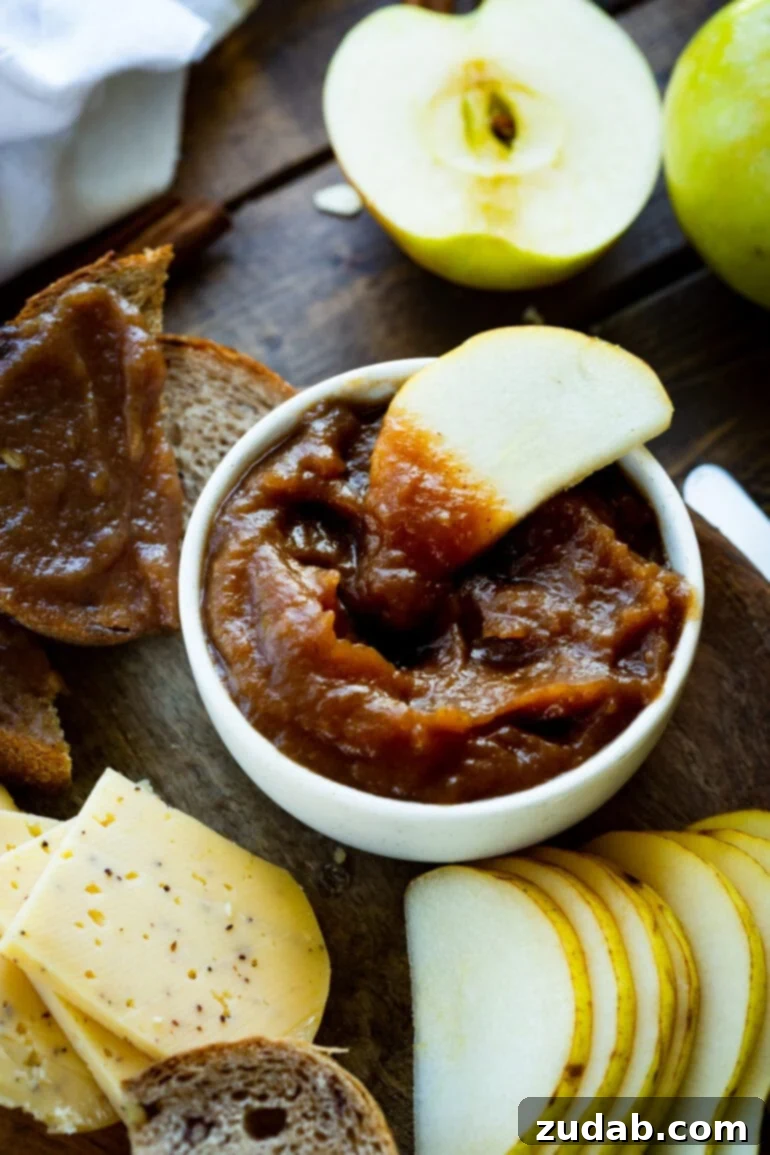
- Dip & Snack: Serve it as a delightful dip for fresh apple slices, pear wedges, or even cheese and crackers. It’s a sophisticated addition to any snack board.
- Glaze or Sauce: Thin it slightly with a touch of apple cider or water and use it as a glaze for roasted vegetables like carrots or sweet potatoes. It can also be warmed and drizzled over ice cream for an instant dessert upgrade.
With its rich flavor and adaptable nature, homemade apple butter will quickly become a cherished ingredient in your culinary repertoire.
What is the Difference Between Applesauce and Apple Butter?
While both applesauce and apple butter celebrate the deliciousness of cooked apples, they are distinct products with different characteristics, stemming primarily from their preparation and cooking times:
- Applesauce: This is essentially cooked apples, often with a bit of sweetener and sometimes spices, that have been pureed or mashed to a thick, spoonable consistency. Applesauce is cooked for a relatively short period, just long enough for the apples to soften. It typically has a lighter color and a fresh, bright apple flavor. Its consistency is usually thinner and can range from chunky to smooth.
- Apple Butter: Think of apple butter as applesauce’s more sophisticated, concentrated, and intensely flavorful older sibling. It starts similarly but is cooked for a significantly longer period – often many hours – until it dramatically reduces, thickens, and darkens in color. This extended cooking process allows the sugars to caramelize, leading to a much richer, deeper, and more complex flavor profile. Its texture is smooth, dense, and spreadable, like a thick jam or, indeed, soft butter. Apple butter typically contains more sugar and spices than applesauce, contributing to its robust taste.
In essence, apple butter is applesauce that has been cooked down much further, concentrating its flavor and achieving a distinctively thick, spreadable texture and a deep, inviting color.
Canning Apple Butter for Long-Term Preservation
For those who love to preserve the bounty of the season, apple butter is an excellent candidate for canning. Canning allows you to store your homemade goodness for many months, extending its shelf life well beyond refrigeration or freezing. The process is straightforward, much like canning applesauce, and typically involves either a steam canner or a traditional boiling water bath canner.
- Prepare as Written: First, make your apple butter recipe exactly as instructed, ensuring it reaches the desired thick consistency.
- Jar Preparation: Use clean, sterilized canning jars (pint or half-pint sizes are ideal for apple butter), along with new lids and bands.
- Fill Jars: Ladle the hot apple butter into the prepared jars, leaving a 1/4-inch headspace. Remove any air bubbles with a non-metallic utensil, then wipe the rims clean. Place lids and screw bands onto the jars.
- Processing: Process the filled jars in a boiling water bath canner or a steam canner according to tested canning guidelines (e.g., from the National Center for Home Food Preservation or a local extension office) for your specific altitude. Processing times can vary, but generally range from 10-15 minutes for half-pints and pints.
- Cool and Seal: Once processed, carefully remove the jars and let them cool undisturbed on a towel-lined counter for 12-24 hours. Check for proper seals; sealed jars can be stored in a cool, dark place for up to 18 months.
Always follow reputable canning guidelines for safety and best results. Canning ensures you can enjoy the rich flavors of homemade apple butter all year long.
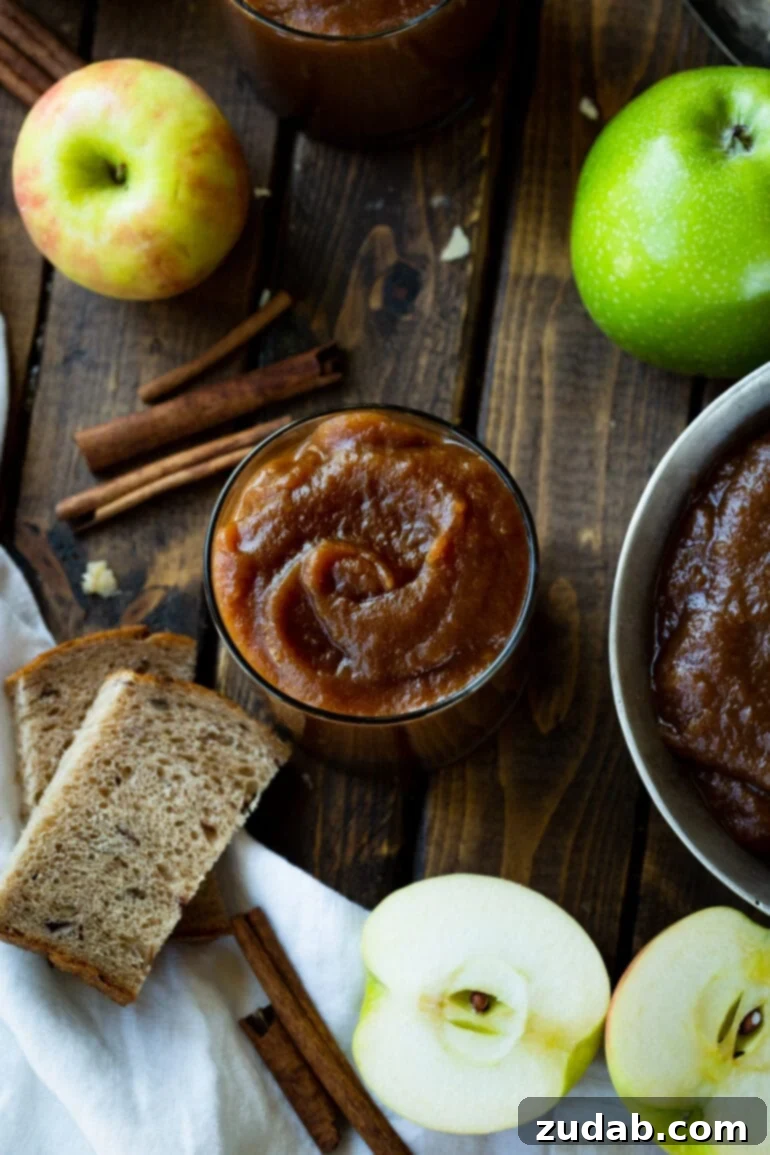
This is truly the best apple butter recipe you’ll ever encounter, and its ease of preparation makes it even more appealing. The result is a smooth, intensely flavorful spread that encapsulates everything wonderful about the fall season in every perfect bite. Whether you make it in your slow cooker or Instant Pot, you’re in for a treat!
More Delicious Apple Recipes to Try:
- Apple Cake with Caramel Frosting
- Easy Apple Dumplings with Sprite
- Apple Pie Bread Pudding with Vanilla Sauce
- Mini Dutch Apple Cheesecakes
- Apple Pie Bombs al la Mode
- Caramel Apple Sweet Rolls
- Best Apple Crisp
- Apple Cider Cupcakes with Cinnamon Frosting
- Apple Pie Fried Ice Cream
Apple Butter Recipe
Ingredients
- 6 Pounds Apples, about 16 apples, roughly peeled, cored and chopped in bite sized pieces
- 1 Cup Dark Brown Sugar, light brown sugar is also fine
- 1 Cup Sugar
- 1 Tablespoon Cinnamon, heaping
- 1/4 teaspoon Ground Cloves
- 1 Pinch Salt
- 1 teaspoon Vanilla, can be added after pureeing if desired
Instructions
-
Stir all the seasonings and white sugar together in a small bowl.1 Cup Sugar, 1 Tablespoon Cinnamon, 1/4 teaspoon Ground Cloves, 1 Pinch Salt
-
Add all apples to a slow cooker and cover in the sugar/spice mixture and brown sugar. Stir well to coat all of the apples.6 Pounds Apples, 1 Cup Dark Brown Sugar
-
Cook in slow cooker on low for 10 hours, then puree with an immersion blender. Then cook for another hour.1 teaspoon Vanilla
-
Place in jars or sealed containers in the fridge for up to 3 weeks or freeze in vacuum bags for the year.
Recipe Notes
Nutrition
Nutrition information is automatically calculated, so should only be used as an approximation.