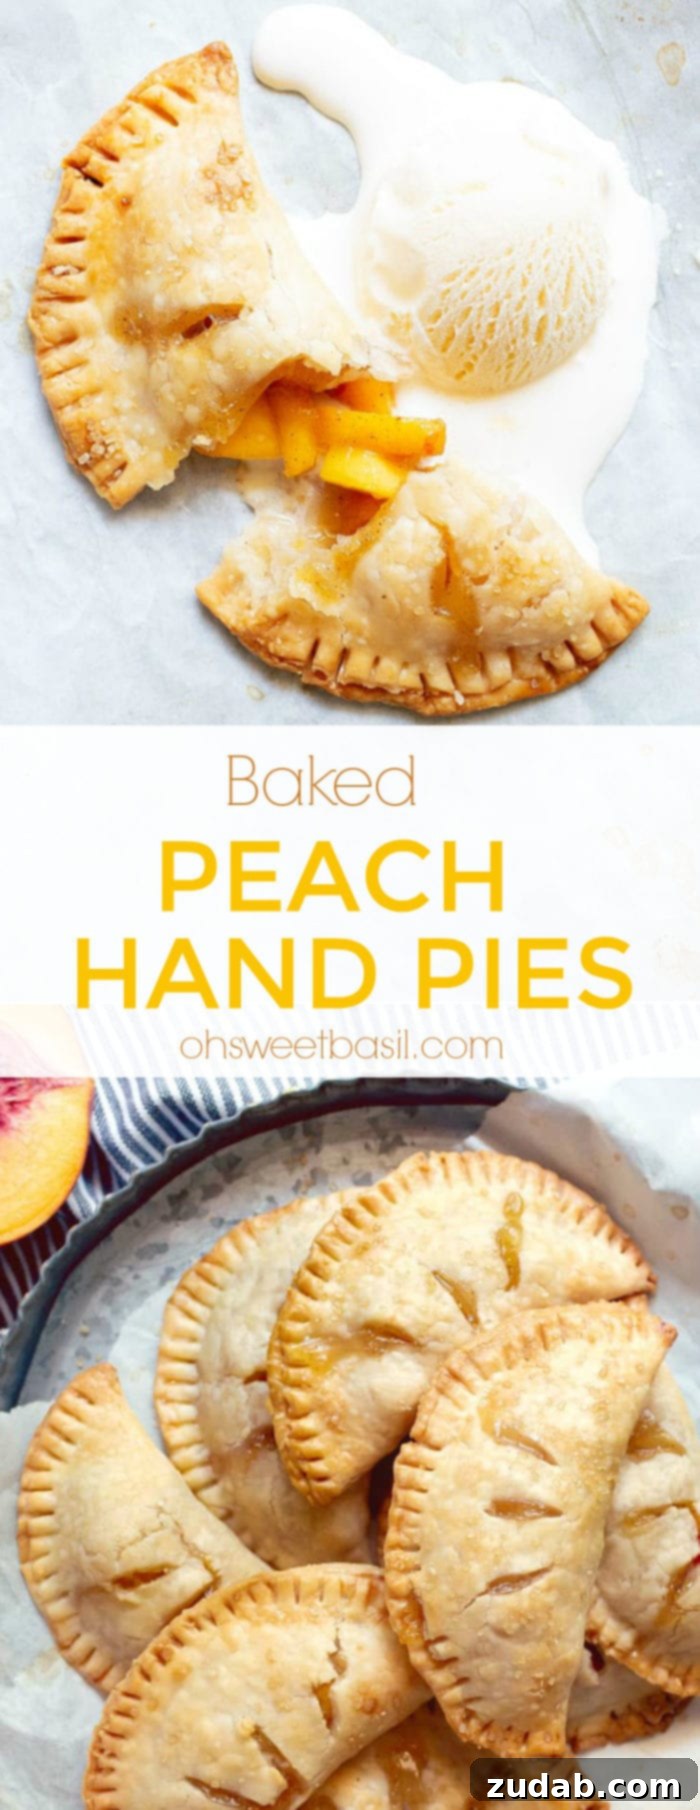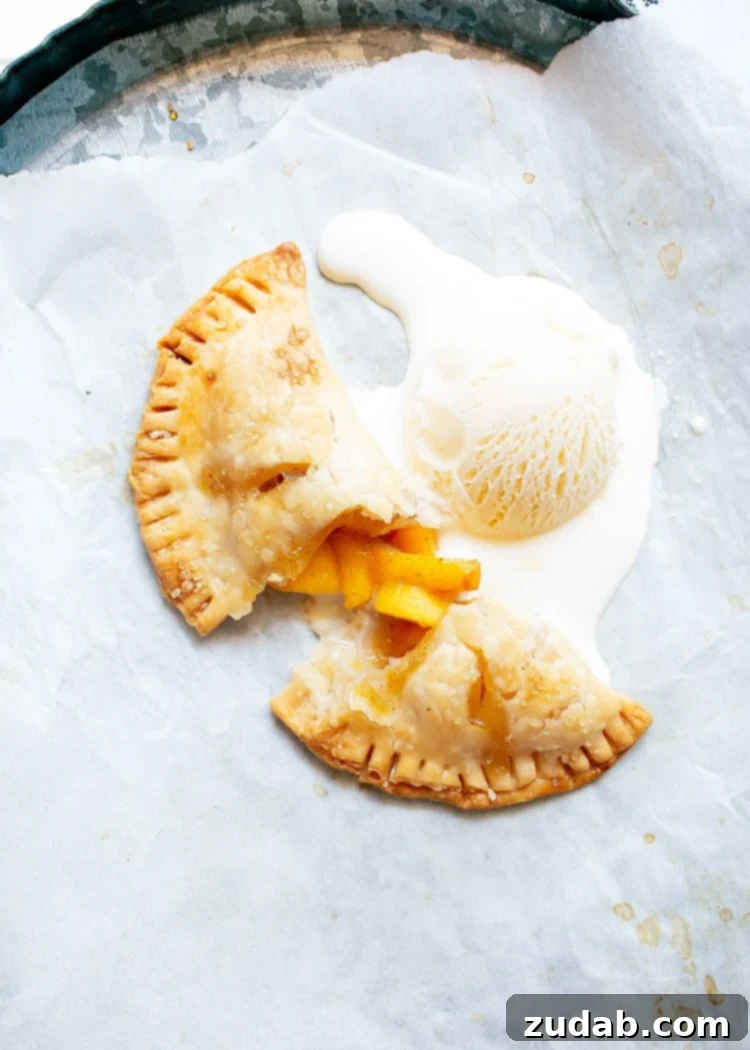
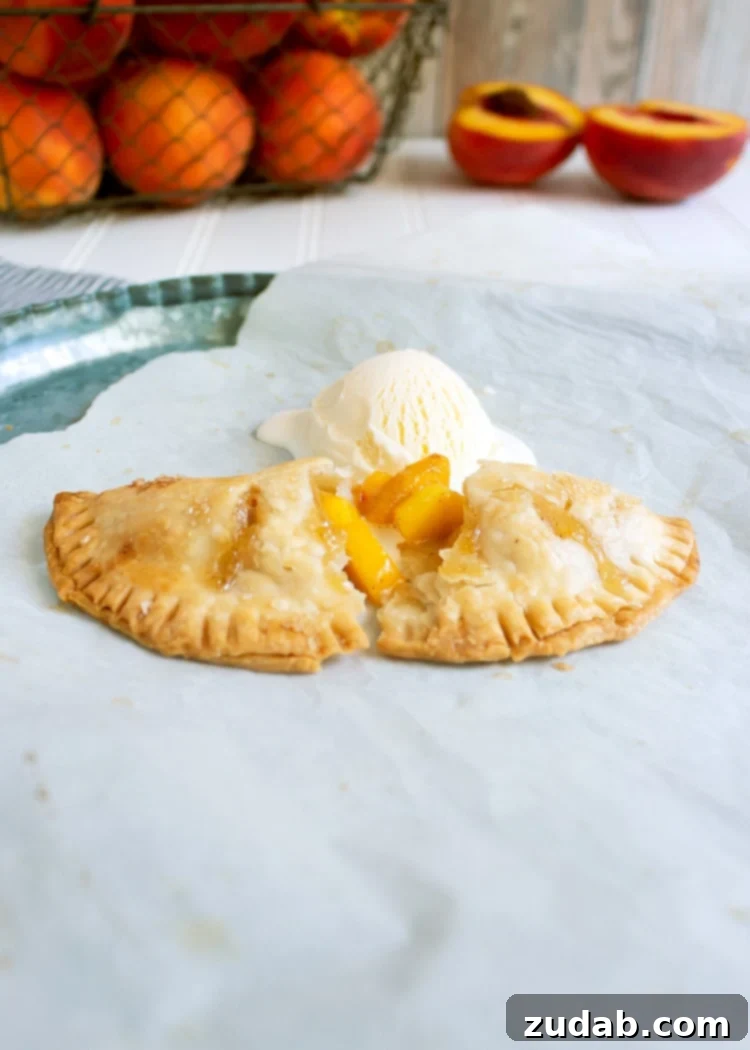
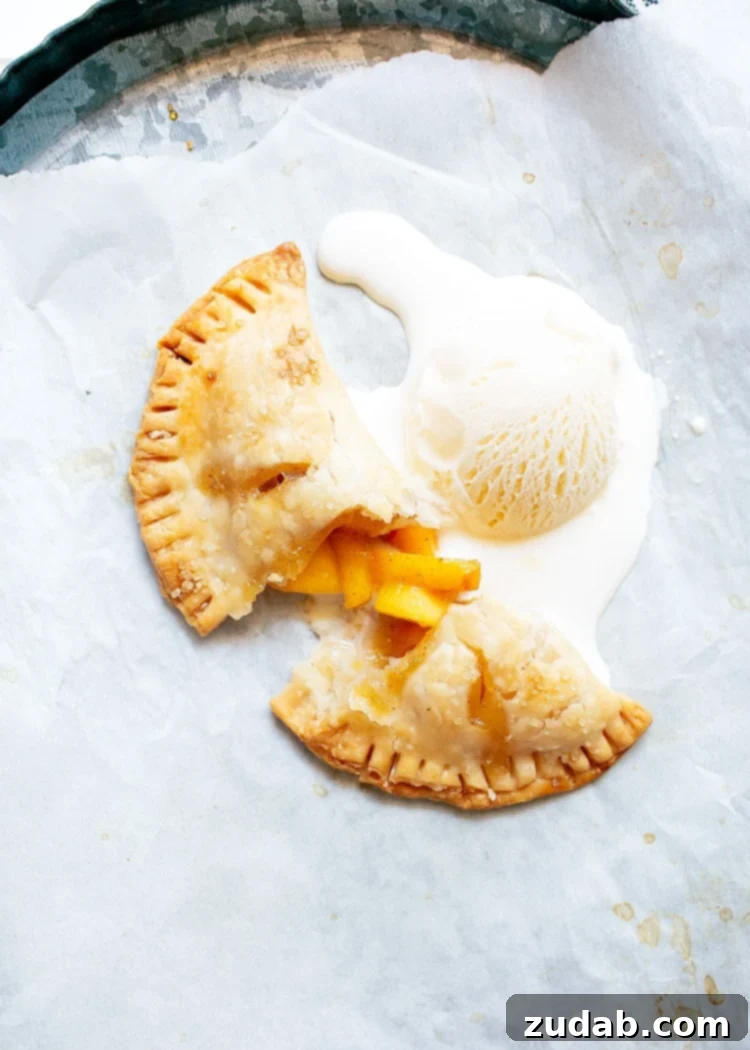
There’s nothing quite like the taste of summer sunshine, and these **Baked Peach Hand Pies** capture that essence perfectly. Imagine sweet, juicy peaches nestled within a wonderfully rustic and impossibly flaky crust – a truly irresistible treat for any occasion. Whether you’re planning a casual family gathering, a delightful dinner party, or simply craving a taste of the season, these individual peach pies are an ideal choice. They offer all the beloved flavors of a classic peach pie in a convenient, handheld form, making them an absolute showstopper and a guaranteed crowd-pleaser.
Embrace Summer with Easy Peach Hand Pies
Hey there, fellow food lovers! I’m thrilled to be sharing one of my absolute favorite summer recipes with you today: these incredible Peach Hand Pies. As a proud Texan, I can tell you we take our peaches very seriously. There’s truly nothing better than biting into a perfectly fresh, incredibly juicy peach on a hot summer’s day. It’s a taste that instantly transports you to sunny orchards and lazy afternoons.
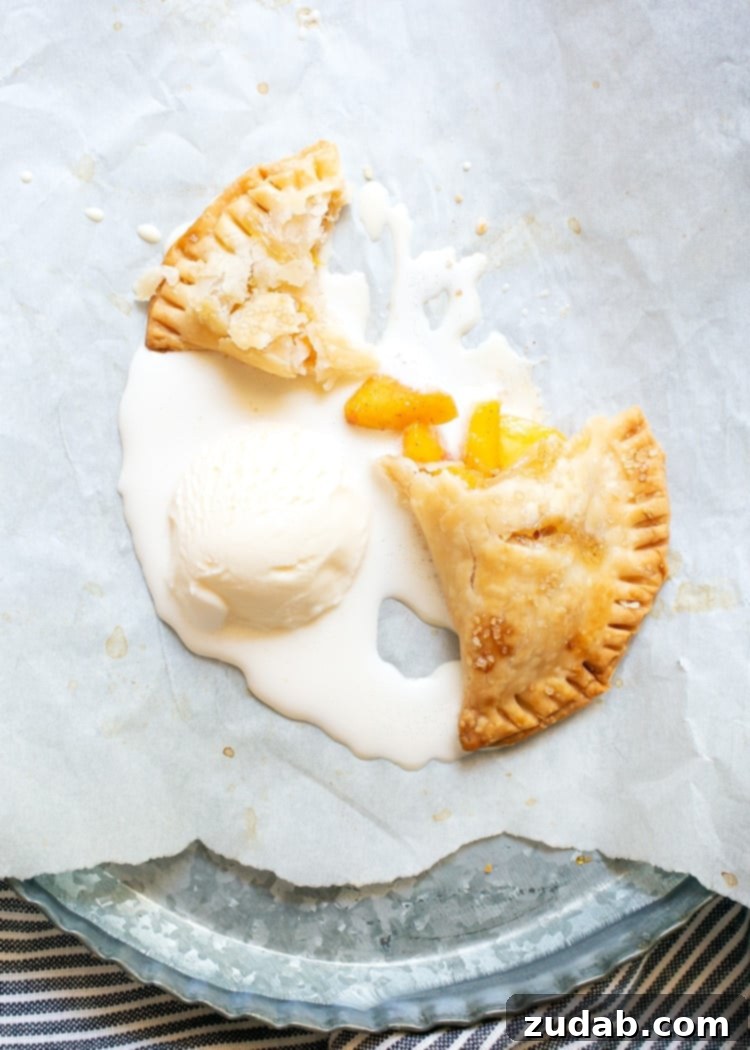
And while we adore fresh peaches, our love for peach pies runs just as deep in the South. A traditional, full-sized peach pie holds a special place in our hearts, but I’ve found myself increasingly drawn to a delightful variation: the humble, yet utterly charming, Baked Peach Hand Pie. These sweet, individual parcels of peachy goodness, encased in a rustic, flaky crust, are simply divine. They offer all the comforting flavors of a classic pie but in a perfectly portioned, portable format. And let’s be honest, everything just seems five times better when it’s miniature, doesn’t it? These hand pies are not only delicious but also incredibly fun to make and eat, making them a fantastic project for home bakers of all skill levels.
For more peachy inspiration, be sure to check out some of my other favorite peach recipes here – perfect for expanding your summer dessert repertoire!
Essential Ingredients for Perfect Peach Hand Pies
Crafting these fresh peach hand pies requires two key components: a luscious peach pie filling and a tender, homemade hand pie dough. While the idea of making dough from scratch might seem intimidating to some, rest assured, this recipe is designed to be straightforward and rewarding. The quality of your ingredients will truly shine through, so let’s explore what you’ll need to create these easy fruit hand pies:
For the Irresistible Peach Filling:
- **Fresh Peaches:** The star of the show! Opt for ripe, fragrant peaches that are firm but yield slightly to gentle pressure. We’ll be peeling, slicing, and dicing these for maximum flavor and texture.
- **Granulated Sugar:** Sweetens the peaches to perfection, balancing their natural tartness.
- **Cinnamon:** Adds a warm, comforting spice note that beautifully complements the peaches.
- **Cornstarch:** This is our secret weapon for thickening the peach juices into a delectable, spoonable filling, preventing any sogginess in the crust.
- **Peach Preserves:** Enhances the peach flavor intensity and adds a lovely depth to the filling, almost like a concentrated burst of peachy goodness.
- **Lemon Juice:** A touch of citrus brightens the entire filling, preventing it from being overly sweet and adding a subtle tang.
For the Flaky Hand Pie Dough:
- **All-Purpose Flour:** The structural backbone of our pastry. Using good quality flour is essential for a tender crust.
- **Baking Powder:** Provides a little lift and tenderness to the dough, contributing to its flaky texture.
- **Kosher Salt:** Balances the sweetness and enhances the overall flavor of the crust. Don’t skip this, as it’s crucial for taste.
- **Unsalted Butter:** This is where the magic happens for flakiness! It must be *unsalted, very cold, and cut into small cubes*. The cold butter creates steam pockets as it bakes, resulting in those desirable flaky layers.
- **Ice Water:** Crucial for bringing the dough together without overworking the gluten. The colder, the better, as it helps keep the butter solid.
- **White Vinegar:** A fantastic ingredient often overlooked! It helps to tenderize the dough and makes it easier to roll out, without imparting any noticeable flavor. It also inhibits gluten development, further contributing to a tender crust.
For the Golden Egg Wash:
- **Egg:** Provides that beautiful, golden-brown sheen to the baked hand pies.
- **Water:** Thins the egg slightly, making it easier to brush evenly over the dough.
How to Select the Best Peaches for Baking
The foundation of an exceptional peach hand pie lies in choosing the right peaches. If you’re fortunate enough to have a local farmers market nearby (you can search for one in your area here!), I highly recommend visiting to find the freshest, most flavorful peaches available. Fresh, local produce truly makes a difference in any recipe!
When picking out peaches specifically for baking, there’s a little trick: you want them to be *nearly ripe, but not overly soft*. They should have a vibrant color and a wonderfully fragrant aroma. When you gently squeeze a peach, it should give just a little, indicating it’s ready but still firm enough to hold its shape during cooking. Avoid peaches that are rock hard (they won’t soften enough or have good flavor) or mushy (they’ll turn to pulp). For this recipe, freestone peaches are highly recommended because they are inherently sweeter and, as their name suggests, much easier to pit and work with compared to clingstone varieties. For a comprehensive list of my favorite freestone peach varieties and more tips on selecting and preparing them, head over to our detailed peach cobbler post!
Mastering the Art of Making Hand Pies
Don’t let the thought of homemade pie dough deter you from trying this exquisite peach dessert! This recipe is surprisingly easy to follow, even for novice bakers. The steps are broken down to ensure a smooth and enjoyable baking experience, culminating in perfectly golden, fruit-filled hand pies.
- **Prepare the Dough:** Begin by making the flaky hand pie dough. This involves combining dry ingredients, cutting in cold butter until it resembles coarse crumbs, and then slowly incorporating ice water and vinegar until a cohesive dough forms. Once prepared, divide the dough into two equal balls, wrap them tightly in plastic wrap, and chill them in the refrigerator for at least 1 hour (or up to 2 days). This chilling period is crucial for developing flavor and ensuring the butter stays cold, which is key to a truly flaky crust.
- **Craft the Filling:** While your dough is chilling, turn your attention to the luscious peach pie filling. This step involves gently combining diced peaches with sugar, cinnamon, cornstarch, peach preserves, and a splash of lemon juice. Allowing the peaches to macerate with the sugar for a bit helps to draw out their natural juices, intensifying the flavor.
- **Roll and Cut:** Once the dough is adequately chilled, remove one ball from the fridge and roll it out on a lightly floured surface. Aim for a thickness slightly thicker than a tortilla, approximately 1/8 to 1/4 inch. Using a large round cookie cutter (about 5 inches in diameter), the rim of a large glass, or even a wide-mouthed jar, cut the dough into perfect circles. Gather and re-roll any scraps to maximize your hand pies!
- **Fill with Peach Perfection:** Gently transfer your cut dough circles to your prepared baking sheets lined with parchment paper. Spoon about 1 tablespoon of the peach pie filling into the center of each dough circle. Be mindful not to overload them, and try to avoid including too much of the extra juices, as this can make the crust soggy.
- **Seal and Shape:** Lightly brush one half of the outer edge of each dough circle with the prepared egg wash. This acts as a “glue” to seal the pies. Carefully fold each circle in half to create a neat semi-circle, enclosing the filling.
- **Crimp the Edges:** To secure the filling and create a beautiful, rustic edge, press the edges of each semi-circle together firmly. Then, use the tines of a fork to crimp the edges, ensuring a tight seal that prevents any delicious filling from escaping during baking.
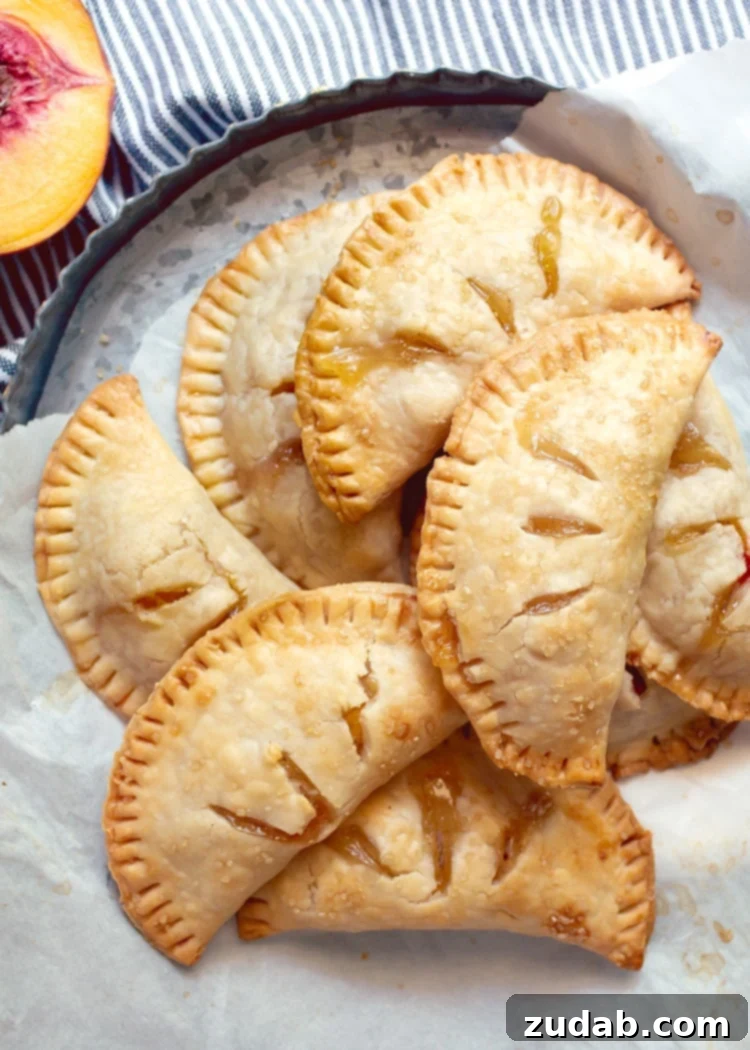
- **Golden Finish:** Brush the tops of all your hand pies with the remaining egg wash. For an extra touch of sparkle and a delightful textural crunch, sprinkle them generously with coarse sugar. This also helps achieve that coveted golden-brown color.
- **Bake to Perfection:** Bake the hand pies in a preheated oven until they are beautifully golden brown and the filling is bubbly and fragrant. The aroma alone will be enough to make your mouth water!
The Easy Way to Peel Peaches
Sometimes, getting the skin off fruit can be a bit of a challenge – and frankly, not always “peachy” keen! But there’s a super simple method to easily remove peach skins, saving you frustration and precious time. This technique, known as blanching, ensures your peaches are ready for baking in no time:
- **Boil Water:** Bring a large pot of water to a rolling boil.
- **Quick Dip:** Carefully place your peaches into the boiling water for precisely 30 seconds. This brief exposure to heat loosens the skin without cooking the fruit itself.
- **Ice Bath:** Using a slotted spoon, quickly remove the blanched peaches and immediately plunge them into a bowl of ice water. This “ice bath” instantly stops the cooking process, keeping the peaches firm and fresh.
- **Effortless Peel:** Once cooled enough to handle, gently rub the skin. It should slip right off with minimal effort!
For those who are visual learners, like me, seeing the process in action can be incredibly helpful. Check out these detailed photos and a step-by-step guide from The Kitchn for a clear demonstration of how to easily peel peaches without needing a knife.
Storing Your Delicious Hand Pies
These peach hand pies are truly at their peak when served warm, fresh from the oven, and enjoyed on the very same day they are baked. The crust is at its flakiest, and the filling is wonderfully fragrant. However, if you have any leftovers or are planning to make them slightly ahead, proper storage is key to maintaining their deliciousness:
- **Room Temperature Storage:** Once completely cooled, you can store your baked peach hand pies in an airtight container at room temperature for up to 3 days. While they won’t be as crispy as fresh, they’ll still be wonderfully flavorful.
- **Reheating for Freshness:** To bring back some of that freshly baked magic, reheat the hand pies in an oven preheated to 325 degrees F (160 degrees C) for 5 to 10 minutes, or until warmed through and the crust begins to crisp up again. Avoid microwaving, as it can make the crust soggy.
Can You Freeze Peach Hand Pies? Absolutely!
Yes, these hand pies are excellent candidates for freezing, making them a perfect make-ahead dessert or a convenient treat to pull out whenever a craving strikes! Freezing them allows you to enjoy homemade peach goodness long after peach season has ended.
- **Cool Completely:** Ensure your baked hand pies are cooled completely before freezing. Warm pies will create condensation and lead to ice crystals.
- **Flash Freeze:** Arrange the cooled hand pies in a single layer on a baking tray. Place the tray in the freezer for 1-2 hours, or until the pies are firm and solid. This “flash freezing” step prevents them from sticking together when stored.
- **Transfer to Freezer Bag:** Once hardened, transfer the frozen peach hand pies to a freezer-safe bag or an airtight container. Remove as much air as possible to prevent freezer burn. They can be stored for up to 2-3 months.
- **Reheating from Frozen:** To enjoy a frozen hand pie, simply place it on a baking sheet and bake in a preheated 325 degree F (160 degrees C) oven until warmed through and the crust is crisp, typically 15 to 20 minutes.
Expert Tips for the Ultimate Hand Pies
Achieving truly spectacular hand pies involves a few extra touches and considerations. Here are some insider tips to elevate your baking and ensure every bite is a memorable one:
- **The Magic of Fraisage for a Flaky Crust:** This technique, mentioned briefly in the recipe, is a game-changer if you’re aiming for an exceptionally flaky crust. *Fraisage* is a traditional French pastry method where you take small pieces of dough and, using the heel of your hand, push them along the counter away from you. This action smears the cold butter into longer, thinner sheets within the dough. As the crust bakes, the moisture in these butter layers turns into steam, expanding and creating those beautiful, distinct pockets that define a truly flaky pastry. It’s an extra step, but one that yields incredible results in texture. For a clear visual guide on performing this technique, I highly recommend watching this helpful video.
- **Embrace the Shortcut: Store-Bought Pie Crust:** While making homemade dough is wonderfully rewarding, there’s absolutely no shame in taking a shortcut! We all need a little help in the kitchen sometimes, and using refrigerated store-bought pie crust (the kind you roll out) is a perfectly respectable and delicious option. I’ve personally used it for these peach hand pies, and they consistently turn out great. It’s a fantastic way to enjoy this dessert with less fuss.
- **Endless Fruit Variations:** One of the most delightful aspects of these fruit hand pies is their versatility! While peaches are the undisputed star here, you can easily adapt this recipe to feature other seasonal fruits. Imagine luscious blueberry hand pies, vibrant strawberry hand pies, or comforting apple hand pies. Simply swap out the peach preserves for the respective fruit preserves (e.g., blueberry preserves for blueberry hand pies), and adjust spices as needed. The possibilities are truly limitless, allowing you to enjoy this delightful handheld treat throughout the year with whatever fresh fruit is in season.
- **Prevent Soggy Bottoms:** To ensure your hand pies have beautifully crisp bottoms, make sure your peach filling isn’t too wet. Draining excess juices from the peaches after macerating with sugar, as instructed in the recipe, is critical. Also, a slightly thicker dough can provide a better barrier.
- **Perfect Presentation:** Don’t underestimate the power of a good egg wash and coarse sugar sprinkle! The egg wash gives a beautiful golden hue and shine, while the coarse sugar adds sparkle and a lovely textural crunch. You can also make a small slit or two on top of each hand pie before baking to allow steam to escape and prevent the pies from bursting.
More Irresistible Peach Dessert Recipes:
If you find yourself with an abundance of fresh peaches or simply can’t get enough of their sweet flavor, here are some other fantastic recipes to explore:
- Classic Peach Cobbler
- Hearty Peach Crisp (Dutch Oven style)
- Brown Sugar Peach Pie Bars
- Indulgent Deep Fried Peaches with Ice Cream
- Quick & Easy Peach Dump Cake
- Delightful Blueberry Peach Crumble
- Wholesome Peach Oatmeal Bars
- Moist Peach Coffee Cake with Streusel Topping
- Refreshing Lemon Jell-O Peach Pie
- Flavorful Blackberry Peach Coffee Cake
Baked Peach Hand Pies Recipe
Sweet, juicy peaches wrapped in a rustic, flaky crust. These **Baked Peach Hand Pies** are the perfect summer dessert for your family or a dinner party!
Yields: 8 hand pies
Prep time: 30 mins
Cook time: 30 mins
Total time: 2 hrs (includes chilling time)
Author: Lexie

Ingredients
For the Filling:
- 4 Peaches, semi-ripe, peeled, sliced, & chopped into ½ inch cubes
- 2 Tablespoons Granulated Sugar
- ½ teaspoon Ground Cinnamon
- 2 Tablespoons Cornstarch
- 2 Tablespoons Peach Preserves
- 1 teaspoon Lemon Juice
For the Dough:
- 3 Cups All-Purpose Flour
- 2 teaspoons Baking Powder
- 1 teaspoon Kosher Salt
- ¾ Cup Butter, unsalted, cold & cut into small cubes (1.5 sticks)
- 1 Tablespoon White Vinegar
- ½ Cup Ice Water
For the Egg Wash:
- 1 Egg
- 2 Tablespoons Water
Instructions
Make the hand pie dough:
- To make the dough, combine the flour, baking powder, and salt in a large bowl.
- Cut the cold, cubed butter into the dry ingredients using two forks, a pastry cutter, a food processor, or a stand mixer with the paddle attachment, until the mixture resembles small peas.
- Add the white vinegar and ice water, then gently bring the dough together to form a ball. Avoid overworking the dough.
- *(Optional, for a flakier crust – Fraisage technique):* Place the dough on a clean counter. Take a small piece of dough at a time, and with the heel of your hand, push it across the counter away from you. Scrape up the dough using your hands (a metal dough scraper works well here) and gently gather all the scraps into a new ball. Repeat for all dough.
- Divide the dough into two equal balls. Wrap each ball tightly in plastic wrap or place them in a plastic bag, then refrigerate for at least 1 hour (or up to 2 days). This chilling time is essential for the butter to firm up and the gluten to relax.
Make the filling:
- Meanwhile, prepare the filling. In a bowl, combine the peeled, diced peaches and granulated sugar. Let this mixture sit for about an hour while your dough chills; this allows the sugar to draw out moisture from the peaches.
- Drain any excess juices from the peaches and sugar mixture. Then, add the ground cinnamon, cornstarch, peach preserves, and lemon juice. Stir gently until all ingredients are well combined.
- Preheat your oven to 375 degrees F (190 degrees C). Line two baking sheets with parchment paper. In a small bowl, whisk together the egg and water to create the egg wash, and set aside.
Assemble the hand pies:
- Remove one portion of dough from the refrigerator. On a lightly floured, flat surface, roll out the dough to a thickness slightly greater than that of a tortilla (approximately 1/8 to 1/4 inch thick).
- Using a circular cutter, a large cup, or a plastic lid that is about 5 inches in diameter, cut the rolled dough into circles. You should be able to get approximately 4 circles from each ball of dough. Reroll any scraps if needed.
- Carefully transfer the cut dough circles to your prepared baking sheets.
- Spoon about 1 tablespoon of the peach filling into the center of each dough circle. Be careful not to include too much of the liquid from the filling to prevent a soggy crust. Brush one half of the outer edge of each circle with the egg wash. Then, fold each circle in half to form a semi-circle, gently enclosing the filling. Press the edges together firmly to seal, and then use the tines of a fork to crimp the edges for a decorative and secure seal.
- Brush the tops of each assembled hand pie with the remaining egg wash and sprinkle generously with coarse sugar for a beautiful golden finish and extra crunch.
- Bake for 20-30 minutes, or until the hand pies are beautifully golden brown and the filling is bubbling.
- Remove the hand pies from the oven and let them cool slightly on the baking sheets before transferring to a wire rack. Serve warm with a scoop of vanilla ice cream or a dollop of whipped cream and savor every delicious bite!
Recipe Notes
- These hand pies are truly best when served warm and enjoyed on the same day they are made. The crust will be at its peak flakiness.
- To store leftovers, place them in an airtight container at room temperature for up to 3 days. Reheat in an oven preheated to 325 degrees F (160 degrees C) for 5 to 10 minutes for best results.
- Baked hand pies can be frozen. Once completely cool, flash freeze on a baking sheet, then transfer to a freezer-safe bag for up to 2-3 months. Reheat from frozen at 325 degrees F (160 degrees C) for 15-20 minutes.
Nutrition Information
(Approximate values per serving)
- **Serving:** 1 pie
- **Calories:** 401 kcal
- **Carbohydrates:** 53 g
- **Protein:** 7 g
- **Fat:** 19 g
- **Saturated Fat:** 11 g
- **Polyunsaturated Fat:** 6 g
- **Cholesterol:** 69 mg
- **Sodium:** 401 mg
- **Fiber:** 3 g
- **Sugar:** 13 g
Nutrition information is automatically calculated, so should only be used as an approximation.
I hope you absolutely love making and sharing these delightful **Baked Peach Hand Pies**! They truly embody the joy of summer in every flaky, fruit-filled bite. Don’t forget to capture your beautiful creations and tag @OhSweetBasil and @asliceofsweet on Instagram. We can’t wait to see your delicious results!