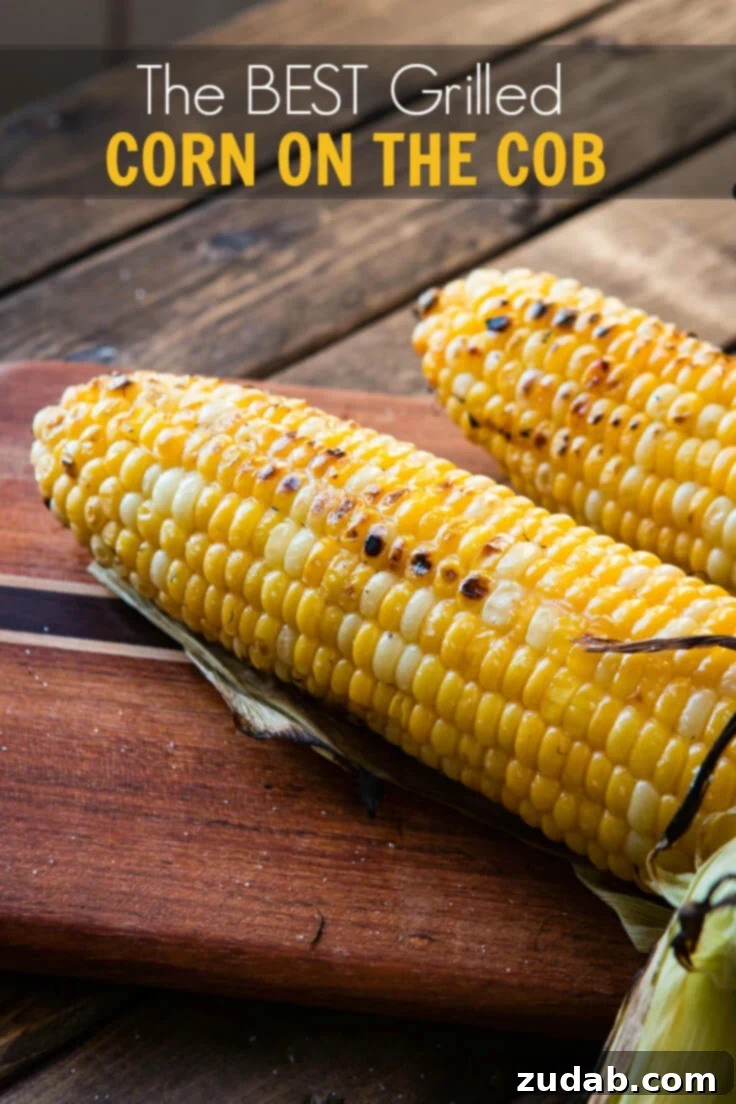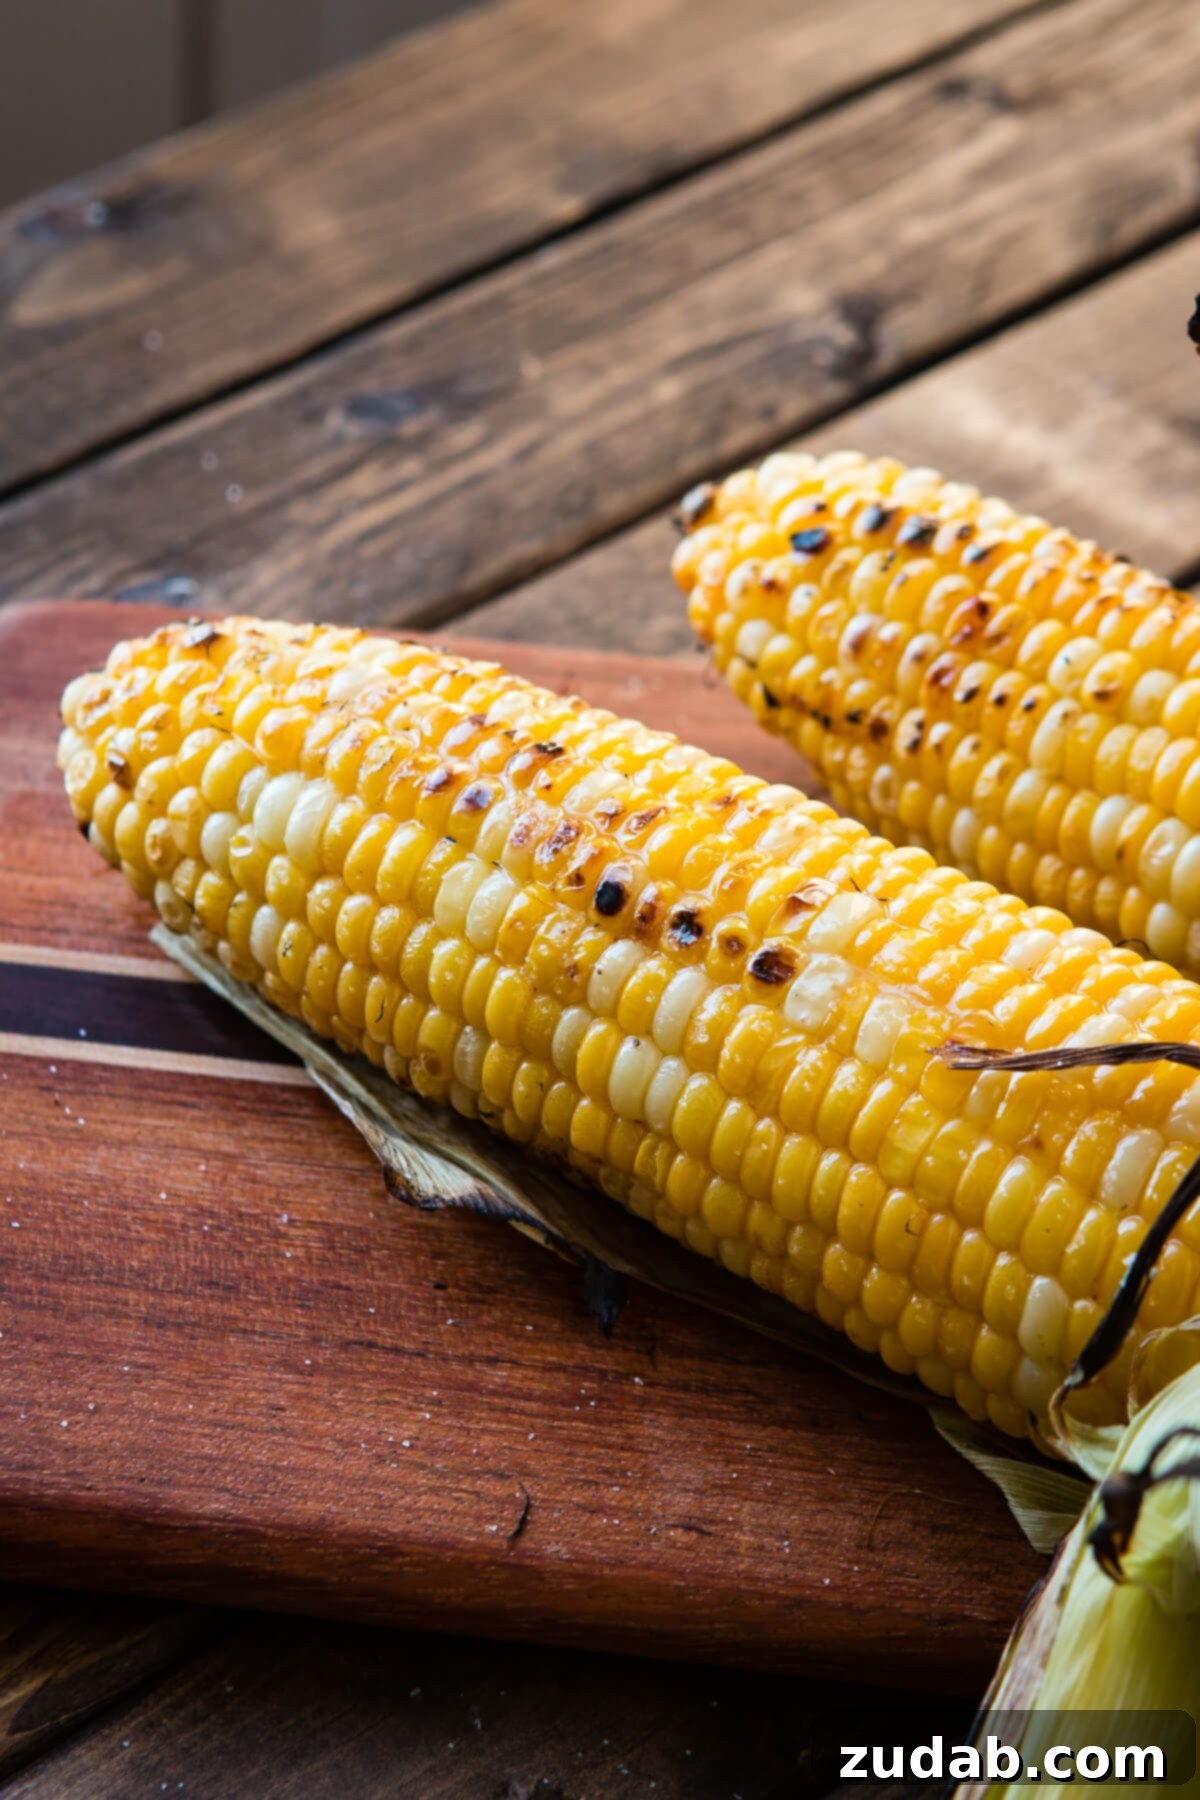
Unlock the secrets to crafting the **best grilled corn on the cob** your taste buds have ever experienced. While many believe there’s a single magic trick, the truth is, a combination of simple yet effective techniques elevates grilled corn from good to truly extraordinary. Prepare to transform your summer barbecue staple into a culinary masterpiece that will leave everyone craving more.
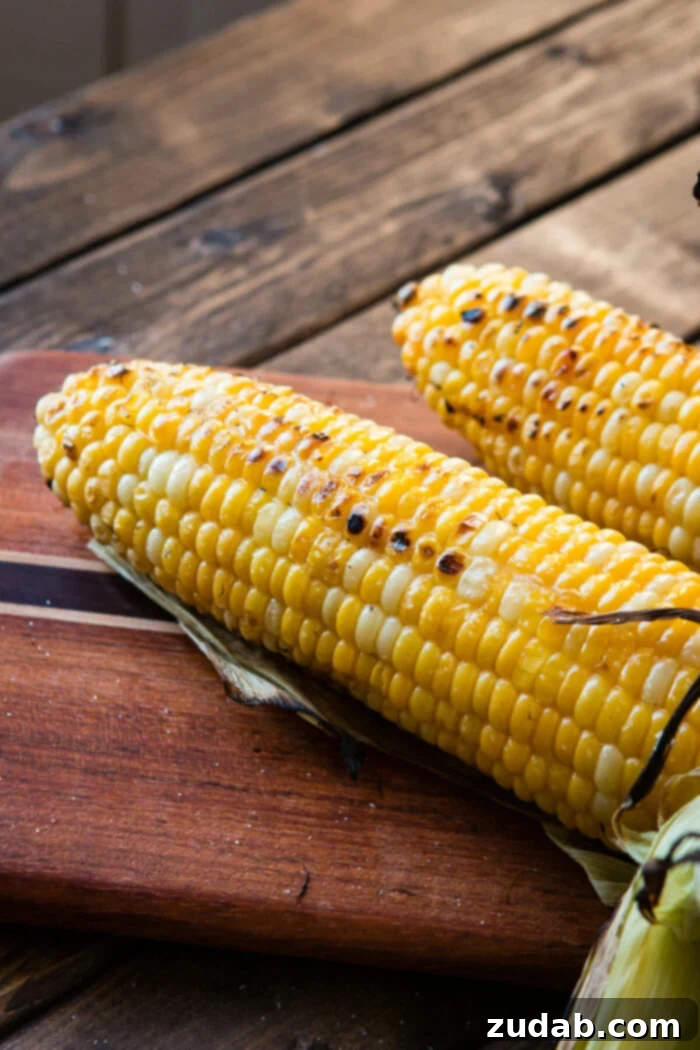
There’s an undeniable joy that comes with biting into a perfectly grilled ear of corn. Its natural sweetness is amplified by the smoky char from the grill, creating a symphony of flavors and textures that defines summer. While boiled corn, slathered generously with butter, certainly has its charm, it often falls short. We’ve all encountered those disappointing, overcooked, and dried-out kernels that hardly get finished. But those days are over! This guide is your definitive blueprint to mastering the art of grilling corn on the cob, ensuring every bite is juicy, tender, and bursting with flavor.
Before we delve into the grilling techniques, let’s address a common question that often pops up in internet searches: “Why is corn on the cob bad for dogs?” It’s a good question, and the answer is straightforward: the cob itself can pose a significant choking hazard or cause intestinal obstruction in dogs. While the kernels are generally fine in moderation, always ensure your furry friends don’t get their paws on the cob. Safety first!
Now that we’ve cleared that up, let’s focus on what you’ll need to achieve grilled corn perfection.
Essential Ingredients & Equipment for Perfect Grilled Corn
Achieving truly exceptional grilled sweet corn doesn’t require an arsenal of fancy kitchen gadgets or exotic ingredients. The star of this dish is, naturally, the sweet corn itself. However, a few key additions will enhance its natural flavors and texture significantly. For the absolute best barbecue corn on the cob, you will need:
- Fresh Sweet Corn: This is non-negotiable. The fresher, the sweeter, the better.
- Kosher Salt: Used for brining, which is a crucial step we’ll discuss.
- Fine Ground Sea Salt: For seasoning the cooked corn. Its texture and flavor profile are ideal for finishing.
- Granulated Sugar: A surprising but essential addition to your seasoning blend. Don’t worry, it won’t make your corn overly sweet; it simply balances and brightens the flavors.
- Unsalted Butter: The classic accompaniment for richness and moisture.
- A Grill: Whether it’s charcoal or gas, medium heat is your friend.
You might be wondering why you need two types of salt and sugar. Keep reading, and we’ll reveal the secrets behind these choices!
How to Select the Sweetest Corn on the Cob
Before any grilling can begin, the foundation of your dish rests on selecting the highest quality sweet corn. Starting with subpar corn will inevitably lead to a less-than-stellar grilled result, no matter how perfect your technique. Therefore, learning how to identify super sweet, fresh corn is paramount. The ideal scenario involves pulling back the husks to inspect the kernels directly. This allows you to confirm that the kernels are plump, evenly sized, uniformly colored, and tightly packed without gaps. However, many find this practice to be poor etiquette at the grocery store.
So, is there a way to **choose excellent corn on the cob without peeling back the husks**? Absolutely! Here are four crucial tips to guide your selection at the market:
- Inspect the Husks for Small Brown Holes: Pay particular attention to the top of the ear. Tiny brown holes often indicate the presence of corn worms. Naturally, avoiding worms is best, as they tend to eat away at the kernels, resulting in damaged and less desirable corn. Choose ears with intact, blemish-free husks.
- Feel the Kernels Through the Husk: Gently squeeze the ear of corn. You want to feel plump, firm kernels packed tightly together. If you feel soft spots, empty spaces where kernels should be, or very small and hard kernels, set that ear aside. Uniformity in size and spacing is a strong indicator of quality.
- Examine the Tassels (Silks): The tassels, those wispy strands emerging from the top of the husk, offer vital clues about freshness. Look for tassels that are yellow to light brown and feel slightly sticky to the touch. If the tassels are dry, brittle, or black, it signifies an old ear of corn past its prime. Fresh tassels mean fresh corn.
- Assess the Husk Color and Tightness: The husk itself can tell you a lot. A bright green husk that is tightly wrapped against the cob is a reliable sign of fresh corn. If the husks appear yellowing, dry, or loosely wrapped, the corn is older and likely to be less sweet and tender.
Optimal Storage for Fresh Corn on the Cob
Once you’ve brought home your perfect ears, the best way to store corn on the cob to maintain its sweetness and freshness is to keep it in its husks, uncovered, in the refrigerator. This method helps prevent the kernels from drying out and preserves their natural sugars.
The Ultimate Guide: How to Grill Corn on the Cob
Grilling corn to perfection is a simple process, but it involves a few strategic steps that make all the difference. Follow these stages for incredibly flavorful and juicy results:
Step 1: Prepare the Corn for Grilling
The husks play a vital role in protecting the corn from the direct heat of the grill, helping it steam and stay moist. Therefore, it’s crucial to leave them on for the initial grilling phase. To prepare your corn, gently peel back the husks, but do not remove them completely from the cob. Once peeled back, carefully remove all the silk strands. These can be stubborn, so take your time. After the silk is removed, fold the husks back up around the ear of corn, completely covering the kernels. This forms a natural protective layer.
Step 2: The Secret Soak for Maximum Flavor and Moisture
This is arguably the most critical “secret” to perfectly grilled corn on the cob, and it happens *before* the corn even touches the grill. Fill your kitchen sink or a large tub with cold water. Add 1-2 tablespoons of kosher salt to the water, stirring to dissolve. Submerge the silk-free, re-husked corn ears into this saltwater brine. Let them soak for a good 10-20 minutes. Soaking serves a dual purpose: it infuses the corn with a subtle flavor boost from the salt, and more importantly, it saturates the husks with moisture. This moisture prevents the husks from burning to a crisp on the grill, allowing the corn inside to steam gently and remain incredibly juicy and tender.
Step 3: Grilling the Corn to Perfection
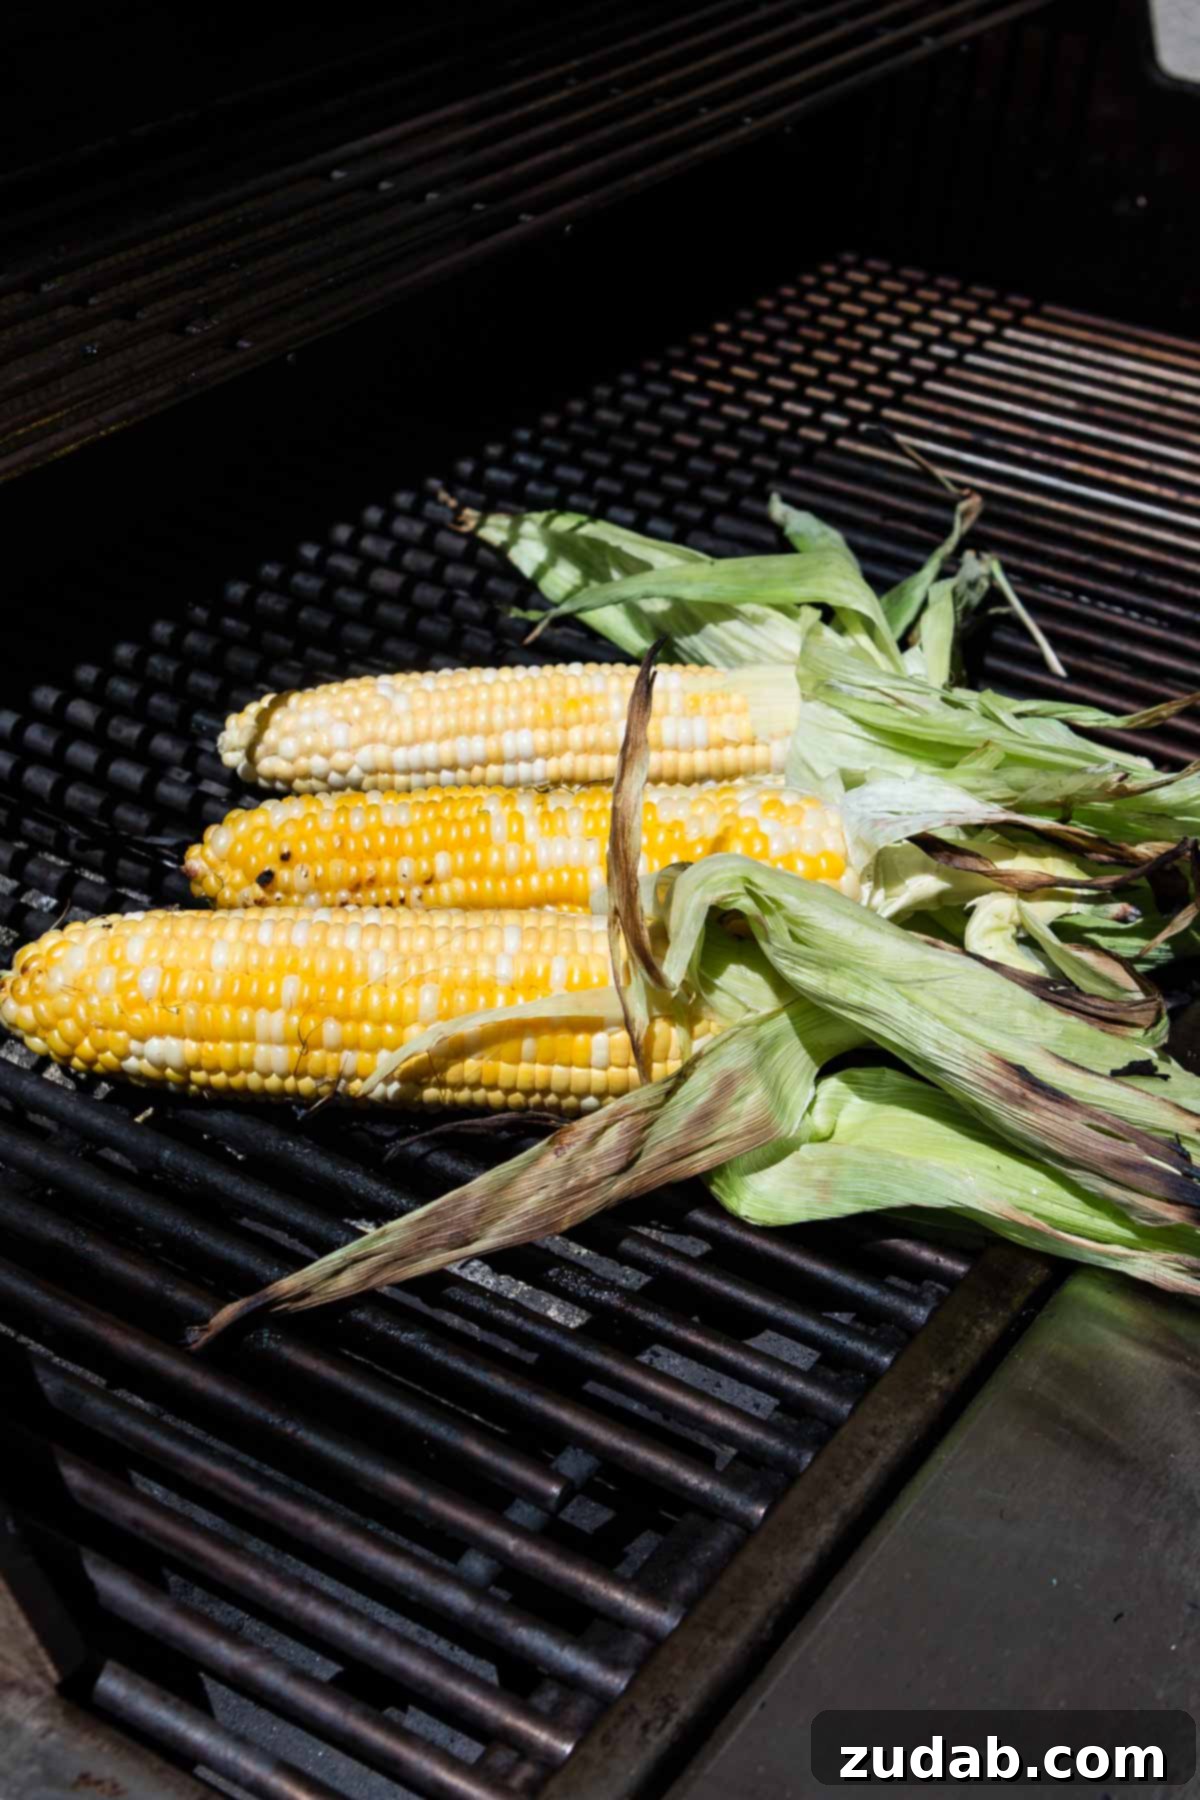
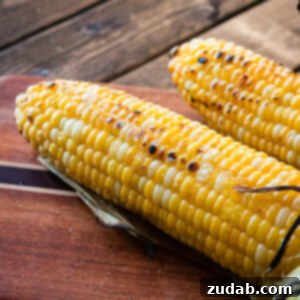
Once soaked, gently shake off any excess water from the corn ears. Preheat your grill to medium heat. Place the corn, still in its husks, directly onto the grill grates. Grill the corn for approximately 15-20 minutes, rotating each ear every 5-6 minutes. Grilling in the husks ensures that the corn steams evenly, preventing it from drying out. The husks also impart a delicate, smoky flavor. Once the corn is tender and vibrant in color (you can peek by pulling back a husk), it’s time for the next step. For those desirable char marks, peel back the husks completely, increase the grill heat to medium-high or high, and return the naked cobs to the grill. Watch closely and rotate frequently until beautiful, slightly charred grill marks appear. This usually takes just a few minutes.
Step 4: The Flavorful Finale – Seasoning Your Grilled Sweet Corn
Resist the urge to simply slather butter and plain salt on your finished corn. The final “secret” to the best grilled corn on the cob lies in its unique seasoning. In a small bowl, combine fine ground sea salt with a touch of granulated sugar. We recommend a 3:1 ratio of salt to sugar (e.g., 3 tablespoons sea salt to 1 tablespoon sugar). While the sugar won’t make the corn overtly sweet, it works wonders in balancing the flavors, enhancing the corn’s natural sweetness, and making it even more delectable. Generously slather the hot grilled corn with unsalted butter, then sprinkle it liberally with your special salt-sugar mixture. The butter will melt into the kernels, carrying the seasoning deep into the corn for an explosion of flavor.
How Long to Grill Corn: Temperature and Timing
The key to perfectly grilled corn is consistent medium heat and attentive rotation. For the initial cooking phase (in the husks), you’ll want to maintain a **medium heat** on your grill. This allows the corn to steam gently and cook through without burning the husks or drying out the kernels. The total cooking time for this stage will be approximately **15-20 minutes**. During this period, it’s essential to **rotate the corn every 5-6 minutes** to ensure even cooking on all sides. Once the corn is tender and a vibrant yellow (or white, depending on your corn type), you can then proceed to peel back the husks and, if desired, turn the grill to **medium-high or high heat** for a few extra minutes. This higher heat quickly creates those beautiful, smoky grill marks. However, be vigilant during this stage, as naked corn can char quickly. Rotate constantly to prevent burning while achieving that perfect golden-brown caramelization.
Can I Grill Corn Without the Husk? The Aluminum Foil Method
While grilling corn in the husk with the soaking method yields the most tender and flavorful results, it’s not always an option. If you find yourself at the grocery store with only husked sweet corn available, or if you simply prefer not to deal with husks, you can still achieve a delicious grilled sweet corn. The trick is to mimic the steaming effect that the husks provide. To do this, after preparing and soaking your corn (the soaking step is still crucial!), generously butter each ear and season it with your salt-sugar blend. Then, wrap each ear tightly in heavy-duty aluminum foil. Place the foil-wrapped corn directly on a medium-heat grill. The foil will create a steamy environment, effectively cooking the corn through. Grill for 15-20 minutes, rotating occasionally. Once cooked, carefully remove the foil and, if desired, return the corn to the bare grill for a few minutes on medium-high heat to get some light charring. This method ensures your corn remains moist and flavorful, even without its natural protective layer.
How Long Does Corn on the Cob Last?
Understanding the shelf life of corn is key to enjoying it at its peak freshness. Uncooked ears of corn, especially sweet corn, are best enjoyed as soon as possible after purchase, ideally within 24 hours. While they can typically be stored in the refrigerator in their husks for up to 2-3 days without significant loss of quality, the sweetness begins to convert to starch the longer it sits. For cooked corn on the cob, it’s a different story. Once grilled or boiled, corn should be consumed within a day for the best taste and texture. If stored properly in an airtight container in the refrigerator, it can last for up to 3-4 days, but it may start to lose some of its vibrant flavor and tender bite.
Creative Ways to Enjoy Grilled Corn (Beyond the Cob!)
While eating grilled corn straight off the cob is a quintessential summer experience, its versatility extends far beyond that. The smoky sweetness of grilled corn kernels can elevate a wide array of dishes. Simply slice the kernels off the cob and unleash your culinary creativity! Here are some of our favorite ways to incorporate grilled corn into various meals:
- Grilled Corn, Avocado, and Tomato Salad: A refreshing and vibrant side dish, perfect for summer potlucks.
- Grilled Corn Salad with Black Beans and Rice: A hearty and flavorful salad that can serve as a light meal or a substantial side.
- Bacon Ranch Corn Dip: A crowd-pleasing appetizer, creamy and savory with the added pop of grilled corn.
- Mexican Corn Salad (Esquites): A zesty and spicy classic, bursting with lime, chili, and cotija cheese.
- Greek Grilled Chicken and Corn Salad: A Mediterranean-inspired twist, combining protein and fresh flavors.
- Taco Topper: Add a sprinkle of grilled corn kernels to your favorite tacos for extra texture and sweetness.
- Soups and Chilis: Stir in grilled corn for a smoky depth of flavor.
- Salsas: Create a unique salsa with grilled corn, bell peppers, onions, and cilantro.
- Cornbread Enhancement: Fold grilled corn into your cornbread batter for a delightful twist.
The possibilities are truly endless! Grilled corn adds a unique dimension to almost any dish. If you have a favorite or unique way to enjoy grilled sweet corn, please share it in the comments below – we’d love to try it!
Mastering How to Freeze Corn for Extended Freshness
Before you dive into the recipe, consider a game-changer for corn lovers: learning **how to freeze corn for up to 12 months**. This method has revolutionized how many families enjoy corn year-round. Imagine savoring the taste of fresh summer corn in the dead of winter, far superior to anything you’ll find in a can! Freezing fresh corn properly preserves its flavor, texture, and nutritional value, making it a staple for any home cook. You will truly never go back to canned corn once you experience the difference of freshly frozen kernels.
For best results, we highly recommend using a food vacuum sealer. If you don’t already own one, what are you waiting for? A food saver not only prevents freezer burn but also extends the freshness of your frozen goods dramatically. Think about it: you can double a slow cooker chicken recipe, freeze half using your food saver, and reheat it months later to taste as if you just made it. It’s an absolute genius way to minimize waste, maximize convenience, and lock in freshness!
More Irresistible Corn Recipes You Are Sure to Love:
- Jalapeno Bacon Elote Mexican Grilled Corn Salad
- Cheesy Zucchini Corn Casserole
- Elote Grilled Mexican Corn Salad
- Grilled Corn, Avocado, and Tomato Salad
- Bacon Ranch Corn Dip
- Easy Elote Recipe (Mexican Grilled Corn)
- Fiesta Corn
- Cilantro Butter Corn
- Grilled Corn Salad with Black Beans and Rice
- All our SIDE DISHES here!
The Secret to the Best Grilled Corn on the Cob
Ingredients
- 6 Ears Yellow Corn, or white sweet corn
- 2 Tablespoons Kosher Salt
For the Seasoning
- 3 Tablespoons Ground Sea Salt, fine
- 3 teaspoons Sugar
- Unsalted Butter
Instructions
-
Pull the husks back on the corn, remove all silk, then fold the husks back up to cover the kernels.6 Ears Yellow Corn
-
Fill a sink with cool water and add the kosher salt. Place the prepared corn in the sink and let it soak for 10-20 minutes.2 Tablespoons Kosher Salt
-
Meanwhile, preheat your grill to medium heat. Shake any excess water off the corn and place it directly on the grill grates.
-
Grill for 15-20 minutes, rotating every five minutes, or until the corn is vibrant in color and the kernels are tender. If desired, peel back husks and grill for a few extra minutes on medium-high heat for char marks.
-
In a small bowl, mix the fine ground sea salt and sugar. Slather the hot grilled corn generously with unsalted butter and sprinkle with the salt-sugar mixture.3 Tablespoons Ground Sea Salt, 3 teaspoons Sugar, Unsalted Butter
-
Serve immediately and enjoy!
Nutrition
Nutrition information is automatically calculated, so should only be used as an approximation.