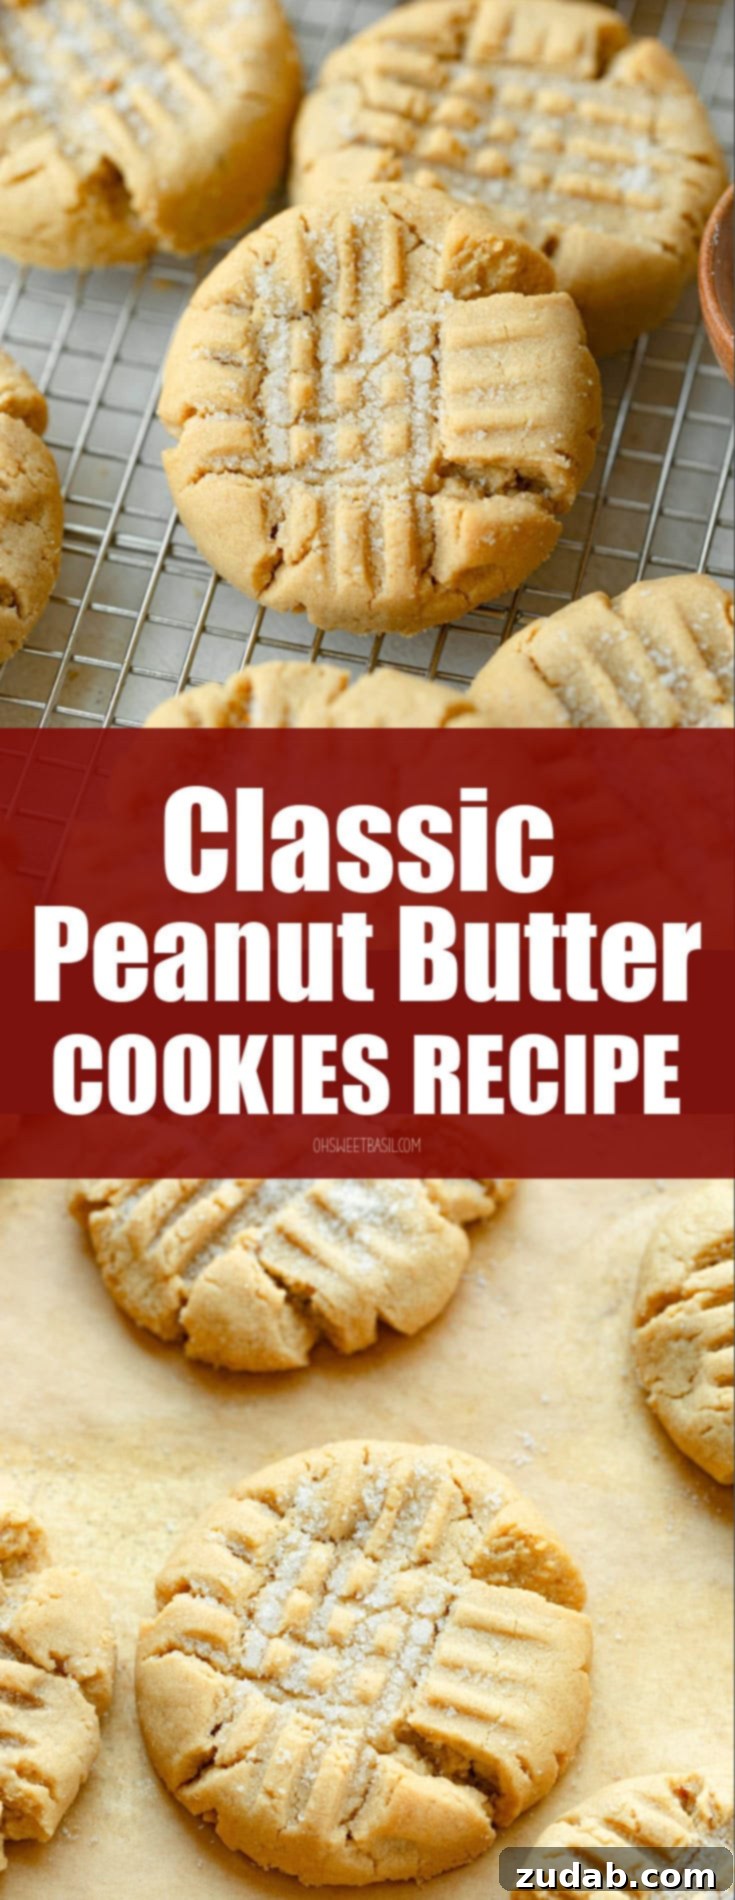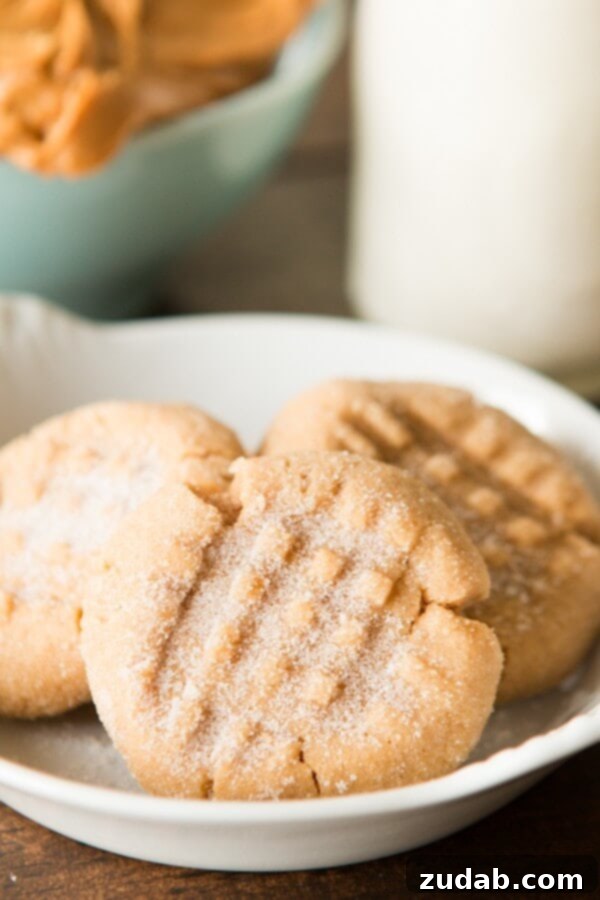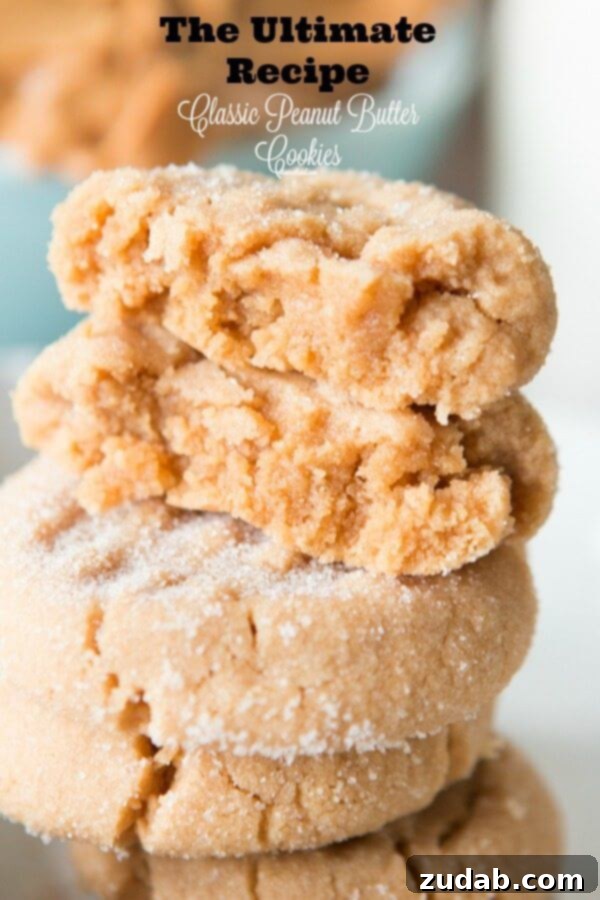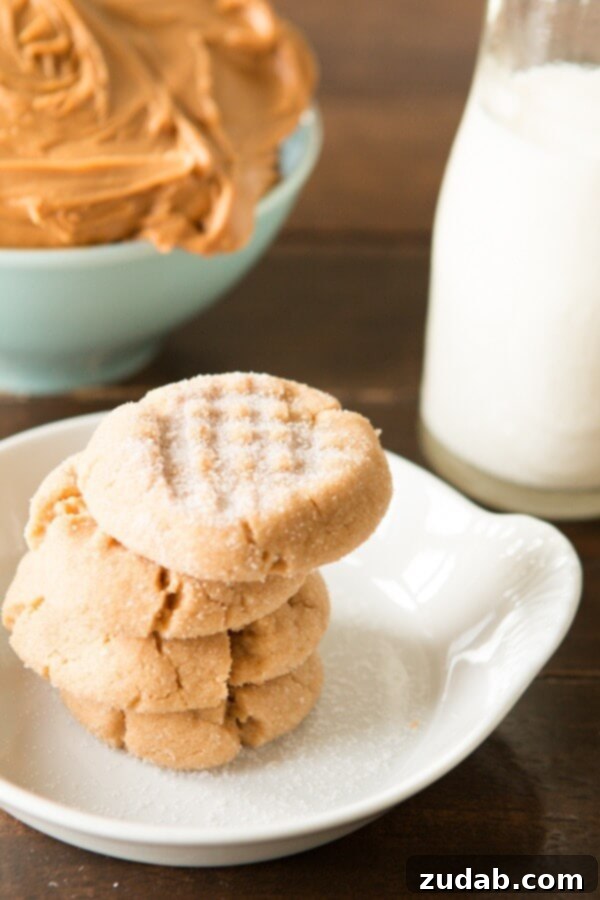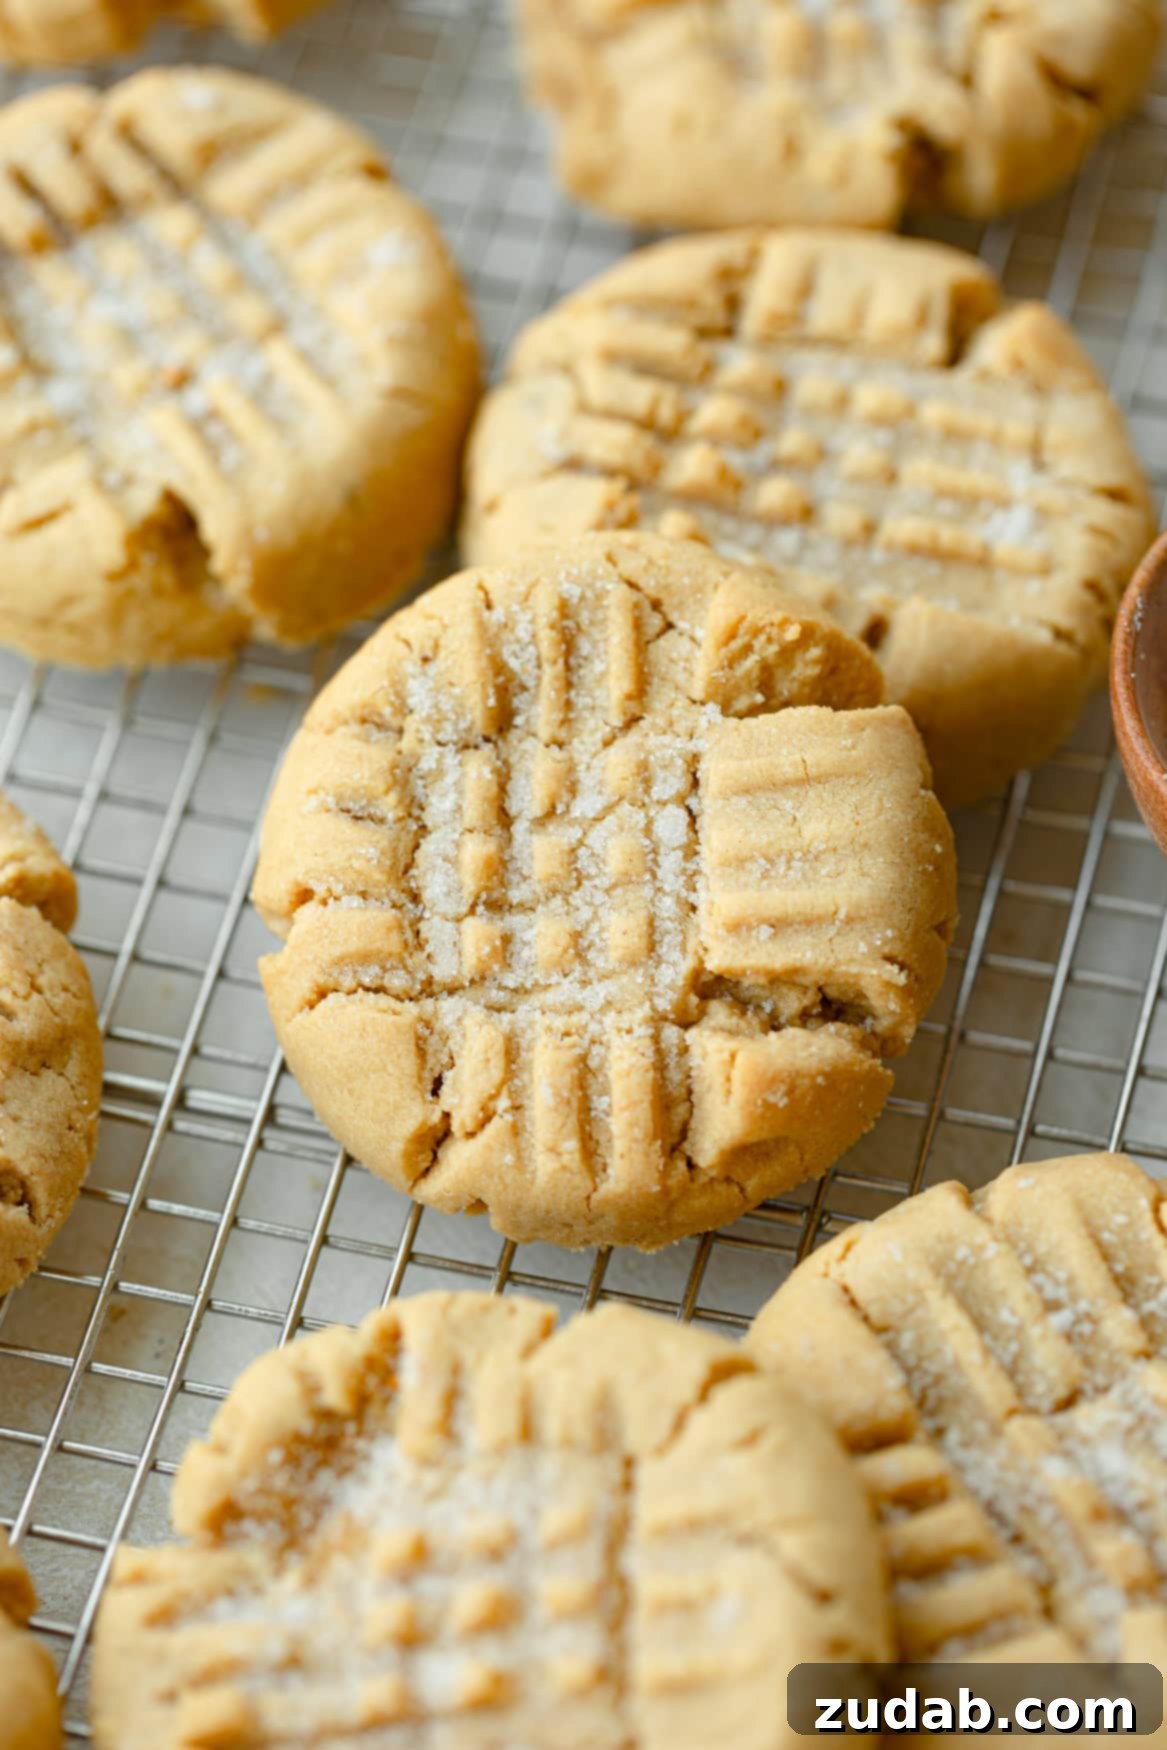
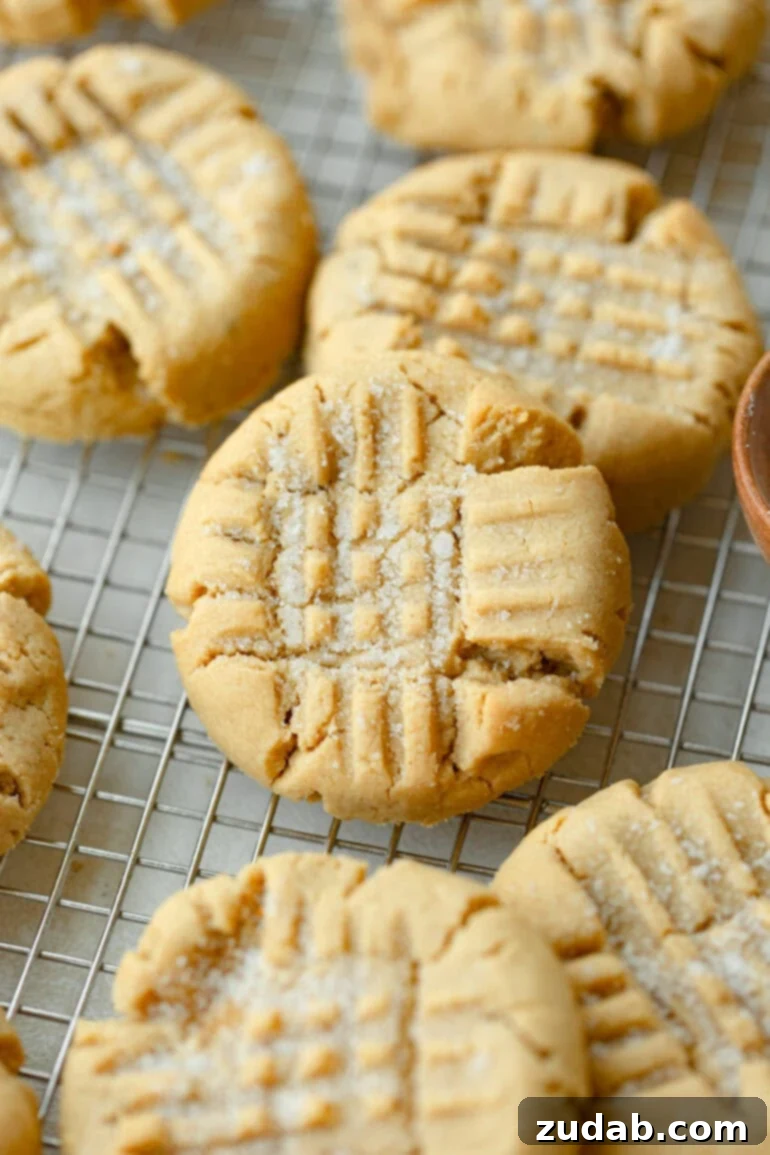
Welcome to the ultimate guide for crafting the perfect batch of **classic peanut butter cookies**! If you’ve been searching for a recipe that delivers on taste, texture, and pure nostalgic comfort, your quest ends here. These cookies are renowned for their irresistibly soft, chewy centers, rich peanut butter flavor, and those iconic criss-cross fork marks that make them instantly recognizable. They’re incredibly easy to whip up and are guaranteed to become a beloved favorite with everyone who tries them, from eager kids to seasoned cookie connoisseurs.
This particular recipe for **classic peanut butter cookies** holds a special place in my heart. As I originally penned down the steps for these delightful treats, a profound feeling swept over me – a strong inclination to dedicate this post to my parents. It’s a gentle reminder to always listen to those subtle promptings. To my incredible parents, thank you. Thank you for consistently offering your unwavering encouragement, for patiently guiding me through countless lessons, and, most importantly, for loving me unconditionally through every twist and turn of life. You instilled in me the courage to pursue any dream, to truly fly anywhere and become anything I aspired to be.
It’s remarkable how music and food possess an unparalleled ability to store and evoke memories. I might cherish a book, but often the details of where or when I read it escape me. Yet, a specific song, a particular aroma, or a unique taste can instantly transport me back in time. Suddenly, I’m in college, leading a Pilates class, or driving to a marching band practice – yes, I truly did that, haha! But seriously, the power of music and food to unlock those forgotten moments is extraordinary. I’m willing to bet that many of you have cherished memories uniquely tied to the comforting taste of **classic peanut butter cookies**.
Making Memories and Mastering the Basics in the Kitchen
As a child, with siblings significantly older than me, I often found myself longing to be “big” – to engage in all the exciting and cool activities they did. While I sometimes regret not embracing my carefree younger years more fully, I vividly recall a day when my mom was baking peanut butter cookies. She lifted me onto a stool and, to my immense delight, allowed me to help press the distinctive criss-cross pattern onto the cookie dough with a fork.
It seems like such a simple act – a fork creating a pattern on a cookie – yet it’s a memory infused with so much warmth and happiness. Today, I see that same eager desire in my own oldest daughter. It’s a constant juggle as a mother, encouraging her to revel in her childhood while simultaneously nudging her toward greater responsibility each year. It’s in these small, shared kitchen moments that I find balance: a mom enjoying simple fun alongside her daughter, while also imparting valuable life lessons and the joy of baking. These are the moments that truly shape us and strengthen family bonds.
One of the first and most fundamental lessons I pass on to her is the importance of softened butter. It’s a critical detail – not melted, which can lead to greasy, flat cookies, and certainly not cold and hard, which makes creaming impossible. The butter should be perfectly soft, yielding slightly to your touch, leaving a fingerprint. This optimal consistency is crucial because when you cream it with sugar, it traps air, resulting in a lighter, fluffier, and more tender cookie. The science of baking often begins with this simple, yet vital, step.
Beyond the butter, I emphasize that success in baking hinges on two key principles: meticulously following the recipe and precise measurement. For wet ingredients, always use a clear glass measuring cup, reading at eye level for accuracy. For dry ingredients, use standard measuring cups. And when it comes to flour, proper measurement is paramount. I always teach her the “fluff, spoon, and level” method, just as outlined in our comprehensive flour measuring tutorial. This technique ensures you don’t compact the flour, which can lead to dense, dry cookies. And of course, in the end, the fork comes out to create those signature indentations, just like my mom taught me. She was, and is, truly a wonderful mother.
Essential Ingredients for the Best Peanut Butter Cookie Recipe
While most of the ingredients for these delightful cookies are likely staples in your pantry, there’s one slightly unexpected addition that makes a world of difference in achieving that perfect soft and chewy texture. Trust me, it’s worth including! Here’s a breakdown of what you’ll need and why each component is important for creating truly exceptional peanut butter cookies:
- Unsalted Butter: Always opt for unsalted butter. This gives you complete control over the saltiness of your cookies. Crucially, make sure it’s properly softened to room temperature, allowing it to cream beautifully with the sugars for optimal aeration and a tender crumb.
- Brown Sugar: This ingredient is key for the chewiness and depth of flavor in our peanut butter cookies. Its molasses content adds moisture and a rich, caramel-like note that perfectly complements the peanut butter.
- White Granulated Sugar: You’ll use white sugar both in the cookie dough for sweetness and structure, and importantly, to roll the cookie balls in just before baking. This outer coating creates a beautiful sparkle and a slight crispness around the edges, enhancing the overall texture.
- Creamy Peanut Butter: For the best results, stick with creamy, commercial brands like Jif or Skippy. These types of peanut butter have a consistent texture and fat content that is ideal for baking. Avoid natural peanut butter, as its tendency to separate oils can lead to a crumbly or greasy cookie texture.
- Large Egg: The egg acts as a binder, providing essential structure to the cookies and helping all the ingredients emulsify smoothly. It also contributes to moisture and richness.
- Vanilla Extract: A classic flavor enhancer in almost any cookie recipe, vanilla extract deepens and rounds out the sweet and nutty notes of the peanut butter. Don’t skip it!
- Milk: A small amount of milk provides just a touch of extra moisture, helping to keep the cookies wonderfully soft and preventing them from becoming dry. Whole milk is generally preferred for richness.
- All-Purpose Flour: Standard all-purpose flour forms the base of our cookie dough. Remember the importance of measuring it correctly (fluff, spoon, and level) to avoid dense cookies.
- Cornaby’s EZ Gel (or Cornstarch): This is our secret weapon! Cornaby’s EZ Gel, a modified food starch, is fantastic for adding an unparalleled tenderness and chewiness to baked goods. If you don’t have it, regular cornstarch is an excellent substitute and will provide a similar, though perhaps slightly less pronounced, effect (see recipe card for specific substitution details). This ingredient truly elevates the texture of these cookies.
- Salt: A pinch of salt is crucial for balancing the sweetness and intensifying the rich, savory flavor of the peanut butter. It brings out the best in all the other ingredients.
- Baking Soda: This leavening agent reacts with the acidic components (like brown sugar) in the dough, creating carbon dioxide bubbles that give the cookies their characteristic rise and light, fluffy texture.
The exact measurements for all these ingredients, along with detailed instructions, can be conveniently found in the comprehensive recipe card located further down the page. You’ll also have the option to print or save the recipe there for future baking adventures.
Crafting Perfection: How to Make Irresistible Peanut Butter Cookies
Making these classic peanut butter cookies is a straightforward process, even for beginner bakers. Follow these steps to ensure a batch of perfectly soft, chewy, and flavorful cookies every time:
- Prepare Your Baking Environment: Begin by preheating your oven to 350 degrees F (175 degrees C). This ensures the oven is at the correct temperature for even baking from the moment your cookies go in. Line two standard baking sheets with parchment paper or silicone baking mats. This prevents sticking and makes cleanup a breeze.
- Cream the Wet Ingredients (Part 1): In the large bowl of a stand mixer fitted with the paddle attachment (or using a hand mixer), combine the softened butter with both the brown sugar and white sugar. Cream these together on medium speed for about 1 minute, then increase the speed to medium-high for an additional 30 seconds.
- PRO TIP: This initial vigorous creaming is vital. It forces air into the butter and sugar mixture, creating a light and fluffy base. This aeration is what contributes to the tender, melt-in-your-mouth texture of the finished cookies.
- Incorporate the Peanut Butter: Add the creamy peanut butter to the butter-sugar mixture. Mix again for another 30 seconds, or until fully incorporated and smooth. Scrape down the sides of the bowl as needed to ensure everything is evenly combined.
- Add Remaining Wet Ingredients: Next, add the egg, vanilla extract, and milk to the bowl. Mix on medium speed until the mixture is smooth and well-combined. Do not overmix at this stage; just enough to bring it together.
- Whisk the Dry Ingredients: In a separate, large bowl, combine all the dry ingredients: all-purpose flour, Cornaby’s EZ Gel (or cornstarch), salt, and baking soda. Whisk them together thoroughly. This step ensures that the leavening agents and salt are evenly distributed throughout the flour, preventing pockets of unmixed ingredients in your cookies.
- Combine Wet and Dry Mixtures: Gradually add the whisked dry ingredients to the wet ingredients in the stand mixer. Mix on low speed until just combined.
- IMPORTANT: Be careful not to overmix the dough once the flour is added. Overmixing develops the gluten in the flour, which can lead to tough, dry cookies. Stop mixing as soon as no streaks of dry flour remain.
- Shape and Sugar the Dough: Using a cookie scoop (or your hands), form the cookie dough into uniform balls, approximately 1.5 to 2 tablespoons in size. Roll each dough ball generously in granulated sugar, ensuring it’s coated on all sides. This sugar coating adds a delightful sweetness and a slight crisp texture to the exterior of the cookie.
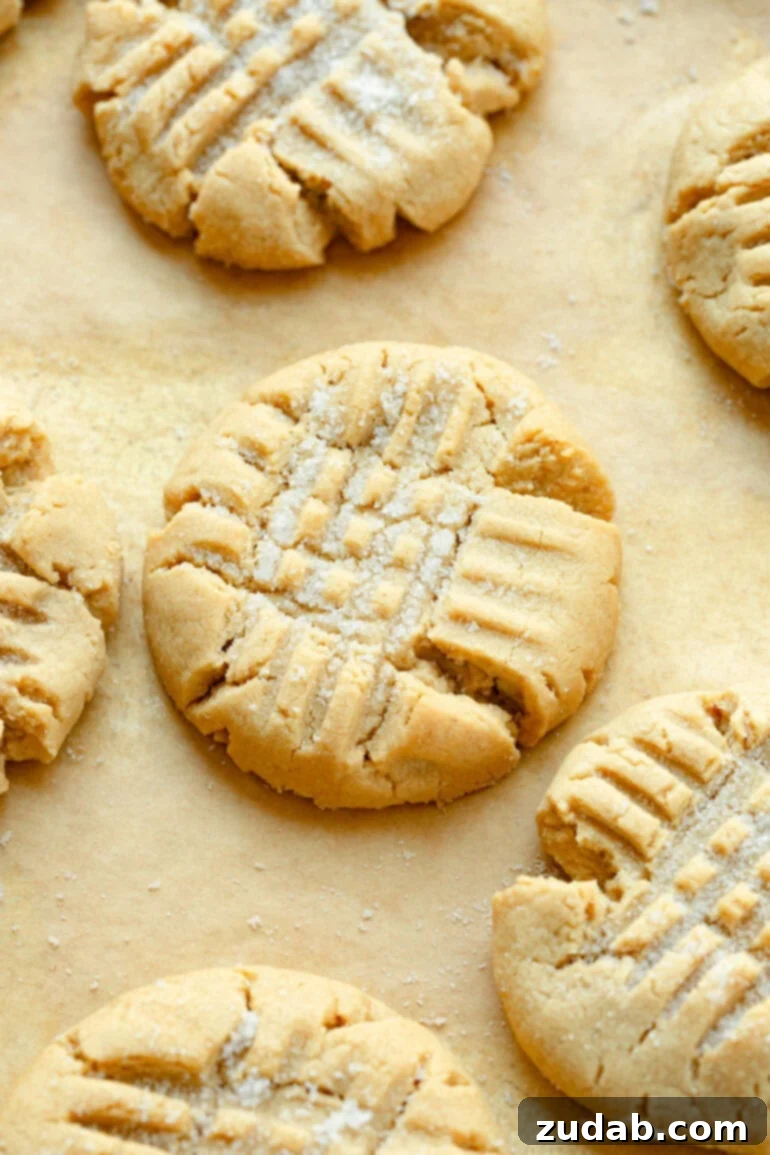
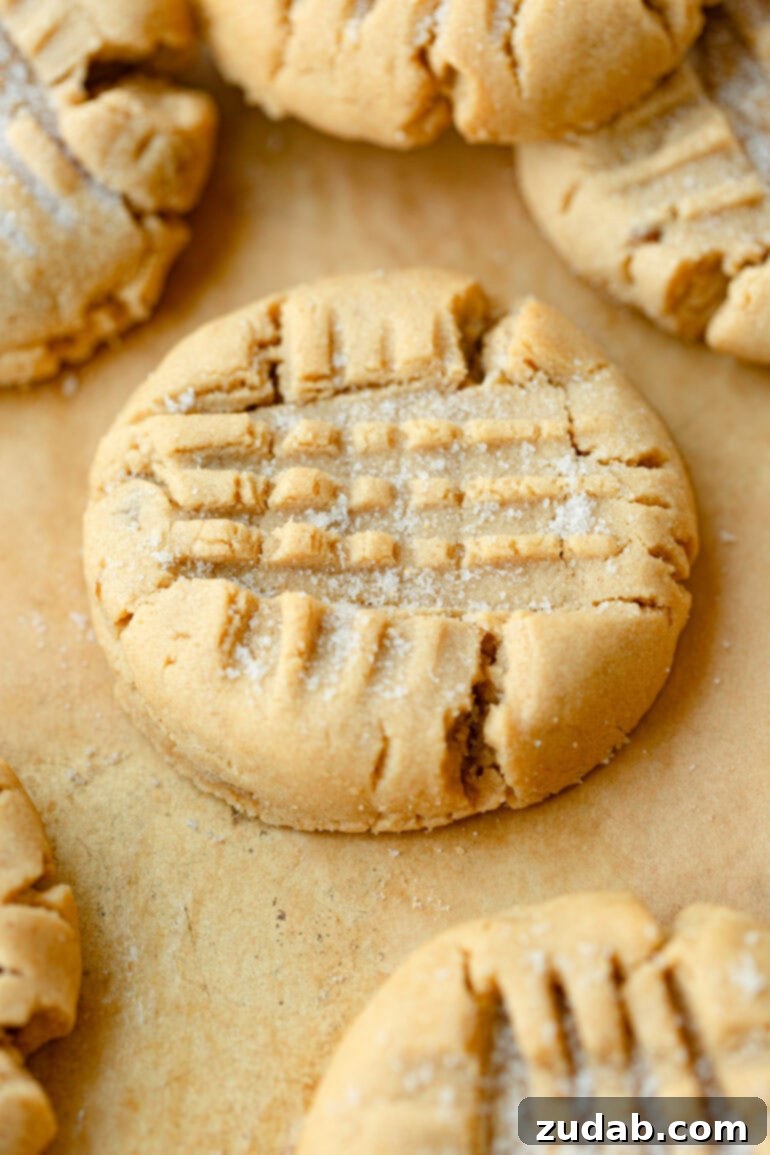
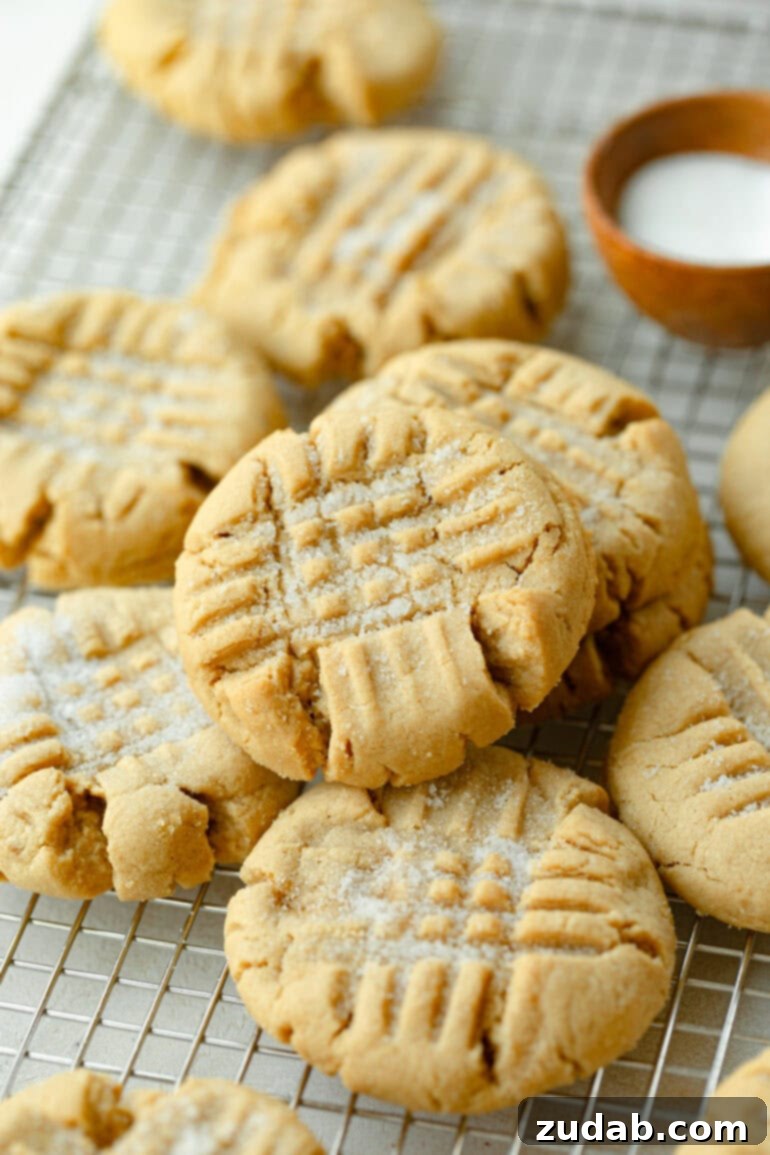
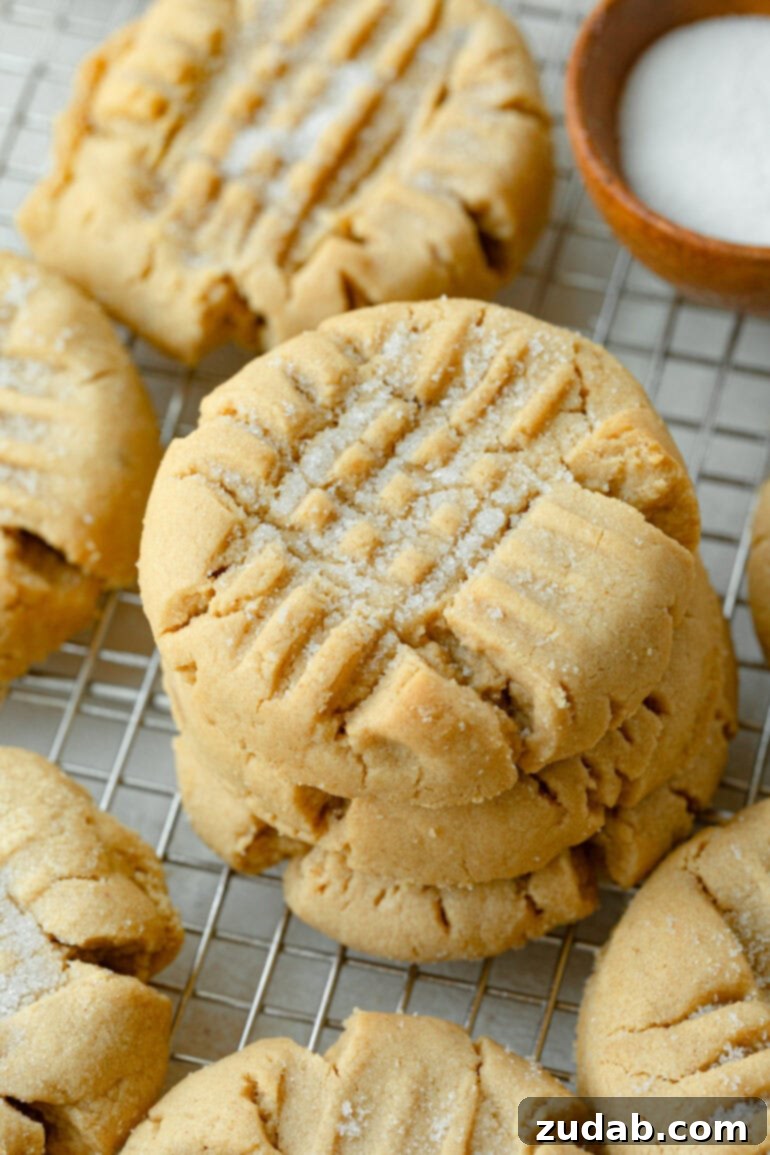
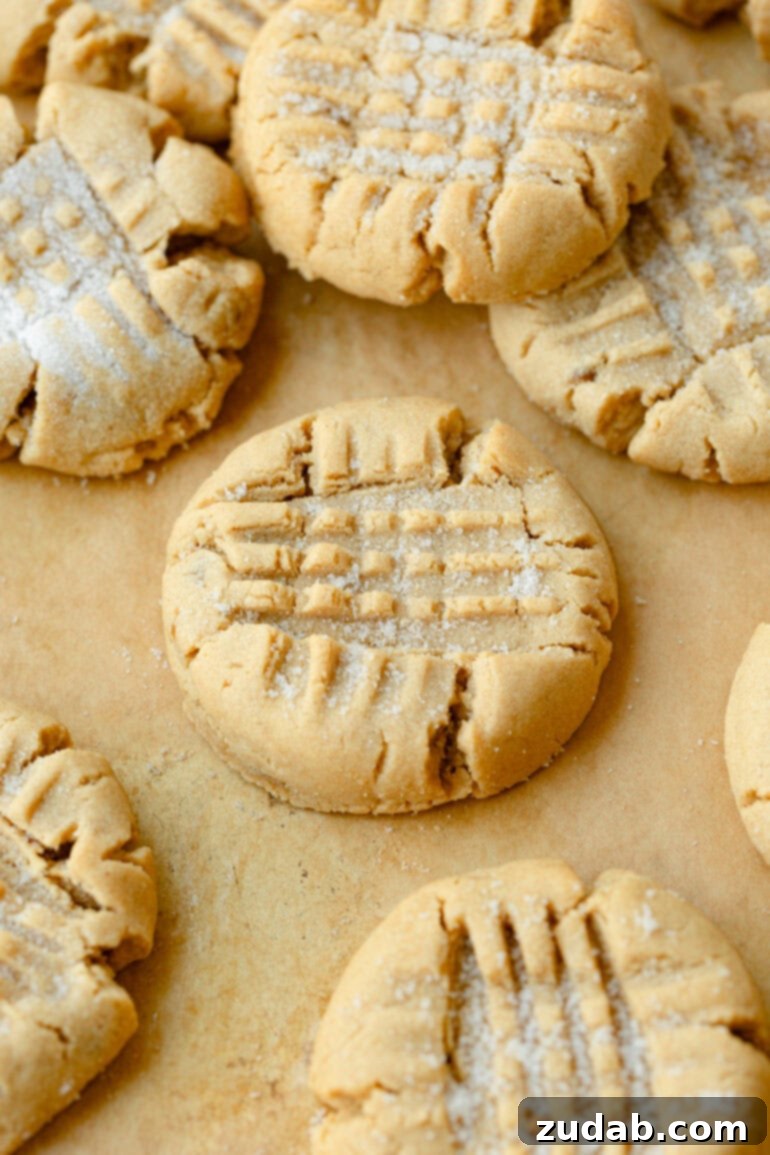
- Create the Classic Criss-Cross Pattern: Place the sugared cookie dough balls onto your prepared baking sheets, leaving about 2 inches between each. Gently press the top of each dough ball with the tines of a fork, then lift the fork and press again in the opposite direction, creating the classic criss-cross pattern.
- NOTE: This traditional criss-cross pattern is more than just decorative. Peanut butter cookie dough is typically richer in fat and tends to spread less than other cookie doughs. This gentle flattening with a fork helps the cookies spread more evenly during baking, ensuring a consistent texture and shape.
- Bake to Golden Perfection: Bake the cookies in your preheated oven for 8-10 minutes. Look for edges that are lightly golden brown, but the centers should still appear soft and slightly underbaked. This ensures a soft and chewy interior.
- Cool and Enjoy: Once baked, remove the baking sheets from the oven and let the cookies cool on the sheets for 2-3 minutes. They will continue to set during this time. Then, carefully transfer the warm cookies to a wire cooling rack to cool completely. Enjoy these warm, comforting treats with a glass of milk!
For your convenience, all of these detailed instructions, along with ingredient quantities and helpful tips, are also compiled in the printable recipe card at the very end of this post.
Frequently Asked Questions About Peanut Butter Cookies
Is Peanut Butter Good for You?
Peanut butter is often seen as a healthy food, and it does indeed offer several nutritional benefits. It is notably high in healthy fats, which contribute to its calorie density. However, these fats are primarily monounsaturated and polyunsaturated, which are beneficial for heart health when consumed in moderation.
Beyond fats, peanut butter is a good source of protein, essential for muscle repair and growth, and dietary fiber, which aids digestion and promotes satiety. It also contains various vitamins and minerals, including Vitamin E, B vitamins, magnesium, and potassium. So, while its high calorie content means portion control is key, incorporating small amounts of pure peanut butter into a balanced diet can certainly be a healthful choice, even for those on a weight-loss journey.
Can Peanut Butter Cookie Dough be Frozen?
Absolutely! Freezing peanut butter cookie dough is an excellent way to prepare ahead or ensure you always have fresh-baked cookies on hand. There are a couple of methods you can use:
- Frozen Dough Balls: Roll the cookie dough into individual balls as instructed in the recipe. Then, place them on a parchment-lined baking sheet and freeze until solid (about 1-2 hours). Once frozen, transfer the solid dough balls to heavy-duty freezer bags or an airtight container. They will keep well for up to 3 months. When ready to bake, you can thaw them in the refrigerator overnight, or bake directly from frozen, adding a couple of extra minutes to the baking time. Remember to make the criss-cross marks on top once thawed or just before baking if baking from frozen.
- Frozen Dough Discs: For larger batches or if you prefer to portion later, you can shape the dough into a disc, wrap it tightly in plastic wrap, and then place it in a freezer bag. When you’re ready to bake, thaw the disc completely in the refrigerator, then roll into balls, make the criss-cross pattern, and bake as usual.
What Can You Substitute For Brown Sugar?
If you find yourself without brown sugar, you do have a couple of viable options, though they might slightly alter the final texture and flavor of your peanut butter cookies:
- White Granulated Sugar: You can use an equal amount of white granulated sugar as a direct substitute for brown sugar. The cookies will still be delicious, but you might notice a slight difference in texture. They may be a bit crispier and less chewy, as brown sugar contributes more moisture and softness due to its molasses content.
- Homemade Brown Sugar: For a closer match, you can easily make your own brown sugar by combining white granulated sugar with molasses or maple syrup. For every 1 cup of brown sugar needed, mix 1 cup of white sugar with 1 tablespoon of molasses or dark maple syrup. If your recipe calls for dark brown sugar, increase the molasses or maple syrup to 2 tablespoons per 1 cup of white sugar. The molasses will add back that characteristic moisture and depth of flavor that is so essential for chewy peanut butter cookies.
Expert Tips for the Best Peanut Butter Cookie Recipe Every Time
Achieving that perfect balance of soft, chewy, and rich flavor in your peanut butter cookies is easier than you think when you follow a few key guidelines:
- Measure Flour with Precision: This is perhaps the most critical tip for any cookie recipe. Adding too much flour is a common mistake that leads to dry, crumbly, and tough cookies. Always use the “fluff, spoon, and level” method: gently fluff your flour in its container, then spoon it lightly into your measuring cup until overflowing, and finally, level off the excess with a straight edge (like a knife). Avoid scooping directly with the measuring cup, as this compacts the flour.
- Avoid Overmixing the Dough: Once you add the dry ingredients to the wet, mix only until just combined. Overmixing develops the gluten in the flour, making the cookies dense and tough rather than tender and chewy. Stop mixing as soon as you no longer see streaks of dry flour.
- Utilize a Cookie Scoop for Uniformity: For consistent baking and beautiful presentation, a cookie scoop is your best friend. Scooping uniform balls of dough ensures that all your cookies bake evenly at the same rate, preventing some from being underbaked while others are overbaked. It also makes the process much faster and cleaner!
- Do Not Overbake Your Cookies: Overbaking is the quickest way to turn a perfectly soft and chewy cookie into a hard, dry puck. Peanut butter cookies should be removed from the oven when their edges are lightly golden brown, but their centers still appear slightly soft or even a little underdone. They will continue to bake and set as they cool on the hot baking sheet.
- Bring Ingredients to Room Temperature: Ensure your butter and eggs are at room temperature before you start mixing. Room temperature butter creams more easily with sugar, incorporating more air, which leads to a lighter texture. Room temperature eggs emulsify better with the other ingredients, creating a smoother, more cohesive dough.
- Allow for Proper Cooling: After baking, let the cookies cool on the hot baking sheet for 2-3 minutes. This allows them to firm up slightly without overbaking. Then, transfer them to a wire cooling rack to cool completely. Cooling on a rack allows air to circulate around the cookies, preventing them from becoming soggy.
Storage Tips for Peak Freshness
To keep your delicious peanut butter cookies tasting fresh for as long as possible, proper storage is key:
- Room Temperature Storage: Once completely cooled, store leftover cookies in an airtight container at room temperature. They will remain soft and chewy for 3-5 days. For extra freshness, you can place a slice of bread in the container with the cookies; the cookies will absorb moisture from the bread, helping them stay soft.
- Refrigerator Storage: If you prefer, cookies can also be stored in an airtight container in the refrigerator for up to a week. Be aware that refrigeration can sometimes alter the texture slightly, making them a bit firmer. Allow them to come to room temperature or warm briefly in the microwave for a softer bite.
- Freezing Baked Cookies: To freeze baked cookies, ensure they are completely cool. Place them in a single layer on a baking sheet and freeze until solid. Once frozen, transfer them to a freezer-safe bag or airtight container, separating layers with parchment paper to prevent sticking. They will keep well for up to 3 months. Thaw at room temperature or warm slightly before serving.
Indulge in the timeless appeal of homemade treats with this simple and truly the **best peanut butter cookie recipe**. These cookies offer that perfect combination of creamy peanut butter and sweet, tender goodness, making them ideal for any occasion – from casual family snacks to impressive dessert spreads.
More Delicious Cookie Recipes to Try:
- Levain Bakery Thick Chocolate Chip Cookie Recipe
- White Chocolate Raspberry Cookies
- M&M Chocolate Chip Cookies
- Thick Snickerdoodle Cookies
- Oatmeal Chocolate Chip Raisin Cookies
- Copycat Lofthouse Sugar Cookies
Classic Peanut Butter Cookies
Ingredients
- 1/2 Cup Butter, softened
- 3/4 Cup Brown Sugar
- 1/4 Cup White Sugar
- 3/4 Cup Peanut Butter
- 1 Large Egg
- 1 teaspoon Vanilla
- 1 Tablespoon Milk, optional
- 1 ⅓ Cups All Purpose Flour, make sure you [measure in this way]
- 2 teaspoons Cornaby’s EZ Gel, see note
- 1/4 teaspoon Salt
- 1/2 teaspoon Baking Soda
- 1/2 Cup Sugar, for sprinkling on top
Instructions
-
Preheat the oven to 350 degrees F and line 2 baking sheets with parchment or silpat liners.
-
In the bowl of a standing mixer, mix the butter and sugars for 1 minute on medium speed, increase to medium high for an additional 30 seconds.1/2 Cup Butter, 3/4 Cup Brown Sugar, 1/4 Cup White Sugar
-
Add the peanut butter and mix another 30 seconds.3/4 Cup Peanut Butter
-
This allows the sugars and butter to beat against the bowl, incorporating more air for a lighter, fluffier cookie.
-
Add the egg, vanilla and milk and mix until smooth.1 Large Egg, 1 teaspoon Vanilla, 1 Tablespoon Milk
-
In a separate bowl, whisk the flour, salt, EZ gel and soda.1 ⅓ Cups All Purpose Flour, 1/4 teaspoon Salt, 1/2 teaspoon Baking Soda, 2 teaspoons Cornaby’s EZ Gel
-
Add to the wet ingredients and mix until smooth.
-
Roll the peanut butter dough into balls and roll in the sugar.1/2 Cup Sugar
-
Use a fork to gently press into the dough and then lift and repeat going the opposite direction.
-
Bake for 8-10 minutes.
Recipe Notes
To freeze baked cookies: cool completely, place in a single layer on a cookie sheet and freeze until solid. When frozen, transfer to a freezer bag for up to 3 months.
Nutrition
Nutrition information is automatically calculated, so should only be used as an approximation.