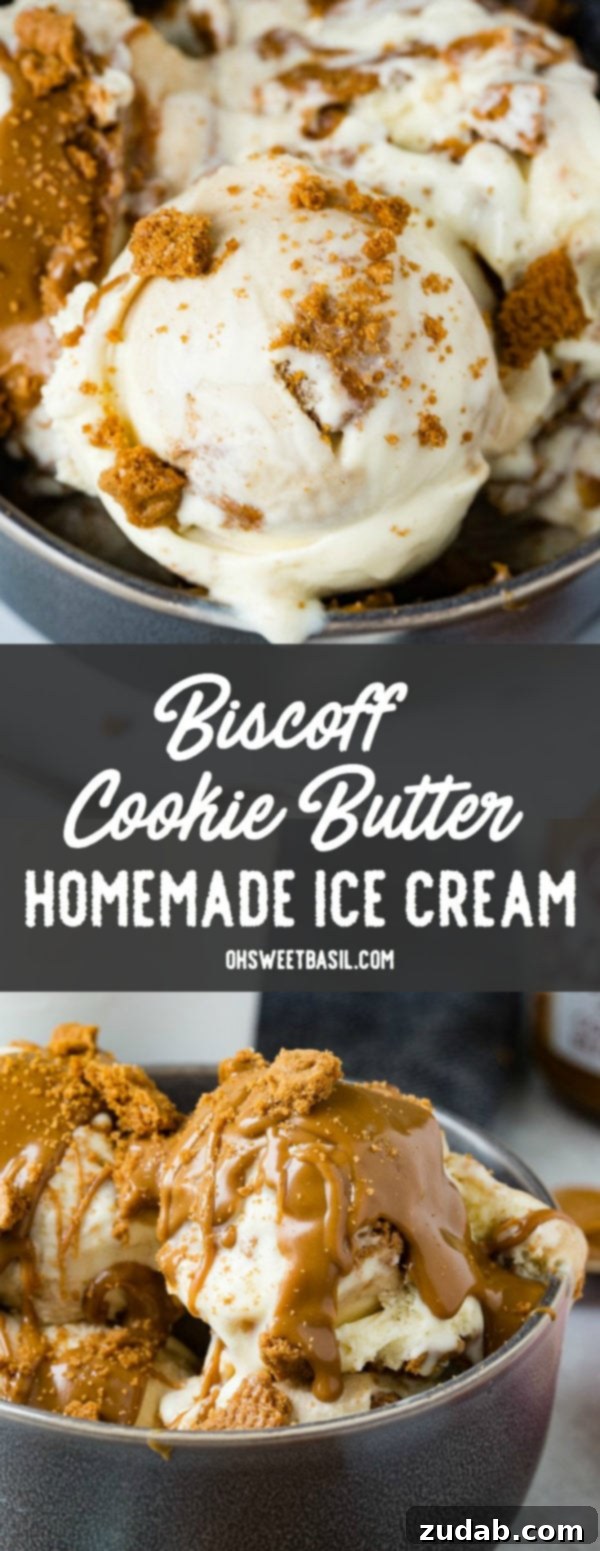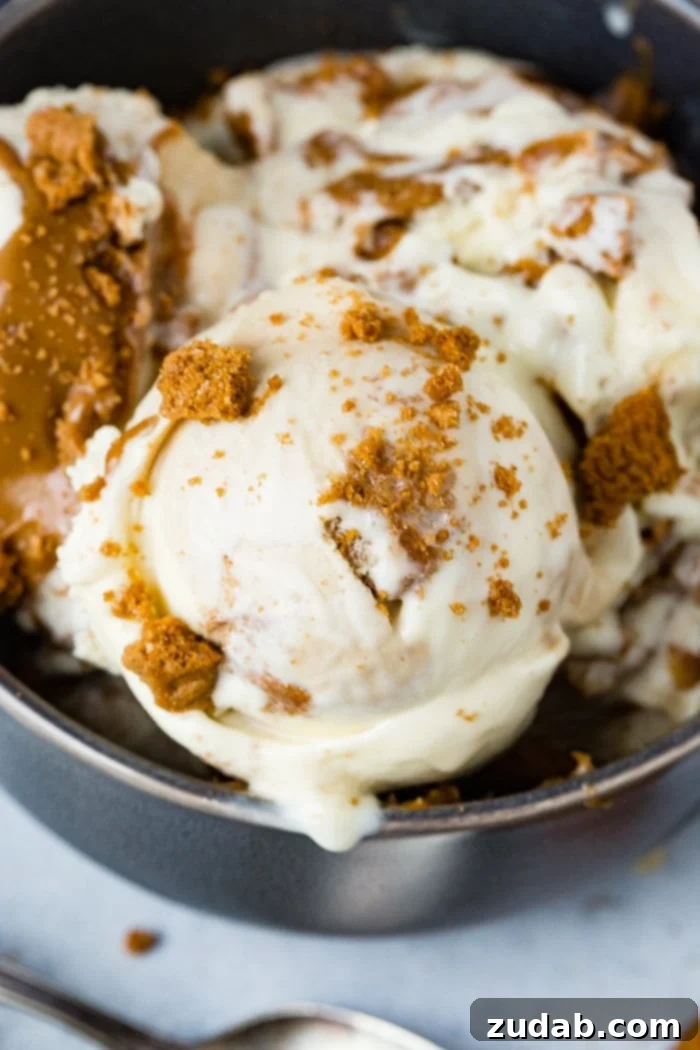
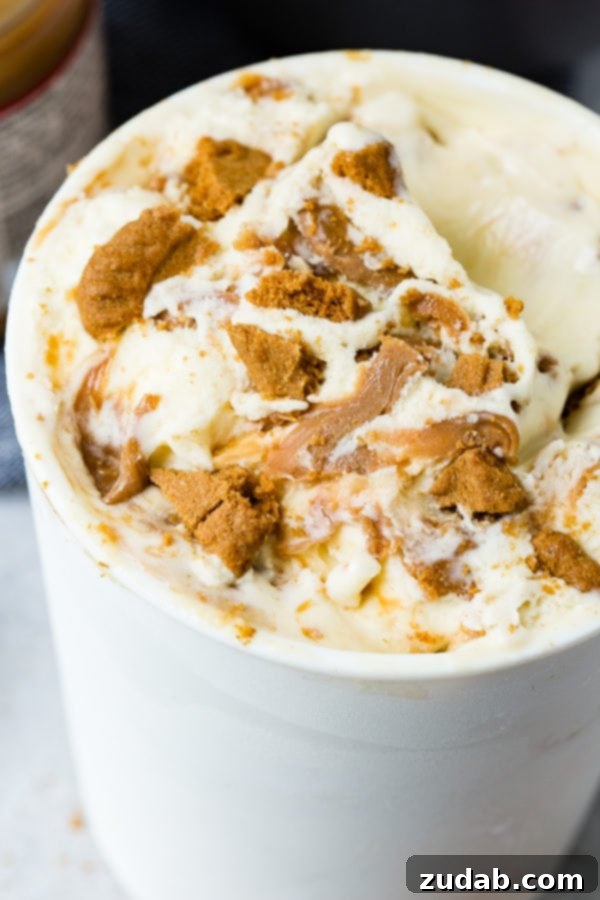
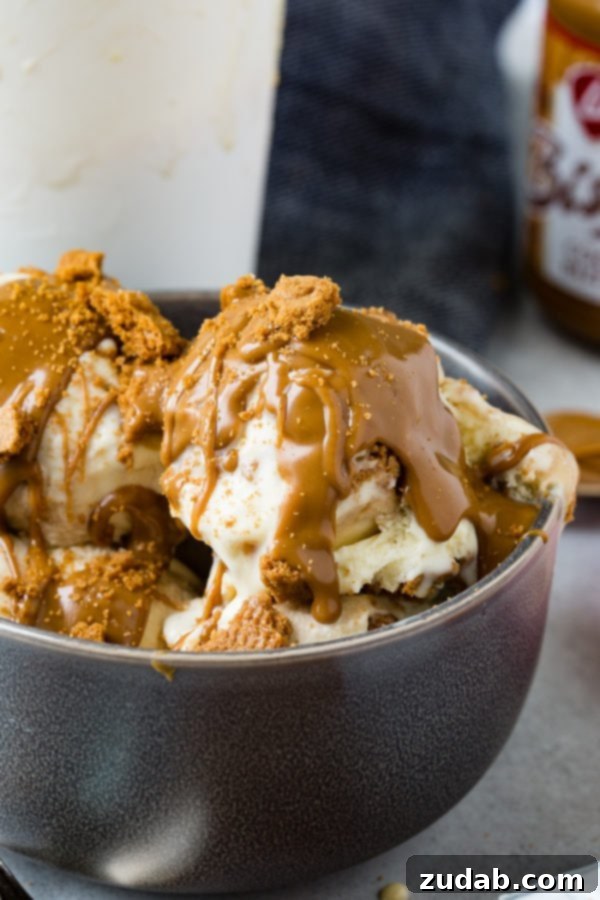
Indulge in a truly decadent treat: **Biscoff Cookie Butter Homemade Ice Cream**! Imagine scoops of rich, velvety **vanilla ice cream**, generously swirled with luscious **cookie butter** and studded with irresistible **Biscoff cookie crumbles**. This isn’t just ice cream; it’s a sensory experience that will captivate your taste buds from the first spoonful. Our household is absolutely smitten with this creation, and we’re certain you will be too.
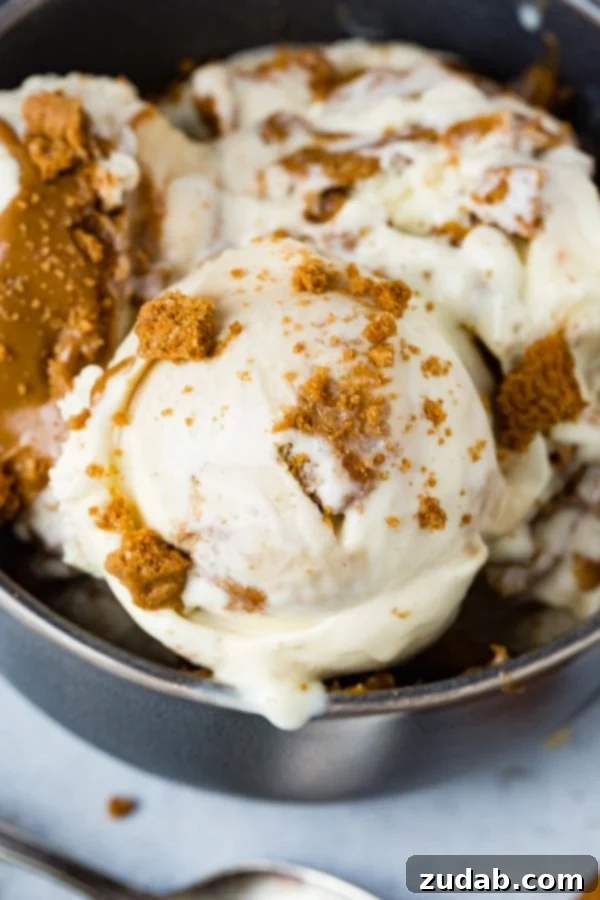
While we strive to maintain a balanced and healthy lifestyle throughout the week, weekends are reserved for life’s delightful indulgences. For us, nothing quite signals the arrival of the weekend like a scoop (or three!) of homemade ice cream. There’s a certain magic that surrounds a batch of freshly churned ice cream, offering unparalleled freshness and a depth of flavor that store-bought varieties simply can’t match. It’s the quintessential summer dessert, a creamy dream that brings smiles and pure joy.
Our passion for **Biscoff** runs deep, and we’re always seeking new and exciting ways to incorporate its unique flavor into our culinary repertoire. Have you had the pleasure of trying our beloved Biscoff banana bread or our delightfully chewy Biscoff Rice Krispies? They are, quite simply, amazing. So, when the idea struck to infuse the distinct taste of **Biscoff cookies** into creamy homemade ice cream, it felt not just logical, but almost like an epiphany. Why did it take us so long to discover this incredible combination? The result is so profoundly delicious, it makes you wonder how you ever lived without it!
What Exactly is Biscoff? Exploring its Unique Flavor Profile
For those unfamiliar, **Biscoff cookies**, also known as speculoos, are wonderfully crisp, spiced shortbread biscuits originating from Belgium. Their signature flavor is a harmonious blend of warm, inviting brown sugar and aromatic cinnamon, often with subtle notes of other spices like nutmeg, ginger, and cloves. The dough is traditionally quite stiff, rolled out incredibly thin, and then cut into distinctive shapes before being baked to a perfect golden crispness. This unique texture is what makes them so ideal for crumbling into desserts like our homemade ice cream – they add a delightful crunch and an explosion of spiced sweetness that elevates every bite.
Unpacking the Deliciousness of Cookie Butter
**Cookie butter** is a truly ingenious spread that boasts a texture remarkably similar to classic peanut or almond butter. However, its defining characteristic is that it’s made from finely ground **speculoos cookies**, blended with a careful combination of fats, flour, and sugar. Given that Biscoff cookies are a popular brand of speculoos, Biscoff cookie butter is arguably the most well-known variety. This creamy, spreadable delight offers the same comforting, spiced flavor profile as the cookies themselves, making it an incredibly versatile ingredient. What’s more, it’s entirely nut-free, offering a delicious alternative for those with nut allergies. In our Biscoff ice cream recipe, we generously dollop it throughout the finished vanilla base, swirling it in to create ribbons of pure, spiced cookie bliss that enhance the overall flavor profile significantly.
Where to Find Biscoff Cookies and Cookie Butter
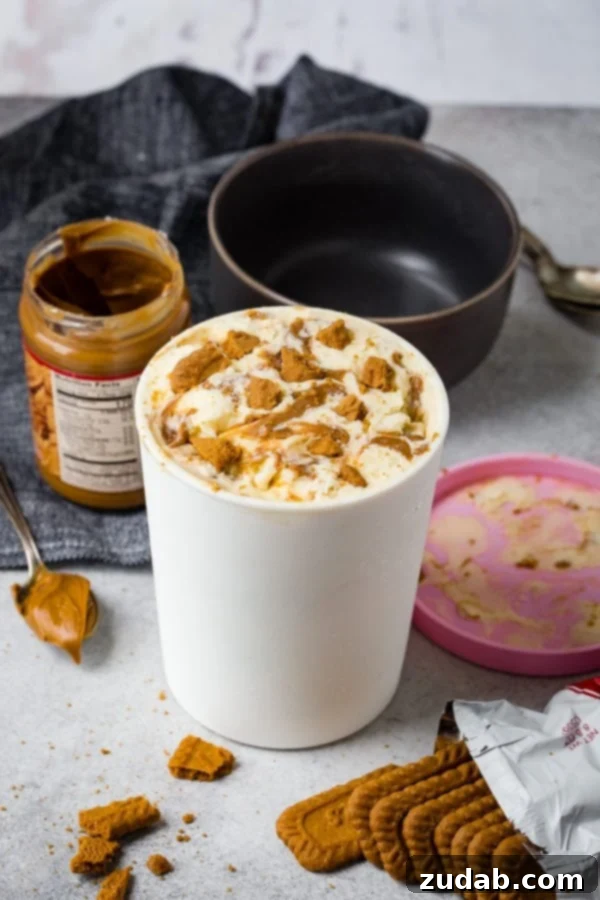
Good news for Biscoff enthusiasts! Both **Biscoff cookies** and **cookie butter** have become widely available in recent years. You can typically find them at most major grocery stores across the country. Check the cookie aisle or the international foods section at retailers like Target, Walmart, Smith’s, and Trader Joe’s. They aren’t hidden in some obscure corner; you’ll usually spot them right alongside other popular cookies and spreads. If you can’t find them locally, many online retailers also offer a wide selection, making it easier than ever to get your hands on these delightful ingredients.
Crafting the Perfect Biscoff Homemade Ice Cream: A Step-by-Step Guide
Making homemade ice cream might seem like a daunting task, especially when we’re so accustomed to picking our favorite flavors right off the freezer aisle. However, we’re here to tell you that creating your own ice cream at home is surprisingly simple and yields results that are, without exaggeration, far superior to most store-bought options. Think of it like baking cookies from scratch; homemade just has that undeniable edge. (Unless, of course, we’re talking about Tillamook ice cream – that’s a close second, but I’m admittedly biased about all things Tillamook, so I’ll rein myself in before I get too carried away!) Let’s dive into the essential steps to create this exceptionally rich and creamy Biscoff ice cream:
- Embrace the Fat for Ultimate Creaminess: The foundation of truly luxurious ice cream lies in its fat content. For this recipe, you’ll want to use both heavy cream and half-and-half. The higher the fat content, the smoother, richer, and more scoopable your ice cream will be. Fat prevents the formation of large ice crystals, which can make ice cream feel icy or grainy. If absolutely necessary, you can substitute whole milk for the half-and-half, but avoid going any lower in fat, as it will significantly compromise the texture.
- Sweeten and Infuse Flavor: Combine the sugar and vanilla extract with your cream and half-and-half in a sturdy saucepan. Gently warm this mixture over medium-low heat. Stir occasionally to ensure the sugar dissolves completely and the flavors meld. It’s crucial not to let the mixture come to a rolling boil; you’re simply aiming for a warm, fragrant liquid that’s ready for the next step.
- The Custard Base: Eggs for Richness and Texture: While your cream mixture is warming, dedicate some vigorous whisking to your egg yolks in a separate bowl. Continue whisking until they become notably pale yellow and slightly thickened. These whisked eggs are the secret to a soft, silky, and incredibly creamy ice cream texture, forming what’s known as a custard base. To prevent the eggs from scrambling when added to the warm cream, you’ll need to “temper” them. Slowly ladle a few tablespoons of the warm cream mixture into your whisked egg yolks, continuously whisking as you do so. This gradually raises the temperature of the eggs without cooking them too quickly. Once tempered, slowly pour the egg yolk mixture back into the saucepan with the remaining warm cream. Heat everything together, stirring constantly with a wooden spoon, until the mixture thickens enough to coat the back of the spoon. When you draw your finger across the spoon and it leaves a clear trail, you know it’s ready. Again, remember the golden rule: do NOT let it boil, as this will curdle the eggs.
Pro Tip: For absolute precision and to ensure your custard doesn’t overcook, we highly recommend using a candy thermometer. Aim to keep the cream and egg mixture temperature below 160 degrees Fahrenheit (71 degrees Celsius).
Bringing it All Together: The Final Steps to Biscoff Homemade Ice Cream Perfection
Once your rich custard base is prepared, it’s time for the crucial chilling phase. Transfer the mixture to an airtight container and refrigerate it for several hours, or ideally, overnight. This prolonged chilling is vital as it allows the flavors to deepen and ensures the mixture is thoroughly cold, which is essential for your ice cream maker to churn properly and achieve the desired creamy consistency. Before pouring the chilled custard into your ice cream maker, give it one final vigorous whisk to ensure everything is perfectly combined and smooth. Then, follow your specific ice cream maker’s instructions for churning. Most standard home ice cream makers will churn the mixture into a soft-serve consistency within 20-30 minutes.
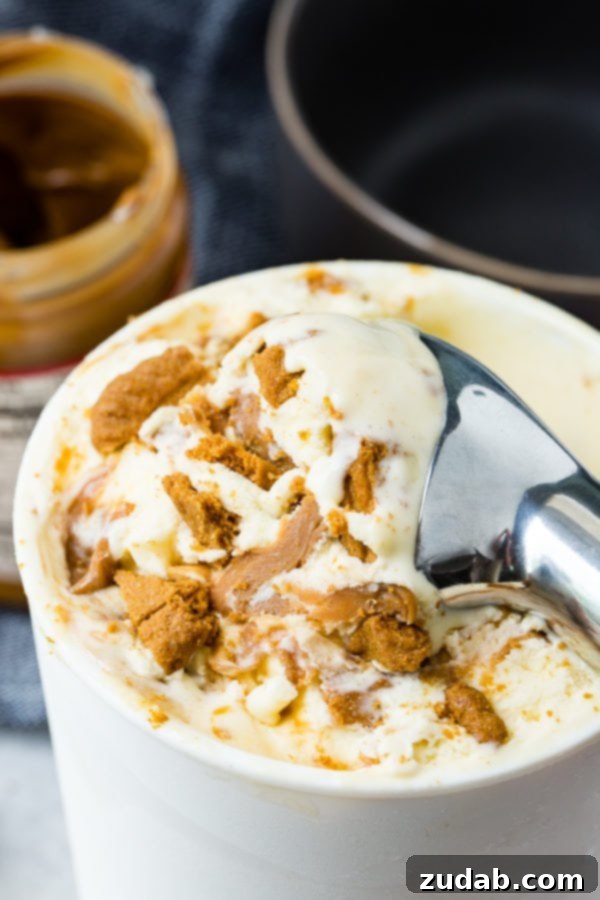
Now for the truly exciting part: incorporating the Biscoff goodness! Once your ice cream has reached a soft, churned consistency, transfer approximately one-quarter of the batch into a freezer-safe container. Take a generous portion of your **cookie butter** and dot dollops of it over the ice cream layer. Using a knife or a spoon, gently swirl the cookie butter into the ice cream, creating beautiful ribbons of spiced sweetness. Next, sprinkle a handful of crushed **Biscoff cookie crumbles** over this layer, adding a delightful textural contrast. Repeat this layering process with the remaining ice cream, cookie butter, and crumbles until you’ve thoroughly “Biscoff’d” the entire batch. Once all the layers are complete, cover the container tightly and transfer it to the freezer to finish setting up. For the absolute best consistency and flavor, we recommend freezing it overnight.
Optimizing Storage for Homemade Ice Cream
To preserve the luscious texture and rich flavor of your homemade ice cream, proper storage is key. Always transfer your freshly churned ice cream into a **freezer-safe, airtight container**. We’ve found that shallow, flat containers work best, as they allow for more even freezing and make scooping a breeze, helping to maintain that perfect, creamy consistency. A clever trick to prevent the formation of unwelcome ice crystals – which can make your ice cream icy – is to press a piece of plastic wrap directly onto the surface of the ice cream before securing the lid. This creates a barrier against air and moisture, keeping your Biscoff ice cream wonderfully smooth.
How Long Does Homemade Ice Cream Last?
While homemade ice cream is undeniably delicious, its quality is at its peak when enjoyed relatively fresh. We’ve observed that this **Biscoff cookie butter homemade ice cream** is best savored within **two weeks** of being made. It will certainly still be safe to eat beyond that timeframe, but you might notice a slight diminishing in its creamy texture and vibrant flavor. Honestly, with a treat this good, it’s unlikely to last that long anyway! We suggest embracing the joy and enjoying a generous, heaping bowl every single night until every last spoonful is gone!
This **Biscoff cookie butter homemade ice cream** has quickly become our absolute favorite way to satisfy our craving for all things Biscoff! It’s an irresistible blend of creamy vanilla, spiced cookie butter, and crunchy cookie pieces that creates a symphony of flavors and textures. If you’re anything like us and constantly seeking new excuses to incorporate more Biscoff into your life, be sure to explore our Oreo Biscoff spread or our delightful Biscoff banana muffins! Get ready to churn up a batch and join us in screaming for this incredible **Biscoff cookie butter ice cream**!
More Ice Cream Recipes You’re Sure to Love:
- Strawberry Ice Cream
- Dulce De Leche Ice Cream
- Berries and Cream Ice Cream
- Lemon Curd Frozen Custard
- Key Lime Pie Milkshake
- Cookies and Cream Frozen Custard
- Copycat Pinkberry Chocolate Crunch Sauce
- Chocolate Chip Cookie Ice Cream Sandwiches dipped in Milk Chocolate
- Apple Pie Fried Ice Cream Cake
- Loaded Salted Pretzel Ice Cream Sundae
- Mint Chocolate Stracciatella Ice Cream
- Nutella Chocolate Chip Ice Cream
- All our ICE CREAM RECIPES here!
Biscoff Cookie Butter Homemade Ice Cream Recipe
Ingredients
- 2 Cups Heavy Cream
- 1 Cup Half and Half
- 1 1/4 Cup Sugar
- 1/2 teaspoon Vanilla
- 6 Egg Yolks
- 1/2 Cup Cookie Butter
- 6 Biscoff Cookies
Instructions
-
In a saucepan over medium low heat, combine the heavy cream, half and half, sugar, and vanilla.2 Cups Heavy Cream, 1 Cup Half and Half, 1 1/4 Cup Sugar, 1/2 teaspoon Vanilla
-
Stir occasionally, heating the mixture until bubbles form around the edges.
-
Remove from heat.
-
Meanwhile, whisk 6 egg yolks together, vigorously until pale yellow.6 Egg Yolks
-
After you have removed the cream mixture from heat, remove a few tablespoons of the hot cream mixture from the pan, and slowly, whisking constantly, pour the hot cream mixture into the eggs. Do not add the eggs straight or they will scramble at the bottom.
-
Once you have added about 5 tablespoons of the hot mixture return the pan with the cream mixture to medium-low heat and slowly whisk in the entire egg mixture.
-
Heat, stirring constantly, until thickened. You should be able to dip the back of a spoon into the mixture and the cream should coat the back of the spoon. You can test this by dragging your finger through the cream on the back of the spoon and if it leaves a trail you’re done. Don’t cook hotter than 160 degrees.
-
Remove from heat and chill in the refrigerator (for several hours or overnight).
-
Once the mixture is chilled, whisk it to combine everything one last time and freeze according to your ice cream maker’s instructions (a 4-5 quart machine).
-
When the ice cream is done, spoon 1/4 of the ice cream into a container and dot with dollops of cookie butter and swirl with a knife.1/2 Cup Cookie Butter
-
Add biscoff cookie bits. Repeat layers until you reach the top.6 Biscoff Cookies
-
Freeze over night for the best results for consistency.
Recipe Notes
Nutrition
Nutrition information is automatically calculated, so should only be used as an approximation.
If you loved this recipe, please consider leaving a comment below and sharing your thoughts!