
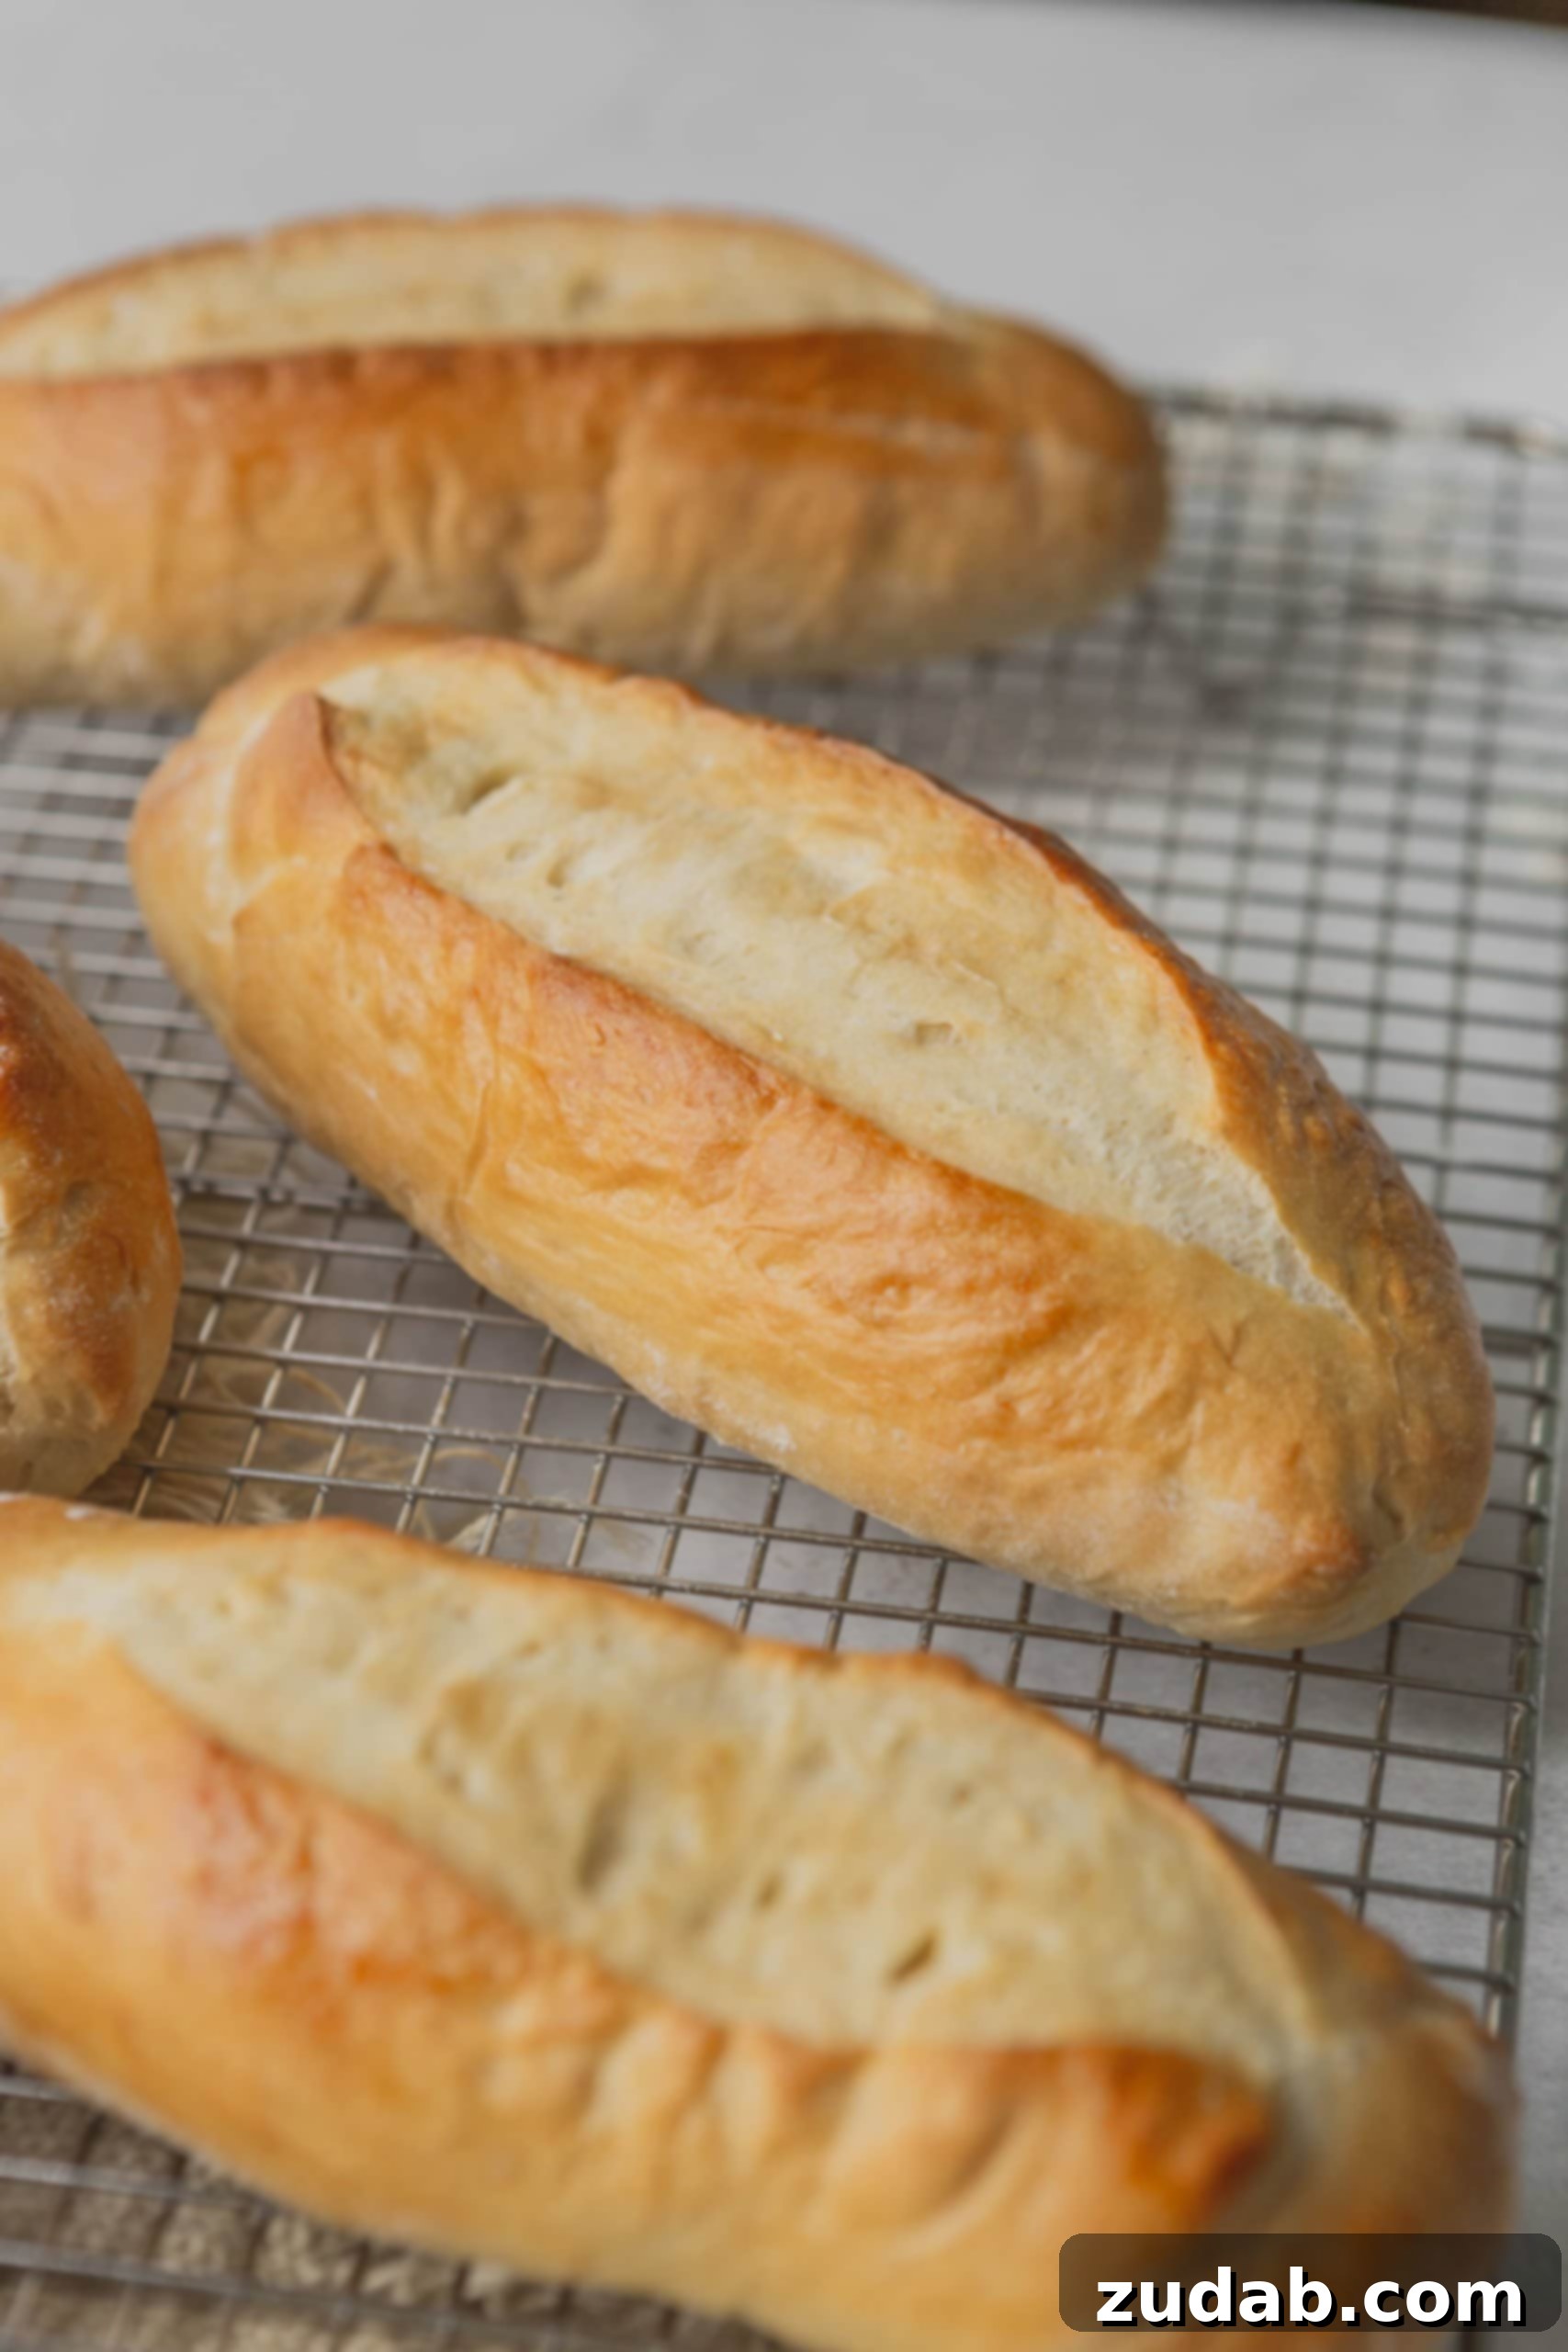
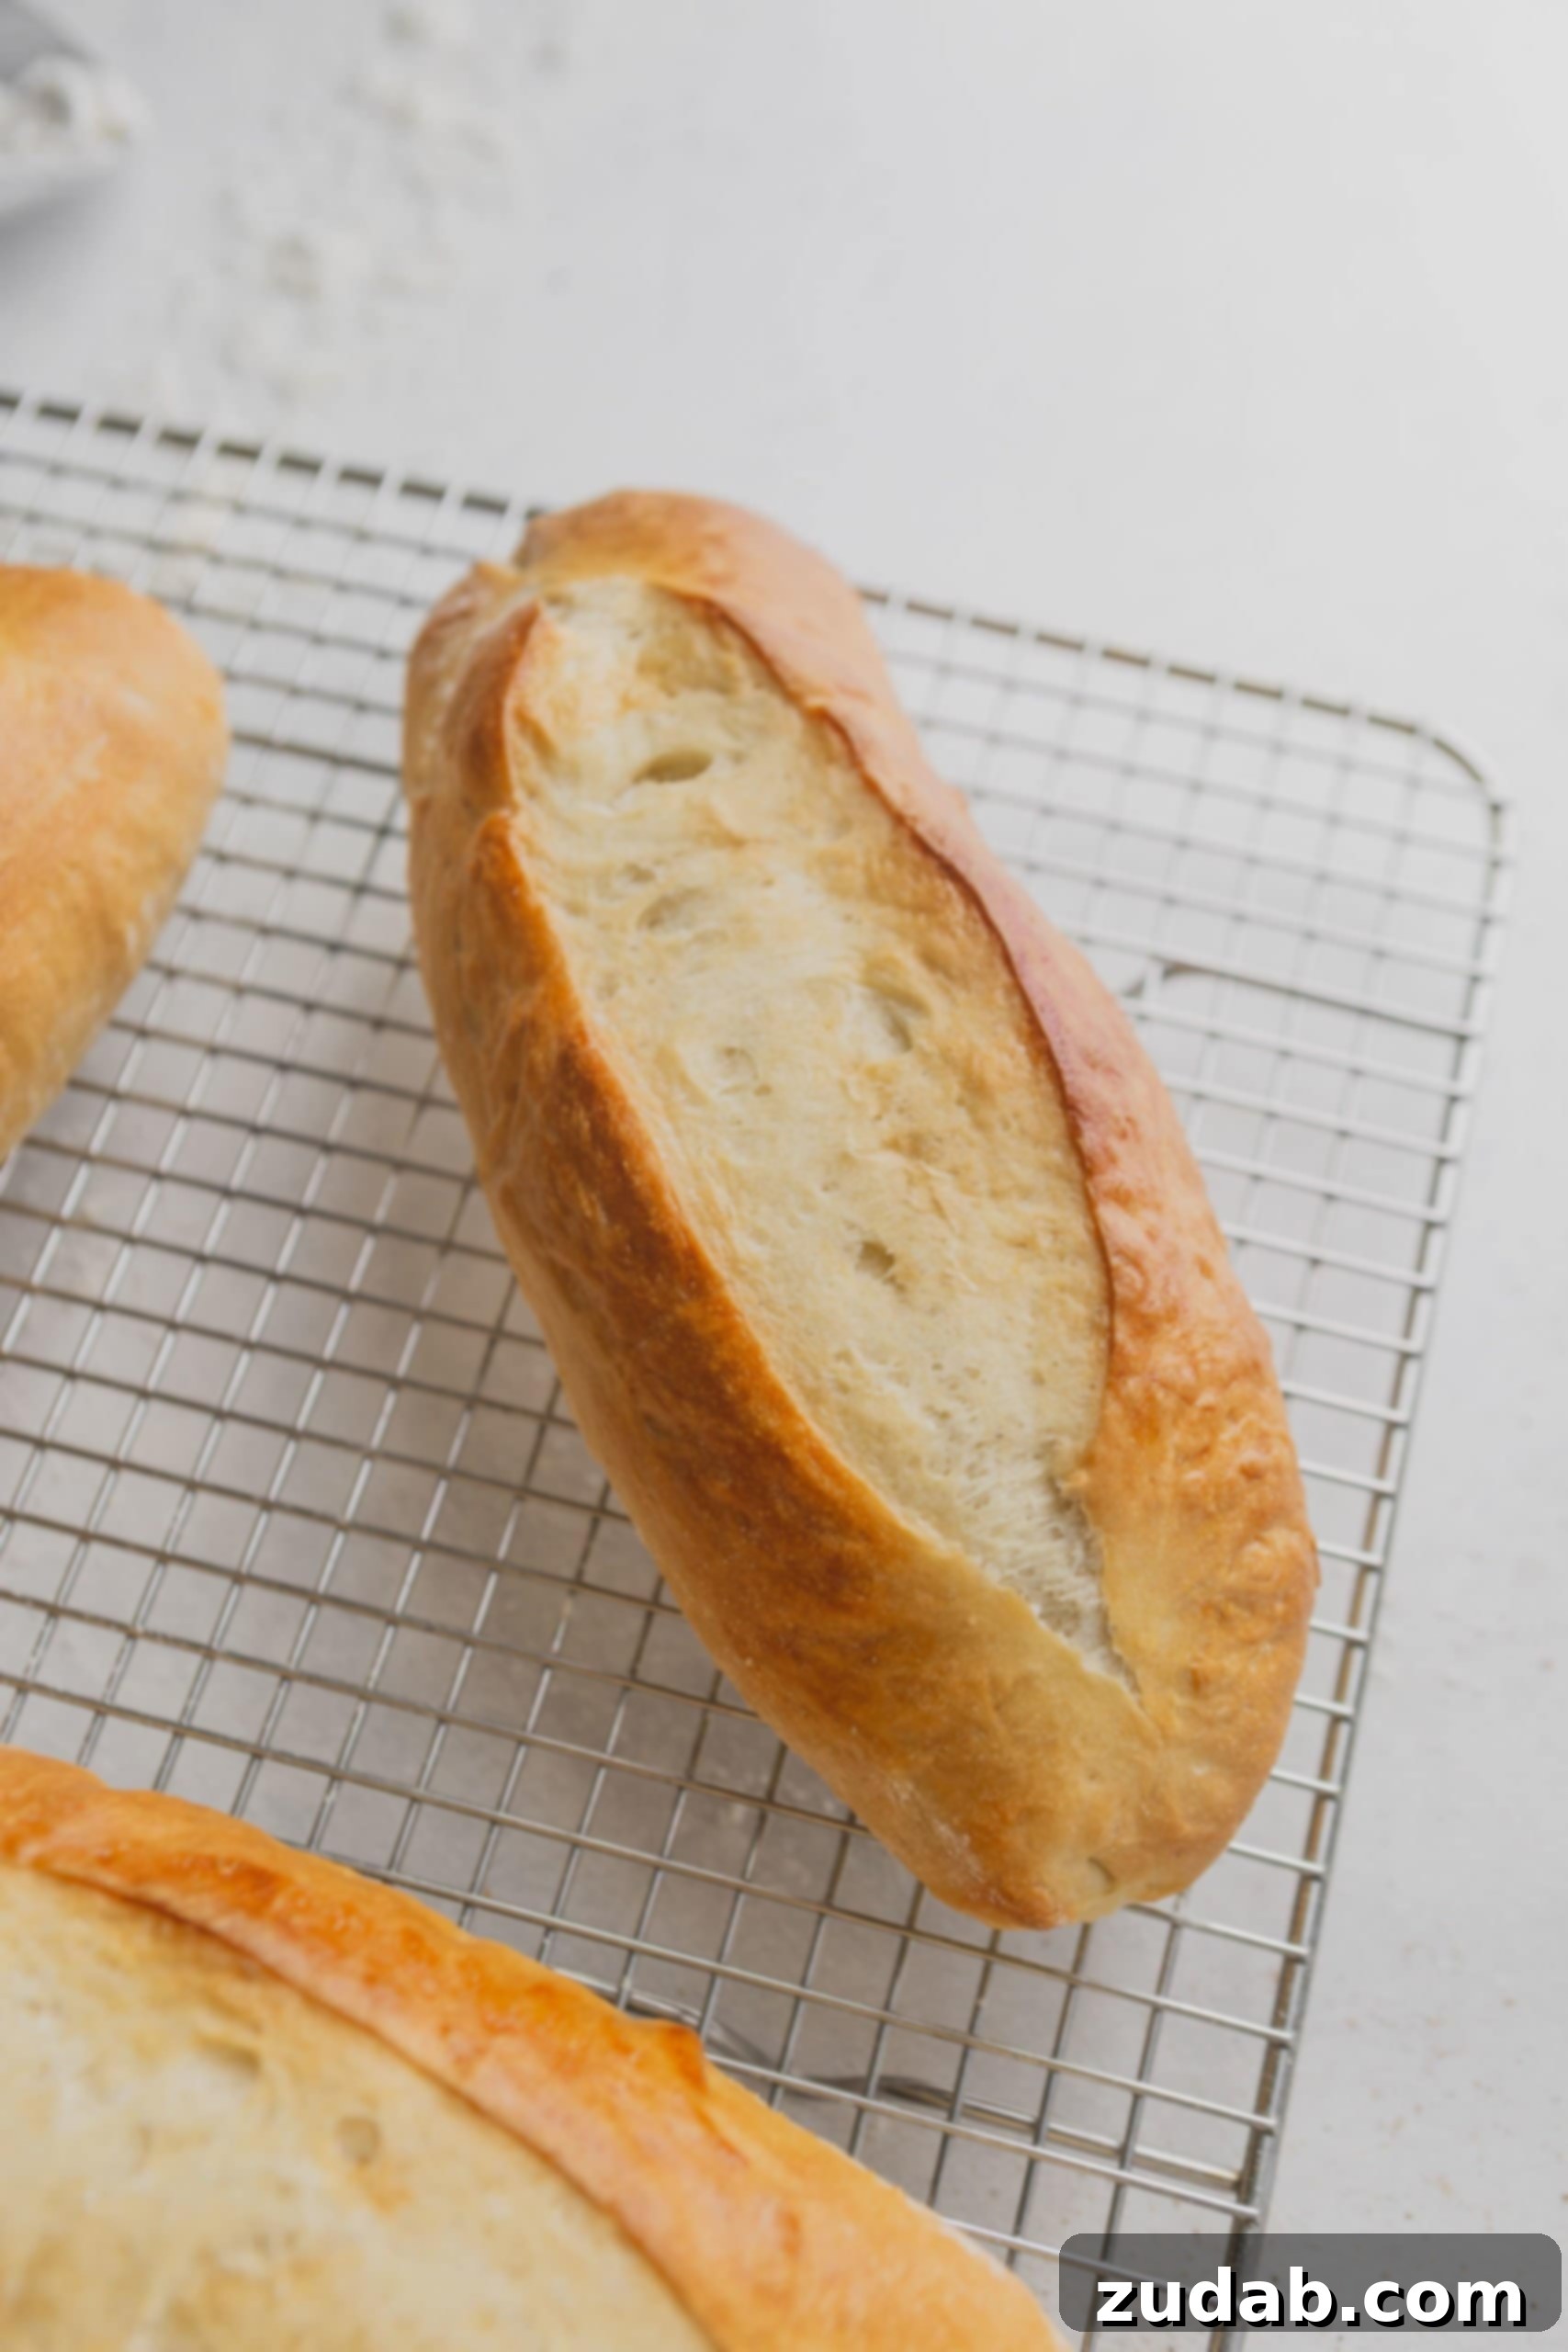
There’s nothing quite like the aroma of freshly baked bread filling your kitchen, and these easy-to-make Homemade Hoagie Rolls are about to become your new favorite. Crafted with just 9 simple ingredients, these rolls are the ideal foundation for an endless array of delicious sandwiches. Imagine sinking your teeth into a perfectly soft yet subtly crusty roll, whether it’s cradling juicy French dip sliders, savory meatball subs, a gourmet pesto meatball sandwich, or any other creation your heart desires.
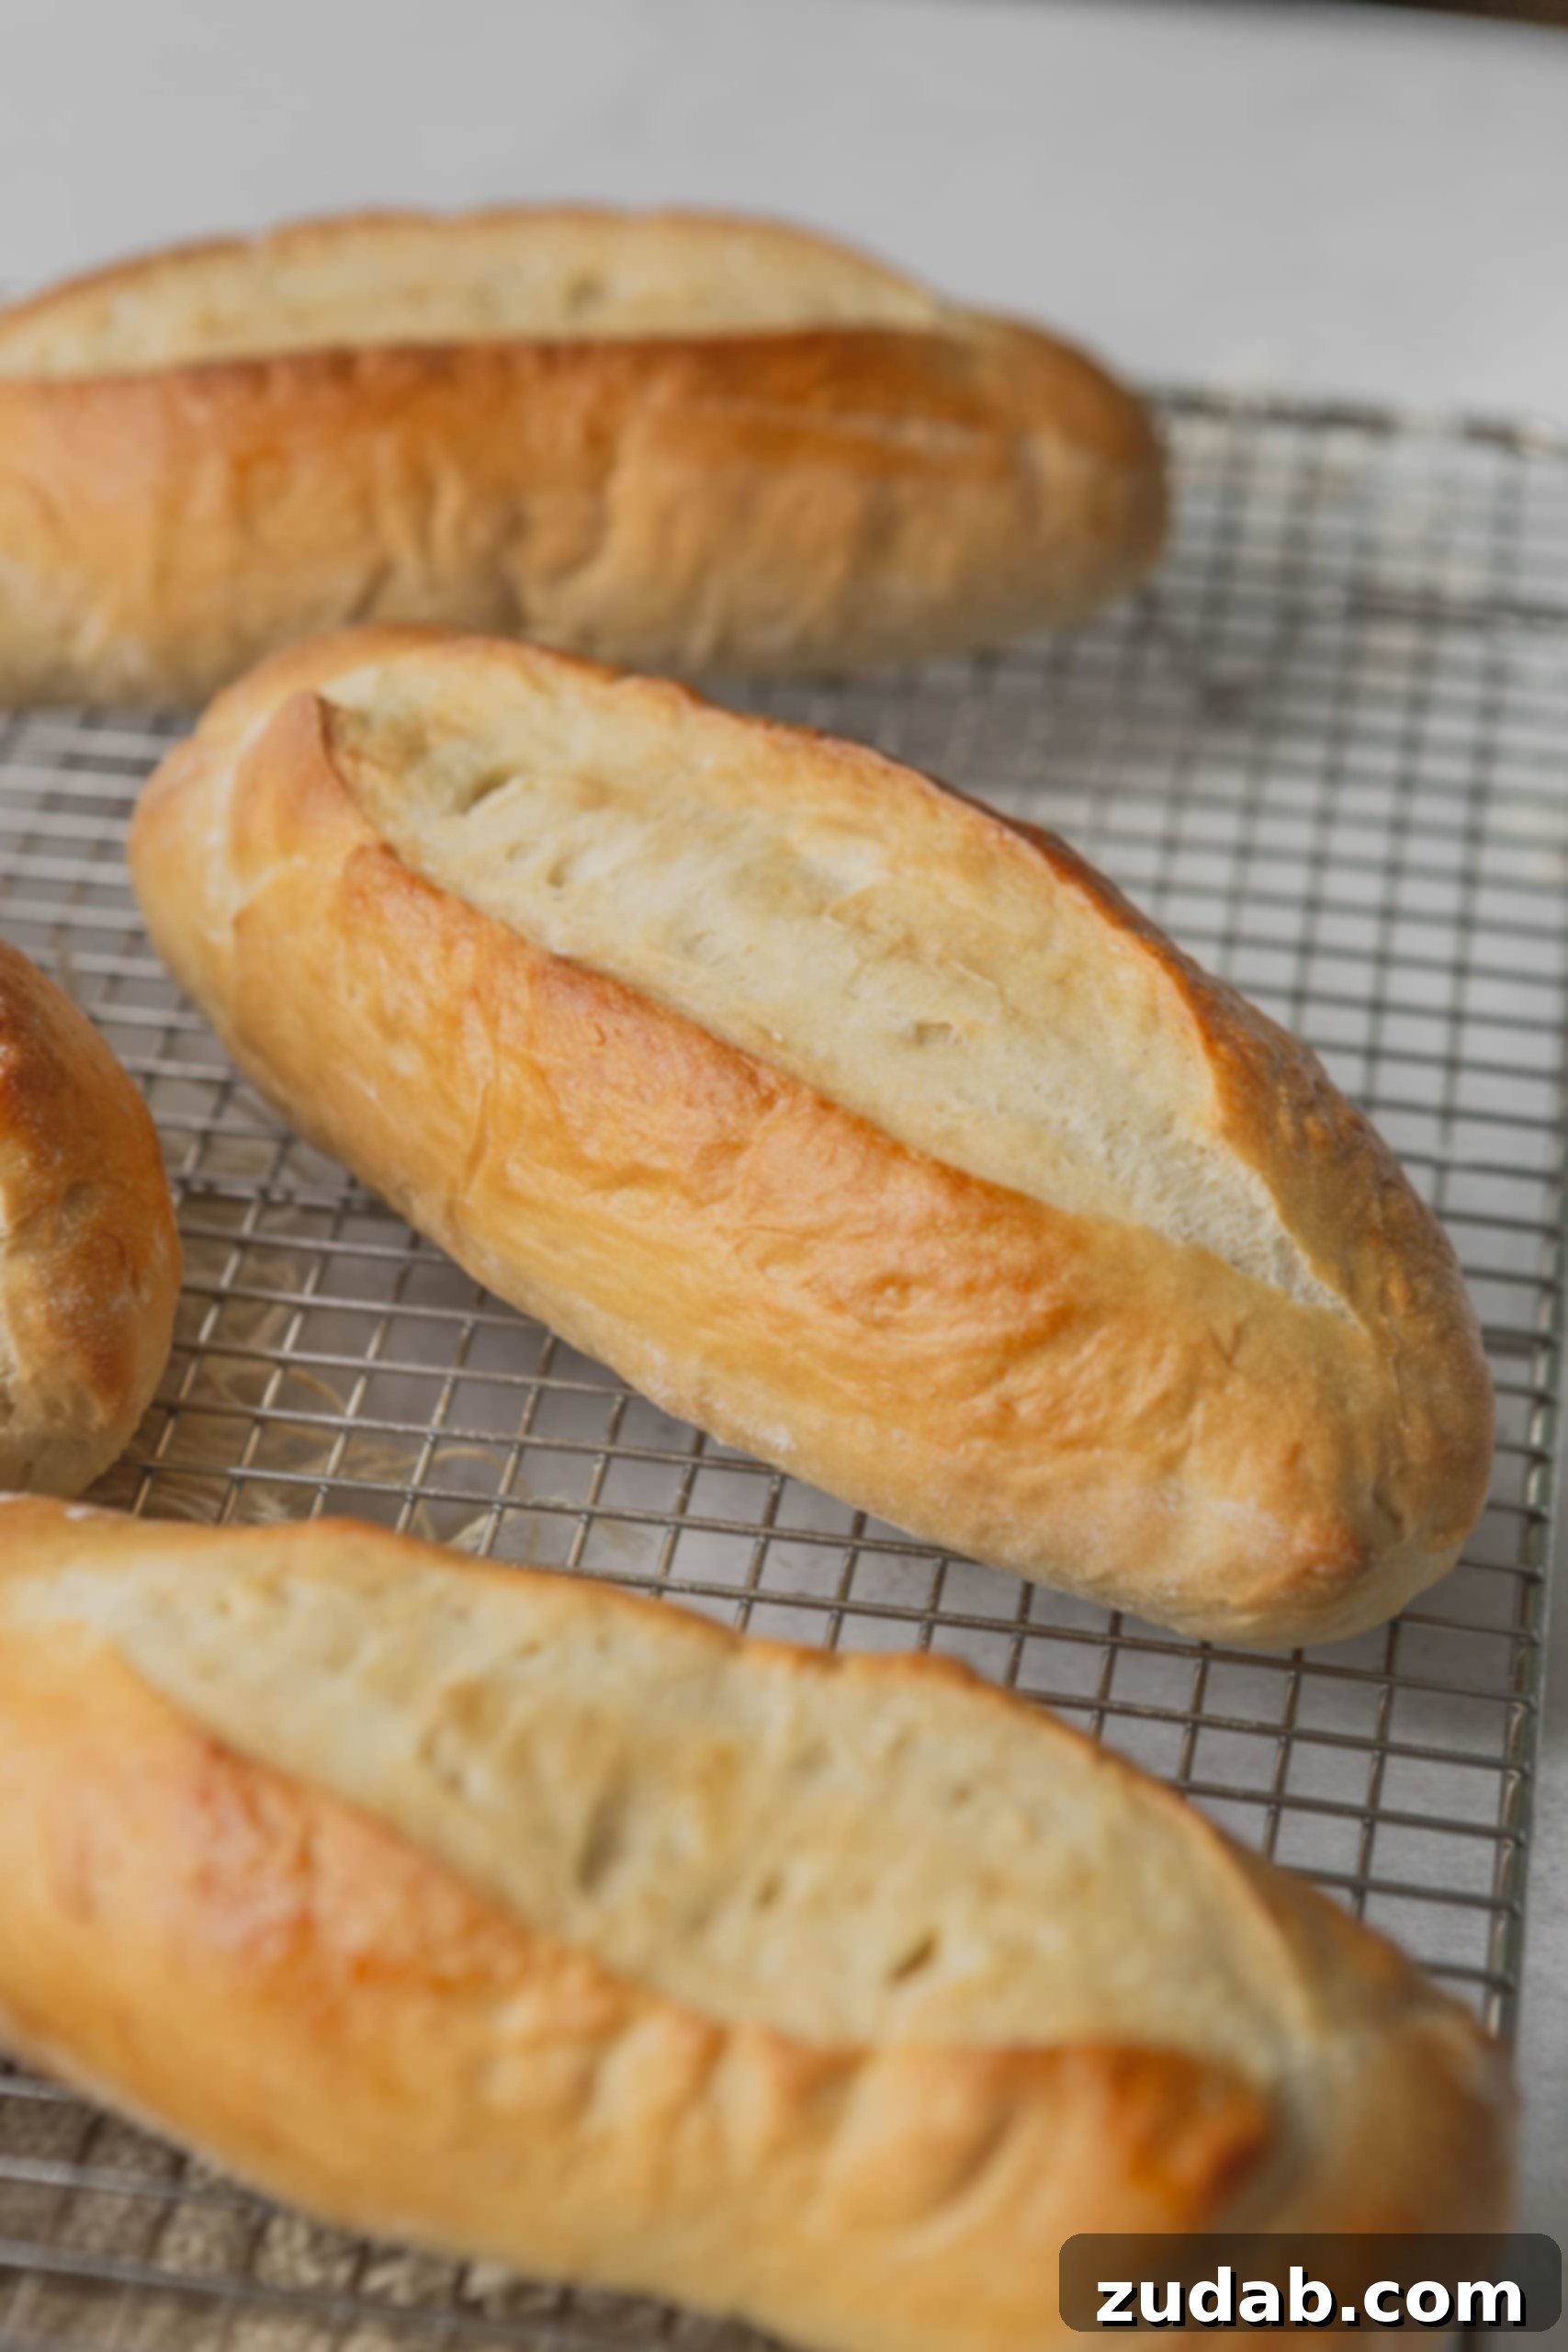
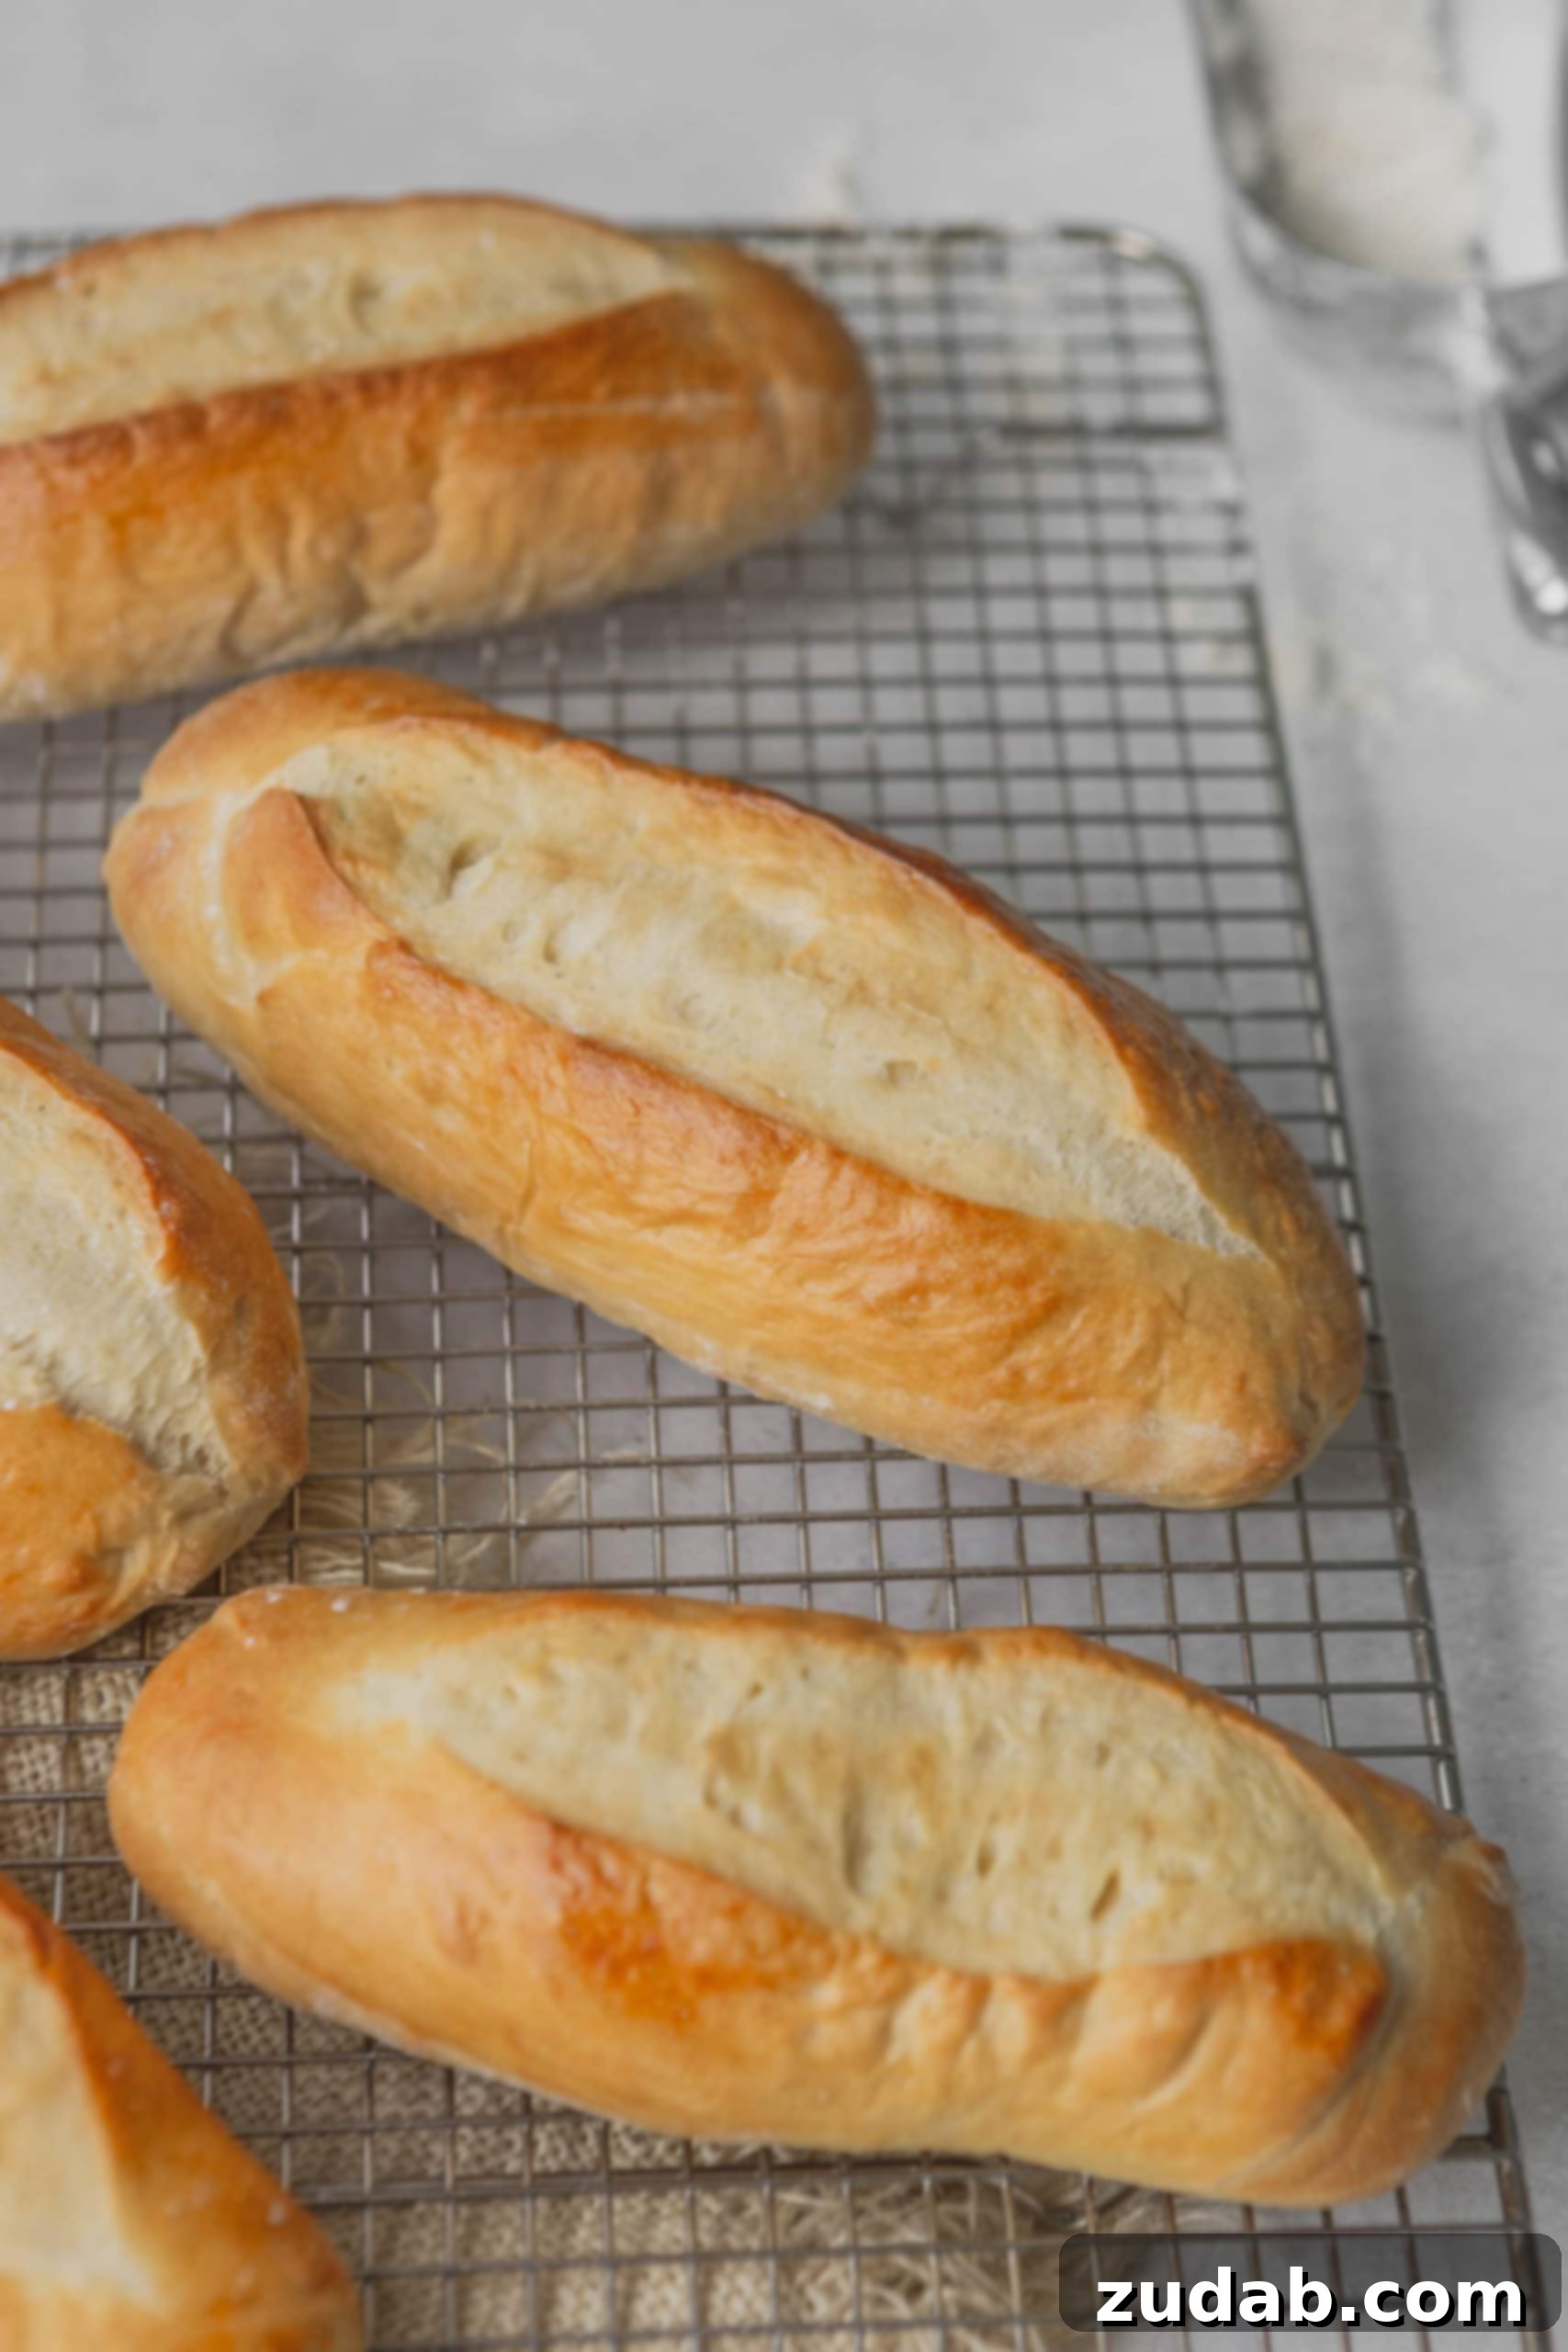
For any home baker, the quest for the ultimate homemade bread recipe is a continuous journey. When it comes to sandwich bread, homemade truly transcends store-bought. Our homemade hoagie rolls boast a delightful texture: wonderfully soft and pillowy on the inside, with a satisfyingly slight crispness on the outside, creating that perfect chew with every bite. This recipe isn’t just easy; it’s a game-changer for your sandwich game, promising unparalleled flavor and freshness that you simply won’t find on a grocery store shelf.
Discover the Best Easy Hoagie Roll Recipe
You might be wondering why it took us so long to share this incredible easy hoagie recipe. The truth is, sometimes the simplest things are the ones we take for granted. Years ago, we first introduced our beloved slow cooker French Dip Sandwiches – a comfort food classic that requires minimal ingredients and prep. While we always made our own hoagie buns to accompany them, it didn’t initially occur to us that our readers would be so eager to replicate the bread at home.
But the demand grew! What started as a few curious comments quickly escalated into a flood of requests and emails for the homemade hoagie roll recipe. It seems many of you share our passion for authentic, homemade goodness. So, one busy evening, while enjoying a batch of those very French dip sandwiches, inspiration (and a slight panic) struck. With dwindling daylight, we hastily photographed the rolls, knowing we couldn’t keep this secret any longer. And so, here we are, finally sharing the recipe for these phenomenal sub rolls that will elevate any sandwich experience.
Why Choose Fresh, Homemade Hoagie Rolls?
Making your own fresh hoagie rolls isn’t just a baking project; it’s an investment in superior flavor, texture, and immense satisfaction. Firstly, the taste of freshly baked bread is simply incomparable. Unlike mass-produced alternatives that often taste bland or overly processed, homemade hoagie rolls offer a rich, nuanced flavor that truly complements your sandwich fillings. Secondly, you gain complete control over the ingredients, avoiding unwanted preservatives or additives. Plus, the texture—that perfect balance of a slightly crisp exterior and a soft, airy interior—is something only achieved with homemade bread.
Beyond the sensory experience, there’s a certain pride and joy in serving bread you’ve made from scratch. It’s an act of love for your family and friends, and it turns an ordinary meal into something special. Imagine the smiles when you present a plate of warm, golden-brown hoagie rolls, ready to be filled with their favorite ingredients. You won’t just be making bread; you’ll be making memories and undoubtedly earning hero status in your kitchen!
Essential Ingredients for Perfect Hoagie Rolls
Crafting these delectable hoagie buns requires just 9 straightforward ingredients, most of which you likely already have in your pantry. Each component plays a vital role in achieving the perfect texture and flavor profile:
- Warm Water: This is crucial for activating the yeast. Ensure it’s between 105-115°F (40-46°C). Too hot, and it kills the yeast; too cold, and it won’t activate properly.
- Instant Yeast: Our preferred choice for its convenience, as it doesn’t require prior proofing. If you only have active dry yeast, simply activate it in the warm water with a pinch of sugar for 5-10 minutes until foamy before proceeding with the recipe.
- Granulated Sugar: Beyond adding a touch of sweetness, sugar acts as food for the yeast, helping it activate and ensuring a robust rise. It also contributes to the golden-brown color of the crust.
- Honey: Adds a subtle, natural sweetness and a depth of flavor that complements the bread beautifully. It also aids in achieving that lovely golden crust and helps keep the rolls moist.
- All-Purpose Flour: The primary structural component of our sandwich bread. Regular unbleached all-purpose flour works perfectly for a tender yet sturdy roll.
- Salt: Essential for enhancing the flavor of the bread and controlling the yeast’s activity. Don’t skip it, as it prevents the bread from tasting flat.
- Unsalted Butter: Adds richness, tenderness, and a wonderful buttery flavor to the rolls. Cubing cold butter and adding it gradually helps develop the dough’s structure and ensures even distribution.
- Egg: Used in combination with milk for an egg wash. This wash gives the hoagie rolls a beautiful shine and a deep golden color, making them even more appealing.
- Milk: Also part of the egg wash, milk helps create a richer, more tender crust and contributes to that desirable golden-brown hue.
Detailed measurements for all these ingredients can be found in the comprehensive recipe card located at the end of this article, ensuring you have everything you need for baking success.
Step-by-Step Guide: How to Make Hoagie Buns at Home
This sub roll recipe is surprisingly straightforward, but it does require a bit of patience, mainly due to the two essential rising periods that give these rolls their characteristic light and airy texture. Follow these steps for perfect results:
- Activate the Yeast: In the bowl of your stand mixer, combine the warm water, instant yeast, granulated sugar, and honey. Give it a gentle stir and let it sit for about 5-10 minutes until a foamy layer appears on the surface. This indicates your yeast is active and ready to work.
- Initial Dough Mix: Attach the dough hook to your stand mixer. Add the all-purpose flour to the yeast mixture. Mix on low speed for 4 minutes. The dough will initially appear wet and shaggy – this is normal and expected for a “slack dough” and is a sign of good hydration.
- Develop Flavor and Gluten: Increase the mixer speed to medium, then add the salt. Continue mixing for another 3 minutes. The dough will begin to come together and develop strength.
- Incorporate Butter: With the mixer still running on medium, add the cold, cubed unsalted butter, one tablespoon at a time. Allow each addition to mix in for about a minute or two before adding the next. It might look a bit messy at first, with butter “slapping around,” but trust the process! As you continue to mix, the butter will fully incorporate, and the dough will transform into a wonderfully smooth and silky texture. This stage is key for tenderness and flavor.
- First Rise: Lightly oil a clean bowl with olive oil or vegetable oil. Transfer the dough to the bowl, turning it over once to coat all sides. Cover the bowl tightly with a clean kitchen towel or plastic wrap and let it rise in a warm, draft-free place for 1 to 2 hours, or until it has visibly doubled in size.
- Shape the Hoagies: Gently deflate the risen dough and turn it out onto a lightly floured surface. Divide the dough into 4 to 8 equal pieces, depending on your desired hoagie size (4 for large subs, 8 for smaller sliders). To shape each hoagie, flatten a piece of dough into a rectangle. Fold one end up towards the center, like folding an envelope. Turn the dough 180 degrees and fold the other end over the first fold. Repeat this process a few times until you achieve a classic hoagie roll shape. Pinch the seam and the ends tightly to seal.
- Second Rise: Line a baking sheet with a Silpat baking mat or parchment paper. Place the shaped hoagie rolls seam-side down on the prepared baking sheet, ensuring adequate space between them. Lightly cover them with a towel and allow them to rise for another 1 to 2 hours, or until they look noticeably puffy.
- Prepare for Baking: Preheat your oven to 375°F (190°C). In a small bowl, whisk together the egg white and milk to create an egg wash. Using a very sharp knife or a razor blade, carefully make a single, shallow slash down the top of each risen hoagie roll. This helps the rolls expand evenly during baking and gives them a professional appearance. Gently brush the tops of each roll with the egg wash.
- Bake to Perfection: Place the baking sheet with the hoagie rolls in the preheated oven. Bake for 16 to 22 minutes, or until the rolls are beautifully golden brown and sound hollow when you gently tap their crust.
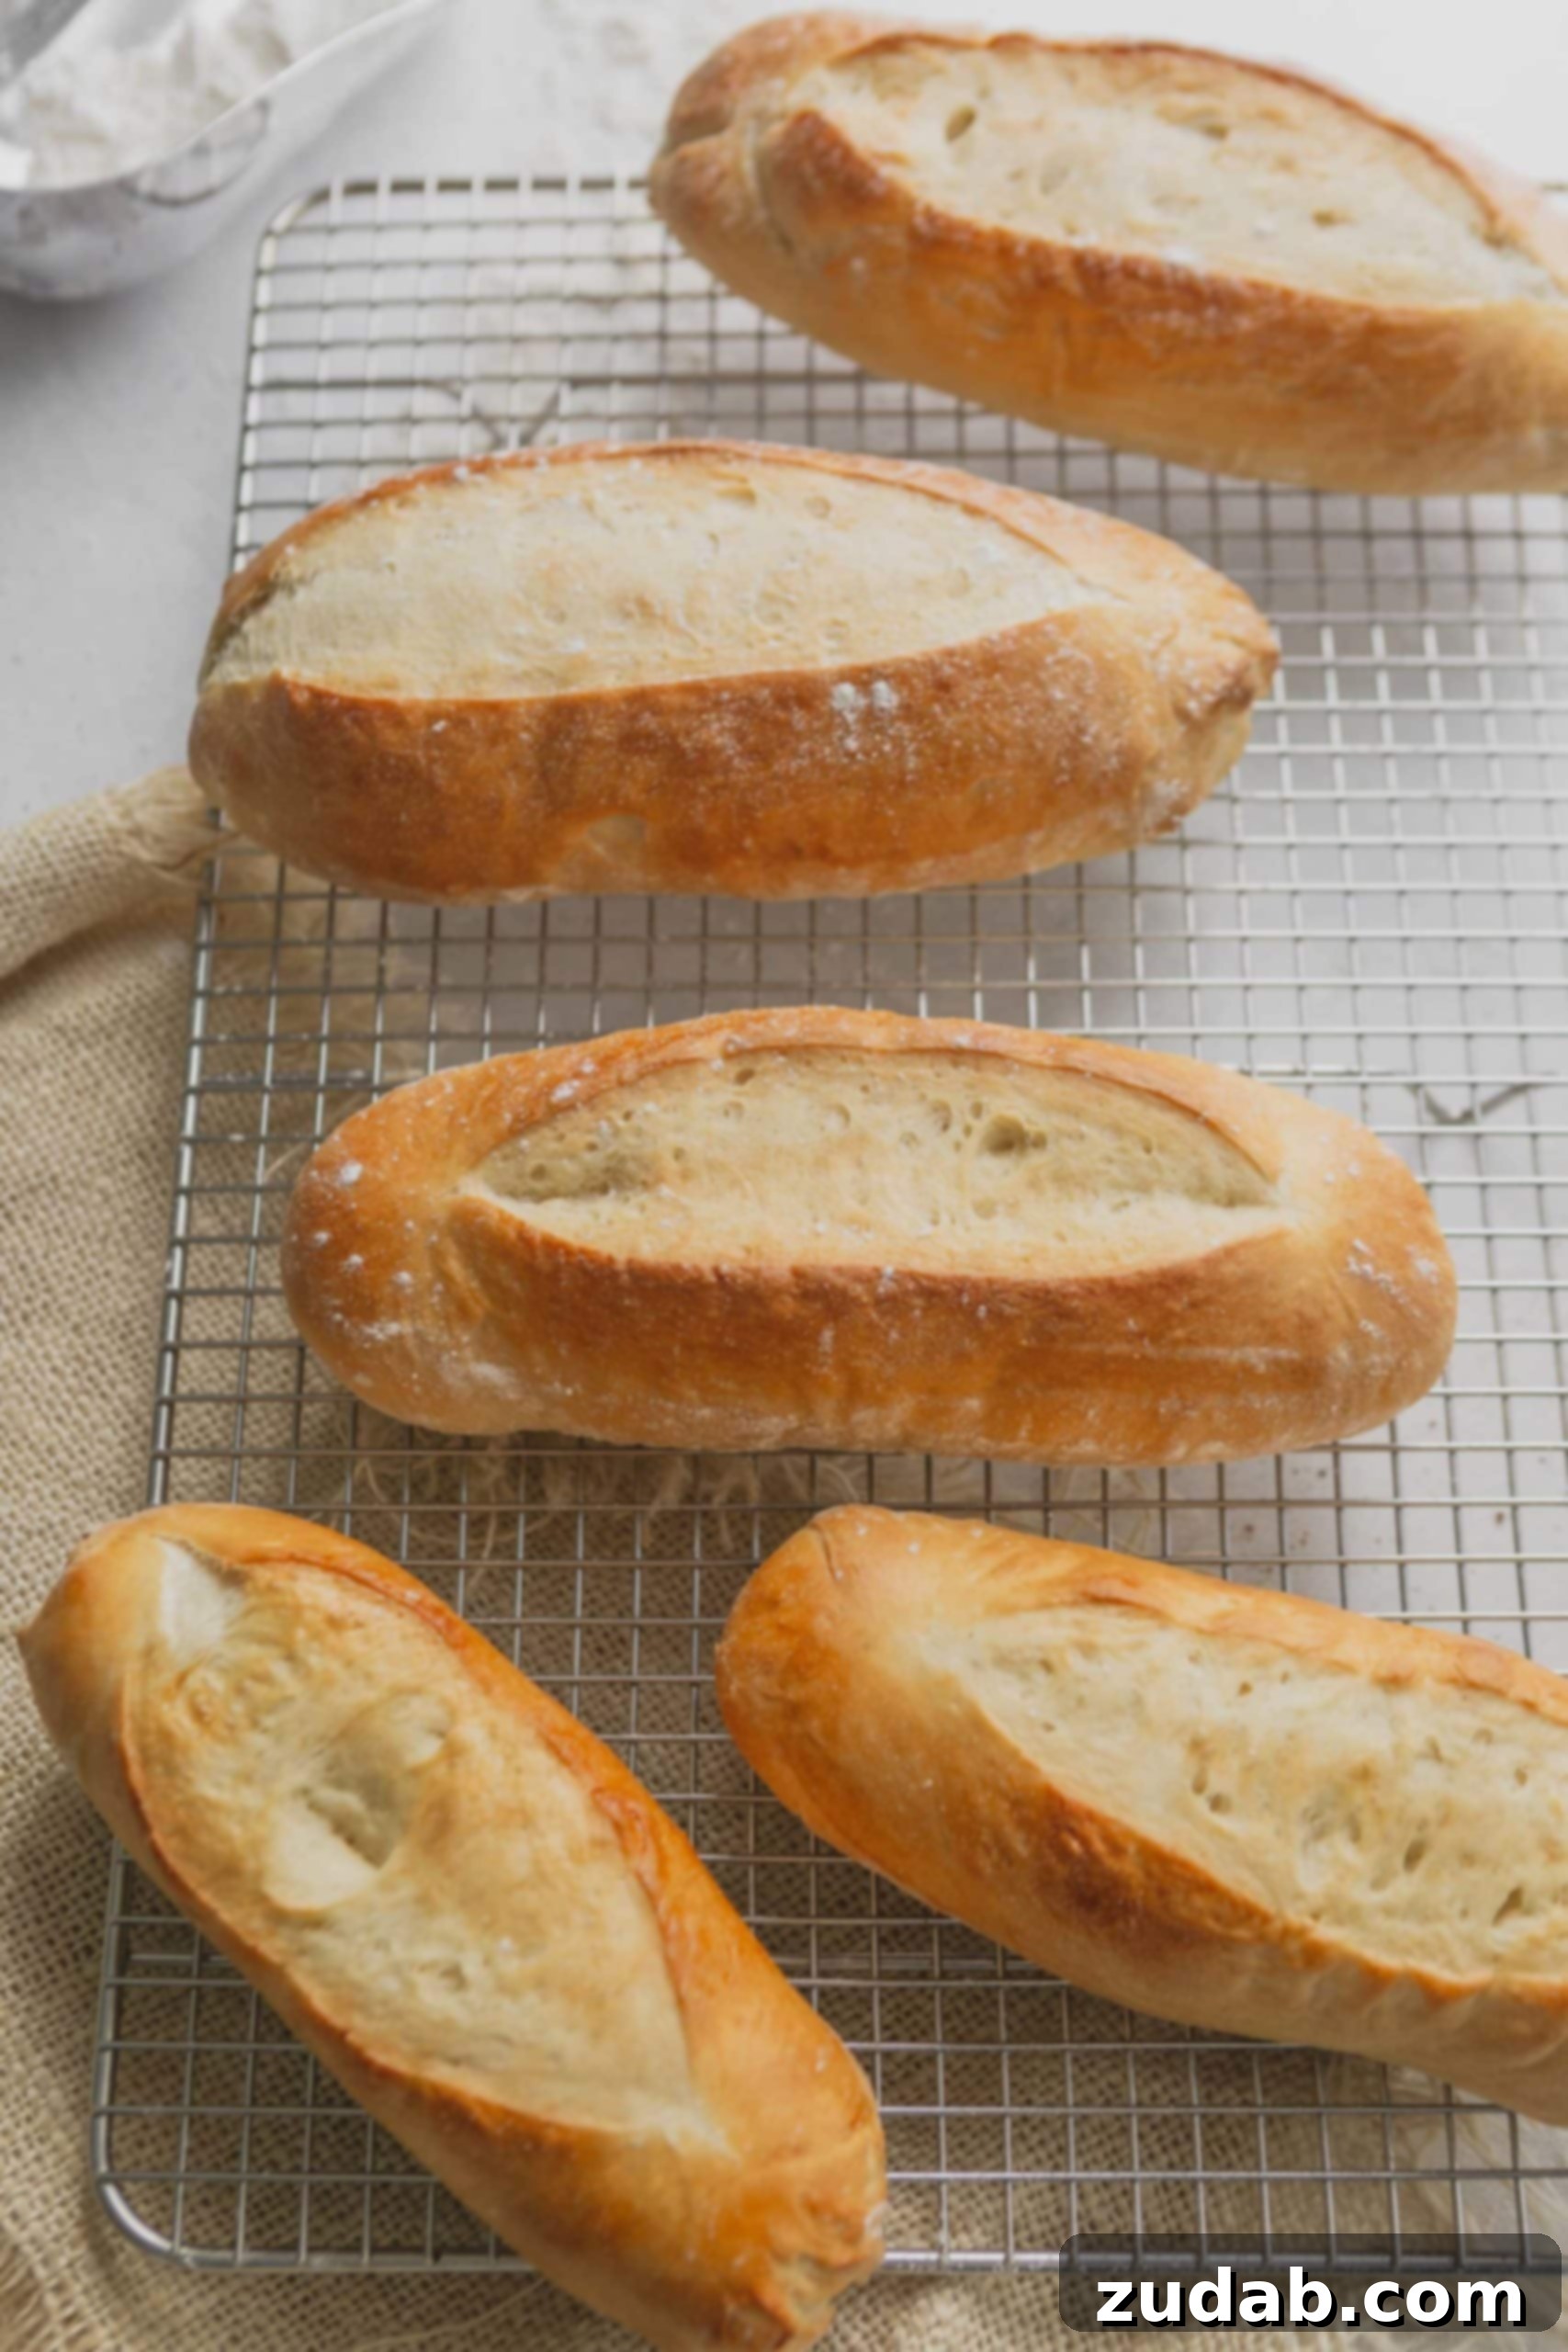
- Finishing Touch: Once removed from the oven, if desired, lightly brush the warm rolls with a little melted butter for extra flavor and shine. Allow them to cool on a wire rack for at least 15 minutes before slicing and serving. Don’t worry if they feel hard right out of the oven; they will soften as they cool.
Mastering the Dough: Tips for Success
While this homemade hoagie roll recipe is straightforward, we understand that working with yeast dough can sometimes be intimidating. We’ve received feedback about the dough initially seeming wet or sticky, and it’s a common concern! Rest assured, this is perfectly normal for what bakers call “slack dough” – a higher hydration dough that yields a wonderfully tender crumb. The key here is patience and proper mixing.
When you first combine the ingredients, the dough will indeed look shaggy and feel quite wet, lacking any defined shape. Do not be tempted to add more flour! Instead, continue mixing as directed, especially during the stages of adding salt and butter. As your stand mixer’s dough hook works, it develops the gluten strands in the flour. This gluten network is what gives bread its structure and elasticity. Over time, the dough will miraculously transform, becoming increasingly elastic, smooth, and silky, pulling away from the sides of the bowl. This process is often a test of faith, but it’s essential for achieving that characteristic soft and chewy interior of a perfect hoagie roll. Trust the process, let the mixer do its job, and you’ll be rewarded with a beautiful, pliable dough.
Important Considerations for Finishing Your Hoagie Rolls
The final touches make all the difference in these hoagie buns:
- Butter Brush: For an irresistible aroma and a softer crust, we highly recommend brushing the warm hoagie bread with melted butter immediately after removing them from the oven.
- Sesame Seeds: If you enjoy a touch of crunch and a nutty flavor, sprinkle some sesame seeds on top of the rolls right after brushing with butter. This adds a classic sub roll appeal.
- Crust Texture: The rolls might feel quite hard right when they come out of the oven. This is completely normal and not a sign of overbaking! As they cool on a wire rack, the crust will soften and the interior will set, resulting in that ideal tender-chewy texture.
- Cooling Time: Resist the urge to slice into your beautiful homemade sub rolls right away. Allowing them to cool for at least 15-20 minutes on a wire rack is crucial. This cooling period allows the internal structure of the bread to stabilize, preventing a gummy texture and ensuring a clean slice.
Frequently Asked Questions About Hoagie Rolls
A hoagie roll is a distinct type of long, often slightly flattened, crusty-on-the-outside, soft-on-the-inside bread specifically designed to hold generous fillings for sandwiches. It’s the essential base for what is known as a hoagie sandwich, which is regionally referred to by many other names, including a sub sandwich, hero sandwich, or grinder.
Functionally, there is no inherent difference between a hoagie roll and a sub roll. They refer to the same type of elongated bread used for large filled sandwiches. The terminology simply varies depending on regional dialects and preferences across the United States. For example, in Pennsylvania, it’s typically a “hoagie,” while in other areas, it’s a “sub” (short for submarine), “hero” (New York), or “grinder” (New England).
The precise origin of the word “hoagie” is a subject of much debate and local legend, primarily centered around the Philadelphia area in the early to mid-20th century. One popular theory suggests it originated from “Hog Island,” a shipyard in Philadelphia during World War I, where workers called their large sandwiches “hoggies.” Another theory attributes it to “hokey pokey” vendors. Regardless of its exact etymology, the term firmly established itself in the Philadelphia lexicon for this iconic sandwich and its roll.
Properly stored, homemade hoagie rolls will retain their freshness and best texture for about 3-5 days at room temperature. To keep them fresh, ensure they are completely cooled before wrapping them tightly in plastic wrap or placing them in an airtight zip-top bag.
Absolutely! Hoagie rolls freeze beautifully, making them perfect for meal prepping. To freeze, ensure the rolls are completely cooled. Place them inside a freezer-safe bag, pressing out as much air as possible, and seal tightly. They will keep well in the freezer for up to 3 months. When ready to use, thaw at room temperature or warm briefly in the oven for a “just baked” experience.
The perfect hoagie roll strikes a balance between a sturdy crust that can hold up to juicy fillings without getting soggy, and a soft, airy interior that complements the ingredients. Our recipe achieves this with its carefully balanced ingredients and two-stage rising process, resulting in a roll that’s not too dense, not too thin, and provides just the right amount of chew and flavor.
While this recipe is optimized for all-purpose flour for consistency, you can experiment. Bread flour will yield a chewier, slightly denser roll due to its higher protein content. Whole wheat flour can be used for a portion (e.g., 25-50%) for added fiber and nuttiness, but you may need to adjust the liquid slightly as whole wheat flour absorbs more moisture. For best results on your first attempt, stick with all-purpose flour.
Hoagie rolls are incredibly versatile! Beyond French Dip and meatball subs, they are perfect for classic Philly cheesesteaks, Italian subs with assorted cured meats and cheeses, turkey and provolone, chicken cutlet sandwiches, vegetable hoagies, or even simple grilled cheese. Their robust structure makes them suitable for both hot and cold fillings.
Easy Hoagie Rolls
Sweet Basil
20 mins
16 mins
4 hrs 36 mins
8 hoagies
Ingredients
- 1 ½ Cups Warm Water
- 1 Tablespoon Instant Yeast
- 1 Tablespoon Granulated Sugar
- 1 Tablespoon Honey
- 3 ¾ Cups All-Purpose Flour
- 1 Tablespoon Salt
- 3 Tablespoons Unsalted Butter, cubed
- 1 Egg White
- 1 Tablespoon Milk
Instructions
- In the bowl of a standing mixer, add the warm water, yeast, sugar, and honey.
- Allow the mixture to foam up for about 5 to 10 minutes.
- Add the flour and, using a dough hook, mix for 4 minutes on low speed.
- Increase the speed to medium and add the salt, mixing for another 3 minutes.
- Finally, add the cold butter, one tablespoon at a time. Mix for another minute or two after each addition. Continue to mix until no pieces of butter remain. The dough will initially seem wet, but with continued mixing, it will firm up and become silky smooth. Patience is key!
- Place the dough in a lightly oiled (olive oil or vegetable oil works well) bowl, turning to coat. Cover with a towel and allow to rise for 1 to 2 hours, or until doubled in size.
- Place a Silpat or parchment paper on a baking sheet and shape the dough into 4-8 hoagies, depending on your preferred size. To shape, flatten each piece into a rectangle, fold one end up like an envelope, turn 180 degrees, and fold the other end over the first. Repeat until you’ve formed a hoagie and pinch the seam and end seams shut.
- Place seam-side down and repeat with the remaining dough.
- Cover lightly with a towel and allow to rise another 1 to 2 hours, or until puffy.
- Whisk together the egg white and milk. Using a razor blade or sharp knife, make a slit down the top of each roll. Brush each top with the egg mixture.
- Preheat the oven to 375ºF (190°C), place the hoagie rolls on the baking pan, and bake for 16 to 22 minutes.
- Remove from the oven when they are lightly golden brown and feel hard when you tap the crust.
- Rub with a little butter if desired and allow to cool on a wire rack.
- The bread will be firm upon removal but quickly softens as it cools, so do not worry that you overbaked them.
Recipe Notes
Nutrition
Calories: 270kcal,
Carbohydrates: 49.1g,
Protein: 6.7g,
Cholesterol: 11.4mg,
Fiber: 2g,
Sugar: 3.9g
Nutrition information is automatically calculated, so should only be used as an approximation.
REMEMBER TO SUBSCRIBE TO our FREE Oh Sweet Basil NEWSLETTER AND RECEIVE EASY RECIPES DELIVERED INTO YOUR INBOX EVERY DAY!
When you try a recipe, please use the hashtag #ohsweetbasil on INSTAGRAM for a chance to be featured in our stories! FOLLOW OH, SWEET BASIL ON FACEBOOK | INSTAGRAM | PINTEREST | TWITTER FOR ALL OF OUR LATEST CONTENT, RECIPES AND STORIES.
More Delicious Bread Recipes to Explore:
- No-Knead Artisan Bread
- Classic French Bread
- Herbed Focaccia Bread
- Homemade Sweet Cornbread
- Classic Potato Rolls
- Homemade Naan Bread
- Soft Pumpkin Dinner Rolls
- 7 Up Biscuits
- Savory Ham and Cheese Scones
- Perfect Soft Pretzels with Cheese Sauce
- Discover All Our Amazing Bread Recipes!