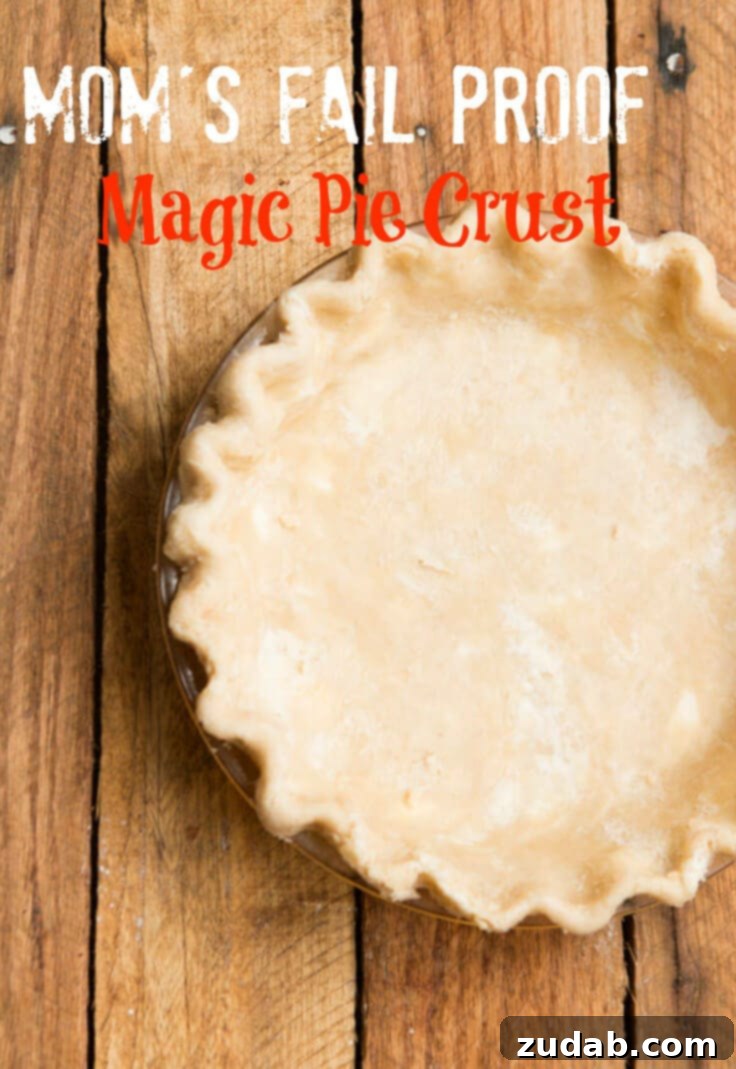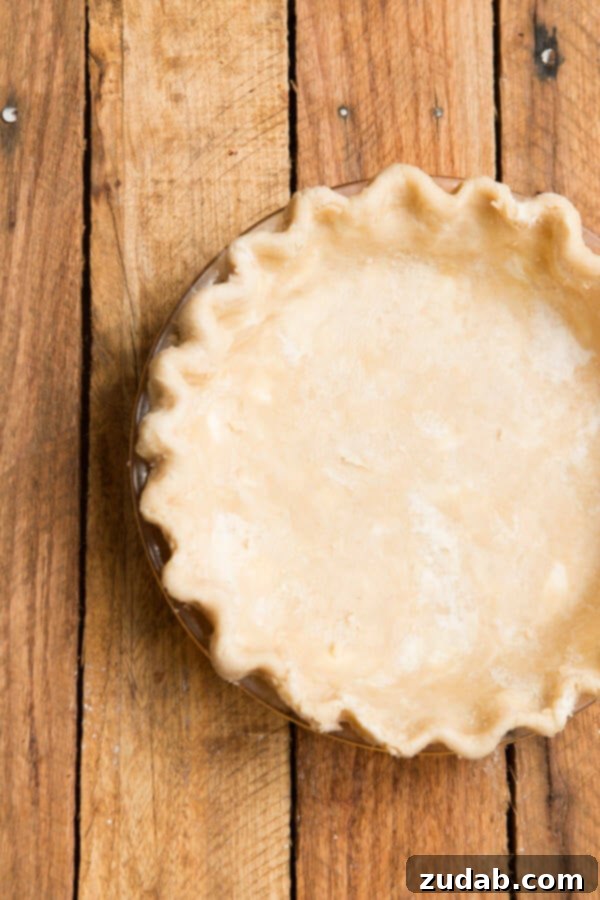
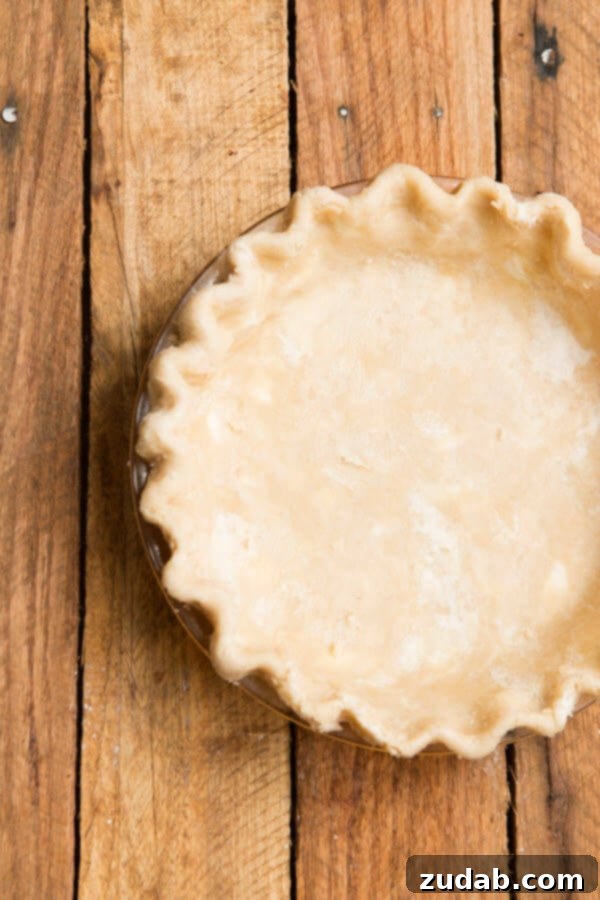
Every family has those cherished recipes passed down through generations, holding not just ingredients but memories and love. For our family, this extraordinary pie crust recipe is one such treasure. Originating from my Grandma, meticulously perfected by my mother, and now a beloved staple in my own kitchen, it’s truly a “magic” recipe. I’m dedicated to sharing this culinary legacy with my daughters, ensuring the tradition of perfect homemade pies continues. This is more than just a recipe; it’s the foundation for countless delicious desserts and a testament to timeless home baking.
If you’ve ever struggled with pie crusts – whether they’re tough, crumbly, or shrink excessively – then you’ve come to the right place. This “Mom’s Fail-Proof Magic Pie Crust” recipe is designed to eliminate those common baking frustrations, promising a tender, flaky, and easy-to-handle dough every single time. It’s the secret to achieving that coveted golden-brown, buttery base for any sweet or savory pie, transforming your baking from daunting to delightful.
A truly exceptional pie begins with an exceptional crust. While store-bought crusts offer convenience, they simply cannot replicate the delicate flakiness, rich flavor, and satisfying aroma of a homemade pie crust. Our recipe uses simple, accessible ingredients, but it’s the specific ratios and techniques—honed over decades—that make it genuinely “fail-proof.” It’s designed to be forgiving, making it perfect for both novice bakers and seasoned pros looking for a consistently excellent result.
Understanding Your Pie Dough: Essential Tips
Creating the perfect pie crust involves more than just mixing ingredients; it requires understanding the science behind the dough. Knowing how to store, thaw, and handle your pie dough can make all the difference between a tough, dry crust and a gloriously flaky one. Here, we delve into common questions and provide expert advice to ensure your homemade pie crust is always a success.
How Long Can You Freeze Pie Dough?
Freezing pie dough is a fantastic time-saver, allowing you to prepare ahead and have a homemade crust ready whenever the craving strikes. You can typically freeze pie dough for up to 3 months without compromising its quality. Proper storage is key to preventing freezer burn and maintaining its texture.
To freeze your pie dough effectively:
- **Wrap Tightly:** After forming your dough into a disc, wrap it thoroughly in plastic wrap. Ensure there are no air pockets, as exposure to air can lead to freezer burn.
- **Double Protection:** For an extra layer of protection, place the plastic-wrapped dough into a heavy-duty freezer bag or wrap it again in aluminum foil. Label the bag with the date to keep track of its freshness.
- **Thawing:** When you’re ready to bake, thaw the frozen dough in the refrigerator overnight. Avoid thawing at room temperature, as this can cause the fat to soften too much, making the dough sticky and difficult to roll.
- **Rolling Out:** Once thawed, it’s crucial to roll out the dough while it is still cold. Cold dough is less sticky and easier to manage, helping you achieve a smooth, even crust. If it feels too soft, pop it back into the fridge for 10-15 minutes.
Having frozen pie dough on hand means a delicious homemade pie is always within reach, simplifying your baking process and elevating your desserts.
What Makes Pie Dough Tough?
A tough pie crust is often the result of two main culprits: too much water or over-mixing the dough. Understanding why these factors lead to toughness is essential for creating a tender, flaky crust.
Here’s what you need to know:
- **Too Much Water:** While some moisture is necessary to bind the ingredients, excessive water activates gluten development in the flour. Gluten, a protein network, provides elasticity and strength, which is desirable in bread but detrimental in pie crusts. Too much water makes the dough sticky, requiring more flour during rolling, which can further dry out and toughen the crust.
- **Over-mixing the Dough:** Similar to too much water, over-mixing also develops gluten. The more you work the dough, the more the gluten strands connect, resulting in a dense, chewy texture rather than a light, flaky one. Pie dough should be mixed just until the ingredients barely come together and hold when gently squeezed. You’ll see visible pieces of fat (shortening) in the dough, which is exactly what you want for flakiness.
- **Do Not Knead Pie Dough:** Unlike bread dough, pie dough should never be kneaded. Kneading is a technique specifically designed to develop gluten, which will inevitably lead to a tough crust. Handle the dough as little as possible to keep the gluten relaxed and the fat distinct. This minimal handling ensures a tender and flaky result.
By being mindful of these factors, you can avoid a tough pie crust and achieve the perfect delicate texture every time.
Why Does Pie Crust Crumble?
If your pie dough crumbles when you try to roll it out, it’s a clear sign that it is too dry. This lack of moisture prevents the ingredients from binding together adequately, leading to a frustrating experience. But don’t despair—it’s an easily fixable problem!
Here’s how to remedy crumbly pie dough:
- **Add Cold Water Gradually:** Gently sprinkle a very small amount of cold water over the crumbly dough. The key here is “cold” and “gradual.” Cold water helps keep the fat solid and prevents gluten development, while gradual addition ensures you don’t over-moisten the dough.
- **Integrate with Minimal Handling:** Use your hands to very lightly work the water into the dough, squeezing it gently to help it come together. Avoid kneading or excessive mixing. You’re simply trying to coax the crumbs into a cohesive mass.
- **Assess and Repeat:** If the dough still crumbles, add another tiny sprinkle of cold water and repeat the gentle mixing process. Continue this until the dough just holds together when pressed. It should feel pliable but not sticky.
This careful approach will transform your crumbly dough into a perfectly workable pie crust, ready to be rolled out into a smooth, tender base for your favorite pies.
How to Blind Bake and Avoid a Soggy Pie Crust
A soggy pie crust is a common baking disappointment, especially with custard or fruit fillings that release moisture during baking. Blind baking, or pre-baking your pie crust, is the most effective way to achieve a crisp, flaky bottom crust that stands up to any filling. It creates a barrier that prevents the filling’s moisture from turning your crust soft.
Here’s a detailed guide on how to blind bake a pie crust effectively:
- **Prepare the Dough:** Roll out your pie dough and fit it into your pie dish. Trim and crimp the edges as desired.
- **Chill Thoroughly (Crucial Step):** Place the pie dish with the fitted dough into the refrigerator or freezer for at least 30 minutes. Chilling the dough helps the fat firm up, which prevents the crust from shrinking excessively during baking.
- **Preheat Oven:** Preheat your oven to a relatively high temperature, usually between 375°F and 425°F (190°C to 220°C). The initial high heat helps set the crust quickly.
- **Dock the Dough:** Before baking, use a fork to prick holes all over the bottom and sides of the pie crust. This process, called “docking,” allows steam to escape during baking, preventing the crust from puffing up unevenly.
- **Use Pie Weights:** Line the chilled pie crust with parchment paper or aluminum foil, making sure it covers the edges to prevent them from burning. Fill the liner with pie weights, dried beans, or rice. The weights prevent the crust from bubbling up and help maintain its shape.
- **First Bake (Partial Blind Bake):** Bake for 15-20 minutes, or until the edges are lightly golden. The crust should still look somewhat pale in the center.
- **Remove Weights:** Carefully remove the pie weights and the parchment paper/foil.
- **Second Bake (Full Blind Bake, if needed):** If your recipe calls for a fully baked crust (e.g., for no-bake fillings like cream pies), return the crust to the oven and bake for another 10-15 minutes, or until the bottom is golden brown and appears dry.
- **Egg Wash (Optional for Added Protection):** For an extra layer of moisture protection and a beautiful golden sheen, brush the inside of the partially baked crust with a light egg wash (one egg beaten with a teaspoon of water). This creates a seal, further preventing sogginess. Return to the oven for 5-7 minutes after applying the egg wash, or until the wash is set.
- **Cool Completely:** Allow the blind-baked crust to cool completely on a wire rack before adding your filling. This stops the cooking process and prevents condensation that could lead to a soggy bottom.
By following these steps, you’ll achieve a perfectly crisp and flaky crust, ready to hold any delicious filling without the dreaded soggy bottom!
Mom’s Fail-Proof Magic Pie Crust: The Recipe
This recipe truly is magic! It yields two perfectly tender and flaky pie crusts, making it ideal for double-crust pies or for freezing one for later use. The combination of chilled shortening, an egg, and a touch of vinegar creates a dough that’s incredibly easy to work with and delivers consistent results every time. Follow these steps for a pie crust that will impress everyone.
Recipe Details
Yields: 2 crusts
Prep time: 15 minutes
Cook time: 20 minutes (for blind baking, actual cook time varies with pie recipe)
Total time: 35 minutes (plus chilling time)
Ingredients
- 3 cups All-Purpose Flour
- 1 teaspoon Salt
- 1 1/4 cups Shortening, well chilled
- 1 Egg
- 1 Tablespoon White Vinegar
- Ice Cubes
- Cold Water (approximately 1/2 cup)
Instructions
-
In a large mixing bowl, combine the 3 cups of flour and 1 teaspoon of salt. Add the 1 1/4 cups of chilled shortening. Using a pastry blender, two knives, or your fingertips, cut the shortening into the flour mixture until it resembles coarse cornmeal with some pea-sized pieces of shortening still visible. This is crucial for creating a flaky texture.
-
In a 1-cup liquid measuring cup, lightly beat the 1 egg. Stir in the 1 tablespoon of vinegar. The vinegar helps tenderize the crust by inhibiting gluten development, while the egg adds richness and helps bind the dough.
-
To the same measuring cup containing the egg and vinegar, add enough cold water to bring the total liquid volume up to exactly 1 cup. For best results, use water that has been chilled with a few ice cubes (remove the ice cubes before adding to the egg/vinegar mixture to ensure precise measurement). The colder the liquid, the better, as it keeps the shortening solid and prevents gluten formation.
-
Pour the wet ingredients (egg, vinegar, and cold water mixture) into the dry ingredients. Mix with a fork until just combined. The dough should still look shaggy and slightly crumbly, but when you squeeze a small amount, it should hold together. Avoid over-mixing; you want to work the dough as little as possible.
-
Gently use your hands to gather the dough and divide it into two equal balls. Flatten each ball slightly into a disc shape. This disc shape will make it easier to roll out later. Wrap one dough disc tightly in plastic wrap and then place it in a heavy-duty freezer bag for future use (it can be frozen for up to 3 months). The other disc is ready for immediate use.
-
On a lightly floured surface, take the dough disc you plan to use and roll it out with a rolling pin. Start from the center and roll outwards, rotating the dough periodically and adding a tiny sprinkle of flour if it sticks. Roll until it’s about 1/8 inch thick and large enough to fit your pie dish, typically an extra 1-2 inches larger than the dish diameter.
-
To transfer the rolled-out dough to your pie dish easily, gently fold it in half, then in half again (into a quarter circle). Carefully pick it up and place the folded point in the center of your pie dish. Unfold the dough, gently pressing it into the contours of the dish without stretching it. Stretching can cause the crust to shrink during baking.
-
Trim the edges of the dough to a uniform length, leaving about a 1/2 to 1-inch overhang beyond the rim of your pie dish, depending on your desired crimp. Fold the overhang under itself, creating a thicker edge.
-
Now, it’s time to crimp! You can pinch the dough between your fingers to form a classic zig-zag pattern, or use the tines of a fork to create a decorative edge. For a more detailed guide on crimping techniques, many online resources offer visual tutorials.
-
If your pie recipe requires blind baking (as is often the case for custard or fresh fruit fillings to prevent a soggy bottom), refer to the detailed “How to Blind Bake and Avoid a Soggy Pie Crust” section above for instructions on docking, weighting, and baking the crust before adding your pie filling. Otherwise, proceed with adding your pie filling and bake according to your specific pie recipe’s directions.
Recipe Notes
This “Mom’s Fail-Proof Magic Pie Crust” is incredibly versatile. It’s robust enough to hold up to juicy fruit fillings and delicate enough for creamy custard pies. Remember, the key to success with any pie crust is using cold ingredients and minimizing handling. If at any point your dough feels too warm or sticky, don’t hesitate to pop it back into the refrigerator for 10-15 minutes to firm up. A well-chilled dough is always easier to work with and ensures maximum flakiness.
For an extra golden-brown finish on your baked pie, you can brush the top crust with an egg wash (1 egg beaten with 1 tablespoon of water) just before baking. You can also sprinkle a little sugar on top for sweet pies for a delightful sparkle and slight crunch.
This recipe yields enough dough for two standard 9-inch pie crusts. If you only need one, remember to freeze the other dough disc as instructed. Having a pre-made dough disc in the freezer is a true game-changer for spontaneous baking! Just thaw it in the refrigerator overnight before rolling it out.
Nutrition (Approximate per 1 crust)
Please note that nutrition information is an approximation and can vary based on specific ingredient brands and preparation methods. These values are calculated for one crust, without any filling.
- Calories: 1848 kcal
- Carbohydrates: 143g
- Protein: 22g
- Fat: 132g
- Saturated Fat: 33g
- Polyunsaturated Fat: 37g
- Monounsaturated Fat: 54g
- Trans Fat: 17g
- Cholesterol: 82mg
- Sodium: 1203mg
- Potassium: 231mg
- Fiber: 5g
- Sugar: 1g
- Vitamin A: 119 IU
- Calcium: 43mg
- Iron: 9mg
Nutrition information is automatically calculated, so should only be used as an approximation.
Bake, Enjoy, and Share!
We absolutely love hearing from you and seeing your beautiful creations! If you tried this “Mom’s Fail-Proof Magic Pie Crust” recipe and loved it, please consider leaving a comment below with your feedback and a rating. Your insights are invaluable to other home bakers and help us continue to share delicious, reliable recipes with our community. Happy baking!