
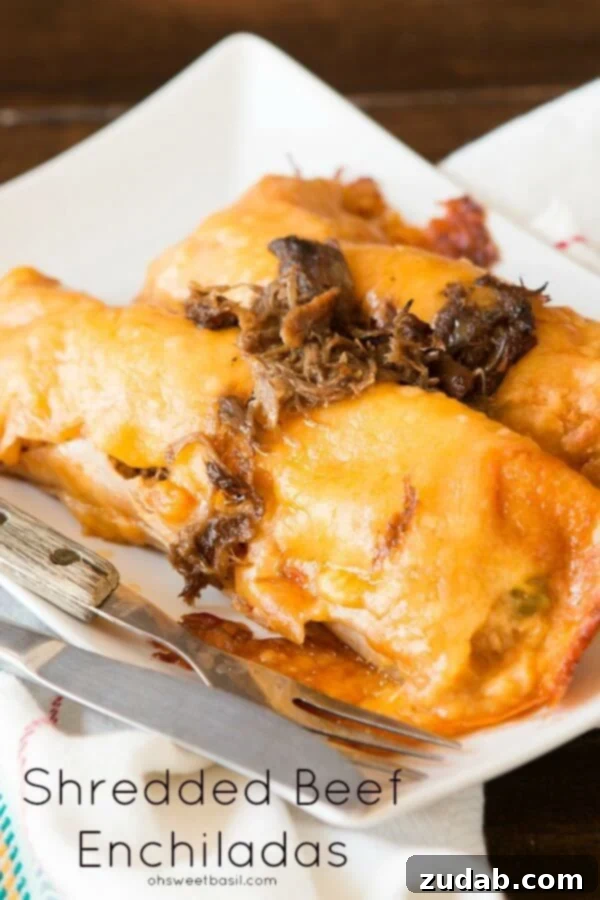
Leftovers can be truly remarkable, especially when they inspire a dish as flavorful and comforting as Shredded Beef Enchiladas, generously smothered in a rich salsa con queso. Get ready to elevate your dinner experience tonight!
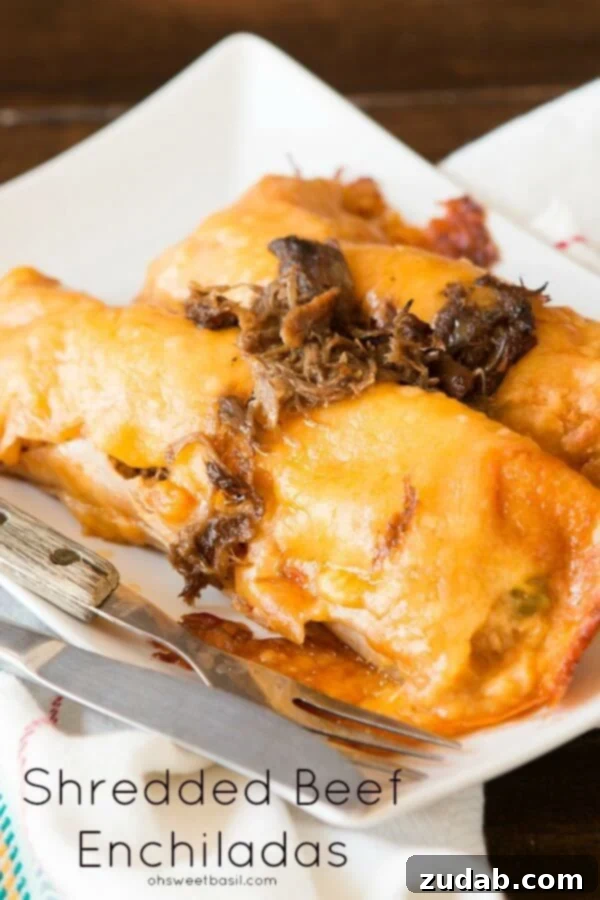
We all know the dilemma of leftovers. While a delicious Sunday roast is always a highlight, the thought of eating the same meal for three consecutive nights can quickly turn excitement into culinary fatigue. My husband, Cade, and I, along with our two daughters, often find ourselves in this exact predicament. As someone who works from home, I frequently rely on leftovers for lunch, meaning I experience that “same old, same old” feeling even more acutely. It’s simply too much of the same thing!
That’s why having a strategic plan for transforming leftover roast beef is essential in our household. A whole roast provides ample food for our family, but instead of monotonous repetition, we love to reimagine it. This could mean turning it into a hearty casserole, a comforting soup, or, as we’re celebrating today, incredible shredded beef enchiladas. And trust me, these aren’t just any enchiladas; these are a symphony of flavors that will make you forget they ever started as leftovers. It’s a culinary transformation that truly brings joy to the dinner table.
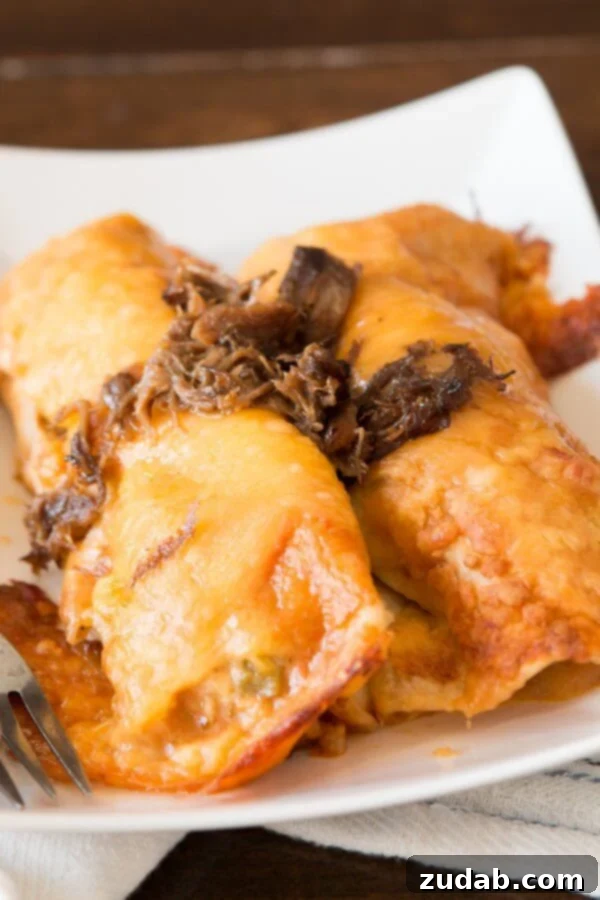
What sets these enchiladas apart and elevates them from simply “good” to “oh-my-goodness amazing” is the secret weapon: salsa con queso as the sauce. Forget traditional red or green enchilada sauces; the creamy, cheesy, and subtly spicy kick of salsa con queso adds a layer of indulgence that is simply irresistible. This is where the magic truly happens, turning a humble leftover into a restaurant-quality meal that will have everyone asking for seconds. It’s a game-changer for homemade enchiladas, offering a rich, velvety texture and a flavor profile that perfectly complements the savory shredded beef.
Our journey to these delectable enchiladas typically begins with our favorite 3 Ingredient Roast, which we often enjoy for Sunday dinner. However, any roast beef you prefer will work beautifully for this recipe. If you have another go-to recipe, like this one, feel free to use it. The key is to have tender, flavorful roast beef ready for its second act. The next day, the leftover roast gets a fantastic upgrade. We begin by reheating the shredded meat, then transfer it to a hot pan with a drizzle of olive oil. We let it cook, stirring occasionally, until the edges achieve a delightful crispiness. This step is crucial, as it adds a wonderful texture contrast to the tender beef inside the enchiladas, ensuring every bite is a delightful experience. The slight char and crispy bits bring an extra dimension of flavor that distinguishes these enchiladas from ordinary ones.
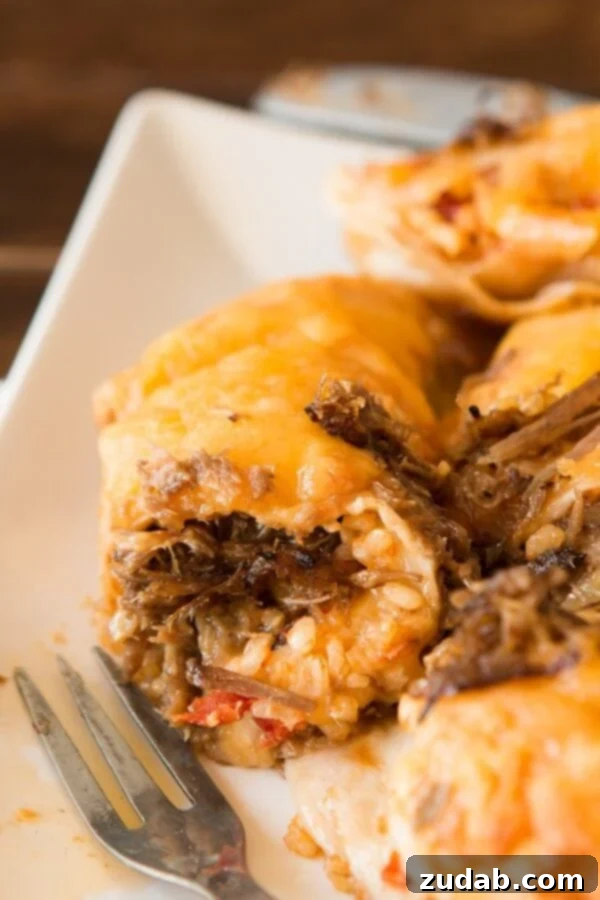
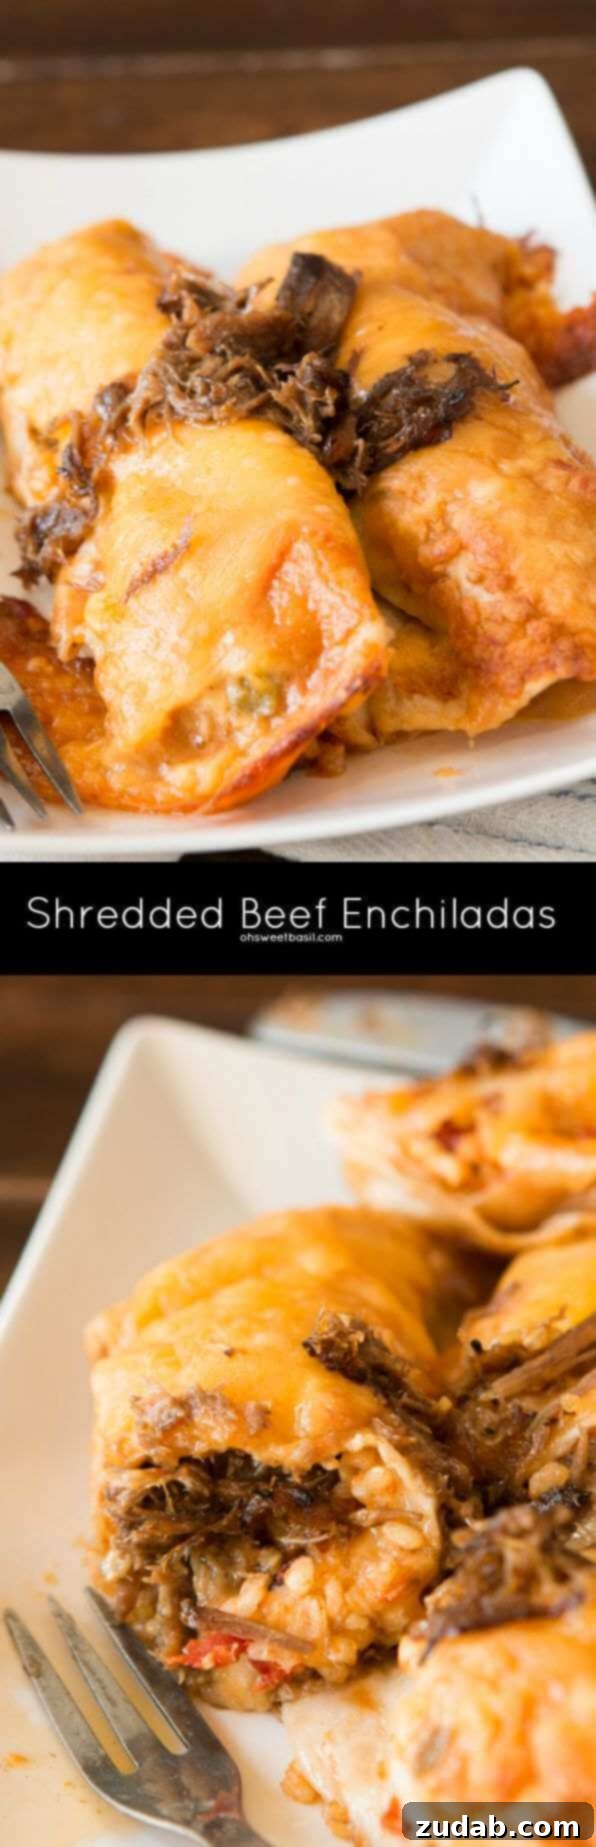
Once your beef is perfectly crisped, it’s time for assembly! Each enchilada begins with a freshly cooked flour tortilla. The warmth and flexibility of fresh tortillas are unbeatable, providing the ideal wrap for our rich filling. If using pre-cooked tortillas, a quick warm-up in a very hot pan or microwave is essential to prevent cracking when rolling. On each warmed tortilla, we layer a generous portion of rice, ideally cooked with Mexican tomatoes for an extra burst of authentic flavor. Sometimes we add a spoonful of drained pinto or black beans for added substance and fiber, followed by a sprinkle of shredded cheese and, of course, our deliciously crisped shredded beef. We then meticulously roll the tortilla, ensuring all the wonderful ingredients are tucked snugly inside, and place it seam-side down in a baking dish. The bottom of the baking dish should already have a thin layer of salsa con queso, setting the stage for the creamy, cheesy goodness to come. This initial layer ensures the bottom of the enchiladas also gets coated in that irresistible sauce, preventing them from sticking and adding flavor from every angle.
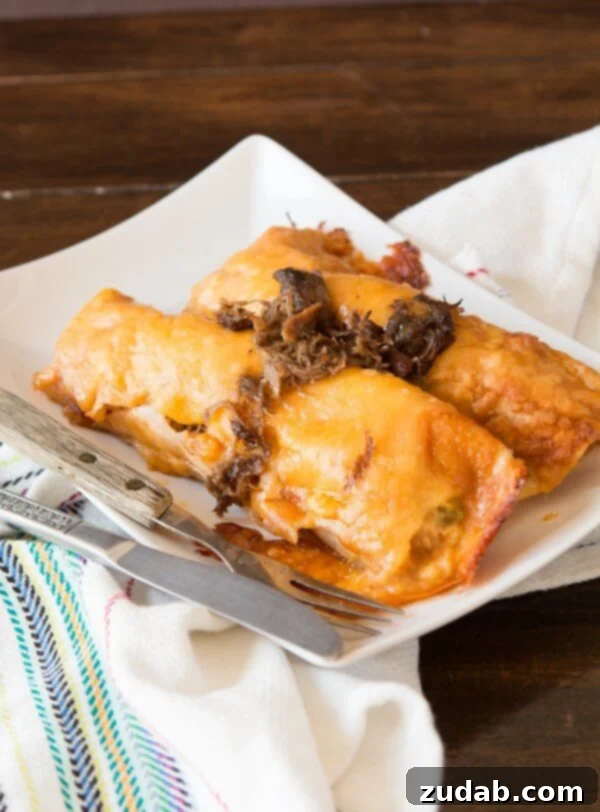
After all the enchiladas are neatly arranged in the baking dish, it’s time for the grand finale: coating them in even more of that glorious salsa con queso, followed by a generous blanket of shredded cheddar cheese. This top layer will melt into a golden, bubbling crust, sealing in the flavors and creating an inviting appearance. Pop the dish into a preheated oven at 350°F (175°C) and bake for 20-30 minutes, or until the sauce is bubbling and the cheese is beautifully golden and melted. One of the many reasons we adore enchiladas is their incredible versatility. You can customize them endlessly to suit your taste and what you have on hand. Want a lighter meal? Serve them with a simple side salad. Craving more carbs? Add extra rice and beans inside or serve them as a hearty side. Prefer a spicy kick? Incorporate some jalapeños into the filling or add a dash of hot sauce to your salsa con queso. The possibilities truly are boundless, making enchiladas a perennial family favorite that never gets old.
Choosing the Best Cuts for Shredded Beef
To achieve perfectly tender, shreddable beef for your enchiladas, selecting the right cut of meat is paramount. Certain cuts are naturally better suited for slow cooking methods that break down tough connective tissues, resulting in succulent, fall-apart meat. The most commonly recommended cuts for shredded beef include:
- Chuck Roast: This is arguably the most popular choice for shredded beef due to its rich marbling and connective tissue, which renders down beautifully during long cooking times, producing incredibly tender and flavorful results.
- Rump Roast: Also known as bottom round roast, rump roast is leaner than chuck but can still be effectively shredded when cooked slowly with ample moisture. It’s a great option for those seeking a less fatty shredded beef.
- Flank Steak: While typically grilled or stir-fried, flank steak can be thinly sliced against the grain and slowly cooked to achieve a tender, shreddable texture, though it requires more careful attention to avoid dryness.
- Skirt Steak: Similar to flank steak, skirt steak is known for its intense beefy flavor. When cooked low and slow, it can become wonderfully tender and easy to shred, making it excellent for flavorful fillings like these enchiladas.
No matter which cut you choose, ensure it’s cooked until fork-tender, indicating that the collagen has broken down sufficiently for easy shredding.
Making Shredded Beef in a Slow Cooker: A Simple Approach
A slow cooker is an absolute lifesaver when it comes to preparing shredded beef. It offers a convenient, hands-off, and consistently perfect way to achieve that melt-in-your-mouth tenderness with minimal effort. Here’s how you can make delicious shredded beef in your slow cooker:
- Preparation: Place your chosen roast beef cut directly into the slow cooker. You can add a small amount of liquid, such as beef broth, water, or even some leftover marinade, to keep the meat moist and flavorful. Season generously with your favorite spices – think garlic powder, onion powder, cumin, chili powder, and a good amount of salt and black pepper.
- Cooking Time: Cook the roast on low heat for 8-10 hours, or on high heat for 4-6 hours. The exact time will depend on the size and thickness of your roast, as well as your slow cooker’s efficiency. The goal is for the meat to be incredibly tender, easily shredding with two forks without resistance.
- Shredding: Once cooked, remove the roast from the slow cooker and place it on a large cutting board. Using two forks, pull the meat apart until it’s fully shredded. You can then return the shredded beef to the slow cooker with some of the cooking liquid to keep it moist and infuse it with even more flavor. This method is not only simple but also ensures a deeply flavored and perfectly tender shredded beef every time, making it ideal for these enchiladas.
Reheating Shredded Beef Enchiladas for Optimal Freshness
One of the beauties of enchiladas is that they often taste even better the next day, once the flavors have had more time to meld. Reheating them properly is key to maintaining their deliciousness and ensuring a warm, gooey result. Here’s the best way to reheat your shredded beef enchiladas:
- Preheat Your Oven: Set your oven to 350°F (175°C). This moderate temperature allows the enchiladas to heat through evenly without drying out.
- Cover with Foil: Place the enchiladas in an oven-safe dish and cover them tightly with aluminum foil. This prevents the tortillas from becoming crispy or hard and helps retain moisture, ensuring the sauce stays creamy and the cheese melts perfectly.
- Reheat Time: Bake for 20-30 minutes. For larger portions or if reheating directly from the refrigerator, you might need an extra 5-10 minutes. The enchiladas are ready when the sauce is bubbling around the edges and the center is thoroughly heated.
- Optional Broil: For an extra golden-brown, bubbly cheese topping, you can remove the foil for the last 5 minutes of baking and turn on the broiler for 1-2 minutes, watching carefully to prevent burning.
By following these steps, you’ll enjoy perfectly reheated enchiladas that are just as satisfying as when they were first made.
Shredded Beef Enchiladas Recipe
No ratings yet
Shredded Beef Enchiladas
Print Recipe
Ingredients
- 3 Cups Shredded Beef (use leftovers from this recipe)
- 2 Cups Rice, cooked
- 1 Can Mexican Tomatoes, drained
- 1 Can Pinto or Black Beans, drained
- 1 Jar Salsa Con Queso
- 4 Cups Shredded Cheddar Cheese, divided
- 10 Flour Tortillas
- Sour Cream and Pico de Gallo for serving
Instructions
-
Preheat your oven to 350°F (175°C). Lightly grease a 9×13″ baking pan with nonstick spray and spread 1/2 cup of salsa con queso evenly over the bottom. This creates a flavorful base and prevents sticking.
-
Gently heat your