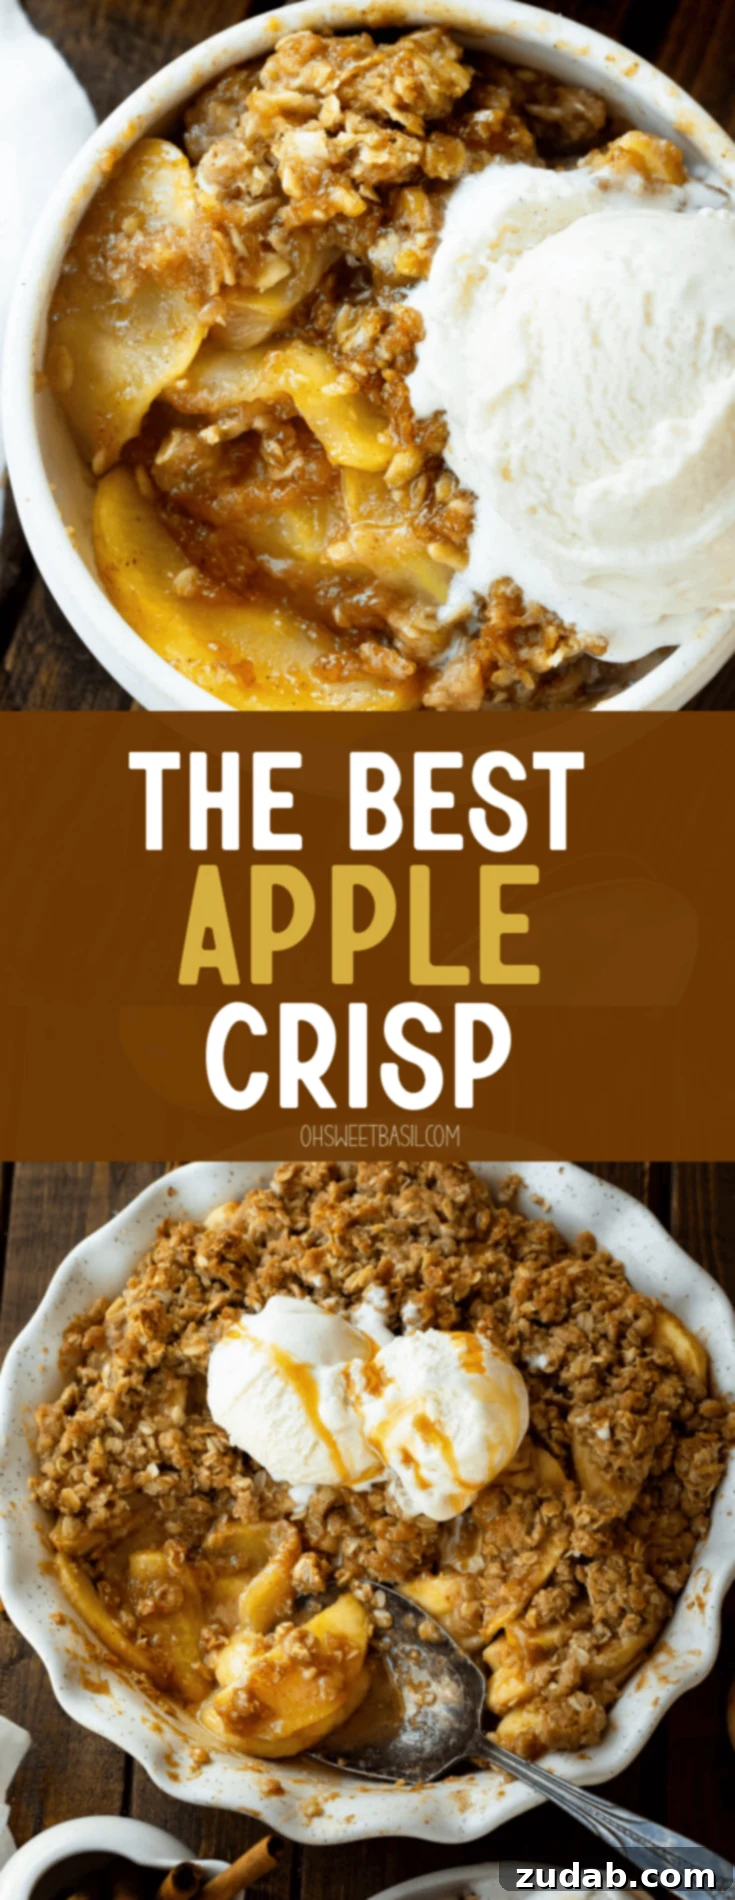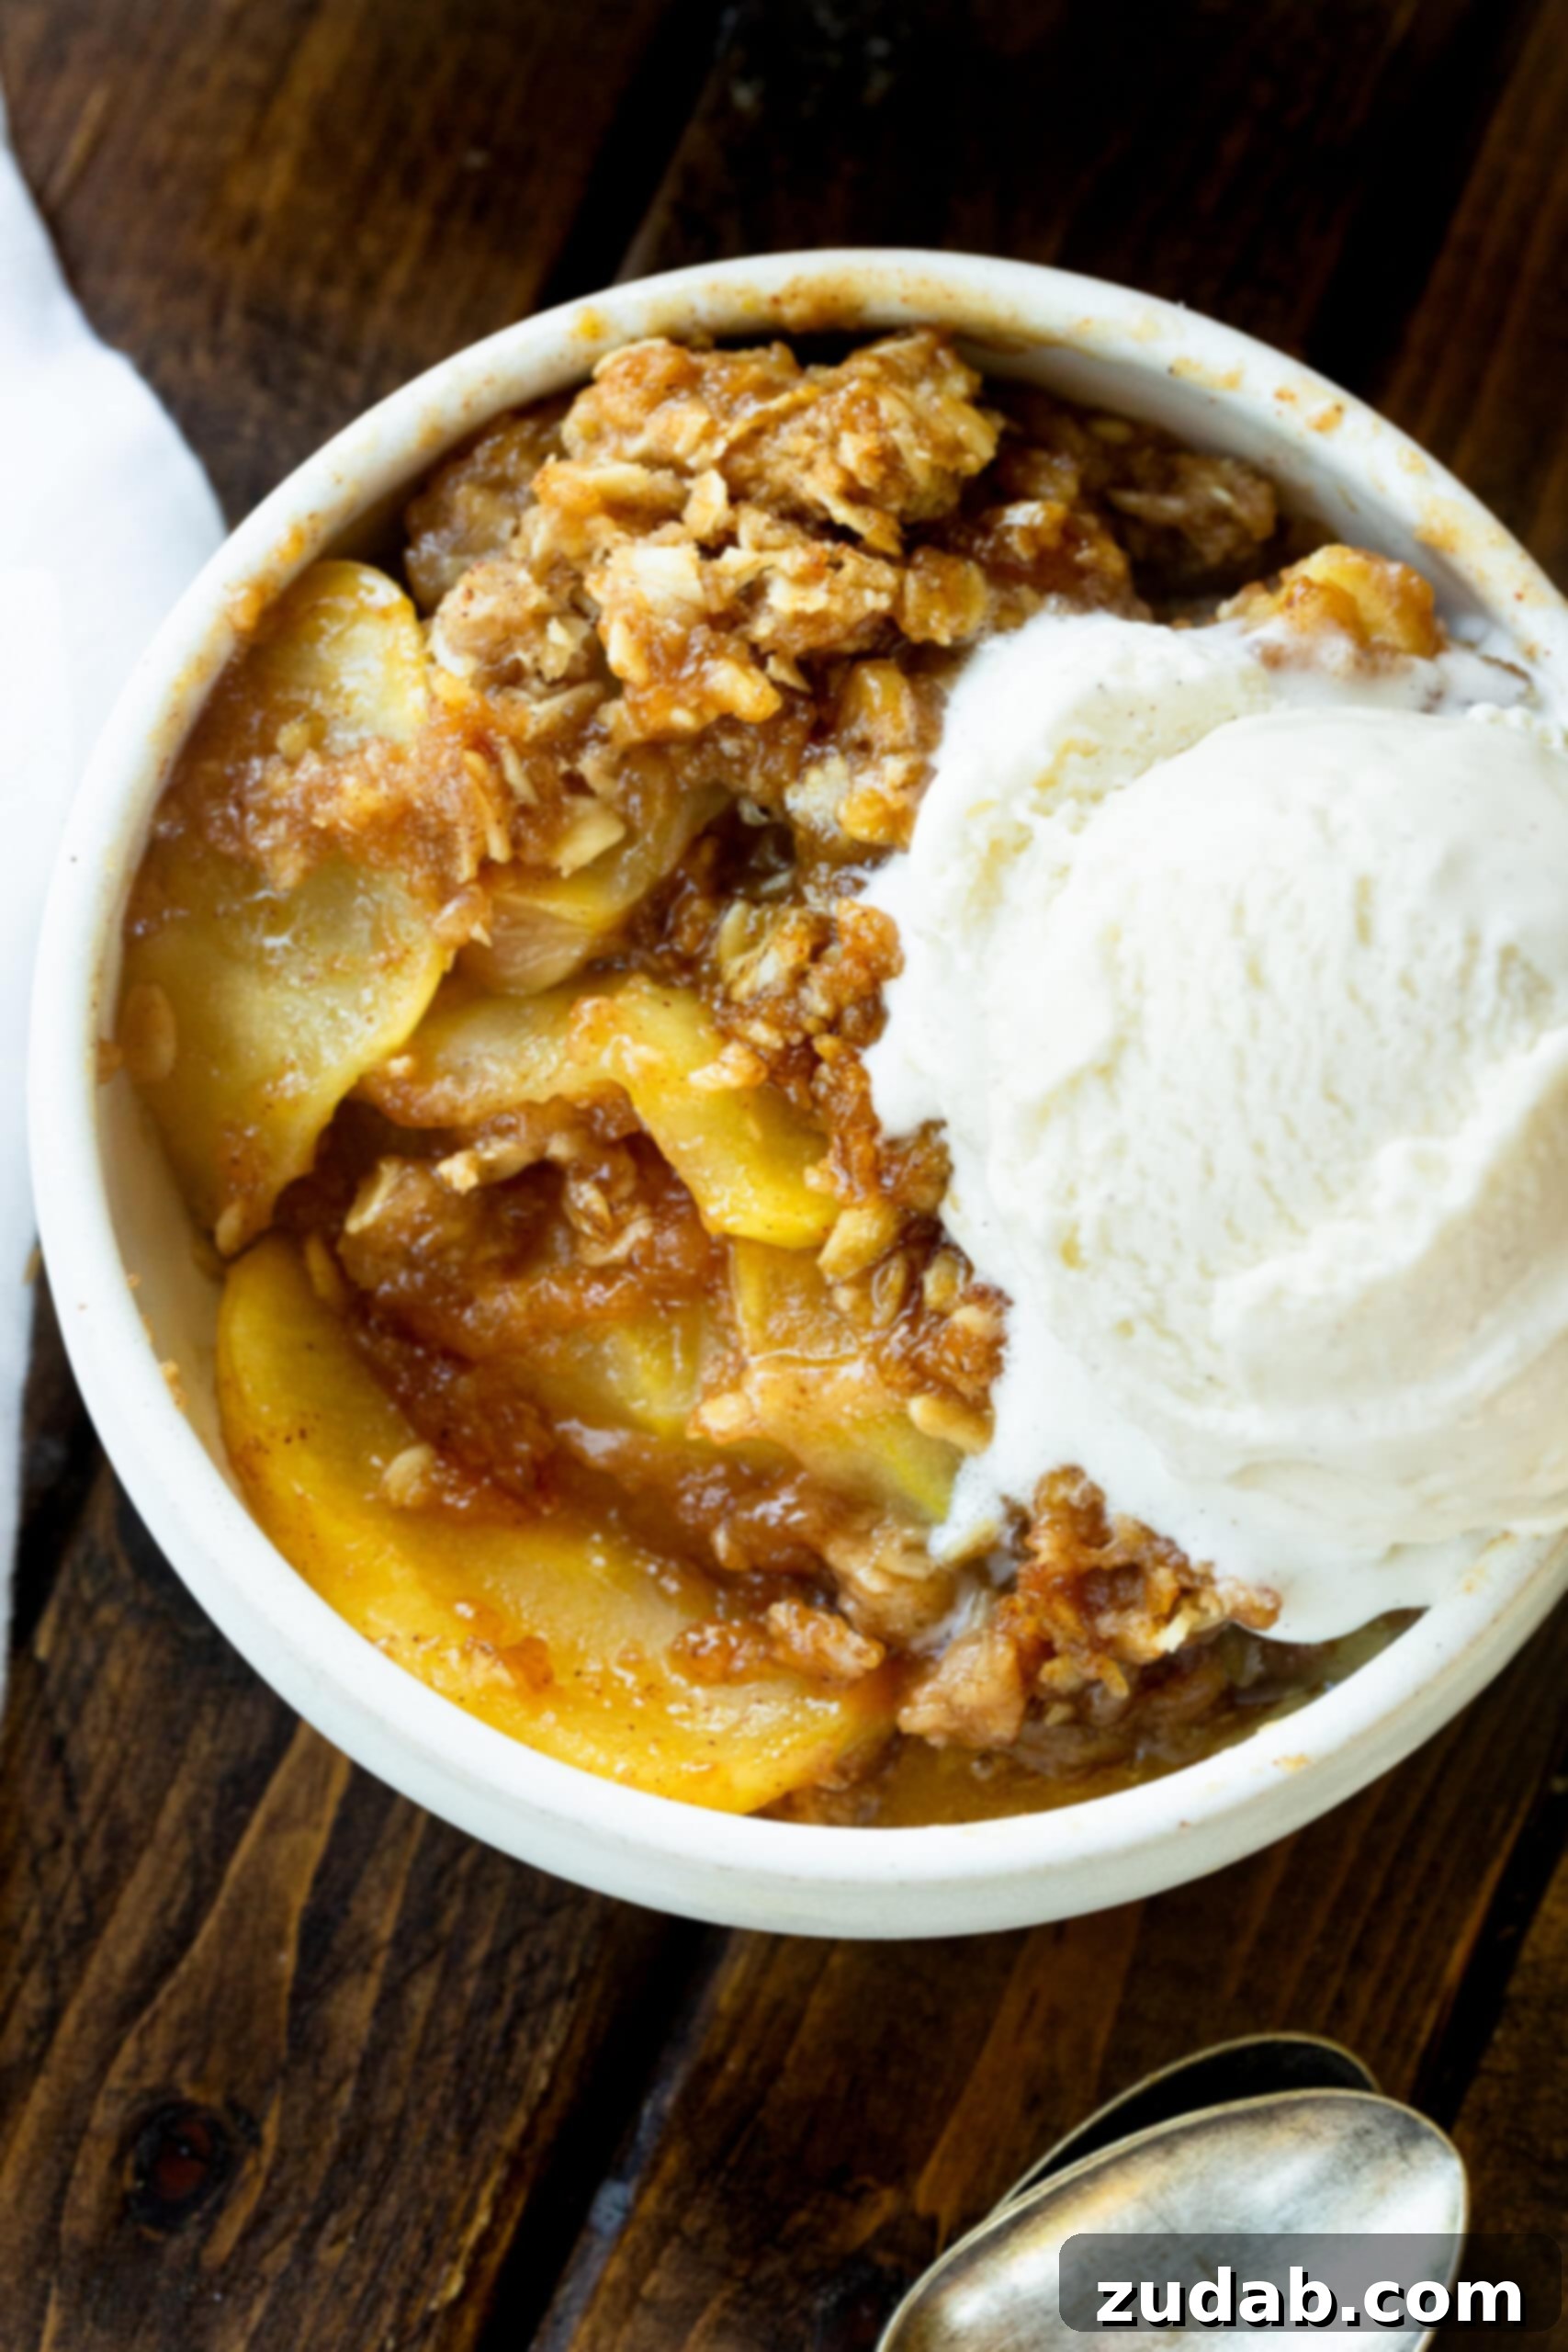
Welcome to a culinary journey that promises to redefine your expectations of a classic comfort dessert. We’ve explored countless recipes, but this one stands out as undeniably the best apple crisp recipe you’ll ever make. Its unparalleled flavor and texture, combined with the convenience of being made ahead or even frozen, make it a true kitchen gem. Imagine tender, spiced apples enveloped in a rich, caramel-like sauce, crowned with a buttery, cinnamon-oat topping reminiscent of a giant, irresistible oatmeal cookie. This isn’t just an apple crisp; it’s an experience – seriously, the best apple crisp recipe there is.
The Quest for the Ultimate Apple Crisp Recipe
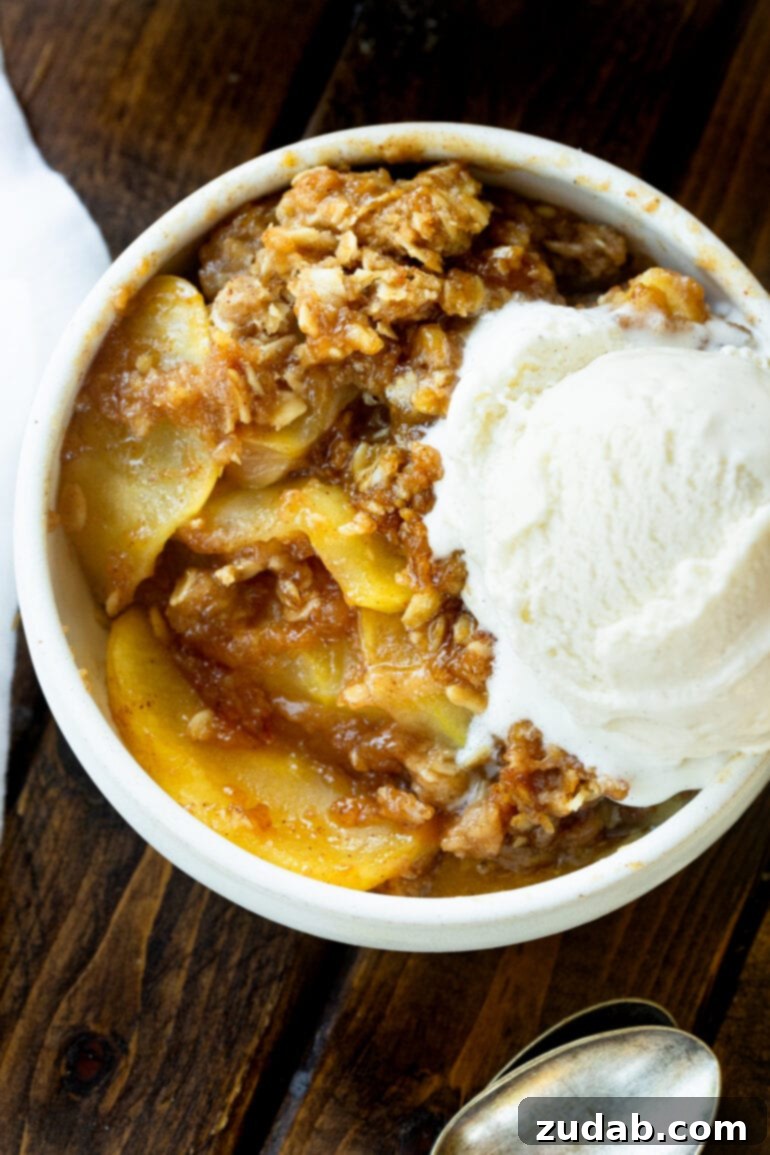
The autumn season ushers in a bounty of apples, and with them, a deluge of apple crisp recipes flooding our social media feeds. It might seem bold to claim ours is the “best,” but a single bite will reveal why we’re so confident. There’s something inherently comforting about a warm, bubbling apple crisp, especially when paired with a generous scoop of creamy, melting vanilla ice cream. While my partner, Cade, enjoys drizzling a decadent caramel sauce or dulce de leche over his, I’m a traditionalist. I prefer mine just as I remember it from childhood – a timeless classic that evokes warmth and nostalgia.
Growing up, crisps and cobblers were almost as beloved in my family as musical theater. There’s an undeniable magic to both, bringing people together for moments of pure joy. If you haven’t indulged in the delightful experience of a homemade apple crisp, now is the perfect time. Settle in with your favorite musical, and let this incredible homemade apple crisp become your new go-to fall dessert. It’s a recipe designed to create lasting memories and satisfy every sweet craving.
Essential Ingredients for a Heavenly Homemade Apple Crisp
This exquisite easy apple crisp recipe is elegantly divided into two equally delightful components: the sweet, spiced apple filling and the crunchy, buttery oat topping. Each part plays a crucial role in creating a harmonious blend of flavors and textures that make this dessert truly exceptional.
For the soul-satisfying apple filling, you’ll need a selection of high-quality ingredients that come together to form a rich, caramelized base:
- Fresh, crisp Apples (we’ll dive into the best varieties shortly)
- Unsalted Butter, melted, for richness and depth
- All-purpose Flour, to create that luxurious, thick sauce
- Fresh Lemon Juice, to balance the sweetness and prevent browning
- Heavy Cream, for an incredibly smooth and decadent texture
- Pure Vanilla Extract, to enhance the overall aroma and flavor
- Brown Sugar, offering deep, molasses-rich sweetness
- Granulated Sugar, for classic sweetness
- Ground Cinnamon, the quintessential fall spice
- Ground Nutmeg, for an added layer of warm, aromatic complexity
- A pinch of Salt, to highlight all the sweet and spice notes
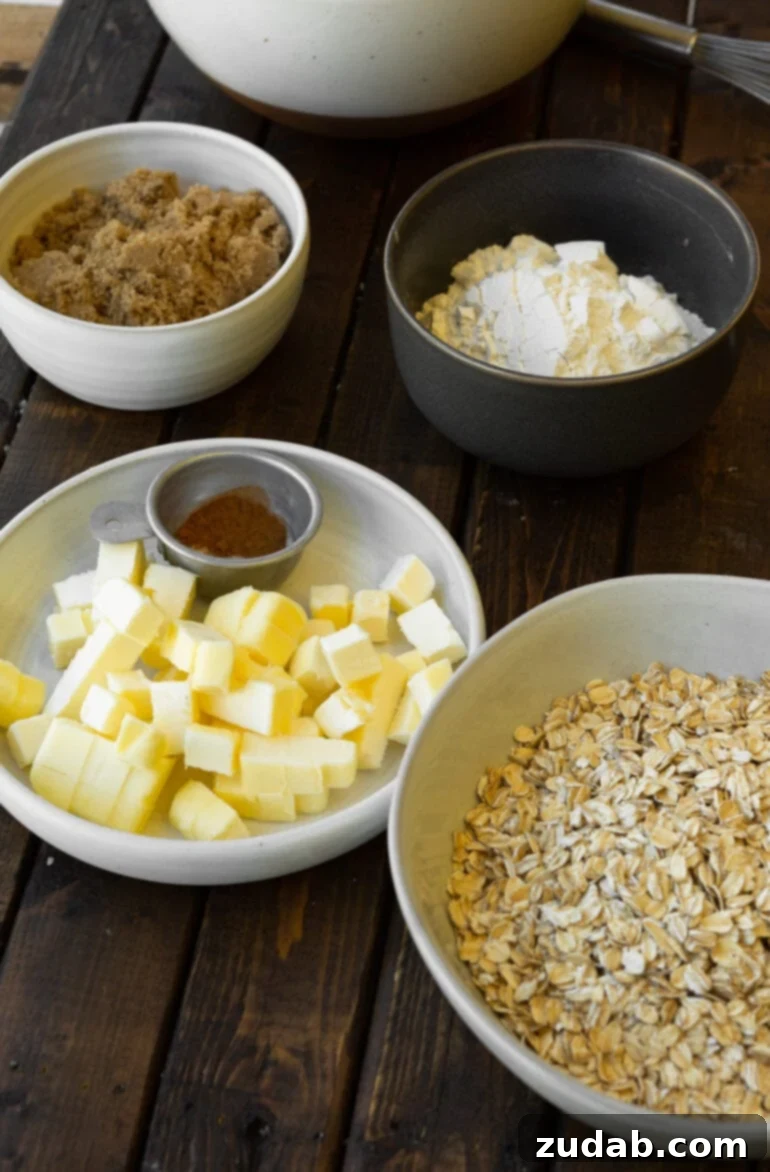
And for the irresistible crisp topping, which tastes like a giant cinnamon oatmeal cookie, gather these pantry staples:
- All-purpose Flour, providing the structure for the crumble
- Old-Fashioned Rolled Oats, for that signature crisp texture and nutty flavor
- Brown Sugar, contributing to the topping’s rich, sweet caramelization
- Ground Cinnamon, to infuse the topping with warm spice
- A dash of Salt, balancing the sweetness and enhancing flavor
- Cold Unsalted Butter, cut into small cubes, essential for a perfectly crumbly texture
We’ve deliberately kept true to the essence of a classic homemade apple crisp, believing that some traditions are best honored. The precise measurements for each ingredient are thoughtfully detailed in the comprehensive recipe card located at the end of this post, ensuring you have all the information needed for baking success.
Choosing the Perfect Apples for Baking Success
The foundation of any truly great easy apple crisp is, naturally, the apples themselves. When selecting fruit for this recipe, your primary goal is to choose apples that will maintain their structural integrity during the baking process, preventing a mushy, unappetizing result. Aim for varieties known for their firm flesh and ability to hold up under heat.
Excellent choices for baking include:
- Granny Smith: A classic for good reason. Its tartness provides a fantastic counterpoint to the sweetness of the crisp, and its firm texture ensures it won’t break down too much.
- Honeycrisp: As its name suggests, this apple offers a delightful crispness and a perfectly balanced sweet-tart flavor. It holds its shape beautifully and adds a lovely juiciness.
- Jonagold: A cross between Jonathan and Golden Delicious, Jonagold apples are juicy, sweet, and slightly tart. They have a firm flesh that becomes wonderfully tender when baked.
- Braeburn: Known for its crisp texture and robust, tangy-sweet flavor, Braeburn apples are excellent in baked goods, retaining their shape and offering a complex taste.
- Pink Lady (Cripps Pink): These apples are sweet-tart with a firm, crisp texture that stands up well to baking. They also have a beautiful pink blush that can add visual appeal to your dish.
For an even more dynamic and complex flavor profile, consider using a blend of baking apples. For example, I often love to combine a few tart Granny Smith apples with a few sweeter varieties like Honeycrisp or Gala. This pairing offers the best of both worlds: the vibrant tanginess that cuts through the richness, and the subtle sweetness and unique aromatics that elevate the entire dessert. Experiment with different combinations to discover your personal favorite!
Step-by-Step Guide to Crafting Your Apple Crisp Perfection
Creating this homemade apple crisp is surprisingly straightforward, guaranteeing a delicious outcome with minimal fuss. Follow these simple steps for a dessert that tastes like it came from a gourmet bakery.
- Preparation is Key: Begin by preheating your oven to 350°F (175°C). Lightly grease or spray an 8×8 inch (20×20 cm) baking dish with nonstick spray. This prevents sticking and ensures easy serving. Next, meticulously peel your chosen apples, core them, and slice them thinly and uniformly. Consistency in slicing is crucial for even cooking and a delightful texture.
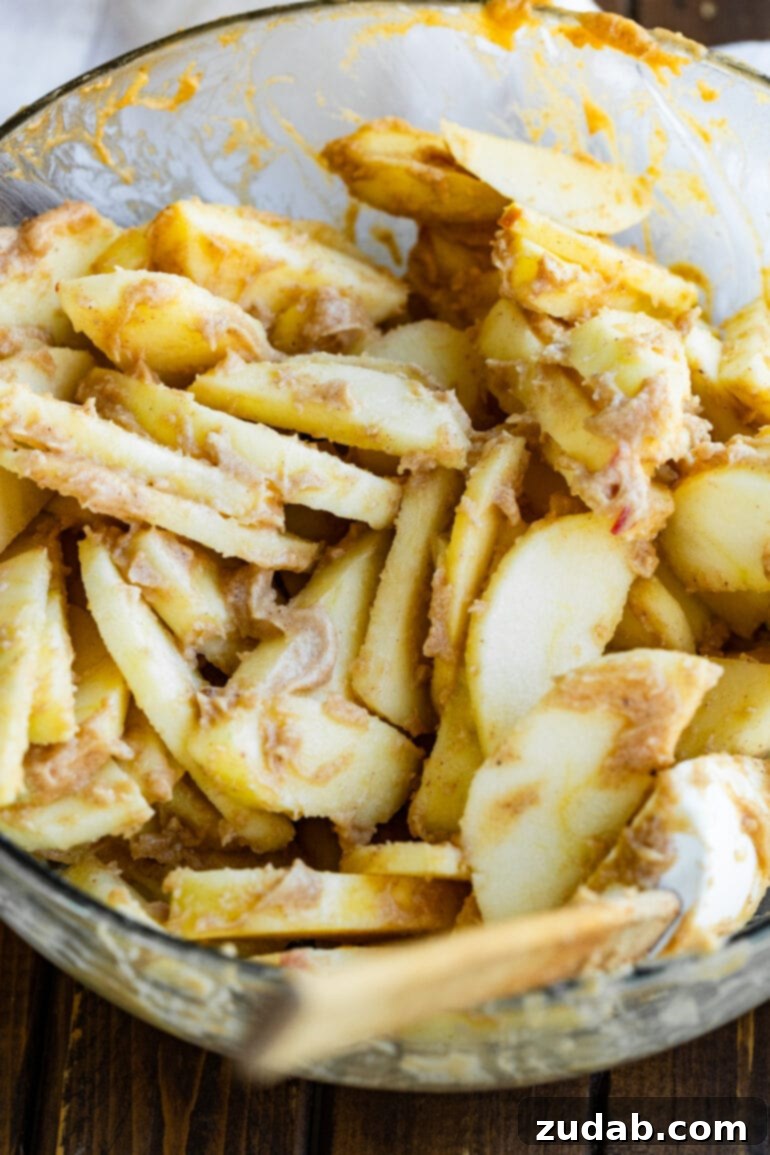
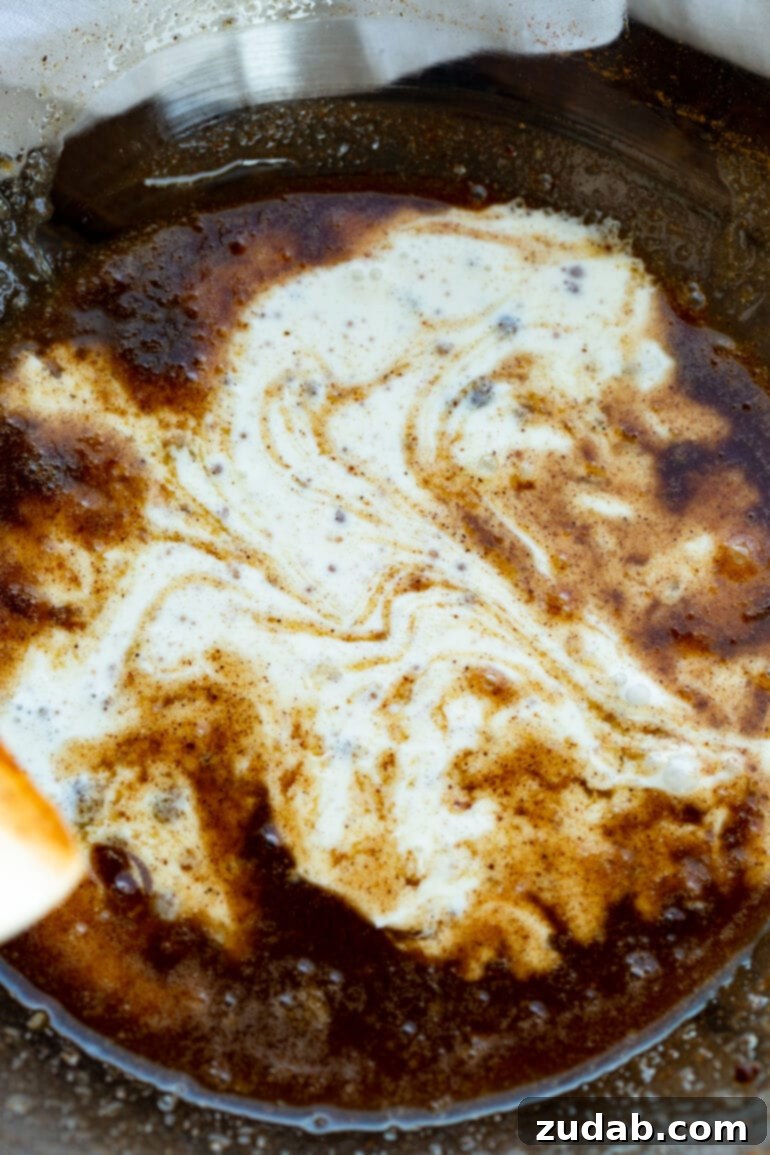
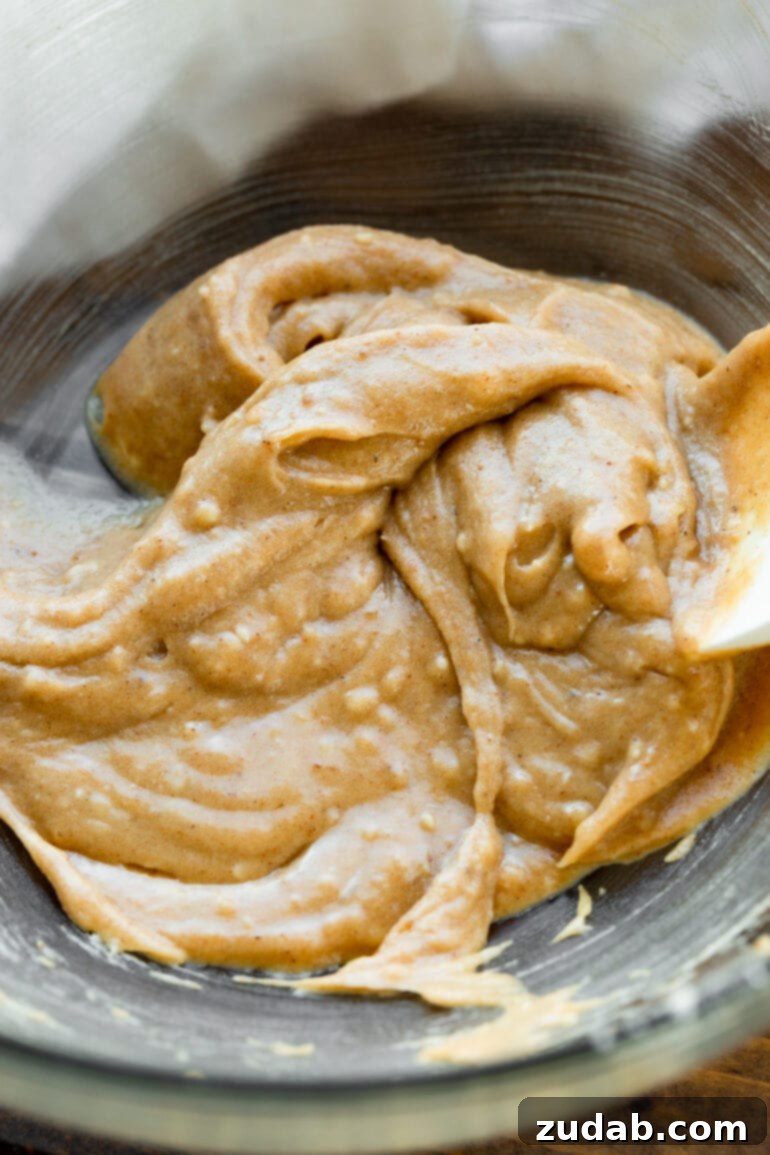
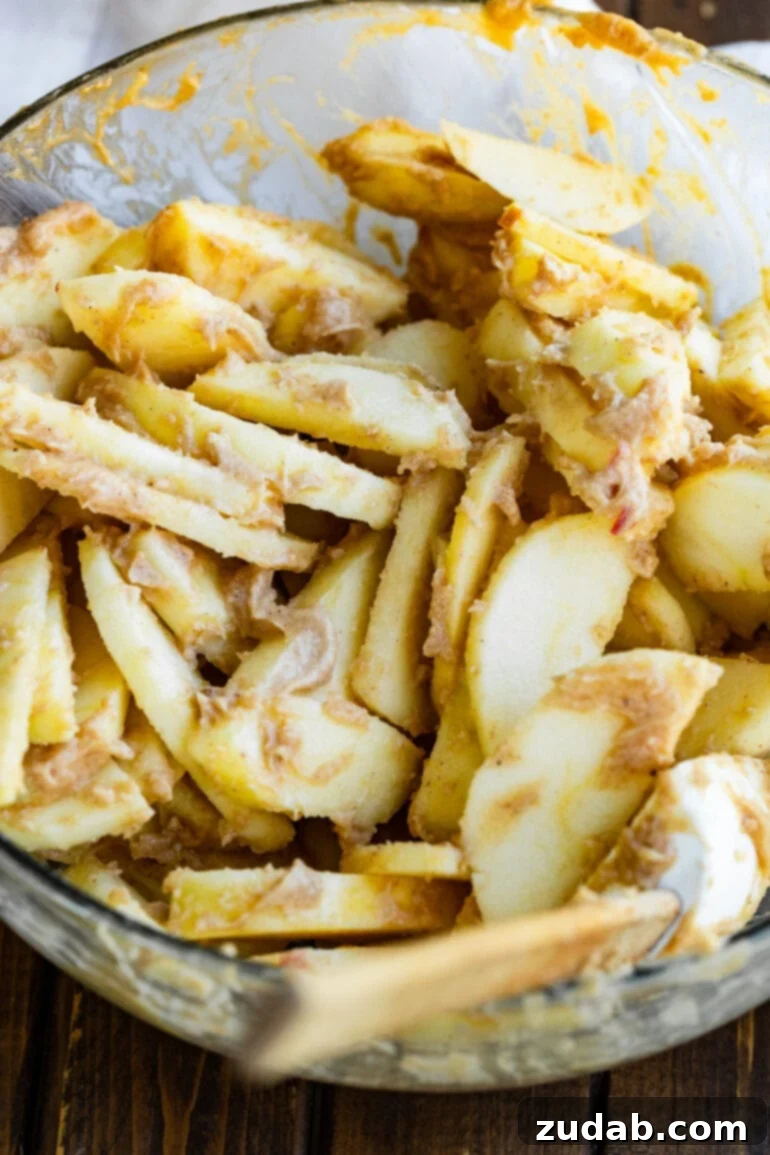
- Crafting the Luscious Apple Filling: In a large mixing bowl, combine the melted butter, flour, fresh lemon juice, rich heavy cream, and pure vanilla extract. Whisk these ingredients together until the mixture is smooth and well-incorporated. This forms the base of your saucy apple coating. Then, add the brown sugar, granulated sugar, ground cinnamon, nutmeg, and a dash of salt to the mixture, whisking again until smooth and fragrant. Gently fold in your prepared apple slices, ensuring each piece is thoroughly coated in this delectable, caramel-like sauce. Spread the coated apples evenly across the bottom of your prepared baking dish.
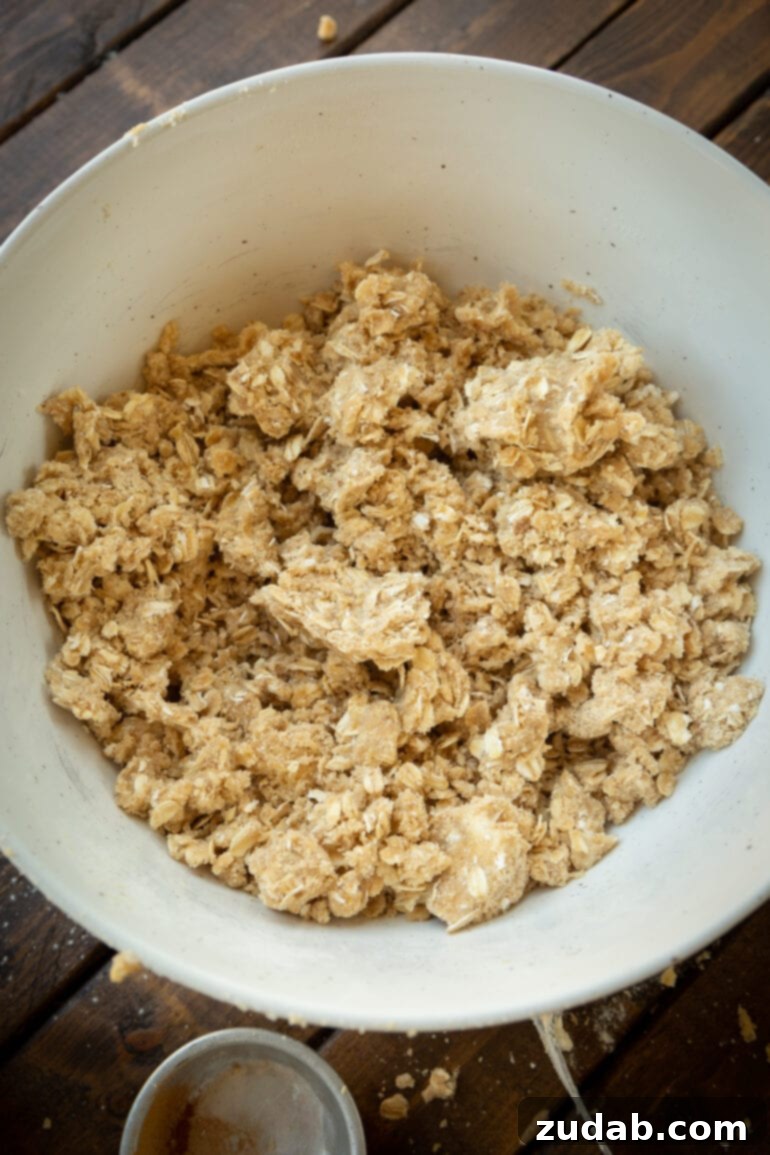
- Assembling the Irresistible Crisp Topping: In a separate bowl, combine the flour, old-fashioned oats, brown sugar, cinnamon, and salt. Whisk briefly to ensure they are well mixed. Now, add the cold, cubed unsalted butter. Using a pastry cutter (or two knives), begin cutting the butter into the dry ingredients.
- PRO TIP for the Perfect Topping: As the butter gradually incorporates into the mixture and the pieces become smaller, switch to using your hands. Squeeze and rub the mixture between your fingers. This allows the warmth of your hands to slightly melt the butter, creating delicious clumps of dough. Continue until no dry flour remains and the mixture resembles a very thick, coarse dough. We adore those buttery, crunchy clusters, so I actively squeeze together small clots of dough to sprinkle generously over the apple filling.
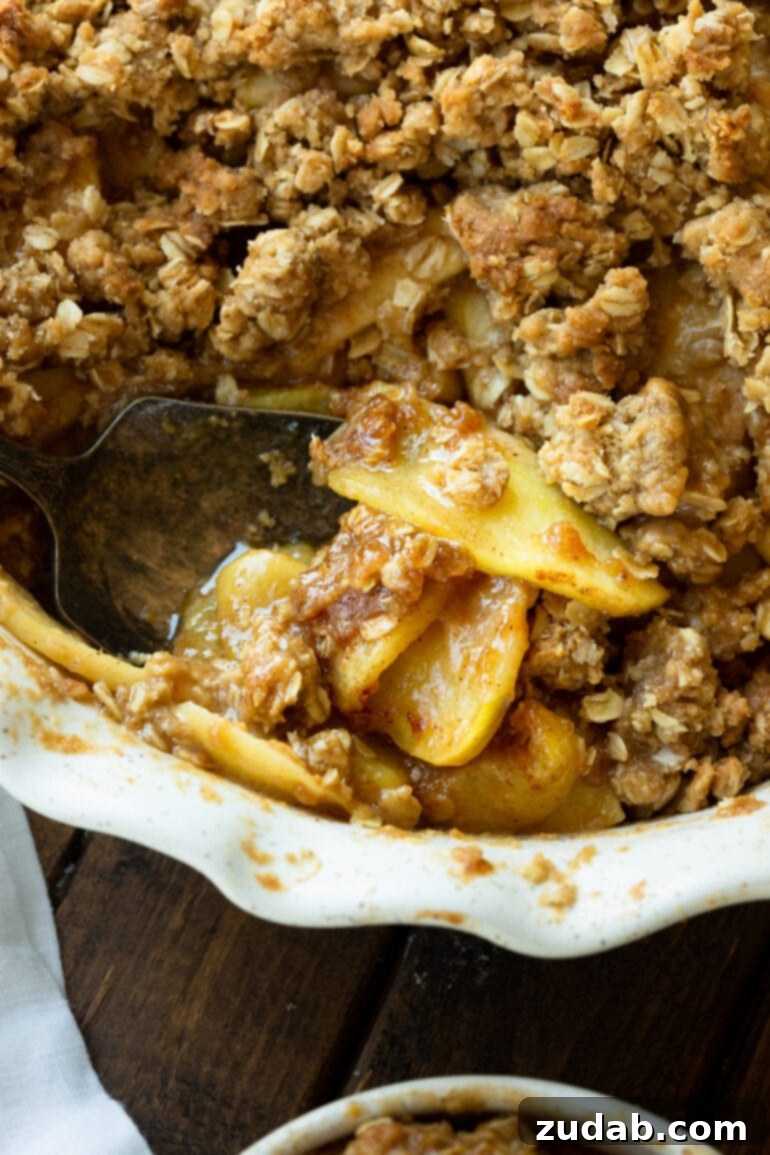
- Bake to Golden Perfection: Evenly distribute the prepared oat topping over the apple filling in the baking dish. Cover the baking dish tightly with aluminum foil. Bake for approximately 25 minutes. This initial covered baking period allows the apples to soften and create their delightful sauce without the topping browning too quickly. After 25 minutes, remove the foil and continue baking for another 20-30 minutes, or until the topping is beautifully golden brown and the apple filling is bubbling enticingly around the edges.
- The Art of Waiting: This step is crucial! Once removed from the oven, the apple crisp will be molten hot. Resist the urge to dive in immediately. Allow it to cool and set for 5-10 minutes. This resting period not only prevents burns but also allows the sauce to thicken slightly, making for a more enjoyable serving experience.
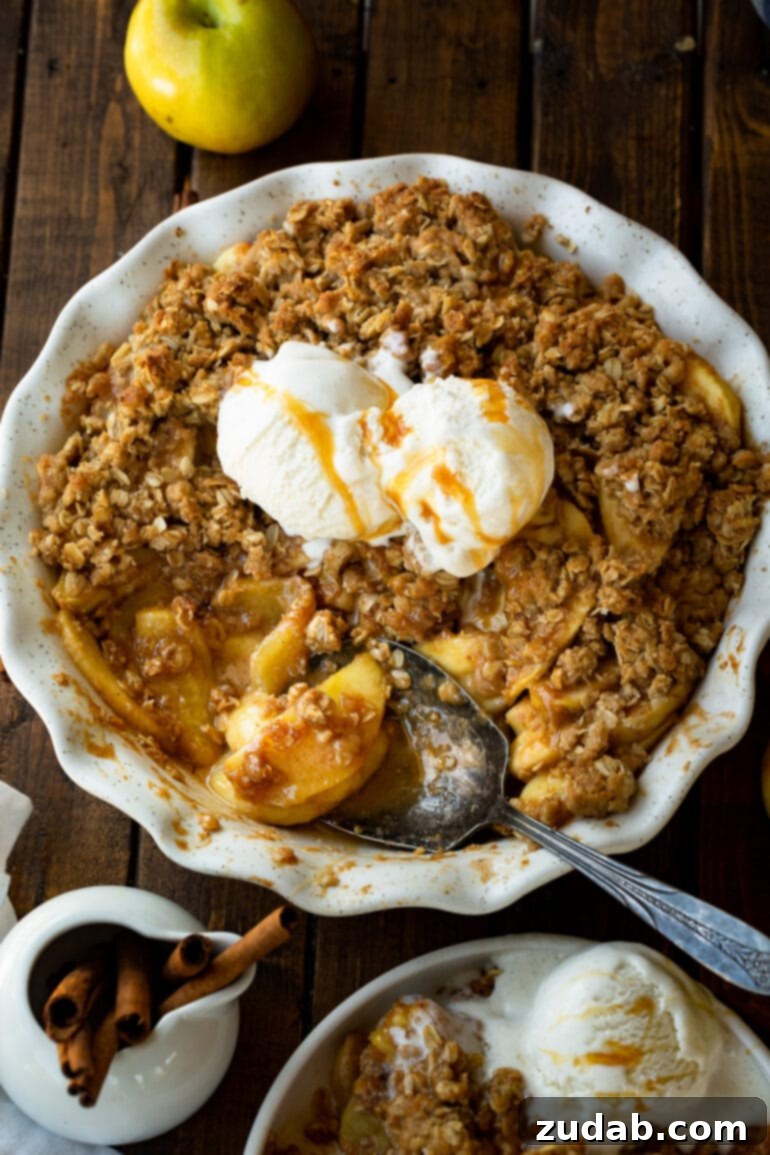
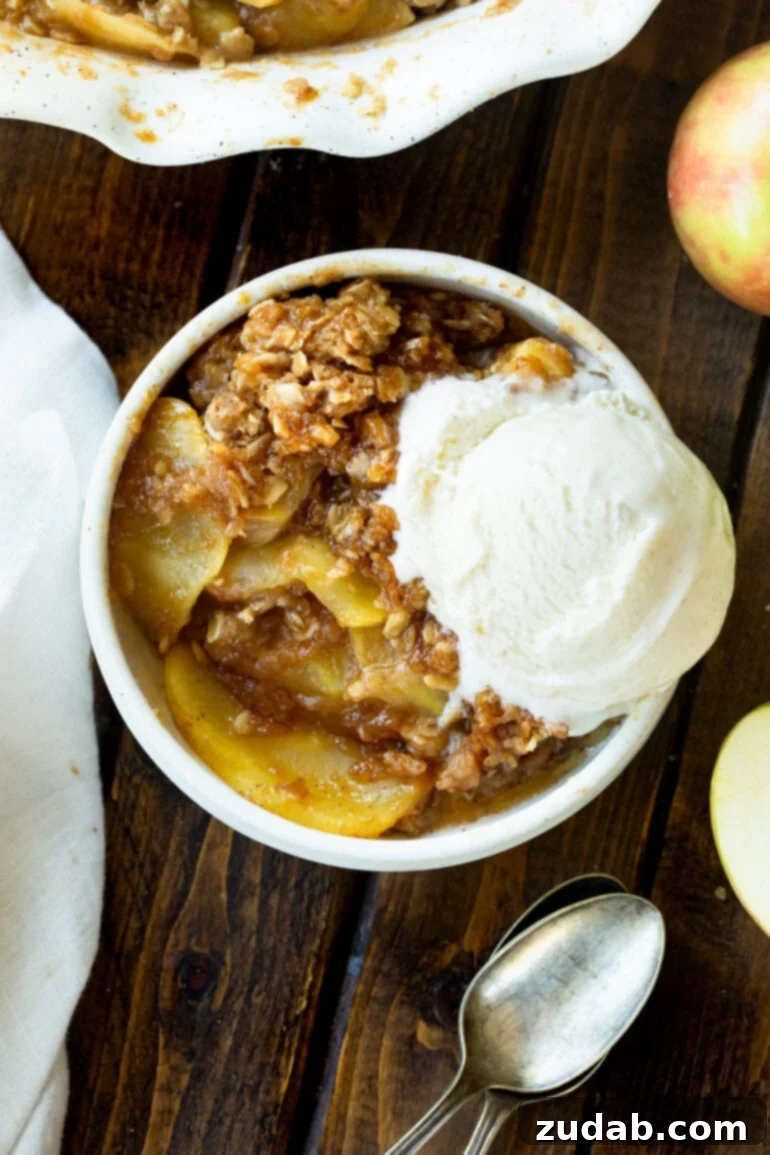
- Serve with Panache: For the ultimate indulgence, serve your warm, fragrant apple crisp with a generous scoop of creamy vanilla ice cream. The contrast of warm crisp and cold ice cream is pure bliss. A drizzle of homemade caramel sauce or a dollop of whipped cream would also be a fantastic addition!
The complete, detailed instructions, including precise measurements, are waiting for you in the recipe card further down this page. Keep scrolling to ensure you don’t miss any of the essential details for creating this truly magnificent dessert.
Expert Tips for Apple Crisp Perfection
Achieving the perfect easy apple crisp involves a few key techniques and considerations:
- Apple Slicing Precision: The thickness of your apple slices is more important than you might think. Aim for slices that are thin enough (around 1/8 to 1/4 inch) to soften and release their juices into a jammy sauce during baking, but not so thin that they turn into complete mush. A mandoline slicer can help achieve uniform thickness, but a sharp knife and a steady hand work just as well. Consistent thickness ensures even cooking.
- Spice it Up (or Down): Our recipe uses a classic blend of cinnamon and nutmeg, which is perfect for most palates. However, feel free to adjust the spices to your preference. If you’re a cinnamon enthusiast, add a bit more. For a bolder, more complex flavor, consider incorporating a pinch of ground cloves, ginger, or even a touch of allspice. Taste your filling mixture (before adding the raw apples, of course!) and adjust until it sings to your senses.
- Embrace the Oats: We recommend old-fashioned rolled oats for the topping, as they provide the best chewy-crisp texture. Quick oats can become too soft, and steel-cut oats won’t soften enough.
- The Magic of Cold Butter: This is a non-negotiable tip for a truly crumbly, clumpy topping. Your unsalted butter for the crisp topping *must* be cold and cut into small cubes. If the butter is too warm, it will blend too easily with the dry ingredients, resulting in a more paste-like or sandy topping rather than distinct, buttery crumbs. Cold butter creates pockets of steam during baking, leading to that coveted light and airy texture in some parts and rich, crunchy clumps in others.
- Consider Additional Texture: For an extra layer of flavor and crunch, try adding about half a cup of chopped nuts to your crisp topping mixture. Pecans or walnuts are excellent choices that complement the apple and cinnamon beautifully.
- Don’t Overmix the Topping: Once you’ve cut in the butter, avoid overworking the mixture. Overmixing can develop the gluten in the flour, leading to a tougher topping rather than a tender, crumbly one. The goal is just to incorporate the butter until coarse crumbs form.
- Testing for Doneness: To ensure your apples are perfectly tender, insert a thin knife or skewer into the center of the crisp. It should meet little resistance. The topping should be golden brown and the filling visibly bubbling around the edges.
Crisp, Cobbler, Crumble: Understanding the Delicious Differences
When it comes to fruit desserts topped with something delightful, the terms “crisp,” “cobbler,” and “crumble” are often used interchangeably, leading to a bit of delicious confusion. Honestly, I’m of the mind that any of these warm, fruity concoctions are a “yes” in my book! However, for those who appreciate the technical distinctions, here’s a quick breakdown:
- Cobbler: A cobbler is traditionally characterized by a sweet, biscuit-like topping. The dough is often dropped in spoonfuls over the fruit, creating a rustic, “cobbled” appearance, hence the name. The topping can range from soft and cake-like to more biscuit-y. Our peach cobbler is a perfect example of this style.
- Crisp: This is what we’re making today! A crisp features a streusel-like topping made from butter, flour, sugar, and, crucially, oats. The oats are the defining characteristic, providing a delightful crispy, crunchy texture when baked, often with a toasted, nutty flavor.
- Crumble: A crumble is very similar to a crisp but typically omits the oats in the topping. The streusel topping for a crumble is usually just a mixture of flour, butter, and sugar, resulting in a slightly softer, more crumbly texture compared to the crisp’s oat-enhanced crunch.
So, while they all share the commonality of baked fruit beneath a delightful lid, the type of topping is what truly sets them apart. And in this case, it’s the oats that give our best apple crisp recipe its signature texture and flavor.
Make-Ahead, Storage, and Reheating Your Apple Crisp
One of the many wonderful qualities of this homemade apple crisp is its versatility when it comes to preparation and storage. Whether you’re planning for a party, meal prepping desserts, or simply enjoying leftovers, knowing how to handle your crisp ensures optimal flavor and convenience.
Preparing Ahead of Time
Yes, you can absolutely get a head start on this delicious dessert! The apple filling can be prepared up to a full day in advance. The lemon juice in the recipe acts as a natural antioxidant, effectively preventing the apple slices from browning excessively. Simply mix the filling, cover the bowl tightly, and refrigerate. The oat topping can also be made ahead of time – up to three days in advance. Once mixed, store it separately in an airtight container in the refrigerator.
When you’re ready to bake, just spread the pre-made apple filling into your prepared baking dish, sprinkle the chilled oat topping evenly over the top, and bake as directed. This makes entertaining or busy weeknights incredibly easy!
Storing Leftovers
Any leftover apple crisp should be allowed to cool completely at room temperature. Once cooled, cover the baking dish tightly with plastic wrap or aluminum foil. Store the crisp in the refrigerator for up to 3-4 days. While it’s best enjoyed warm, chilled apple crisp can also be a delightful treat, especially on a warm day.
Reheating for Freshness
Bringing leftover apple crisp back to its warm, gooey glory is simple:
- Oven Method (Recommended for Best Texture): For a crisp topping, preheat your oven to 350°F (175°C). Place the leftover apple crisp (still in its baking dish, covered with foil if you prefer to prevent further browning, or uncovered if you want to re-crisp the topping) in the oven for about 15-20 minutes, or until warmed through and bubbling.
- Microwave Method (for Quick Servings): If you’re just reheating a single serving, the microwave is a convenient option. Place a portion in a microwave-safe bowl and heat for 30-60 seconds at a time, until it reaches your desired temperature. Be aware that the topping may lose some of its crispness in the microwave.
Freezing for Later Enjoyment
This recipe is wonderfully freezer-friendly, allowing you to enjoy a taste of fall anytime of the year!
- To Freeze Unbaked Apple Crisp: Prepare the apple filling and topping as directed. Assemble the crisp in a freezer-safe baking dish, but do not bake. Cover the dish with a double layer of aluminum foil, ensuring it’s sealed tightly. Freeze for up to 3 months. When ready to bake, thaw the crisp overnight in the refrigerator. Then, bake as directed in the recipe, adding an extra 10-15 minutes to the covered baking time if it’s still very cold.
- To Freeze Baked Apple Crisp: Bake the apple crisp as directed and let it cool completely to room temperature. Cover the baking dish with a double layer of aluminum foil, making sure it’s airtight to prevent freezer burn. Freeze for up to 3 months. To serve, thaw overnight in the refrigerator. Reheat in a 350°F (175°C) oven for 20-30 minutes, or until thoroughly warmed.
Freezing is an excellent way to prepare for holiday gatherings, unexpected guests, or simply to have a comforting dessert on hand for those busy evenings.
Can I Double This Apple Crisp Recipe?
Absolutely! This best apple crisp recipe is perfect for scaling up to feed a larger crowd or for ensuring you have plenty of leftovers to enjoy. To double the recipe, you will simply multiply all the ingredient quantities by two. Instead of an 8×8 inch baking dish, you’ll need a larger 9×13 inch (23×33 cm) pan. The bake time should remain approximately the same, but it’s always wise to keep an eye on it. Look for the same visual cues: a golden-brown, bubbly topping and tender apples when pierced with a knife. If it seems to be browning too quickly, you can loosely tent it with foil during the last part of baking.
Serving Suggestions for the Ultimate Dessert Experience
While this homemade apple crisp is magnificent on its own, there are several ways to elevate it into an even more unforgettable dessert:
- Vanilla Ice Cream (A Classic for a Reason): The ultimate pairing! The cold, creamy vanilla ice cream provides a delightful contrast to the warm, spiced apples and crunchy topping. The ice cream melts slightly into the warm crisp, creating a luscious sauce.
- Homemade Caramel Sauce: A drizzle of rich, buttery caramel sauce takes this crisp over the top. The caramel notes in the sauce complement the baked apples perfectly.
- Whipped Cream: A dollop of freshly whipped cream, perhaps lightly sweetened and flavored with a touch of vanilla or cinnamon, adds a light, airy finish.
- Dusting of Cinnamon or Nutmeg: For an extra aromatic touch, a light dusting of ground cinnamon or nutmeg just before serving can enhance the autumnal flavors.
- Chopped Nuts: If you didn’t add them to the topping, a sprinkle of toasted chopped pecans or walnuts over the individual servings can add another layer of texture and nutty flavor.
- Cheddar Cheese (For the Adventurous!): A traditional (though less common today) pairing in some regions, a slice of sharp cheddar cheese served with apple pie or crisp offers a unique savory contrast that many find surprisingly delicious.
The Unforgettable Taste of Fall: Your New Favorite Dessert
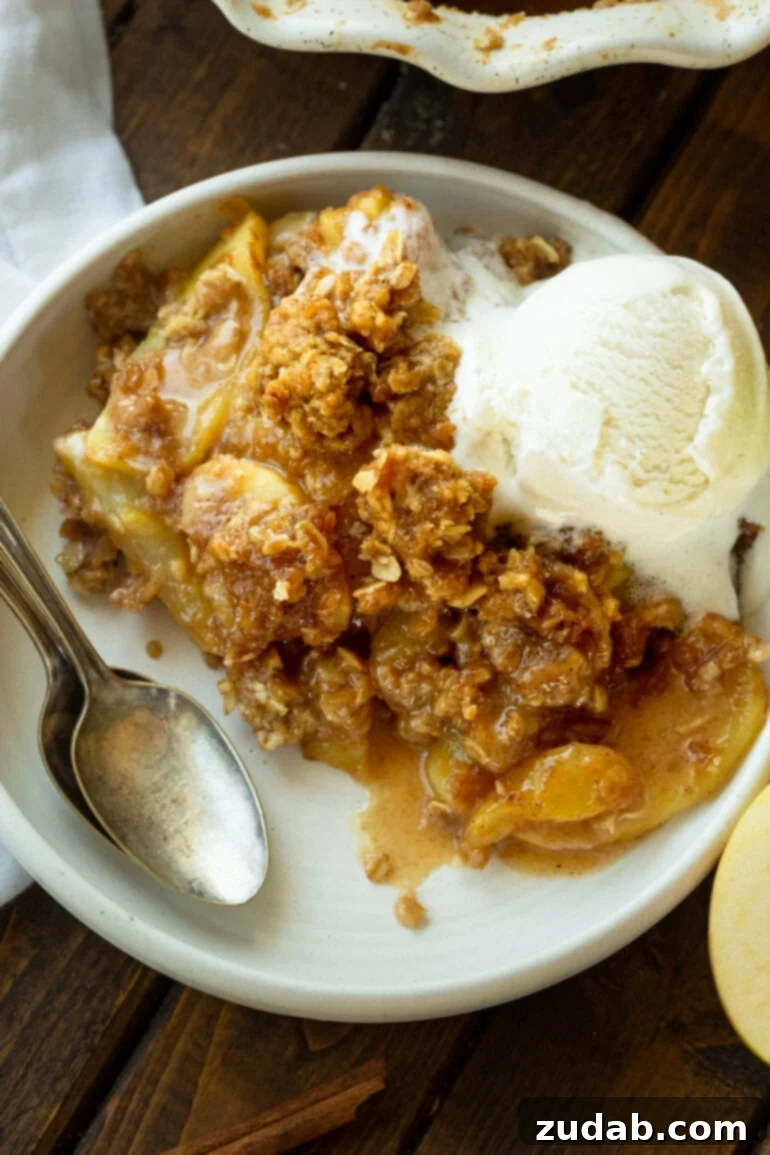
The arrival of autumn isn’t truly official until you’ve savored a generous helping of homemade apple crisp, crowned with a melting scoop of vanilla ice cream! This dessert is more than just a seasonal treat; it’s the embodiment of fall comfort and a guaranteed crowd-pleaser for any occasion. Each spoonful offers a harmonious blend of textures and flavors: the apples are cooked to tender perfection, imbued with a creamy, warm, and expertly spiced sauce that tastes like pure autumn bliss. This luxurious filling contrasts beautifully with the crunchy, buttery oat topping, which delivers that satisfying, sweet crunch. We confidently stand by our claim: this is truly the best apple crisp recipe you will ever discover. Prepare to fall in love with its irresistible charm!
Explore More Delicious Apple Desserts:
- Apple Cake with Caramel Frosting
- Apple Brown Betty
- Easy Apple Dumplings with Sprite
- Apple Pie Bread Pudding with Vanilla Sauce
- Mini Dutch Apple Cheesecakes
- Apple Cheesecake Bars
- Apple Pie Bombs al la Mode
- Caramel Apple Sweet Rolls
- Apple Pie Pull-Apart Bread
- Apple Cake with Caramel Sauce
- Apple Cider Cupcakes with Cinnamon Frosting
- Apple Pie Fried Ice Cream
The Best Apple Crisp Recipe
By Sweet Basil
Prep Time: 20 mins
Cook Time: 45 mins
Total Time: 1 hr 10 mins
Yields: 8 servings
Ingredients
For the Luscious Apple Filling:
- 4-5 large Honeycrisp or Gala Apples, peeled and thinly sliced
- 4 Tablespoons Unsalted Butter, melted
- 4 Tablespoons All-Purpose Flour
- 1 Tablespoon Fresh Lemon Juice
- 4 Tablespoons Heavy Cream
- 1/2 teaspoon Pure Vanilla Extract
- 1/4 Cup Packed Light Brown Sugar
- 1 Tablespoon Granulated White Sugar
- 1 teaspoon Ground Cinnamon
- 1/4 teaspoon Ground Nutmeg
- Dash of Salt
For the Irresistible Crisp Topping:
- 1 Cup All-Purpose Flour
- 1 Cup Old-Fashioned Rolled Oats
- 1 Cup Packed Light Brown Sugar
- 1 teaspoon Ground Cinnamon
- Dash of Salt
- 10 Tablespoons Cold Unsalted Butter, cut into small cubes
Instructions
- Preheat your oven to 350°F (175°C). Lightly spray an 8×8 inch (20×20 cm) baking dish with nonstick spray.
- For the Apples: In a large bowl, combine the melted butter, 4 Tablespoons flour, lemon juice, heavy cream, and vanilla extract. Whisk until smooth.
- Add the brown sugar, white sugar, 1 teaspoon cinnamon, nutmeg, and a dash of salt to the butter mixture. Whisk again until well combined.
- Add the thinly sliced apples to the bowl and gently fold until all the apples are thoroughly coated with the sauce.
- Spread the coated apples evenly into the bottom of the prepared baking dish and set aside.
- For the Topping: In another large bowl, combine the 1 cup flour, old-fashioned oats, 1 cup brown sugar, 1 teaspoon cinnamon, and a dash of salt. Stir to mix thoroughly.
- Add the cold butter cubes to the dry topping mixture. Use a pastry cutter to cut the butter into the flour mixture until it resembles coarse crumbs. For the best clumps, switch to using your hands; squeeze and mix everything together until it forms a thick, cohesive dough with no dry flour remaining. Squeeze some parts to create delightful clusters.
- Evenly sprinkle the oat topping mixture over the apple filling in the baking dish.
- Cover the baking dish loosely with aluminum foil and bake for 25 minutes.
- Remove the foil and continue baking for an additional 20-30 minutes, or until the topping is golden brown and the apple filling is bubbling vigorously around the edges.
- Allow the apple crisp to cool for 5-10 minutes before serving. This allows the sauce to thicken and prevents burns. Serve warm, ideally with a scoop of vanilla ice cream.
Recipe Notes
*Cold Butter is Crucial for Topping: Ensure your butter for the topping is very cold and cut into small cubes. This is essential for achieving a crumbly, clumpy texture that bakes up perfectly crisp. If the butter is too warm, the topping will be more doughy than crumbly and won’t sprinkle as easily.
This homemade apple crisp is excellent for making ahead. The filling can be prepared one day in advance, and the topping up to three days. It can also be prepared and frozen unbaked, or baked and frozen for up to 3 months. Refer to the “Make-Ahead, Storage, and Reheating” section above for detailed freezing and reheating instructions.
Nutrition
Nutrition information is an approximation only.
Serving: 1 cup, Calories: 569kcal, Carbohydrates: 82g, Protein: 4g, Fat: 27g, Saturated Fat: 16g, Polyunsaturated Fat: 1g, Monounsaturated Fat: 7g, Trans Fat: 1g, Cholesterol: 69mg, Sodium: 66mg, Potassium: 231mg, Fiber: 4g, Sugar: 58g, Vitamin A: 868IU, Vitamin C: 5mg, Calcium: 69mg, Iron: 2mg