
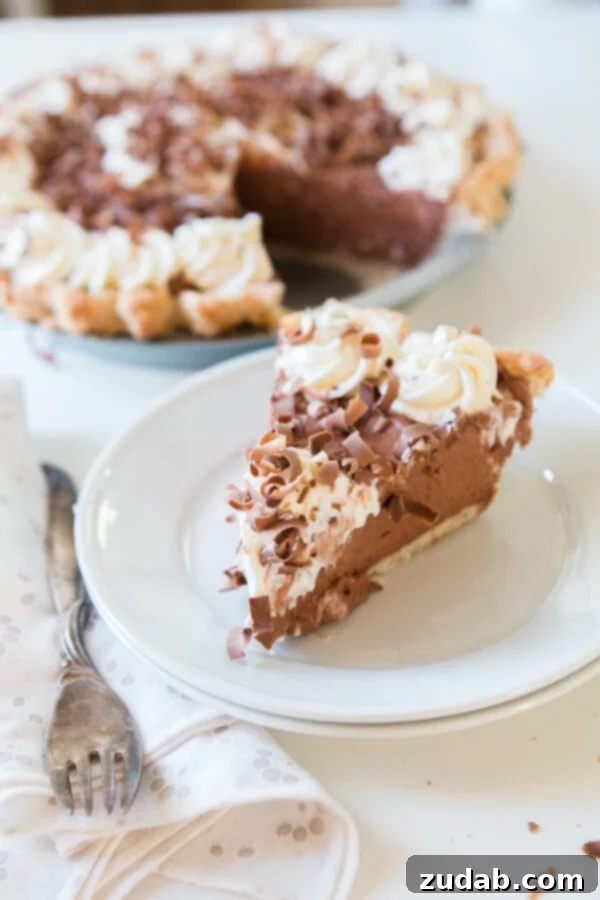
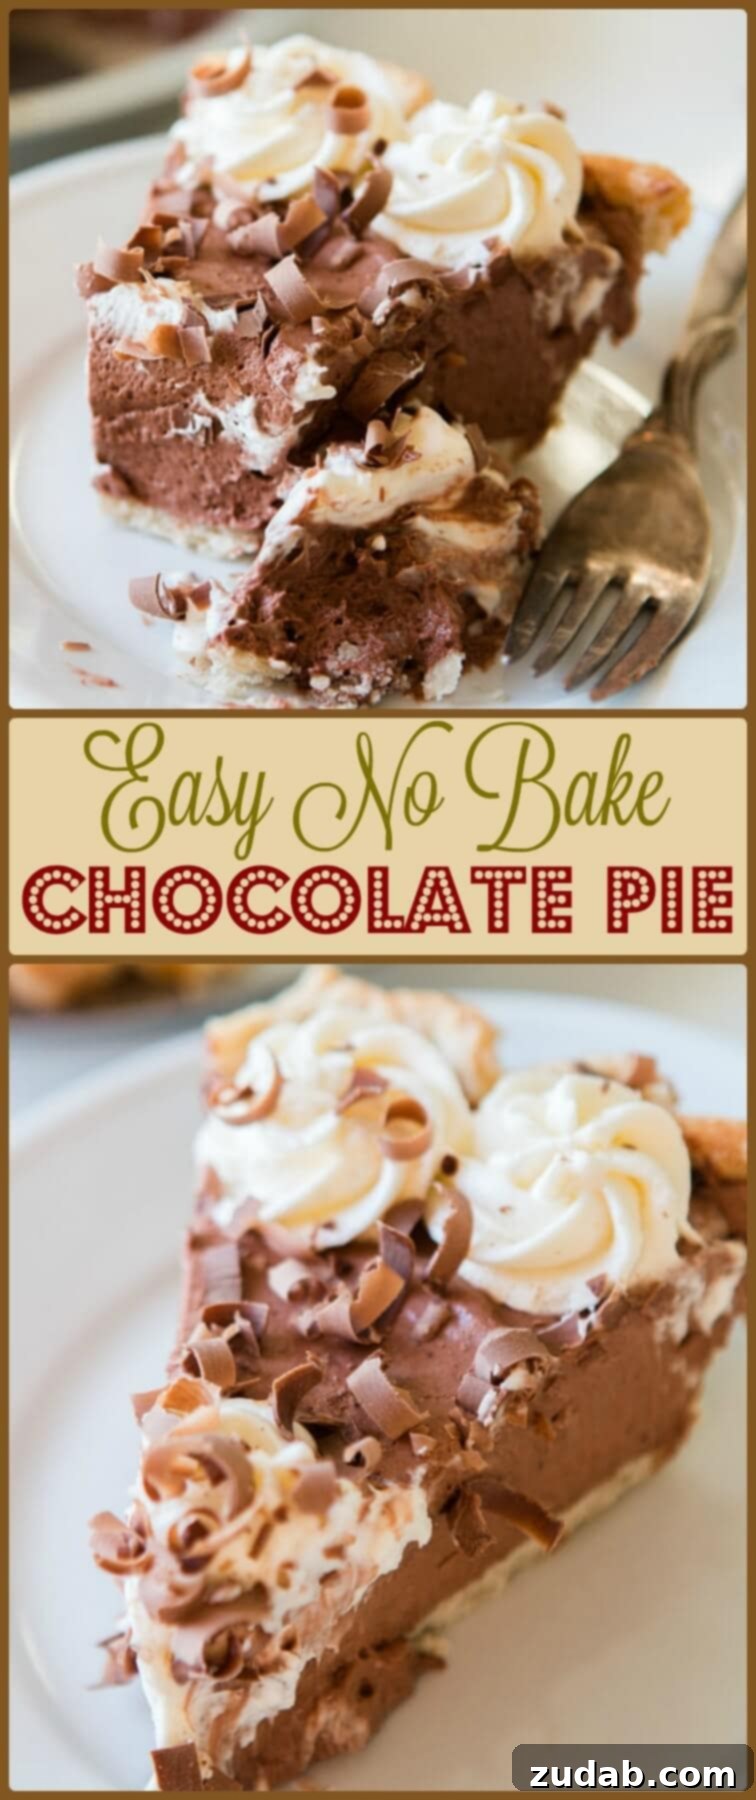
Have you ever dreamed of creating a truly decadent dessert without the hassle of baking? If you’ve ever wondered how to make chocolate pie at home, you’re in for a delightful treat! Today, we’re sharing a foolproof method to craft an easy no-bake chocolate pie that will impress everyone. Our secret? A luscious, creamy filling thickened with chocolate Jell-O pudding, elevated to gourmet status with a few simple additions. This isn’t just a dessert; it’s a testament to effortless elegance, perfect for any occasion.
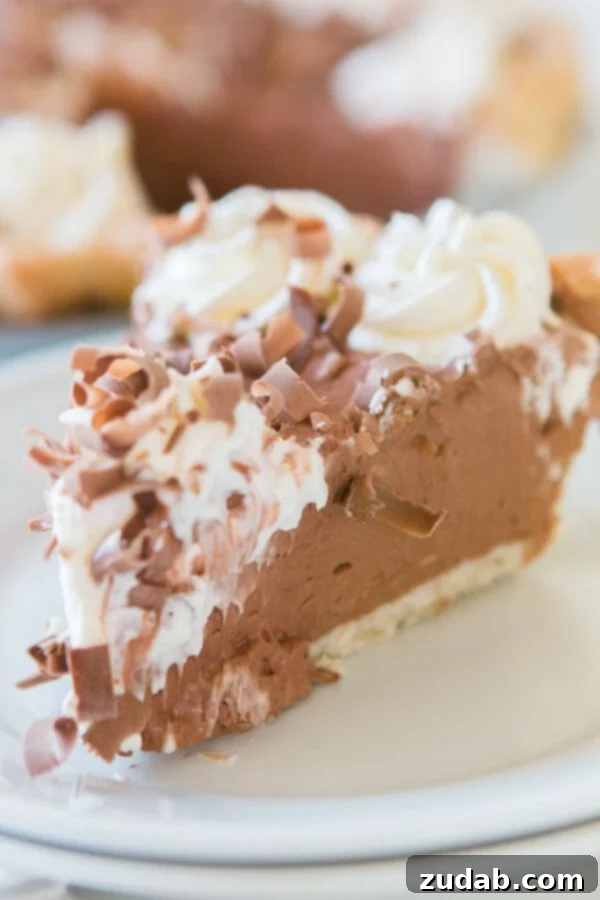
Indulge in the Ultimate Easy No-Bake Chocolate Pie Recipe
Chocolate pie holds a special place in the hearts of many, a nostalgic favorite that promises comfort and rich flavor in every bite. While some classic chocolate pie recipes demand meticulous baking from scratch – a culinary adventure we’ll explore another day – our focus today is on simplicity and speed. This particular recipe is designed for both novice bakers eager to create their first show-stopping dessert and seasoned home cooks looking for a quick, yet utterly delicious, no-bake option.
The foundation of any great pie is its crust, and for this recipe, we highly recommend using our mom’s magic pie crust. It’s renowned for turning out perfectly flaky every single time and is incredibly easy to handle, even for beginners. The linked recipe yields two pie crusts, offering you a convenient solution for future baking endeavors. Simply wrap the leftover dough tightly in plastic wrap, place it in a zip-top bag, and freeze it. When you’re ready to use it, just let it thaw in the fridge until it becomes pliable. For those seeking an entirely no-bake experience, a pre-made graham cracker or Oreo crust works wonderfully, too!
The star of this easy chocolate pie is undoubtedly its velvety, rich filling. To achieve this, we harness the simplicity of instant Jell-O pudding. But to elevate it far beyond the taste of a basic boxed mix, we introduce two magical ingredients: sweetened condensed milk and cream cheese. These additions don’t just deepen the chocolate flavor; they also play a crucial role in enhancing the filling’s texture, ensuring it sets perfectly with a luxurious, dense creaminess that will have your guests asking for the recipe. You won’t have to worry about a runny pie when you combine these ingredients.
To crown this magnificent dessert, we whip up a stabilized whipped cream. The secret to its long-lasting beauty lies in unflavored gelatin. Unlike regular whipped cream, which can deflate or “weep” over time, our stabilized version holds its shape beautifully. This means you can prepare and decorate your chocolate Jell-O pudding pie a full day in advance, and it will remain picture-perfect, making it ideal for entertaining or special occasions. This pie truly is a cinch to make, offering a beautiful presentation and a taste that belies its simple preparation. We are confident you and your guests will absolutely adore this delightful creation!
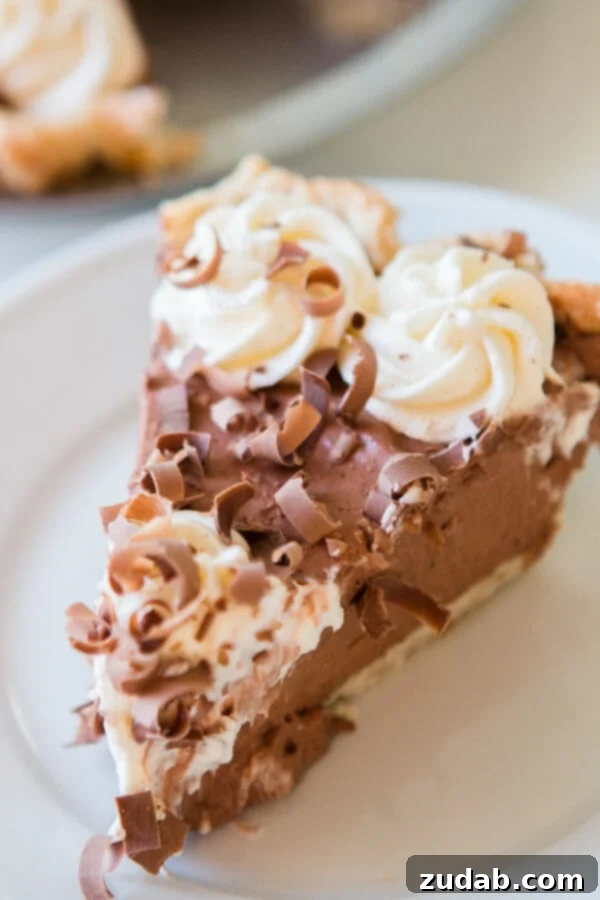
Essential Ingredients for Your No-Bake Chocolate Pie
Crafting this incredible Jell-O chocolate pudding pie might require a little assembly time, but the ingredient list is refreshingly straightforward. Each component plays a vital role in achieving the perfect balance of flavor and texture. Here’s what you’ll need to gather for this delightful homemade chocolate pie:
- Pie crust: Whether homemade or store-bought, this forms the delicious foundation.
- Whole milk: Adds richness and creaminess to the pudding base.
- Chocolate milk: Intensifies the chocolate flavor, making the filling truly indulgent.
- Cream cheese: Softened cream cheese lends an irresistible tang and contributes significantly to the filling’s thick, stable consistency.
- Sweetened condensed milk: This key ingredient adds sweetness and an extra layer of velvety texture, preventing the pie from tasting bland or artificial.
- Instant Chocolate Fudge Pudding mix: Crucial for the no-bake filling, providing the primary chocolate flavor and setting power. Ensure it’s instant, not the cook-and-serve variety.
- Cool Whip or Fresh Whipped Cream: Used both in the filling and as a topping. For the topping, we recommend making our stabilized version.
- Chocolate bar: Perfect for creating elegant chocolate shavings to garnish your finished pie.
For the stabilized whipped cream, you’ll also need:
- Unflavored gelatin: The magic ingredient that keeps whipped cream firm and prevents it from weeping.
- Cold water: To bloom the gelatin before activating it.
- Heavy cream: The base for our fluffy, stable topping.
- Powdered sugar: Sweetens the whipped cream to perfection. Adjust to your taste!
- Vanilla extract: A touch of vanilla enhances the overall flavor profile of the whipped cream.
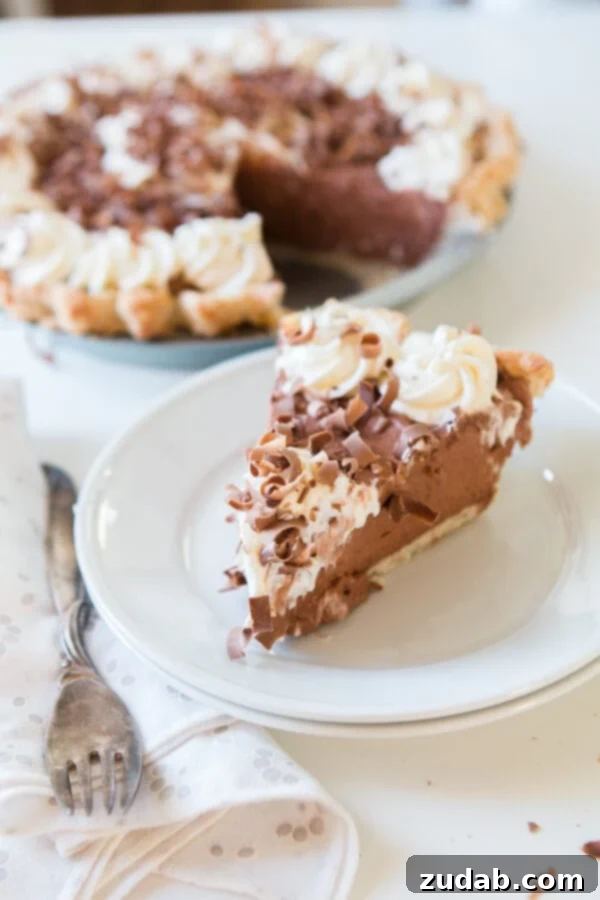
How to Make Chocolate Pie: A Simple Step-by-Step Guide
This easy chocolate pie recipe is surprisingly quick, requiring just over half an hour of active prep time. Follow these steps to create a truly delicious no-bake dessert that will become a new family favorite:
- Prepare the Pie Crust: If using a pastry crust, roll it out and blind bake it according to your recipe’s instructions (for detailed guidance on blind baking, refer to our lemon meringue pie post). Once baked, set the crust aside to cool completely. A chilled crust is essential for a clean set. If opting for a graham cracker or Oreo crust, simply press it into your pie plate and chill.
- Mix the Pudding Base: In a large mixing bowl, thoroughly whisk together the instant chocolate fudge pudding mix with both the whole milk and chocolate milk. Continue whisking until the mixture is well combined and slightly thickened. Set it aside to allow it to firm up further while you prepare the next components.
- Cream Cheese Mixture: In a separate, larger bowl, use an electric mixer to beat the softened cream cheese until it’s light and fluffy. Gradually add the sweetened condensed milk, beating until the mixture is perfectly smooth and no lumps remain. Scrape down the sides of the bowl as needed to ensure everything is fully incorporated.
- Combine and Fold: Gently stir the thickened pudding mixture into the cream cheese and sweetened condensed milk mixture until just combined. Then, carefully fold in about half of the Cool Whip or fresh whipped cream, followed by the remaining half. Folding helps maintain a light and airy texture. Be careful not to overmix, which can deflate the whipped cream.
- Assemble the Pie: Spoon the creamy chocolate filling evenly into your cooled pie crust. Use a spatula to smooth the top.
- Chill to Perfection: Place the pie in the refrigerator to chill for at least one hour before serving. This crucial step allows the filling to set completely, ensuring clean slices.
- Prepare Stabilized Whipped Cream: Once the pie is nearly set, prepare the stabilized whipped cream (instructions below). This will be piped onto the pie just before serving.
- Garnish and Serve: Pipe the freshly made stabilized whipped cream onto the top of the pie. For a beautiful finish, use a vegetable peeler or fine grater to create delicate chocolate shavings from a chocolate bar and sprinkle them generously over the whipped cream. Slice, serve, and enjoy your stunning homemade no-bake chocolate pie!
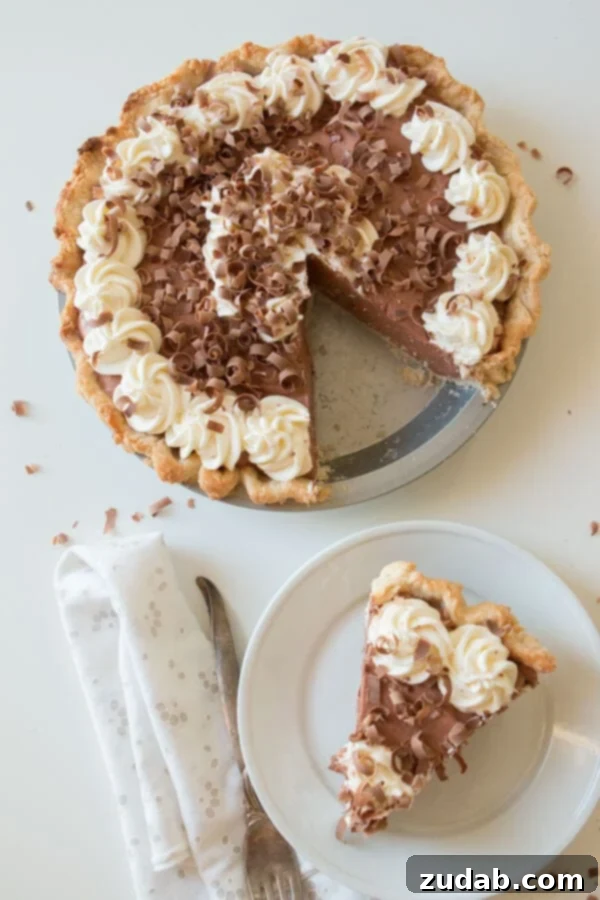
Storing Your Delightful No-Bake Chocolate Pie
To keep your freshly made homemade chocolate pie at its best, store it properly in the refrigerator. It will maintain its delicious flavor and creamy texture for approximately 3 to 4 days when stored correctly. To store, simply refrigerate the pie covered loosely with aluminum foil or plastic wrap. Ensure the covering doesn’t press down on the whipped cream topping, especially if it’s decorated. A cake dome or a large bowl inverted over the pie plate can help protect delicate decorations. It’s important to note that any chocolate pie left out at room temperature for more than 2 hours should be discarded to ensure food safety.
Can I Prepare This Pie in Advance?
Absolutely! One of the fantastic advantages of this easy no-bake chocolate pie recipe is its make-ahead friendly nature, largely thanks to the stabilized whipped cream. You can prepare and fully decorate the entire pie a day before you plan to serve it. This makes it a perfect dessert option for parties, holidays, or any event where you want to minimize last-minute stress. Just remember to be extra careful when covering the pie with plastic wrap or foil, so you don’t accidentally mar your beautiful whipped cream decorations. Use toothpicks to tent the wrap if necessary, keeping it from touching the topping.
Can You Freeze No-Bake Chocolate Pie?
While many desserts can be frozen for later enjoyment, Jell-O pudding pie unfortunately does not fare well in the freezer. The texture of the pudding filling can become grainy or watery upon thawing, compromising the smooth, creamy consistency that makes this pie so irresistible. Therefore, we highly recommend enjoying this delicious dessert within 3 to 4 days of making it for the best possible experience. Its quick preparation and make-ahead convenience mean there’s little need to freeze it anyway!
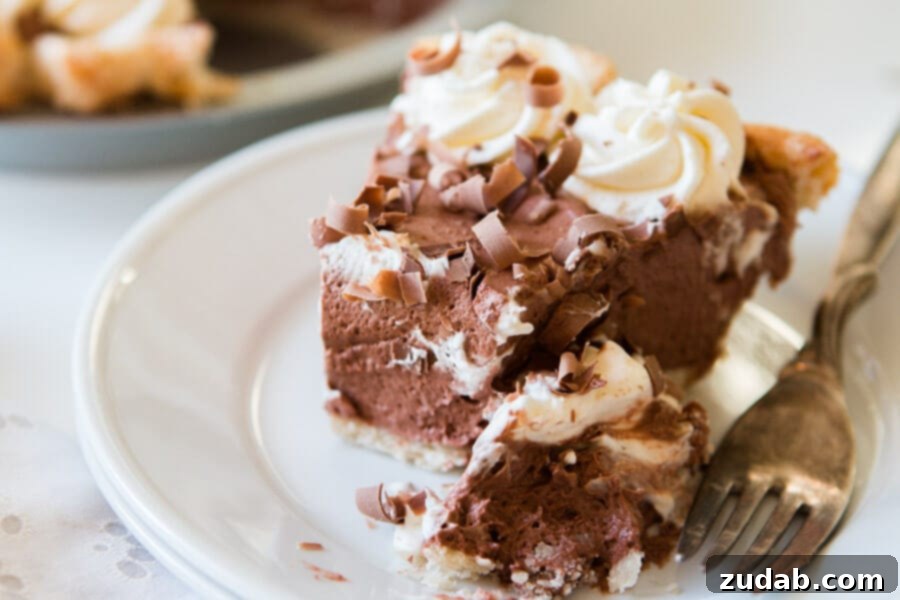
Pro Tips for Making the Best Chocolate Pie
Achieving a truly outstanding easy no-bake chocolate pie is simpler than you might think, especially with these insider tips:
- Crust Customization: While our magic pie crust offers a flaky delight, for an entirely no-bake experience, opt for a pre-made graham cracker crust. You can also easily make your own from crushed graham crackers, chocolate graham crackers, or even vanilla wafers mixed with melted butter for a custom touch.
- Instant Pudding is Key: This is perhaps the most critical tip! You absolutely must use instant chocolate pudding mix for this Jell-O pudding pie recipe. The cook-and-serve variety requires heating to activate its thickening agents and will not set properly in a no-bake application. Double-check your box to ensure you have the instant version.
- Mastering Stabilized Whipped Cream: Stabilized whipped cream is a game-changer for make-ahead desserts. Many recipes for gelatin-stabilized whipped cream exist, but success hinges on precise technique. The most common pitfalls are letting the gelatin sit too long before heating, or overheating it in the microwave, which can lead to lumpy or unset cream. Follow our recipe card’s instructions precisely: let the gelatin bloom in cold water for exactly 5 minutes, then heat it just until liquid (around 10 seconds). The key is to drizzle the liquefied gelatin into the heavy cream very slowly and steadily while the mixer is running on high. This gradual incorporation ensures a smooth, stiff, and perfectly stable whipped cream every time.
- Softened Cream Cheese: Ensure your cream cheese is at room temperature and truly softened before beating it. This prevents lumps in your filling and ensures a silky-smooth texture.
- Don’t Rush the Chill: Resist the temptation to cut into your pie too early. The chilling time is essential for the filling to set completely, ensuring beautiful, clean slices.
Delicious Variations for Your No-Bake Chocolate Pie
This versatile no-bake chocolate pie recipe can be easily adapted to create new flavor experiences:
- Mint Chocolate Pie: Add 1/2 teaspoon of mint extract to the chocolate pudding mixture for a refreshing twist. Garnish with chopped Andes mints or a drizzle of chocolate syrup.
- Mocha Chocolate Pie: Dissolve 1-2 teaspoons of instant espresso powder in a tablespoon of hot water, then add it to the pudding mixture for a subtle coffee kick that enhances the chocolate flavor.
- Nutty Chocolate Pie: Fold in 1/2 cup of finely chopped pecans, walnuts, or peanuts into the filling for added texture and flavor. Garnish with more chopped nuts.
- Chocolate Orange Pie: Add 1/2 teaspoon of orange extract or a tablespoon of orange zest to the pudding mixture for a bright citrus note that pairs beautifully with chocolate.
- Triple Chocolate Threat: Use an Oreo or chocolate graham cracker crust, a dark chocolate pudding mix, and garnish with white and milk chocolate shavings for an ultimate chocolate lover’s dream.
- Fruity Chocolate Pie: While not a classic pairing, a layer of raspberries or sliced strawberries can be added at the bottom of the crust before filling, or as a fresh topping.
Frequently Asked Questions About No-Bake Chocolate Pie
Here are some common questions about making and enjoying this easy dessert:
Q: Can I use sugar-free pudding mix?
A: Yes, you can substitute sugar-free instant chocolate pudding mix if preferred. The sweetened condensed milk provides most of the sweetness, so you may want to taste the filling before chilling and adjust sweetness with a little extra powdered sugar if desired.
Q: What if my whipped cream isn’t stiff?
A: This usually means the gelatin wasn’t fully activated or wasn’t incorporated slowly enough. Ensure the gelatin melts completely and is drizzled in a thin, steady stream while the cream is being whipped on high speed. Make sure your heavy cream is very cold when you start whipping.
Q: Can I make individual mini pies?
A: Absolutely! This recipe works perfectly for individual servings. Use mini pie crusts or press graham cracker crust into muffin tins. Adjust chilling time as smaller pies will set faster.
Q: How do I get clean slices?
A: Ensure the pie is thoroughly chilled. For the cleanest cuts, run a sharp knife under hot water, wipe it dry, and then slice. Clean the knife between each slice for perfect portions.
Q: What are other topping ideas besides chocolate shavings?
A: The possibilities are endless! Consider a sprinkle of cocoa powder, chocolate chips, mini chocolate candies, a drizzle of caramel or chocolate sauce, or even fresh berries for a pop of color.
More Delicious No-Bake Pie Recipes to Explore:
If you loved the ease and flavor of this no-bake chocolate pie, you’ll definitely want to try these other fantastic no-bake creations:
- No-Bake Oreo Pie with Chocolate Graham Cracker Crust
- No-Bake Pumpkin Pie with Gingersnap Crust
- No-Bake Lemon Cream Pie
- No-Bake Snickers Caramel Apple Pie
- No-Bake Banana Cream Pie
Easy No-Bake Chocolate Pie
Pin
Ingredients
- 1 [Pie Crust], blind baked (see note)
- 2 Package Chocolate Fudge Pudding, 3.4oz packages, instant
- 1 Cup Whole Milk
- 1 Cup Chocolate Milk
- 8 Ounces Cream Cheese, softened
- 14 Ounce Can Sweetened Condensed Milk
- 4½ Cups Cool Whip or Fresh Whipped Cream
- 1 Chocolate Bar, for garnish
For the stabilized whipped cream
- 4 teaspoons Cold Water
- 1 teaspoon Unflavored Gelatin, found by the jell-o
- 1 Cup Heavy Cream
- 3/4 Cup Powdered Sugar, less if you prefer it less sweet
- 1/4 teaspoon Vanilla Extract
Instructions
For the pie crust:
-
Prepare the crust as directed.1 [Pie Crust]
-
Place one disc in plastic wrap and in a freezer bag and store in the freezer for another time.
-
Roll out the second dough in the 9″ pie plate, crimp the edges and dock, or in other words, poke with a fork all over the inside and bake for 15-20 minutes.
-
Allow to cool while you prepare the filling.
For the filling:
-
In a medium bowl, whisk together the pudding and milk.2 Package Chocolate Fudge Pudding, 1 Cup Whole Milk, 1 Cup Chocolate Milk
-
Set aside to thicken.
-
In a large bowl, beat the cream cheese until smooth.8 Ounces Cream Cheese
-
Scrape down the sides of the bowl and add the sweetened condensed milk.14 Ounce Can Sweetened Condensed Milk
-
Beat until smooth and scrape down the sides of the bowl again.
-
Stir the pudding into the cream cheese mixture and fold in half of the whipped cream and then the remaining whipped cream.4½ Cups Cool Whip or Fresh Whipped Cream
-
Fill the pie crust.
-
Place in the fridge to chill for 1 hour before serving.
-
Pipe the whipped cream and using a peeler, shave chocolate all over the top.1 Chocolate Bar
For the whipped cream:
-
Place cold water in small bowl and sprinkle the gelatin over it.4 teaspoons Cold Water, 1 teaspoon Unflavored Gelatin
-
Let the gelatin sit for 5 minutes without stirring.
-
Once the gelatin is set, place bowl in microwave and heat until gelatin turns to liquid, about 10 seconds.
-
Meanwhile, quickly place heavy cream in the bowl of a stand mixer with the whisk attachment or in a mixing bowl and use a handheld mixer.1 Cup Heavy Cream
-
Beat the cream until it starts to thicken, about 1 minute, add the powdered sugar and vanilla and then with the mixer on high, very slowly in a small steady stream, drizzle in the gelatin.3/4 Cup Powdered Sugar, 1/4 teaspoon Vanilla Extract
-
Continue beating the cream until stiff peaks form.
-
Pipe the whipped cream around the edges.
Recipe Notes
Pie should be kept in the refrigerator.
Nutrition
Nutrition information is automatically calculated, so should only be used as an approximation.