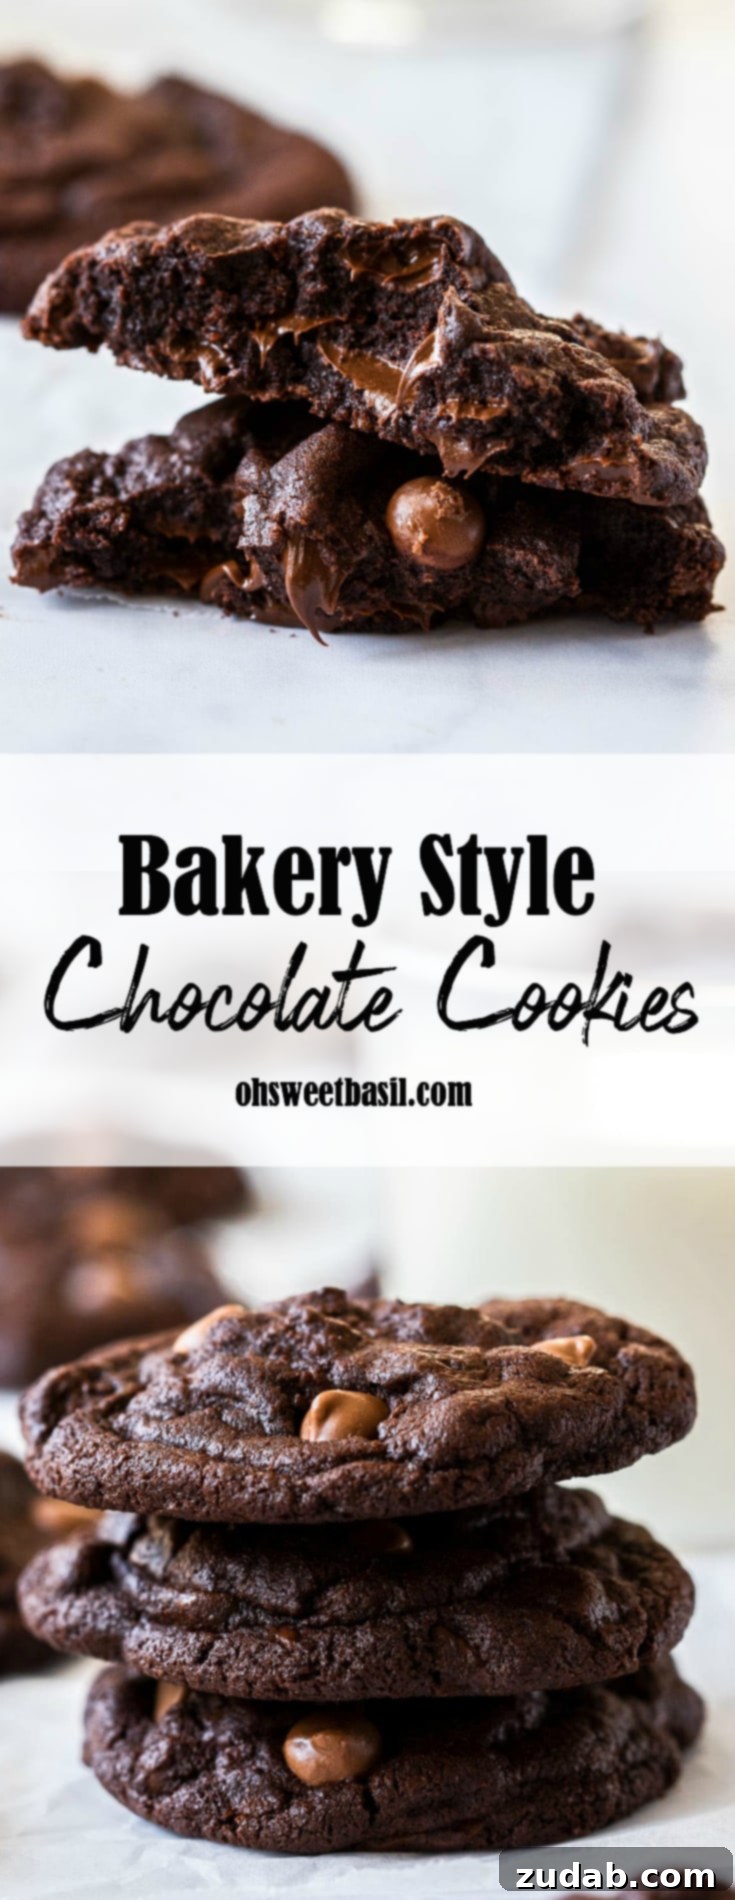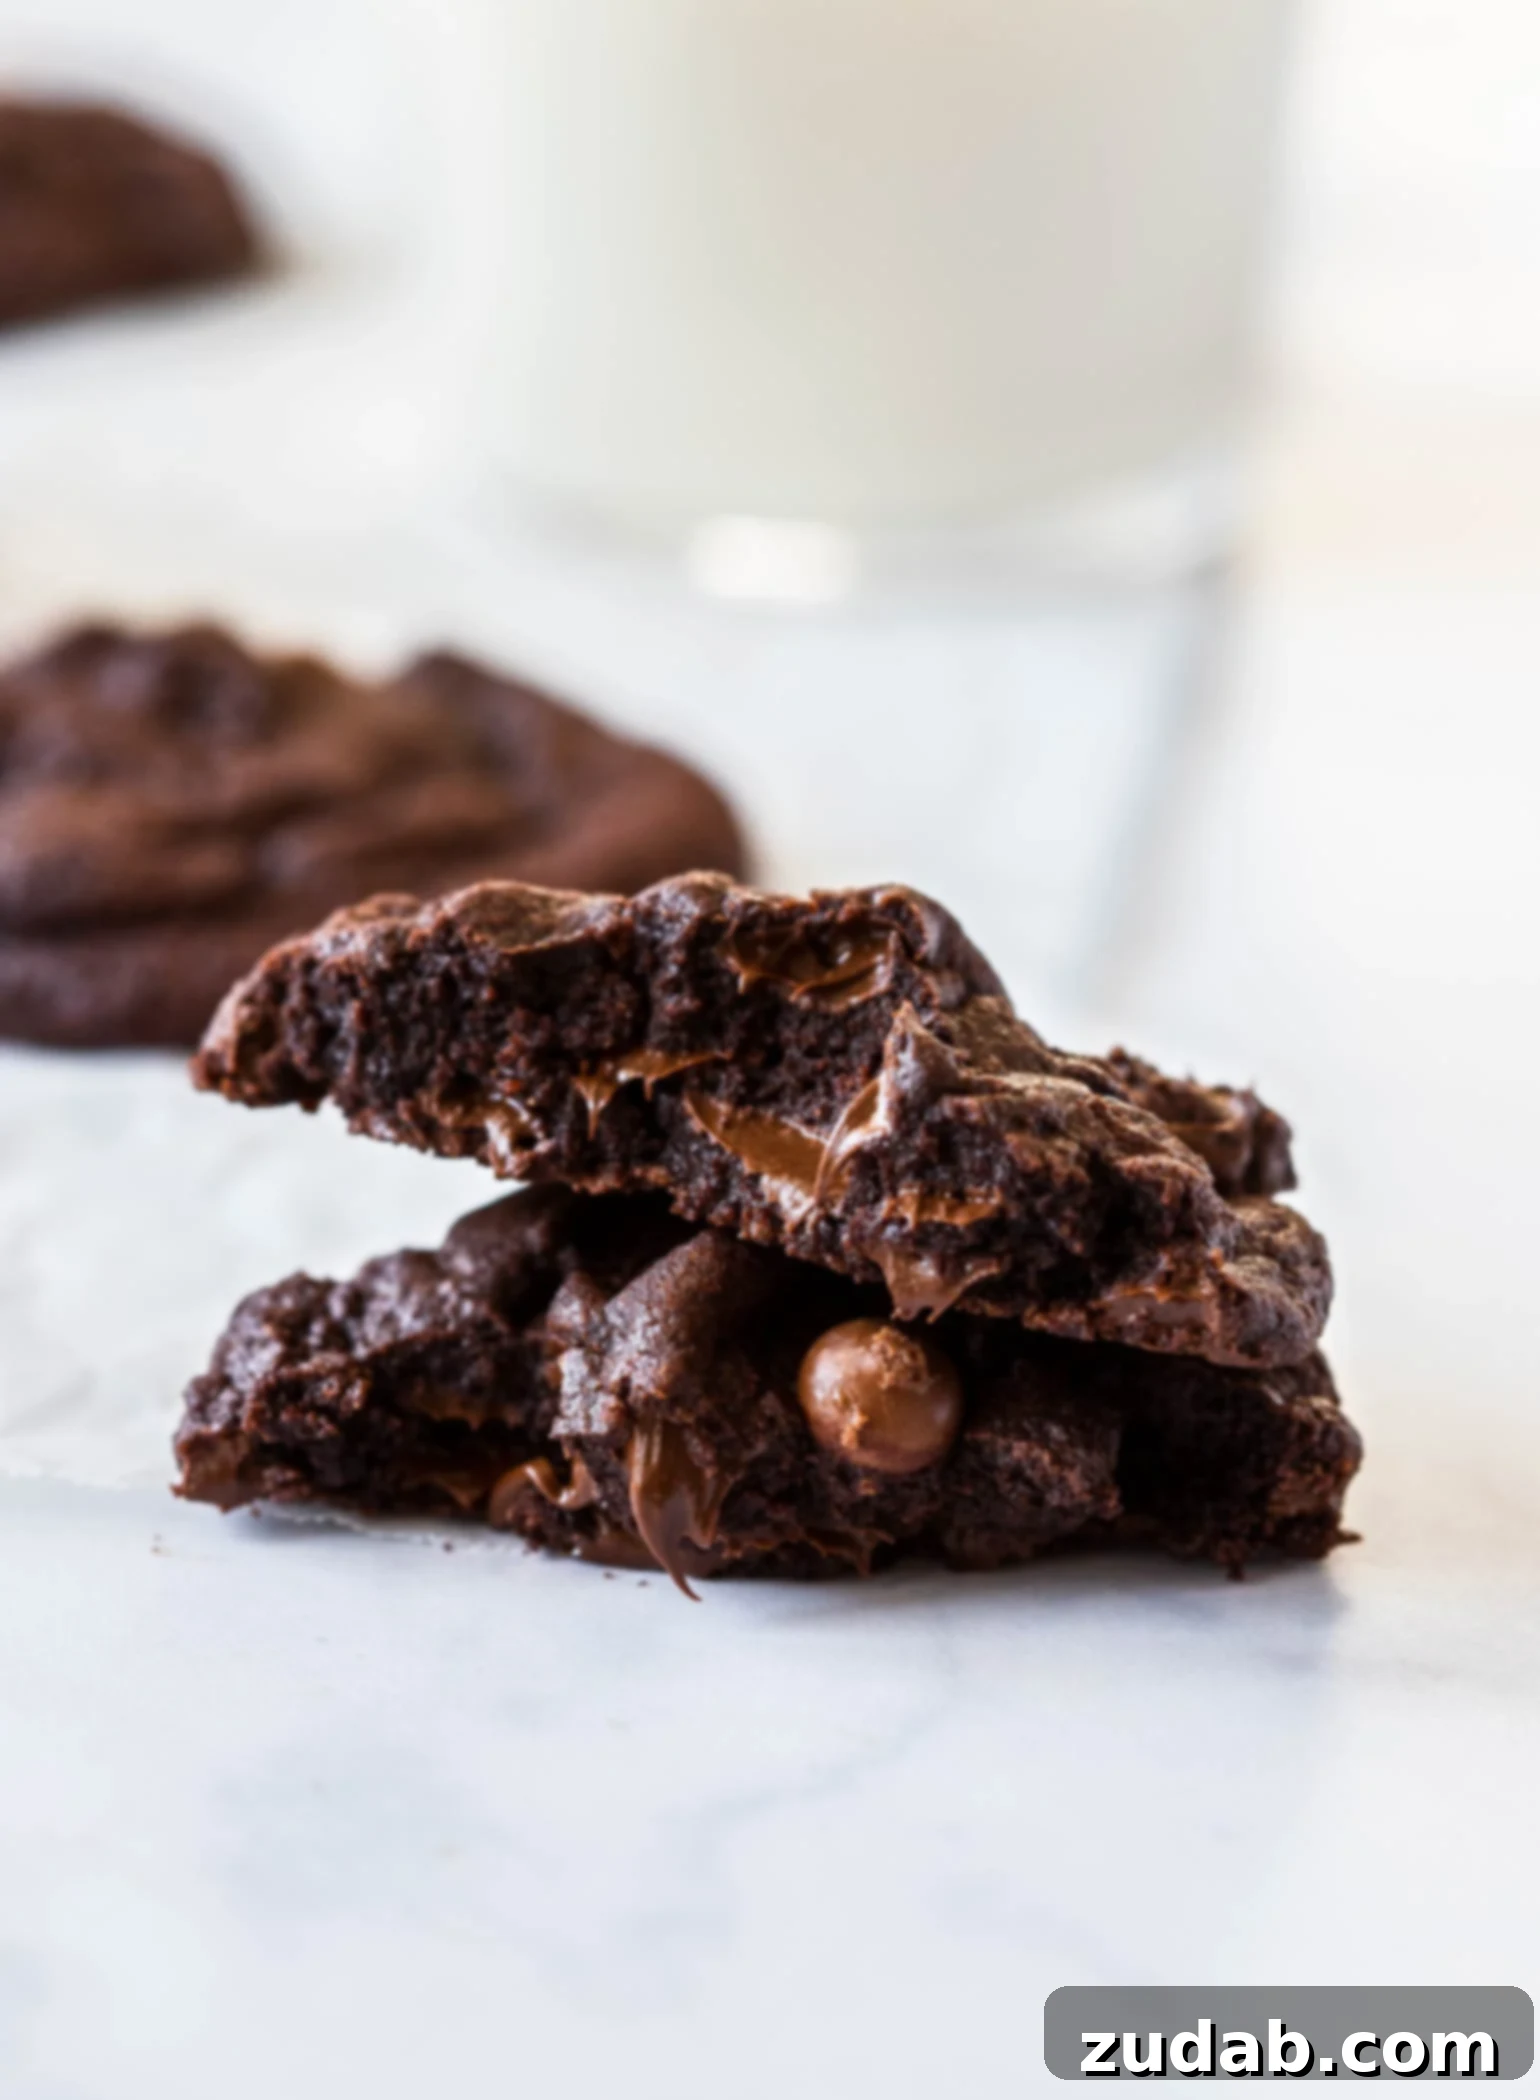
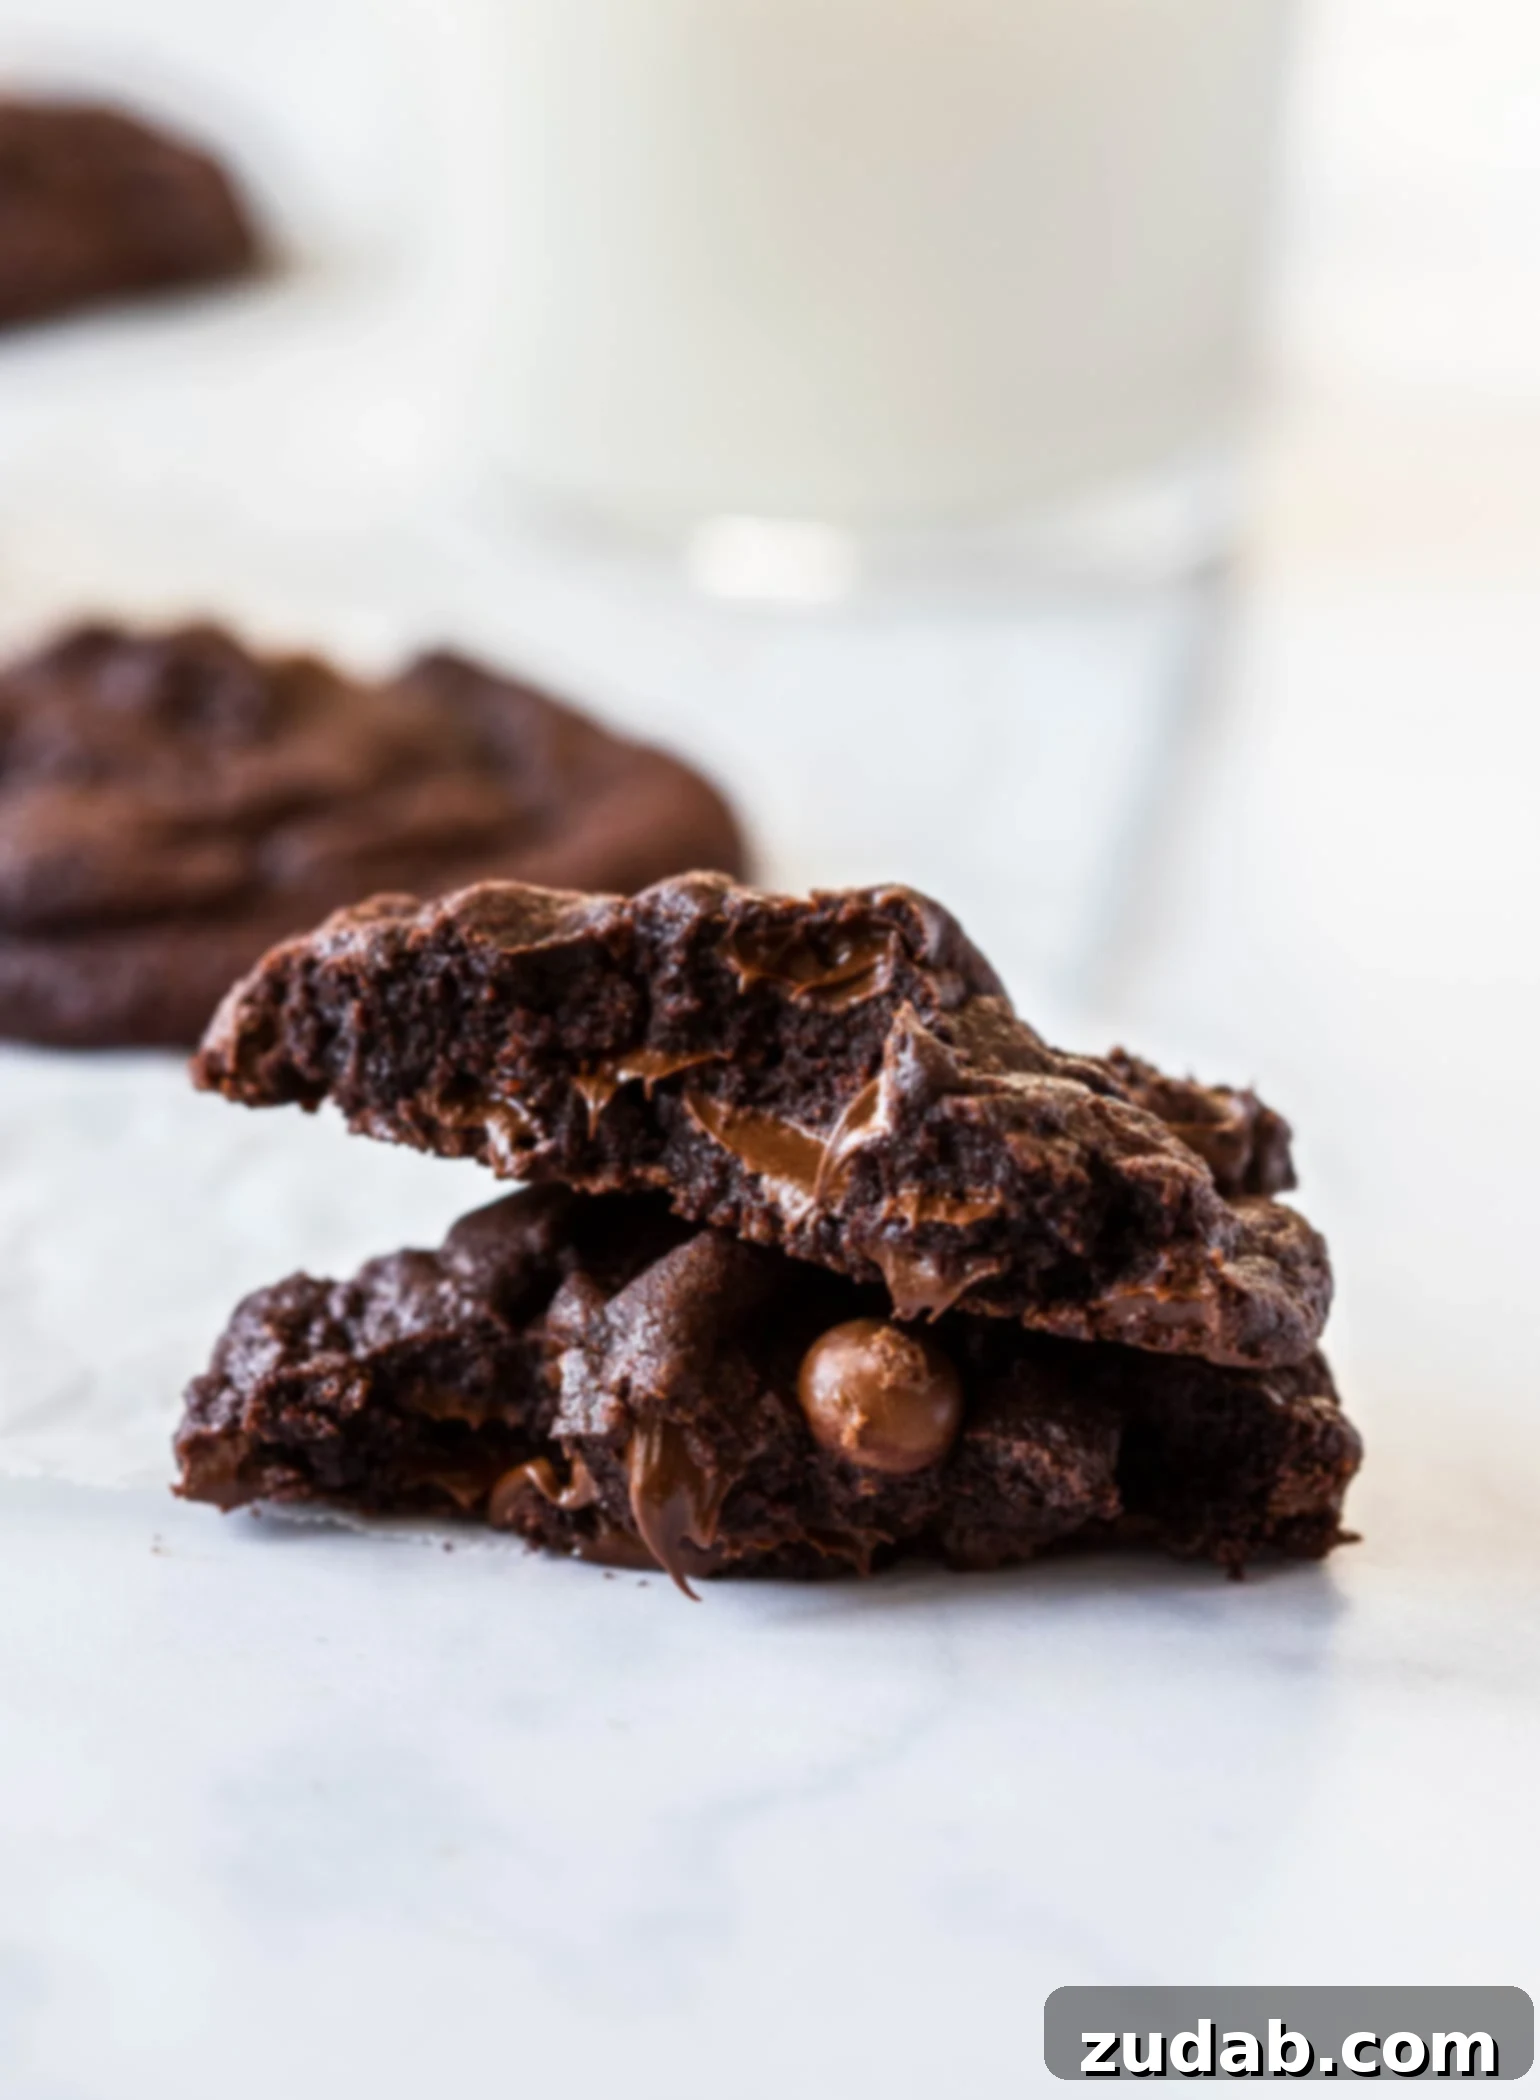
Welcome to the ultimate guide for crafting the most decadent, thick, and wonderfully soft Bakery-Style Triple Chocolate Cookies you’ve ever tasted. As an avid baker, there’s nothing quite as satisfying as biting into a warm, gooey cookie straight from the oven, and this recipe has quickly risen to the top of my personal favorites. These aren’t just any chocolate chip cookies; they are an extraordinary symphony of rich cocoa, melty chocolate chunks, and a texture so irresistibly chewy and thick, it rivals anything you’d find at a gourmet bakery. Prepare yourself for an indulgent experience that will leave you reaching for another, and another.
Why These Are the Best Triple Chocolate Cookies
If you’ve been on a quest for the perfect chocolate cookie, your search ends here. These Bakery-Style Triple Chocolate Cookies are not just good; they are phenomenal. Imagine a cookie that’s thick, profoundly fudgy, incredibly rich, and utterly indulgent – that’s precisely what this recipe delivers. It’s a chocolate lover’s dream, designed to surpass all other chocolate cookie recipes and become your new baking obsession.
What sets these cookies apart is their ingenious incorporation of not one, not two, but three distinct forms of chocolate directly into the dough, ensuring an unparalleled depth of flavor and an unbelievably fudgy texture. This strategic layering of chocolate guarantees that every single bite is bursting with intense cocoa goodness and luscious, melted morsels. The secret lies in:
- Cocoa Powder: For a deep, dark, and rich chocolate base. I highly recommend using Dutch-processed cocoa powder, which has been treated to reduce its acidity, resulting in a darker color and a smoother, less bitter chocolate flavor that truly stands out.
- Premium Chocolate Chips: These are folded into the dough, providing pockets of molten chocolate that remain delightfully soft and gooey even after baking. We’ll talk more about choosing the right chips later.
- Melted Semi-Sweet Chocolate: This is the game-changer! Melting semi-sweet chocolate and incorporating it directly into the dough infuses every strand with rich chocolate flavor and contributes significantly to the cookies’ signature fudgy texture. This step transforms the dough from merely chocolate-flavored to intensely chocolate-infused, creating a cookie experience unlike any other.
Yes, you heard that right – actual melted chocolate is mixed into the cookie dough! This simple yet brilliant technique is the key to achieving the fudgiest, most ultra-chocolatey cookies you will ever have the pleasure of tasting. Get ready to impress everyone with these truly extraordinary homemade treats.
Mastering the Ingredients for Perfect Chocolate Cookies
One of the beauties of this triple chocolate chip cookie recipe is that it largely relies on common pantry staples, making these chocolate cookies dangerously easy to prepare whenever a craving strikes. However, understanding the role of each ingredient will elevate your baking from good to truly exceptional. Here’s a breakdown of what goes into this masterpiece and why each component is vital:
- Unsalted Butter, softened: Essential for richness and flavor. Using unsalted butter allows you to control the total salt content in the recipe. Softened butter creams beautifully with sugar, incorporating air for a lighter texture.
- Granulated Sugar: Provides sweetness and helps with crisp edges.
- Brown Sugar (packed): The secret to chewiness and moisture! Brown sugar contains molasses, which contributes to a softer, chewier texture and adds a subtle caramel note that complements the deep chocolate flavor.
- Semi-sweet Chocolate (melted): This is one of our “triple chocolate” components. It provides an intense, fudgy base for the dough. Ensure it’s good quality; it makes a difference!
- Large Eggs, whisked: Eggs bind the ingredients, add moisture, and contribute to the cookie’s structure and richness. Whisking them lightly before adding helps ensure even distribution.
- Vanilla Extract: A crucial flavor enhancer that brings out the best in the chocolate. Don’t skip it!
- All-Purpose Flour: The primary structural component of the cookie. Ensure you measure it correctly (more on that in the tips section!).
- Cocoa Powder (Dutch-processed recommended): Our first chocolate layer, delivering deep, dark chocolate flavor and color. Dutch-processed is often preferred for its smoother taste and richer hue.
- Baking Soda: A leavening agent that helps the cookies spread slightly and contributes to their soft, chewy texture.
- Salt: Balances the sweetness and enhances all the other flavors, especially the chocolate.
- Chocolate Chips (plus extra for topping): Our second and third chocolate layers. You can use a mix of semi-sweet, milk, or even dark chocolate chips for varied flavor and texture. The extra chips for topping make the cookies visually stunning and add more chocolatey goodness.
Having these ingredients on hand means you’re always just a few steps away from baking a batch of these glorious bakery-style cookies!
Step-by-Step Guide to Baking Irresistible Chocolate Cookies
While the results are gourmet, the process for making these thick and soft chocolate cookies is surprisingly straightforward. Follow these steps for perfect cookies every time:
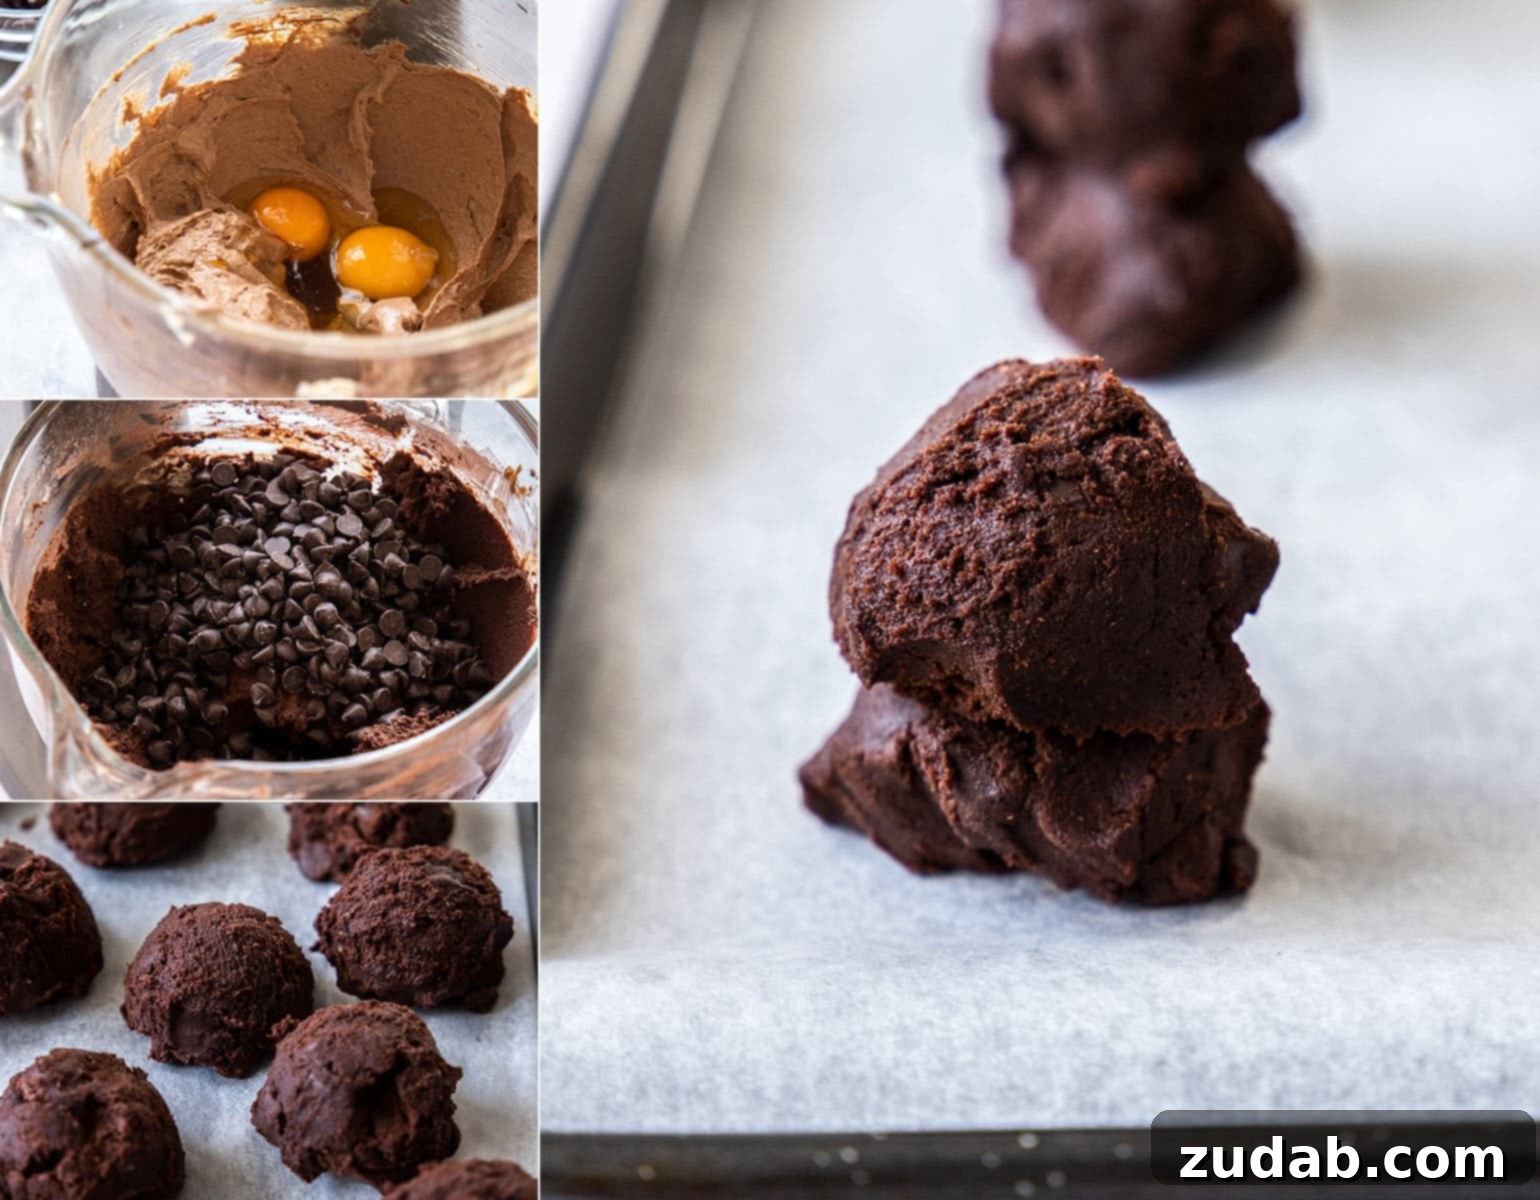
- Cream the Butter and Sugars: In the bowl of a stand mixer fitted with the paddle attachment, or with a hand mixer, beat the softened unsalted butter on medium speed until it’s light and fluffy, usually about 1 minute. This aeration is crucial for a tender cookie. Then, add both the granulated sugar and the brown sugar. Continue mixing for another 1-2 minutes until the mixture is well-creamed, light in color, and fluffy. Make sure to scrape down the sides of the bowl occasionally to ensure everything is evenly incorporated.
- Incorporate Melted Chocolate, Eggs, and Vanilla: Gently melt your semi-sweet chocolate. This can be done in a small bowl placed over a saucepan of simmering water (a double boiler) or carefully in the microwave in short bursts, stirring frequently. Allow the melted chocolate to cool slightly to around room temperature – it should still be melted but not warm to the touch. Pour the cooled melted chocolate into the butter and sugar mixture and beat until just combined. Next, add the lightly whisked eggs one at a time, mixing well after each addition. Finally, stir in the vanilla extract until fully incorporated. Ensure the edges and bottom of the bowl are scraped thoroughly after each addition to maintain a consistent batter.
- Add Dry Ingredients and Chocolate Chips: In a separate medium bowl, whisk together the all-purpose flour, cocoa powder, baking soda, and salt. Gradually add these dry ingredients to the wet mixture in the stand mixer, mixing on low speed until just combined. Be careful not to overmix; overmixing can lead to tough cookies. Once the dry ingredients are mostly incorporated, gently fold in the chocolate chips by hand using a spatula. This prevents overmixing and keeps the chips from breaking up.
- Scoop and Chill the Dough: This step is non-negotiable for achieving thick, bakery-style cookies. Using a 1/4 cup cookie scoop, portion out the dough. For an extra thick and soft center, I employ a trick I learned from America’s Test Kitchen: take each scooped dough ball, split it in half, and then stack one half directly on top of the other, pressing gently to adhere. This creates extra height in the dough ball, which helps prevent excessive spreading during baking. Place these shaped dough balls onto a plate or baking sheet lined with parchment paper, cover with plastic wrap, and chill in the refrigerator for at least 30 minutes. The colder the dough, the less it will spread in the oven.
- Bake to Perfection: Preheat your oven to 375°F (190°C). Arrange the chilled cookie dough balls on a baking sheet lined with parchment paper, leaving about 2 inches of space between each cookie to allow for spreading. For an extra beautiful presentation, press a few additional chocolate chips onto the top of each dough ball before baking. Bake for 10 to 11 minutes. The cookies should look set around the edges but still appear slightly soft and underbaked in the center. This is the key to their super soft texture!
- Cool and Enjoy: Once out of the oven, allow the cookies to cool on the baking sheet for at least 5 minutes. They will continue to set during this time. Transfer them to a wire rack to cool completely, if you can resist eating them warm!
Secrets to Achieving Bakery-Style Thick & Soft Cookies
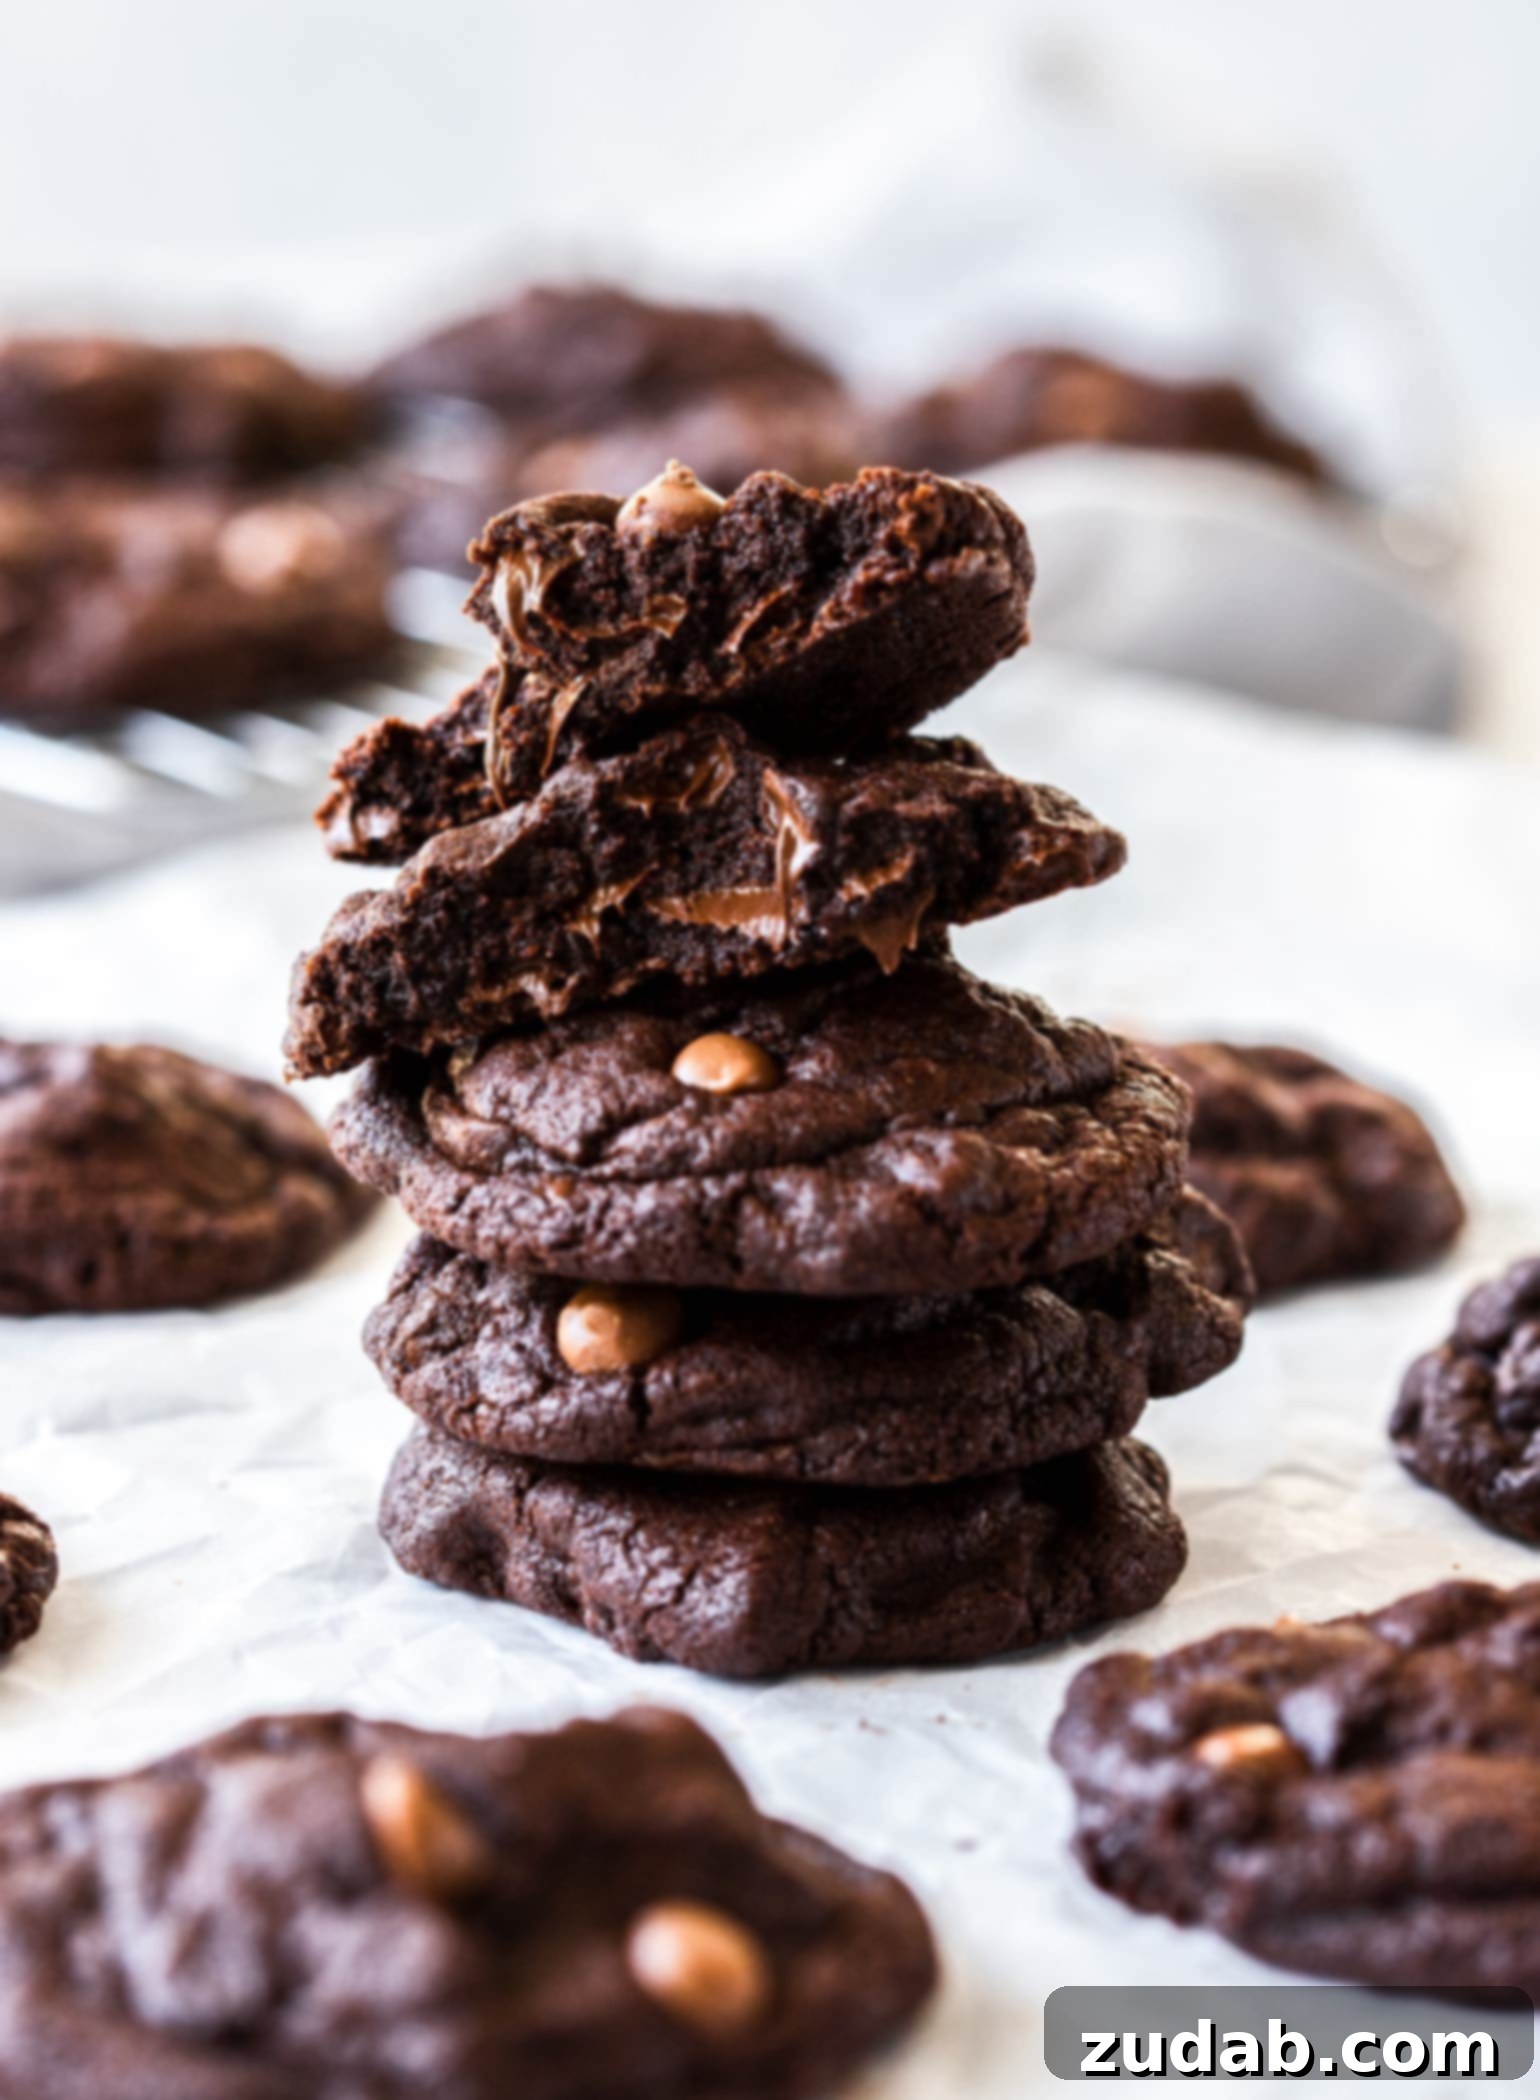
The hallmark of a truly great cookie is its texture – and these Bakery-Style Chocolate Cookies deliver magnificently on that front. They boast a wonderfully thick profile with an exquisitely soft, almost fudgy center, all thanks to a couple of crucial techniques. Skipping these steps would result in thinner, crispier cookies, which are delicious in their own right, but not what we’re aiming for here.
The first, and arguably most important, trick is **chilling the dough**. This isn’t just a suggestion; it’s a vital step. When cookie dough is cold, the butter within it is firm. As the cold dough enters the hot oven, the butter takes longer to melt, which significantly reduces how much the cookies spread. This slower melting process allows the edges to set while the center remains tender, resulting in a thicker cookie with a soft, chewy heart. A minimum of 30 minutes of chilling is essential, but longer can often yield even better results.
The second ingenious trick, one I wholeheartedly embrace and learned from America’s Test Kitchen, involves **stacking the cookie dough balls**. Instead of simply scooping round portions, you take each ball of dough, split it roughly in half, and then stack one half directly on top of the other, gently pressing them together. This method creates an extra-tall dough mound. As the base of the cookie begins to spread in the oven, the top half of the dough neatly collapses down, preventing the cookie from flattening too much. This unique formation ensures that the cookie stays thicker in the center, creating that coveted bakery-style height and perfectly soft, rich interior. It’s a simple adjustment that makes an enormous difference in the final texture of these already delectable treats.
Storing and Freezing Your Triple Chocolate Delights
One of the many wonderful things about homemade cookies is their versatility, especially when it comes to storage and meal prep. You can absolutely freeze these triple chocolate cookies – both baked and unbaked – making them perfect for future cravings or unexpected guests. This flexibility is just another reason why cookies are simply amazing.
Here’s how to best preserve your delicious chocolate cookies:
- Freezing Unbaked Cookie Dough: This method is highly recommended as it best retains the flavor and freshness of the cookies.
- Portion the Dough: Use your cookie scoop to portion out the dough balls, employing the stacking trick mentioned above for extra thickness.
- Flash Freeze: Place the shaped dough balls on a baking tray lined with parchment paper, ensuring they don’t touch.
- Freeze Until Firm: Place the tray in the freezer for about an hour, or until the dough balls are firm.
- Transfer to Storage: Once firm, transfer the frozen dough balls to an airtight container or a heavy-duty ziplock freezer bag. Label with the date.
- Storage Duration: Freeze for up to 2 to 3 months for optimal freshness.
- Baking from Frozen: To bake, simply place the frozen dough balls on a baking tray lined with parchment paper. Preheat your oven as directed (375°F/190°C), and bake for a minute or two longer than the time stated in the recipe. There’s no need to thaw!
- Freezing Baked Cookies: If you have leftover cookies (a rare occurrence!), you can freeze them too.
- Cool Completely: Ensure the baked cookies are completely cooled to room temperature before freezing. This prevents condensation and ice crystals from forming.
- Store: Place them in a ziplock freezer bag or an airtight container.
- Storage Duration: Freeze for up to 2 months.
- Thawing: Bring them to room temperature for 10-15 minutes before eating, or gently warm them in the microwave for a few seconds for that “freshly baked” feel.
While freezing baked cookies is convenient, in my opinion, **you’ll always retain the best flavor and freshness by freezing them unbaked.** The dough can also be frozen for a slightly longer period than baked cookies, allowing for more spontaneous baking sessions!
Expert Tips for Unforgettable Triple Chocolate Cookies
Achieving truly bakery-worthy cookies involves attention to detail. These expert tips will help you perfect your Triple Chocolate Cookies every single time:
Measure Ingredients Correctly: Baking is often referred to as a science, and for good reason! Exact quantities are paramount for consistent results. For the most accurate measurements, especially for flour, I highly recommend using a kitchen scale to weigh your ingredients. If you don’t have a scale, please check out reliable resources on how to properly measure flour to avoid a dense or dry cookie.
Use Quality Semi-Sweet Chocolate: This darker-than-milk-chocolate variety possesses a richer, more profound flavor that truly shines in these cookies. Unlike overly sweet milk chocolate, semi-sweet offers a truer, more balanced chocolate experience that complements the cocoa powder beautifully. Even if you don’t typically enjoy eating semi-sweet chocolate on its own, you’ll undoubtedly adore how it transforms these cookies into an indulgent masterpiece.
Cool the Melted Chocolate: After melting your semi-sweet chocolate, it’s absolutely crucial to allow it to cool down to around room temperature. It should still be liquid but not warm to the touch. If you add hot melted chocolate to your butter and sugar mixture, it will instantly melt the butter, leading to a runny batter instead of a cohesive dough, compromising the final texture of your cookies.
Employ a Cookie Scoop: A cookie scoop is a baker’s best friend for several reasons. Not only does it make the process of portioning dough quicker and easier, but it also ensures that all your cookies are uniformly sized. This consistency is important for even baking – no one wants some cookies perfectly baked while others are burnt or underdone. Plus, no one wants to be the person left with the smallest cookie!
Chill the Dough: Yes, I’m repeating myself, but this tip is genuinely worth reiterating! Dough that isn’t properly chilled will spread excessively in the oven, resulting in thinner, crispier cookies that lack that desired bakery-style thickness and softness. This recipe specifically calls for chilling the dough both before and after being scooped, ensuring a perfect texture every time. Given the inclusion of melted chocolate, this chilling time is especially vital to set the fats and prevent spreading.
Bake on the Middle Shelf: For optimal and even baking, always use the middle shelf in your oven. The bottom shelf is typically the hottest and can cause the bottoms of your cookies to brown too quickly. The middle shelf allows for the perfect airflow around the cookies, promoting uniform cooking and preventing burnt bottoms or pale tops.
Give Them Ample Space on Trays: Cookies will spread as they bake, so it’s important to leave sufficient space between them on the baking sheet. A good rule of thumb is to leave at least 2 inches between each dough ball. This spacing allows hot air to circulate freely around each cookie, ensuring they bake more evenly and don’t merge into one giant cookie blob.
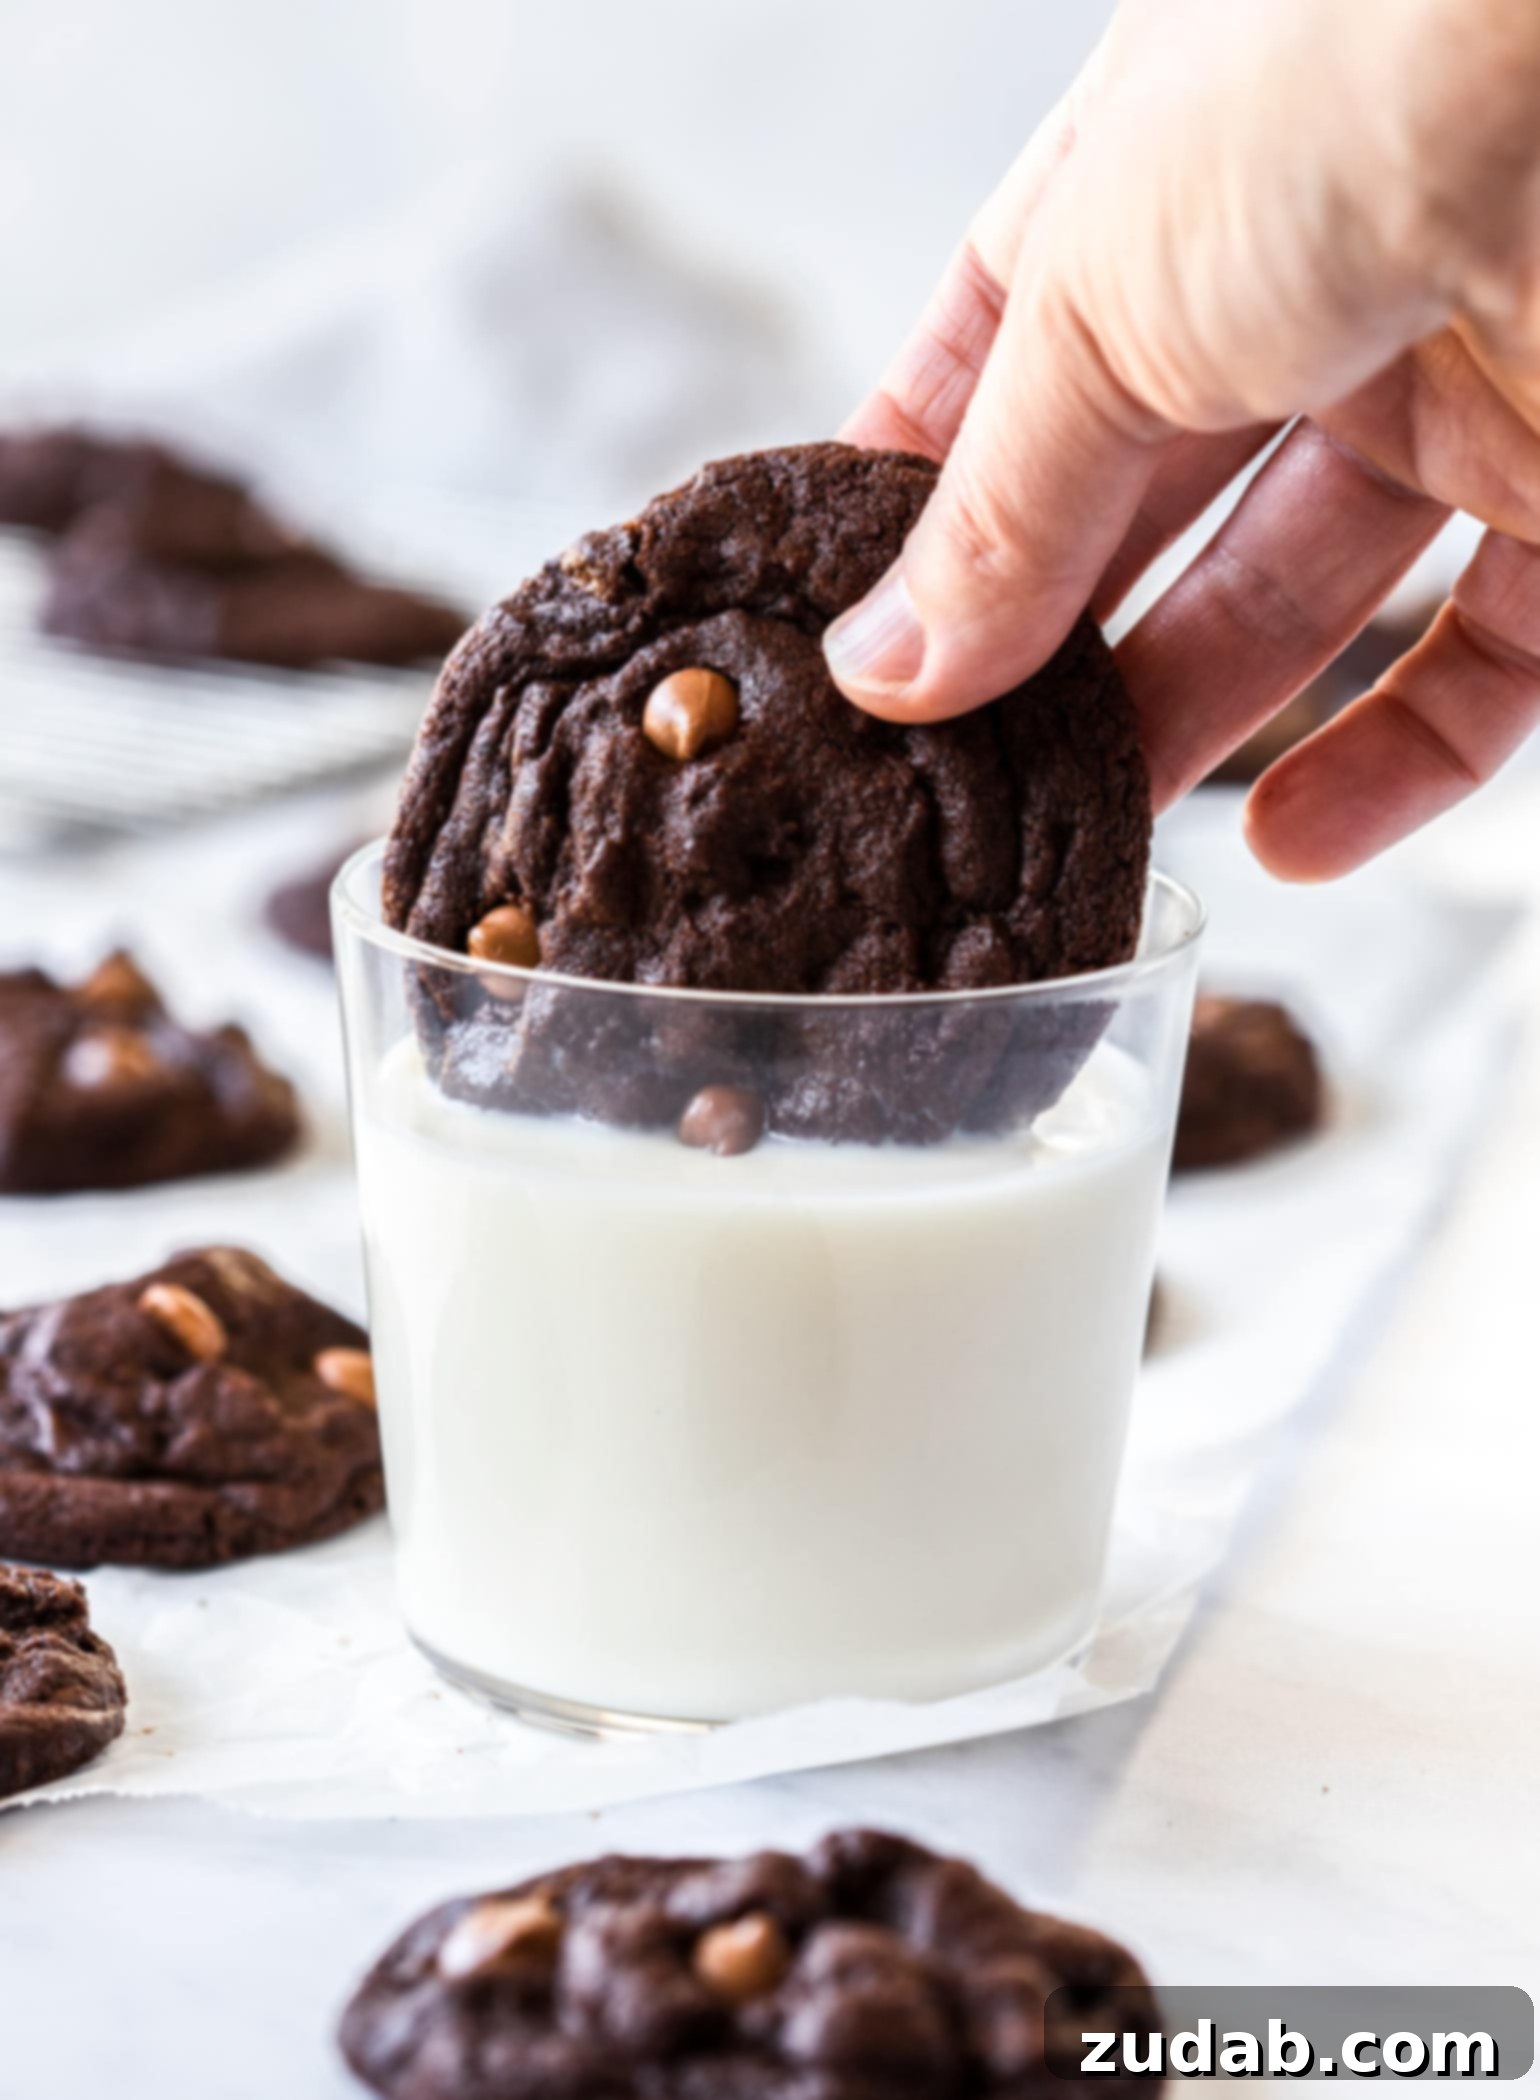
Add Extra Chocolate Chips to the Top: For that truly professional, bakery-fresh look, gently press a few extra chocolate chips onto the top of each cookie dough ball right before they go into the oven. This aesthetic touch makes the finished cookies look incredibly inviting and clearly showcases the delicious chocolatey goodness within. As an added bonus, it’s an extra dose of chocolate – and you can never go wrong with more chocolate! I often like to use milk chocolate chips for the topping to create a lovely color contrast against the dark cocoa cookie base.
Go on, you know these perfectly soft, thick, and intensely fudgy triple chocolate cookies are calling your name. They’re certainly calling mine – perhaps it’s time for another batch?
 More Easy Chocolate Cookie Recipes:
- Andes Mint Chocolate Cookies
- Chocolate Snickerdoodle Cookies
- Chocolate Sin Cookies
- Chocolate Marshmallow Cookies
- Reese’s Pieces Chocolate Cookies
- Chocolate M&M’s Cookies
- Double Chocolate Peppermint Cookies
- Double Chocolate Cherry Cookies
- Brownie Cookies
- All of our cookie recipes!
Bakery-Style Triple Chocolate Cookies
Pin
Ingredients
- 1 Cup Unsalted Butter, softened
- 1/2 Cup Granulated Sugar
- 1 Cup Brown Sugar
- 4 ounces Semi-Sweet Chocolate, (2/3 cup)
- 2 Large Eggs, whisked
- 3 teaspoons Vanilla Extract
- 2 Cups All-Purpose Flour
- 1 Cup Cocoa Powder
- 1 teaspoon Baking Soda
- 1/2 teaspoon Salt
- 2 Cups Chocolate Chips, (+ extra for topping)
Instructions
-
In a stand mixer, beat the softened butter until light and fluffy, about 1 minute.1 Cup Unsalted Butter
-
Add the granulated sugar and brown sugar, then continue beating for 1-2 more minutes until the mixture is fluffy and well combined.1/2 Cup Granulated Sugar, 1 Cup Brown Sugar
-
Melt 2/3 cup of high-quality semi-sweet chocolate in a small bowl placed over a saucepan of simmering water. Stir until smooth. Let it cool for 1 minute until it’s just warm but still melted. Pour the cooled melted chocolate into the butter-sugar mixture. Beat until the chocolate is fully incorporated into the dough.4 ounces Semi-Sweet Chocolate
-
Add the whisked eggs and vanilla extract. Beat well, making sure to scrape down the edges and bottom of the bowl for even mixing.2 Large Eggs, 3 teaspoons Vanilla Extract
-
In a separate bowl, whisk together the flour, cocoa powder, baking soda, and salt. Gradually add these dry ingredients to the wet dough mixture and beat on low speed until just combined. Do not overmix.2 Cups All-Purpose Flour, 1 Cup Cocoa Powder, 1 teaspoon Baking Soda, 1/2 teaspoon Salt
-
Fold in the chocolate chips. You can use any combination you prefer, but a mix of semi-sweet and milk or semi-sweet and dark chocolate chips works wonderfully.2 Cups Chocolate Chips
-
Cover the mixing bowl and place it in the freezer for 30 minutes to thoroughly chill the dough. Once chilled, scoop out 1/4 cup portions of dough. For extra thick cookies (America’s Test Kitchen method), break each dough ball in half and stack the two pieces on top of each other. Place the shaped cookies onto a plate, cover with plastic wrap, and refrigerate for another 30 minutes.
-
Once the dough has completed its chilling time, preheat your oven to 375°F (190°C).
-
Bake for 10-11 minutes. It is crucial NOT to overbake these cookies to maintain their soft, fudgy center.
-
Allow the cookies to cool on the baking sheet for at least 5 minutes before transferring them to a cooling rack. This resting period allows the cookies to set up properly.
Recipe Notes
Nutrition
Nutrition information is automatically calculated, so should only be used as an approximation.