
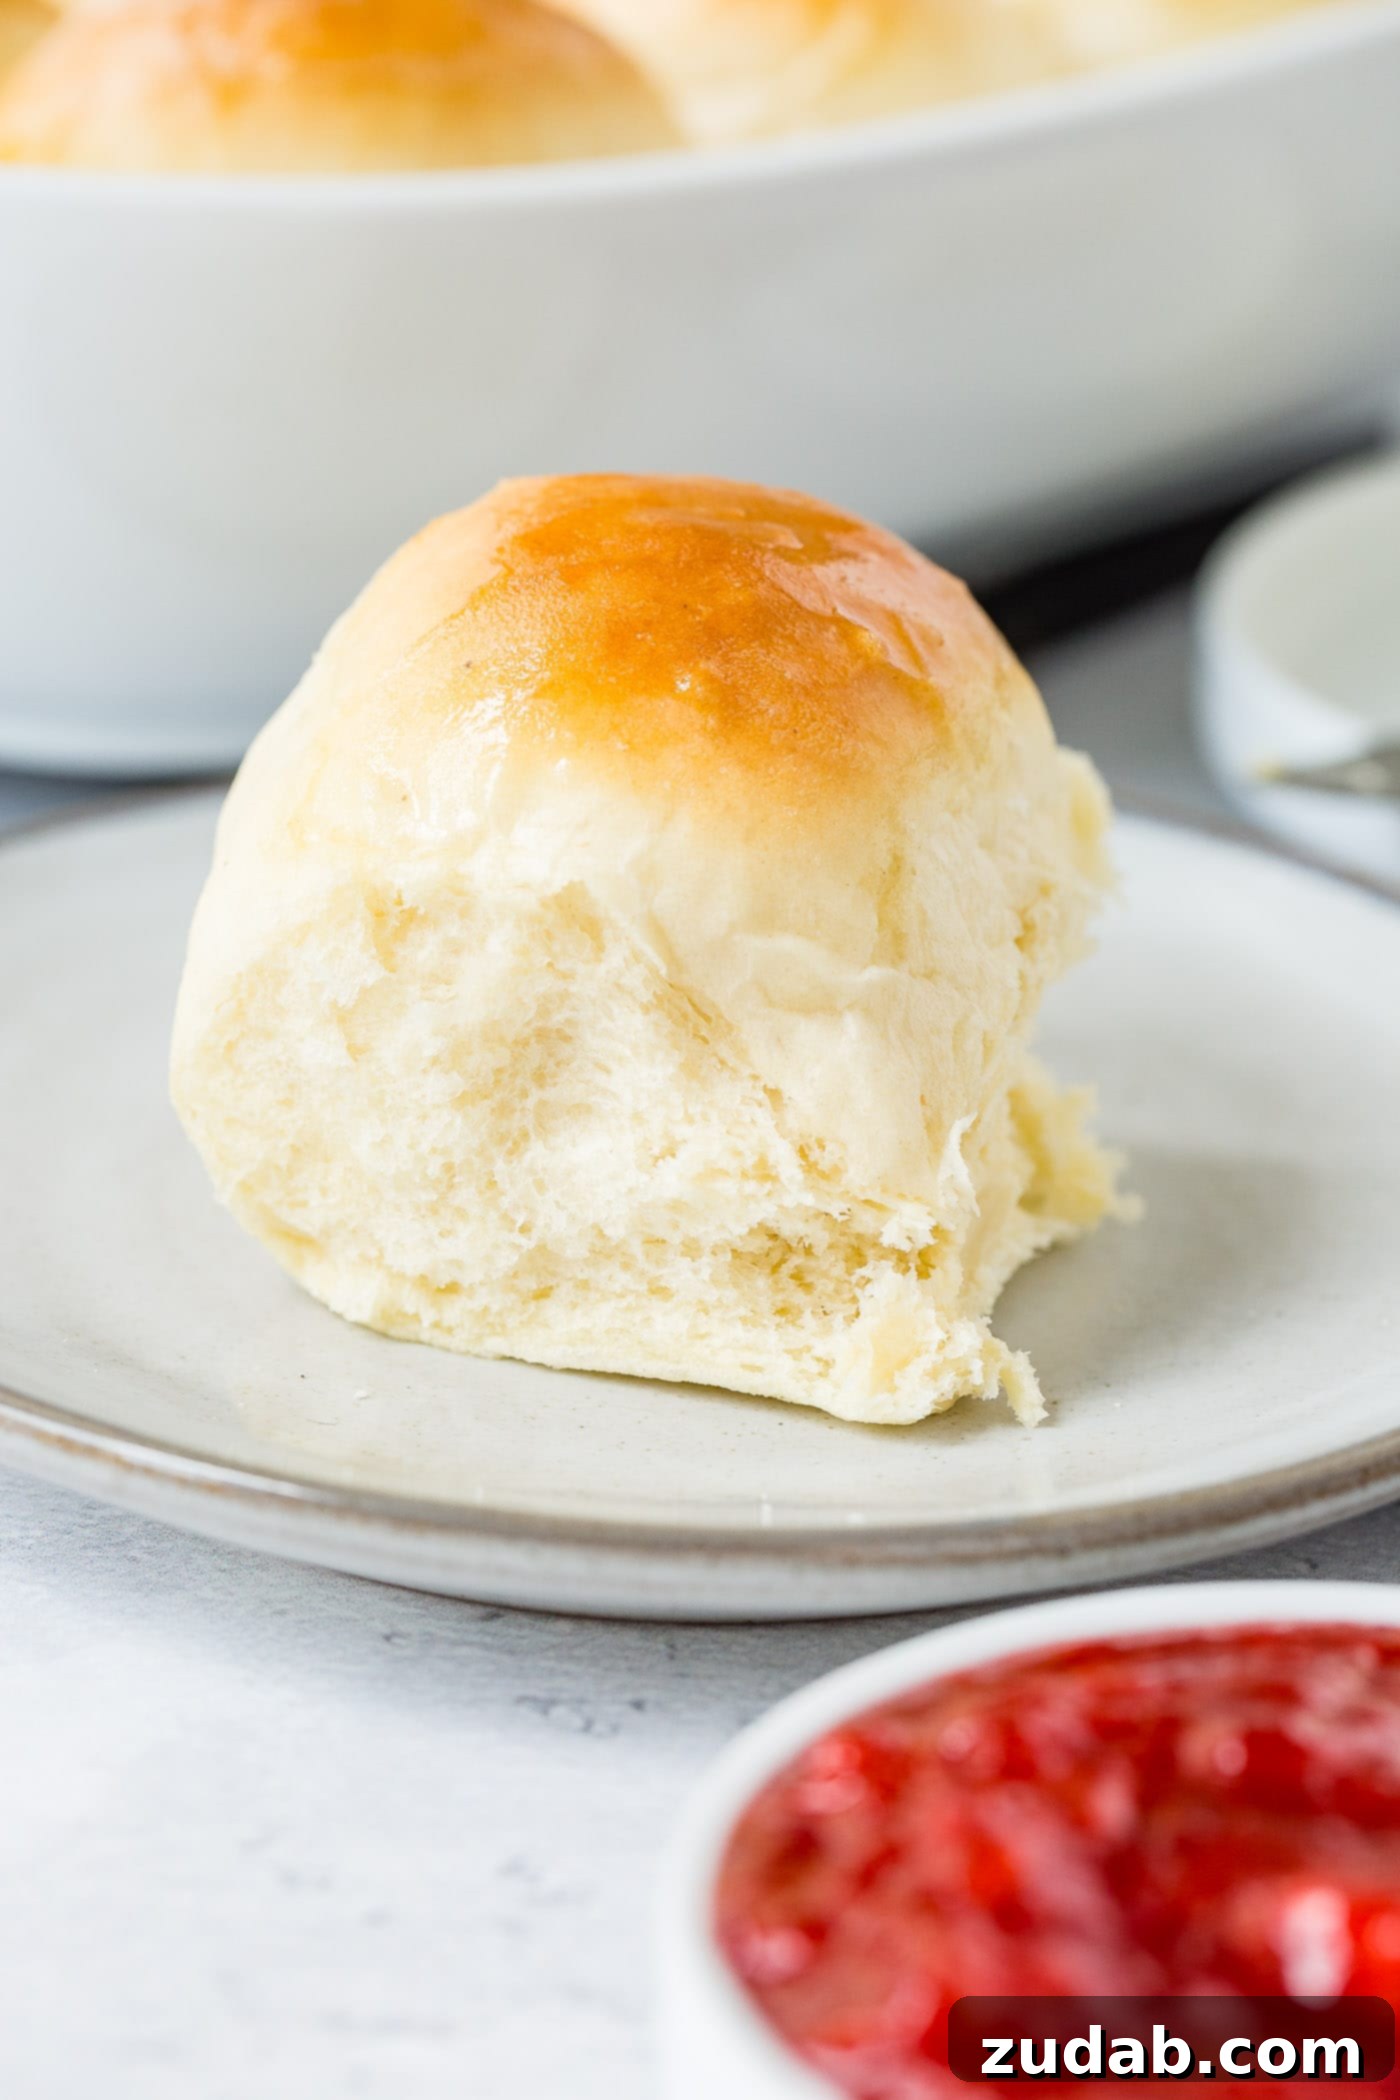
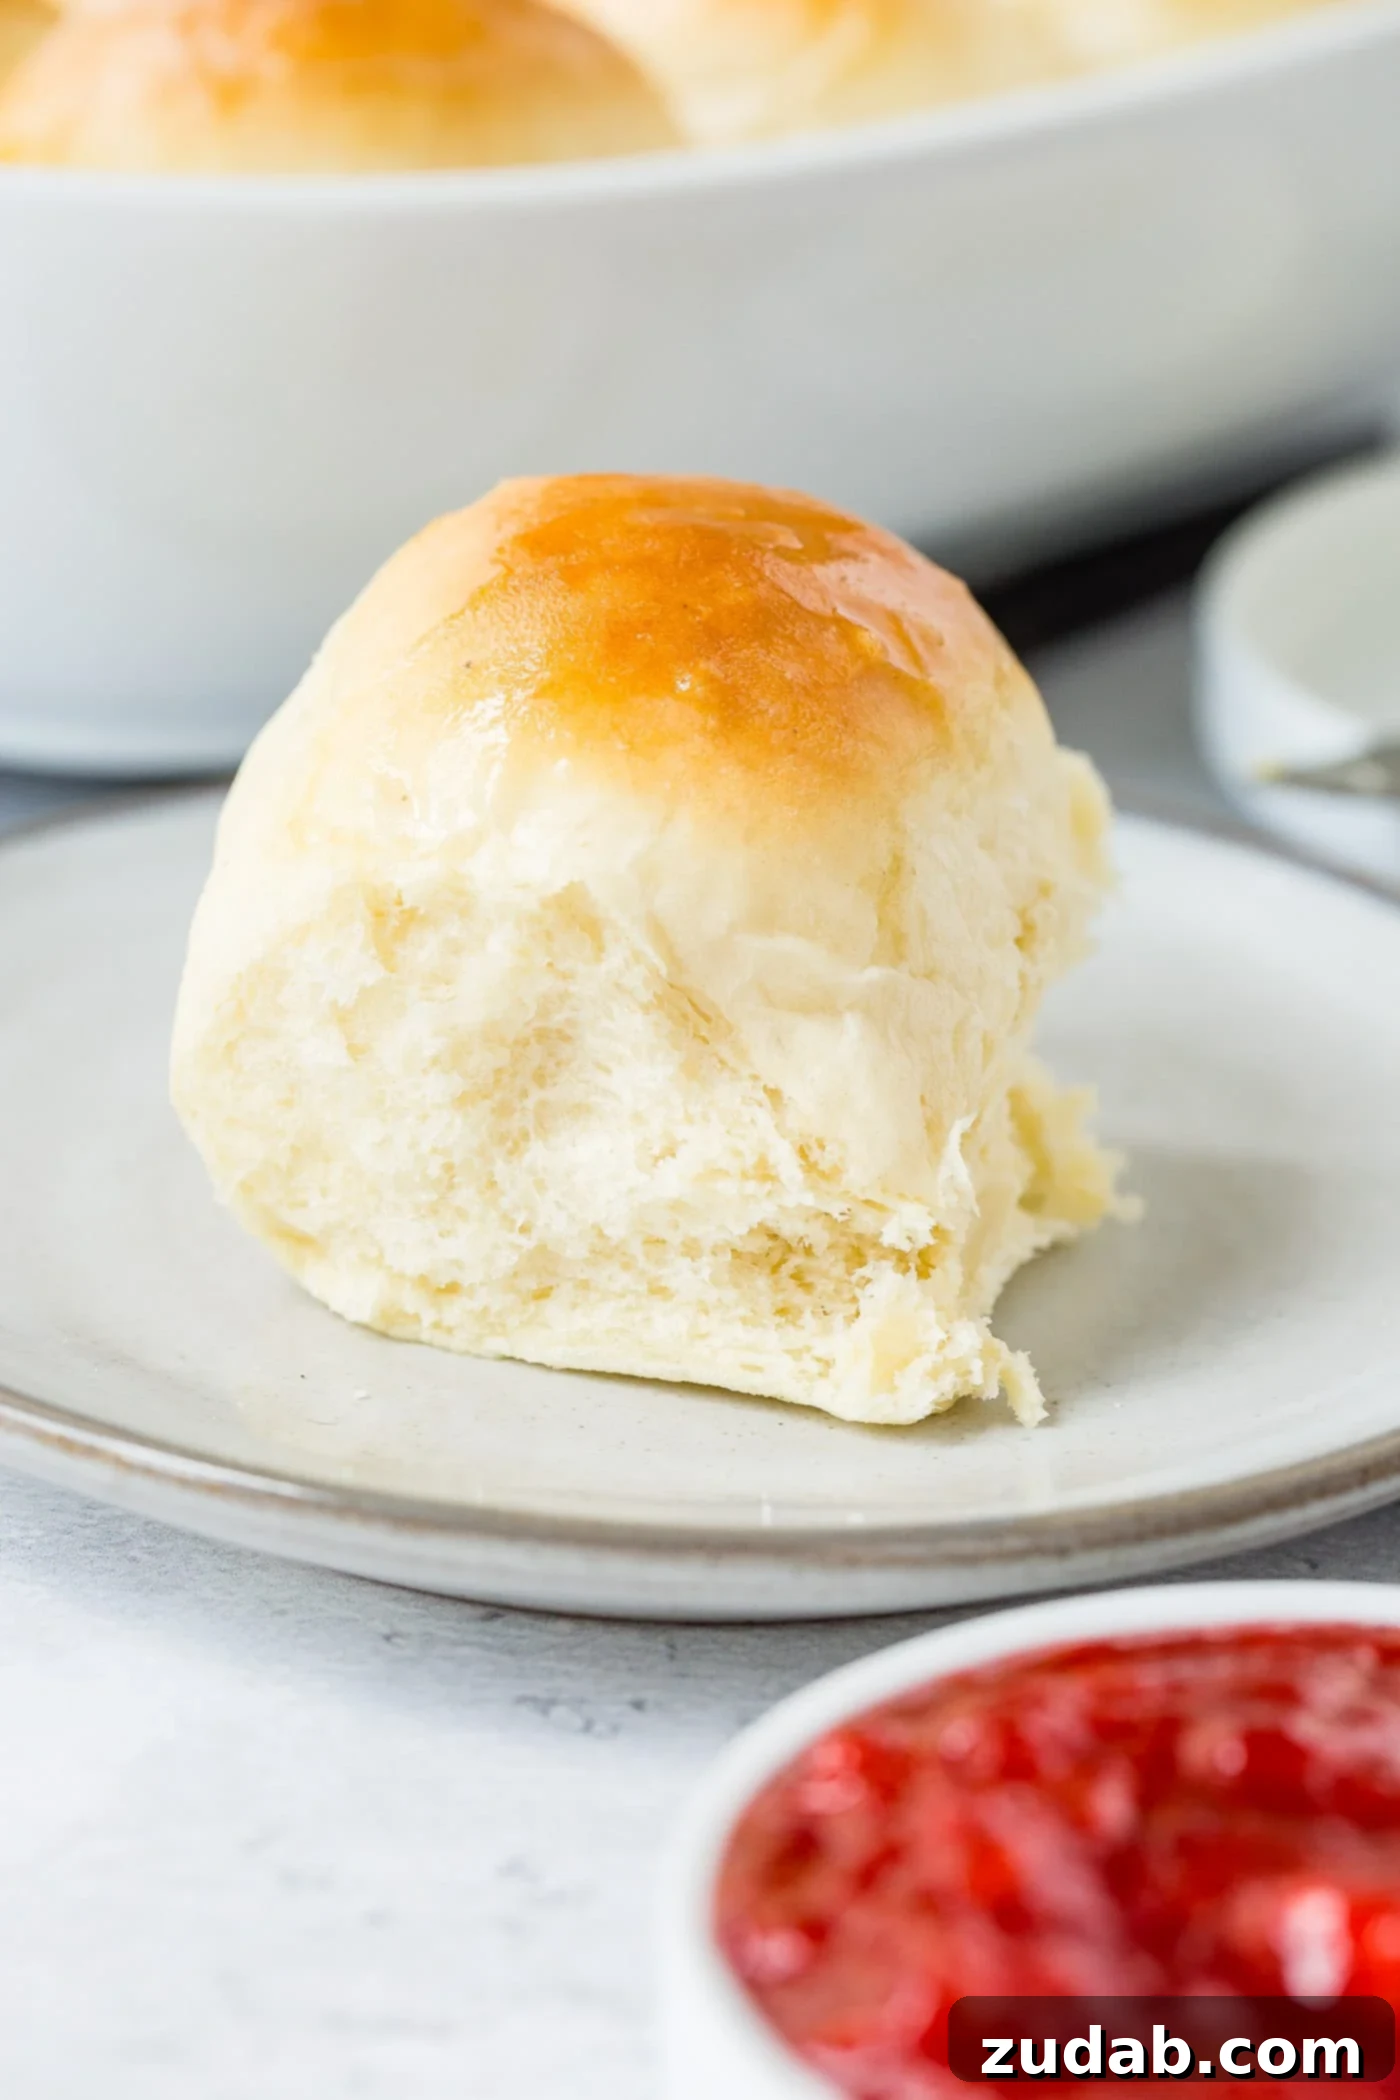
Experience the unparalleled delight of the Softest Homemade Dinner Rolls, a recipe meticulously crafted to bring warmth and buttery perfection to your table. Imagine rolls so incredibly tender on the inside, with a delicate, golden-brown crust, fresh from the oven and meltingly rich. This isn’t just another bread recipe; it’s a culinary journey to baking bliss, complete with a secret tip that guarantees the most exquisite texture you’ve ever achieved in a dinner roll.
For many, the aroma of freshly baked bread evokes a powerful sense of nostalgia, transporting us back to cherished memories and family gatherings. I vividly recall Sunday dinners at my childhood home, a truly grand affair. My mother, in her Sunday best and a practical apron, would orchestrate a symphony in the kitchen. Her morning ritual involved getting the pot roast into the oven before church, while my immediate assignment was always “Jell-O duty.”
Please, no judgment. My enthusiasm for Jell-O was boundless. Not only did I adore the process of making it, but I was also the undisputed champion of licking the bowl clean. As I meticulously stirred, captivated by the gentle, ruby-red waves and the mesmerizing disappearance of gelatin crystals, Mom would be immersed in preparing the rest of our elaborate Sunday feast. As I grew older, my responsibilities expanded to more complex tasks, like peeling potatoes or browning the roast. Yet, dinner rolls always seemed like an intimidating frontier. The thought of a long, arduous, multi-hour process was enough to keep me at arm’s length.
From Jell-O Duty to Mastering the Art of Dinner Rolls
Fast forward to today, and homemade dinner rolls have become my passion, my specialty. If you’ve ever had the pleasure of tasting our renowned Potato Rolls, you already have an inkling of the extraordinary tenderness we strive for. The secret to truly successful homemade dinner rolls lies in understanding the dough’s “feel.” Learning to work with and shape the dough is far more forgiving with smaller rolls than with a massive loaf of bread, making it an ideal starting point for budding bakers.
Unlike some laborious bread recipes, this one doesn’t demand endless hours of kneading or multiple proofs throughout the day. In fact, the most pivotal element for achieving these incredibly soft rolls is the **scalded milk**. Scalding milk involves gently heating it to a specific temperature, which fundamentally alters its protein structure. While the full scientific explanation can be complex, the practical benefit is undeniable: it results in a more pliable dough that yields an exceptionally soft, airy crumb. This crucial step is what truly sets our dinner rolls apart, elevating them from merely good to absolutely irresistible.
How to Properly Scald Milk for Optimal Dinner Roll Texture
Mastering the scalded milk technique is simpler than it sounds, and it’s the foundation for these heavenly rolls. Here’s how you do it:
- Begin by pouring the milk into a saucepan and placing it over medium heat. Keep a close watch for small, foamy bubbles to start forming around the edges of the pan, and a thin, delicate skin to appear on the surface of the milk. You can lightly touch the surface with a wooden spoon, and if a skin lifts, you know it’s ready. Crucially, do not allow the milk to boil.
- Once the milk is scalded, remove it from the heat and immediately add the measured water. Set the mixture aside to cool down. Periodically, dip a clean finger into the mixture to test its temperature. It should feel pleasantly warm, akin to a comfortable bath. This lukewarm stage is vital for activating the yeast without killing it. Once it reaches this ideal temperature, you’re all set to proceed with the next exciting steps!
Essential Ingredients for the Softest Dinner Rolls
Crafting these delectable dinner rolls requires a selection of common pantry staples, each playing a vital role in achieving their signature softness and rich flavor. Pay close attention to the type of yeast for the best results:
- Instant Yeast: This is our preferred choice for its efficiency and reliability. Ensure you’re using instant yeast, not active dry, to streamline the process.
- Milk: The star ingredient, which will be scalded to enhance dough elasticity and the rolls’ final tender texture.
- Water: Combined with the scalded milk to bring the liquid mixture to the perfect lukewarm temperature for yeast activation.
- Sugar: Provides essential food for the yeast, contributing to a robust rise, and adds a subtle sweetness to the rolls.
- Honey: Another sweetener that imparts a unique depth of flavor and helps achieve a beautiful golden crust.
- Butter: Adds richness, tenderness, and that irresistible buttery flavor that makes dinner rolls so comforting.
- Fine Sea Salt: Balances the sweetness, enhances other flavors, and controls yeast activity.
- Vegetable Oil: Contributes to the rolls’ softness and helps keep them moist.
- Evaporated Milk: A key ingredient for achieving exceptional tenderness and a slightly richer taste due to its concentrated milk solids.
- Egg: Adds richness, helps with the dough’s structure, and contributes to a softer crumb and golden exterior.
- All-Purpose Flour: The primary structural component of our rolls. You’ll need a range, as dough hydration can vary.
Step-by-Step Guide: Baking Your Own Fluffy Dinner Rolls
Creating these remarkably soft dinner rolls is a rewarding process. We’ll start with the crucial step of scalding the milk, which as emphasized, makes all the difference for a tender crumb. Follow these detailed instructions to achieve baking perfection:
Preparing the Liquid Mixture and Activating Yeast
- In a medium-sized saucepan, heat the milk over medium heat. Continue cooking until you observe small, foamy bubbles forming around the edges and a thin layer of skin appearing on the surface. Be careful not to let the milk come to a full boil; gentle warming is key.
- Once the milk is perfectly scalded, remove the saucepan from the heat. Gently add the butter, water, sugar, and honey to the warm milk. Stir the mixture until the butter has completely melted and all the ingredients are well combined. Allow this liquid mixture to cool down to a lukewarm temperature. This is crucial for the yeast.
- Once lukewarm, generously sprinkle the instant yeast over the surface of the liquid mixture in the saucepan. Give it a gentle stir to ensure the yeast is well distributed. Carefully pour this milk and yeast mixture into the bowl of a standing mixer. Let it rest undisturbed for 3 to 5 minutes, or until the mixture becomes visibly foamy. This indicates that your yeast is active and ready to work its magic.
Mixing and Rising the Dough
- To the foamy yeast mixture in the standing mixer, add the vegetable oil, fine sea salt, evaporated milk, and the whisked egg. Stir all these ingredients thoroughly until they are fully incorporated, creating a harmonious blend that will nourish your dough.
- Attach the dough hook to your standing mixer. Begin by adding 8 cups of all-purpose flour to the wet ingredients. Start mixing on a low speed. As the dough comes together, gradually increase the speed. Continue mixing until the dough starts to gather into a cohesive mass around the dough hook, pulling away from the sides of the bowl.
- At this point, you may need additional flour. Carefully add up to an extra cup of flour, one tablespoon at a time, mixing thoroughly after each addition. The goal is to achieve a dough that is soft, slightly tacky but manageable, and forms a unified ball around the dough hook. Avoid adding too much flour, as this can lead to dry, tough rolls.
- Once the dough reaches the ideal consistency, remove the bowl from the mixer. Cover the bowl loosely with a clean kitchen towel or plastic wrap. Place it in a warm, draft-free location and allow the dough to rise for approximately 1 hour, or until it has visibly doubled in size. This first rise develops flavor and texture.
Shaping Your Dinner Rolls
- After the first rise is complete, heavily sprinkle your clean work surface with all-purpose flour. Gently turn the risen dough out onto the floured surface.
- Carefully flip the dough over once or twice, ensuring that all sides are lightly coated with flour to prevent stickiness and make it easier to handle.
- Divide the dough into 42 evenly sized pieces. A kitchen scale can help ensure uniformity for consistent baking. Roll each piece into a smooth, tight ball. Arrange these dough balls on a lightly greased baking sheet or a parchment-lined baking pan, ensuring they are about 1 to 1 1/2 inches apart to allow for expansion.
- Cover the shaped dinner roll dough balls again with a clean kitchen towel. Place them back in a warm spot and let them undergo a second rise until they have doubled in size. This second rise, or proofing, is essential for light and airy rolls.
Baking and Finishing
- Preheat your oven to 350°F (175°C). Once the rolls have completed their second rise, place the baking sheet in the preheated oven.
- Bake for 15 to 20 minutes, or until the rolls are beautifully golden brown on top and cooked through. To check for doneness, you can lightly tap a roll; it should sound hollow.
- Immediately after removing the golden-brown rolls from the oven, gently rub a generous amount of softened butter all over their tops. This step adds an irresistible sheen, enhances the buttery flavor, and contributes to their soft crust.
- Allow the rolls to cool slightly on the baking sheet before transferring them to a wire rack. Serve warm for the best experience.
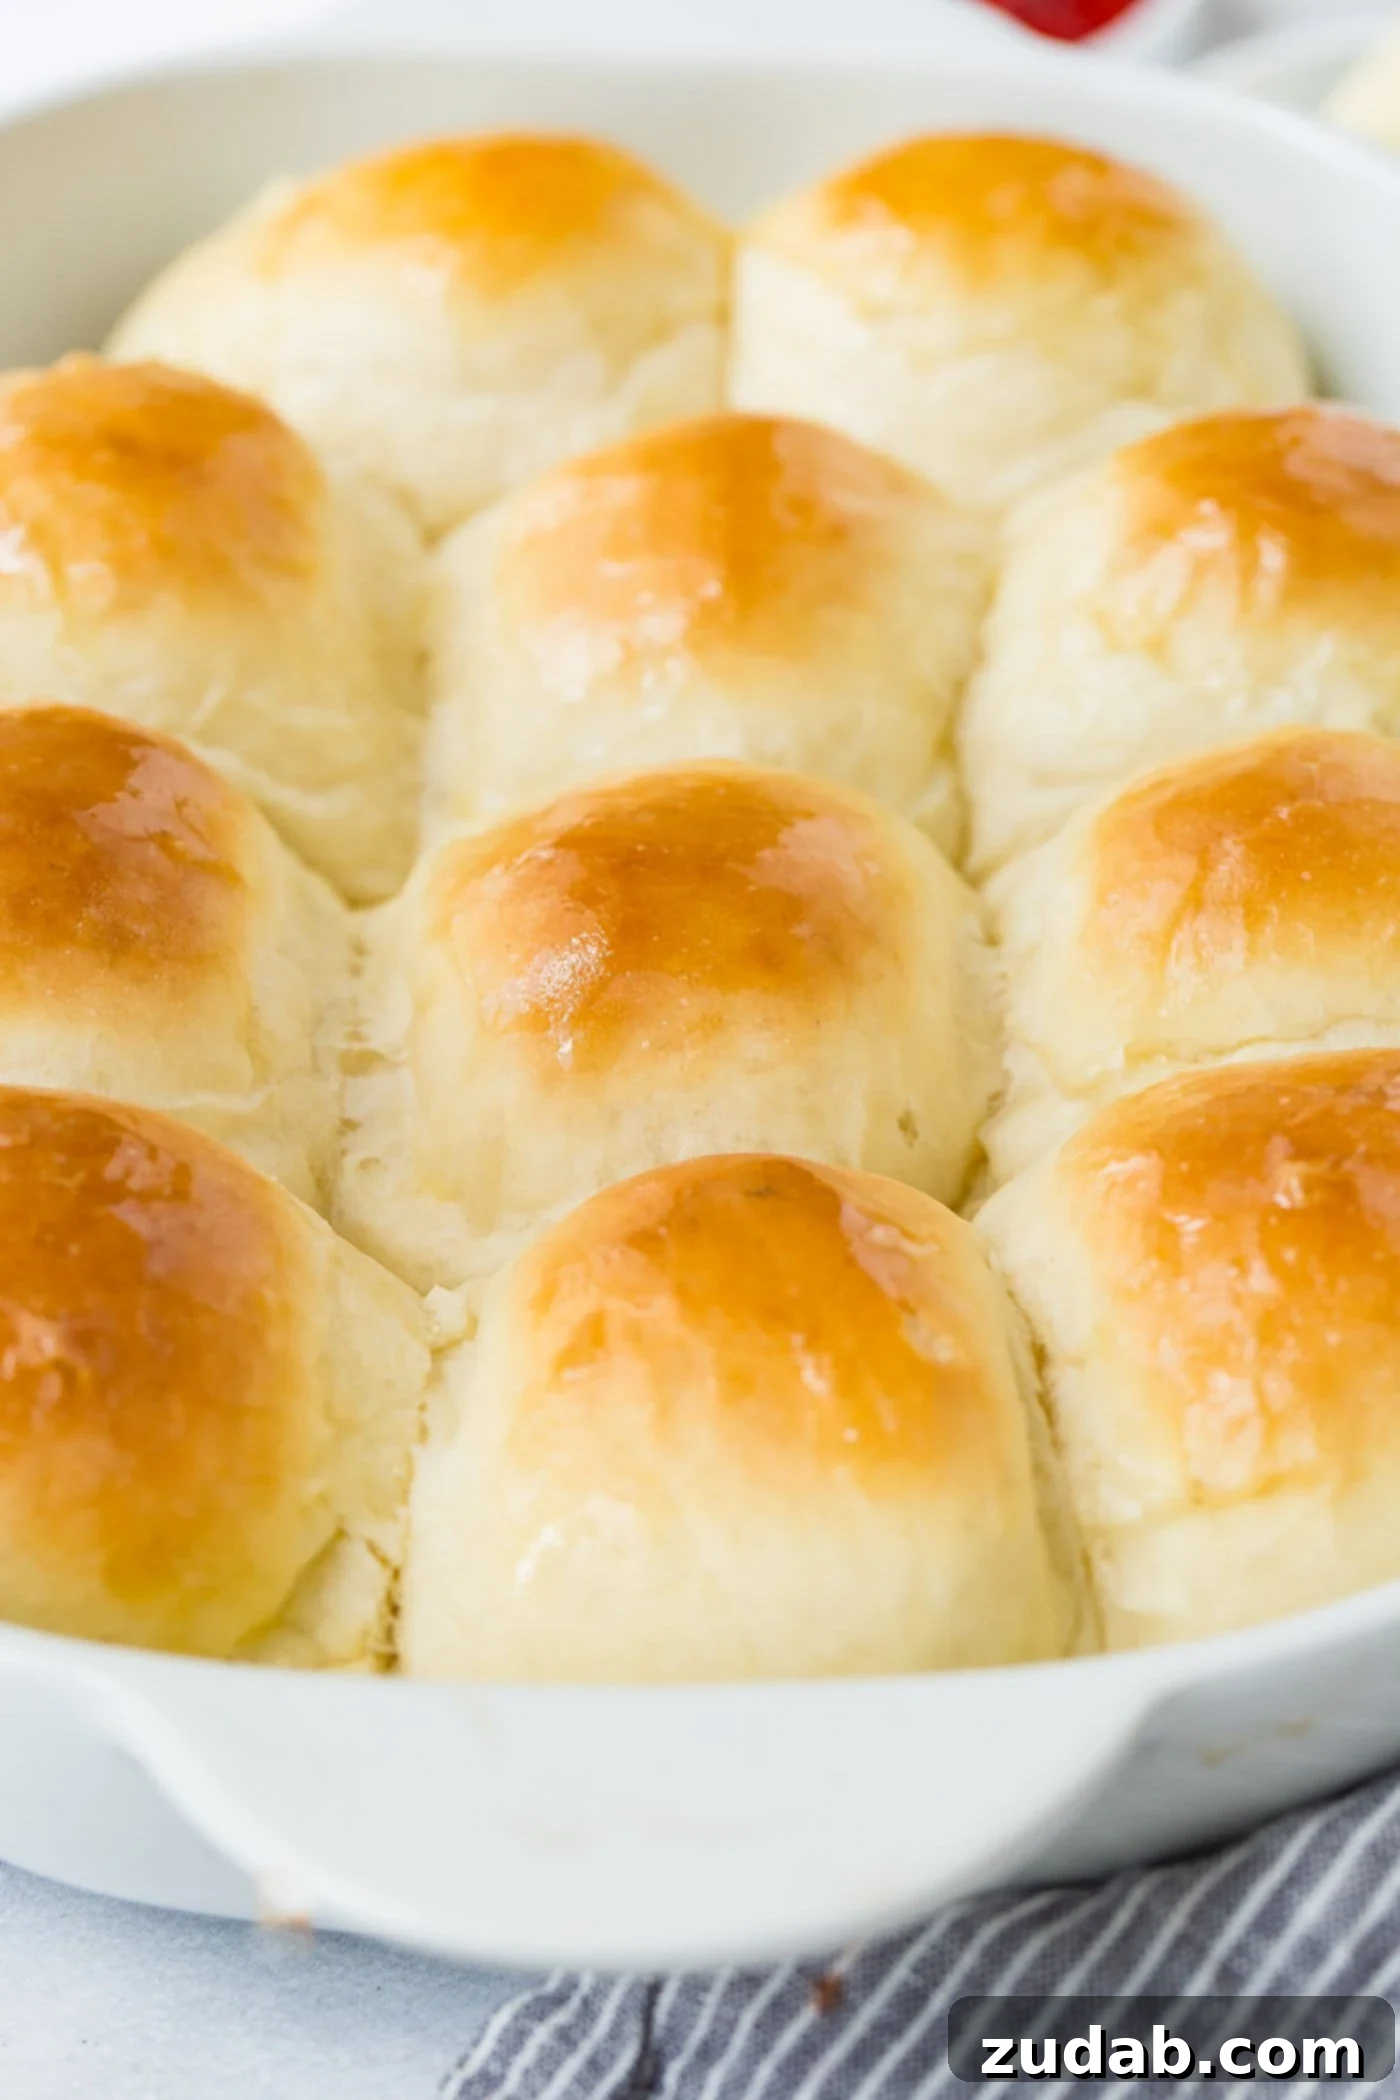
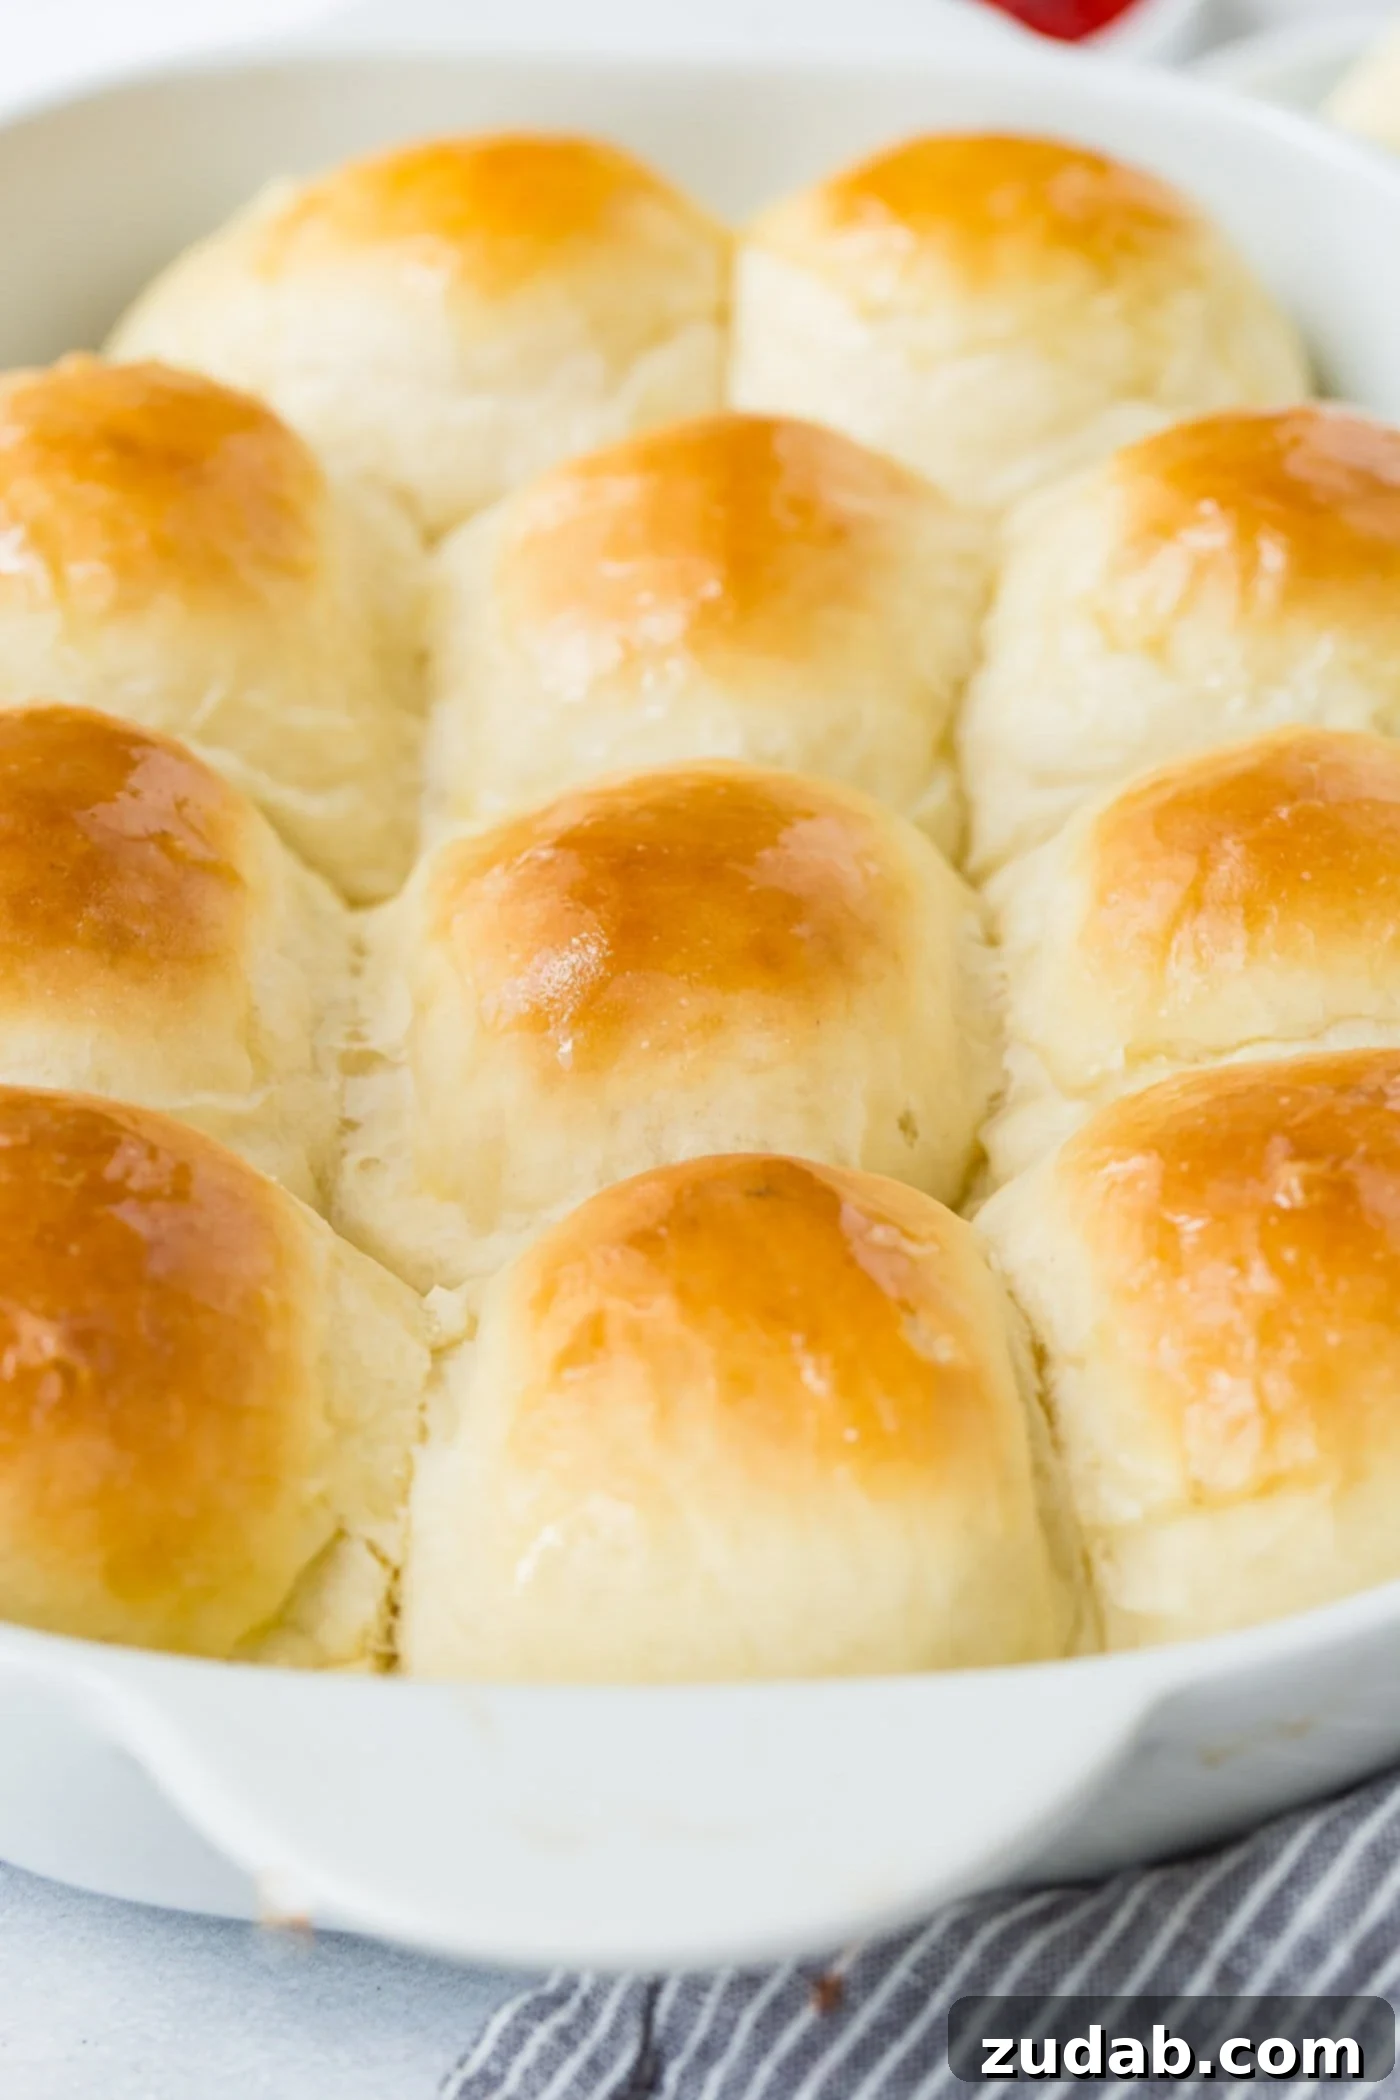
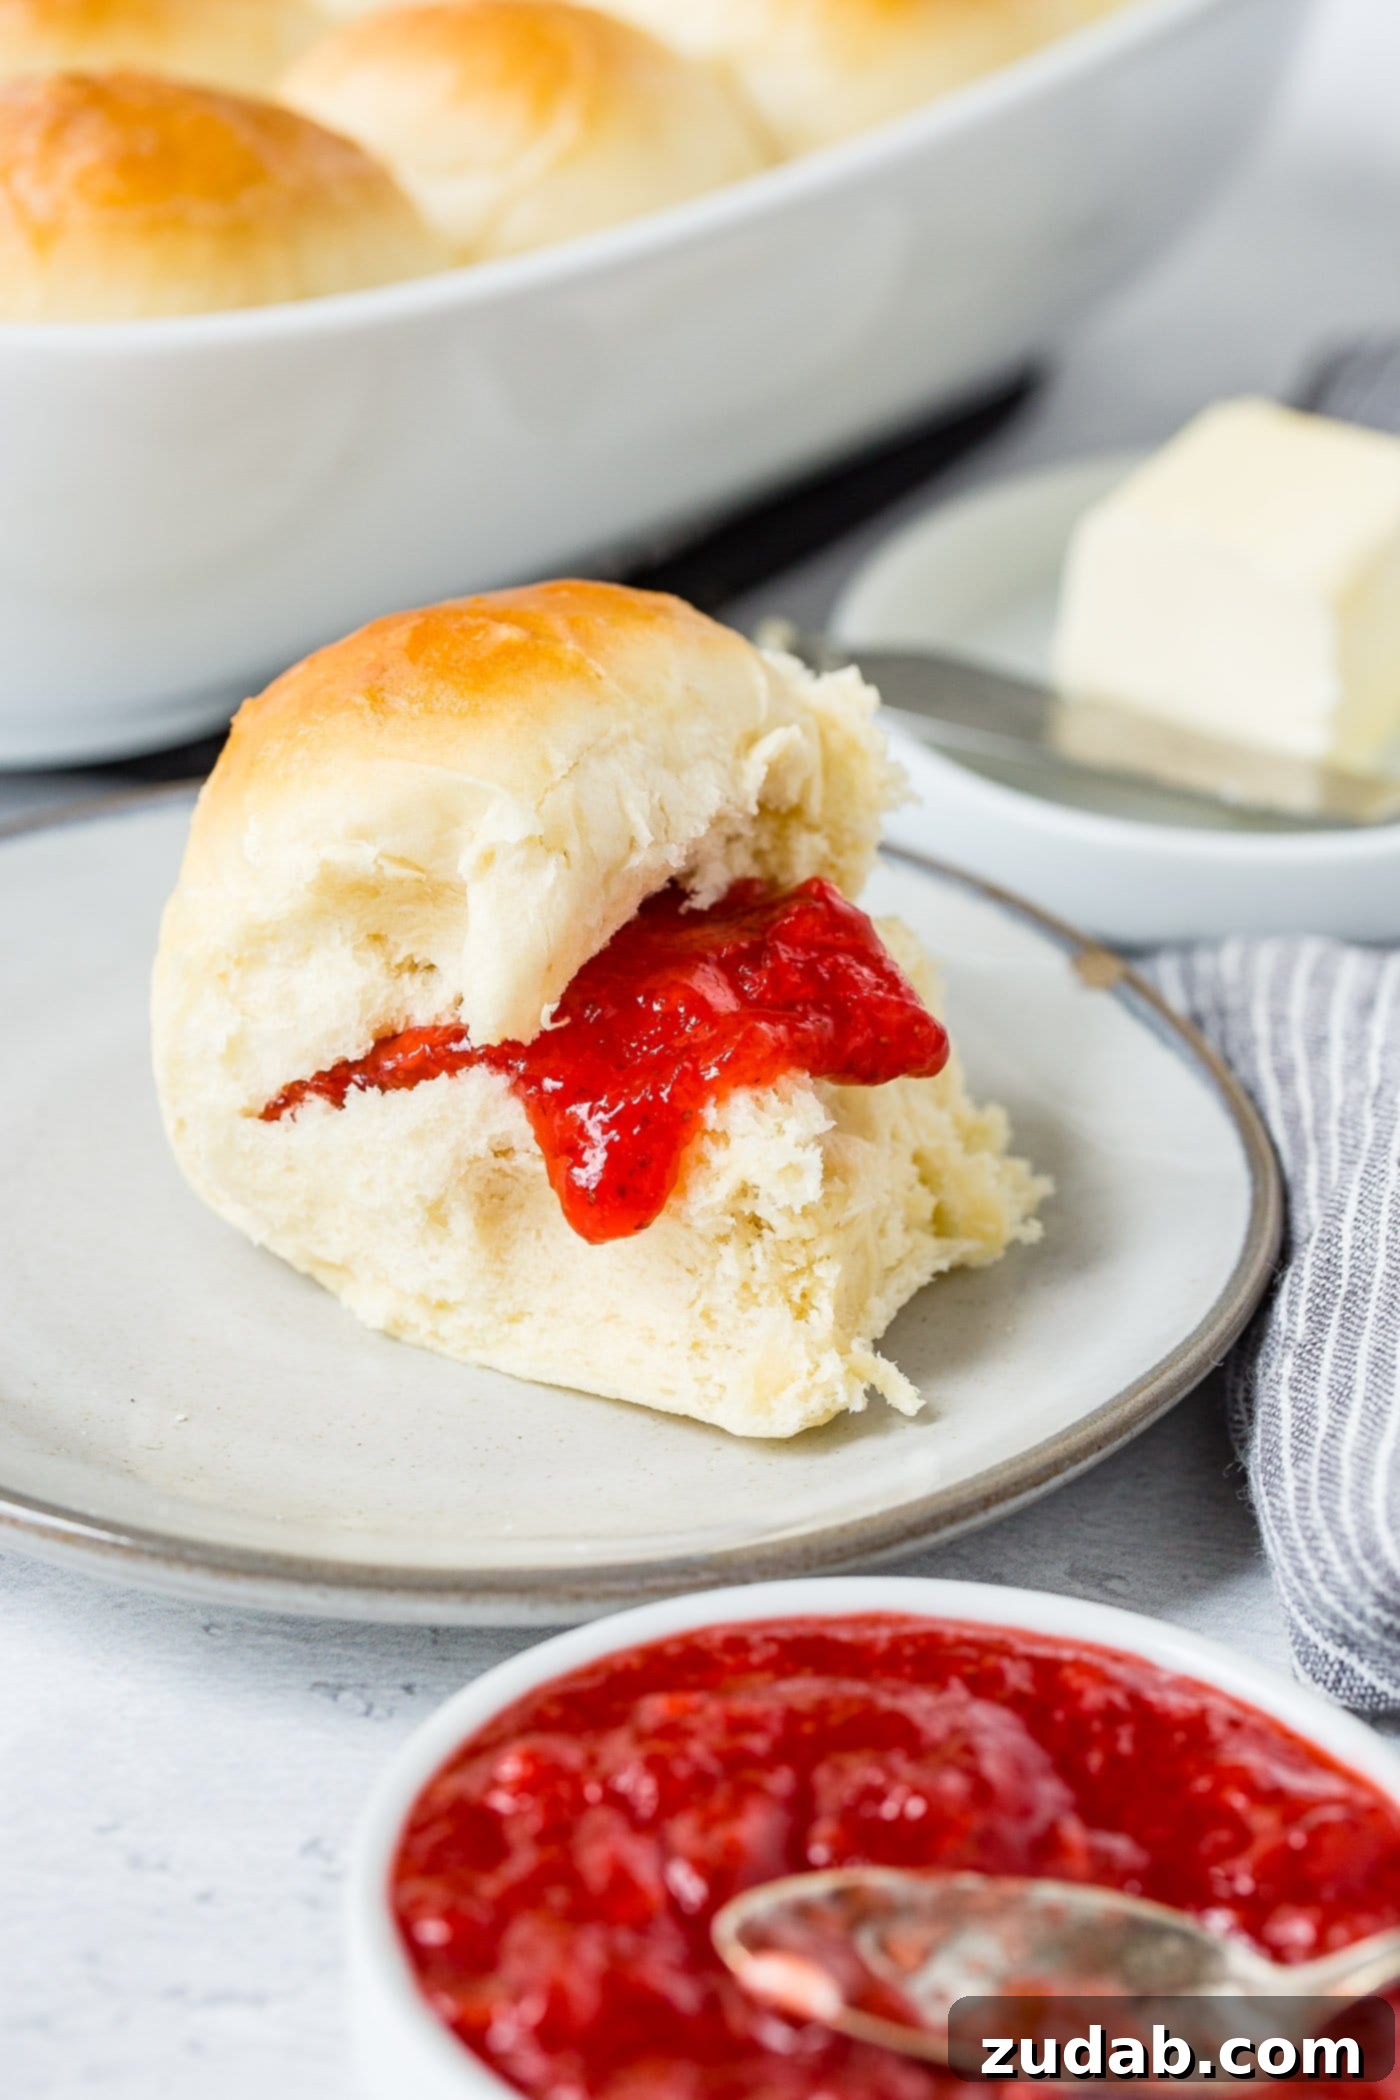
These Homemade Soft Dinner Rolls are incredibly versatile and utterly delightful. They are THE BEST for dipping into a rich and creamy Broccoli Cheese Soup, serving alongside a perfectly cooked Easy Garlic Butter Steak, or honestly, they are simply divine eaten by themselves, warm and generously slathered with extra butter! 😋 Their tender texture and rich flavor make them a welcome addition to any meal, transforming an ordinary dinner into a special occasion.
Understanding Yeast: Instant vs. Active Dry
When it comes to baking bread, yeast is a crucial ingredient, but choosing the right type can sometimes be confusing. The primary distinction between instant yeast and active dry yeast lies in their activation methods. Active dry yeast typically requires rehydration in warm water before it can be incorporated into your dry ingredients. This step, often called “proofing,” allows you to confirm the yeast is alive and active before proceeding with your recipe. Instant yeast, on the other hand, is a more convenient option. It’s designed to be mixed directly into your dry ingredients without prior rehydration, saving you a step and a bit of time, making it ideal for recipes like our soft dinner rolls where efficiency is appreciated.
Creative Substitutions for Evaporated Milk
Evaporated milk plays a significant role in achieving the extraordinary tenderness and richness of these dinner rolls. However, if you find yourself without it, there are a couple of excellent alternatives. You can easily create your own evaporated milk by simmering 2 1/4 cups of regular milk (whole milk works best for richness) over low heat until it reduces down to just 1 cup. This process concentrates the milk solids, mimicking the properties of store-bought evaporated milk. Alternatively, a combination of half-and-half and whole milk can be used as a substitute, though the texture and richness may vary slightly. The goal is to maintain the higher fat and milk solid content that contributes to the rolls’ ultimate softness.
Maximizing Freshness: How Long Do Dinner Rolls Last?
Proper storage is key to extending the life of your delicious homemade dinner rolls. When stored correctly, these rolls will maintain their freshness and tender texture for 5 to 7 days. To prevent them from drying out and to keep them soft, ensure they are wrapped tightly in plastic wrap or placed inside an airtight plastic bag. For optimal enjoyment, gently warm them in the oven or microwave before serving, which will revive their fresh-baked flavor and softness.
Freezing Dough for Future Baking Convenience
One of the fantastic aspects of baking with yeast dough is the option to prepare it ahead of time and freeze it for later. Unbaked dinner roll dough can be frozen for up to 6 months, offering incredible convenience for meal planning. To freeze the dough, simply wrap it tightly in several layers of plastic wrap, ensuring no air can reach it. For an extra layer of protection against freezer burn, you can then place the wrapped dough in a freezer-safe bag.
When you’re ready to bake, transfer the frozen dough from the freezer to the refrigerator and allow it to thaw slowly for a full 24 hours. Once thawed, bring the dough out onto the counter and let it come to room temperature before proceeding with the rising steps as instructed in the recipe. This gradual thawing and subsequent warming allow the yeast to re-activate and the dough to rise properly, ensuring you get perfect, soft rolls every time.
More Irresistible Bread Recipes to Explore
- Easy Herbed Focaccia Bread
- Fluffy Potato Rolls Recipe
- Simple No-Knead Artisan Bread
- Delicious Pumpkin Dinner Rolls
- Authentic Homemade Naan Bread
- Moist and Sweet Cornbread Recipe
- Zesty Orange Rolls
Homemade Dinner Rolls Recipe
By Sweet Basil
Prep Time: 2 hours
Cook Time: 20 minutes
Total Time: 2 hours 20 minutes
Servings: 42 rolls
Summary: These homemade dinner rolls will transform your meal. Soft on the inside, warm and buttery outside, with a special tip for ultimate tenderness.
Ingredients
- 2 Cups Milk
- 1/4 Cup Unsalted Butter
- 2 Cups Water
- 1/4 Cup Sugar
- 1/4 Cup Honey
- 3 Tablespoons Instant Yeast
- 1/4 Cup Vegetable Oil
- 2 Tablespoons Fine Sea Salt
- 3/4 Cup Evaporated Milk
- 1 Large Egg, whisked
- 9-11 Cups All Purpose Flour
Instructions
- In a saucepan over medium heat, add the 2 cups of milk and cook until just starting to foam around the edges and is warmed. Do not boil.
- Gently place the 1/4 cup butter, 2 cups water, 1/4 cup sugar, and 1/4 cup honey in the pan. Stir until the butter has melted, then allow the mixture to cool to lukewarm.
- Sprinkle the 3 tablespoons of instant yeast over the lukewarm liquid and stir to combine. Pour this mixture into a standing mixer bowl and allow it to rest for 3-5 minutes, or until foamy.
- Pour the 1/4 cup vegetable oil, 2 tablespoons sea salt, 3/4 cup evaporated milk, and 1 large whisked egg into the mixture. Stir to combine thoroughly.
- Using a dough hook attachment, add in 8 cups of all-purpose flour. Mix the dough until it begins to come together.
- Carefully pour in an additional cup of flour (or as needed, up to 3 more cups, one tablespoon at a time) until the dough forms a ball around the hook and pulls away from the sides of the bowl. The dough should be soft and slightly tacky, but not overly sticky.
- Remove the bowl from the mixer, cover it with a cloth, and let it rise in a warm, draft-free place for 1 hour or until doubled in size.
- Heavily sprinkle flour on your work surface and turn the dough out onto it.
- Flip the dough over so that all sides are coated with flour and it is no longer sticky, making it easier to handle.
- Divide the dough and roll it into 42 evenly sized dinner roll balls.
- Place the rolls approximately 1-1 1/2 inches apart on a greased cookie sheet or parchment-lined baking pan.
- Allow the shaped rolls to rise again until doubled in size. This second rise is crucial for a light and airy texture.
- Preheat your oven to 350°F (175°C). Bake the risen rolls for 15-20 minutes, or until they are golden brown and sound hollow when tapped.
- Remove the rolls from the oven and gently rub softened butter all over their tops for a rich, shiny finish.
- Store in plastic wrap or bread bags for up to 1 week at room temperature, or freeze for up to 1 month.
Recipe Notes
Baked dinner rolls can be frozen for up to 3 months for longer storage. Ensure they are well-wrapped to prevent freezer burn.
Nutrition
Nutrition information is automatically calculated, so should only be used as an approximation.
REMEMBER TO SUBSCRIBE TO our FREE Oh Sweet Basil NEWSLETTER AND RECEIVE EASY RECIPES DELIVERED INTO YOUR INBOX EVERY DAY! By subscribing, you’ll unlock a world of culinary inspiration and never miss out on our latest delicious creations, tips, and family favorites, all conveniently delivered right to your email.
When you try one of our recipes, please share your beautiful creations using the hashtag #ohsweetbasil on INSTAGRAM for a chance to be featured in our stories and share your passion with our growing community! FOLLOW OH, SWEET BASIL ON FACEBOOK | INSTAGRAM | PINTEREST | TWITTER FOR ALL OF OUR LATEST CONTENT, RECIPES, BEHIND-THE-SCENES GLIMPSES, AND HEARTWARMING STORIES.