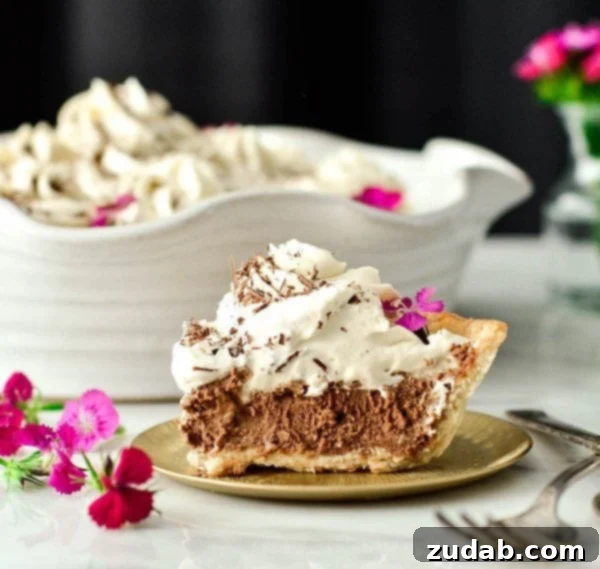
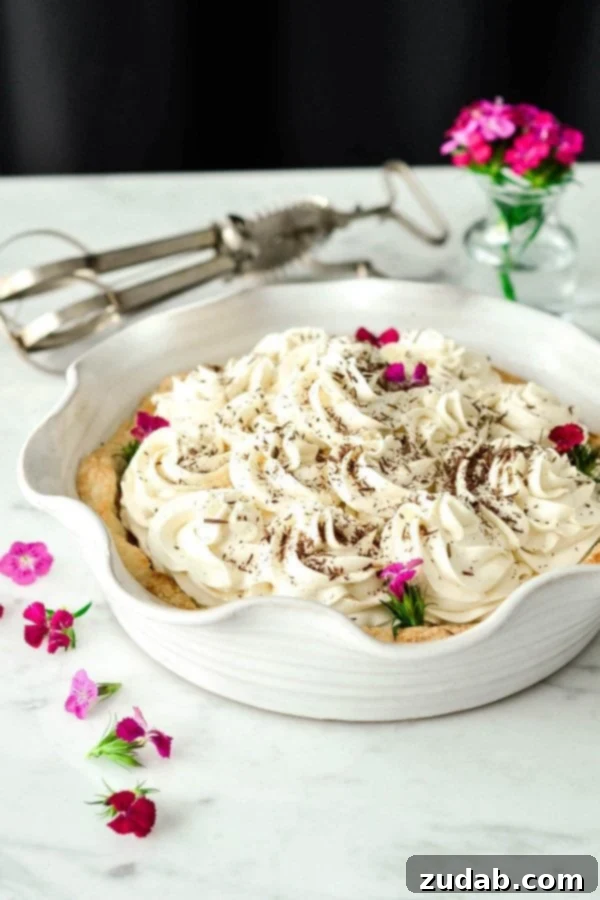
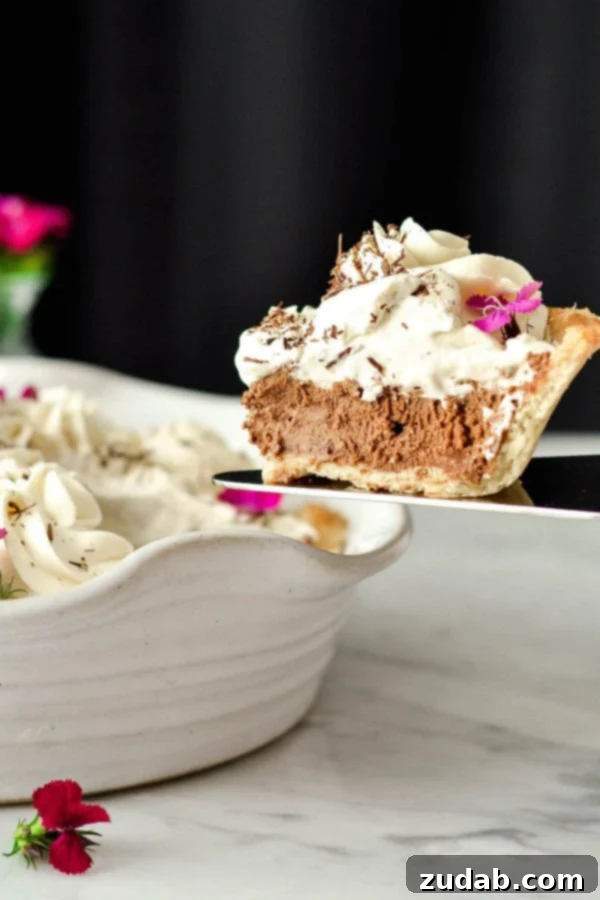
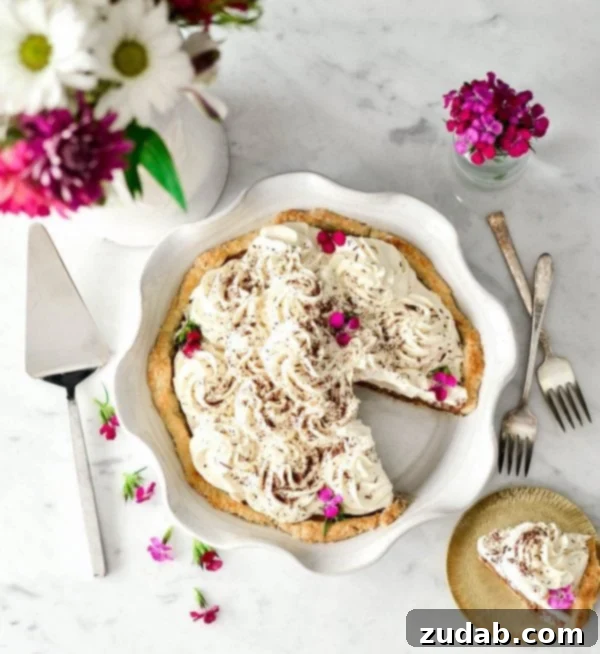
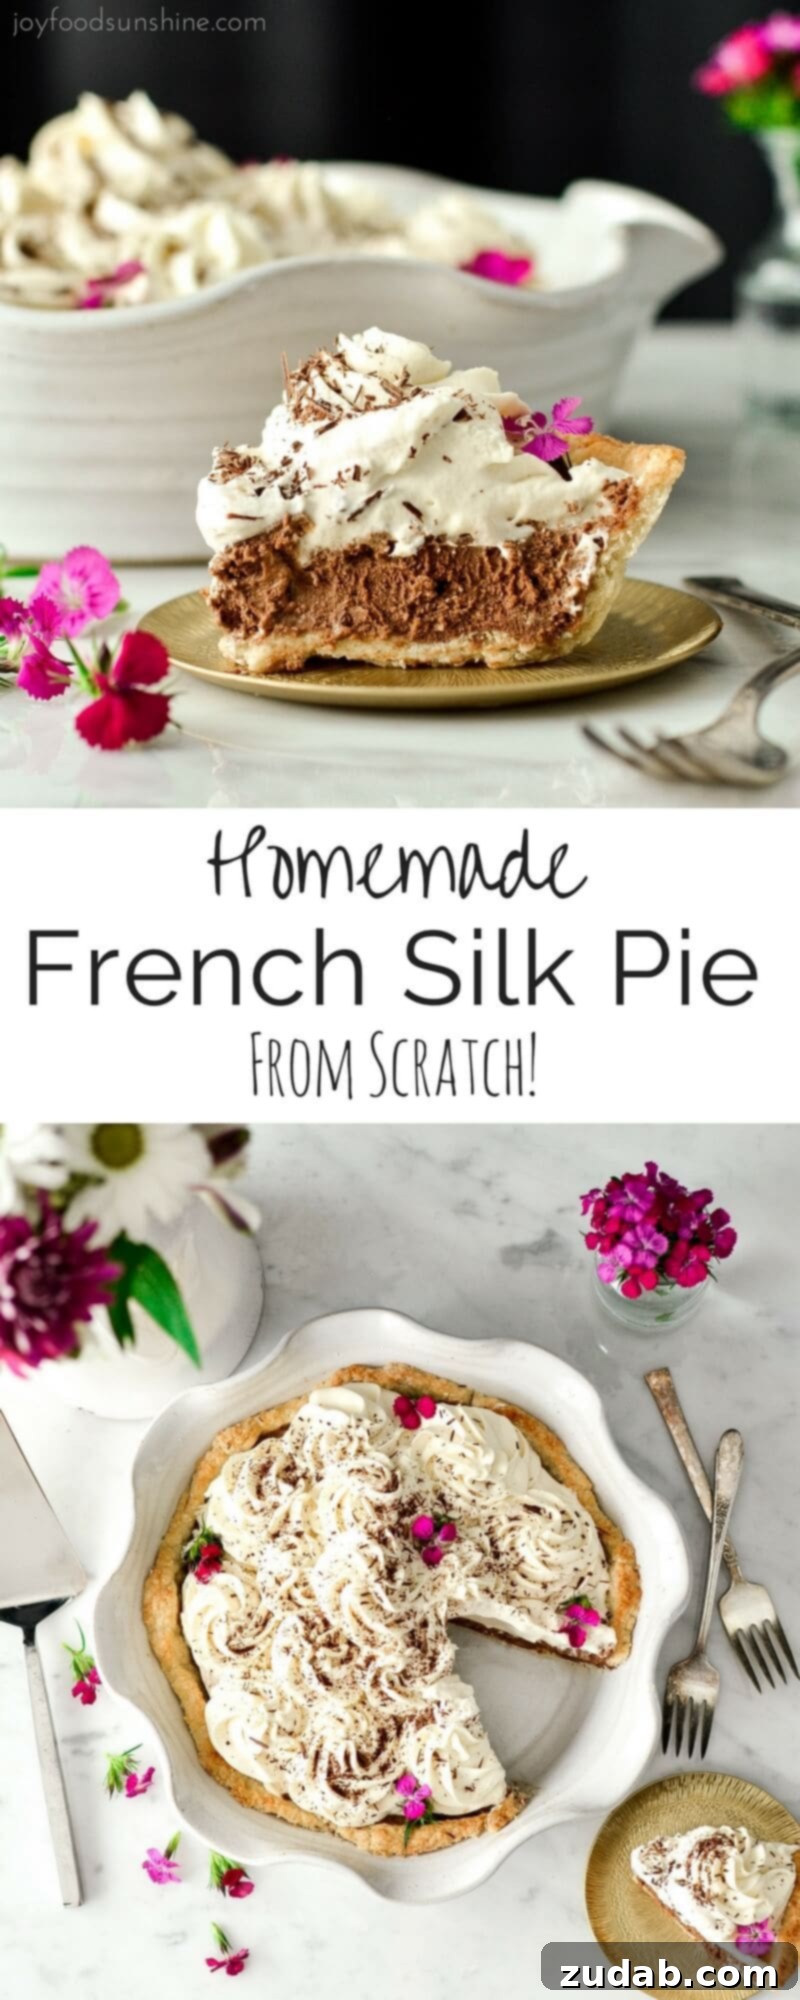
Indulge in the ultimate chocolate dessert experience with this incredible Homemade French Silk Pie! Forget store-bought versions; this recipe guides you through creating a masterpiece entirely from scratch. Imagine a buttery, flaky pie crust cradling a luscious, impossibly smooth chocolate cream filling, all crowned with a generous layer of freshly whipped cream. It’s a symphony of textures and flavors that promises to captivate your senses and become a new family favorite. Prepare yourself for a dessert that’s not just delicious, but truly unforgettable.
For many, French Silk Pie evokes cherished memories of classic diners like Village Inn or Baker’s Square. While those versions hold a special place in our hearts, this homemade recipe elevates the experience, delivering a richer, deeper chocolate flavor and a silken texture that surpasses any commercial offering. It’s a labor of love that rewards you with an extraordinary dessert, perfect for any occasion, or simply for satisfying that undeniable chocolate craving.
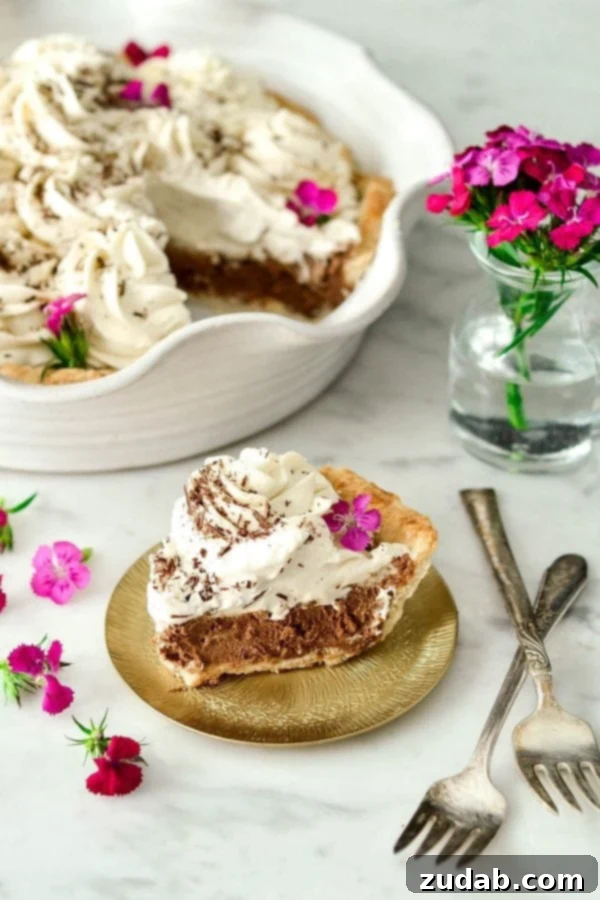
The Irresistible Allure of Homemade French Silk Pie
Hello, fellow dessert enthusiasts! I’m Laura, and I’m absolutely thrilled to share this treasured Homemade French Silk Pie recipe with you. As a wife, a mom to four wonderful children, and a dedicated advocate for both peanut butter and peaceful naps, I understand the joy that simple, delicious food brings to a family. This pie, however, is far from simple in its flavor profile, yet surprisingly approachable to make from scratch.
My journey with French Silk Pie began in childhood, with the iconic versions from Baker’s Square (or Village Inn for my Utah friends). It was a staple at Thanksgiving, my sister’s birthday, and countless other special gatherings throughout the year. I genuinely believed there was no greater pie in existence—that is, until I met my husband. He boldly claimed that his mother’s homemade French Silk Pie was even superior to the beloved chocolatey treat I grew up adoring. My skepticism was through the roof, but one bite was all it took to convert me. This homemade rendition is just as silky and smooth, yet it delivers a profoundly richer, deeper chocolate flavor that is perfectly balanced, never overly sweet. It truly redefined what French Silk Pie could be.
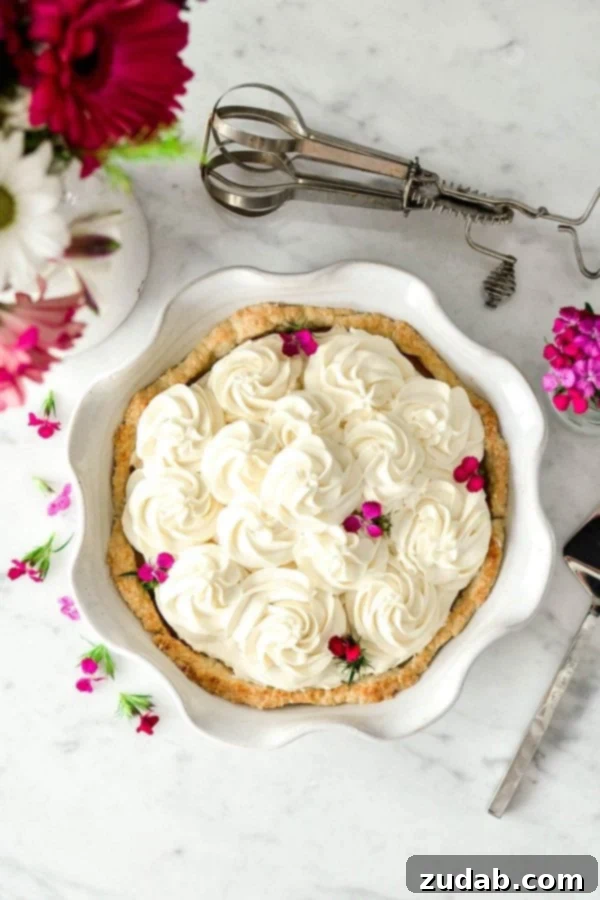
While my family typically enjoys healthy meals, we have an undeniable love for dessert. I firmly believe that a healthy lifestyle doesn’t, and shouldn’t, mean depriving yourself of the foods you truly love. After all, what’s life without a little chocolate? When I bake decadent treats like this Homemade French Silk Pie, I prioritize using whole, real-food ingredients that even my youngest can pronounce. This means you won’t find any store-bought whipped topping or packaged pudding mixes here. From the incredibly flaky pie crust to the ethereal whipped cream and the irresistibly rich chocolate filling, you know exactly what you’re serving to your loved ones. Plus, homemade always tastes better – a truth universally acknowledged by anyone who’s savored a pie made with care and quality ingredients.
This French Silk Pie isn’t just a dessert; it’s an experience. It consistently ranks among my husband’s top three favorite sweets, and everyone who tries it eagerly asks for the recipe, exclaiming that it unequivocally surpasses any pie they’ve ever bought, even from their most beloved restaurants. It’s a testament to the power of fresh, simple ingredients brought together with a little culinary magic.
Essential Tips for Perfect French Silk Pie
How to Store French Silk Pie for Optimal Freshness
Proper storage is crucial to maintain the exquisite taste and texture of your homemade French Silk Pie. Always store the pie in the refrigerator. After cooling completely, cover it loosely with plastic wrap or aluminum foil to prevent condensation from making the crust soggy. An airtight pie carrier is also an excellent option. When stored correctly, your French Silk Pie will remain fresh and delicious for 4 to 5 days. For the best flavor and texture, it’s always recommended to serve it chilled, straight from the fridge.
Is it Safe to Eat Raw Eggs in French Silk Pie?
The use of raw eggs in traditional French Silk Pie filling is a common concern for many. However, there’s an easy and safe solution: use pasteurized eggs. Pasteurized eggs undergo a gentle heat treatment that eliminates harmful bacteria like Salmonella and other viruses, making them perfectly safe for consumption in raw or undercooked applications. By opting for pasteurized eggs, you can enjoy this decadent French Silk Pie without any worries about foodborne illness. If pasteurized eggs are not available, you can consider tempering your eggs (slowly raising their temperature with a warm mixture) or using an egg substitute specifically designed for raw consumption, though these methods might slightly alter the pie’s classic texture.
Mastering the Homemade French Silk Pie Method
Creating this pie from scratch involves a specific order of operations to ensure each component reaches its peak perfection. The sequence is simple: crust first, then the whipped cream (prepared in two batches), and finally, the glorious chocolate filling.
Start with a Flaky Pie Crust
The pie crust is the only element that requires baking, making it your first step. It’s crucial for the crust to cool completely to room temperature before you add the filling and topping. If you’re in a hurry, you can place the baked crust in the refrigerator or freezer to speed up the cooling process. A quick chill can save significant time without compromising the flaky texture. A perfectly golden-brown, crisp crust is the foundation of this exquisite dessert.
Whip the Cream in Two Batches
The recipe calls for two distinct portions of whipped cream: a small amount (½ cup) to be folded into the chocolate filling for added lightness and richness, and a larger amount (1 cup) for the decadent topping. It’s best to whip the plain cream for the filling first and set it aside in an airtight container in the refrigerator. Then, prepare the sweetened whipped cream topping. This approach ensures you don’t contaminate the plain cream with sugar or vanilla, and it doesn’t matter if a little cream residue remains in your mixing bowl before making the filling, as cream is already an ingredient.
Beat the Chocolate Filling to Silky Perfection
The secret to an incredibly silky-smooth chocolate filling lies in thorough beating. This vigorous mixing process is essential for two key reasons: it ensures all the sugar dissolves completely, preventing a gritty texture, and it incorporates air into the butter and eggs, making the filling wonderfully light and airy. Don’t be shy – beat the filling thoroughly until it achieves a noticeably light, fluffy, and glossy consistency. This step is non-negotiable for that signature French silk texture.
Why is My French Silk Pie Runny?
A common culprit behind a runny French Silk Pie is using cold eggs. The proteins in eggs are vital for providing structure and lightness to the filling. When eggs are cold, their proteins are tight and don’t fluff up or stretch as easily when beaten. This results in less volume and a less stable, often runny, filling. To achieve the perfect light and airy texture, it is absolutely crucial to use room temperature eggs. Simply take them out of the refrigerator an hour or two before you plan to bake, or quickly warm them in a bowl of warm (not hot) water for 10-15 minutes.
Homemade French Silk Pie: Smart Substitutions and Variations
I often receive questions about potential substitutions in my recipes, and while this Homemade French Silk Pie truly shines when made exactly as written, I understand the need for flexibility. Here are a few ways you can simplify or adapt this recipe while still achieving a delicious outcome:
Crust Options
While I’m partial to the incredible flakiness of an all-shortening crust, which perfectly complements the light and airy French Silk Pie filling, you have options. Feel free to use your favorite pie crust recipe from scratch, or save time by opting for a high-quality store-bought crust. If you adore the rich flavor of an all-butter crust but still want some flakiness, a blend of 1/4 cup butter and 1/4 cup shortening works beautifully. For those following a gluten-free diet, simply substitute gluten-free all-purpose flour for regular all-purpose flour in the crust recipe, I’ve found this yields excellent results.
Whipped Topping Alternatives
In a pinch, you can certainly use store-bought whipped cream for the topping. However, I wholeheartedly believe that homemade whipped cream offers an unparalleled freshness, lightness, and flavor that truly elevates the pie. It’s a small extra step that makes a significant difference in the overall quality of your French Silk Pie.
It’s important to note that I wouldn’t recommend tampering with the chocolate filling. This is a tried-and-true component of the recipe that consistently delivers a rich, silky texture and deep chocolate flavor, guaranteeing satisfaction every time.
Can You Freeze French Silk Pie?
Absolutely! This Homemade French Silk Pie freezes exceptionally well, making it a perfect make-ahead dessert. To freeze, ensure the pie is completely chilled. Wrap it tightly in several layers of plastic wrap, then an additional layer of aluminum foil. This dual protection helps prevent freezer burn. It can be stored in the freezer for up to 3 months. When you’re ready to enjoy it, simply thaw the pie in the refrigerator for several hours, or overnight, until it’s perfectly chilled and ready to serve. This makes entertaining a breeze!
More Easy Pie Recipes to Love
- Dulce de Leche Banana Cream Pie
- Lemon Jello Peach Pie
- Peanut Butter Banana Cream Pie
- Marionberry Pie
- The Perfect Razzleberry Pie
- Cinnamon Roll Apple Pie
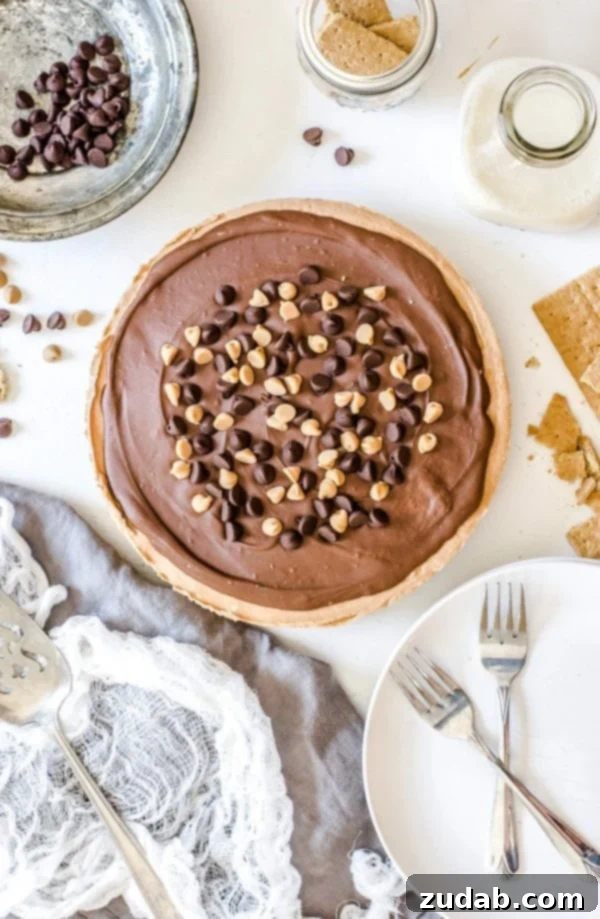
- Easy No-Bake Chocolate Pie
- Peach Blackberry Galette
- Simple Blueberry Pie
- Strawberry Icebox Pie
- No-Bake Lemon Cream Pie
- ALL OF OUR PIE RECIPES!
Homemade French Silk Pie (From Scratch) Recipe
Homemade French Silk Pie from Scratch
By Sweet Basil
Total: 1 hr
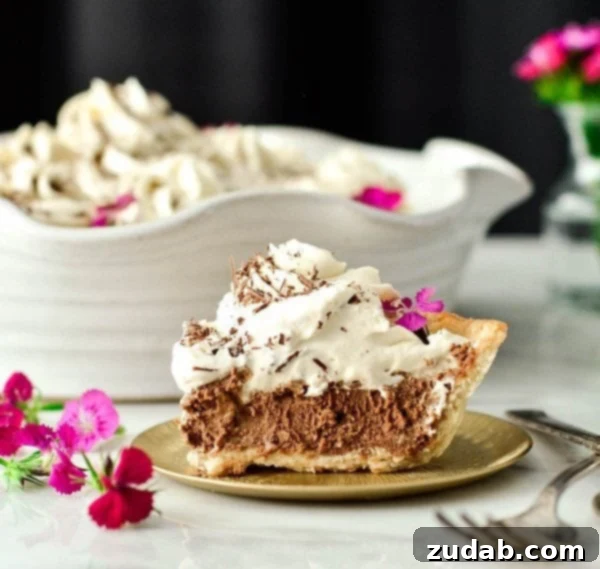
This Homemade French Silk Pie is made completely from scratch! A flaky pie shell is filled with an irresistibly chocolatey cream filling and topped with homemade whipped cream!
Ingredients
Crust:
- 1 ¼ Cups All-Purpose Flour
- ¼ teaspoon Salt
- 1 Tablespoon Sugar
- ½ Cup Shortening, chilled
- 3-4 Tablespoon Ice Water
Chocolate Filling:
- ½ Cup Whipping Cream, whipped
- 2 Ounce Unsweetened or Semi-Sweet Chocolate, melted
- ½ Cup Butter
- ½ Cup White Sugar
- Pinch Salt
- 1 teaspoon Vanilla
- 2 Eggs
Whipped topping:
- 1 Cup Whipping Cream
- 3 Tablespoon Powdered Sugar
- 1 teaspoon Vanilla Extract
Instructions
- Make the Crust:
- Very lightly grease a 9” round pie plate, set aside.
- Place the flour, salt, and sugar in a food processor fitted with an “S” blade and pulse to combine.
- Add the shortening and cold water and process until the mixture resembles a coarse meal, begins to stick together, and holds together when pinched.
- Remove dough from processor (will be crumbly) and form into a ball.
- Wrap in plastic wrap and refrigerate for at least 30 minutes and up to one day (overnight).
- After the dough has chilled, preheat oven to 450 degrees F.
- Roll out dough on a well-floured surface or pastry cloth and shape it into your prepared pie plate.
- Prick dough with a fork or add pie weights on top of the crust.
- Bake for 10-12 minutes or until it just begins to brown. If any bubbles form, gently deflate them by pricking with a fork or sharp knife.
- Set aside to cool. (You can set the crust in a cool place like the refrigerator to expedite the cooling process)!
- Make the Topping/Whipped Cream for the filling: Whip ½ cup whipping cream (for the filling) in a standing mixer fitted with the whisk attachment on high until stiff peaks form. Transfer whipped cream to an airtight container and set-aside in the refrigerator. Add 1 cup of whipping cream to the bowl of your standing mixer and mix on high until soft peaks form. Add powdered sugar and vanilla and mix on high until stiff peaks form. Transfer to another bowl and set aside in the refrigerator.
- Make the Chocolate Filling:
- Melt chocolate in the microwave or over a double boiler until smooth. Set aside to cool. Cream butter and sugar with electric mixer for 3 minutes or until the sugar is dissolved and the mixture is light and fluffy. Blend in cool chocolate, salt and vanilla. Add eggs one at a time beating on medium speed for 2 minutes after each addition. Fold in ½ cup whipping cream by hand.
- Putting it together:
- Evenly spread the chocolate filling into pastry crust.
- Top with whipped topping.
- Place in the refrigerator to chill for at least 2 hours or overnight!
- Serve cold and enjoy!
Recipe Notes
Cover loosely and refrigerate leftovers for 4-5 days.
Nutrition
Calories: 560 kcal,
Carbohydrates: 38g,
Protein: 5g,
Fat: 44g,
Saturated Fat: 24g,
Polyunsaturated Fat: 17g,
Trans Fat: 1g,
Cholesterol: 135mg,
Sodium: 213mg,
Fiber: 1g,
Sugar: 22g
Nutrition information is automatically calculated, so should only be used as an approximation.
If you’re still with me after delving into all the delicious details, I want to extend my heartfelt thanks for allowing me the privilege of sharing this Homemade French Silk Pie recipe with you. It’s a dessert that brings so much joy, and I hope it becomes a cherished part of your culinary repertoire.
I recently had the pleasure of meeting Carrian, and I was profoundly inspired by her dedication. I am so grateful for the example she sets by prioritizing her family and her roles as a wife and mother, all while generously taking the time to share her life and her delightful recipes with the rest of us. It’s a joy to know her, and I eagerly anticipate getting to know all of you, the wonderful community that gathers around her passion for food.

Blog: JoyFoodSunshine // Instagram: @joyfoodsunshine// Pinterest: JoyFoodSunshine// Facebook: JoyFoodSunshine// Twitter: @joyfoodsunshine
More Delicious Recipes to Explore
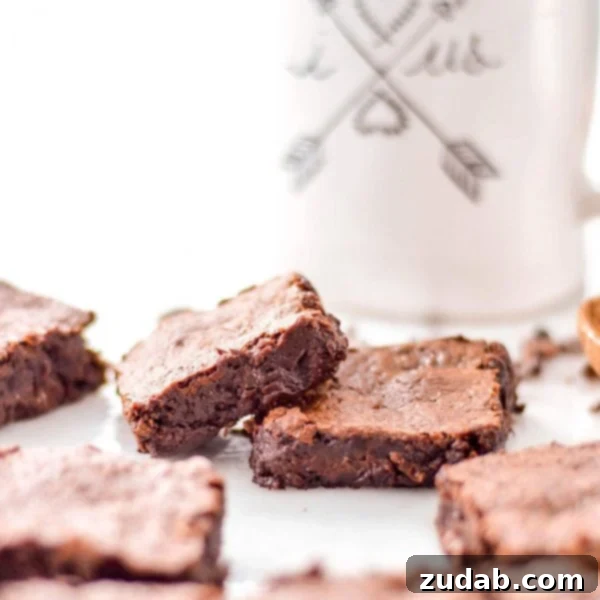
Flourless Paleo Brownies: These brownies are a dream for anyone looking for a rich, fudgy chocolate treat that’s also gluten-free and paleo-friendly. They’re so decadent, you won’t believe they’re a healthier option!
Easy No-Bake Peanut Butter Nutella Cheesecake: This cheesecake is calling your name! With the irresistible combination of creamy peanut butter and rich Nutella, it’s a no-bake wonder that comes together effortlessly, delivering maximum flavor with minimal fuss.