
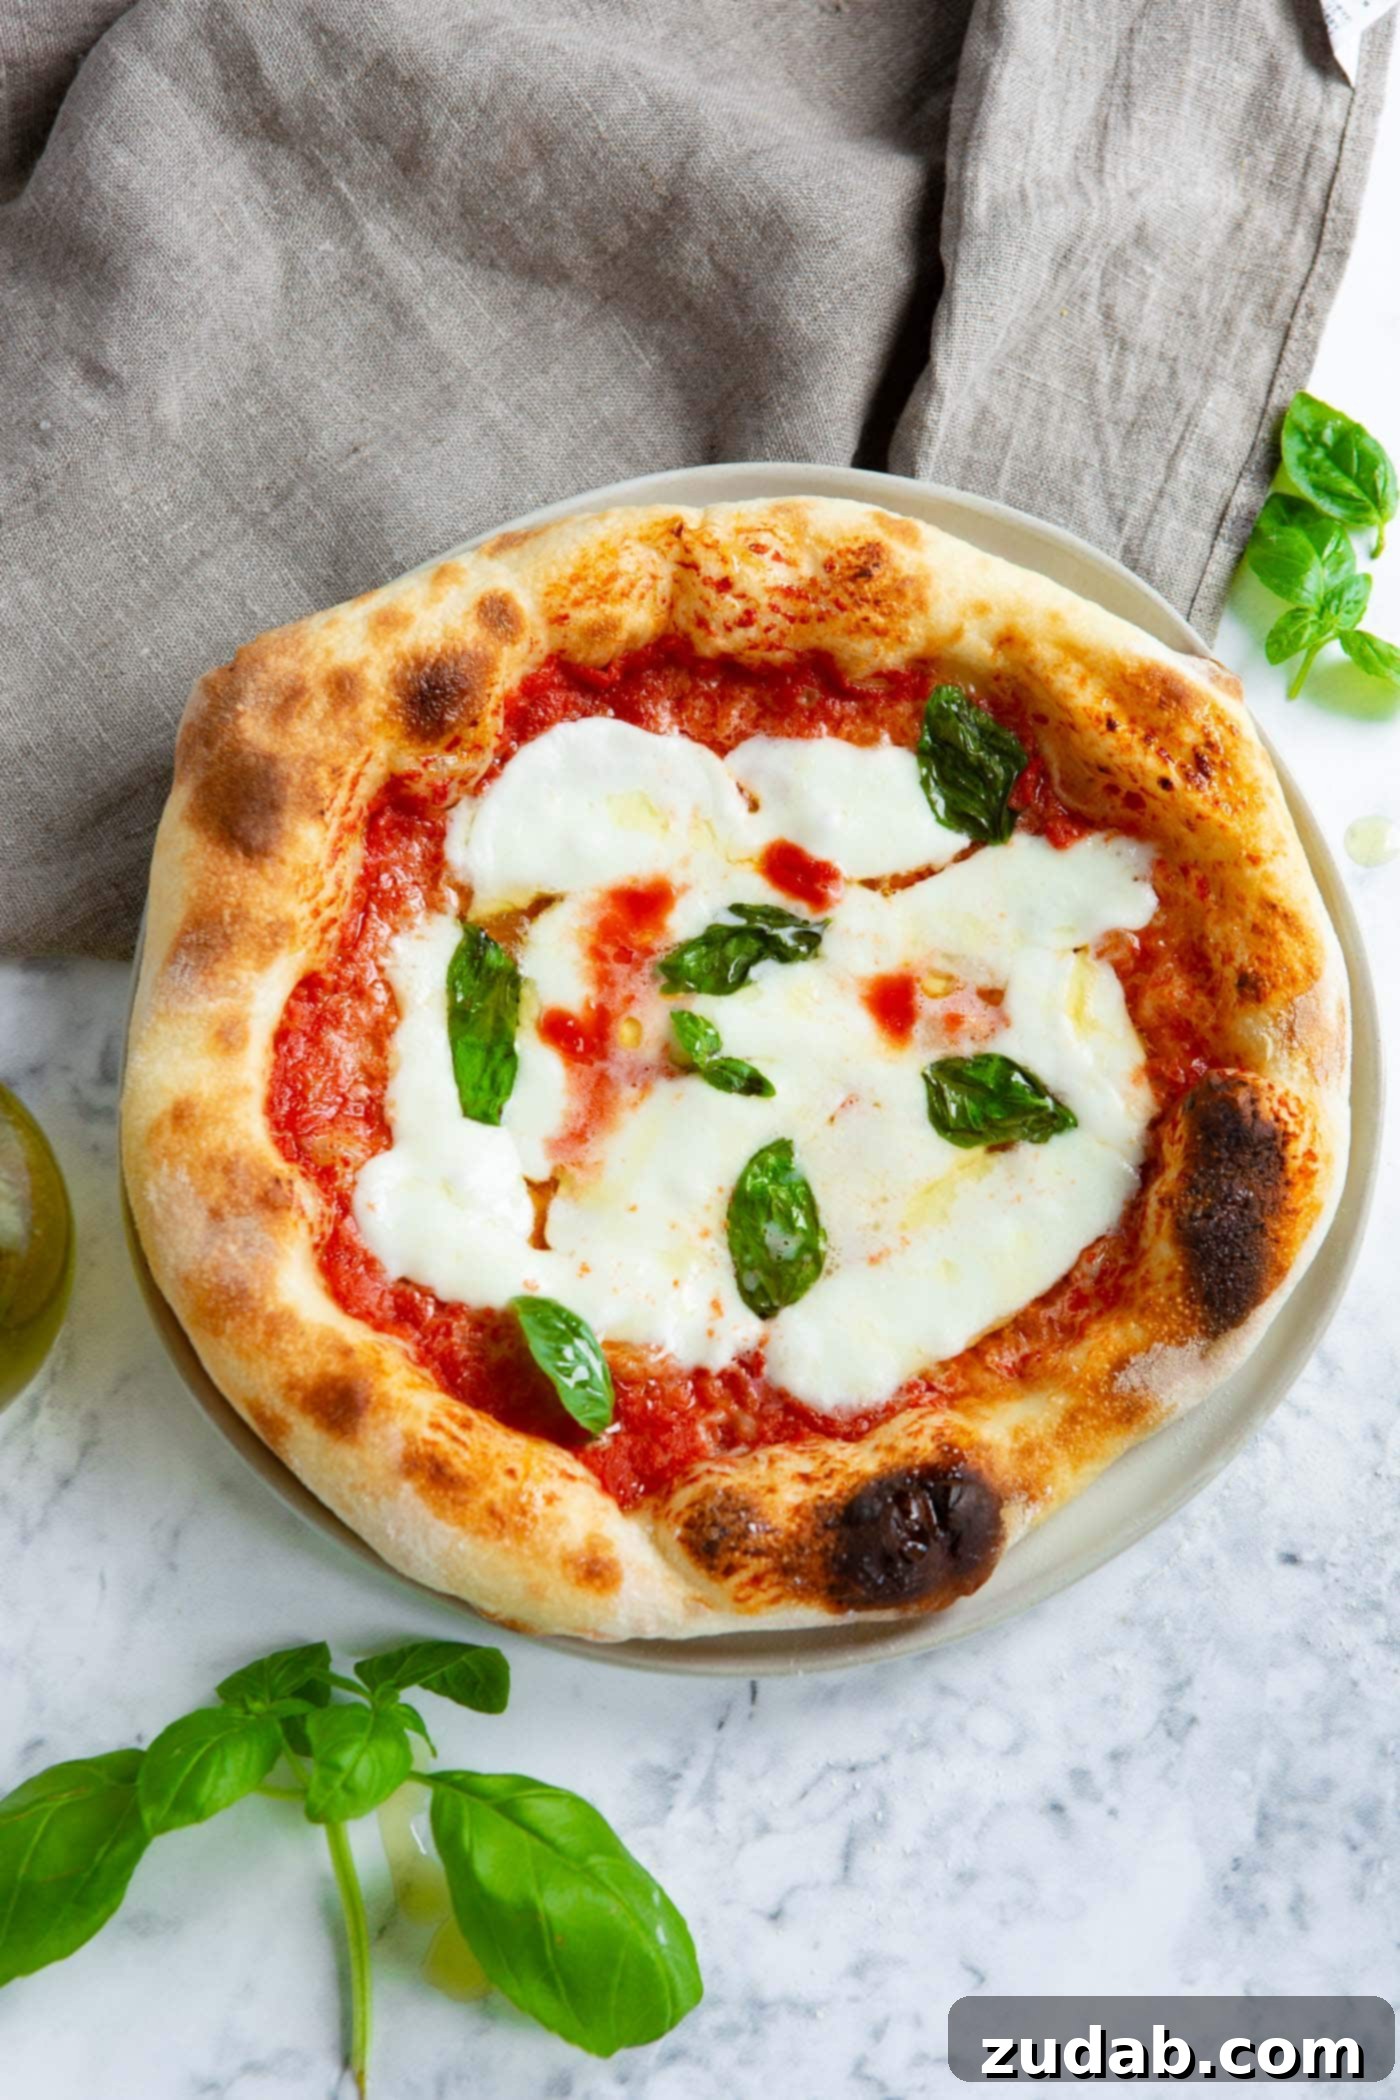
Unlock the secrets to crafting the **perfect pizzeria-style pizza dough at home** with this unparalleled recipe. Forget dense, disappointing crusts; we’re talking about a crispy bottom, an exquisitely chewy texture throughout, and airy bubbles that burst with flavor. Achieving this level of homemade pizza perfection might seem like a daunting task, but with our proven techniques, it’s not only achievable—it’s guaranteed. Prepare to transform your kitchen into an authentic Italian trattoria!
A key insight for achieving that coveted bubbly crust: the thicker you form the edge of your pizza dough, the more pronounced and delightful those air pockets will be.
Unveiling the Secrets to Pizzeria-Quality Pizza Dough
The quest for truly exceptional pizza begins with understanding two fundamental pillars: extreme heat and extended fermentation. To replicate the intense heat of a professional pizza oven, you must preheat your **pizza steel** or **pizza stone** for a full 30-45 minutes at the maximum temperature your oven can achieve, ideally 550°F (287°C). This super-heated surface is crucial for a rapid, even cook that yields that signature crisp bottom.
Equally vital is allowing your **pizza dough to ferment** for a generous 12-24 hours. This slow, cool fermentation process is where the magic truly happens, developing profound flavor and a complex, airy structure that sets authentic pizza apart. But before we delve into the details, let’s explore the foundational role of fermentation.
The Art and Science of Fermenting Pizza Dough
Fermentation is far more than just “rising.” It’s a transformative process where yeast, our tiny culinary allies, feast on the sugars in the dough, producing alcohol and, most importantly for pizza, carbon dioxide gas. Remember how yeast gets bubbly when activated? That’s the carbon dioxide at work, and it’s these gas bubbles, trapped within the dough’s gluten network, that create the airy, open, and irresistibly chewy texture we crave in a perfect pizza crust. Unlike sandwich bread, where a soft, dense crumb is often desired and quick fermentation is sufficient, pizza dough thrives on extended fermentation. This longer period allows for more gas production, leading to those beautiful, irregular air pockets that contribute significantly to both texture and flavor development.
Imagine a perfectly baked pizza placed before you and your guests. You immediately notice those wonderfully irregular, slightly blackened bubbles along the crust, softly calling your name. That distinctive look and chew are the direct result of ideal fermentation coupled with the fierce heat of a properly preheated pizza stone or steel.
The Unexpected Genesis of Oh Sweet Basil
It might surprise you to learn that the entire existence of this blog, and even its name, Oh Sweet Basil, sprung from a single, unforgettable pizza experience! It’s a testament to how profoundly one moment, one flavor, or one unexpected encounter can alter the course of your life. We were simply living our routine, enjoying the familiar, when out of nowhere, a singular culinary revelation completely reshaped our passion for cooking and sharing.
A Taste of San Francisco: The Margherita Revelation
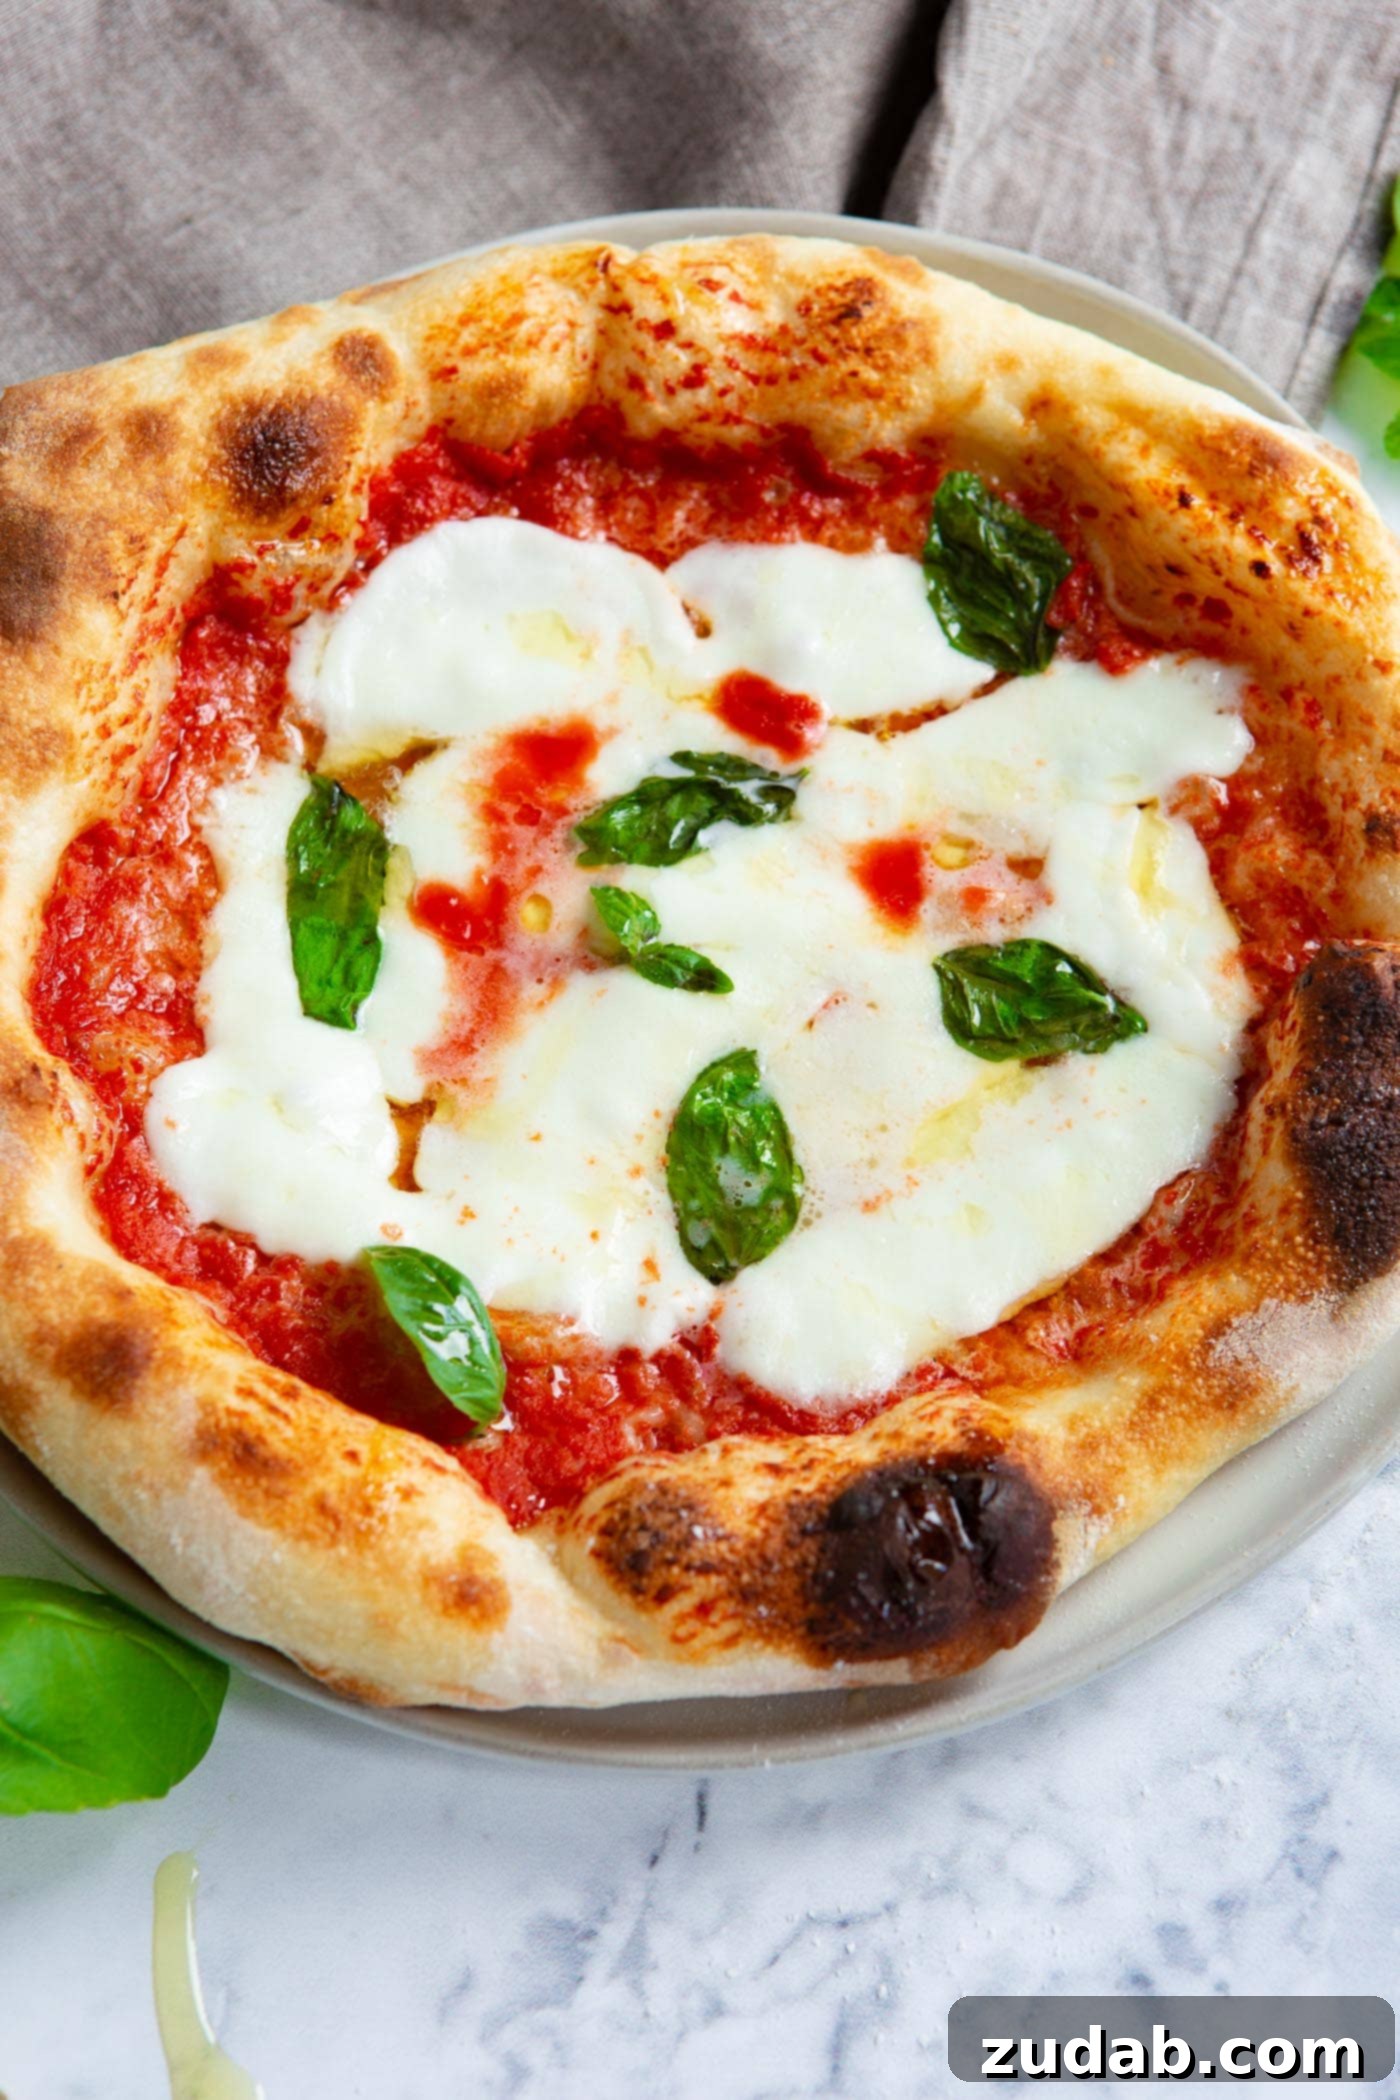
Our journey began years ago at a charming restaurant called Steps of Rome in San Francisco, California. The Margherita pizza served there was nothing short of divine. While the taste was undeniably delicious, what truly captivated me and lingered in my mind was the incredible freshness and unparalleled quality of every single ingredient. Returning home, I felt an almost urgent, laser-like focus on cooking. I was compelled to learn more, to experiment relentlessly in my kitchen, and ultimately, to share those culinary discoveries with the world. That single pizza sparked a passion that continues to drive Oh Sweet Basil today.
The Unforgettable Pizza in Venice, Italy
Fast forward many years, and a lifelong dream became a reality when Cade and I found ourselves on the final day of our unforgettable trip to Italy. We had decided to take it easy at our stunning hotel in Venice, soaking in the serene pool, breathtaking sights, and precious moments together. It was a late afternoon, and feeling a little sticky from the hot Italian sun, we headed down from the rooftop pool, anticipating a refreshing shower before dinner. We paused in the lobby, and a remarkably kind staff member inquired about our trip.

We chatted for a while, and somehow, it slipped out that despite our journey through Italy, we hadn’t yet experienced that truly incredible, life-changing pizza we had hoped for. This was particularly poignant because pizza was the very inspiration that had shaped our lives, our marriage, and our culinary endeavors back home. We felt a slight pang of disappointment.
The young man simply smiled, a knowing glint in his eyes, and asked us to wait.
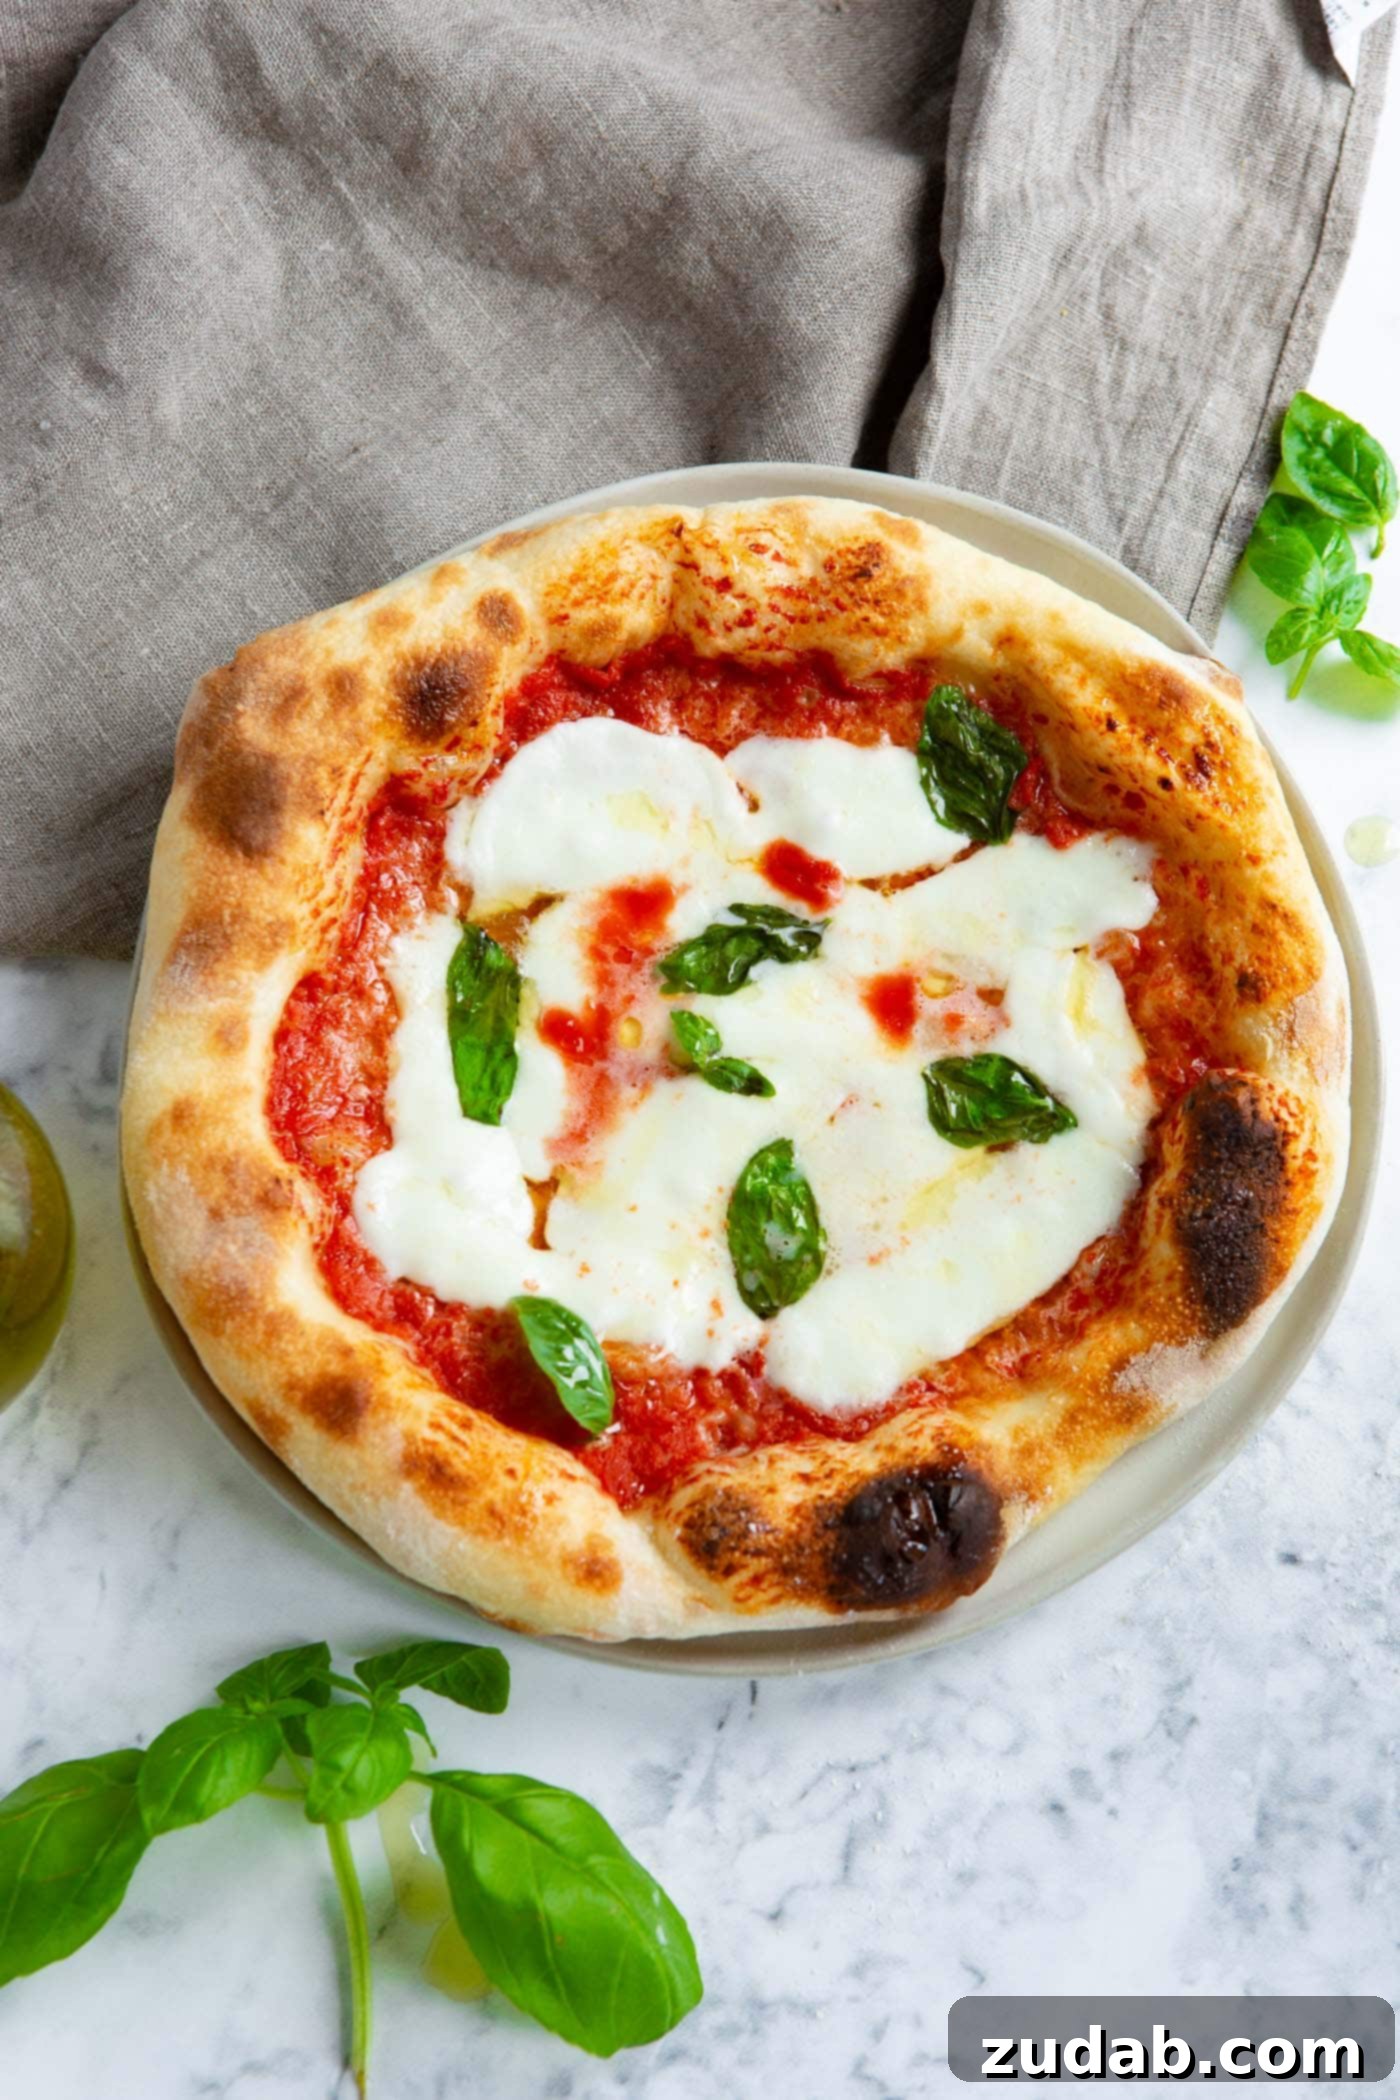
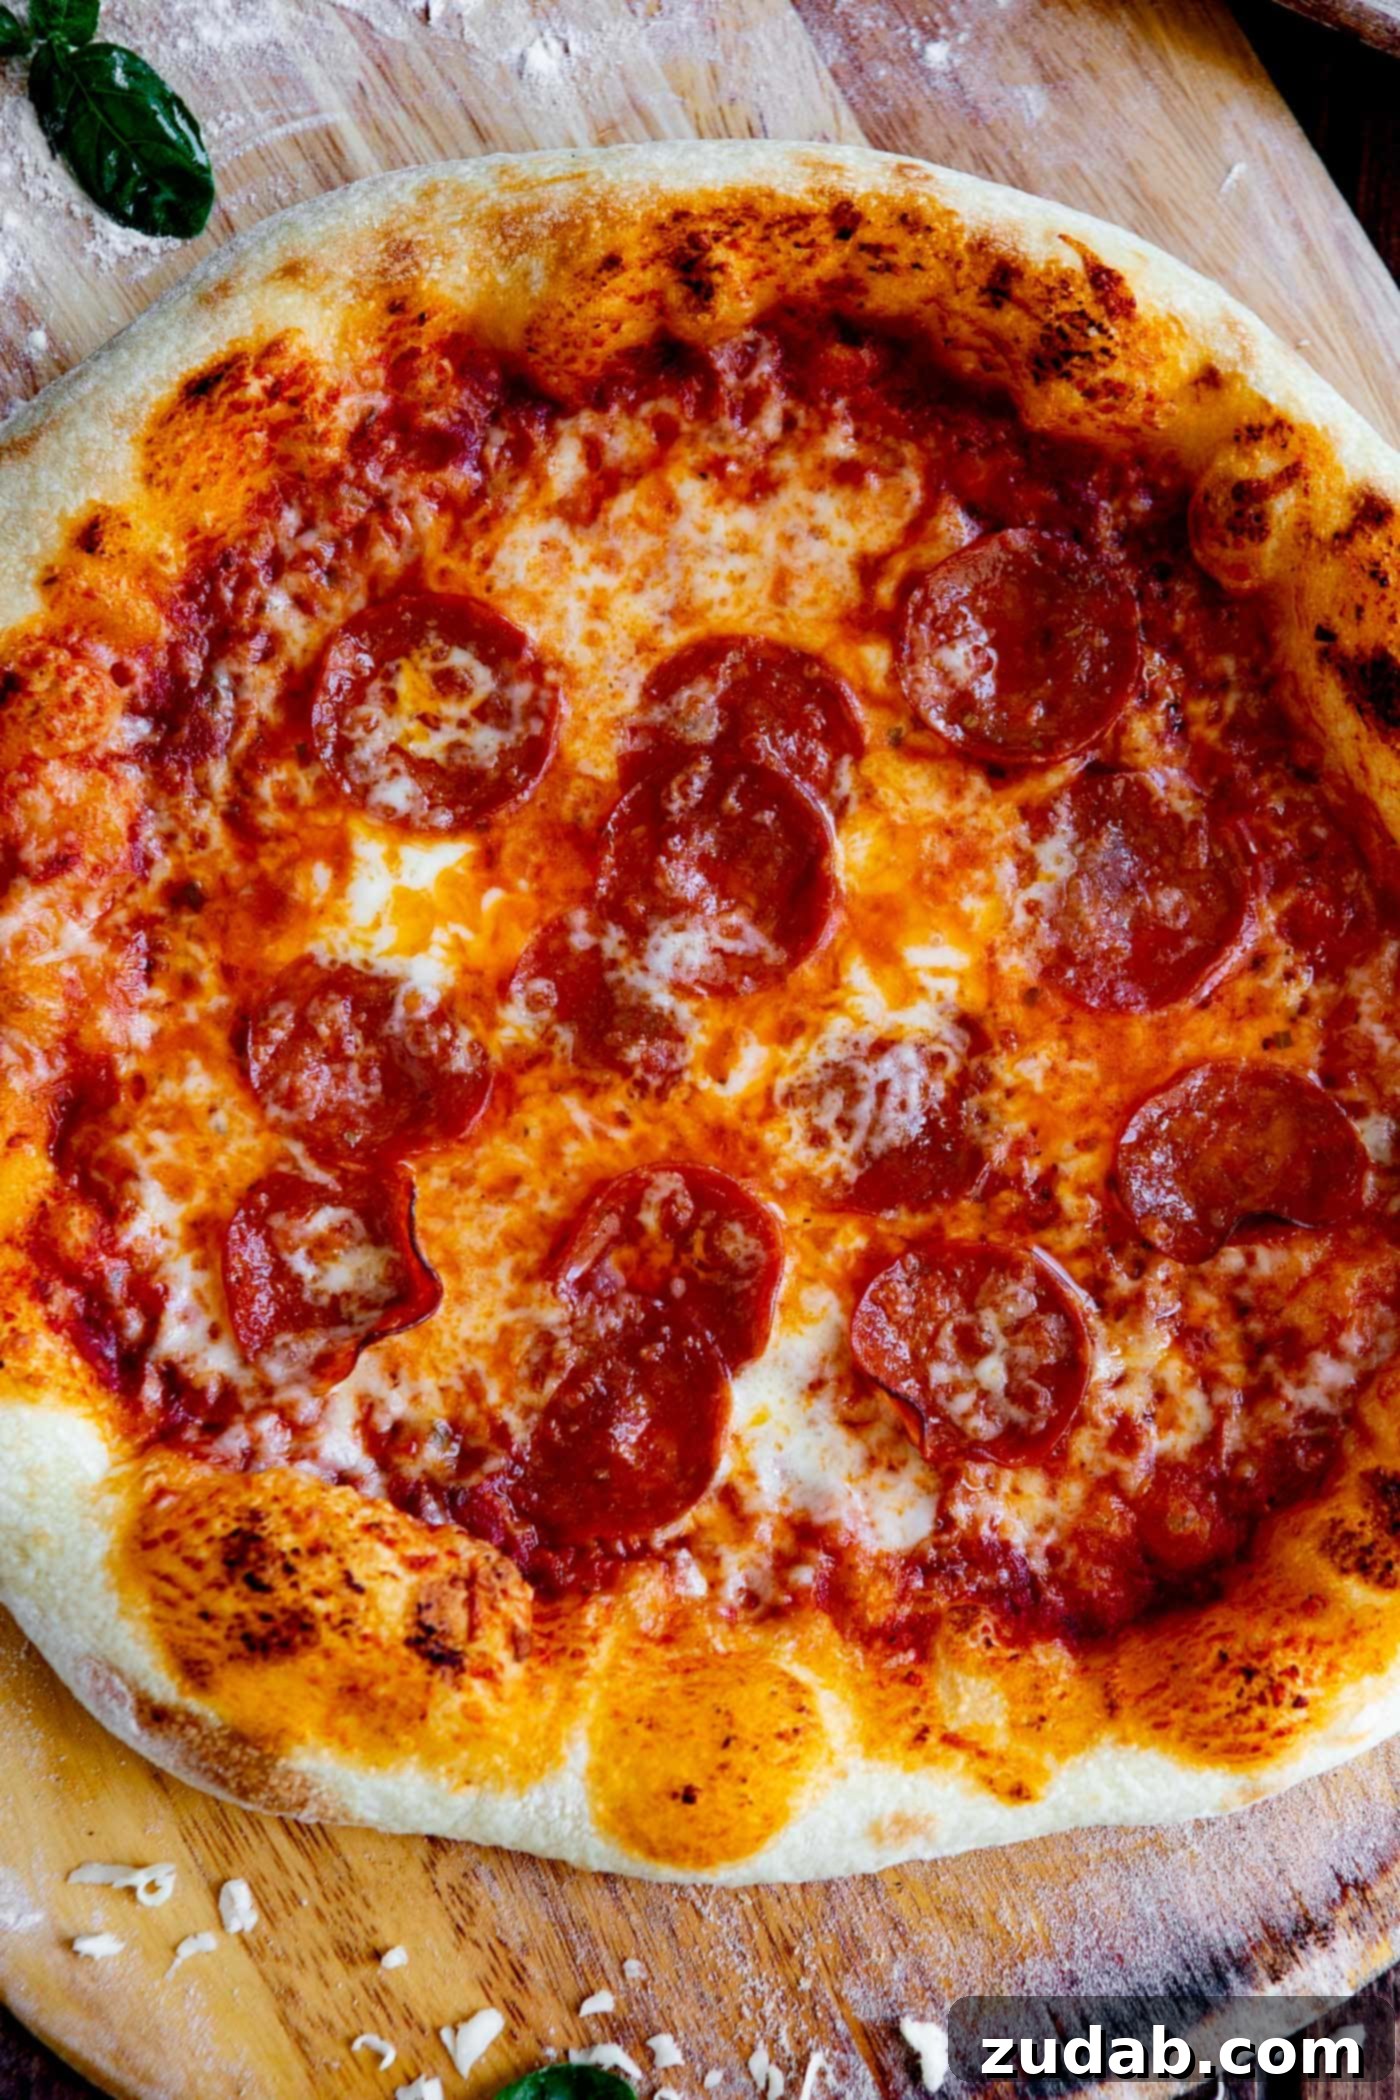
Only a few magical minutes later, he returned with the most perfect Margherita and pepperoni pizzas I had ever laid eyes on. It was as if a culinary spell had been cast – pure magic unfolded before us.
The Pursuit of the Best Pizza Crust Recipe
The crust of those Venetian pizzas – oh, my goodness! It was unbelievably crisp on the bottom, yet wonderfully chewy throughout. You guys, just recalling that moment gives me goosebumps! Who gets goosebumps over pizza, right? But it was, hands down, the single best pizza I have ever tasted, even to this day. And, in my awe, I completely forgot to capture a picture. The images you see in this post are of pizzas we later crafted, meticulously practicing to recreate that sublime experience.
But the story wasn’t over. Life was about to prove that blessings often come in the most unexpected and delightful forms. And no, I’m not being cheesy—no pun intended.

Just as we were savoring the last bites, the chef himself sauntered over to our table. With a warm, inviting smile, he extended an invitation: a private pizza lesson in his very own kitchen. I will never forget that hour. It was one of those indelible moments forever imprinted on your heart: the tactile sensation of the floured counter, the radiating heat from the massive ovens, the thick Italian accents of the Pizzaiolos as they expertly tossed dough with an effortless grace. This chef, a true master from Florence, was the real deal. And then, he graciously shared his authentic **pizza recipe** with us – a recipe that forms the foundation of what you’re about to learn.
Crafting Authentic Italian Pizza Dough at Home
While replicating an exact Italian pizzeria experience in your home kitchen can be challenging due to differences in ingredients, water, and oven temperatures, it is absolutely possible to achieve a truly exceptional, authentic-tasting pizza. We’ve meticulously adapted that precious chef’s **pizza dough recipe** to ensure you can create a classic, pizzeria-quality pie without needing specialized Italian ingredients or enormous brick ovens. Our version streamlines the process, bringing that Venetian magic directly to your tabletop.
As you embark on this pizza-making adventure, we hope you’ll find joy in the process – perhaps even attempting a few poorly mimicked Italian accents and embracing creativity. Before you begin mixing, here are a few critical elements to ensure your success:
The Indispensable Role of a Thermometer
For truly consistent and perfect pizza dough, a reliable thermometer is not optional; it’s essential. The temperature of your water directly impacts yeast activity, which in turn dictates your dough’s rise and texture. Even a few degrees can make a significant difference. It’s a simple, quick task that guarantees your yeast is working optimally, laying the groundwork for a successful dough.
The Superiority of Hands Over Mixers
During our Italian culinary lessons, we observed Pizzaiolos using mixers that operated at an incredibly slow, almost molasses-like pace. Such gentle mixing is nearly impossible to replicate with standard home stand mixers, which can often overwork and “ruin” the delicate gluten structure of pizza dough. The authentic recipe we were given emphasized hand-mixing, and we wholeheartedly echo that recommendation. Using your hands allows you to intimately feel the dough, guiding it gently as it develops, resulting in a superior texture that aggressive machine kneading simply cannot achieve. Please, put away your mixers for this one; embrace the traditional method.
Weighing Versus Measuring: Precision for Perfection
Long before our Italian immersion, my cousin Michelle instilled in me the critical importance of weighing ingredients for **pizza dough**. Witnessing this practice reinforced in two separate Italian cooking classes solidified its significance. Unlike volume measurements (cups and spoons), which can vary widely depending on how ingredients are scooped and packed, weighing provides precise and consistent ratios. This accuracy is paramount for the delicate balance required in a perfect **pizza dough recipe**.
Invest in a reliable digital kitchen scale that allows you to “zero out” or “tare” the weight of your bowl before adding each ingredient. This ensures every component is measured with absolute precision, contributing to the consistent excellence of your homemade pizza. We personally rely on this **Digital Kitchen Scale** for all our baking endeavors.
Alright, enough talk already, I’m ready to bake! 😜
Essential Pizza Dough Ingredients
Crafting incredible pizza dough requires surprisingly few ingredients, but their quality and precise measurements are key to achieving that authentic Italian taste and texture. Here’s what you’ll need:
- Water
- Salt
- Sugar
- Instant Yeast
- Flour
Choosing the Right Flour for Your Pizza Dough
While you can certainly use all-purpose flour in a pinch, our extensive discussions with Italian Pizzaiolos confirm that a 00 flour is unequivocally the best choice for authentic pizza. This finely milled Italian flour has a lower protein content than bread flour but a specific type of protein that creates a strong yet extensible gluten network, perfect for thin, crispy, and chewy crusts.
Important: Do NOT use Bread Flour. Bread flour’s higher protein content is designed for dense, airy loaves, not the delicate, chewy structure of pizza.
Here are some excellent flour options we recommend:
- J Mill Baker’s Flour (often found at Kroger or Harmons in Utah)
- 00 Flour (a general recommendation for fine Italian milling)
- Cento Anna Napoletana 00 Flour (a high-quality, widely available 00 flour, also often at Harmons)
Mastering the Art of Making Pizza Dough at Home
Making delicious homemade pizza dough doesn’t have to be complicated; in fact, it’s quite simple, though it does require patience as it sits and ferments. After 15 years of rigorous testing and refining, our homemade pizza dough recipe has consistently proven to be the absolute best. Follow these detailed steps to achieve pizzeria-quality crust in your own kitchen:
- Using a digital scale, place a clean bowl on the scale and zero it out to exclude the bowl’s weight. Accurately measure out the flour into the bowl.
- Next, place a glass measuring cup on the scale and zero it out. Add the specified amount of water and use your thermometer to ensure its temperature is precisely 100°F (38°C). This temperature is crucial for activating the yeast properly.
- Zero the scale again, add the salt, and stir it until fully dissolved in the warm water.
- Finally, zero the scale one last time, measure out the instant yeast, and stir it into the water mixture. Allow this mixture to sit undisturbed for about 5-10 minutes until it becomes foamy. This “proofing” indicates that your yeast is active and ready to work its magic, transforming the sugar into carbon dioxide and helping your dough rise beautifully.
- Pour the yeast-water mixture into the bowl with the flour. Using your hand, begin to mix the dough until the ingredients just come together. As it starts to form a cohesive mass, gently squeeze the dough with your hand. It will feel quite sticky at this stage, but this is perfectly normal and indicates you’re on the right track.
- Allow the dough to rest in the bowl for 30 seconds. This brief pause helps the gluten begin to relax. After resting, continue to fold and pinch the dough for one more minute to further develop the gluten structure.
- Cover the bowl loosely with plastic wrap or a clean kitchen towel and set the dough aside to rest for an additional 20-30 minutes. This second rest allows the gluten to relax even more, making the dough easier to work with.
- Lightly dust your work surface with flour. Turn the dough out onto the floured surface and gently knead it for another 30-45 seconds. At this point, the dough should feel more relaxed and have a smooth, elastic skin.
- Lightly drizzle a clean bowl with a small amount of olive oil. Transfer the kneaded dough to the oiled bowl, turning it once to ensure the entire surface is coated and the seam is on the bottom. This prevents the dough from sticking as it rises. Cover the bowl tightly with a lid or plastic wrap to maintain humidity.
- Allow the dough to rise in a warm place for 1.5 to 2 hours, or until it has roughly doubled in volume. If your home is cool, you can create a warm environment by preheating your oven to its lowest setting (e.g., 250°F / 120°C) for 10 minutes, then turning it off and leaving the door ajar. Place the dough bowl on the open oven door to create a slightly warm proofing chamber. A bowl without oil will grab the dough as it rises, inhibiting its full expansion.
- Once risen, carefully turn the bowl onto its side and gently guide the dough to fall onto a lightly floured counter using your hand. Avoid grabbing and lifting the dough, as this can stretch and deflate the delicate air bubbles you’ve worked so hard to create.
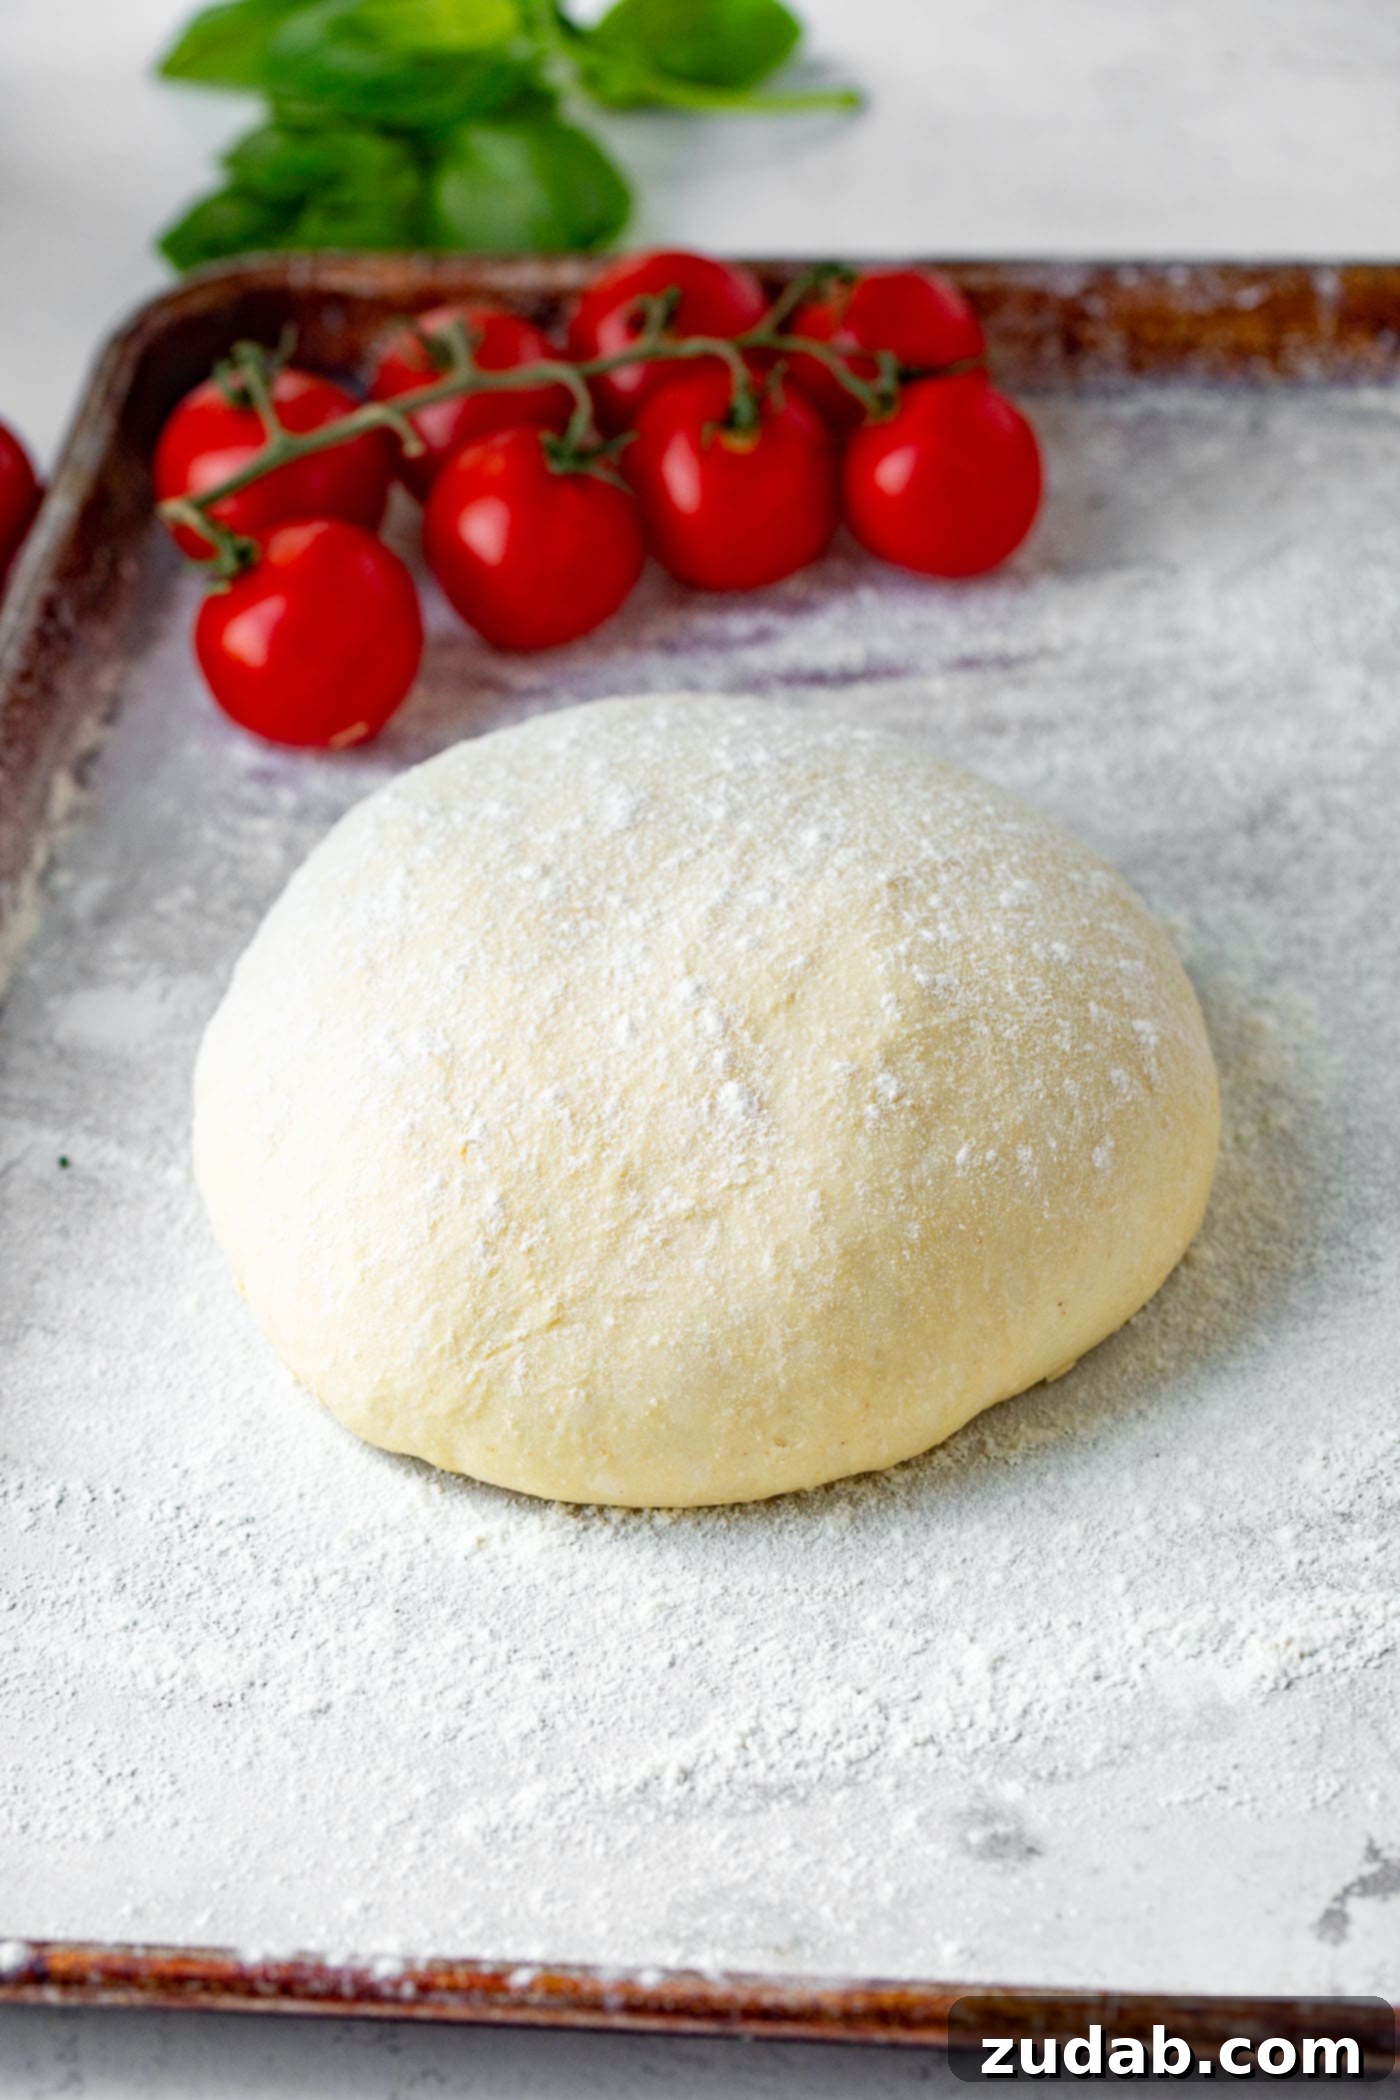
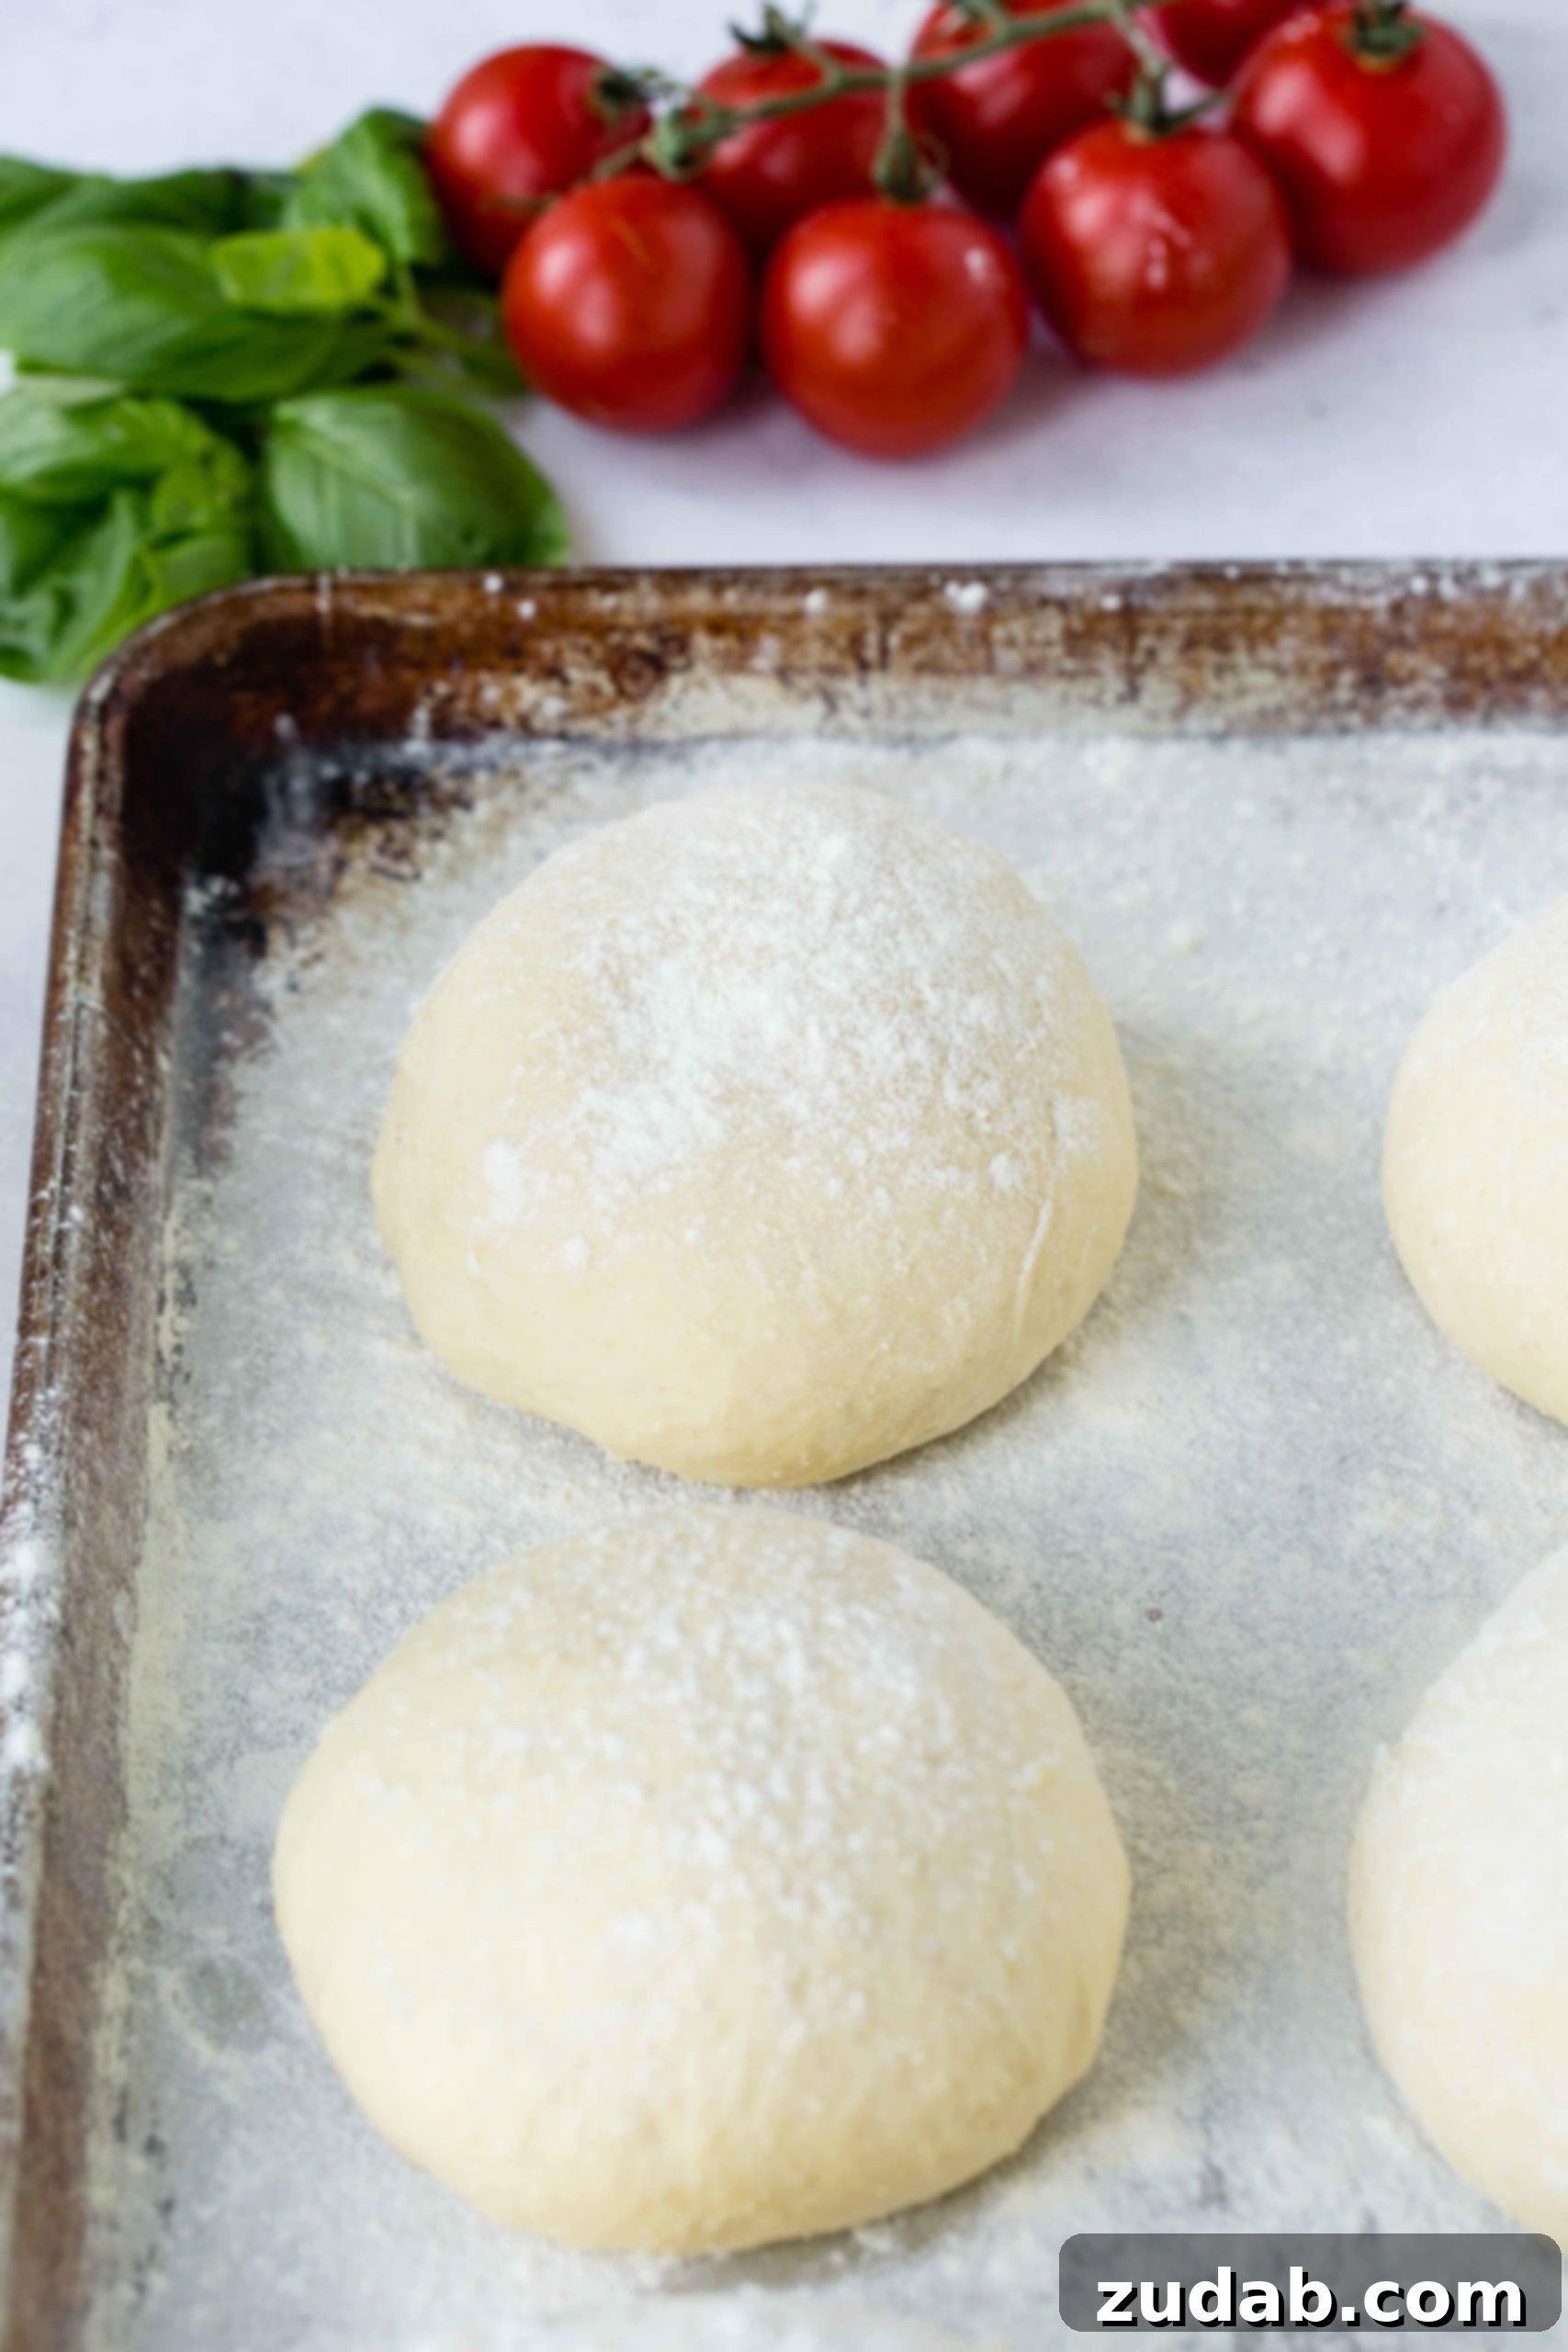
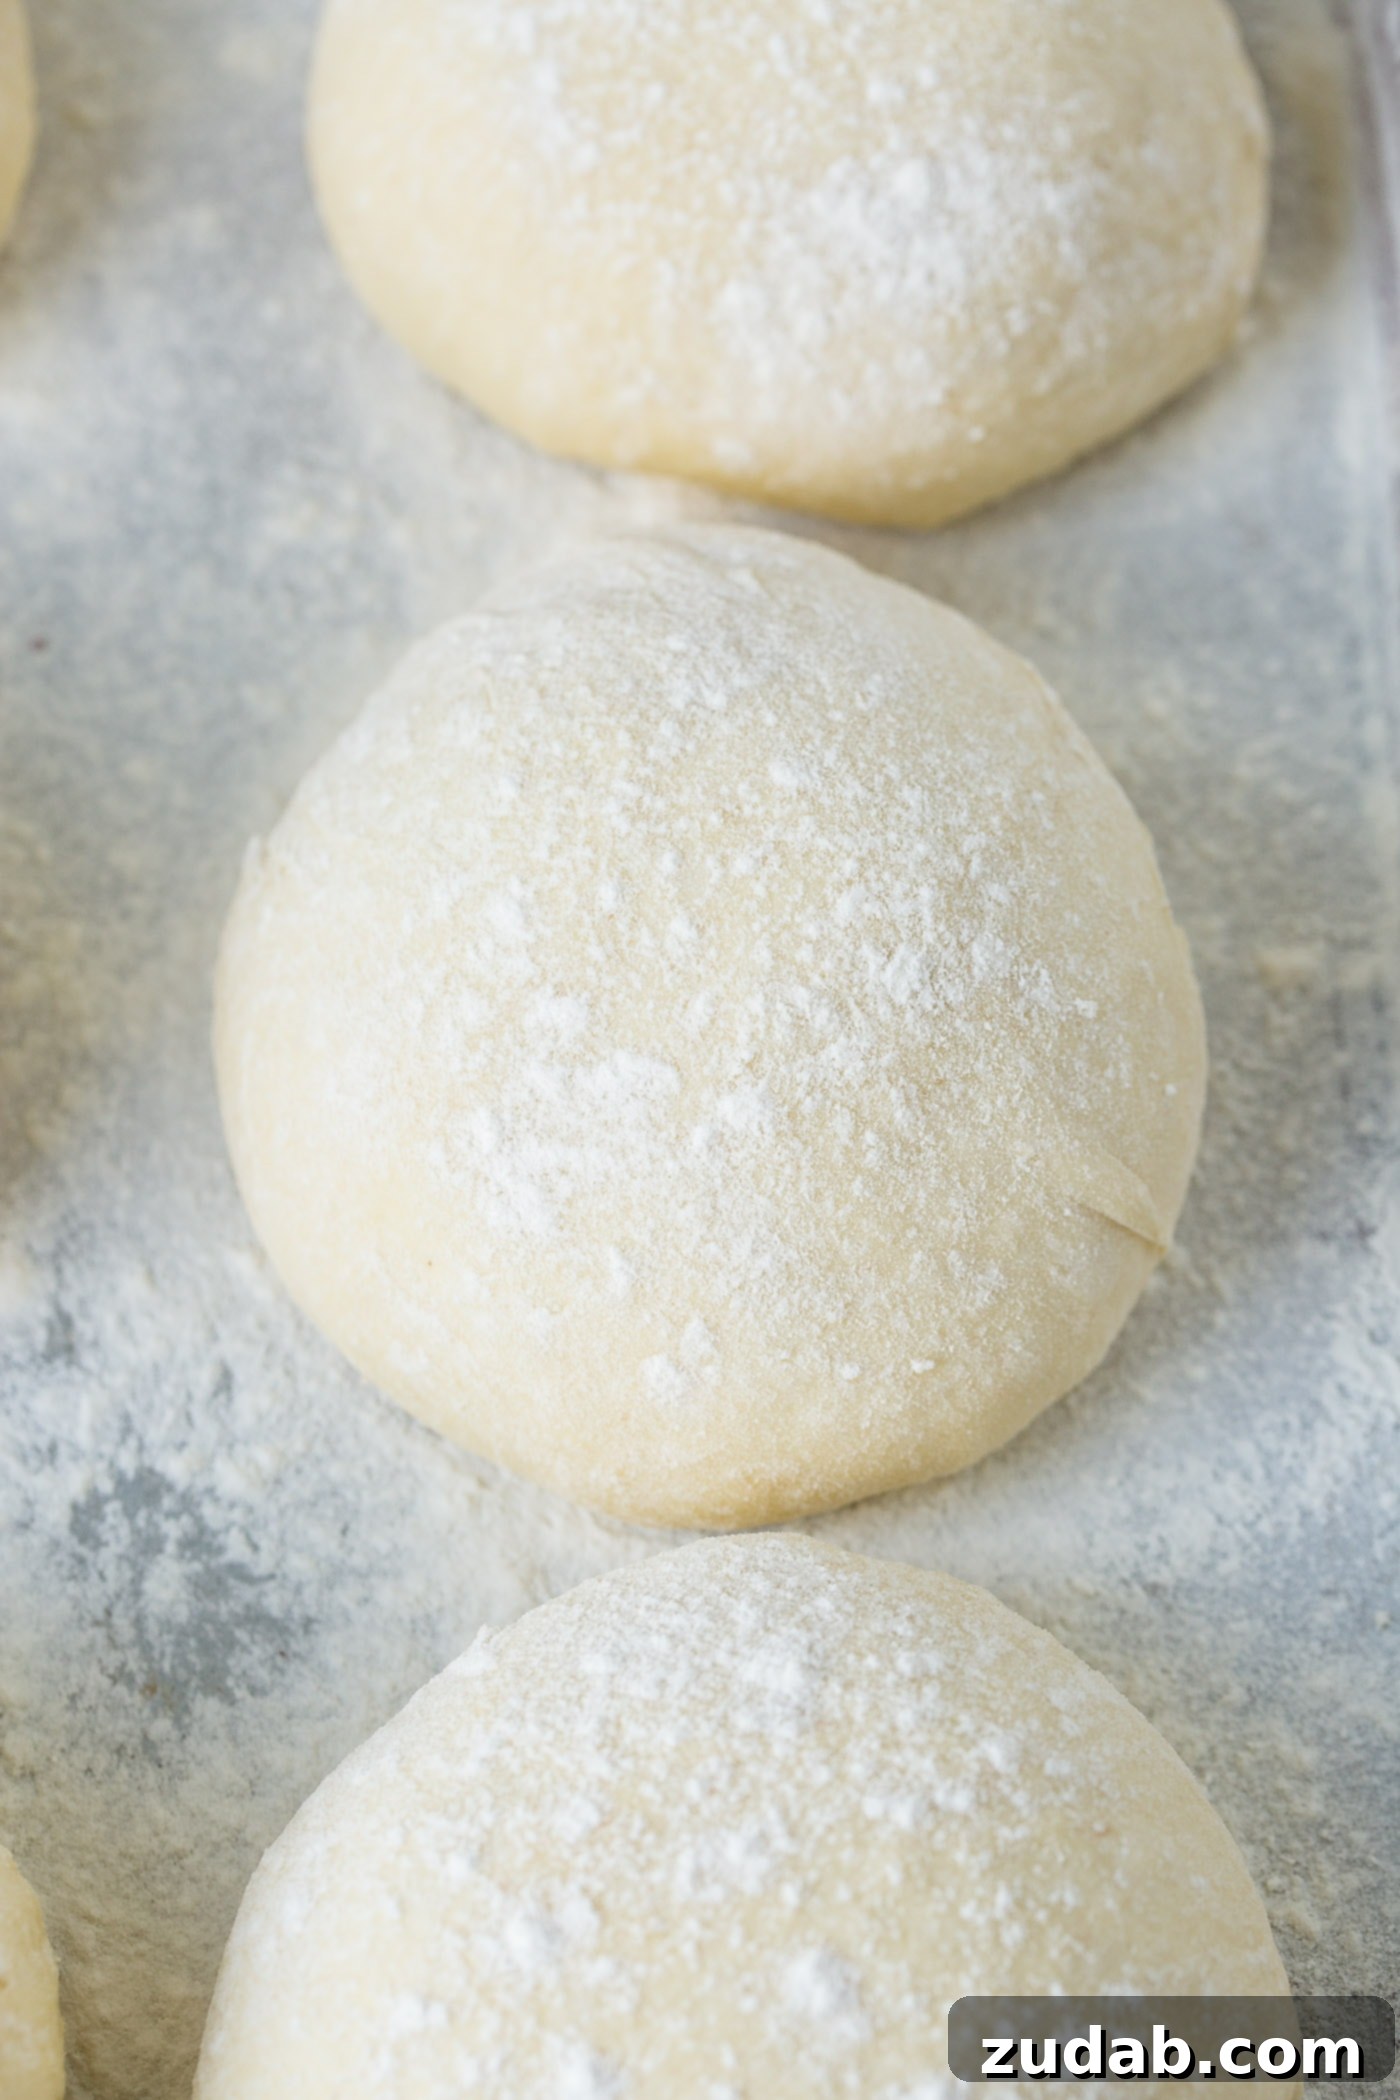
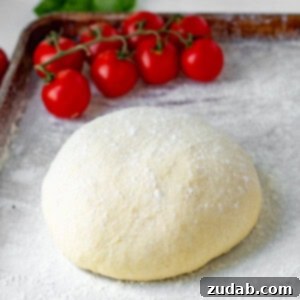
- Divide the dough into 2-3 equal portions, depending on your desired pizza size. Gently shape each portion into a round ball by pinching the bottom edges together, much like closing a small purse. Turn the dough balls seam-side down onto a floured baking pan and lightly dust the tops with more flour.
- Cover the dough balls tightly with plastic wrap. Allow them to expand into flatter discs for another 4-6 hours at room temperature. This extended, slow rise is key to developing complex flavors and an ideal texture.
- Once the dough has completed its final rise, it’s time to make your pizza! If you need to wait, you can refrigerate the dough balls at this stage (see “Can Pizza Dough Be Made Ahead?” below), but be sure to bring them back to room temperature before shaping and baking.
To Bake Your Pizzeria-Style Pizza:
- Place your pizza stone or cast iron pizza pan in the center of your oven. Preheat the oven to its highest possible temperature, ideally 550°F (287°C), for at least 30-45 minutes. This prolonged preheating ensures the stone or steel is intensely hot, crucial for a crispy bottom crust before your toppings burn. If your oven doesn’t reach 550°F, set it to its maximum temperature, then switch to the broiler setting for the last 10 minutes before cooking your pizza.
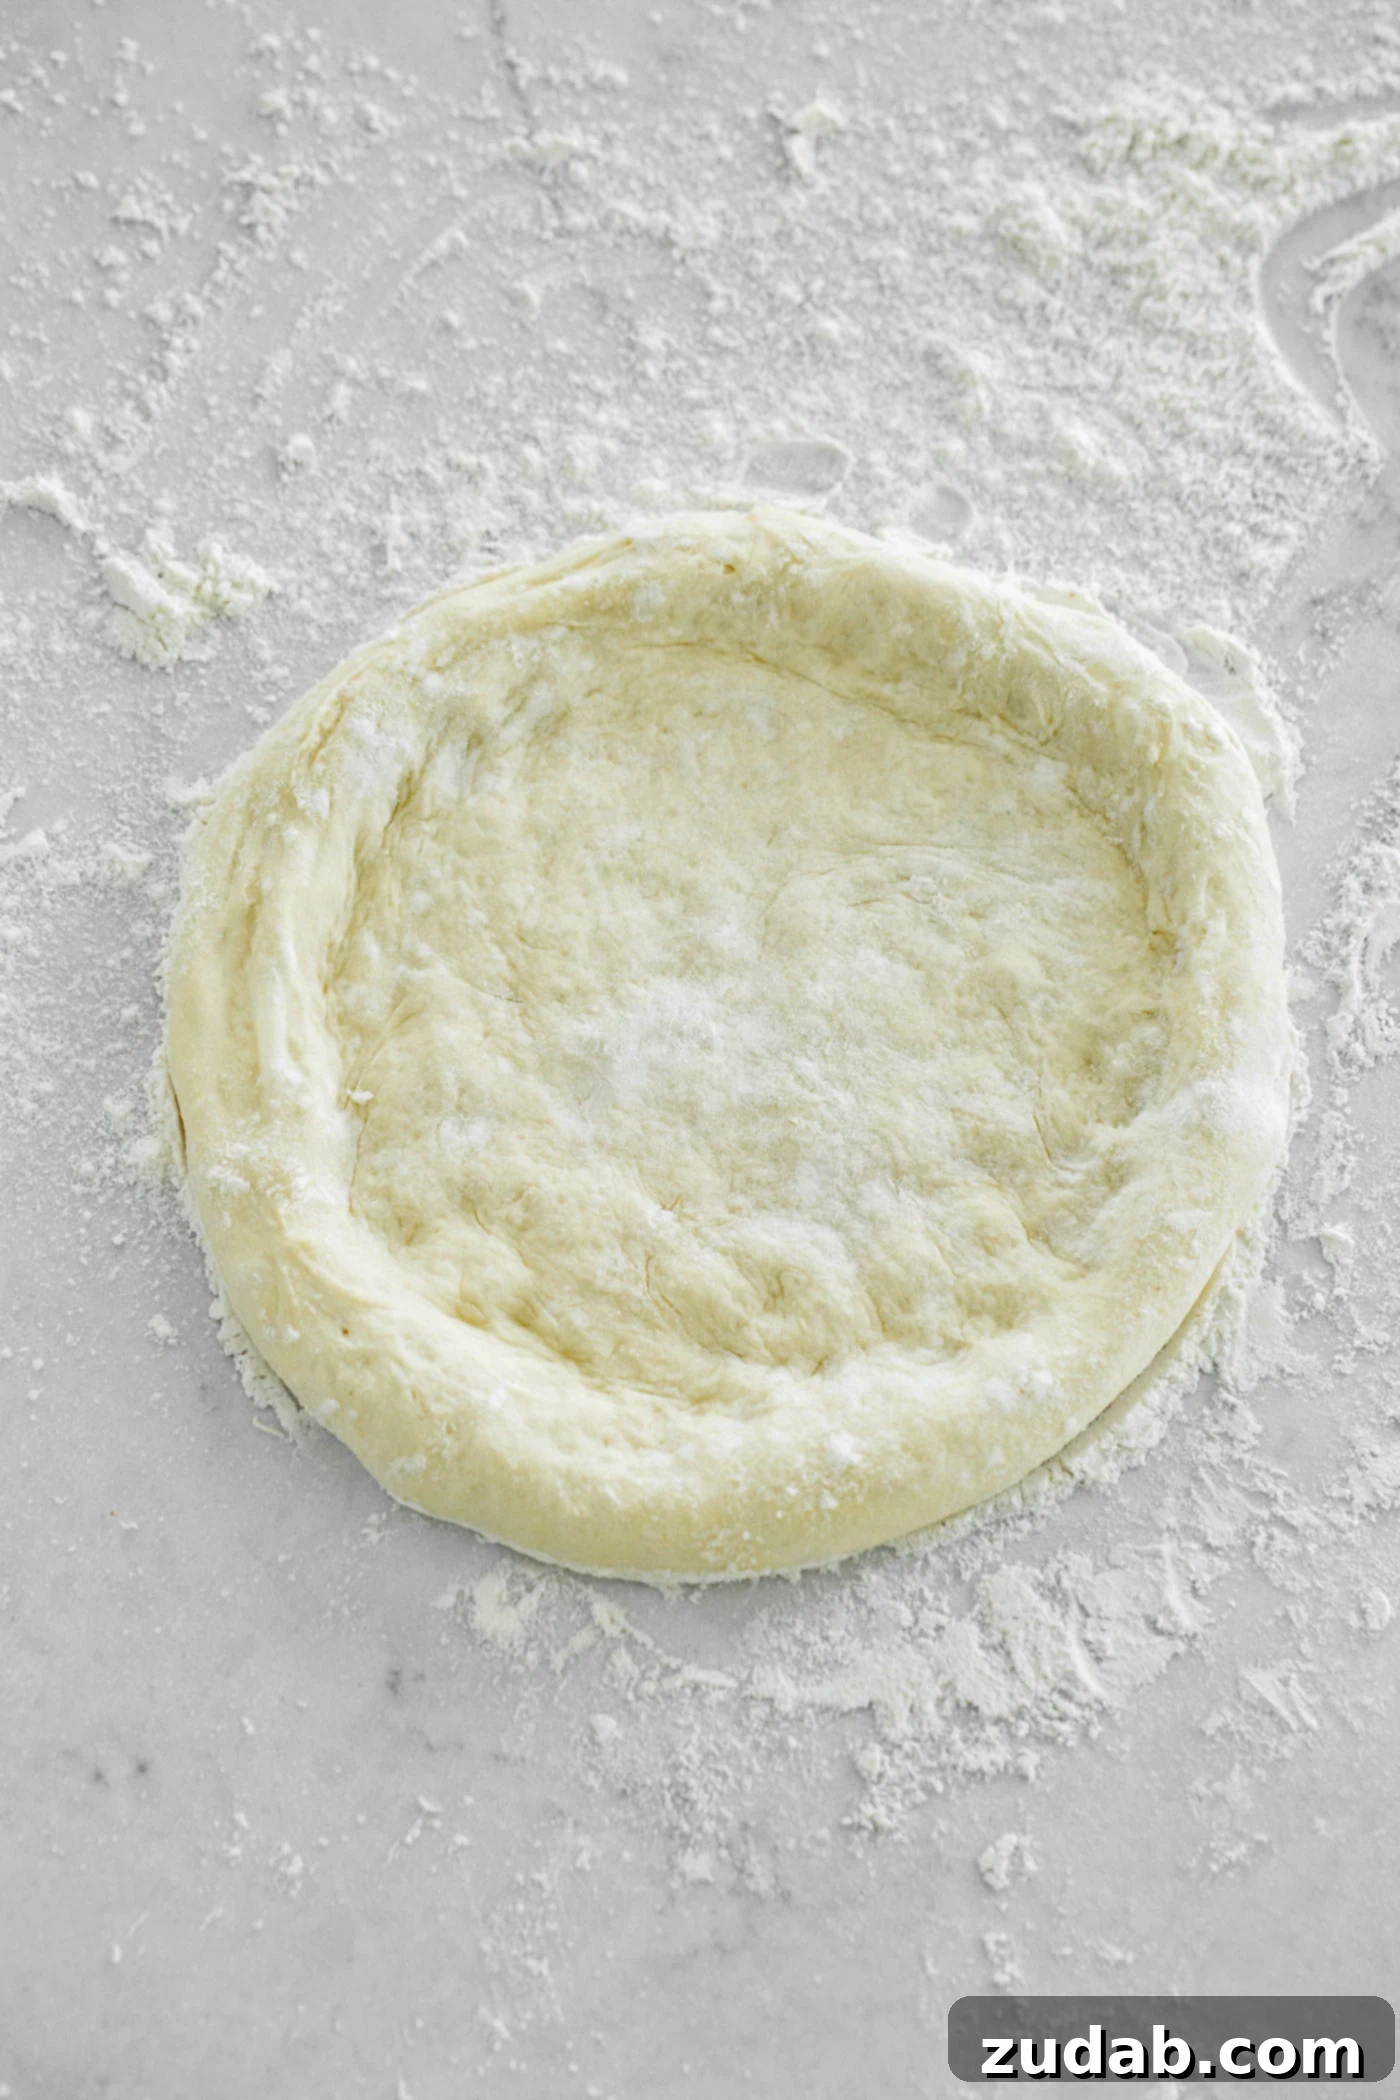
- To shape the dough: Lightly flour your work surface. Gently lay one dough ball down. Using only your fingertips, start from the outer edge and gently “pounce” them up and down, working your way inwards, leaving a nice, thick rim for the crust. Avoid pressing the very edges, as this creates those desirable bubbly crusts.
- Once you have a general round shape, gently pick up the dough like a steering wheel, keeping your thumbs positioned under the lip of the crust to prevent thinning the edges.
- Begin turning your pizza dough like a wheel, allowing gravity to gently stretch the dough downwards and occasionally brushing the edges lightly against the countertop to encourage even stretching.
- As the dough becomes thinner, insert your fists into the center of the dough, carefully rotating and stretching it outwards in a circular motion. This technique prevents tearing and ensures an even, thin base. We were explicitly taught by Italian chefs to **NEVER use a rolling pin**, as it compresses the dough, forcing out air and resulting in a tough, dense crust.
- Heavily flour a pizza peel (the flat shovel-like tool). Carefully transfer your shaped dough onto the floured peel.
- Quickly add your desired sauce, cheese, and any other toppings. Work efficiently to prevent the dough from sticking to the peel.
- With a swift, confident motion, lift the pizza peel and position its tip at the very back of your preheated pizza stone or pan in the oven. Gently jiggle the peel back and forth as you simultaneously pull it out of the oven, allowing the pizza to smoothly slide off the peel and onto the hot surface.
- Bake until the crust is golden brown and beautifully charred in spots, the cheese is bubbling and melted, and the toppings are perfectly cooked. The exact time will vary based on your oven and toppings, but it usually takes 8-15 minutes.
Can Pizza Dough Be Prepared in Advance?
Absolutely! This homemade pizza dough can be made up to two days in advance. In fact, cold fermentation in the refrigerator significantly enhances the flavor and complexity of the dough, allowing it to develop a richer, more nuanced taste. After the initial rise, instead of dividing and letting it rise again at room temperature, simply place the covered dough in the refrigerator.
Refrigerating the dough allows it to double in volume slowly, developing superior flavor and texture compared to a quick rise at room temperature. When you’re ready to bake, remember to remove the dough from the refrigerator and let it come to room temperature for at least 1-2 hours before shaping and baking. This helps the dough relax and become pliable, making it easier to work with.
Can Pizza Dough Be Frozen for Later Use?
Yes, pizza dough is remarkably freezer-friendly, making it perfect for meal prep or impromptu pizza nights!
- Allow your dough to complete its full initial rise at room temperature before freezing. This ensures optimal yeast activity.
- After the initial rise, divide the dough into individual portions, sized for single pizzas. Lightly oil each ball of dough, then wrap them tightly in plastic wrap, ensuring no air can reach the dough. Place the wrapped dough balls in a freezer-safe bag or airtight container.
- You can safely freeze pizza dough for up to **three months**. Beyond this, quality may start to degrade.
- To thaw, transfer the frozen dough from the freezer to the refrigerator and let it thaw slowly overnight. Once thawed, bring the dough to room temperature for 1-2 hours on the counter before proceeding with shaping and baking instructions. This gradual thawing and warming process helps maintain the dough’s texture and elasticity.
Is Pizza Dough the Same as Bread Dough? A Definitive Answer.
No! Let’s settle this once and for all: **pizza dough is NOT bread dough.** I’ve spent countless hours researching, reading, watching videos, and asking a million questions, and the conclusion is clear. While they share the same core ingredients – flour, water, yeast, and salt – that’s where the similarities end. This misconception needs to be banished from your kitchen!
The differences lie in their ratios, hydration levels, kneading techniques, and, most critically, their fermentation times and desired end textures. Bread dough often aims for a softer, more uniform crumb, requiring different flour types and less extensive fermentation. Pizza dough, especially authentic Italian pizza dough, is typically higher in hydration, requires precise kneading to develop specific gluten elasticity, and benefits immensely from long, slow fermentation to achieve that crisp, chewy, and airy crust with a complex flavor profile.
This recipe isn’t just an improvement; it’s a game-changer. It’s time to discard your old **pizza dough recipe** because this one is destined to become your new favorite. Now, the only question that remains is… what delightful toppings will you choose for your masterpiece?
Watch How to Make Pizzeria Style Pizza at Home
Explore Our Best Pizza Recipes
Once you’ve mastered this incredible pizza dough, the culinary possibilities are endless! Dive into our collection of favorite pizza recipes and find inspiration for your next homemade pizza night:
- Classic Pepperoni Pizza Recipe
- Flavorful Pesto Pepperoni Pizza
- Hearty Meat Lovers Pizza
- Our Go-To Homemade Pizza Sauce
- Light and Healthy Zucchini Crust Pizza
- Quick Pepperoni Pizza Crescents
- Fun Homemade Bagel Bites
- Delicious Pepperoni Pinwheels
- Rich 4 Cheese Margherita Pizza
Perfect Pizzeria-Style Pizza Dough
Pin Recipe
Print Recipe
Ingredients
- 4 Cups Flour, (500 Grams), (we prefer baker’s flour or 00 flour for best results)
- 1 1/2 Cups Water, (350 Grams), Warm (100°F / 38°C)
- 1 Pinch Sugar
- 1/4 teaspoon Instant Yeast, (1.5 Grams), ensure it’s Instant Yeast, not Active Dry
- 2 teaspoons Fine Grain Sea Salt, (13 Grams)
Instructions
-
Using a digital scale, place a bowl on the scale and zero it out so it doesn’t count the bowl weight. Measure out 4 Cups of flour.4 Cups Flour
-
Using a glass measuring cup, place it on the scale and zero it out. Add 1 1/2 Cups of water and use a thermometer to ensure the temperature is correct (100°F / 38°C).1 1/2 Cups Water
-
Add 1 Pinch of sugar and zero the scale again. Measure out 1/4 teaspoon of instant yeast and stir it into the water. Allow the mixture to sit and proof for 5-10 minutes until it becomes foamy. This process, where the yeast feeds on the sugar, activates it and ensures your dough will rise beautifully.1 Pinch Sugar, 1/4 teaspoon Instant Yeast
-
Zero the scale and add 2 teaspoons of fine grain sea salt to the yeast mixture, stirring to combine thoroughly.2 teaspoons Sea salt
-
Pour the entire water mixture into the bowl containing the flour. Using your hand, begin to mix the dough. As the ingredients start to come together, gently squeeze the dough with your hand to incorporate everything. The dough will feel slightly sticky, which is perfectly normal.
-
Allow the dough to rest for 30 seconds. This short rest helps the gluten begin to relax. After resting, start folding and pinching the dough for one more minute to develop its structure further.
-
Set the dough aside to rest in the bowl, covered, for 20-30 minutes. This second rest is crucial for gluten development and making the dough more pliable.
-
Lightly dust your work surface with flour. Turn the dough out and knead it gently for another 30-45 seconds. By now, the dough should have relaxed significantly and exhibit a smooth, elastic skin. Lightly drizzle a clean bowl with a little olive oil, add the dough (turning once so the seam is on the bottom), and cover tightly with a lid or plastic wrap.
-
Allow the dough to rise in a warm spot for 1.5 to 2 hours, or until it has noticeably doubled in volume. If your kitchen is cool, you can create a warm proofing environment by preheating your oven to 250°F (120°C) for 10 minutes, then turning it off and placing the dough bowl on the slightly ajar oven door. An oiled bowl is essential; an unoiled bowl can cause the dough to stick and restrict its full rise.
-
Carefully turn the bowl onto its side and gently use your hand to help the dough fall out onto a lightly floured counter. **Do not grab and lift the dough**, as this will stretch it and deflate precious air bubbles.
-
Divide the dough into 2-3 equal portions (for 12″ pizzas). Shape each portion into a round ball by gently pinching the bottom edges together, as if closing a small purse. Turn the balls seam-side down onto a floured pan and lightly dust their tops with more flour.
-
Cover the dough balls tightly with plastic wrap and allow them to expand into flatter discs for an additional 4-6 hours at room temperature. This crucial second fermentation develops deep flavor and the desired airy texture.
-
At this point, your dough is ready! Prepare your pizza immediately. If you need to wait, place the covered dough balls in the fridge (see notes below), ensuring you bring them back to room temperature before use.
-
**To Bake:** Place a pizza stone or heavy cast iron pizza pan in the center of your oven. Heat the oven to its highest possible temperature (ideally 550°F / 287°C) for 30-45 minutes. This intense heat is critical for achieving a crispy crust before the cheese and toppings burn. If your oven doesn’t reach this temperature, set it as hot as it goes, then turn it to broiler for 10 minutes before cooking your pizza to superheat the stone.
-
**To Shape the Dough:** Flour your work surface generously and gently lay a dough ball down.
-
Using your fingertips, start gently pressing and pouncing from the outer edge inward, leaving a distinct, thick rim to form your bubbly crust.
-
Once you’ve achieved your desired shape, carefully pick up the dough as if holding a steering wheel, keeping your thumbs under the lip of the crust so you don’t inadvertently flatten the edges.
-
Begin rotating the pizza dough like a wheel, allowing gravity to gently stretch it and occasionally brushing the hanging edges against the countertop to help thin the base.
-
As it thins, gently place your fists into the dough’s center to support and stretch it further in a circle, preventing tears. Remember, **NEVER use a rolling pin**, as this crushes the air bubbles and results in a tough pizza dough.
-
Heavily flour a pizza peel and carefully transfer the shaped dough onto it.
-
Quickly top with your chosen sauce, cheese, and any other desired toppings. Work swiftly to prevent the dough from sticking to the peel.
-
Lift the peel, positioning its tip at the very back of your pizza stone/pan in the hot oven. Gently jiggle the pizza peel back and forth while pulling it out of the oven, allowing the pizza to smoothly slide onto the preheated surface.
-
Bake until the crust is golden brown and showing signs of delicious charring, and the cheese is melted and bubbling.
Recipe Notes
For enhanced flavor, pizza dough can be made up to 2 days ahead. After its initial rise, refrigerate the dough to allow it to double in volume slowly. This cold fermentation develops more complex flavors. Always bring the dough back to room temperature before shaping and baking for optimal results.
Nutrition Information
Nutrition information is automatically calculated, so should only be used as an approximation. It may vary based on specific ingredients and preparation methods.