
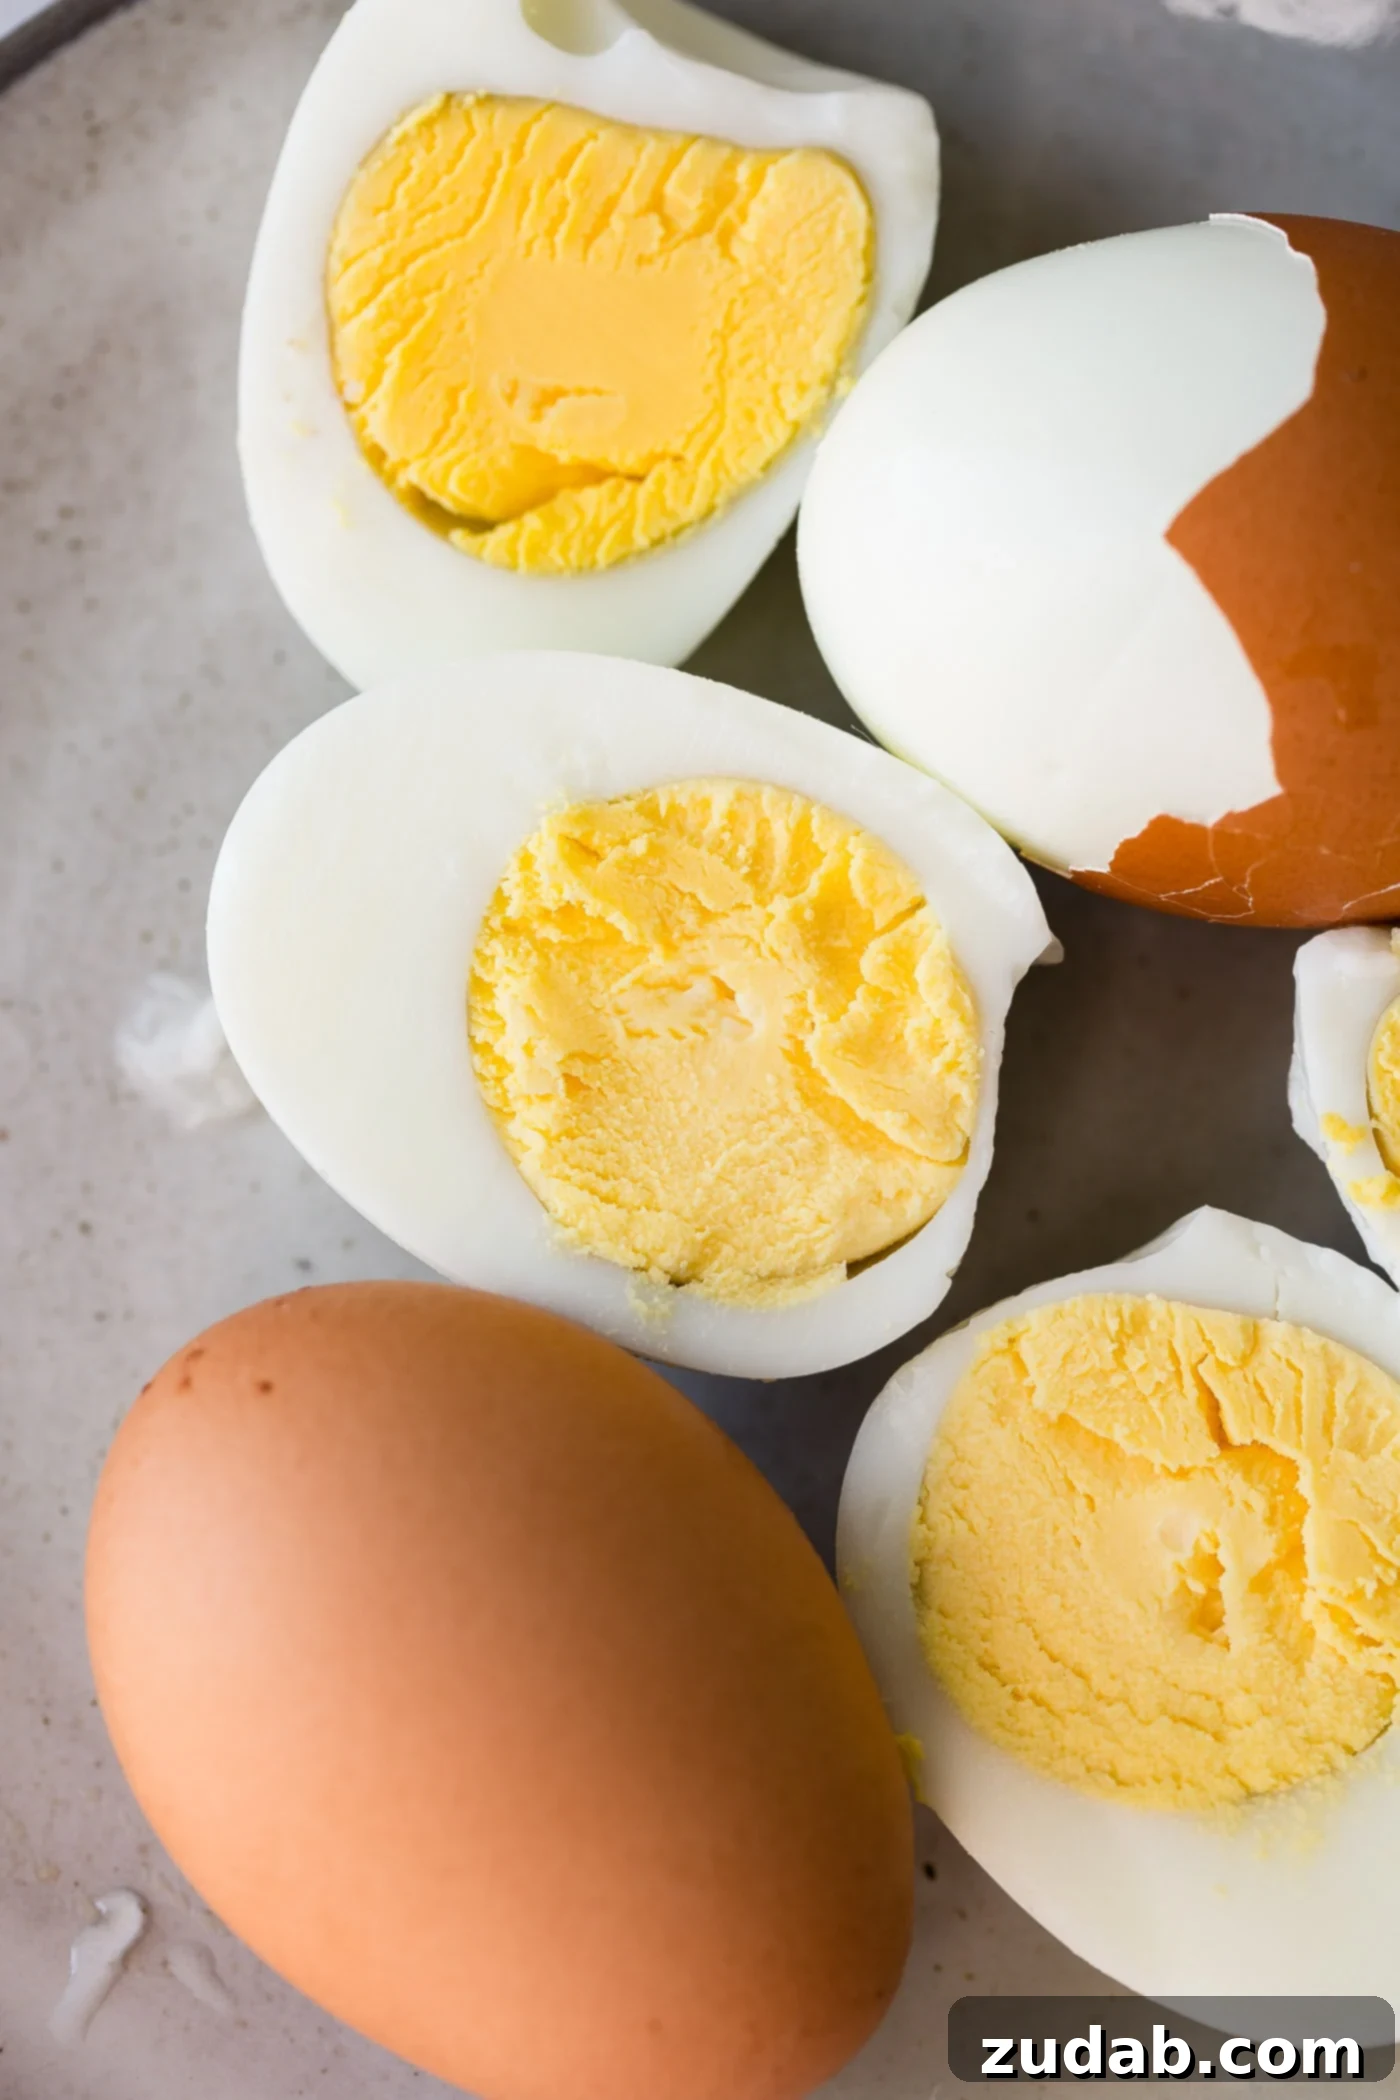
The Ultimate Guide to Perfect Hard Boiled Eggs: Your Foolproof Method
For over 15 years, I’ve been on a culinary quest to master the art of making perfect hard boiled eggs. It’s been a journey of countless tests and experiments, culminating in a method so simple and reliable, you’ll wonder why you ever struggled. With holidays like Easter often highlighting this versatile ingredient, I’m thrilled to share all my best tips and the definitive technique that guarantees flawless results every time.
I’ve personally encountered every common pitfall when it comes to hard boiled eggs: yolks that are still runny, shells that crack during cooking, unappetizing gray rings around the yolk, eggs that are notoriously difficult to peel, and whites that turn rubbery. These frustrating outcomes are a thing of the past with the right approach.
Through my extensive testing, I’ve explored a myriad of popular advice and kitchen hacks: adding baking soda or vinegar to the water, using salt, rolling the egg, baking them in the oven, employing an Instant Pot, or even specialized egg cookers. While some offered minor improvements, none consistently delivered the ideal outcome. The method I’ve perfected, which relies on a simple steaming process, stands out for its consistency and ease. It ensures you’ll have perfectly cooked hard boiled eggs with vibrant yellow yolks and easy-to-peel shells, all in just minutes of active cooking time.
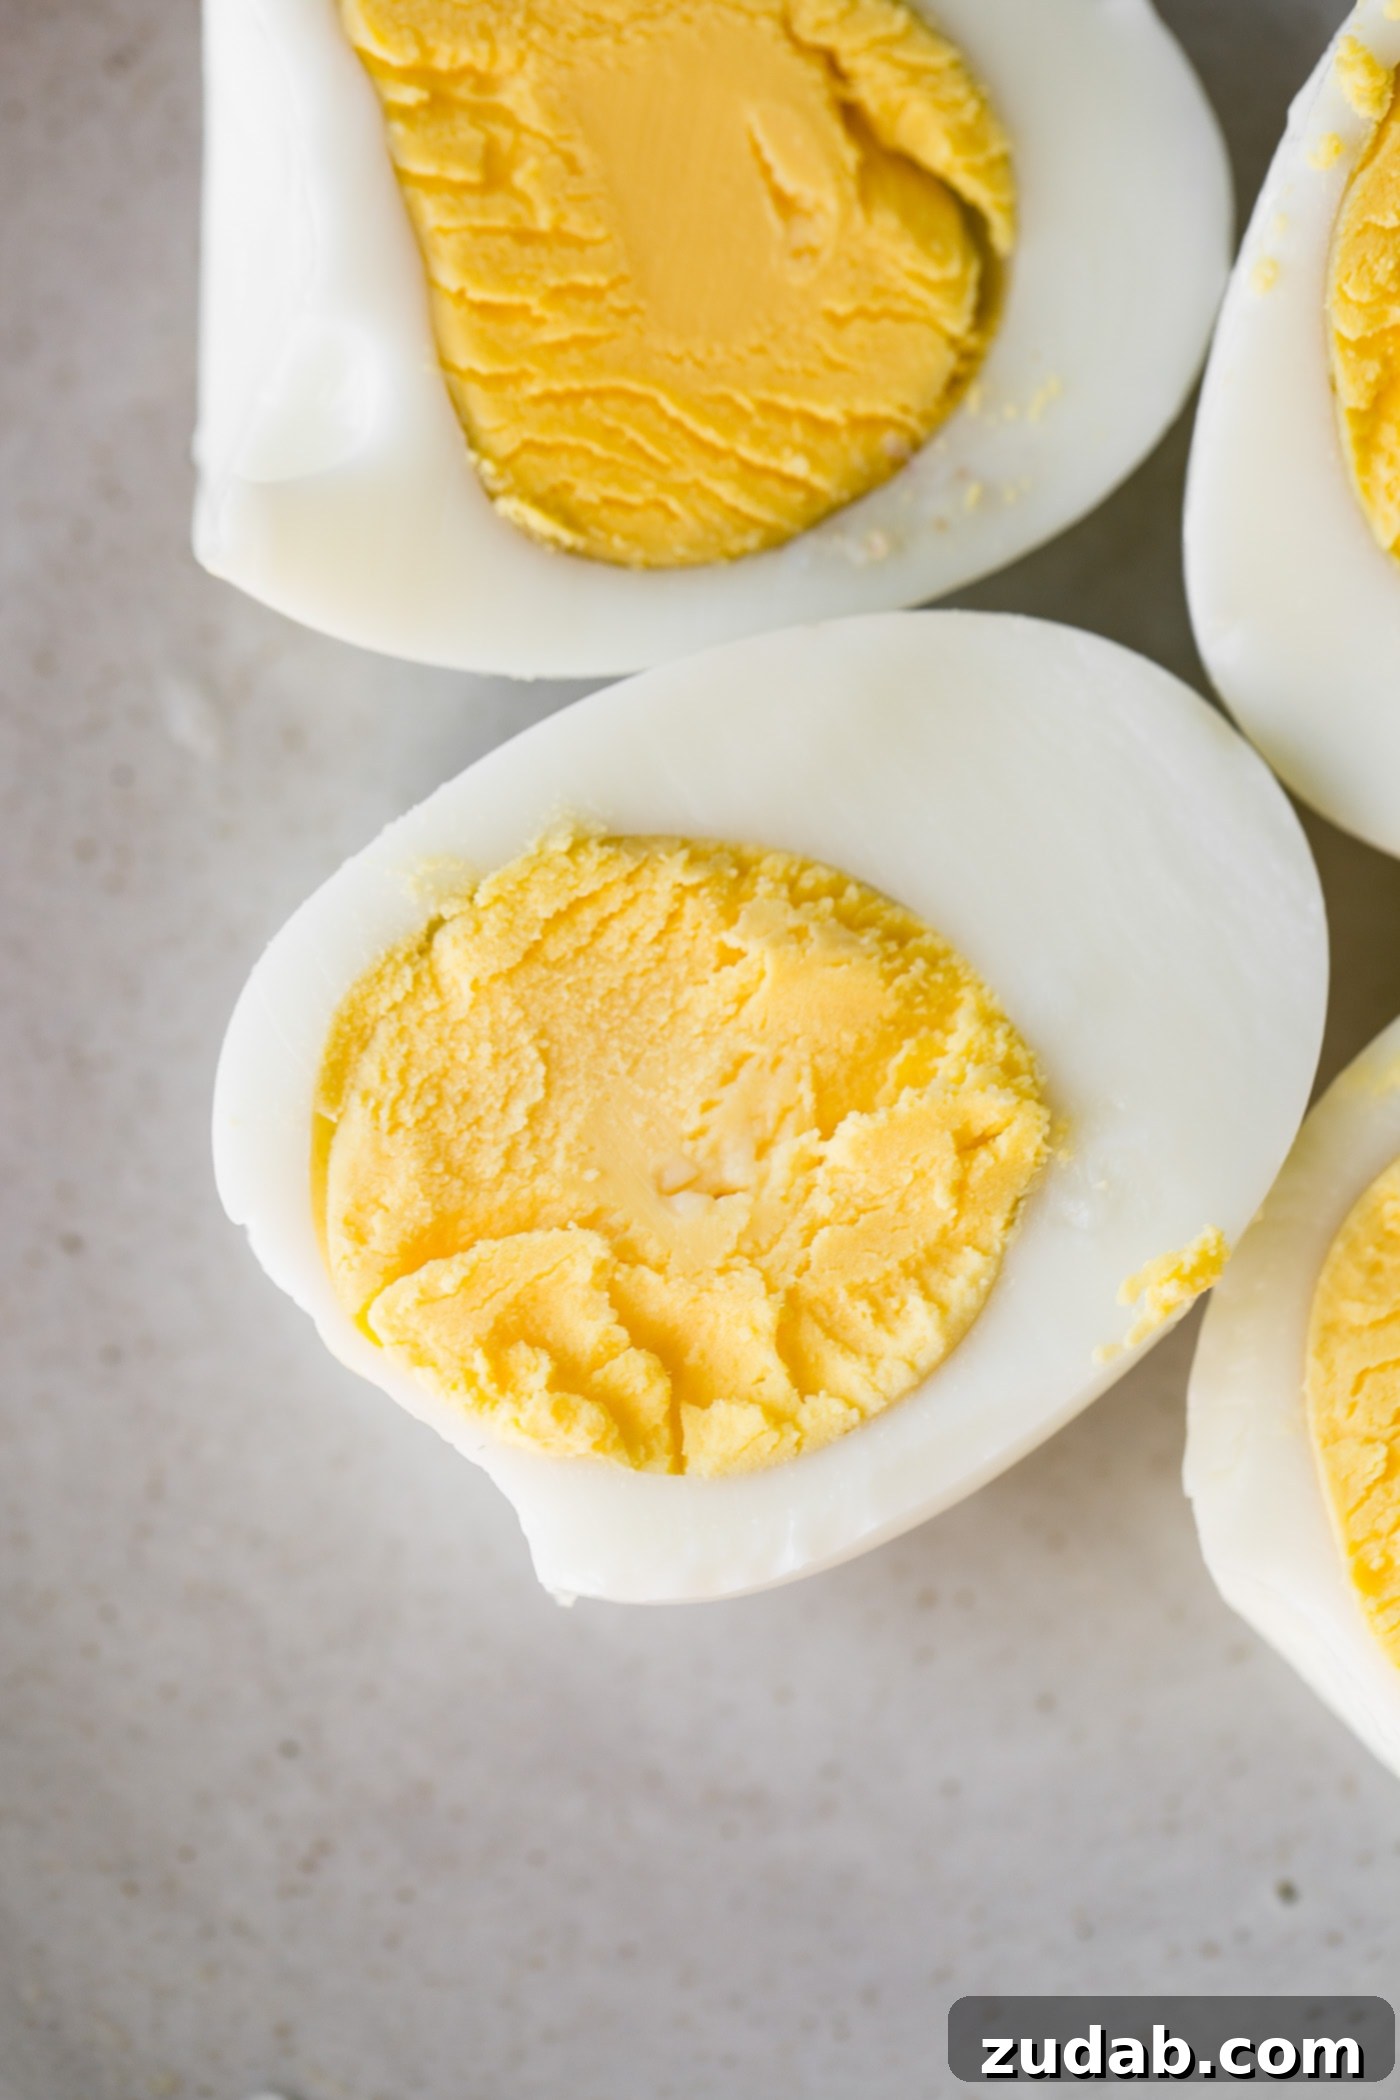
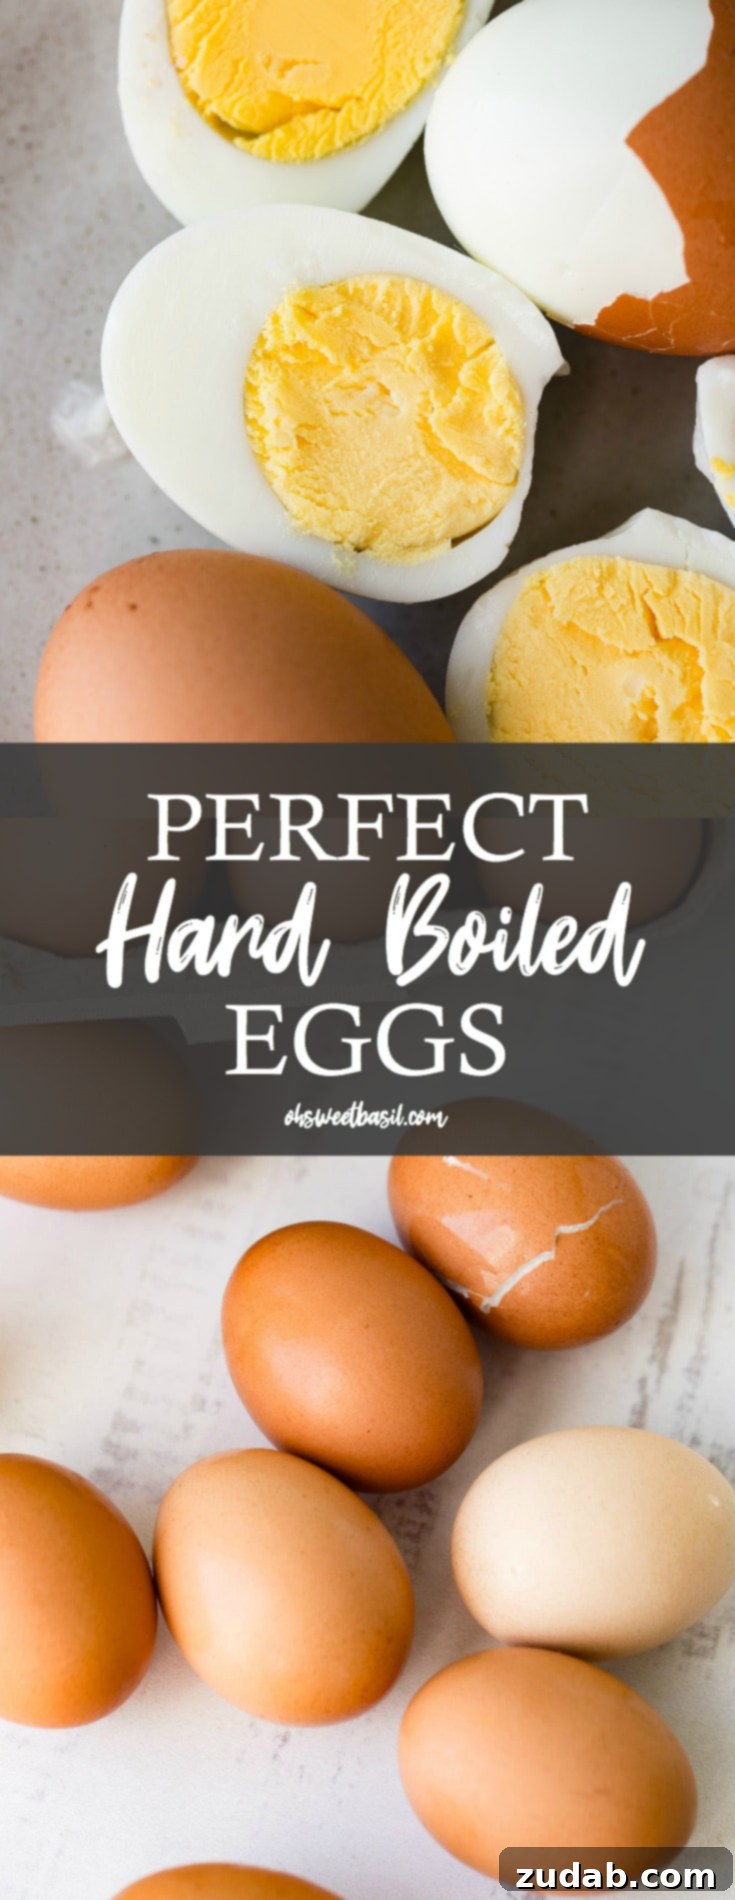
Achieving truly perfect hard boiled eggs begins with careful egg selection and is fundamentally transformed by the steaming process. This technique consistently yields a perfectly cooked yolk that’s a beautiful, bright, and inviting yellow, never overcooked with a greenish-gray ring. The whites are tender, not rubbery, and the shells practically glide off, making peeling a breeze. Best of all, the flavor and texture are absolutely spot-on, making them ideal for any recipe or simply enjoyed as a wholesome snack.
Unlocking the Secrets to Perfectly Cooked Hard Boiled Eggs
Many people believe that perfectly hard boiled eggs are a matter of luck, but I’m here to tell you it’s a science, and an easily mastered one at that. My journey has revealed that focusing on a few key factors – from egg type to cooking method and post-cooking care – can dramatically improve your results. Let’s delve into the details that make all the difference, transforming a common kitchen task into an effortless success.
Choosing the Right Eggs: Brown vs. White
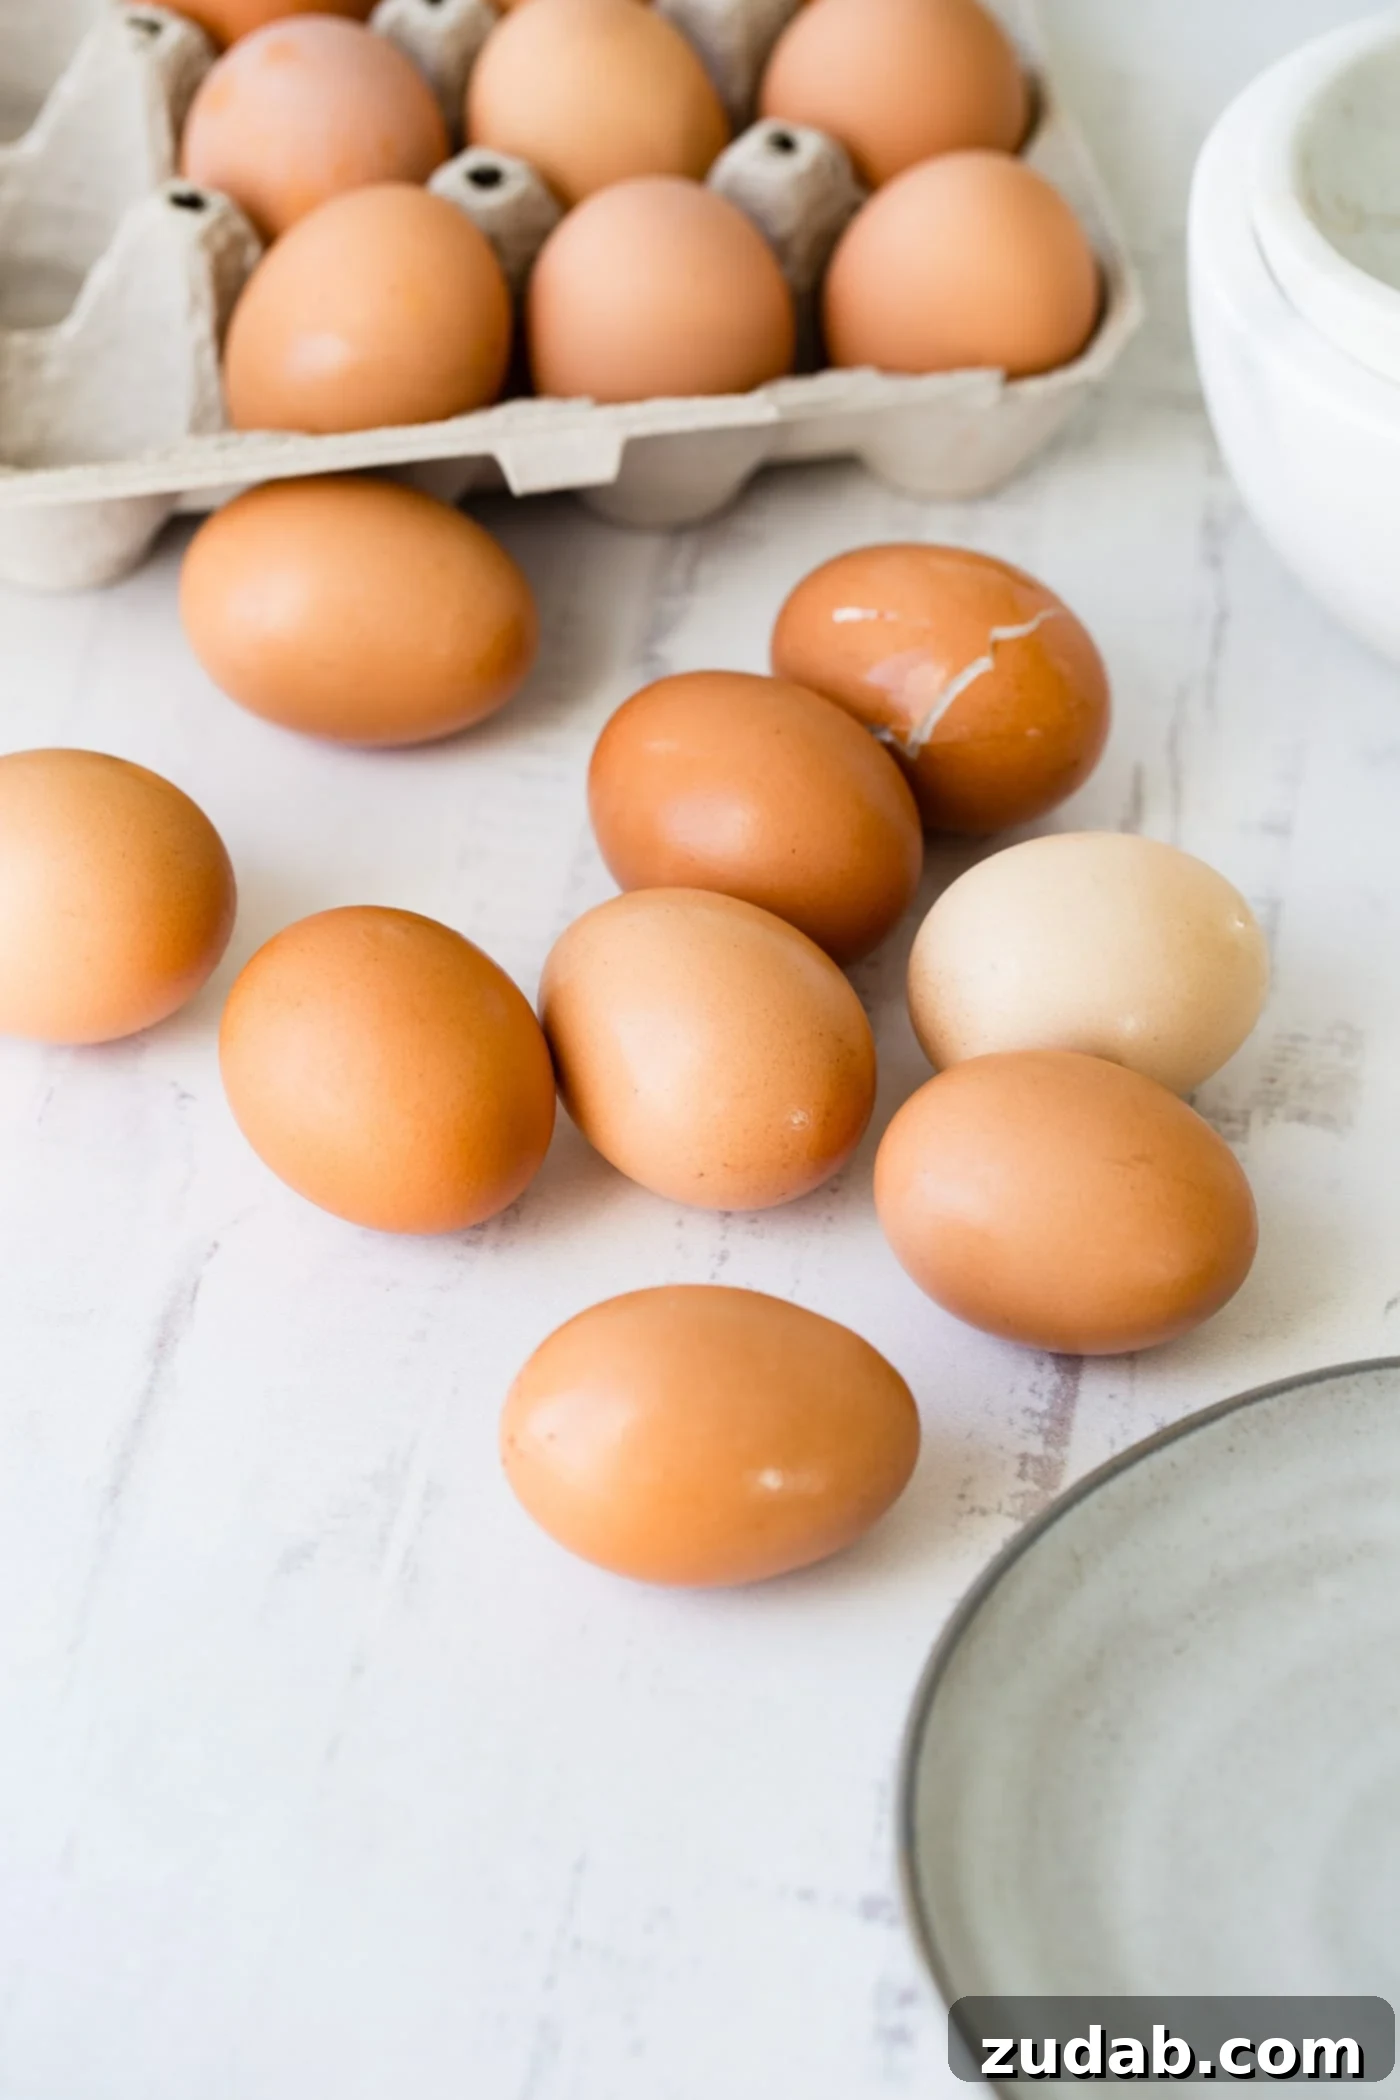
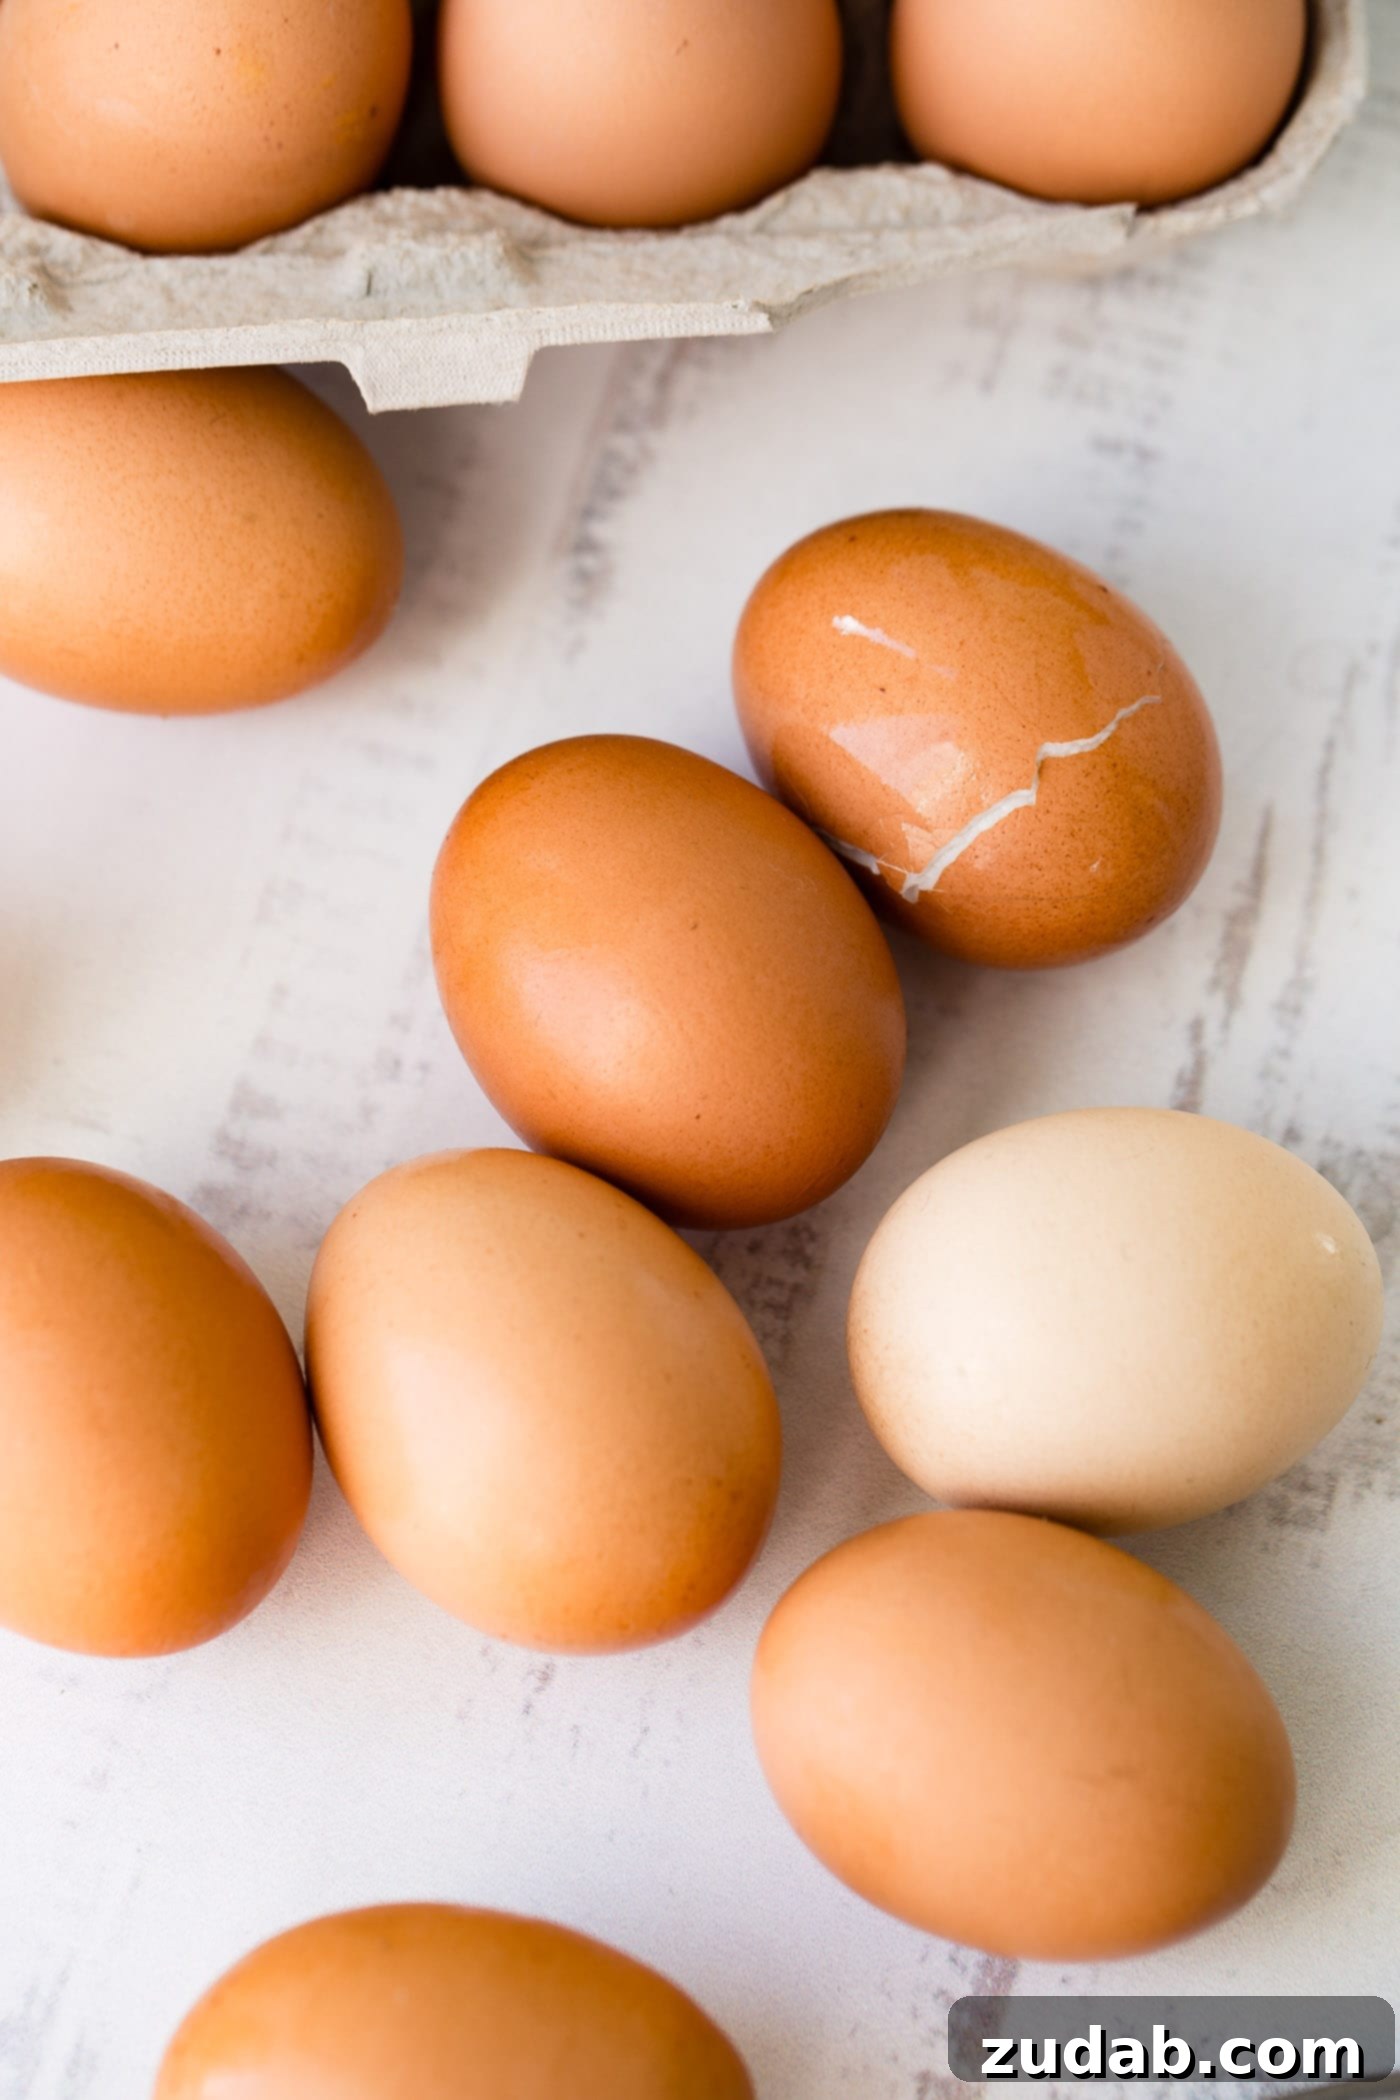
When it comes to selecting eggs for boiling, you might be surprised to learn that the color of the shell can actually play a role in your success. My extensive testing has shown that brown eggs often yield superior results compared to white eggs. While the nutritional content and flavor are identical between brown and white eggs, brown eggs tend to cook more evenly and, crucially, are typically much easier to peel once cooked.
The exact scientific reason behind this isn’t entirely clear, but some theories suggest that brown eggs may have slightly thicker shells or perhaps different membrane properties that aid in easier peeling. Another common observation is that fresher eggs are generally harder to peel due to a stronger bond between the inner membrane and the egg white. While this method works well for eggs of any age, I’ve found that starting with brown eggs often gives you a slight advantage in the peeling department, especially if your eggs are very fresh. So, if you have the option, buy brown eggs for your hard boiling endeavors! However, if white eggs are all you have on hand, don’t despair – this method will still provide excellent results.
The Foolproof Method: Step-by-Step for Perfect Hard Boiled Eggs
This simple, four-step process is designed to eliminate common hard boiling frustrations, delivering consistent perfection. The secret lies in a combination of precise timing and proper temperature management, ensuring tender whites and creamy, bright yolks every single time.
Step 1: Gentle Boiling Initiation
Begin by carefully placing your eggs in a large saucepan. It’s crucial that the eggs are arranged in a single layer at the bottom of the pot to ensure even cooking and prevent cracking from jostling. Once the eggs are in place, fill the pot with cold water, making sure the water level rises approximately one inch above the top of the eggs. This ensures that all eggs are fully submerged and cook uniformly. Place the pot on the stove over high heat and bring the water to a rapid, rolling boil. Do not leave the pot unattended during this phase, as timing is essential for the next step.
Step 2: The Magic of Steaming for 10 Minutes
The moment the water reaches a full, vigorous boil, immediately turn off the heat. Do not let the eggs continue to boil actively. Instead, swiftly place a lid tightly on the pot and, with caution, remove the pot entirely from the hot burner. This is where the magic of steaming takes over. The residual heat from the boiling water will create a perfect steaming environment that gently cooks the eggs without the harsh agitation of boiling. This gentle cooking prevents the whites from becoming tough and rubbery, and also significantly reduces the risk of cracked shells. Allow the eggs to steam undisturbed in the covered pot for precisely 10 minutes. While the eggs are steaming, take a moment to prepare a large bowl filled generously with ice and cold water – this will be essential for the next critical step.
Step 3: The Essential Ice Bath Shock
Step 4: Effortless Peeling After Thorough Chilling
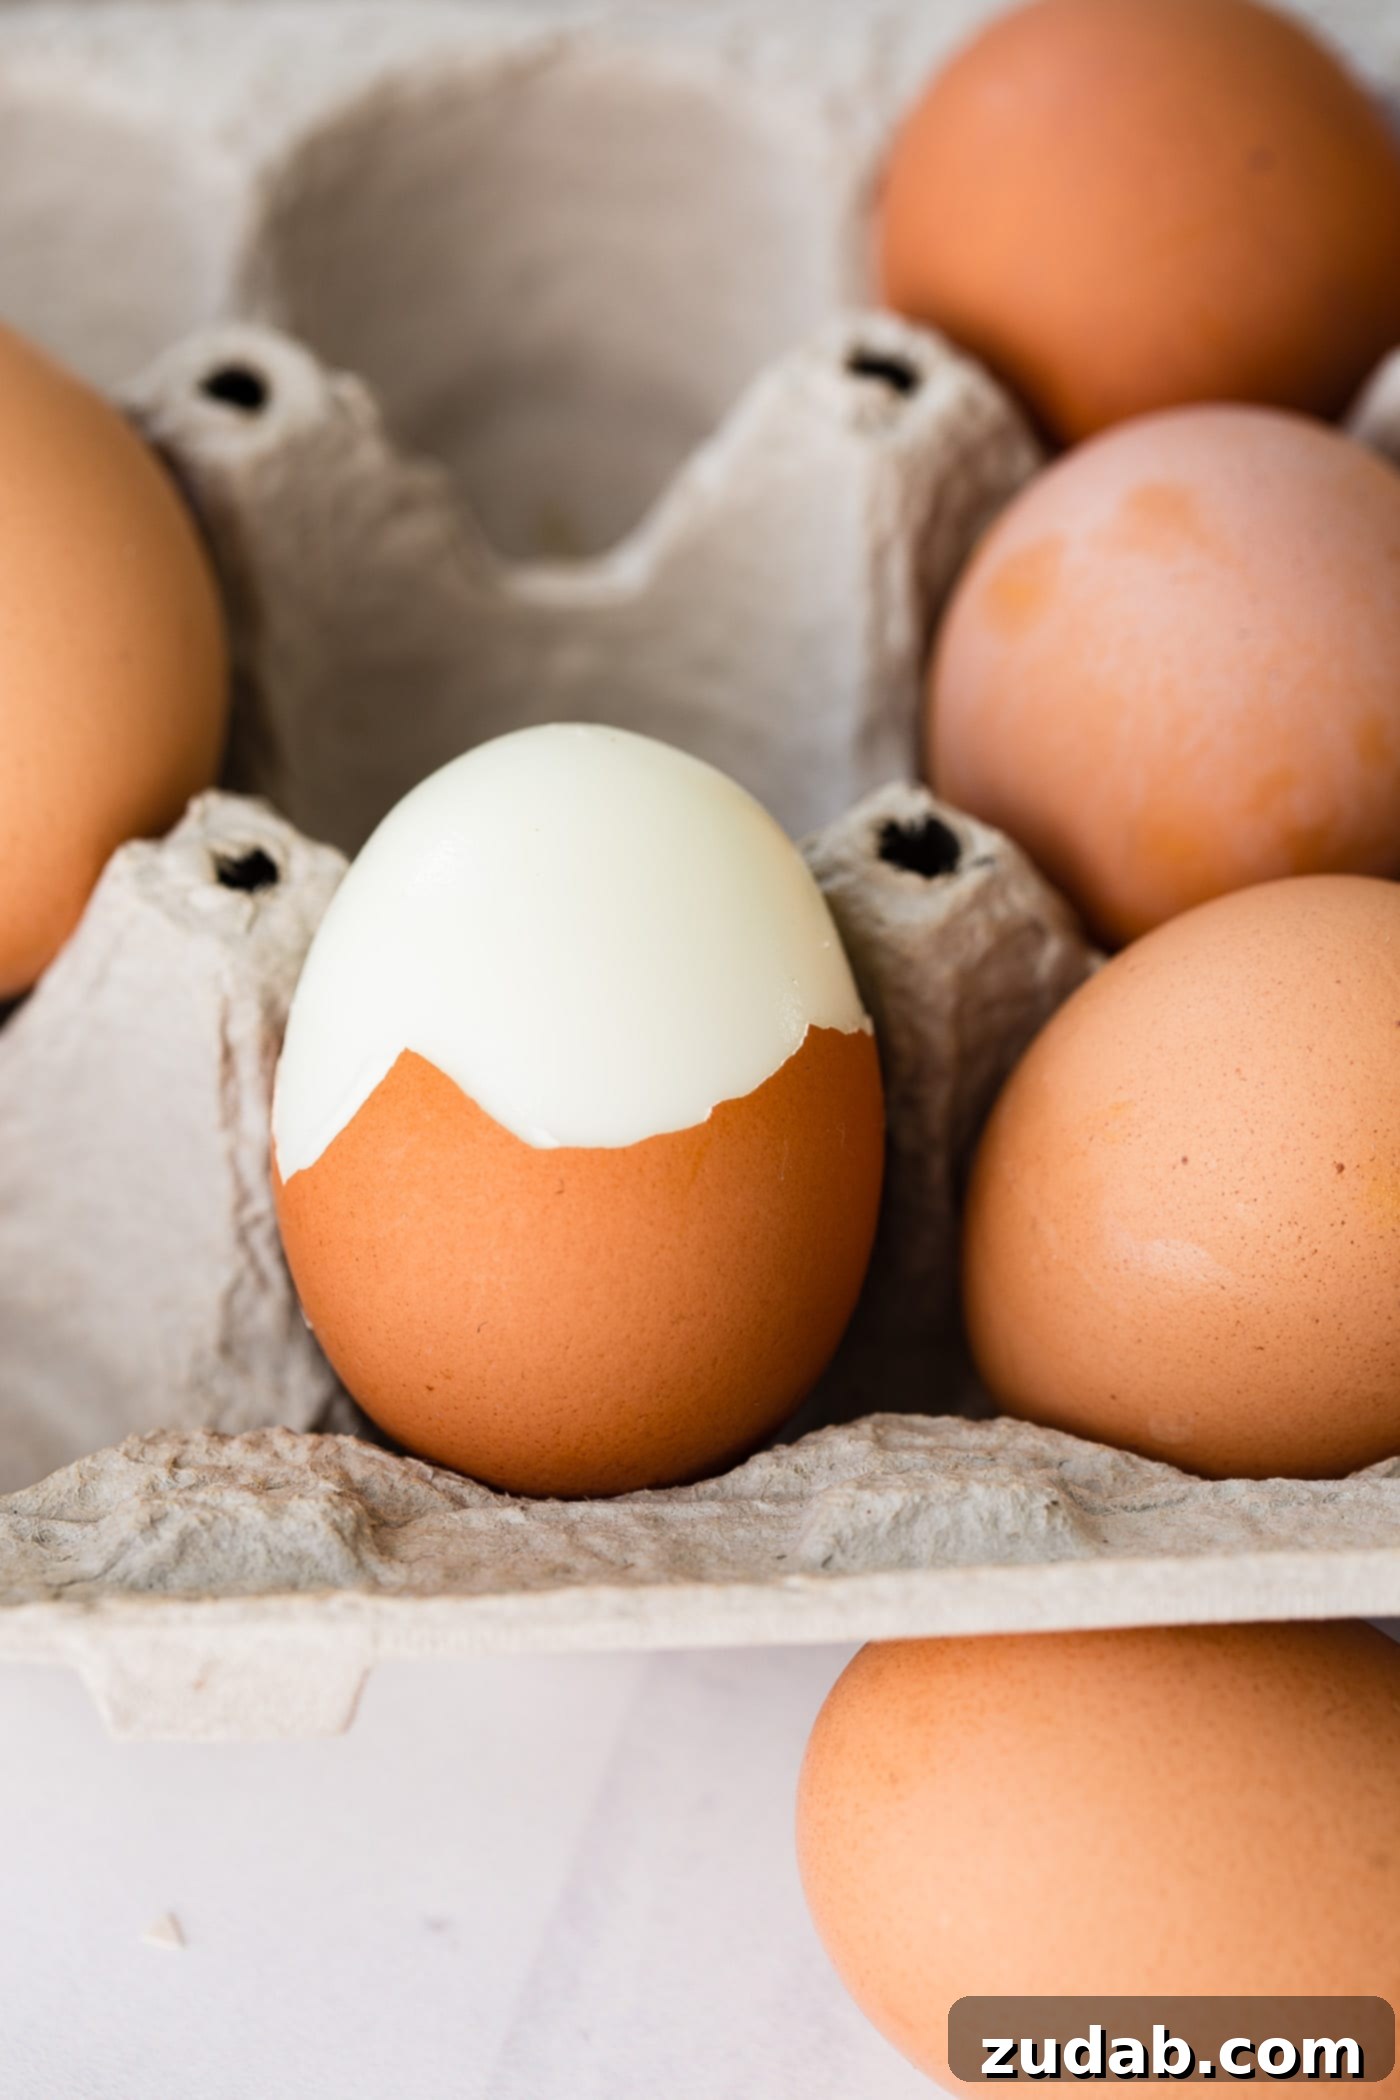
After the eggs have been shocked in the ice bath, transfer the entire bowl (eggs and ice water) to the refrigerator. Allow the eggs to chill completely for at least a few hours, or ideally, overnight. This prolonged chilling period further strengthens the separation between the egg and its shell, making the peeling process incredibly simple. When you’re ready to peel, simply tap the egg gently on a hard surface, then roll it to create small cracks all around. The shell should then peel right off in large pieces, often taking the inner membrane with it. Your perfectly cooked, easy-to-peel hard boiled eggs are now ready to be enjoyed as a snack or incorporated into your favorite recipes!
Creative Ways to Enjoy Your Perfect Hard Boiled Eggs
Once you’ve mastered the art of making flawless hard boiled eggs, a world of culinary possibilities opens up. Their rich flavor, creamy texture, and substantial protein content make them incredibly versatile in the kitchen. I personally love them as a simple, healthy snack, seasoned with just a pinch of salt and freshly ground pepper. They’re an excellent source of protein, providing sustained energy and helping you feel full and satisfied throughout the day.
Of course, the classic uses for hard boiled eggs are endless. You absolutely can’t create our fabulous deviled eggs – a crowd-pleasing appetizer perfect for any gathering – without perfectly cooked eggs. They’re also the star ingredient in our delicious egg salad sandwiches, offering a comforting and flavorful lunch option. Beyond these staples, hard boiled eggs are a fantastic addition to various salads, adding texture and a boost of protein. They shine in our hearty harvest cobb broccoli salad, complementing the fresh vegetables and savory dressing. You can even slice them and float them atop a bowl of hot and sour soup for an extra layer of richness and a satisfying bite. Their versatility makes them an indispensable ingredient in both everyday meals and special occasion dishes.
Frequently Asked Questions About Hard Boiled Eggs
Even with a perfect method, questions about hard boiled eggs often arise, especially concerning storage and common issues. Here are answers to some of the most frequently asked questions to ensure you get the most out of your perfectly cooked eggs.
How Long Will Hard Boiled Eggs Keep?
To maximize their freshness and safety, hard boiled eggs should always be stored in the refrigerator with their shells intact. Keeping the shell on provides a natural protective barrier that helps prevent moisture loss and absorb odors from other foods in the fridge. When stored properly this way, hard boiled eggs will remain fresh and safe to eat for up to 1 week. Beyond this period, their quality and safety can diminish.
Do Hard Boiled Eggs Need To Be Refrigerated?
Yes, absolutely! It is essential to refrigerate hard boiled eggs. Unlike raw eggs, which have a natural protective bloom on their shells, the cooking process washes away this bloom, making the egg more porous and susceptible to bacterial contamination if left at room temperature. Therefore, once your eggs have been cooked and cooled, they must be promptly transferred to the refrigerator. Failure to do so can lead to rapid bacterial growth, making the eggs unsafe to consume.
Why Is It Hard To Peel A Hard Boiled Egg?
The difficulty in peeling hard boiled eggs is a common frustration, and it primarily stems from the strong bond that forms between the egg white (albumen) and the inner shell membrane. When eggs are very fresh, the pH of the albumen is relatively low, causing it to adhere more strongly to the membrane. As eggs age, their pH naturally increases, which weakens this bond and makes them easier to peel. Additionally, rapid coagulation of the egg white during cooking can sometimes cause it to bond more firmly. However, the steaming and immediate ice bath method described in this post significantly reduces these issues. The gentle steaming prevents aggressive coagulation, and the rapid chilling in an ice bath causes the egg white to contract quickly, effectively separating it from the shell membrane, thus making them remarkably easy to peel.
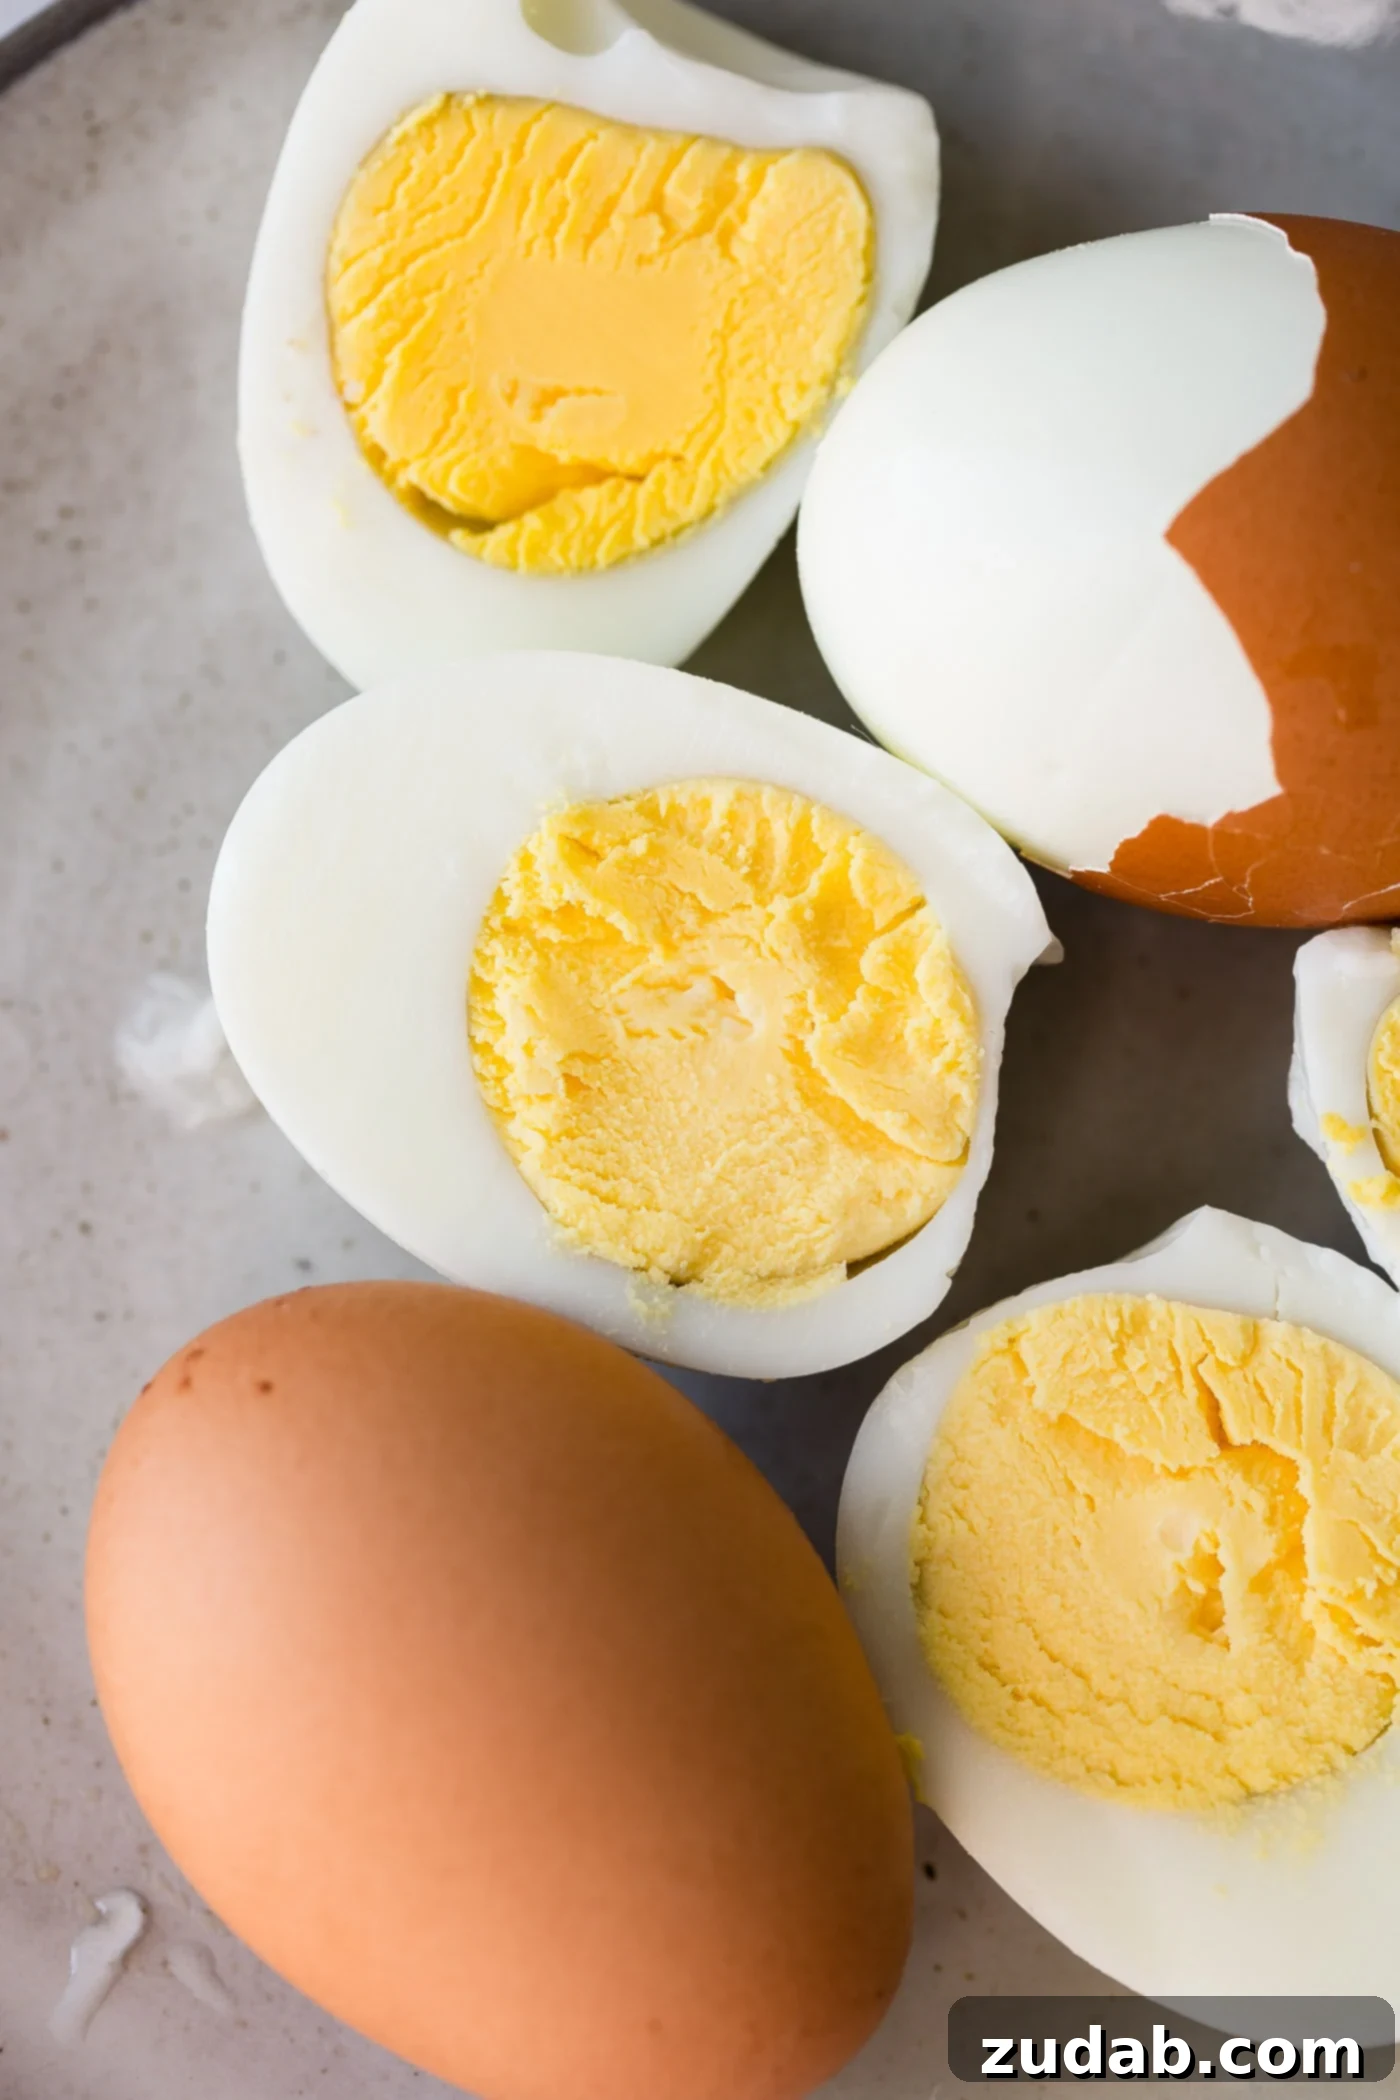
Now that I’ve walked you through my proven, step-by-step process and shared all the essential tricks for how to make perfect hard boiled eggs, you’re fully equipped! You’re all set for any holiday preparations, like Easter, and ready to incorporate these beautifully cooked eggs into all those yummy recipes out there that call for hard boiled eggs. Say goodbye to frustrating peeling and rubbery whites, and hello to consistent perfection!
More Delicious Recipes Featuring Hard Boiled Eggs:
- Deviled Eggs
- Harvest Cobb Broccoli Salad
- Pea Salad
- Pea Pasta Salad
- Hot and Sour Soup
- Egg Salad Sandwich
- Roasted Potato Salad
- 7 Layer Pea Salad
- Asparagus Avocado Salad
- Dill Potato Salad
- Avocado Egg Salad Wrap
- Cobb Salad
Hard Boiled Eggs
Sweet Basil
1
10
3
11
8
Ingredients
- 8 Large Eggs
Instructions
-
Place water in a large saucepan and set on the stove.
-
Add the eggs, being sure that the water totally covers them.8 Large Eggs
-
Turn to high heat and bring to a boil. As soon as the water is boiling, turn off the heat and place the lid on, removing the pan from the burner.
-
Allow to steam for 10 minutes.
-
Meanwhile, fill a large bowl with ice.
-
Remove the eggs directly to the ice bowl and cover with cold water.
-
Allow to sit in the fridge for a few hours, up to overnight before peeling so that the eggs are completely cold.
Recipe Notes
Hard boiled eggs can be kept in the refrigerator for 1 week.
Nutrition
Serving:
1
egg
,
Calories:
81
kcal
,
Carbohydrates:
1
g
,
Protein:
7
g
,
Fat:
5
g
,
Saturated Fat:
2
g
,
Cholesterol:
211
mg
,
Sodium:
81
mg
,
Potassium:
78
mg
,
Sugar:
1
g
,
Vitamin A:
306
IU
,
Calcium:
32
mg
,
Iron:
1
mg
Nutrition information is automatically calculated, so should only be used as an approximation.
Like this? Leave a comment below!
REMEMBER TO SUBSCRIBE TO our FREE Oh Sweet Basil NEWSLETTER AND RECEIVE EASY RECIPES DELIVERED INTO YOUR INBOX EVERY DAY!
When you try a recipe, please use the hashtag #ohsweetbasil on INSTAGRAM for a chance to be featured in our stories! FOLLOW OH, SWEET BASIL ON FACEBOOK | INSTAGRAM | PINTEREST | TWITTER FOR ALL OF OUR LATEST CONTENT, RECIPES AND STORIES.