
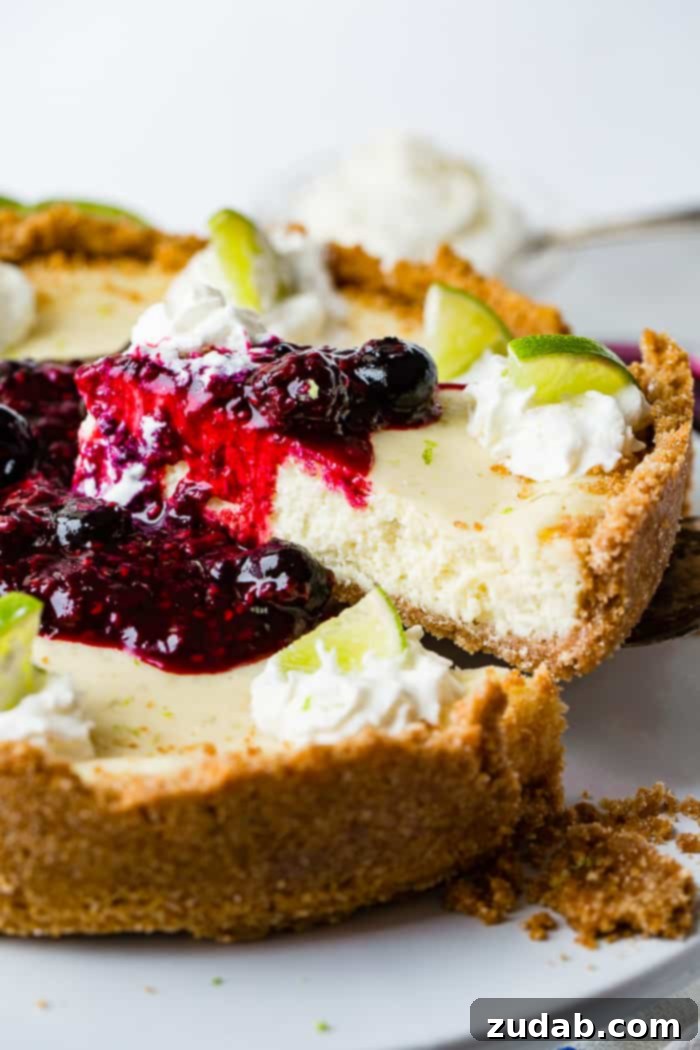
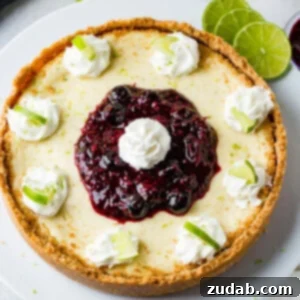
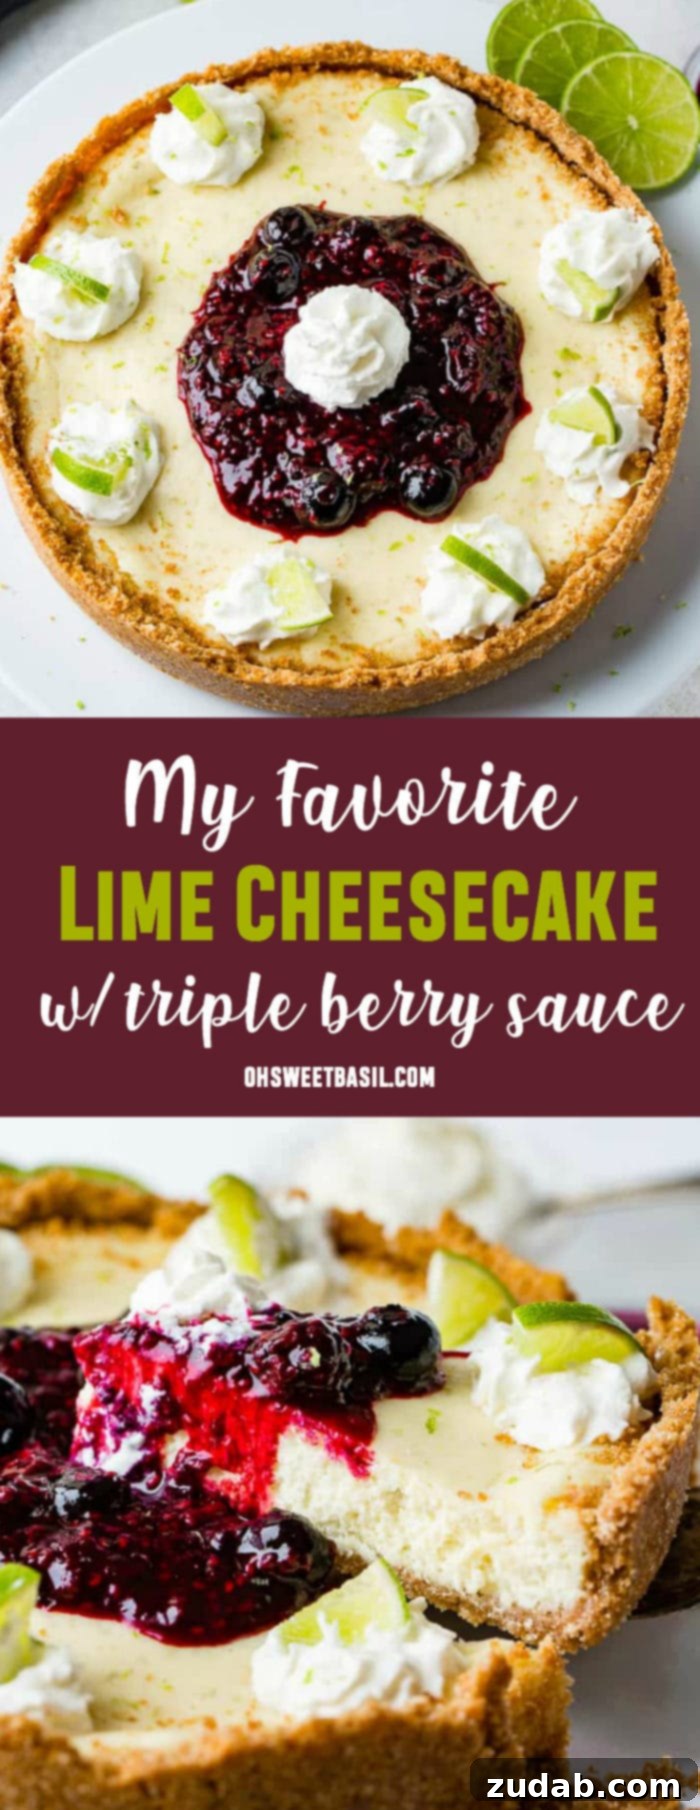
Prepare to be utterly captivated by this sensational Lime Cheesecake with Triple Berry Sauce! Its allure is undeniable, a culinary masterpiece that promises to delight your senses. Crafted with a flawless balance of zesty tartness and decadent sweetness, this cheesecake boasts an exquisitely smooth and creamy texture that will have you reaching for another slice. Many shy away from making cheesecake at home, fearing its complexity. However, we’re here to demystify the process, guiding you through each simple step to create a dessert that is as easy to make as it is spectacular to taste.
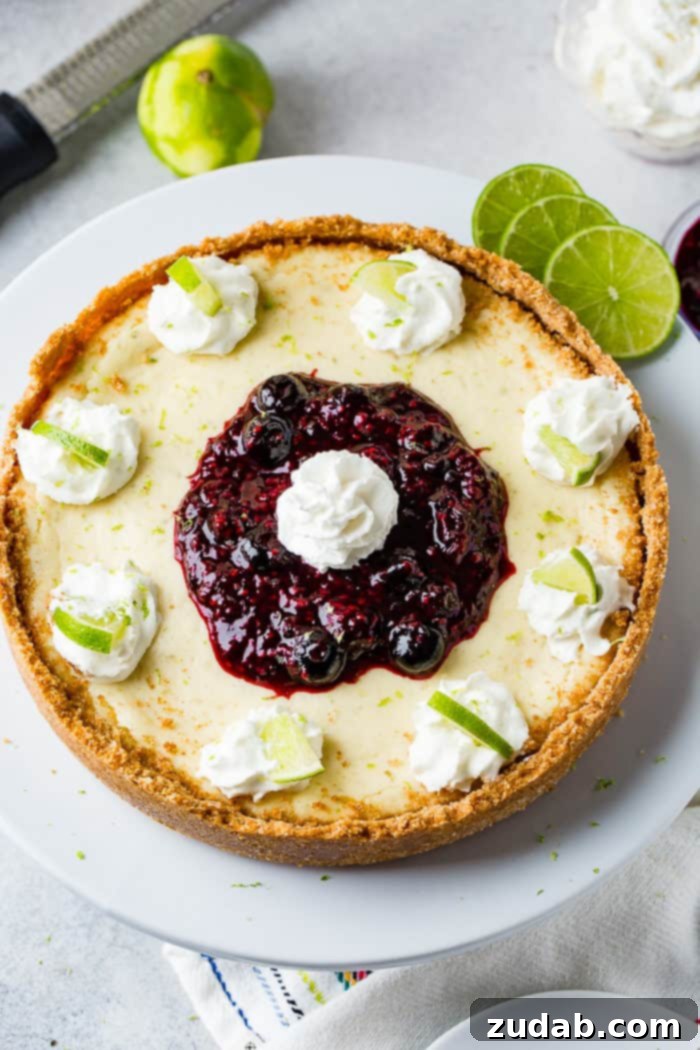
For many years, the mention of cheesecake brought a groan to my lips. My older sister, bless her heart, would consistently request a cheesecake for her birthday, a tradition I secretly dreaded. To me, cheesecake was an absolute enigma – a dessert I simply couldn’t fathom enjoying. Yet, paradoxically, I couldn’t resist its foundational element: the graham cracker crust. Once a slice had been cut, I’d stealthily swipe my fork underneath the creamy filling, pilfering chunks of that crumbly, buttery base. Apologies, Mom and Jennifer – my little secret is out! Thankfully, my culinary perspective has since evolved. I’ve not only embraced the glorious world of cheesecake but have also discovered that this particular recipe for lime cheesecake is, without a doubt, the finest I’ve ever encountered. Its effortless preparation combined with its luxurious creaminess makes it an instant classic.
Crafting the Perfect Lime Cheesecake: From Crust to Creamy Perfection
Let’s dive straight into the art of creating this magnificent lime cheesecake, perfectly complemented by its vibrant triple berry sauce. Every exceptional cheesecake begins with a stellar crust, and this recipe’s base is truly a highlight. It’s incredibly straightforward to prepare, requiring just a handful of common pantry ingredients. The simplicity belies the rich, buttery flavor it contributes to the finished dessert, making it undeniably my favorite part.
For this delightful foundation, you will need:
- Graham Crackers: Approximately 1 ½ cups, finely ground. For the best texture, ensure your crumbs are consistently fine, almost like sand. This helps them bind together beautifully and prevents a gritty mouthfeel.
- Granulated Sugar: A modest ⅓ cup. This adds just the right touch of sweetness to balance the buttery graham crackers without overpowering the cheesecake’s filling.
- Melted Butter: ½ cup of unsalted butter, melted. Butter is the binding agent that transforms dry crumbs into a cohesive, sliceable crust. Ensure it’s fully melted but not boiling hot.
- Pinch of Salt: A tiny pinch works wonders to enhance the overall flavor, preventing the crust from tasting flat and highlighting the sweetness.
To assemble the crust, simply combine all these ingredients in a small bowl. Mix them thoroughly until the graham cracker crumbs are evenly moistened and resemble wet sand. Transfer this mixture into your prepared springform pan. Using the flat bottom of a measuring cup or your knuckles, firmly press the crumb mixture across the entire bottom of the pan. Don’t forget to press it up the sides as well, creating a uniform border that will elegantly encase your creamy lime filling.
Understanding the Springform Pan: Your Cheesecake’s Best Friend
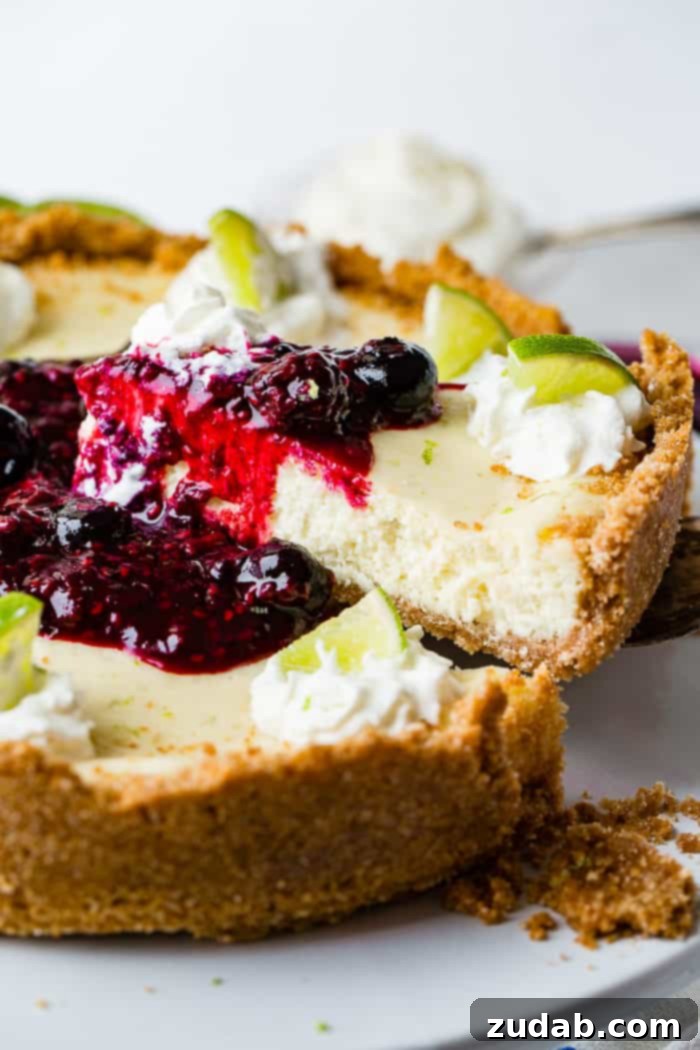
A springform pan is an indispensable tool for any cheesecake enthusiast, a true game-changer for achieving professional-looking results. This ingenious circular cake pan is designed in two parts: a solid base and a removable ring that forms the sides. The magic happens after your cheesecake is baked and perfectly cooled. With a simple release of the clasp, the ring expands and lifts away, leaving you with a perfectly intact, beautifully presented cheesecake that’s ready to slice and serve directly from the base. This elegant method eliminates the need to invert the cake, preventing any potential damage to your stunning creation.
However, if a springform pan isn’t currently part of your kitchen arsenal, there’s no need to fret! You have several excellent alternative options that will still yield a delicious homemade cheesecake:
- Standard Cake or Pie Pan: For a more rustic presentation, a regular 9-inch cake or pie pan works perfectly. If you don’t mind serving the cheesecake directly from the pan, this is the simplest substitute. The crust and filling will bake just as beautifully.
- Cake or Pie Pan with Parchment Paper/Foil Sling: If you desire to remove the cheesecake from a standard pan for serving, a parchment paper or foil “sling” is your solution. Line your cake or pie pan with a large piece of parchment paper or aluminum foil, ensuring you leave generous overhangs along the sides. After baking and cooling, you can gently lift the entire cheesecake out of the pan using these overhangs, placing it on a serving plate.
- Disposable Foil Pan: These are a convenient and cost-effective option. Once your cheesecake has baked and cooled, the flexible foil sides can be easily cut away with scissors, allowing for effortless removal and presentation.
Preparing the Luxuriously Smooth Lime Cheesecake Filling
While your graham cracker crust is happily pre-baking, you can transition to preparing the star of the show: the incredibly creamy and zesty lime cheesecake filling. This recipe utilizes classic cheesecake ingredients, elevated by the bright, aromatic essence of fresh limes, creating a truly unforgettable flavor profile.
Gather these key ingredients for your rich filling:
- Cream Cheese: Two 8-ounce blocks (16 oz total) of full-fat cream cheese, brought to room temperature. While premium brands like Philadelphia are often lauded for their superior richness, a good quality store brand will still yield excellent results, offering a creamy texture and delicious flavor.
- Sour Cream: ½ cup of full-fat sour cream. This ingredient adds a subtle tang and contributes significantly to the cheesecake’s velvety texture.
- Eggs: 2 large eggs, also at room temperature. Eggs are crucial for the cheesecake’s structure and contribute to its smooth custard-like consistency.
- Granulated Sugar: ¾ cup of white granulated sugar. This provides the ideal level of sweetness to balance the tartness of the lime and cream cheese.
- Limes: You’ll need the zest of 3 limes and ¼ cup of fresh lime juice (typically from about 2 large limes). Fresh lime is non-negotiable here; its bright, aromatic zest and tangy juice are what give this cheesecake its distinctive flavor.
- Cornstarch: 1 tablespoon plus 1 teaspoon of cornstarch. This acts as a stabilizer, helping to prevent cracks and ensure a perfectly smooth, set filling.
- Vanilla Extract: 1 teaspoon of pure vanilla extract. Vanilla enhances the overall flavor, adding a warm, subtle sweetness that complements the citrus notes beautifully.
The Critical Role of Room Temperature Ingredients in Cheesecake Making
Achieving that coveted, perfectly smooth and crack-free cheesecake texture hinges on one fundamental principle: using room temperature ingredients, especially for your cream cheese and eggs. This isn’t just a suggestion; it’s absolutely critical for success, and understanding *why* makes all the difference.
When cream cheese is allowed to soften at room temperature, its fats become pliable and warm. This enables it to blend seamlessly with other ingredients, creating a consistently smooth and lump-free batter. Cold cream cheese, on the other hand, will resist mixing, resulting in stubborn clumps that manifest as undesirable pockets of unmixed cheese in your baked cheesecake. Imagine the disappointment of a grainy texture when you’re aiming for silky perfection!
Similarly, room temperature eggs play a vital role in the cheesecake’s emulsification and structure. Eggs are an emulsifier, helping to bind the fats and liquids in the batter. At room temperature, the egg’s fat is more easily and evenly incorporated into the mixture. This even distribution is crucial for the structural integrity of the cheesecake as it bakes. Cold eggs, when added to a softer, warmer cream cheese mixture, can cause the batter to seize or curdle, making it difficult to achieve that desired smooth consistency. Furthermore, room temperature ingredients combine more uniformly, which helps prevent overmixing – a common culprit for cracked cheesecakes. So, plan ahead and let your cream cheese and eggs sit out on the counter for at least an hour, or even two, before you begin mixing. This small step guarantees a significant improvement in the final outcome of your homemade lime cheesecake.
Achieving a Cheesecake So Smooth, It’s Simply Irresistible
The mixing stage of cheesecake preparation is where many home bakers encounter challenges, but with careful attention to technique, you can achieve a filling that is flawlessly smooth and resistant to cracking. The key is thorough mixing without over-aerating the batter. Let’s walk through it:
Begin by placing your softened cream cheese into a large mixing bowl. Using a hand-held electric mixer, beat the cream cheese on medium speed until it’s completely smooth and creamy, with no lumps remaining. This initial step is vital for a uniform texture. Next, add the sour cream to the bowl and continue to beat until the mixture is smooth and well combined. The sour cream introduces additional moisture and a slight tang, contributing to the cheesecake’s luxurious mouthfeel.
Now, it’s time for the eggs. This is a critical point: add the eggs one at a time. After each egg, beat the mixture just until it is thoroughly incorporated. Avoid rushing this step, but also be mindful not to overmix. The goal is to blend, not to whip excessive air into the batter. Introducing too much air can cause the cheesecake to puff up dramatically during baking and then collapse and crack as it cools. Finally, incorporate the remaining ingredients: the granulated sugar, vibrant lime zest, fresh lime juice, cornstarch, and pure vanilla extract. Add them all at once and mix with your electric mixer on low speed. Blend just until all the ingredients are combined and the batter is smooth. Stop as soon as you achieve this consistency. Overmixing at this stage is the primary cause of cracks in cheesecakes. Once your filling is perfectly smooth, gently pour it into the cooled graham cracker crust you prepared earlier. Give the pan a gentle tap on the counter a few times to release any large air bubbles trapped within the filling.
The Secret to a Perfect Cheesecake: A Gentle Water Bath
Just as a relaxing warm bath can soothe and rejuvenate us, a gentle water bath (also known as a bain-marie) works wonders for cheesecakes. This technique is the secret to achieving that exceptionally smooth, creamy texture and preventing dreaded cracks on the surface of your baked cheesecake. Here’s why it works: the steam created by the hot water bath keeps the oven environment moist, which helps the cheesecake bake more evenly and gently. This gradual, consistent heat prevents the outer edges from setting too quickly and cracking while the center is still cooking.
To set up your water bath, grab a larger baking dish, preferably a 9×13 inch pan. You’ll need approximately 3 cups of boiling water. For safety and ease, place the empty baking dish on the bottom rack of your preheated oven first. Then, carefully pour the boiling water into the dish. This method is much safer than attempting to carry a pan full of scalding hot water across your kitchen and into the oven, significantly reducing the risk of spills or burns. Once the water bath is in place, position your cheesecake (in its springform pan) on an upper-middle rack in the oven, directly above the water bath. Now, your cheesecake is perfectly set for its gentle and even bake.
The Art of Baking Cheesecake: Finding the Perfect Jiggle
When it comes to cheesecake, a little “jiggle” in the middle isn’t just acceptable; it’s actually a sign of perfection! While we usually seek firmness, cheesecake is an exception. This lime cheesecake typically bakes for about 50 to 60 minutes at 300°F (150°C). However, every oven has its unique quirks, so it’s always wise to start checking for doneness around the 50-minute mark.
To determine if your cheesecake is ready, gently nudge the springform pan. The edges of the cheesecake should appear set and firm, with perhaps a very slight golden hue. The center, however, should still have a delicate wobble or “jiggle,” much like firm Jell-O. This slight movement in the middle indicates that the cheesecake is cooked through but not overbaked, ensuring that signature creamy texture. If the center is entirely firm and unmoving, it’s likely overbaked, which can lead to a dry texture and cracks.
Once the sides are set and the center has that perfect gentle jiggle, turn off your oven. Crucially, do not remove the cheesecake immediately. Instead, prop the oven door open slightly and allow the cheesecake to rest inside the warm, gradually cooling oven for an additional 20 minutes. This slow, gradual cooling process is essential for preventing temperature shock, which can cause the cheesecake to crack as it contracts. This resting period also allows the residual heat to finish cooking the center gently.
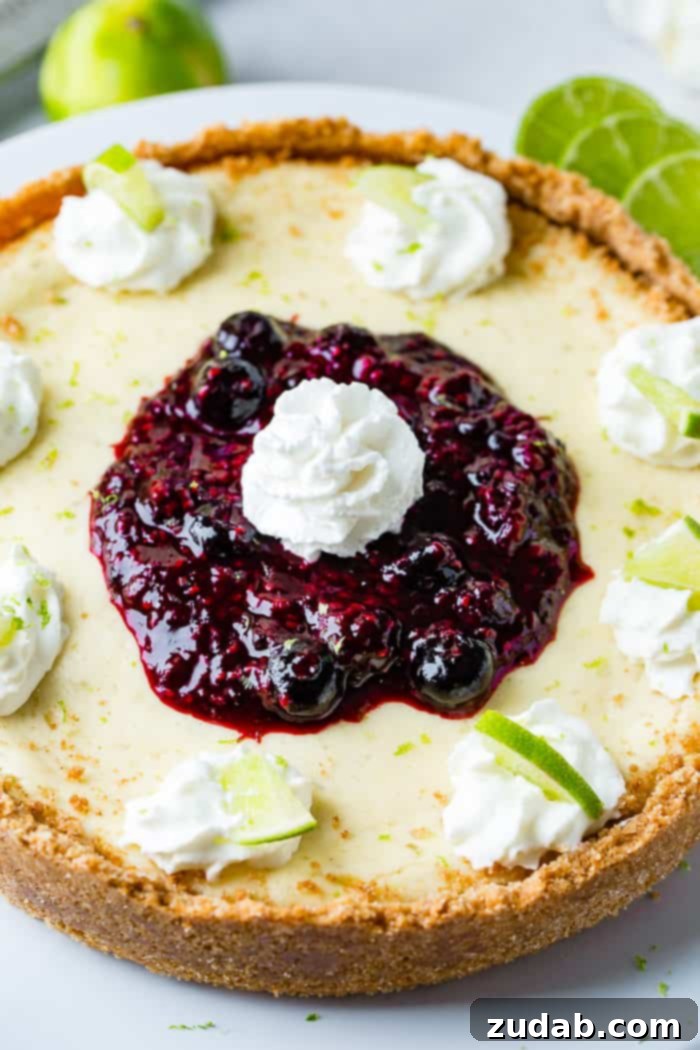
Cooling and Chilling: The Final, Patient Steps to Perfection
After your cheesecake has enjoyed its relaxing 20-minute cool-down period in the warm, turned-off oven, it’s time for the next crucial phase: cooling to room temperature, followed by essential refrigeration. Carefully remove the cheesecake from the oven and place it on a wire rack on your kitchen counter. Allow it to cool completely to room temperature. This can take several hours, depending on your kitchen’s ambient temperature. Resist the temptation to speed this process along by placing it in the refrigerator too soon, as rapid temperature changes are a leading cause of cheesecake cracks.
Once the cheesecake has reached room temperature, cover it loosely with plastic wrap or aluminum foil. It’s now ready for its final transformation in the refrigerator. Chill the cheesecake for a minimum of 2 hours, though ideally, it benefits immensely from an overnight chill. This prolonged refrigeration period allows the cheesecake to fully set, firm up, and develop its rich, complex flavors. The longer it chills, the better the texture and taste will be, making it easier to slice cleanly and delivering that melt-in-your-mouth experience.
Crafting the Vibrant Triple Berry Sauce
No lime cheesecake is complete without a show-stopping topping, and this vibrant triple berry sauce is the perfect companion. Its sweet-tart profile beautifully complements the creamy citrus notes of the cheesecake. The best part? This sauce is incredibly quick and easy to make, and you can prepare it while the cheesecake is baking or at any other convenient time in your schedule. Just remember, it needs to be thoroughly cooled before it’s spooned over the finished cheesecake.
Here are the simple ingredients you’ll need for this luscious berry sauce:
- Frozen Triple Berries: 1 ¼ cups of a frozen blend, typically containing raspberries, blueberries, and blackberries. Using frozen berries is convenient and provides excellent flavor and juice.
- Lime Zest: The finely grated zest of ½ a lime. This adds another layer of bright citrus aroma that harmonizes with the cheesecake.
- Granulated Sugar: 2 tablespoons of sugar. Adjust this to your taste, depending on the sweetness of your berries and your preference.
- Thickener: ½ teaspoon of Ultra Gel (Cornaby’s brand is often recommended) or 1 teaspoon of all-purpose flour. Both options work well to achieve a beautifully thickened sauce.
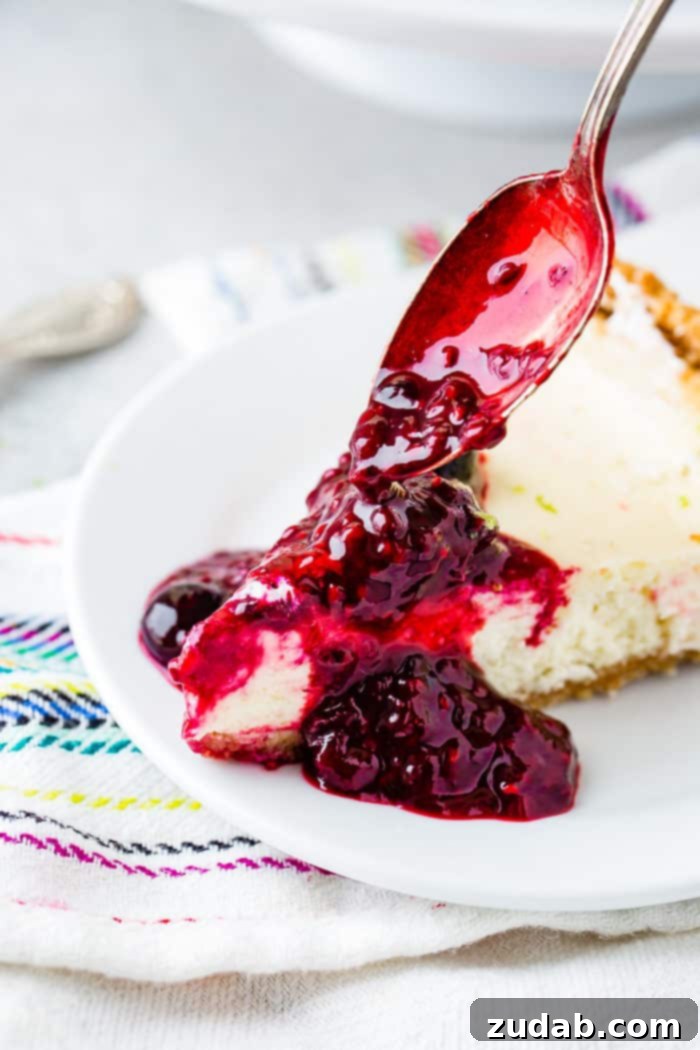
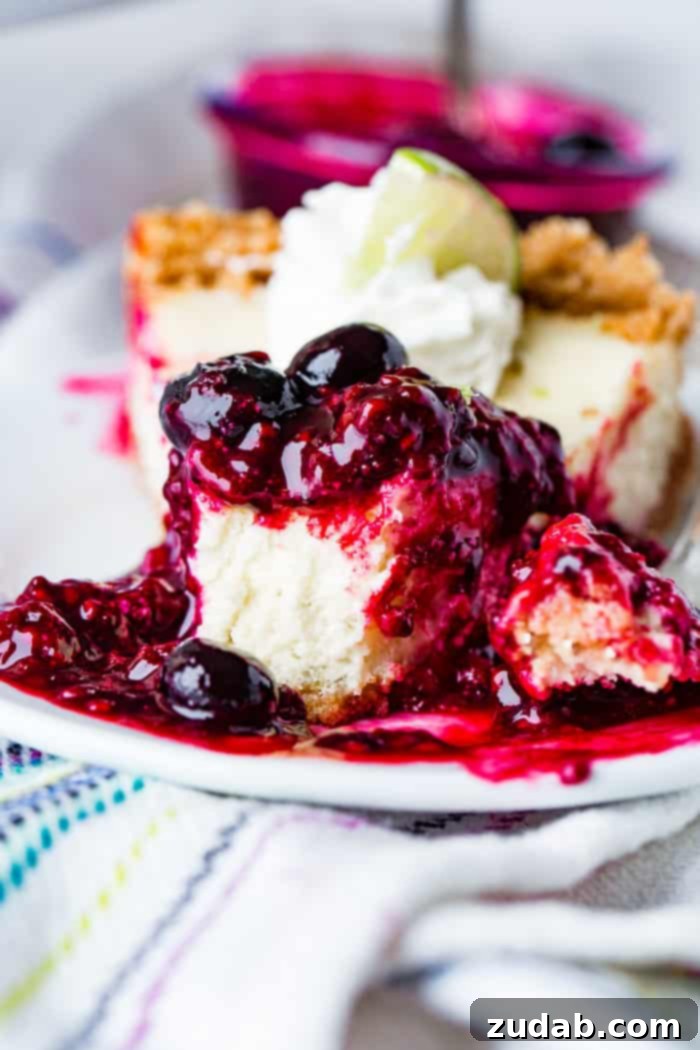
To prepare the sauce, place the frozen berries, sugar, and lime zest into a small saucepan. Cook this mixture over medium heat. If you’ve chosen to use all-purpose flour as your thickener, add it right at the beginning with the other ingredients. If you’re using Ultra Gel, wait for the berries to begin softening and breaking apart slightly before stirring it in. Continuously stir the mixture as it heats, allowing the berries to release their juices and the sugar to dissolve. Continue cooking and stirring until the sauce begins to visibly thicken to your desired consistency. Once thickened, remove the saucepan from the heat and immediately transfer the berry sauce to a bowl to cool. It’s imperative that the sauce is completely cool, and preferably chilled, before it’s served with the cheesecake. Store it in the refrigerator until ready to use.
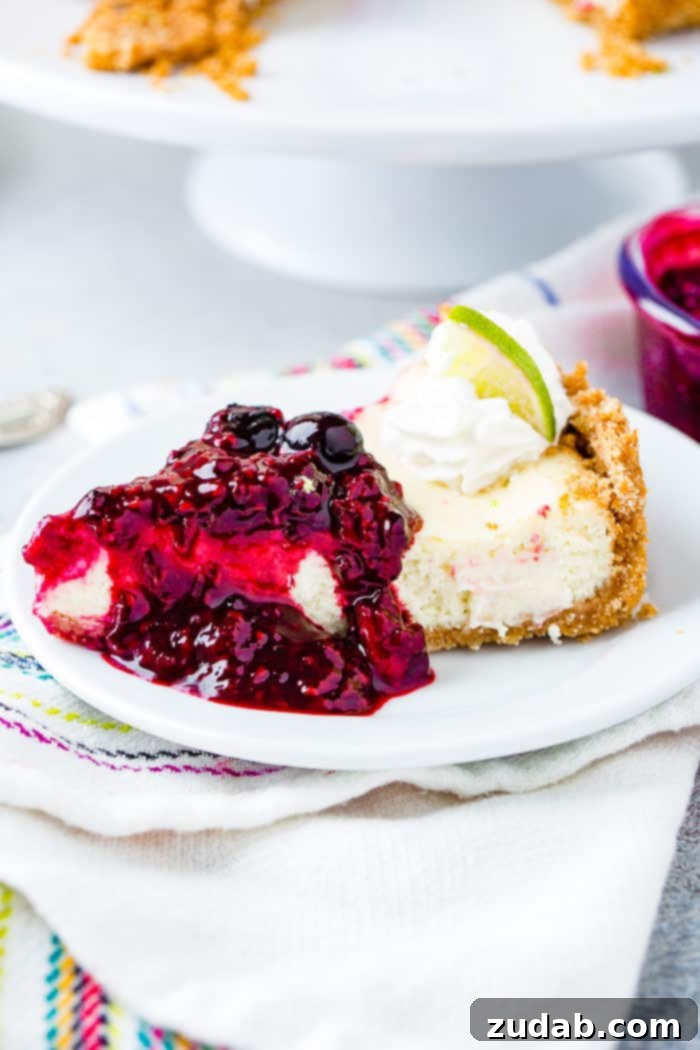
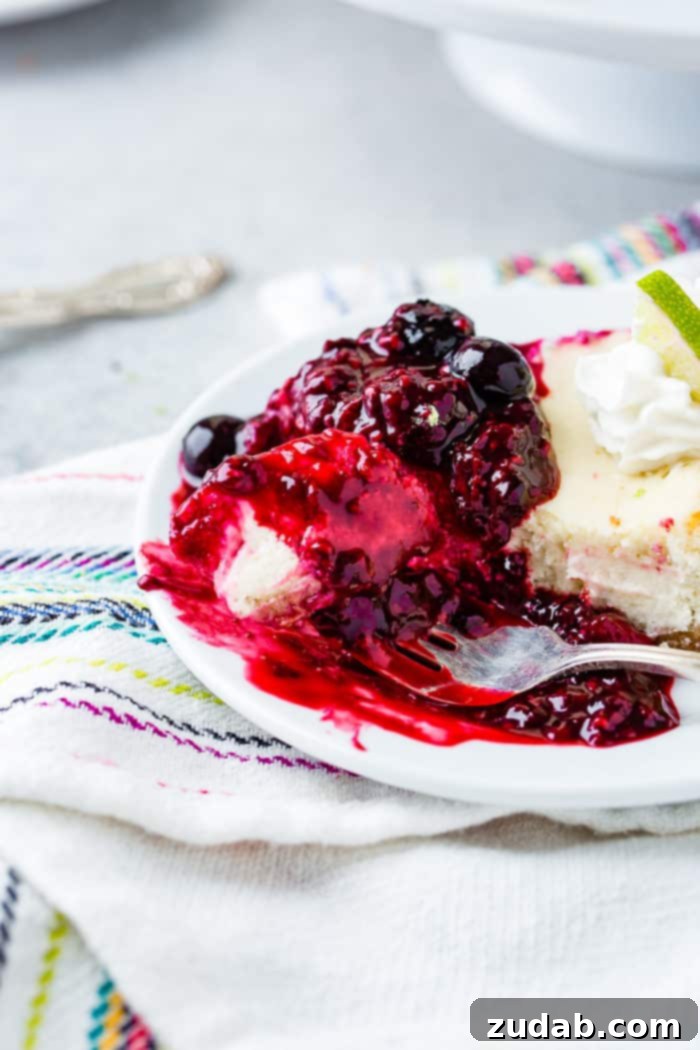
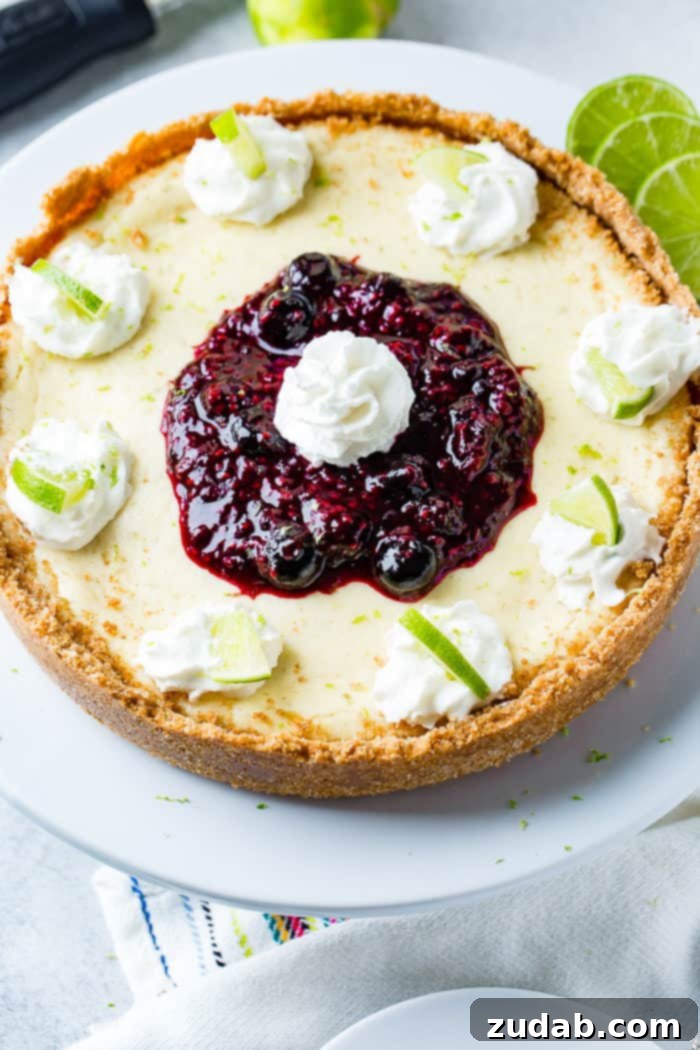
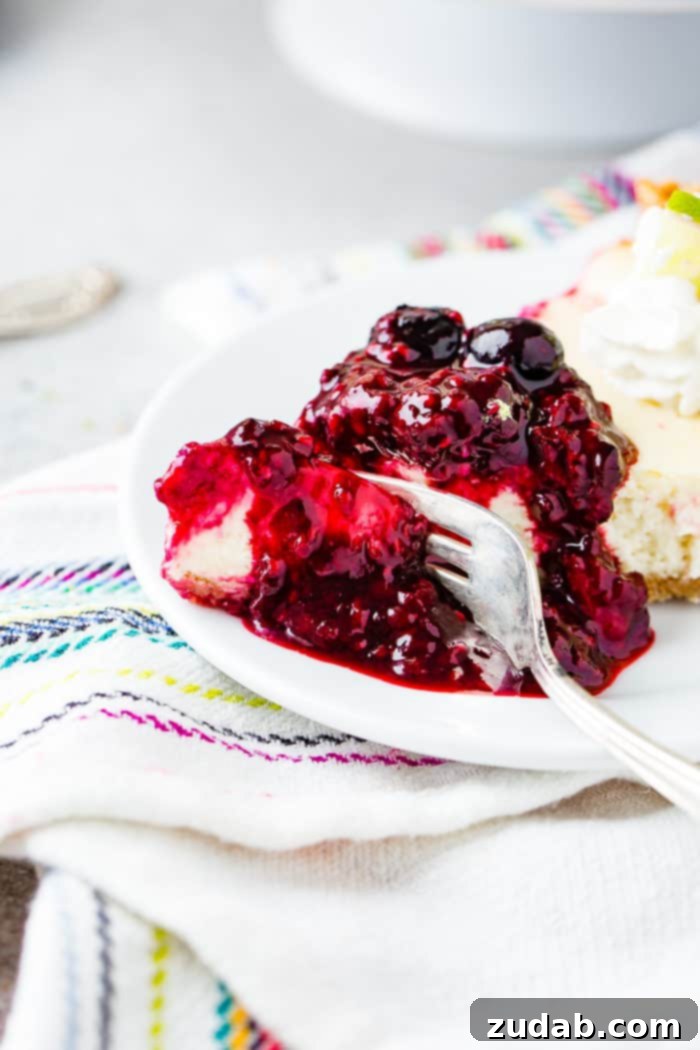
When you’re ready to serve your impeccably chilled lime cheesecake, spoon generous amounts of the triple berry sauce over each slice. For an extra touch of indulgence, add a dollop of freshly whipped cream. A final sprinkle of fresh lime zest not only adds a burst of citrus aroma but also provides a beautiful pop of color, making your dessert truly irresistible. I triple-dog-dare you to try and resist a slice of this! It’s an experience worth savoring.
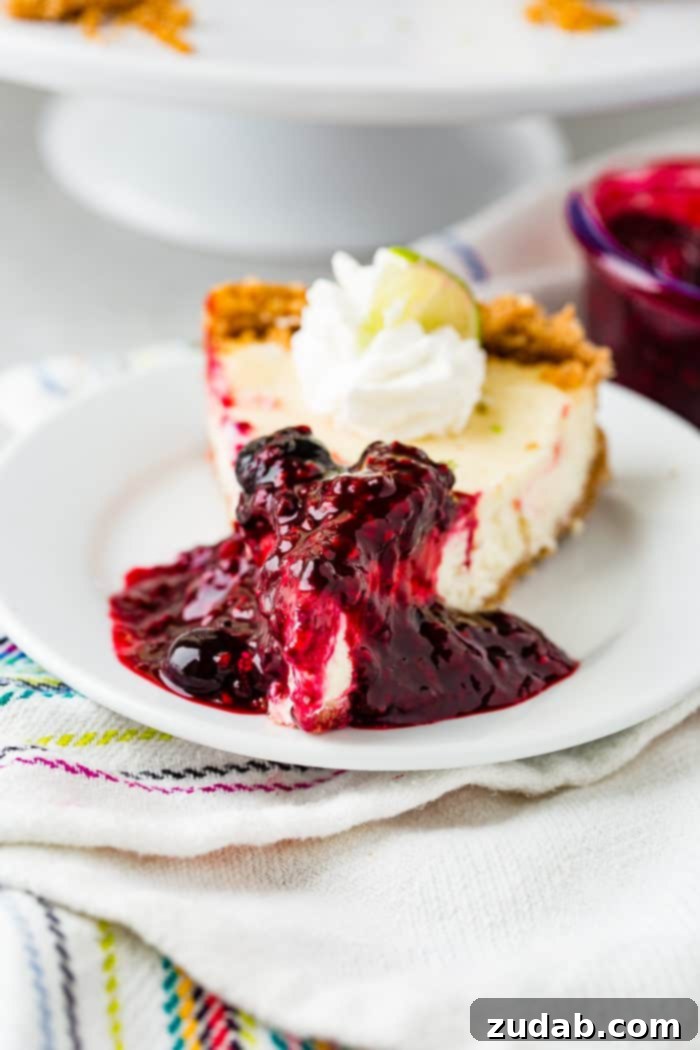
Can You Freeze Cheesecake? Practical Storage Tips for Leftovers
While the idea of having leftover cheesecake might seem almost impossible given its deliciousness, it does happen! The good news is that cheesecake freezes exceptionally well, making it a fantastic make-ahead dessert or a convenient way to store extra slices for future enjoyment. If you don’t anticipate finishing the entire cheesecake within a couple of days, freezing is an excellent option.
For maximum convenience, I often prefer to freeze leftover cheesecake in individual slices. This allows you to simply retrieve the exact number of portions you need, whenever a craving strikes. However, you can also freeze a whole cheesecake, provided it fits comfortably in your freezer. The key to successful freezing is proper preparation to prevent freezer burn and maintain quality.
Here’s how to do it:
- Pre-Freeze (Firming Step): Place the cooled and thoroughly chilled cheesecake (either whole or sliced) into the freezer uncovered. Let it freeze for 1 to 2 hours, or until it is completely firm to the touch. This prevents the wrapping from sticking to the delicate surface.
- Wrap Thoroughly: Once firm, wrap the cheesecake (or individual slices) tightly in heavy-duty aluminum foil. Ensure there are no gaps or exposed areas.
- Secondary Protection: For an extra layer of protection against freezer burn, place the foil-wrapped cheesecake into a large freezer-safe bag or an airtight container. This double-layer insulation is crucial for maintaining freshness.
Properly wrapped and stored, your cheesecake can be frozen for an impressive 3 to 4 months. To thaw, simply transfer the frozen cheesecake (still wrapped) to the refrigerator and allow it to thaw slowly overnight. This gradual thawing helps to preserve its creamy texture. You can then unwrap and serve it as usual, perhaps with a fresh batch of triple berry sauce or a dollop of whipped cream.
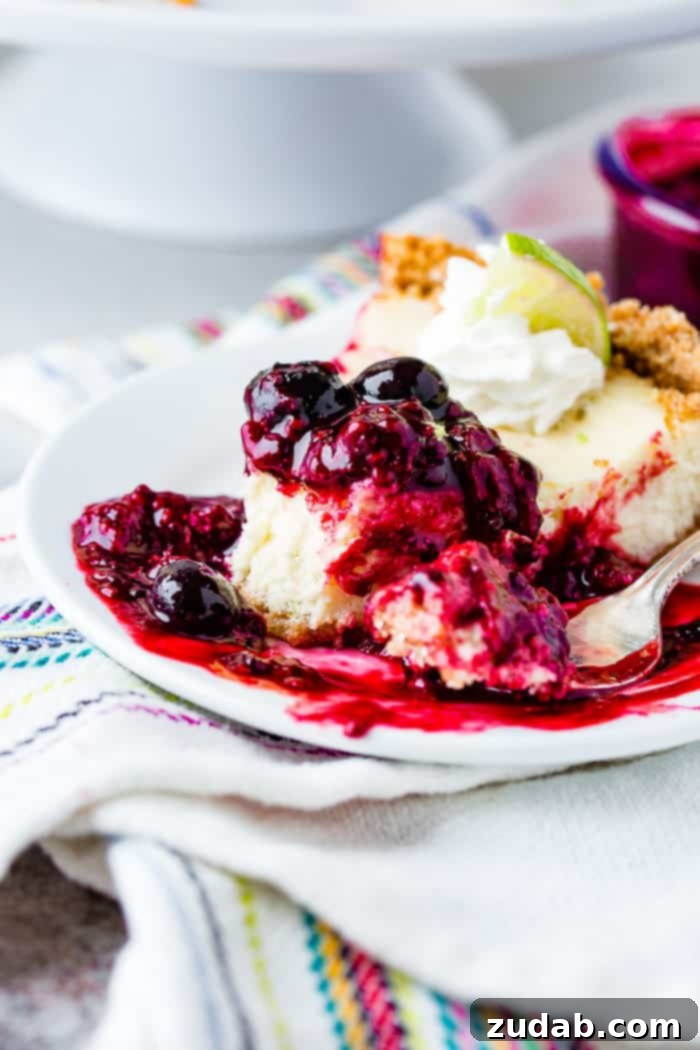
After all those years of pilfering cheesecake crust, I definitely owe Jennifer a full cheesecake for her next birthday. And I just know this vibrant, tangy, and sweet lime cheesecake with triple berry sauce will be her new favorite!
My Favorite Lime Cheesecake with Triple Berry Sauce Recipe
By Sweet Basil
Prep Time: 15 mins
Total Time: 1 hr 10 mins
Servings: 12
Don’t even try to resist this Lime Cheesecake with Triple Berry Sauce! Your resistance is futile, trust me! It is smooth and creamy with the perfect blend of tartness and sweetness! Don’t let cheesecake intimidate you. We will walk you through each step. It’s so easy!
Ingredients
Crust
- 1 1/2 Cups Graham Cracker Crumbs, Fine Ground
- 1/3 Cup Sugar
- 1/2 Cup Butter, melted
- Pinch Salt
- 1 Springform Pan, 9 inch
Filling
- 16 oz Cream Cheese, softened
- 1/2 Cup Sour Cream
- 2 Eggs, Large, at room temperature
- 3/4 Cup White Sugar
- Zest of 3 Limes
- 1/4 Cup Lime Juice, Fresh (about 2 large regular limes) * see note
- 1 Tablespoon Corn Starch, plus 1 Teaspoon
- 1 teaspoon Vanilla
- 9×13″ Pan (for water bath)
- 3 Cups Water, Boiling
- Whipped Cream (For Serving if Desired)
Berry Sauce
- 1 1/4 Cup Triple Berries (Frozen: Blueberries, Raspberries, Blackberries)
- 2 Tablespoons Sugar
- Zest of 1/2 Lime
- 1/2 teaspoon Ultra Gel (Cornaby’s), or 1 Teaspoon Flour
Instructions
For the Crust
- Preheat your oven to 300°F (150°C).
- In a small bowl, stir together graham cracker crumbs, sugar, melted butter and a pinch of salt. Pour all of the crumbs into the springform pan and using a measuring cup, press the mixture firmly into the bottom of the pan, pressing the crumbs up along the sides as well to form a rim.
- Place in the oven for 10 minutes and remove to cool completely while you prepare the filling.
For the Filling
- Using a hand-held electric mixer, beat the softened cream cheese in a large bowl until it’s perfectly smooth and free of any lumps. Add the sour cream and continue to beat until the mixture is uniformly smooth and creamy.
- Add one of the room temperature eggs to the cream cheese mixture and beat just until incorporated. Then, add the final egg and beat again until just combined. Avoid overmixing.
- Add the granulated sugar, lime zest, fresh lime juice, cornstarch, and vanilla extract to the bowl. Beat on low speed until all ingredients are just combined and the mixture is smooth. Be very mindful not to over-beat at this stage, as excessive air can lead to cracks in your baked cheesecake.
- Carefully pour the creamy filling into the prepared and cooled graham cracker crust in the springform pan.
- Prepare for the water bath: Bring 3 cups of water to a rolling boil.
- Place the cheesecake (in its springform pan) into the oven on an upper-middle rack.
- On the lower rack, place the 9×13″ pan. Carefully pour the boiling water into this pan. Close the oven door and bake for approximately 50-60 minutes, or until the edges of the cheesecake are set. You should observe a slight, gentle jiggle in the middle when you lightly nudge the pan; this is perfectly normal and desired.
- Once baked, open the oven door slightly, turn off the oven, and allow the cheesecake to rest in the cooling oven for 20 minutes. This gradual temperature change helps prevent cracking.
- Remove the cheesecake from the oven and place it on a wire rack to cool completely to room temperature.
- Once at room temperature, cover the cheesecake with plastic wrap and refrigerate for at least 2 hours, or preferably overnight, for best results and firm setting.
For the Berry Sauce
- Place the frozen triple berries, sugar, and lime zest in a small saucepan over medium heat. If you are using all-purpose flour as your thickener, add it now.
- Stir frequently. As the berries start to break down and release their juices, if you are using Ultra Gel, add it now and continue to stir until the sauce begins to thicken to your desired consistency.
- Remove the sauce from the heat and transfer it to a bowl to cool completely. Refrigerate the berry sauce until it’s ready to be served alongside the cheesecake.
Recipe Notes
- For the brightest, most authentic flavor, always use fresh lime juice. To maximize the juice yield from your limes, roll them firmly on your counter with the palm of your hand for about 10-15 seconds before cutting and squeezing. This breaks down the internal membranes, releasing more juice.
- Leftover cheesecake can be stored, covered, in the refrigerator for up to 5 days.
Nutrition (Approximate per slice)
- Serving: 1 slice
- Calories: 353 kcal
- Carbohydrates: 31g
- Protein: 4g
- Fat: 24g
- Saturated Fat: 14g
- Cholesterol: 94mg
- Sodium: 279mg
- Potassium: 100mg
- Fiber: 1g
- Sugar: 24g
- Vitamin A: 843 IU
- Vitamin C: 2mg
- Calcium: 64mg
- Iron: 1mg
Nutrition information is automatically calculated, so should only be used as an approximation.
More Decadent Desserts You’re Sure to Love:
- Dulce de Leche Chocolate Cheesecake
- Salted Caramel Crème Brûlée
- Lemon Poppy Seed Cake with Cream Cheese Frosting
- Flourless Chocolate Cake
- Mini Fruit Tarts
- Caramel Brownies from Scratch
- Instant Pot Peanut Butter Cup Cheesecake
- Nutella Dulce de Leche Chocolate Chip Cookie Pie
- Peanut Butter Cheesecake Oreo Brownies
- Reese’s Peanut Butter Marshmallow Cookie Pie
- All our DESSERT RECIPES!
You’ll also love these amazing cheesecake recipes:
- Mini Strawberry Cheesecakes
- No Bake Mini Cheesecakes with Raspberry Sauce
- Easy Baked Cheesecake with Fresh Cherry Sauce
- Mini Twix Caramel Cheesecakes
- Mini Dutch Apple Cheesecakes
- No Bake Caramel Cheesecake Bars
- Swirled Raspberry Lemon Cheesecake Bars
Craving More Cheesecake? Dive Into Our Collection!
Are you a devoted cheesecake fan constantly on the lookout for more quick and delightful cheesecake recipes? You’ve come to the right place! Explore our extensive collection, which includes easy-to-make and incredibly flavorful options:
- Mini Dutch Apple Cheesecakes: A comforting twist on a classic dessert.
- Mini Twix Caramel Cheesecakes: Indulgent bite-sized treats packed with caramel and chocolate.
- Instant Pot Peanut Butter Cup Cheesecake: For cheesecake lovers who appreciate speed and convenience.
- White Chocolate Cheesecake Bars with Raspberry Sauce: Elegant and easy-to-serve bars with a perfect flavor combination.
- No Bake Banana Pudding Cheesecake: A nostalgic dessert that requires no oven time.
- No Bake Peanut Butter Nutella Cheesecake: A rich, creamy, and hassle-free dream for chocolate and peanut butter enthusiasts.
- Lemon Blueberry No Bake Cheesecake: A light, refreshing, and vibrant dessert, perfect for any occasion.
And for those curious minds, don’t miss our fascinating post about everything we learned about The Cheesecake Factory – insights and fun facts about one of America’s favorite cheesecake destinations!
REMEMBER TO SUBSCRIBE TO our FREE Oh Sweet Basil NEWSLETTER AND RECEIVE EASY RECIPES DELIVERED INTO YOUR INBOX EVERY DAY!
When you try a recipe, please use the hashtag #ohsweetbasil on INSTAGRAM for a chance to be featured in our stories! FOLLOW OH, SWEET BASIL ON FACEBOOK | INSTAGRAM | PINTEREST | TWITTER FOR ALL OF OUR LATEST CONTENT, RECIPES AND STORIES.