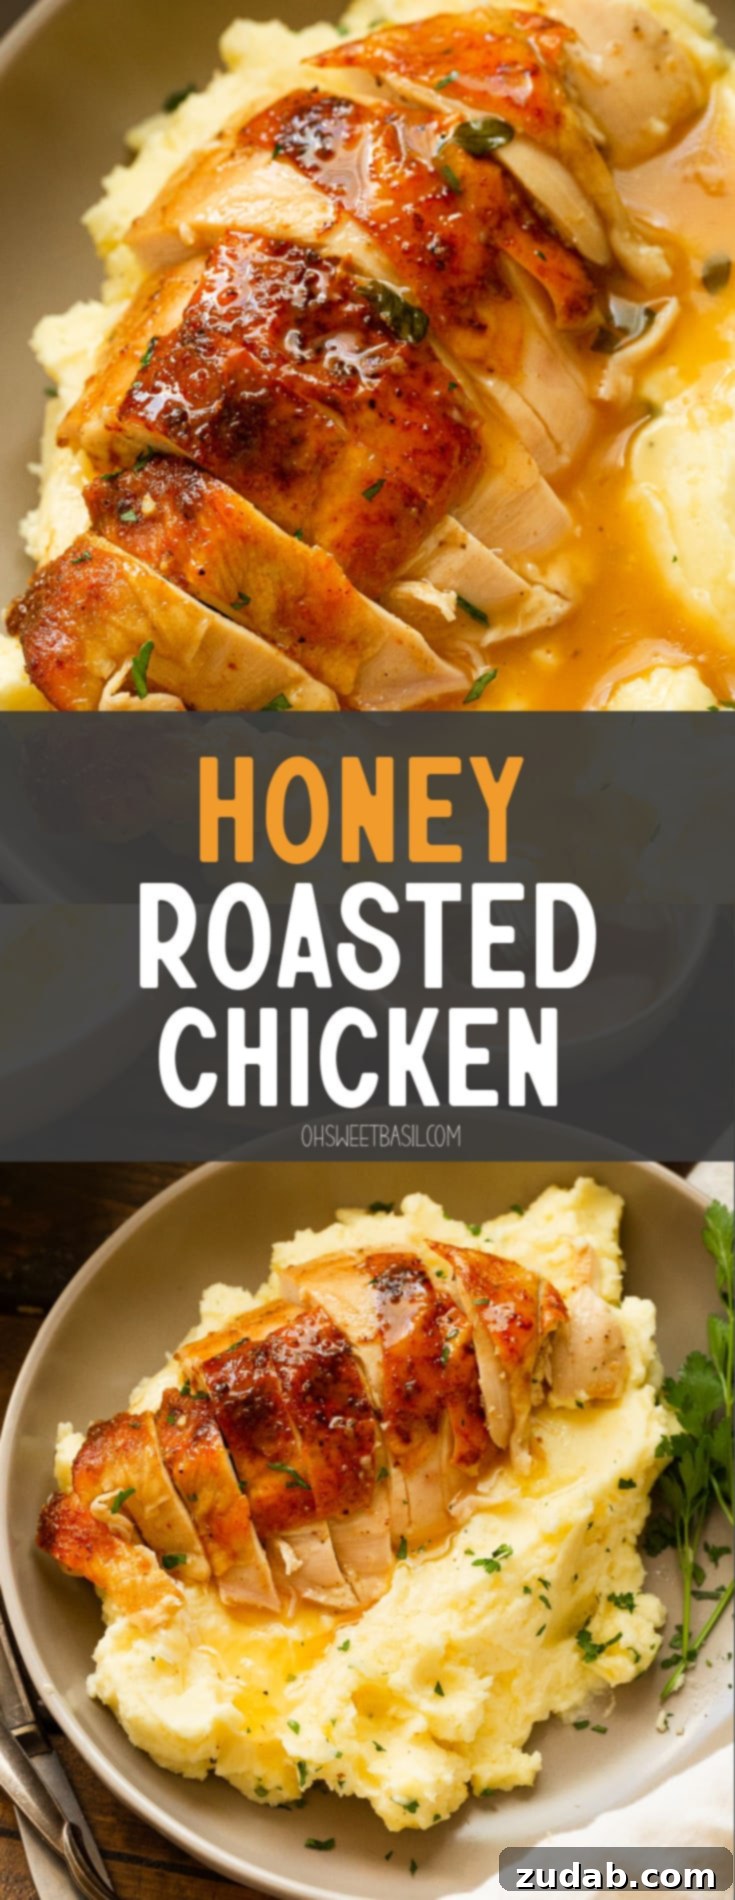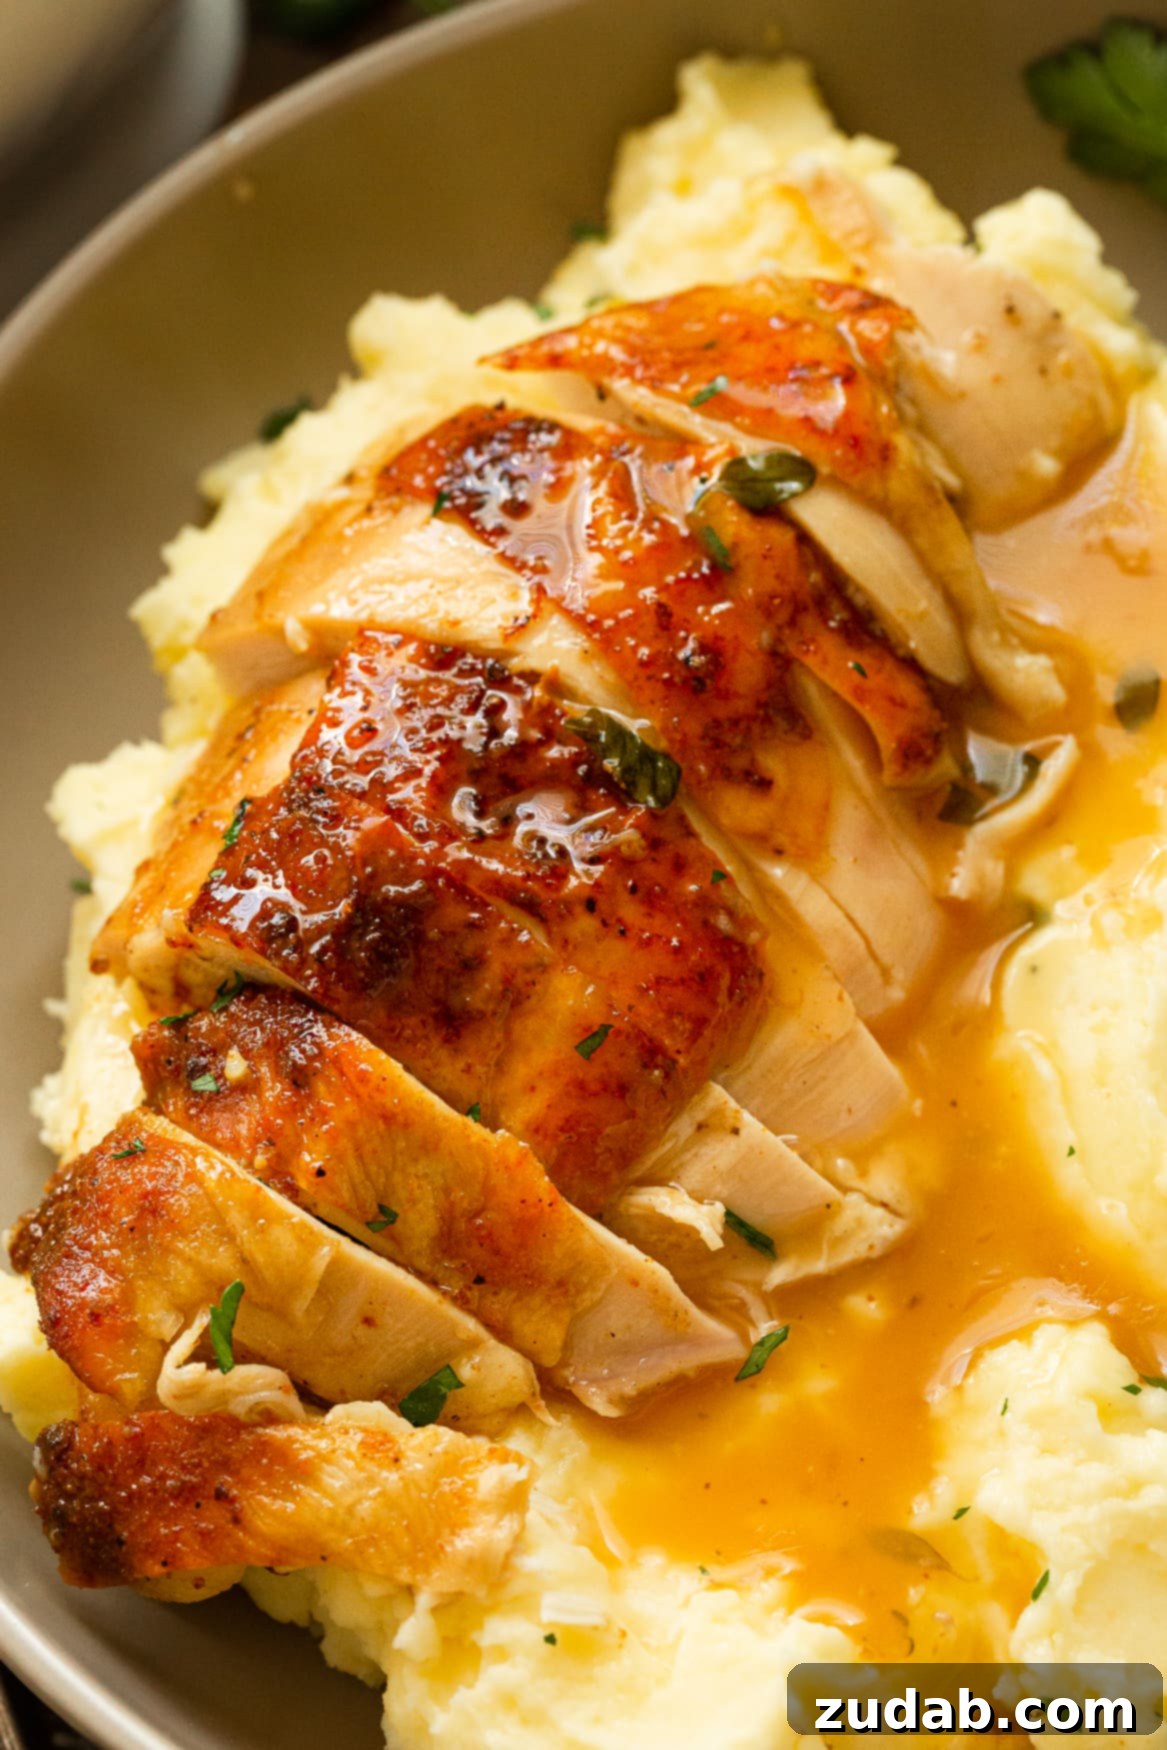
Indulge in the ultimate comfort food with our exquisitely juicy, golden Honey Roasted Chicken, featuring irresistible crispy, glazed skin. This comprehensive guide will walk you through crafting the perfect whole roasted chicken recipe, destined to become the star of your next Sunday dinner or any special occasion.
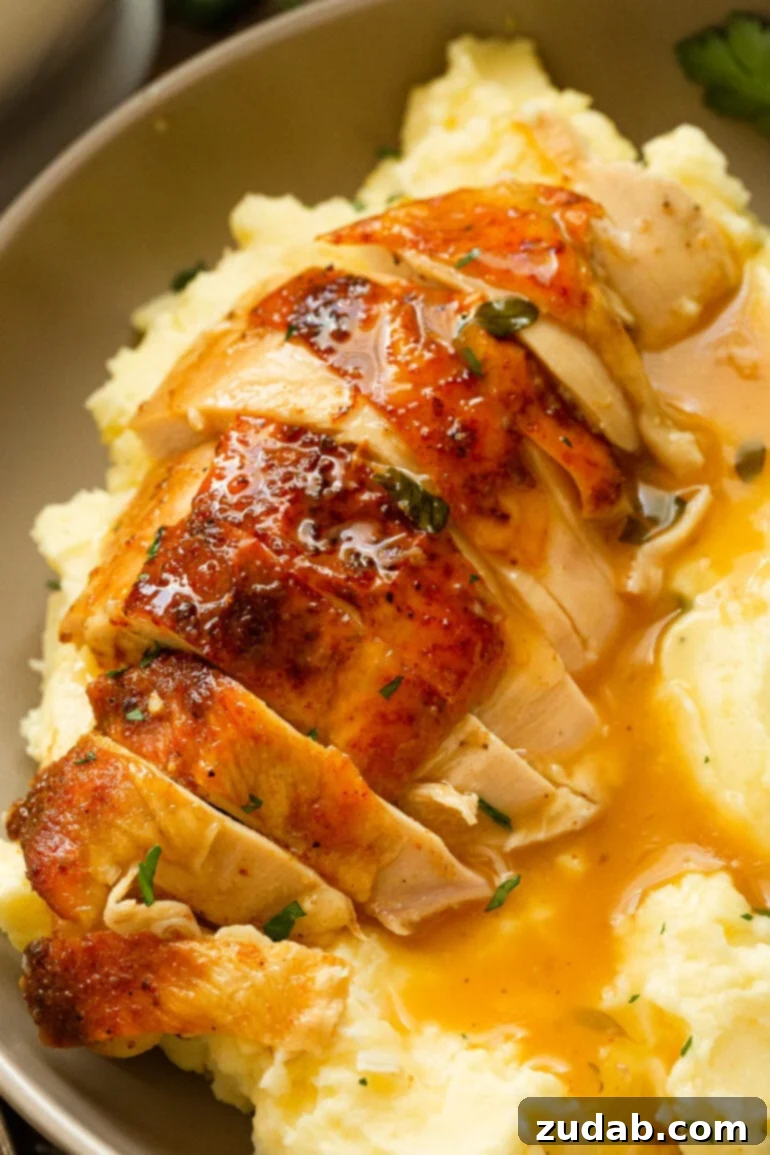
Growing up, few meals evoked as much joy and comfort as a perfectly roasted chicken. Paired with creamy mashed potatoes (often enjoyed plain with a pat of butter!), fresh corn, and a vibrant side of jello, it was my absolute favorite. This cherished dinner was my annual birthday request, a tradition that brought pure perfection to our family table. The rich aroma filling the house, the anticipation of that first bite—it’s a memory etched in time.
As life became busier, the convenience of boneless, skinless chicken cuts often took precedence. Easy to purchase, store, and cook, it became a kitchen staple. Yet, the longing for that nostalgic taste of a truly exceptional roasted chicken never faded. Rediscovering a recipe that perfectly captures that golden, delicious, crispy skin and succulent meat was like reconnecting with an old, beloved friend. There’s a profound joy in revisiting classic favorites and creating new memories around them, isn’t there?
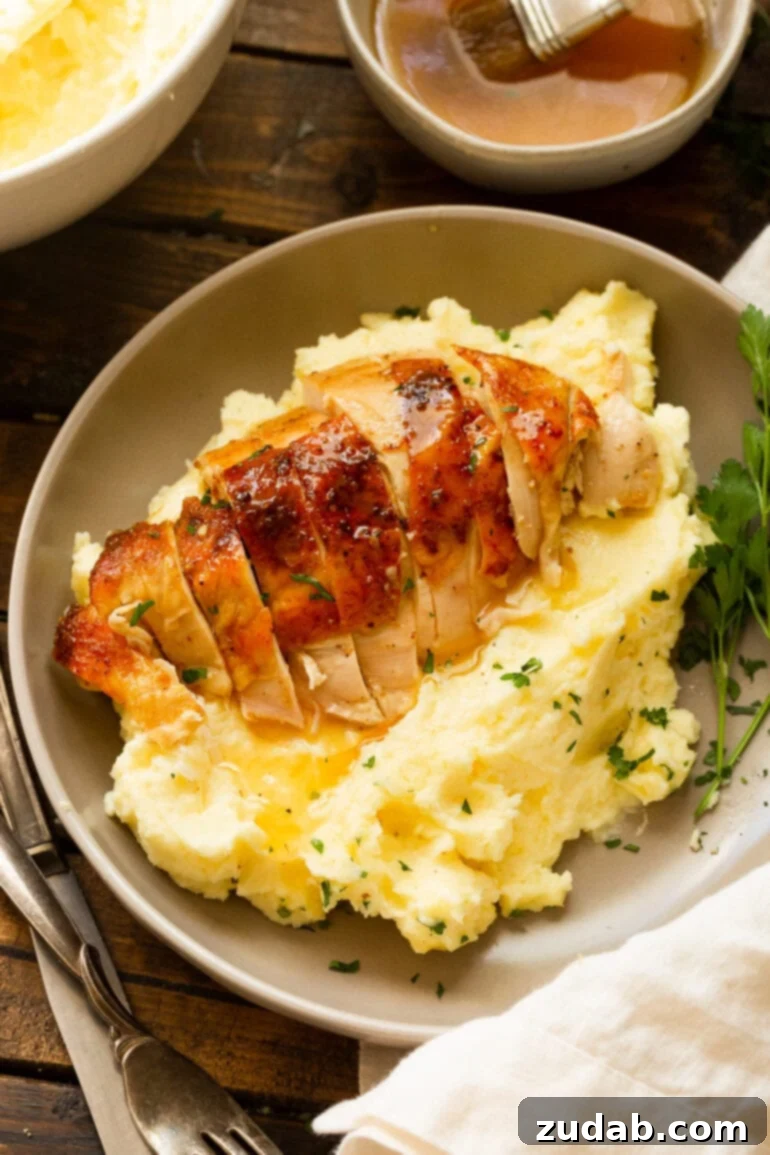
Why This Honey Roasted Chicken Recipe is a Must-Try
This isn’t just another chicken recipe; it’s an experience. Our honey roasted whole chicken stands out for several reasons. Firstly, the method ensures an incredibly juicy interior, a common challenge when roasting a whole bird. Secondly, the signature honey glaze creates a beautifully caramelized, crispy skin that’s bursting with sweet and savory notes. This recipe transforms a simple chicken into a show-stopping centerpiece, perfect for gatherings or a comforting weeknight meal. It’s surprisingly straightforward, making it accessible for home cooks of all skill levels, promising consistently delicious results every time.
Essential Ingredients for the Best Honey Roasted Chicken
For the Chicken
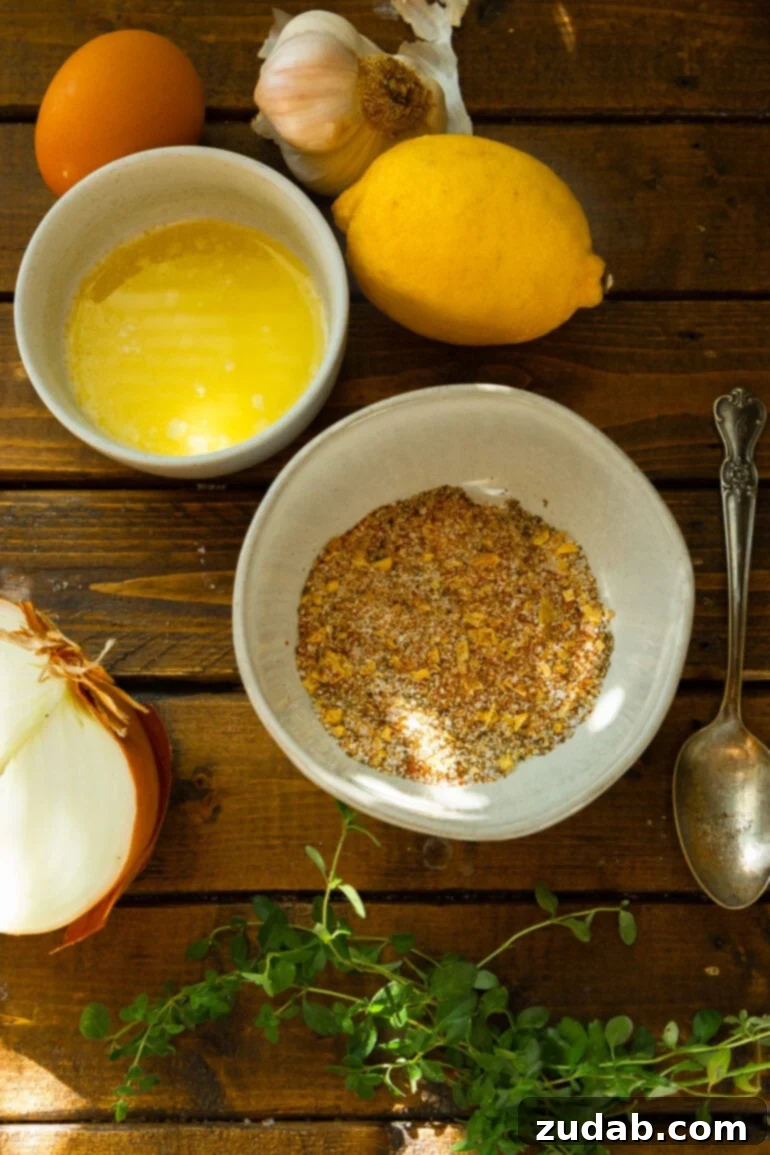
- Whole Chicken: Opt for a chicken weighing between 3-4 lbs. This size is ideal for even roasting and ensures plenty of healthy protein for the family. Look for a fresh, high-quality bird for the best flavor and texture.
- Seasonings: A simple yet powerful blend of Salt, Pepper, and Smoked Paprika. Salt enhances the natural flavor of the chicken, pepper adds a touch of warmth, and smoked paprika introduces a subtle, smoky depth and a beautiful reddish hue to the skin.
- Aromatics: Onion, Lemon, Garlic, Thyme Sprigs, and Parsley. These fresh ingredients are tucked into the chicken cavity, infusing the meat with their aromatic flavors as it roasts, contributing to a rich, complex taste.
- Butter: Melted butter is mixed with half of the seasonings and rubbed under the chicken skin. This not only adds incredible richness and flavor but also helps the skin to crisp up beautifully and brown evenly.
- Egg: A whisked egg, combined with the remaining seasonings, is brushed over the exterior of the chicken skin. This creates a thin, protein-rich layer that significantly contributes to achieving that coveted, extra-crispy, golden-brown crust.
For the Honey Glaze
- Cornstarch: This acts as a thickening agent, ensuring the glaze achieves a perfect, clingy consistency that adheres beautifully to the chicken skin.
- Water: Used to create a slurry with the cornstarch, preventing lumps and ensuring smooth thickening of the glaze.
- Honey: The star of the glaze, providing natural sweetness, a rich golden color, and a delightful sticky texture that caramelizes wonderfully.
- Apple Cider Vinegar: Adds a crucial tang and acidity that balances the sweetness of the honey, preventing the glaze from being cloyingly sweet and enhancing overall flavor.
- Chicken Broth: Forms the flavorful liquid base for the glaze, adding savory depth and ensuring a well-rounded taste. Opt for low-sodium broth to control the saltiness.
- White Wine: Contributes a sophisticated depth of flavor and subtle acidity. If you prefer to avoid alcohol, simply double the amount of chicken broth.
- Thyme: Fresh or dried thyme infuses the glaze with an earthy, aromatic quality that complements the chicken beautifully.
- Butter: Added at the end, a touch of butter enriches the glaze, giving it a glossy sheen and a silky mouthfeel.
Precise measurements for all ingredients can be found in the detailed recipe card below, along with a full nutritional breakdown. Keep scrolling for all the delicious details!
Mastering Honey Roasted Chicken: A Step-by-Step Guide
Preparing the Chicken & Oven
- Preheat Oven: Begin by preheating your oven to 400°F (200°C) and adjust the oven rack to the center position. This ensures the chicken roasts evenly and the skin gets uniformly crispy.
- Combine Seasonings: In a small bowl, whisk together the salt, pepper, and smoked paprika. Divide this mixture in half. In one half, whisk in the melted butter until well combined. In the other half, whisk in the egg. This creates two distinct but complementary mixtures for flavor and texture.
- Prepare the Chicken: Thoroughly pat the entire chicken dry with paper towels. This crucial step helps achieve maximum crispiness. Carefully stuff the cavity of the chicken with the quartered onion, halved lemon, minced garlic, and fresh thyme and parsley sprigs. These aromatics will infuse the chicken from the inside out.
- Season Under the Skin: Gently separate the skin from the breast meat using your fingers, being careful not to tear it. Pour the butter-spice mixture under the skin, then gently rub it into the meat. Place the skin back down and use your hand to spread the mixture evenly over the breast and thighs. This ensures the meat itself is seasoned and moisturized.
- Season the Exterior: Using a pastry brush, liberally spread the egg-spice mixture all over the outside of the chicken skin. This coating is key to the ultra-crispy, golden crust.
- Truss the Chicken: Trussing the chicken with kitchen twine is highly recommended. This involves tying the legs together and tucking the wings under the body. Trussing helps the chicken cook more evenly, prevents the smaller parts (like wings and drumstick ends) from drying out or burning, and creates a more compact, attractive shape. If you’re unsure how to truss, a quick online video tutorial can easily guide you.
Crafting the Honey Glaze
- Prepare Cornstarch Slurry: In a small bowl, combine the cornstarch with ½ tablespoon of water. Whisk until no lumps remain, creating a smooth slurry. Set this aside.
- Simmer Glaze Base: In a small saucepan, bring the honey and 2 tablespoons of apple cider vinegar to a simmer over medium-high heat.
- Reduce Glaze: Continue to cook this mixture, stirring occasionally, until it has reduced to about ¼ cup. This typically takes 8-10 minutes. This step concentrates the flavors.
- Thicken Glaze: Slowly whisk the prepared cornstarch slurry into the reduced honey mixture. Return the saucepan to a simmer and cook for one minute, allowing the glaze to thicken slightly. Remove from heat and set aside. This glaze will be used for basting the chicken later.
Roasting and Finishing
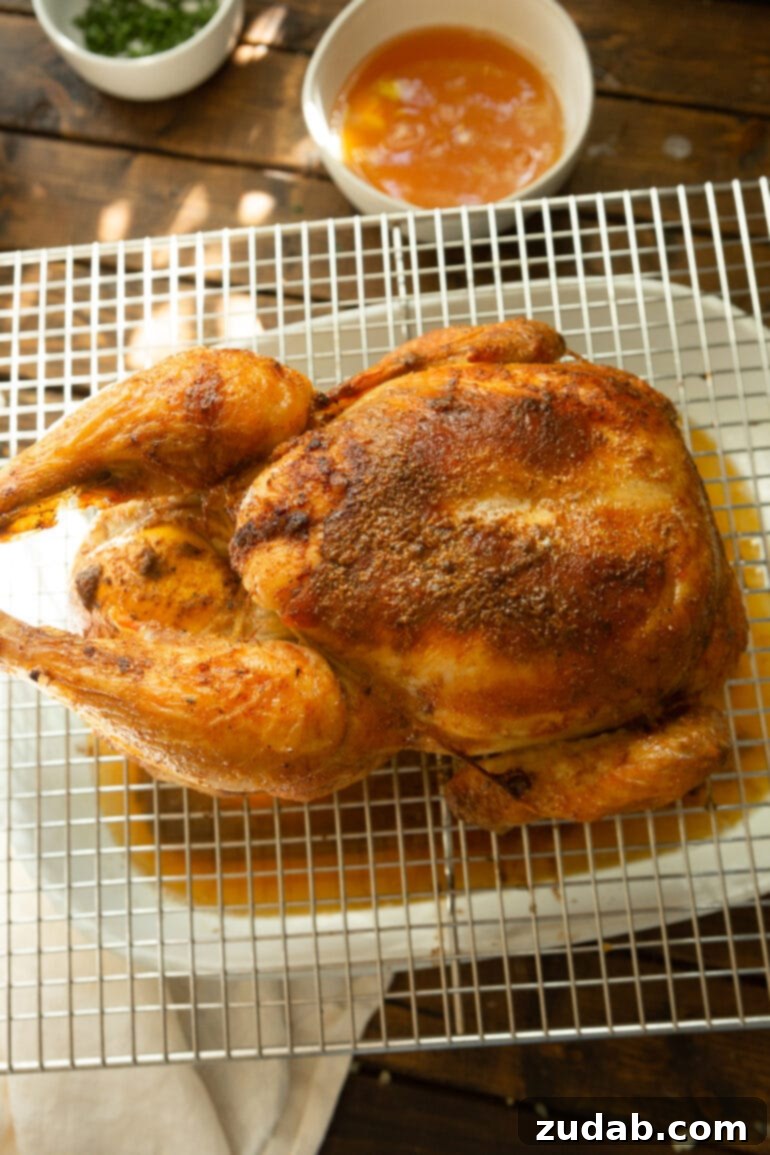
- Initial Roast: Arrange the trussed chicken on a V-rack set inside a roasting pan or on a cooling rack placed over a casserole dish. This setup allows air to circulate around the chicken and catches the drippings. Roast the chicken in the preheated oven until it turns golden brown, approximately 35 minutes.
- Add Liquids & Glaze: Carefully remove the roasting pan from the oven. Pour the chicken broth and white wine (or additional broth) into the roasting pan, around the chicken. Liberally brush the chicken evenly with a thick layer of the prepared honey glaze. You will have some glaze remaining for later.
- Continue Roasting & Basting: Return the roasting pan to the oven. Continue to roast for another 30 minutes, or until the glaze is deeply golden brown and beautifully caramelized. During this time, the internal temperature of the thickest part of the thigh meat should register 165°F (74°C) on an instant-read thermometer.
- Rest the Chicken: Once cooked, transfer the chicken from the roasting pan to a clean cutting board. It is crucial to let the chicken rest for at least 15 minutes before carving. This allows the juices to redistribute throughout the meat, resulting in an incredibly moist and flavorful bird. Cutting too soon will cause the juices to escape, leading to a dry chicken.
Making the Perfect Gravy
- Prepare Pan Juices: While the chicken is resting, pour the pan juices and any accumulated chicken juices from the cutting board into a small saucepan. Skim off any excess fat. Stir in 1 teaspoon of dried thyme.
- Simmer & Thicken Gravy: Bring the pan juices to a simmer over medium heat and cook until the sauce is slightly thickened and reduced to about 1 cup, approximately 15 minutes. For an extra-thick gravy, you can whisk in an additional 1 tablespoon of cornstarch mixed with 1 tablespoon of water.
- Finish Gravy: Remove the saucepan from the heat and whisk in the remaining apple cider vinegar and 1 tablespoon of chilled butter, cut into pieces. The cold butter will emulsify into the hot sauce, making it extra silky and rich.
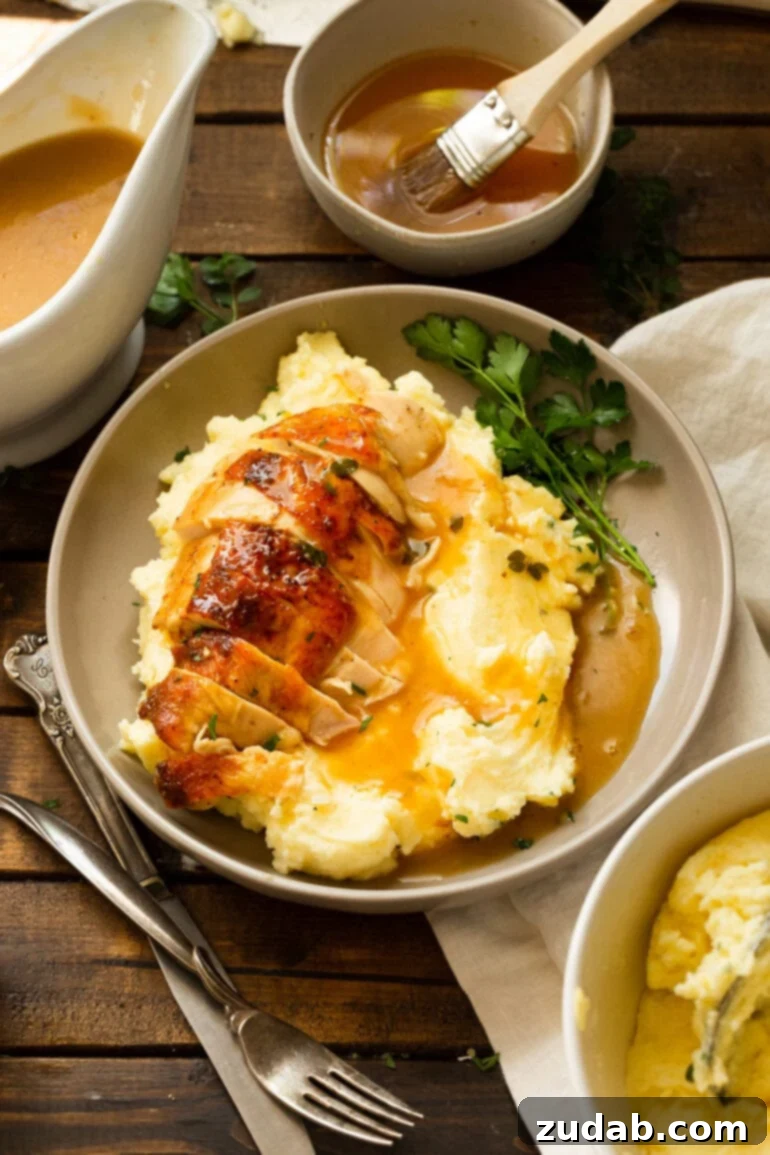
- Season & Serve: Season the gravy with salt and pepper to taste. Carve the rested chicken, brush it with any remaining honey glaze, and serve immediately, passing the rich, flavorful gravy at the table.
Why Put Lemon in a Roast Chicken?
Lemon serves multiple crucial roles when roasting a chicken. Firstly, it acts as a fantastic aromatic. As the chicken roasts, the heat gently coaxes out the bright, zesty essential oils from the lemon, infusing the meat with a subtle, fresh, and citrusy flavor. This complements the savory notes of the chicken and herbs beautifully, without overpowering them. Secondly, the acidity from the lemon can help tenderize the meat slightly, contributing to a more succulent texture. Combined with other aromatics like onion and garlic, lemon creates a harmonious flavor profile that elevates the entire dish.
Is Roasting Different Than Baking?
While often used interchangeably, “roasting” and “baking” refer to distinct cooking methods, primarily differentiated by temperature and desired outcome.
Roasting typically involves cooking at a higher temperature (generally 400°F/200°C and above). The goal of roasting is to create a deeply browned, flavorful “crust” or exterior through the Maillard reaction and caramelization, while ensuring the interior is cooked through. Roasting is usually done in an uncovered pan to promote browning and crispiness, making it ideal for meats and hard vegetables.
Baking, on the other hand, is generally performed at lower temperatures (below 400°F/200°C). The aim of baking is to cook food evenly throughout without necessarily achieving a deeply browned crust. Baked items, particularly casseroles or desserts, are often covered to retain moisture and prevent excessive browning. Think of cakes, breads, and casseroles – these are typically baked.
For our honey roasted chicken, the higher temperature is essential for achieving that beautifully crispy, golden, and glazed skin.
How Do You Keep Chicken from Drying Out When Roasting?
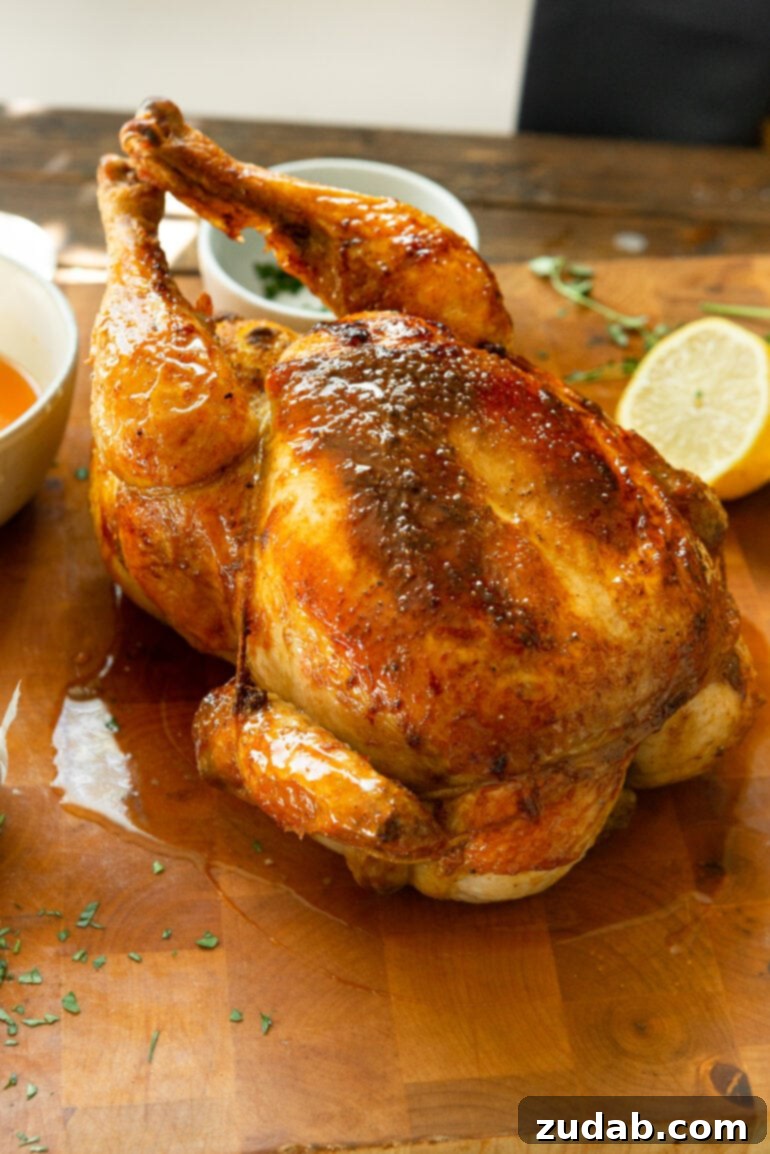
Preventing dry chicken is key to a successful roast. My top tip is to truss the chicken. By tying the legs together and tucking the wings underneath, you create a more compact and uniform shape. This prevents the leaner parts (like the wings and breast) from overcooking and drying out before the thicker, darker meat (like the thighs) is done. Trussing ensures even cooking and helps to keep the juices locked in.
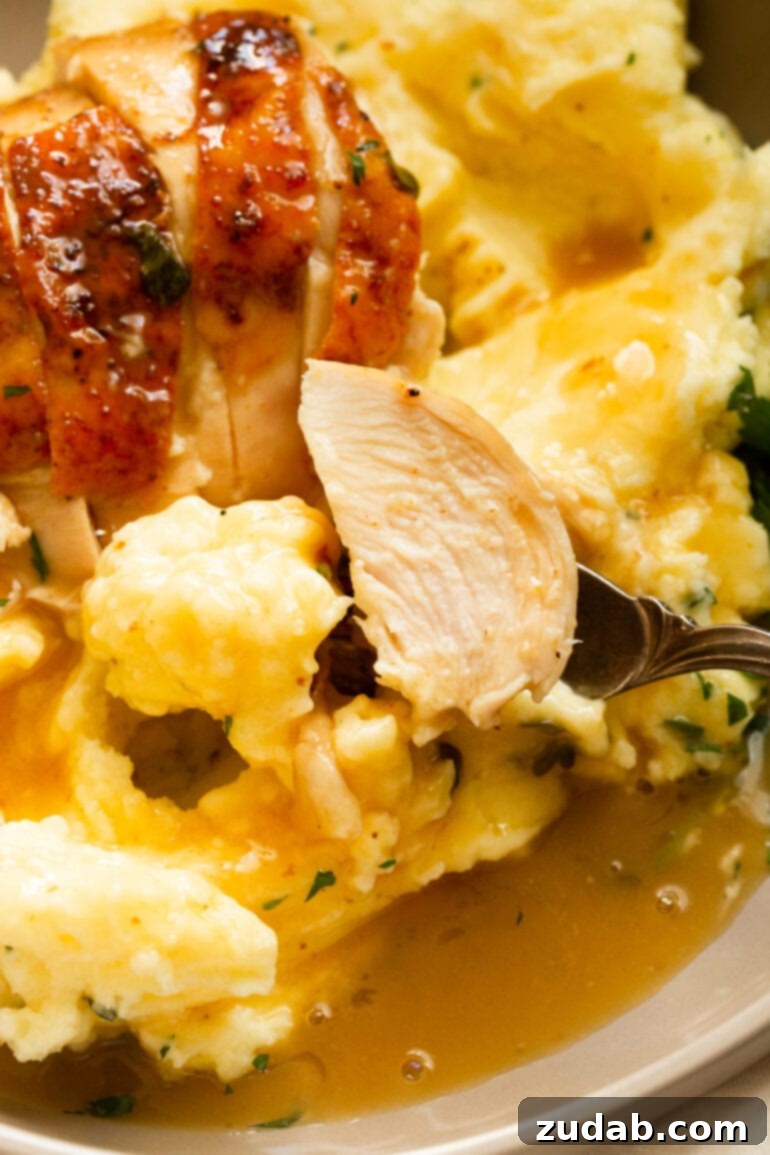
Another invaluable tip is to always use an instant-read thermometer. This tool is your best friend for perfectly cooked chicken. Check the internal temperature in the thickest part of both the chicken thighs and the breasts. You’re aiming for a temperature of 165°F (74°C) in both areas. For an extra juicy result, you can even pull the chicken out of the oven when it reaches around 160°F (71°C), as it will continue to cook and reach the safe temperature during the resting period. The most common mistake is roasting too long, so trust your thermometer!
What is the Best Way to Keep Chicken Moist After Roasting?
The single most important step to ensure a juicy, moist chicken after it comes out of the oven is to allow it to rest. Once removed from the heat, loosely tent the chicken with foil and let it sit on a cutting board for at least 15-20 minutes. During this resting period, the muscle fibers relax, and the hot juices, which have been drawn to the center of the bird during cooking, redistribute evenly throughout the entire piece of meat. If you cut into the chicken immediately, all those flavorful juices will simply run out onto your cutting board, leaving you with dry, less flavorful meat. Patience truly pays off here!
Can You Roast a Chicken in a Slow Cooker?
Absolutely, you can roast a whole chicken in a slow cooker, and it’s a fantastic alternative for a hands-off approach, especially on busy days! While it won’t achieve the crispy skin characteristic of oven roasting, it will yield an incredibly tender, fall-off-the-bone moist chicken. Typically, a 3-4 lb whole chicken will take about 3-4 hours on the high setting or 6-8 hours on the low setting in a slow cooker. You can still season it generously and add aromatics to the cavity. For a touch of crispness, you can finish it under the broiler in your oven for a few minutes after slow cooking, though this is optional. It’s a convenient method for delicious, juicy chicken every time.
Storage Tips for Roasted Chicken
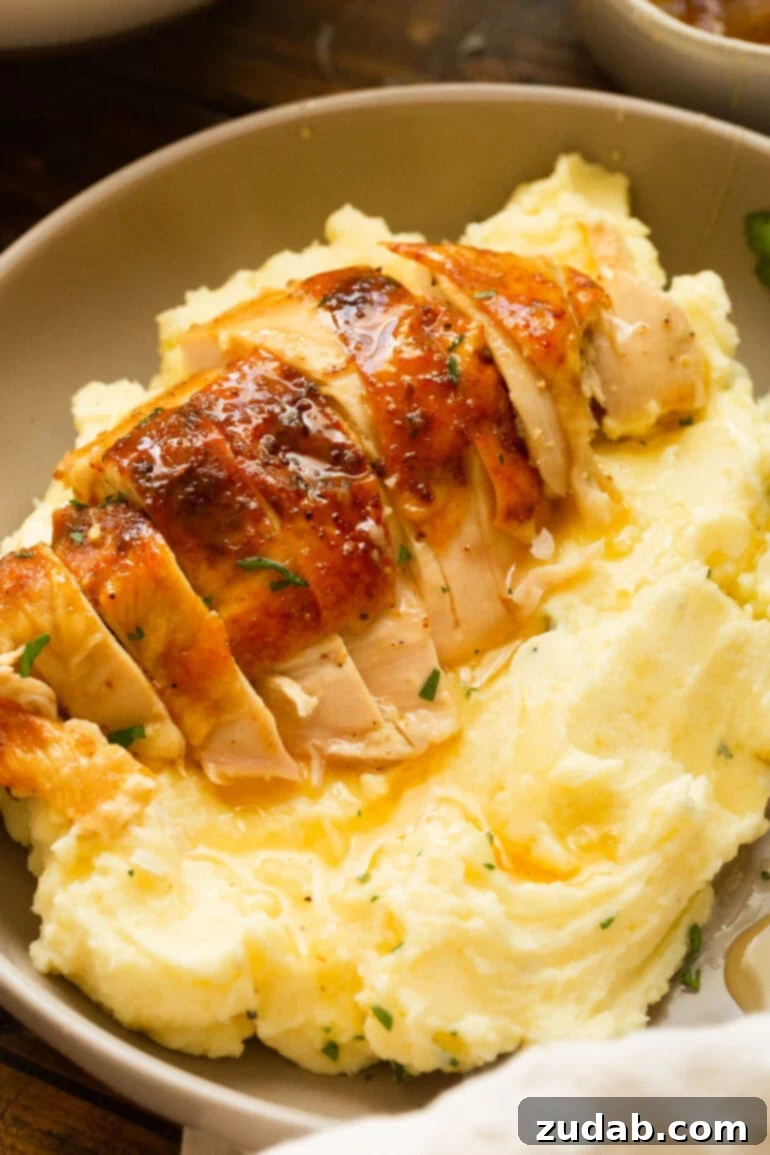
Proper storage is essential to maintain the quality and safety of your delicious honey roasted chicken. To prevent bacterial growth, ensure that any leftover chicken is covered and refrigerated within 2 hours of cooking.
For optimal freshness and convenience, roasted chicken stores best when it’s cut off the bone and sliced into manageable pieces. Place these pieces in an airtight container or a heavy-duty ziploc bag and store them in the refrigerator. When stored correctly, your chicken will remain fresh and delicious for up to 4 days.
If you have a larger batch or want to enjoy your roasted chicken later, it also freezes exceptionally well. Simply place the cooled, carved chicken pieces in an airtight, freezer-safe container or a ziploc freezer bag, ensuring as much air is removed as possible. It will keep beautifully in the freezer for up to 2 months.
When it’s time to enjoy your leftovers, chicken can be reheated effectively in either the microwave or the oven. For best results and to prevent dryness, I highly recommend reheating it in the oven. Place the chicken pieces in a covered baking dish with a splash of chicken broth or water at the bottom. The added moisture will create a steamy environment, helping the chicken stay wonderfully moist and flavorful as it warms through.
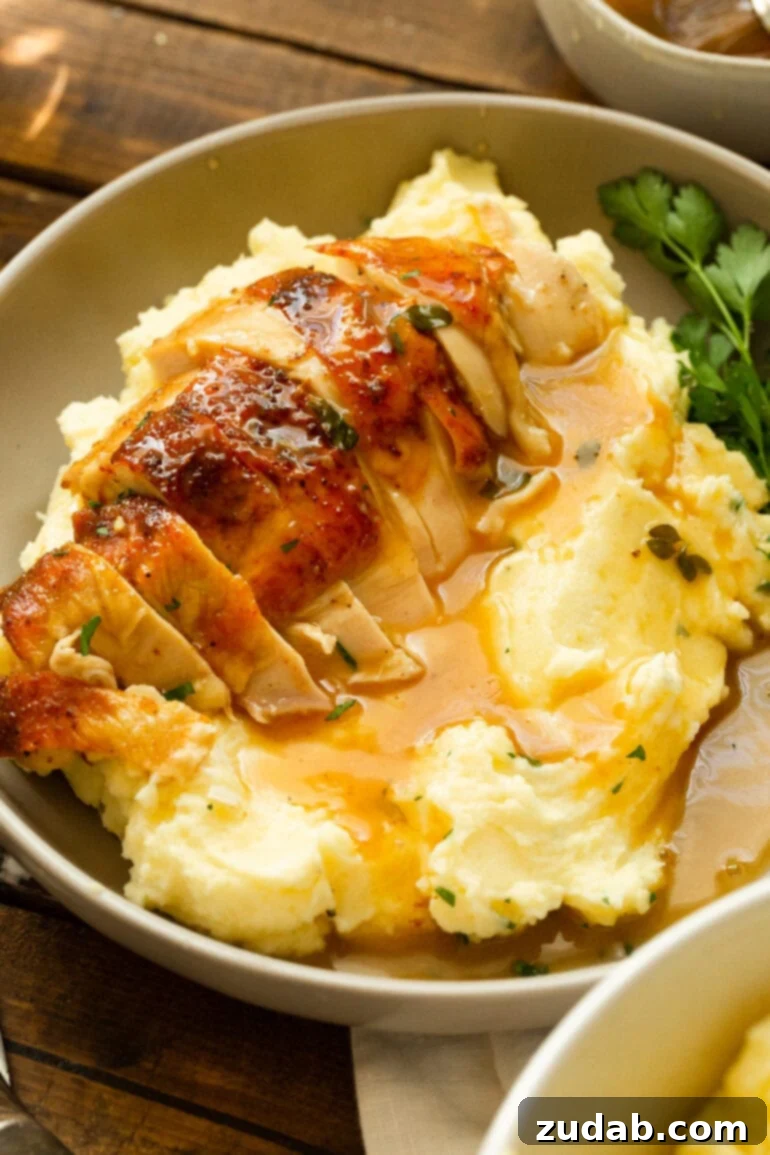
Prepare to be transported straight into Grandma’s kitchen with the comforting aromas, stunning visual appeal, and exquisite taste of this Honey Roasted Chicken! The familiar flavors evoke pure nostalgia and offer a truly heartwarming dining experience. We’ve meticulously walked you through each step of roasting a whole chicken, demonstrating just how easy it can be to achieve restaurant-quality results at home. Get ready to savor every juicy bite of this unforgettable meal!
Honey Roasted Chicken
Ingredients
For the Chicken
- 1/2 Tablespoon Salt
- 1 teaspoon Pepper
- 1/2 teaspoon Smoked Paprika
- 3 1/2-4 Pounds Whole Chicken, giblets discarded
- 1 Onion, small, quartered
- 1 Lemon, halved
- 4 Cloves Garlic, minced
- Thyme
- Parsley
- 2 Tablespoons Butter, melted
- 1 Egg
For the Honey Glaze
- 1/2 teaspoon Cornstarch
- 1/2 Cup Water, plus 1/2 tablespoon
- 1/4 Cup Honey
- 2 1/2 Tablespoons Apple Cider Vinegar
- 1/2 Cup Chicken Broth, low sodium
- 1/2 Cup White Wine, cooking
- 1 teaspoons Thyme, dried
- 1 Tablespoon Butter, cut into pieces and chilled
Instructions
-
Preheat the oven to 400 degrees and move the rack to the center position.
-
In a small bowl combine the salt, pepper and paprika. Divide it in half. Whisk half of the spice mixture with the melted butter. Whisk the other half with the egg.
-
Pat the chicken dry with paper towels and stuff the cavity of the chicken with the onion, lemon, garlic and fresh herbs. Gently pour the spice/butter mixture under the skin, rubbing it into the meat. I like to pour it under the skin, place the skin back down and spread my hand over the skin to push it around.
-
Using a pastry brush, spread the spice/egg mixture all over the outside of the chicken.
-
Truss the chicken with kitchen twine to ensure even cooking without burning of those little wings!
-
Stir the cornstarch and 1/2 tablespoon of water together in a small bowl until no lumps remain; set aside.
-
In a small saucepan bring the honey and 2 tablespoons of vinegar to a simmer over medium-high heat.
-
Cook until the mixture is reduced to about 1/4 cup, about 8-10 minutes, stirring occasionally.
-
Slowly whisk the cornstarch mixture into the glaze.
-
Return to a simmer and cook for one minute. Set aside.
-
Arrange the chicken on a V-rack set inside a roasting pan or on a cooling rack over a casserole dish.
-
Roast until the chicken is golden, about 35 minutes.
-
Remove the roasting pan from the oven.
-
Pour the broth and cooking wine into the roasting pan. Brush the chicken evenly with a thick layer of the glaze (you’ll have some remaining to brush on later).
-
Return the roasting pan to the oven and continue to roast until the glaze is golden brown, about 30 minutes longer until the thigh meat registers 165 to 170 degrees on an instant read thermometer.
-
Transfer the chicken to a cutting board and let it rest for 15 minutes to ensure that the juices redistribute and settle. If you cut too soon all of the juices will run out and you will be left with a dry bird.
-
While the chicken is resting, pour pan juices and any accumulated chicken juices into a saucepan and skim any fat. Stir in the thyme.
-
Bring to a simmer and cook until the sauce is slightly thickened and reduced to 1 cup, about 15 minutes, adding 1 tablespoon cornstarch and 1 tablspoon water if you want it extra thick.
-
Pull off the heat and whisk in the butter and remaining vinegar.
-
Season with salt and pepper to taste.
-
Carve the chicken, and brush with the remaining glaze. Serve, passing the sauce at the table.
Recipe Notes
Nutrition
Nutrition information is automatically calculated, so should only be used as an approximation.