
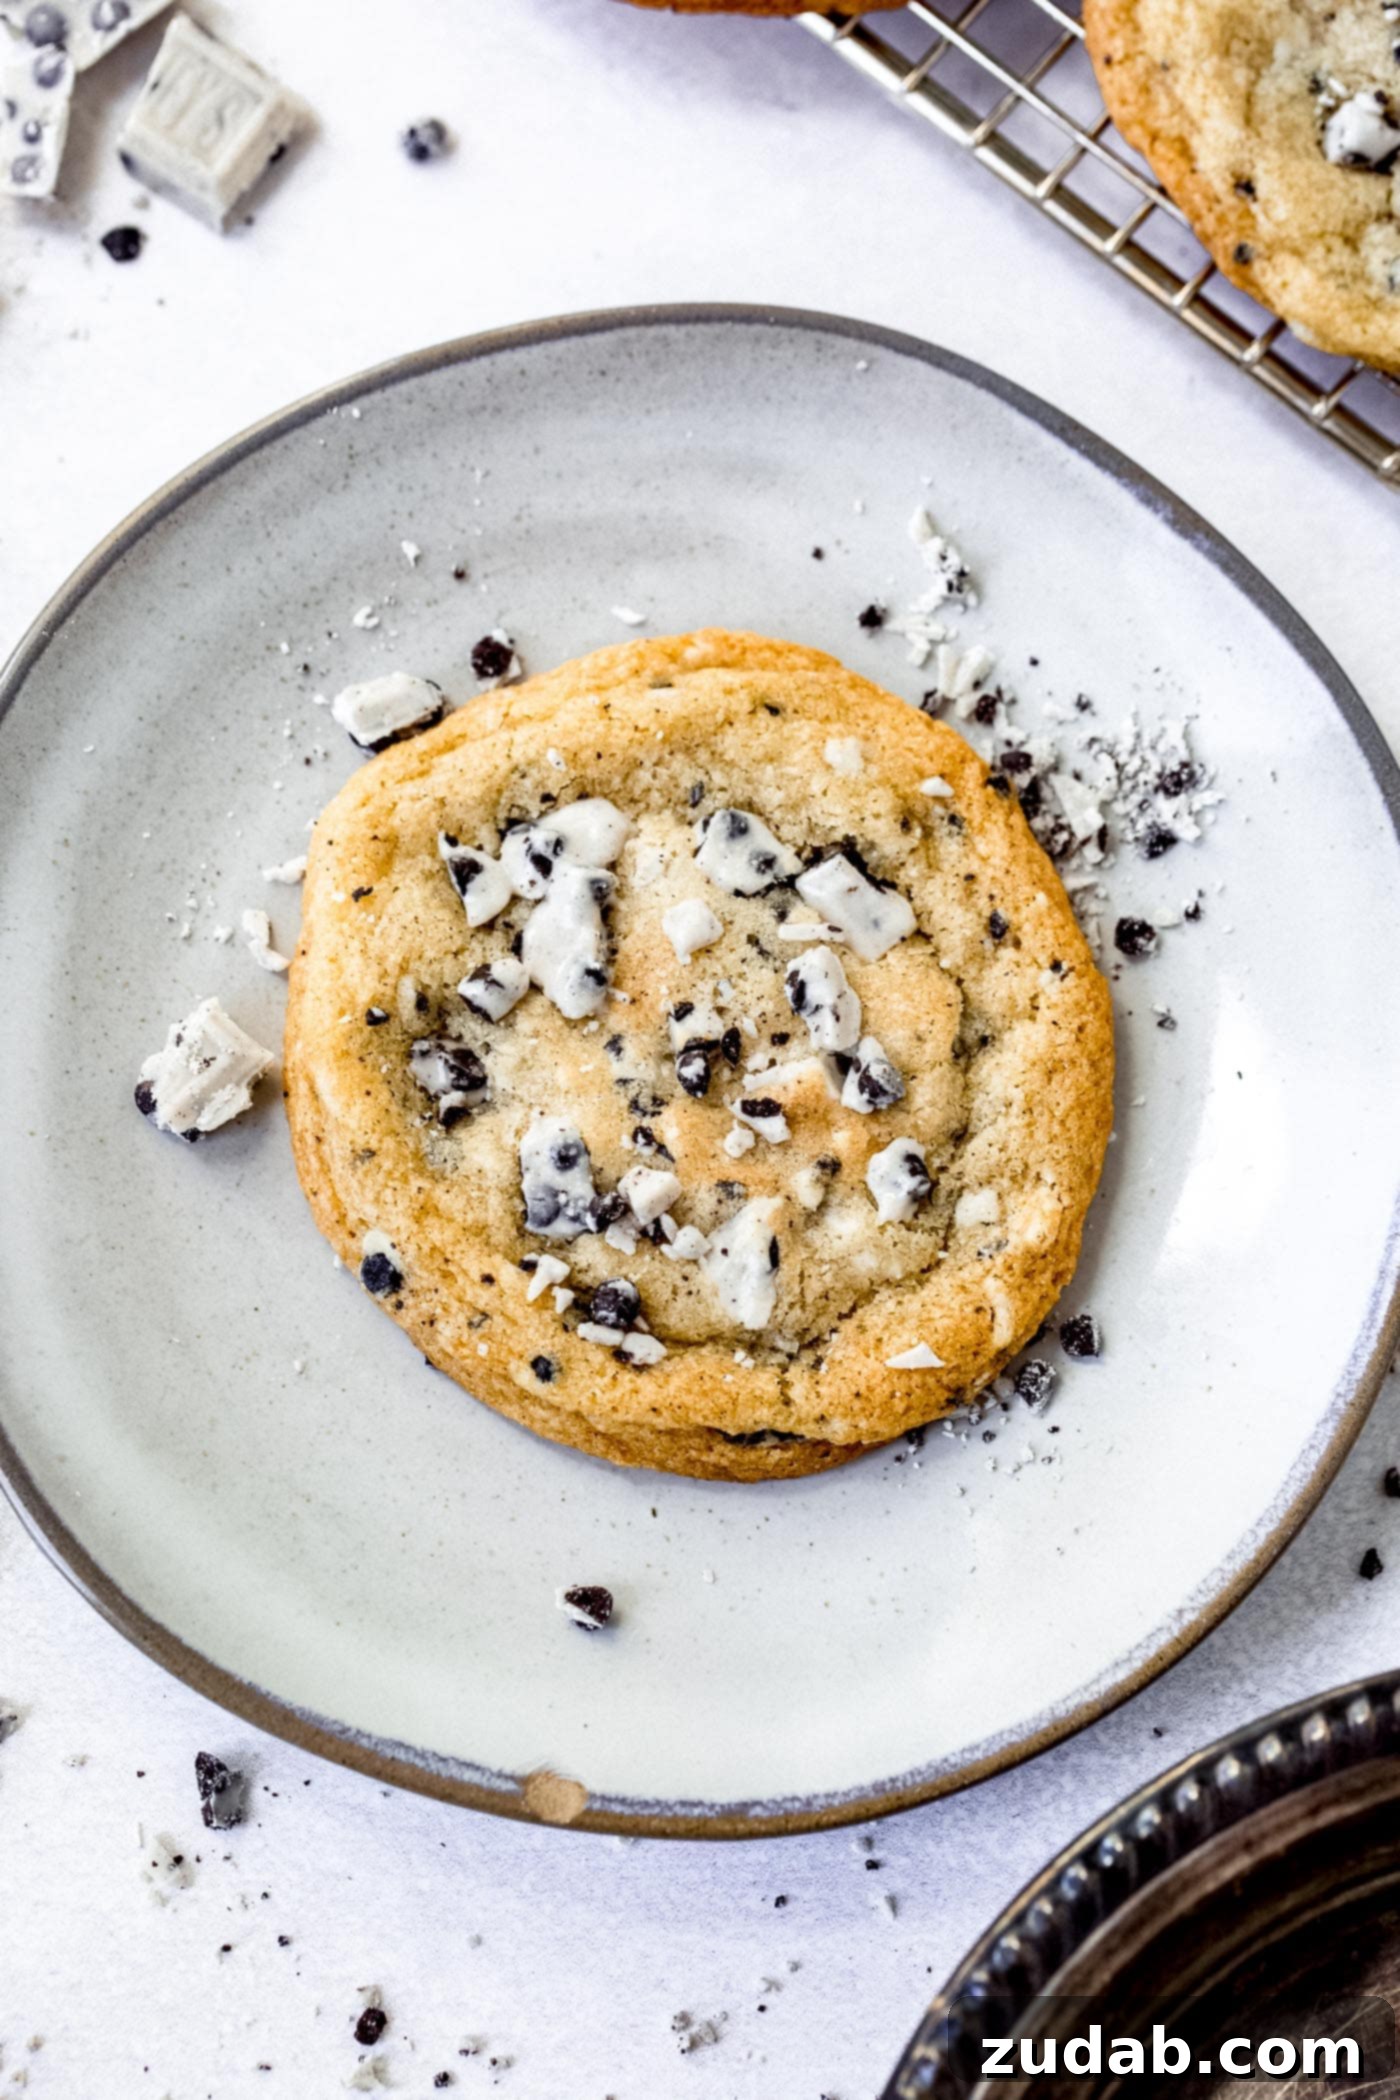
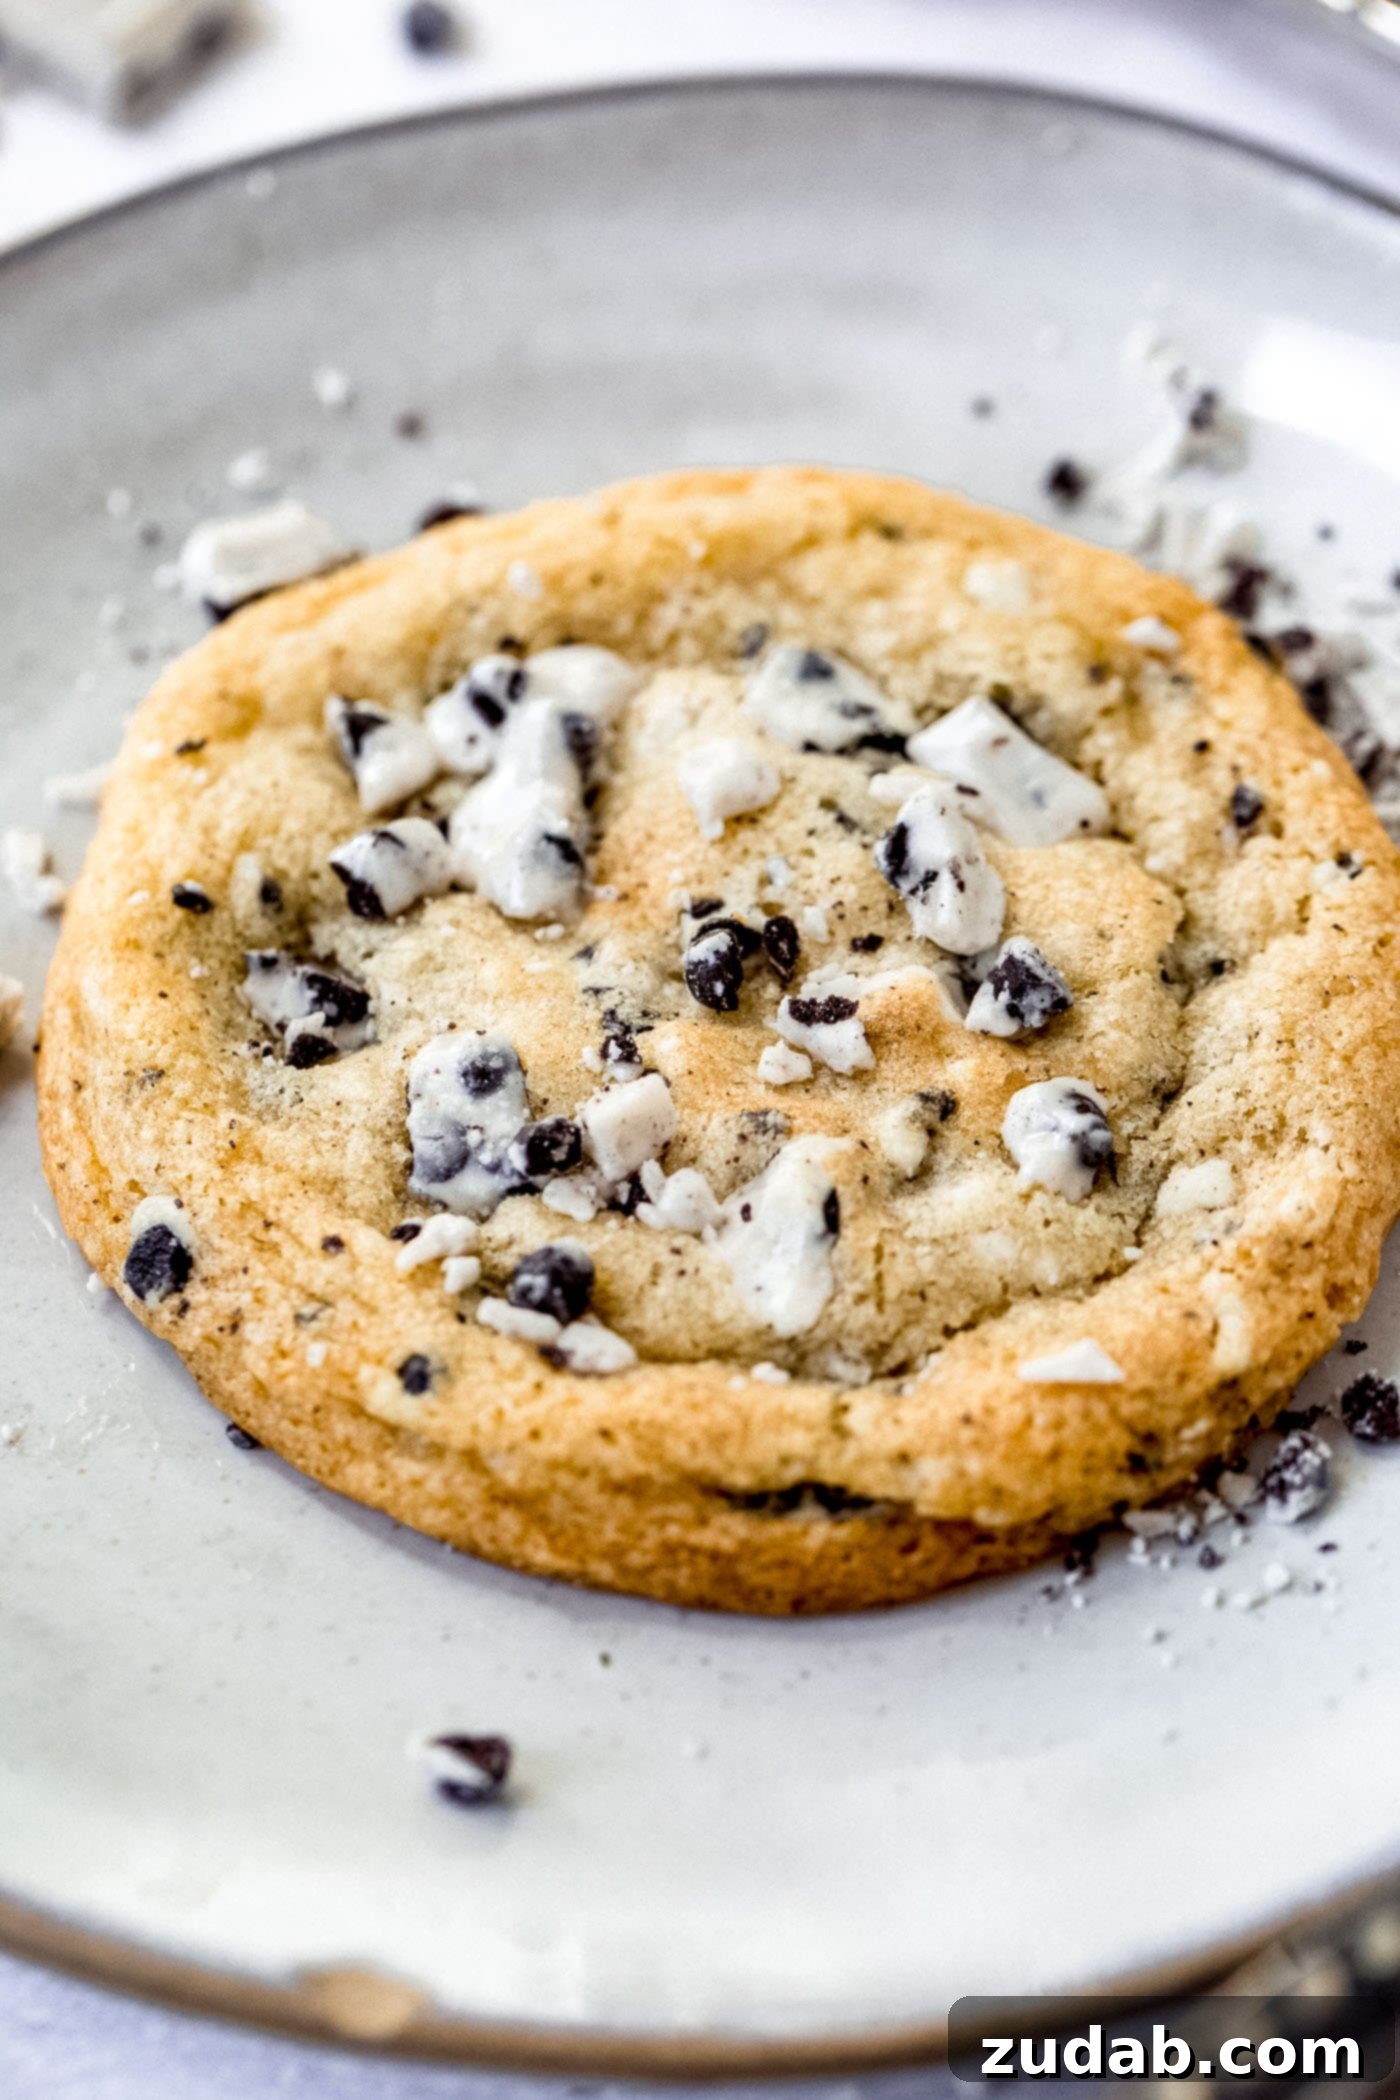
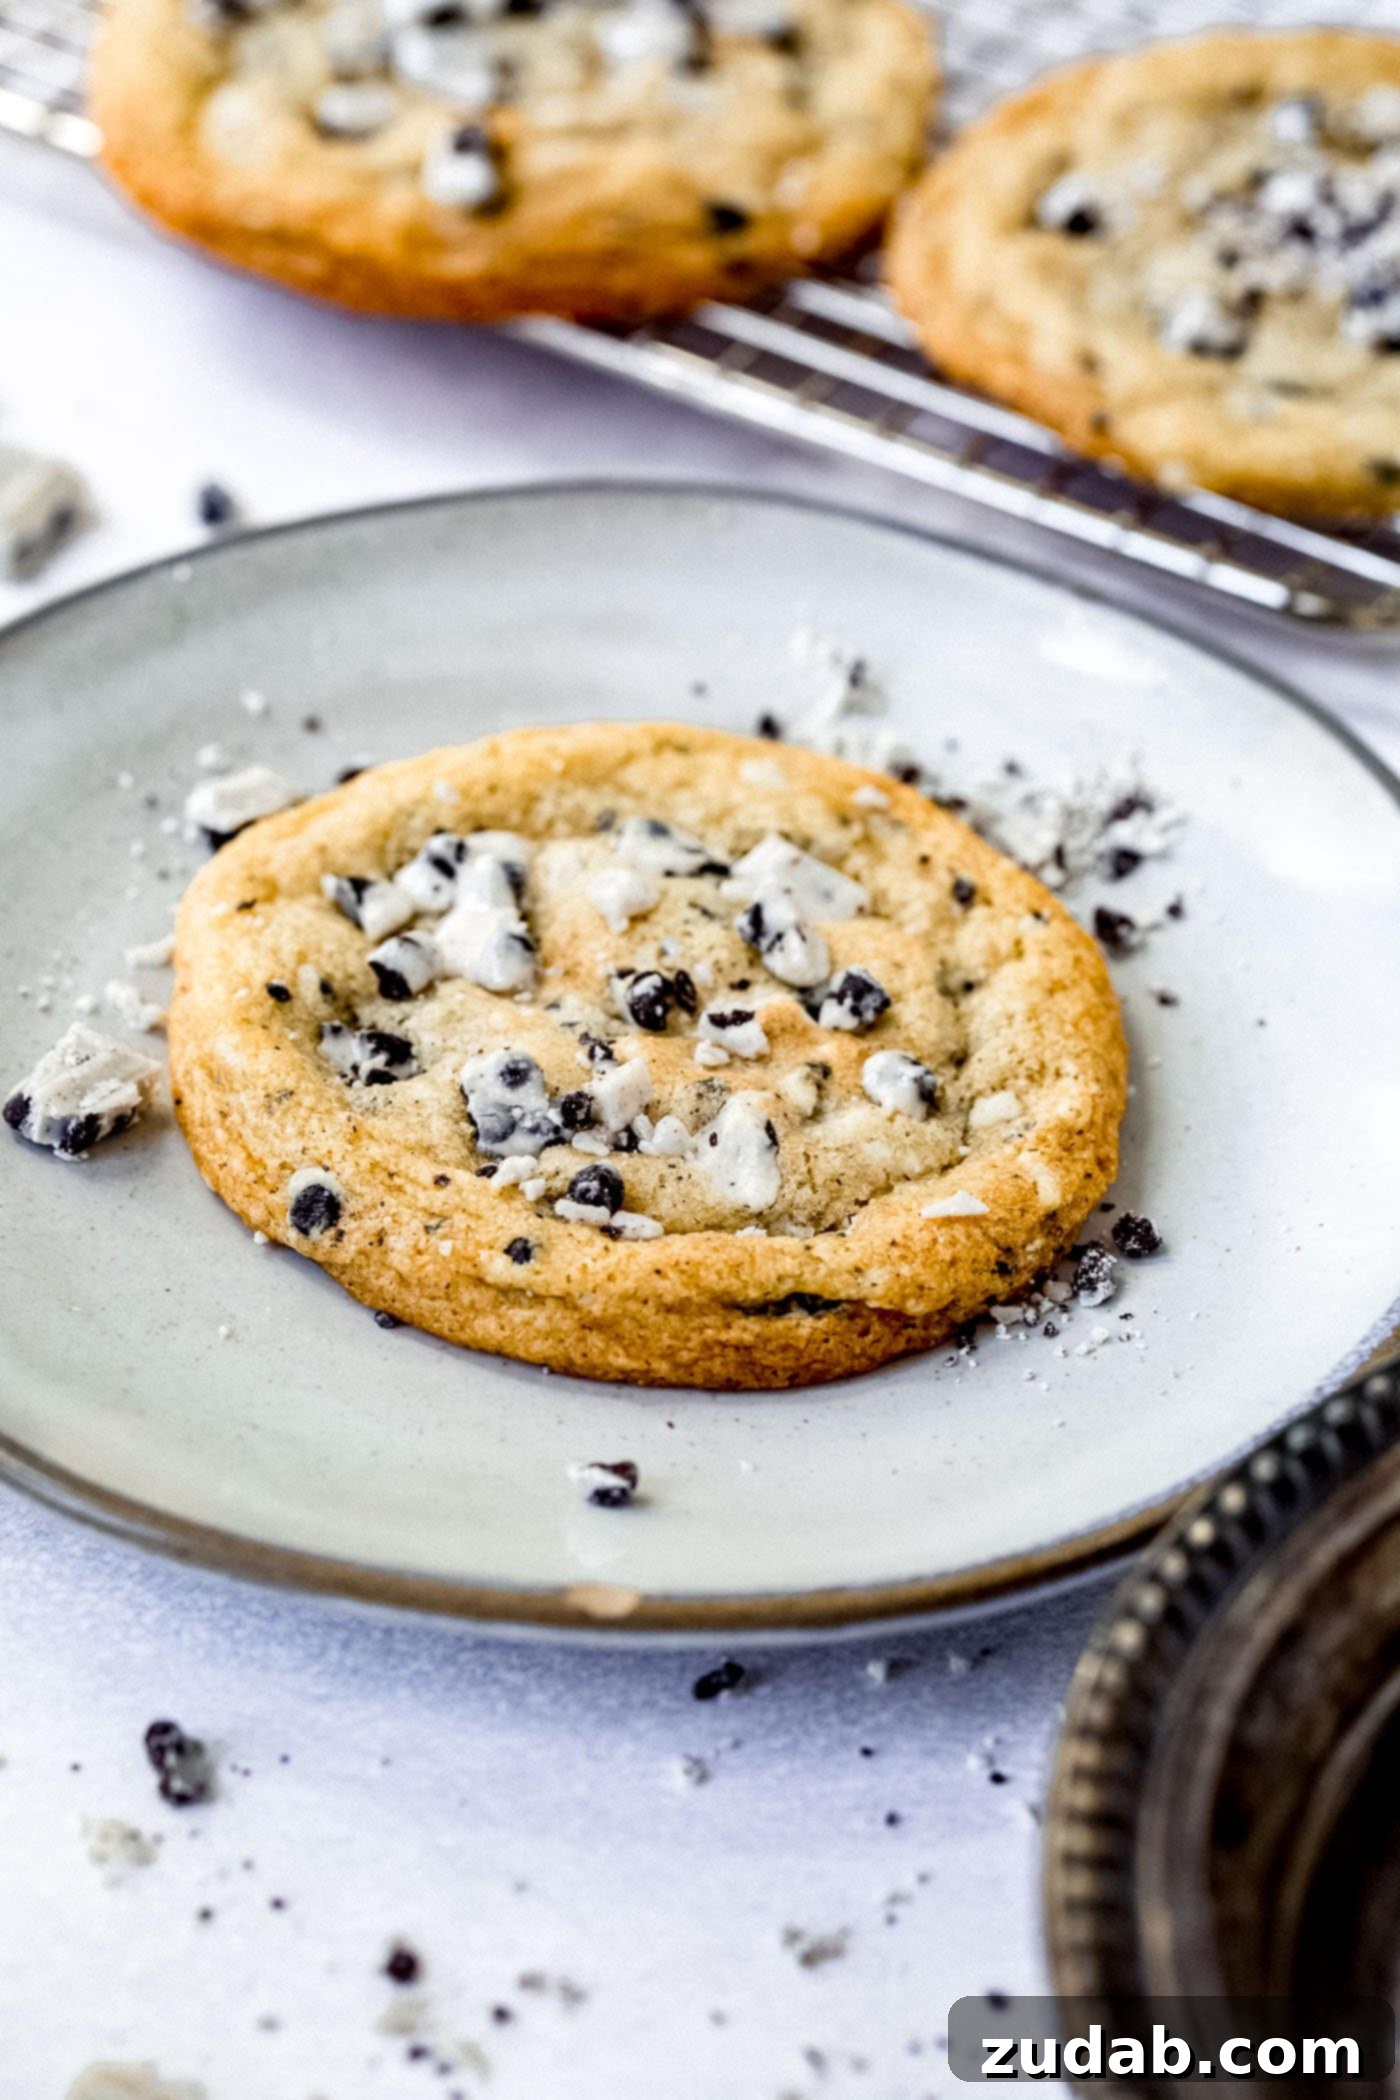
Indulge in the ultimate comfort food with these homemade Cookies and Cream Cookies. Each bite offers a delightful symphony of textures and flavors, packed with crunchy chocolate cookie pieces and swirled with rich, luscious white chocolate cream. This isn’t just a cookie; it’s an experience that will undoubtedly have you reaching for more, making it a perfect treat for any occasion or just a sweet escape on a cozy evening.
Who doesn’t love the magical combination of cookies and cream?! It’s a flavor profile that transcends generations, bringing smiles and nostalgic memories with every bite. The classic pairing of dark chocolate cookies and sweet vanilla cream has been a beloved favorite for decades, and we’ve managed to capture that irresistible essence in a perfectly baked, soft, and chewy cookie that’s truly out of this world.
This sensational recipe is a SNEAK PEEK into our brand new cookbook, filled with countless cherished family favorites! If you’re ready to unlock a treasure trove of delightful recipes designed to help you create lasting memories from scratch, don’t wait! Get your copy today from Amazon or Deseret Book. You’re not just buying a cookbook; you’re investing in countless moments of joy, delicious meals, and heartwarming kitchen adventures!
Our Cherished Family Bake-Off Tradition
Baking isn’t just about following a recipe; it’s about making memories, especially when shared with loved ones. In our family, we have a wonderfully unique Sunday night tradition a few times a year, or sometimes even every month if we’re feeling particularly ambitious and creative. It’s called the “Family Bake-Off,” and it’s become a cornerstone of our culinary adventures and family bonding time.
The kitchen transforms into a lively arena of friendly competition, filled with laughter, eager anticipation, and the sweet aroma of possibility. The main component, such as a batch of fresh pizza dough or a versatile cookie dough base, is already prepared. This sets the stage for everyone to unleash their inner chef and create something truly special. This tradition isn’t just about the final product; it’s about the journey, the experimentation, and the joy of creating together.

The Exciting Dynamics of Our Bake-Off
The rules are simple, yet they spark endless creativity. Each round begins with Mom holding a hat containing everyone’s names. She then draws a name, and that person gets to pick one of five “mystery” random ingredients from a separate bowl. We continue this exciting process until every family member has chosen their unique ingredient. Once the ingredients are distributed, the real fun begins!
Each participant then separates into their own creative zone, tasked with incorporating their chosen mystery ingredient (or ingredients) into the base dough, utilizing anything else they can find in the fridge, freezer, or pantry. This encourages innovative thinking and resourcefulness, turning ordinary kitchen staples into extraordinary additions.
The grand finale is always a delicious affair: a communal tasting session where we try each new creation, offering compliments and constructive feedback. In the end, we collectively decide on a winner based on the most innovative, delicious, or simply surprising recipe.
This tradition is more than just a game; it’s a truly fun and special way to bring our family together in the kitchen. We’ve seen some truly amazing recipes emerge from these challenges! It teaches a crucial lesson for aspiring cooks and bakers: experimenting is key to learning. We emphasize that no idea is “gross” or “wrong”; instead, we celebrate original concepts and encourage everyone to discover what works best in terms of taste, texture, and appearance. It’s a fantastic environment for fostering confidence and culinary curiosity, turning every experiment into a valuable learning experience.
The Origin Story: Our Famous Cookies and Cream Cookies
It was during one of these memorable family bake-offs that our now-famous Cookies and Cream Cookies were born! I had prepared a basic, perfectly balanced cookie dough recipe, and laid out a diverse array of ingredients for everyone to choose from. Our daughter, Claire, with her keen eye for deliciousness, ended up picking classic cookies and cream bars as her mystery ingredient. What happened next was pure magic!
The moment these homemade cookies came out of the oven, we knew we had a winner. They were unbelievably good – so “stinking good” in fact, that I instantly realized this was a recipe I absolutely had to share with you all. The combination of our foundational cookie dough with Claire’s inspired choice created a harmonious blend of flavors and textures that quickly became a family favorite, destined to be a hit in your kitchen too!
Essential Ingredients for Your Perfect Cookies and Cream Cookies
Crafting the perfect batch of Cookies and Cream Cookies starts with high-quality ingredients. Each component plays a vital role in achieving that ideal texture and irresistible flavor. Here’s what you’ll need to gather to bring this delightful recipe to life:
- **Unsalted Butter,** softened slightly – see our important note below for the perfect consistency. Using unsalted butter gives you control over the overall saltiness of your cookies.
- **Brown Sugar,** for chewiness and a rich, molasses flavor that complements the chocolate notes.
- **White Sugar,** to provide crispness around the edges and balance the sweetness.
- **Large Eggs,** acting as a binder and contributing to the cookie’s structure and richness.
- **Pure Vanilla Extract,** a crucial flavor enhancer that brings warmth and depth to every bite.
- **All-Purpose Flour,** the structural base of our cookie dough.
- **Fine Sea Salt,** to balance the sweetness and enhance all the other flavors.
- **Baking Soda,** our leavening agent that helps the cookies spread and become tender.
- **Cornstarch or EZ Gel,** the secret ingredient for extra soft and chewy cookies that stay fresh longer.
- **Cookies and Cream Candy Bars,** chopped into delightful pieces, or Twix Cookies and Cream Candy Bars for a slightly different flavor profile. The crunchier the chocolate cookie pieces, the better!
Mastering Homemade Cookies and Cream Cookies: A Step-by-Step Guide
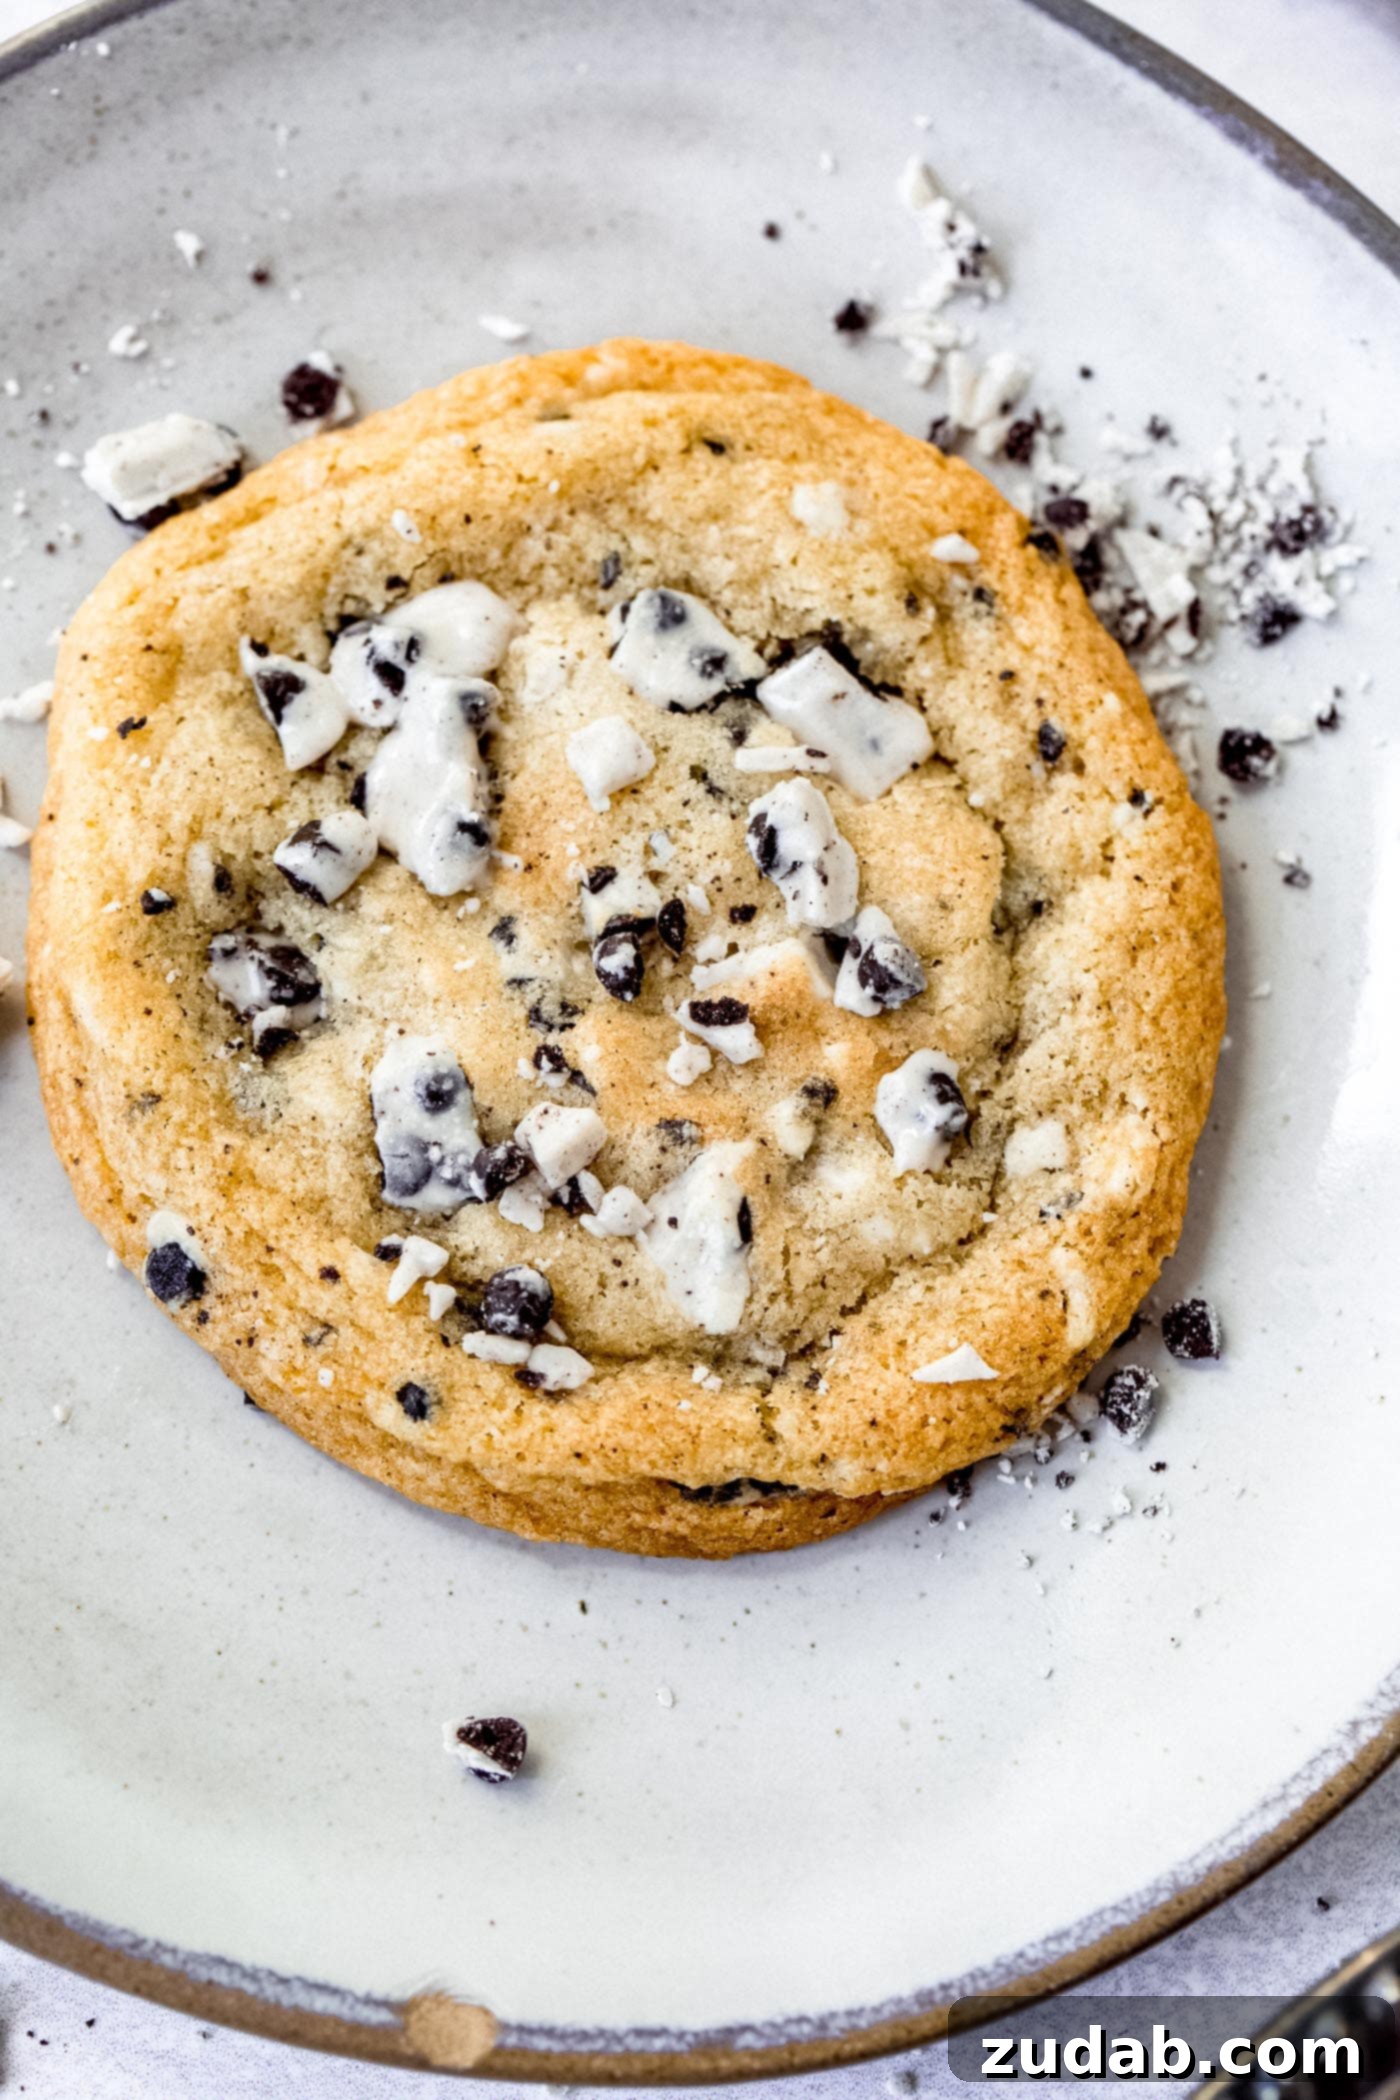
Baking these cookies is a joyous and rewarding process. Follow these detailed steps to ensure your homemade Cookies and Cream Cookies turn out perfectly every time: golden-brown edges, soft centers, and bursting with flavor.
Begin by preheating your oven to 375 degrees Fahrenheit (190°C) well in advance. Proper preheating is crucial for even baking and achieving that desirable golden crust. Next, prepare your baking sheets by lining them with high-quality Silpat baking mats or parchment paper. This step ensures your cookies won’t stick, promotes even baking, and makes cleanup a breeze, so you’re perfectly prepped and ready to go!
- **Cream the Wet Ingredients:** In the bowl of a stand mixer fitted with the paddle attachment, combine your slightly softened unsalted butter, brown sugar, and white sugar. Beat on medium-high speed for 2 minutes. This “creaming” process incorporates air into the butter and sugar mixture, which is essential for giving your cookies a lighter, chewier texture. Scrape down the sides of the bowl as needed to ensure everything is thoroughly combined.
- **Add Eggs and Vanilla:** Reduce the mixer speed to low. Add the eggs one at a time, mixing until just combined after each addition. Then, pour in the vanilla extract and mix briefly. Be careful not to overmix at this stage, as it can develop the gluten in the flour too much, leading to tougher cookies. Turn off the mixer once combined.
- **Prepare Dry Ingredients:** In a separate medium-sized bowl, whisk together the all-purpose flour, salt, baking soda, and cornstarch (or EZ Gel). Whisking ensures these dry ingredients are evenly distributed, preventing pockets of leavening agents or salt in your cookies.
- **Combine Wet and Dry:** Slowly add the flour mixture to the butter and sugar mixture in the stand mixer, mixing on low speed until everything is almost incorporated. The dough might still look a little shaggy, and that’s perfectly fine.
- **Fold in Cookies and Cream:** With the mixer still on low, or even by hand using a sturdy spatula, add the finely chopped cookies and cream candy bars. Give it one more final, gentle mix until the candy pieces are just evenly distributed throughout the dough. Overmixing after adding the flour and candy can result in a tougher cookie.
- **Scoop and Bake:** Using a cookie scoop (approximately 2 tablespoons in size), scoop generous portions of dough onto your prepared baking sheets. **Important tip:** Do not scrape the scoop against the side of the bowl as you lift; instead, merely scoop, lift the dough, and use your other hand to gently round the bottom of the cookie dough ball. Place them onto the cookie sheet, ensuring you leave at least 2 inches between each cookie so they have plenty of room to spread without touching during baking.
- **Bake to Perfection:** Bake for 8-10 minutes, keeping a close eye on them as oven temperatures can vary. The cookies are ready when the bottoms appear set and lightly golden, but the tops are still soft and slightly pale, with just a hint of golden color around the edges. This ensures a wonderfully chewy center.
- **Cool and Enjoy:** Allow the cookies to cool on the baking sheet for 2 minutes before carefully transferring them to a wire cooling rack to cool completely. Or, if you can’t resist, move them directly into your mouth for a warm, gooey treat! 😋
A Note on Butter Consistency: The Sweet Spot for Perfect Cookies This recipe does not require totally softened, room-temperature butter. Instead, aim for butter that’s still slightly cool to the touch but pliable. You’ll know it’s ready when you can press it with your thumb and leave a nice, clear thumbprint without your finger sinking all the way through the stick. This specific consistency is ideal for creating the perfect chewy texture we’re aiming for. If you’re short on time and need to speed up the softening process, simply cut the butter into smaller chunks; this increases the surface area and helps it come to the right temperature more quickly.
Melted vs. Softened Butter: Understanding the Impact on Cookie Texture
The state of your butter profoundly influences the final texture of your cookies. This is a fundamental concept in baking that can transform your results.
Typically, in most cookie recipes, butter and sugars are creamed together before any other ingredients are added. When you use softened butter, the sugar granules cut through the butter, creating tiny air pockets within the mixture. As the cookies bake, this trapped air expands, contributing to the leavening process and resulting in a lighter, more voluminous cookie. Using softened butter will generally give you a fluffier, taller, and often more cake-like cookie with a tender crumb.
On the other hand, melted butter won’t incorporate air into the same way as softened butter, as the fat structure has changed. This lack of aeration helps create a denser, chewier cookie that spreads more, but it won’t yield the extra fluffy texture. For these Cookies and Cream Cookies, we aim for a balance: a chewy cookie with a slight lift, which is why our specific “slightly softened” butter note is so important. It ensures the perfect blend of chewiness and tenderness, making each bite truly satisfying.
Storing Your Delicious Cookies and Cream Cookies
To keep your homemade Cookies and Cream Cookies tasting fresh and delightful for as long as possible, proper storage is key. Once completely cooled, transfer them to an airtight container. Stored at room temperature, these cookies will maintain their wonderful flavor and texture for up to 3 weeks. For optimal freshness, consider placing a slice of bread in the container; it helps keep the cookies soft by absorbing moisture.
The Art of Freezing Cookie Dough and Baked Cookies
Baking homemade cookies doesn’t always have to be an all-at-once affair. Freezing cookie dough or baked cookies is a fantastic way to enjoy fresh treats on demand, saving you time and effort down the line.
Unbaked cookie dough can be frozen for up to 3 months. To do this, scoop the dough into individual balls and arrange them on a baking sheet lined with parchment paper. Flash freeze until completely solid. Once frozen, transfer the dough balls into a heavy-duty freezer bag, squeezing out as much air as possible to prevent freezer burn. Alternatively, you can roll the dough into logs, wrap them tightly in plastic wrap, and then an additional layer of foil before freezing. When you’re ready to bake, simply place the frozen dough balls on a baking sheet (no need to thaw) and add a few extra minutes to the baking time.
For already baked cookies, allow them to cool completely before placing them in a freezer-safe zip-lock bag or an airtight container. They will keep well in the freezer for up to 2 months. To enjoy, simply bring them to room temperature for 10-15 minutes before serving. This makes them perfect for unexpected guests or quick dessert cravings!
Substituting Salted Butter for Unsalted Butter
While most baking recipes, including this one, call for unsalted butter, you technically can substitute salted butter if that’s all you have on hand. The primary reason for using unsalted butter in baking is to give the baker complete control over the amount of salt in the recipe, ensuring a consistent flavor profile.
If you opt to use salted butter, you’ll need to adjust the recipe slightly. As a general rule, reduce the amount of added salt by about 1/4 teaspoon for every 1/2 cup (one stick) of salted butter used. This minor adjustment will help prevent your cookies from becoming overly salty, maintaining the intended balance of sweet and savory notes that make these Cookies and Cream Cookies so delightful.
Unveiling the Magic of Silpat Baking Mats
Silpats are an absolute game-changer in the baking world, and once you try them, you’ll understand why many bakers, including myself, declare they’ll never bake without them. These non-stick, silicone baking sheets are designed to lay directly on your existing cookie sheets, transforming them into a professional-grade baking surface.
The benefits are numerous and significant. Firstly, and most obviously, cookies and other baked goods simply do not stick, making removal effortless and cleanup a breeze. Gone are the days of scrubbing stubborn residue off your baking pans. Beyond their non-stick properties, Silpats also promote incredibly even baking. They create a consistent heat distribution, preventing the bottoms of your cookies from overly browning or burning, while ensuring the tops cook perfectly. This leads to uniformly beautiful and deliciously baked cookies every time. They are an eco-friendly alternative to parchment paper and are remarkably durable, lasting for hundreds of uses. Investing in Silpats is truly investing in better baking experiences.
More Delicious Cookie Recipes to Explore!
If you’ve enjoyed these Cookies and Cream Cookies, you’re in for a treat! Our kitchen is a hub of sweet inspiration, and we have a fantastic array of other cookie recipes that are sure to satisfy any craving. From timeless classics to exciting new twists, there’s a cookie for everyone. Don’t stop at just one – explore our collection and discover your next favorite:
- **Chocolate Chip Cookies:** The ultimate classic, perfected for true chocolate lovers.
- **Nutella and Dulce De Leche Stuffed Cookies:** A luxurious and decadent cookie experience, bursting with gooey centers.
- **Lemon Drop Cookies:** Bright, zesty, and refreshing – a delightful change of pace.
- **Cinnamon Roll Cookies:** All the comforting flavors of a cinnamon roll, in a bite-sized cookie form.
- **Classic Sugar Cookies:** Simple, versatile, and perfect for decorating or enjoying plain.
Cookies and Cream Cookies
Pin
Ingredients
- 1 1/4 Cup Butter, unsalted, softened slightly (see notes)
- 1 Cup Brown Sugar
- 1/2 Cup White Sugar
- 2 Large Eggs
- 2 teaspoons Vanilla
- 2 3/4 Cups Flour, plus 2 Tablespoons
- 3/4 teaspoon Salt
- 1 teaspoon Baking Soda
- 1 teaspoon EZ Gel, or 1/2 teaspoon corn starch
- 2 Candy Bars, cookies and cream, finely chopped or cookies and cream twix
Instructions
-
Preheat oven to 375 degrees F (190°C).
-
Line baking sheets with Silpat mats or parchment paper.
-
In a stand mixer, combine the butter, brown sugar, and white sugar. Beat on medium-high speed for 2 minutes, scraping down sides as needed.1 1/4 Cup Butter, 1 Cup Brown Sugar, 1/2 Cup White Sugar
-
Add the eggs and vanilla, mixing until just combined. Turn off mixer.2 Large Eggs, 2 teaspoons Vanilla
-
In a separate bowl, whisk together the dry ingredients (flour, salt, baking soda, EZ Gel/cornstarch).2 3/4 Cups Flour, 3/4 teaspoon Salt, 1 teaspoon Baking Soda, 1 teaspoon EZ Gel
-
With the mixer on low, slowly add the flour mixture to the wet ingredients until almost incorporated.
-
Add the chopped cookies and cream candy bars and mix gently until just combined.2 Candy Bars
-
Scoop cookies using a cookie scoop (approx. 2 tbsp). Do not scrape against the side of the bowl; simply scoop, lift, gently round the bottom with your other hand, and place on the Silpatlined cookie sheet, ensuring ample space between them.
-
Bake for 8-10 minutes, depending on your oven.
-
Remove when the bottoms are set and lightly golden, but the tops are still soft and slightly pale with golden edges.
-
Allow to cool on the baking sheet for 2 minutes before transferring to a cooling rack or enjoying warm.
Recipe Notes
You can freeze this cookie dough and later bake as many at a time as you need. Scoop into balls and flash freeze on a cookie sheet until solid. When frozen, store in a heavy-duty freezer bag until ready to bake. Bake directly from frozen, adding a few extra minutes to the baking time.
Nutrition
Nutrition information is automatically calculated, so should only be used as an approximation.