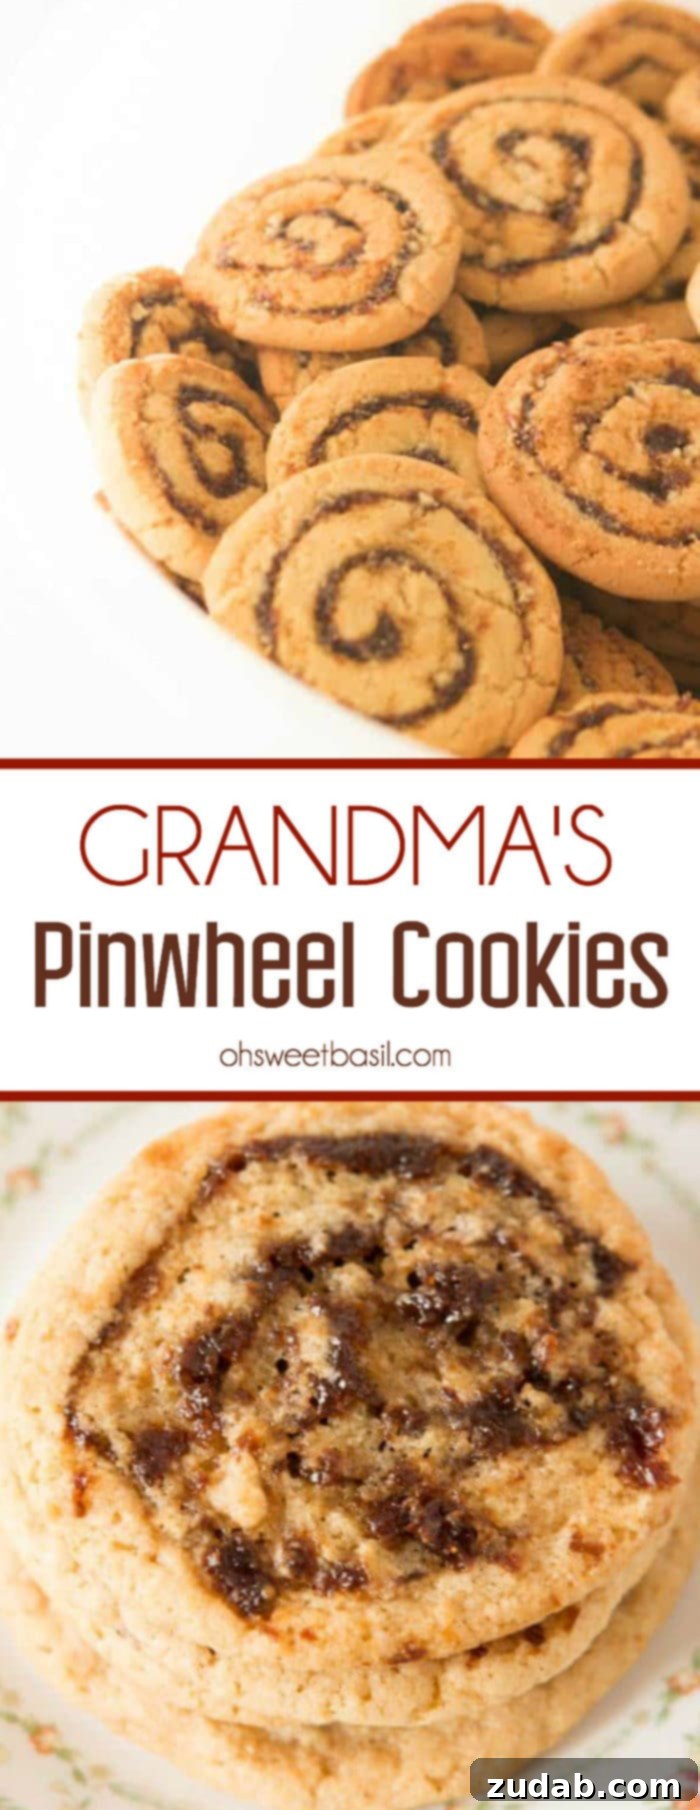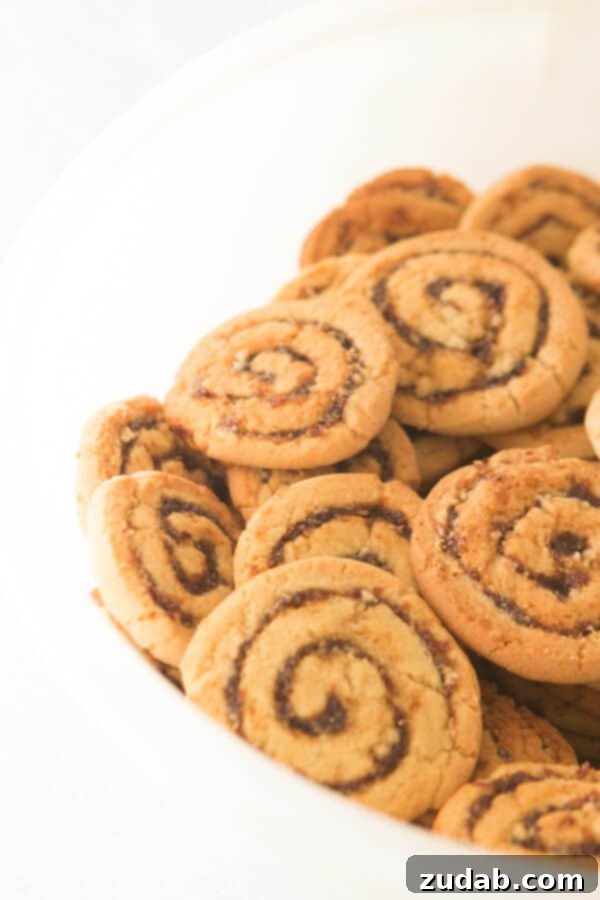
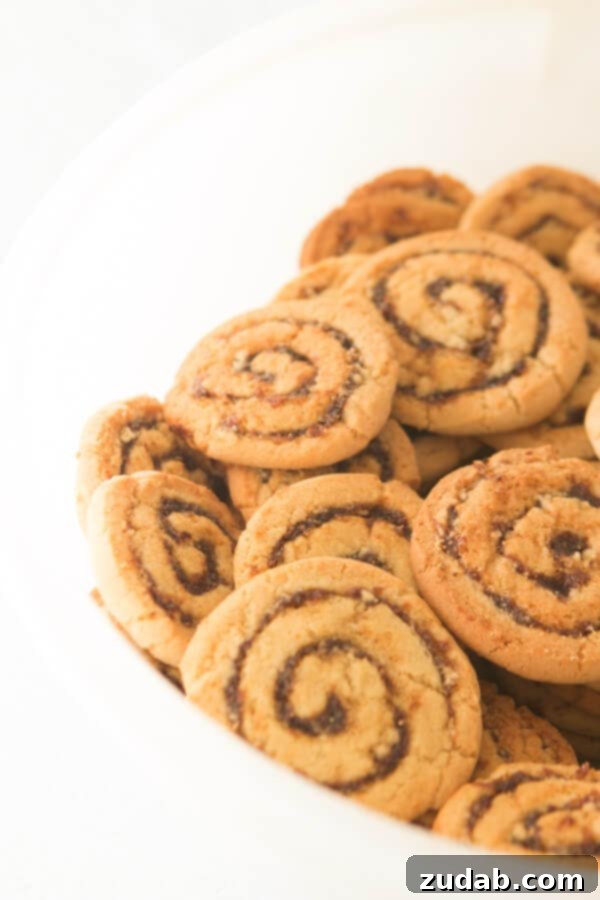
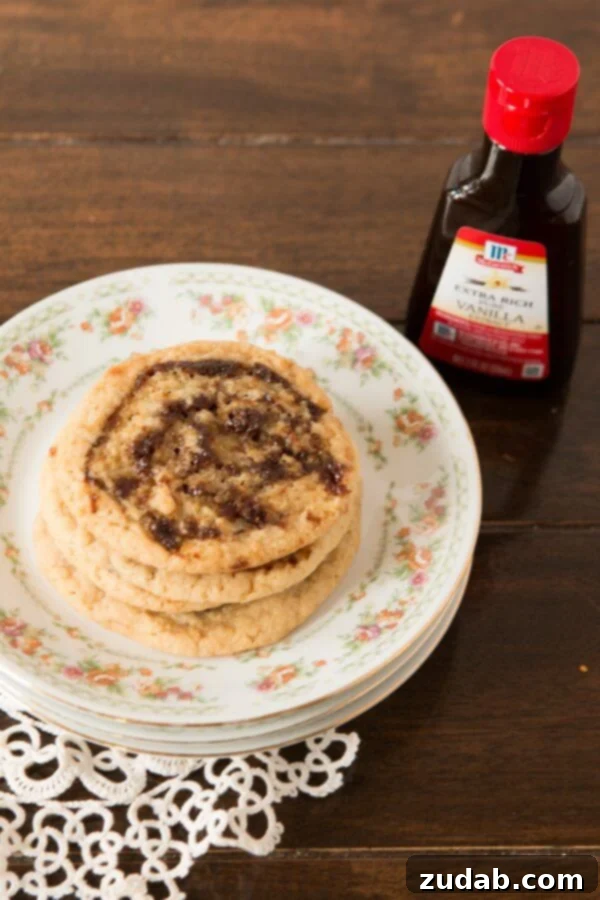
These Pinwheel Cookies are more than just a dessert; they are a cherished family tradition, a symbol of warmth and togetherness. Passed down through generations, my grandma’s famous recipe creates a delightful treat that consistently disappears moments after hitting the table at every family gathering. Their irresistible charm lies not only in their beautiful spiral design but also in their tender texture and a uniquely flavored raisin filling that evokes pure nostalgia with every bite.
Discover the Timeless Appeal of Homemade Pinwheel Cookies
There are certain homemade cookie recipes that require a little convincing to try, only for them to become an instant, lifelong obsession. These Pinwheel Cookies are precisely that kind of recipe. From the moment we stepped into Grandma’s house, the grandkids would immediately gravitate towards these unassuming yet utterly delicious spirals. While we once eagerly awaited Grandma’s batches, today many of us proudly bake them in our own kitchens, continuing a beautiful tradition.
Pinwheel cookies might appear simple at first glance, but their delicate balance of sweet dough and flavorful filling makes them impossible to resist after just one bite. They’re particularly popular during the festive season, earning them the endearing moniker of “Christmas Pinwheel Cookies” in many homes, including ours. However, their comforting taste makes them a welcome treat any time of year.
Family Traditions and the Sweet Scent of Vanilla
Grandma has bestowed upon us a treasure trove of incredible recipes, and sharing them here, alongside the heartwarming stories that accompany them, is our way of keeping her culinary legacy alive. This year, I was heartbroken to miss her birthday celebration in Idaho due to my delivery being so close, but I know she still lovingly prepared these Pinwheel Cookies for the party, even at over 90 years old. She truly is an extraordinary woman.
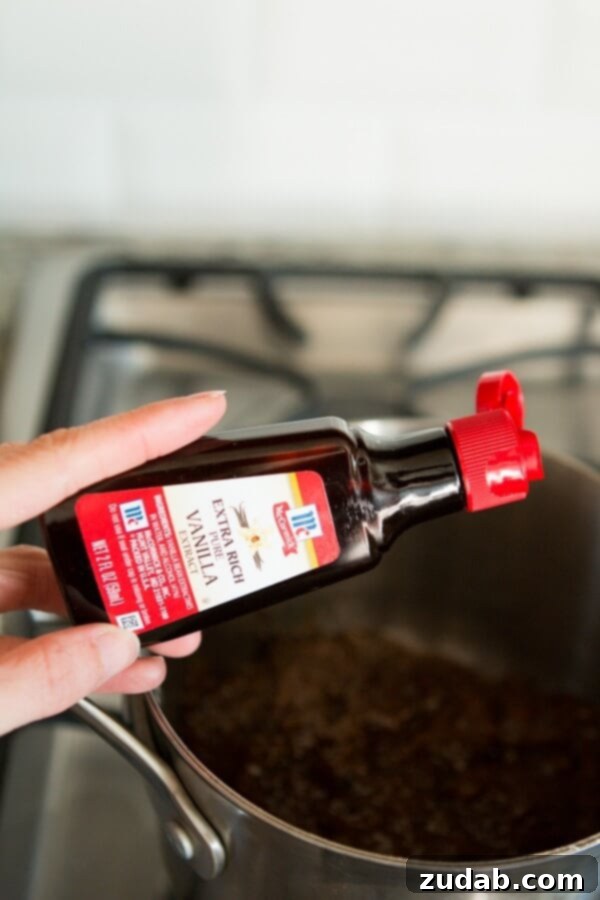
My earliest baking memories are of standing in her kitchen, eagerly watching her work. She always entrusted me with the important task of pouring in the vanilla extract. Now, as a mother myself, I fully appreciate that handing a small bottle of vanilla to a child is an open invitation for an accidental overflow. Yet, that was quintessential Grandma – she understood the value of trust and the joy of learning, allowing her little ones to participate and make memories, even in the parts that could easily go awry. To this day, the scent of vanilla in my baking instantly transports me back to her kitchen, a comforting reminder of her love.
I genuinely encourage you to take a moment to share your favorite family recipe in the comments below. Then, gather your children and recreate that recipe, passing down not just the instructions, but also the stories and traditions that make it special. It requires patience, yes, but the joy and connection fostered in the kitchen are truly priceless. Brands like McCormick Vanilla have been a staple in our family baking for decades, and I hope they help you create and rekindle wonderful memories of your own.
Essential Ingredients for Perfect Pinwheel Cookies
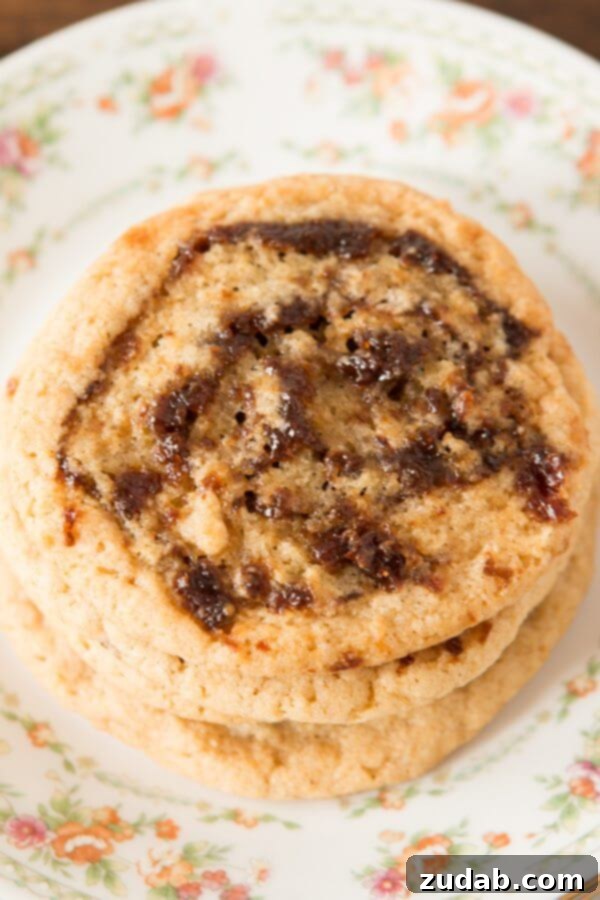
This delightful and easy cookie recipe is thoughtfully divided into two main components: the rich, tender cookie dough and the sweet, flavorful raisin pinwheel filling. While some variations of pinwheel cookies might feature date filling, our family has always held true to the classic raisin filling, which offers a distinct sweetness and chewiness that perfectly complements the dough.
To embark on your journey of making these beloved Pinwheel Cookies, here’s a comprehensive list of the ingredients you’ll need:
- Shortening: Crucial for the cookies’ tender crumb and ability to hold their shape.
- Granulated Sugar: Provides sweetness and contributes to the cookie’s texture.
- Brown Sugar: Adds depth of flavor and moisture, making the cookies wonderfully soft.
- Eggs: Act as a binder, adding richness and helping the dough come together.
- All-Purpose Flour: The structural foundation of our cookie dough.
- Salt: A pinch of salt balances the sweetness and enhances all the flavors.
- Baking Soda: The leavening agent that helps the cookies rise slightly and achieve a desirable softness.
- Raisins: The star of our signature filling, providing natural sweetness and a lovely chew.
- Water: Used to rehydrate and blend the raisins into a smooth, spreadable paste.
- Vanilla Extract: Infuses both the dough and the filling with its warm, aromatic essence.
Crafting Your Own Pinwheel Cookies: A Step-by-Step Guide
Don’t let the intricate appearance of these Pinwheel Cookies intimidate you! Despite their beautiful spiral pattern, they are surprisingly straightforward to prepare. This recipe for Christmas Pinwheel Cookies involves minimal fuss and yields spectacular results, making them a perfect baking project for any skill level. The key is in the simple steps and a little patience.
Here’s how we prepare Grandma’s celebrated Pinwheel Cookies, ensuring each one is a masterpiece:
- Prepare the Filling: Begin by combining the raisins, water, granulated sugar, and vanilla extract in a blender. Blend until you achieve a smooth, consistent paste. This step ensures an even distribution of flavor and texture throughout the filling.
- Cook the Filling: Transfer the blended raisin mixture to a small saucepan. Bring it to a gentle boil and allow it to simmer for approximately 5 minutes, stirring occasionally. This process thickens the filling and deepens its flavor, preventing it from being too runny when spread.
- Prepare the Dough: In a separate bowl, cream together the shortening, granulated sugar, and brown sugar until light and fluffy. Beat in the eggs one at a time. In another bowl, whisk together the all-purpose flour, salt, and baking soda. Gradually add the dry ingredients to the wet ingredients, mixing until a thick, pliable cookie dough forms. Be careful not to overmix, as this can lead to tough cookies.
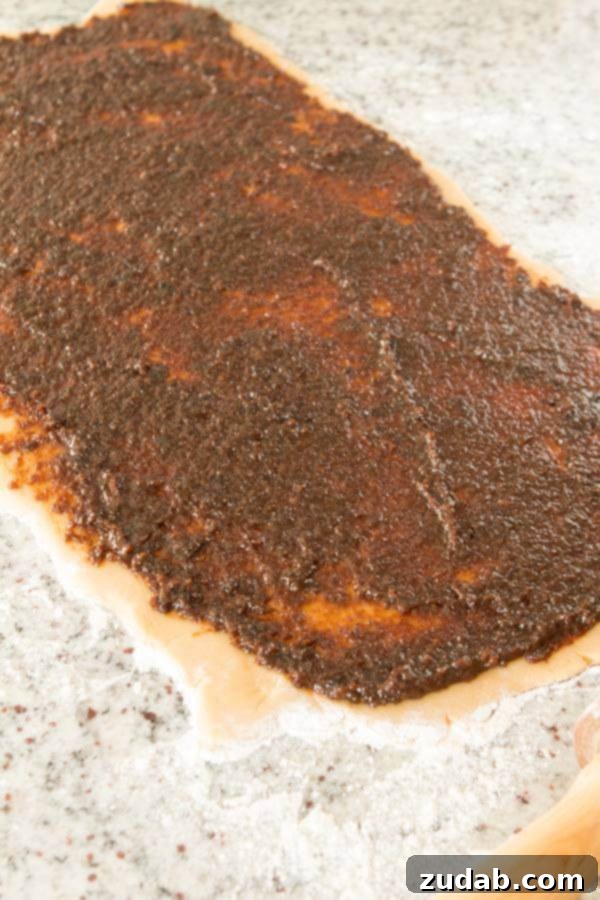
- Roll and Spread: Lightly flour a clean work surface. Roll out the prepared cookie dough into a large, even rectangle, aiming for a consistent thickness. Evenly spread the cooled raisin filling over the entire surface of the dough, leaving a small border around the edges.
- Shape the Pinwheels: Carefully roll the dough up tightly from one of the longer sides, just as you would for classic cinnamon rolls. A tight roll is essential for creating distinct, beautiful pinwheel spirals.
- Slice and Bake: Using a sharp knife, slice the dough log into uniform cookie rounds, about ¼ to ½ inch thick. Arrange these pinwheel cookies on baking trays lined with parchment paper, leaving some space between each cookie to allow for spreading. Bake in a preheated oven until the edges are lightly golden and the cookies are set.
Pinwheel Cookie Variations: Adding Nuts and More
While our family recipe for Pinwheel Cookies traditionally uses a pure raisin filling, many other recipes online incorporate chopped nuts. If you’re feeling adventurous and wish to add an extra layer of texture and flavor, finely chopped walnuts or pecans could be a delightful addition to the raisin filling. We have always made this recipe exactly as written, so I cannot personally attest to how the addition of nuts might alter the final texture or spread of the cookies. However, if you decide to experiment with nuts in your filling, please do share your results and any insights in the comments below! We’d love to hear how your nutty pinwheel cookies turn out.
Storage and Freezing Tips for Pinwheel Cookies
Proper storage is key to keeping your Pinwheel Cookies fresh and delicious for as long as possible. Once completely cooled, these cookies can be stored in an airtight container at room temperature for 3 to 5 days. For optimal freshness and to prevent them from drying out, consider placing a slice of bread in the container; it helps keep the cookies soft.
Yes, Pinwheel Cookies are excellent candidates for freezing! Once they have cooled entirely, you can arrange them in a single layer in freezer bags or a freezer-safe container, separating layers with parchment paper to prevent sticking. They can be frozen for up to 2-3 months without a significant loss in quality. When you’re ready to enjoy them, simply take them out and let them thaw on your kitchen counter for a few hours. For a slightly warmed taste, you can also gently reheat them in a low oven for a few minutes after thawing.
Expert Tips for Baking Flawless Pinwheel Cookies
Achieving bakery-worthy Pinwheel Cookies is within your reach with these helpful tips:
- Shortening vs. Butter: For the cookie dough, you can opt for an equal blend of shortening and butter if you prefer. While we traditionally use all shortening for a wonderfully tender and crisp cookie, a half-and-half ratio can add a lovely buttery flavor without compromising the texture too much. However, substituting all butter for shortening is not recommended, as it can significantly alter the cookie’s consistency and prevent the characteristic pinwheel shape from holding.
- Room Temperature Ingredients: Always ensure that both your shortening (and butter, if using) are at proper room temperature before you begin mixing the cookie dough. Ingredients that are too cold will result in a crumbly, difficult-to-work-with dough that won’t come together smoothly. This also applies to the eggs, which blend more uniformly when at room temperature.
- Dough Consistency: If, for any reason, your cookie dough appears too crumbly or dry and isn’t coming together, try adding a very small splash of water, a teaspoon at a time, until it reaches the right consistency. This is a rare occurrence with our tried-and-true Pinwheel Cookie recipe, but it’s a useful troubleshooting tip to keep in mind. The dough should be firm enough to roll without tearing but soft enough to be pliable.
- Even Rolling: When rolling out the dough, aim for a consistent thickness across the entire rectangle. This ensures even baking and uniform pinwheel spirals.
- Tight Roll: The secret to well-defined pinwheels is to roll the dough log as tightly as possible. This minimizes gaps and ensures a beautiful spiral pattern in every slice.
- Chilling the Dough: If your dough becomes too soft to slice cleanly, don’t hesitate to chill the rolled log in the refrigerator for 15-30 minutes before slicing. This will make slicing much easier and yield cleaner cuts.
More Easy Cookie Recipes to Love:
- The Best Soft Gingerbread Cookies
- Chocolate Chip Pudding Cookies
- Sweet Glazed Lemon Cookies
- Kitchen Sink Cookies
- The BEST Pumpkin Chocolate Chip Cookies
- Red Velvet Crinkle Cookies
- White Chocolate Peppermint Shortbread
- …All of our cookie recipes!
Grandma’s Famous Pinwheel Cookies
By Carrian Cheney
Prep Time: 10 mins
Cook Time: 10 mins
Total Time: 20 mins
Yields: 48 cookies
These Pinwheel Cookies are a beloved family favorite! My grandma makes them for every gathering, and they disappear in moments!
Ingredients
- 1 Cup Shortening, or half butter half shortening
- 1 Cup Granulated Sugar
- 1 Cup Brown Sugar
- 2 large Eggs
- 4 Cups All-Purpose Flour
- ½ teaspoon Salt
- 1 teaspoon Baking Soda
For the Filling
- 3 Cups Raisins
- ½ Cup Water
- ¼ Cup Granulated Sugar
- ½ teaspoon McCormick Vanilla Extract
Instructions
- Preheat your oven to 350 degrees F (175°C).
- In a blender, combine the raisins, water, granulated sugar, and vanilla extract. Blend until the mixture is smooth. Pour this raisin mixture into a small saucepan.
- Bring the mixture to a boil over medium heat and continue to boil for 5 minutes, stirring occasionally. Remove from heat and set aside to cool.
- In the bowl of a stand mixer fitted with the paddle attachment, cream the shortening, granulated sugar, and brown sugar together on medium speed for 1 minute, until light and fluffy.
- Add the eggs one at a time, mixing well after each addition until fully incorporated.
- In a separate medium bowl, whisk together the all-purpose flour, salt, and baking soda. Gradually add these dry ingredients to the wet ingredients in the mixer bowl, mixing on low speed until a thick cookie dough forms. Be careful not to overmix.
- On a lightly floured surface, roll out the cookie dough into a large rectangle, about ⅛ to ¼ inch thick. Aim for an even thickness for best results.
- Evenly spread the cooled raisin mixture all over the rolled-out dough, leaving a small border around the edges.
- Carefully roll the dough up tightly from one of the longer sides, creating a log, similar to how you would roll cinnamon rolls.
- Using a sharp knife, slice the dough log into uniform cookies, approximately ¼ to ½ inch thick. Place the sliced pinwheel cookies on baking sheets lined with parchment paper.
- Bake for 10-12 minutes, or until the edges are lightly golden. Allow the cookies to cool on the baking sheet for 2-5 minutes before transferring them to a wire rack to cool completely.
Recipe Notes
Store these delicious Pinwheel Cookies in an airtight container at room temperature for up to 5 days, or freeze for longer enjoyment.
Nutrition
Serving: 1 cookie | Calories: 143kcal | Carbohydrates: 25g | Protein: 2g | Fat: 5g | Saturated Fat: 1g | Polyunsaturated Fat: 1g | Monounsaturated Fat: 2g | Trans Fat: 1g | Cholesterol: 7mg | Sodium: 54mg | Potassium: 95mg | Fiber: 1g | Sugar: 10g | Vitamin A: 10IU | Vitamin C: 1mg | Calcium: 9mg | Iron: 1mg
Nutrition information is automatically calculated, so should only be used as an approximation.