
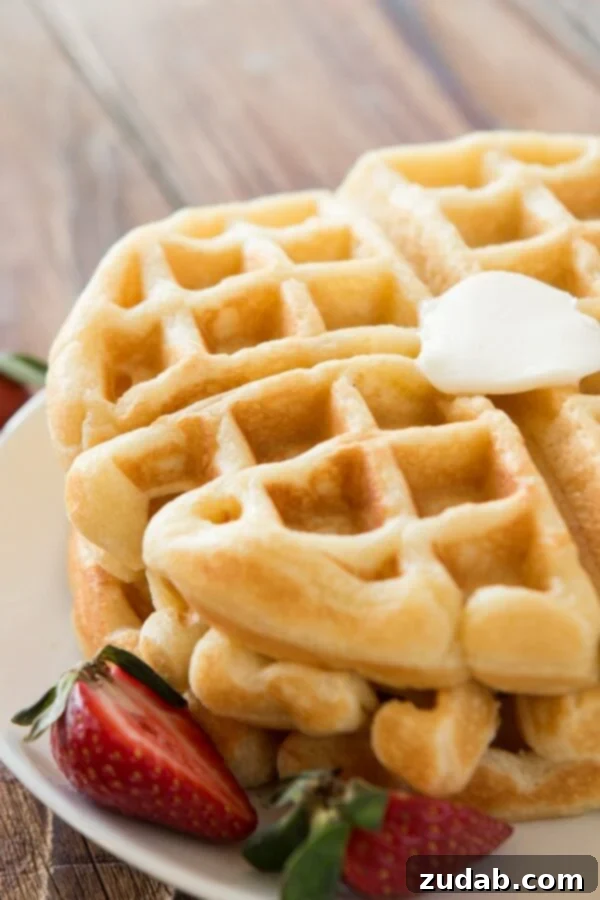
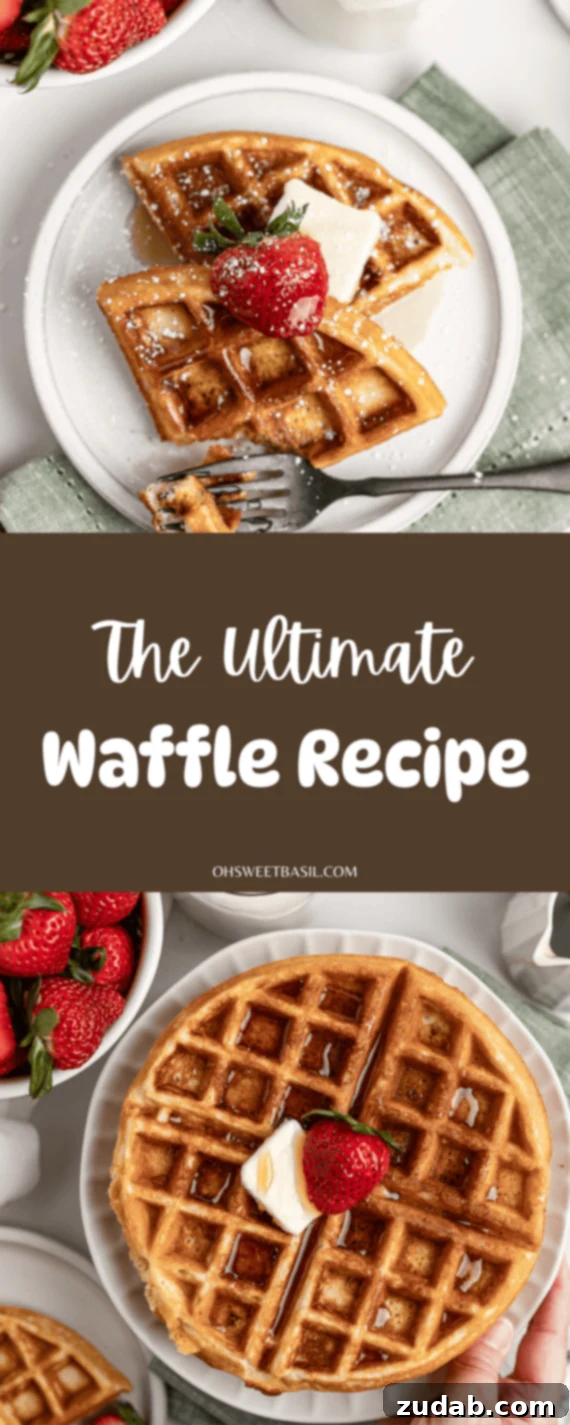
Welcome to our culinary quest for the absolute best buttermilk waffles! After diligently testing over 100 different recipes, countless ingredient combinations, and various cooking techniques, we’ve finally perfected what we confidently declare to be The Ultimate Buttermilk Waffle Recipe. This isn’t just another breakfast staple; it’s a testament to simple secrets and meticulous refinement, ensuring every bite delivers that coveted golden crisp exterior and a tender, fluffy interior.
Our journey to waffle perfection began with a simple desire: to create a recipe that consistently produces flawless waffles, free from the common pitfalls of sogginess or lack of flavor. We challenged every “ultimate” recipe we could find, from old family favorites to renowned chef creations, including Bobby Flay’s acclaimed chicken and waffles batter. While many offered good results, none truly captured the sublime texture and rich taste we envisioned. This is the culmination of that extensive experimentation, a recipe once exclusive to our cookbook, Our Sweet Basil Kitchen, now available for everyone to enjoy on the blog!
Mastering the Art of Waffle Making: Preventing Soggy Waffles
There’s nothing quite as disappointing as a waffle that emerges from the iron looking beautiful, only to turn soft and limp after just a few moments. Preventing soggy waffles is crucial for achieving that ultimate experience. Here are our top secrets to ensure your waffles remain perfectly crisp from the first bite to the last:
- Don’t Overmix the Batter: This is perhaps the most critical rule. When you overstir waffle batter, you develop the gluten in the flour, making your waffles tough and chewy instead of light and airy. It’s perfectly fine if there are a few lumps in your batter; these will typically dissipate during the cooking process and won’t affect the final texture. Aim for just combined ingredients, leaving some streaks of flour visible.
- Resist the Urge to Peek: Opening the lid of your waffle iron prematurely is a common mistake. Each time you lift the lid, the waffle iron loses heat, interrupting the cooking process and preventing the waffle from fully setting and developing its crisp crust. This heat loss can lead to a collapsed, undercooked, and ultimately soggy waffle.
- Observe the Steam: A reliable indicator that your waffle is done is to pay attention to the steam emanating from the waffle iron. When a good amount of steam is still billowing out, your waffle isn’t quite ready. As the waffle finishes cooking and the moisture evaporates, the steam will gradually diminish. Once the steam significantly lessens or almost stops, your waffle should be golden and crisp.
- Allow Steam to Dissipate Post-Cooking: Immediately after removing your perfectly cooked waffle from the iron, gently toss it back and forth between your hands for a few seconds. This simple action helps release any trapped steam that might cause sogginess.
- Cool on a Wire Rack: Never stack freshly cooked waffles! Instead, transfer them to a wire rack. This allows air to circulate around all sides, ensuring steam can continue to escape and preventing the bottom from becoming damp and soggy. Stacking them on a plate will trap steam, instantly turning your crispy creation into a soft, unappealing mess.
- Serve Promptly: For the absolute best texture, waffles should be served as soon as they are ready. While you can keep them warm in a low oven (around 200°F/93°C) on a wire rack for a short period, they are at their peak freshness and crispiness moments after leaving the waffle iron.
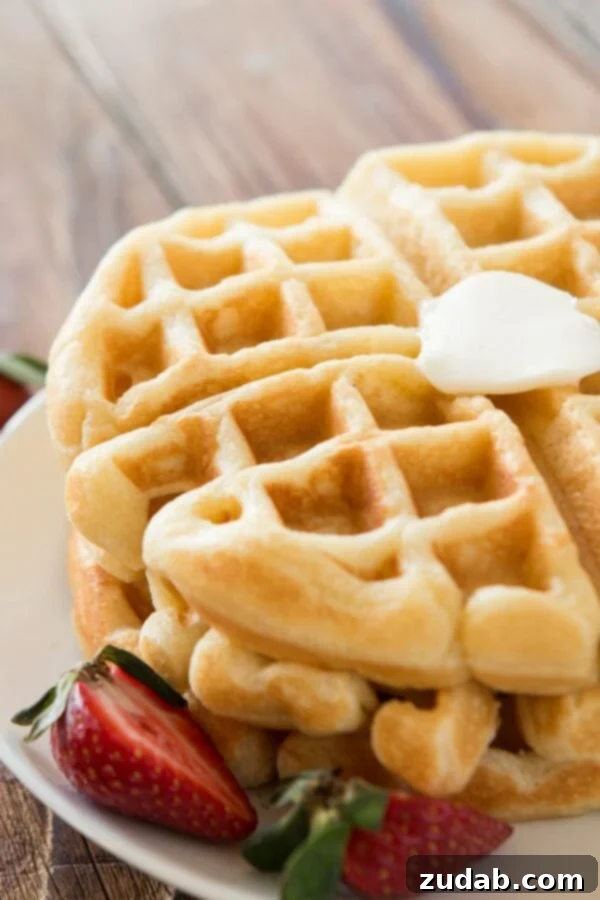
Our quest for the ultimate waffle was a meticulous process. We dedicated countless hours to pulling up every buttermilk waffle recipe imaginable, from dog-eared cookbooks to obscure online forums. The testing phase was even more extensive, often involving side-by-side comparisons of multiple batches in a single morning. We were relentless, even putting Bobby Flay’s renowned waffle recipe to the test during his famous chicken and waffles throwdown. It was good, undeniably, but it simply didn’t achieve the level of perfection we had set out to find. We knew there were deeper secrets to unlock, subtle adjustments that would elevate a good waffle to an unforgettable one.
Before we delve into the precise measurements and steps of this extraordinary recipe, we want to express our immense gratitude for your ongoing love and support of our site! If you enjoy our recipes, we encourage you to pick up a copy of Our Sweet Basil Kitchen, which is currently on sale. It’s packed with even more exclusive recipes and culinary insights that we know you’ll cherish.
The Secret Ingredients and Techniques for Perfect Waffles
Let’s reveal the secrets that make this buttermilk waffle recipe truly stand out:
The Role of Fats: Butter vs. Oil
We rigorously tested various fats – oil, butter, margarine, shortening, coconut oil, and even yogurt. While each contributed a unique quality, butter emerged as the undisputed champion for flavor and richness. This was hardly a surprise. However, the true revelation came with *when* to add the butter. This seemingly minor detail proved to be the single most important factor in achieving the perfect texture. But more on that crucial timing shortly.
The Buttermilk and Heavy Cream Revelation
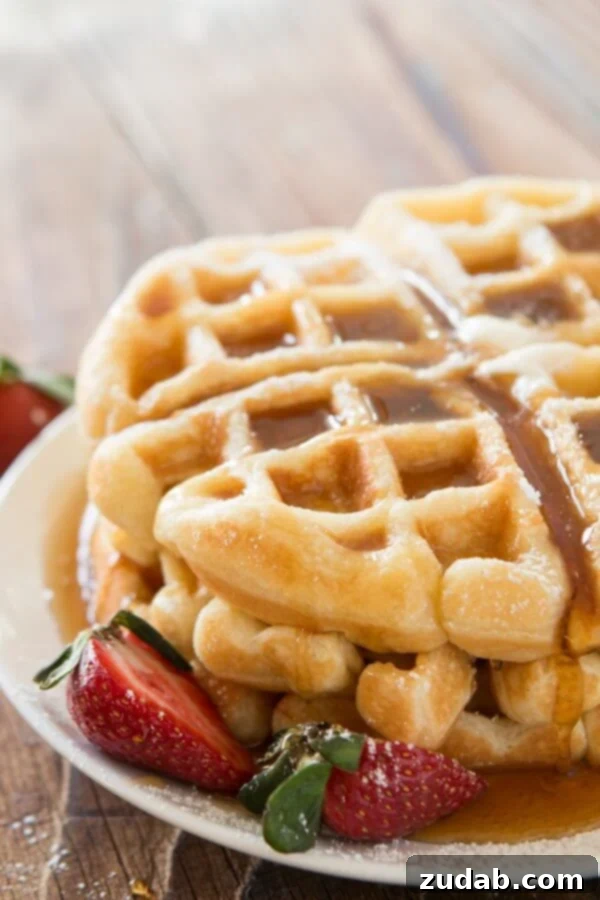
Buttermilk is, of course, essential for buttermilk waffles, lending tanginess and reacting with baking soda for a light rise. During our experiments, we tried various buttermilk quantities. At one point, finding ourselves just shy of the required amount, we impulsively added heavy cream to make up the difference. The result was nothing short of miraculous. “Oh. Sweet. Mercy. Eureka!!” The waffles had a superior texture and an unparalleled depth of flavor. A side-by-side comparison unequivocally showed that the heavy cream addition led to a less “eggy” taste and a richer, more luxurious mouthfeel, immediately rendering all-buttermilk batches obsolete.
Sweetness, Leavening, and Crispiness Boosters
Beyond the fats and liquids, we fine-tuned other elements. We explored sugar vs. no sugar, and if sugar, how much. We also meticulously balanced baking powder and baking soda, and discovered a secret ingredient for exceptional crispiness: cornstarch.
- Sugar: We found that waffles made without sugar were simply too bland. While the sugar in our recipe doesn’t make them overtly sweet, it does provide just enough sweetness to round out the flavors and enhance the overall profile, creating a more satisfying taste.
- Baking Powder and Baking Soda: Both leavening agents play distinct roles. Baking powder contributes to a fluffy rise, giving the waffles their airy internal structure. Baking soda, activated by the acidity of the buttermilk, ensures a tender crumb and helps achieve a desirable browning. Using both in the right proportions is key to this recipe’s success.
- Cornstarch: This secret weapon, inspired by a tip from “Completely Delicious,” is what truly sets these waffles apart. Adding cornstarch to the dry ingredients helps create an incredibly crisp exterior, providing that delightful textural contrast against the soft interior.
The Crucial “No Over-Mixing” Rule (Again!)
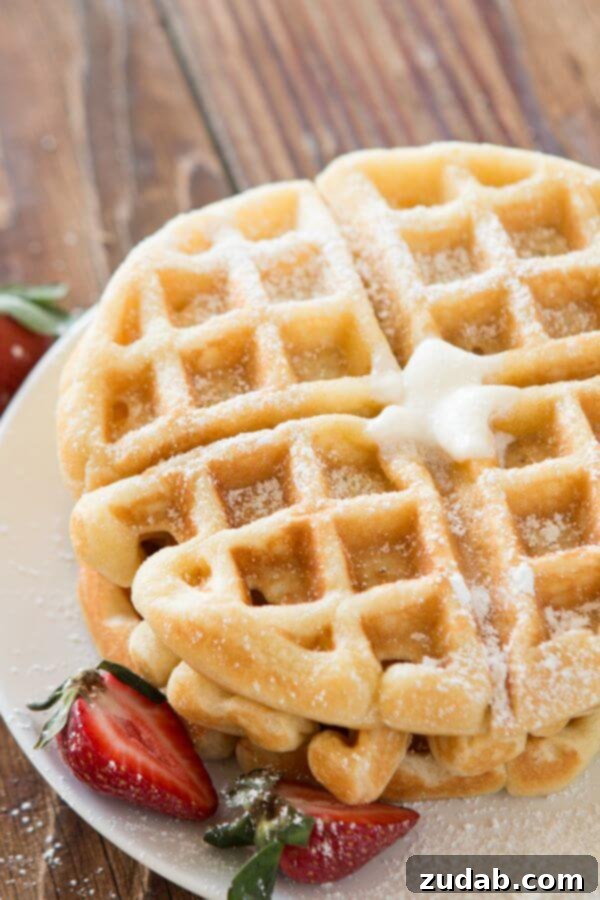
We cannot stress this enough: over-mixing is the archenemy of perfect waffles. Truly, vigorously stirring these babies will destroy their potential, no matter how perfect your ingredient list. After incorporating the wet ingredients into the dry, stir just until the ingredients are mostly combined. There should still be plenty of streaks of flour remaining. Lumps are your friends here; smooth batter means tough waffles.
The Butter’s Grand Finale
Remember our revelation about butter’s timing? Here it is: you MUST gently stir in the melted and slightly cooled butter at the very end of the mixing process. This may result in a batter that looks a bit lumpy (but remember, the flour streaks should be gone by now), but it’s the winning technique for achieving that ideal soft inside and crisp outside.
The Unexpected Power of Rest
Finally, another serendipitous discovery was the power of resting the batter. In the final stages of our testing, a timely distraction involving our kids led to a batch of batter sitting for a full 30 minutes. To our astonishment, it produced the best waffles yet! While the precise science behind it might be complex (allowing the flour to fully hydrate and the leavening agents to begin their work), the results are undeniable. A rested batter consistently delivers superior texture and flavor.
Can Waffle Batter Be Frozen?
Yes, preparing waffle batter in advance can be a fantastic time-saver! You can absolutely store waffle batter in the freezer for up to a month. To do so, pour the prepared batter into an airtight container or a freezer-safe bag, ensuring there’s minimal air inside to prevent freezer burn. When you’re ready to make waffles, simply thaw the batter. You can do this by placing the container in warm water for a quicker thaw, or, for best results, transfer it to the refrigerator overnight. Once thawed, give it a gentle stir before using. This makes it incredibly convenient to enjoy homemade waffles even on busy mornings.
More Sweet Breakfast Options:
- Buttermilk Pancakes
- Apple Pie Slow Cooker Oatmeal
- Dutch Baby Pancakes
- Orange Sweet Rolls
- Classic French Toast
- Waffles
- Cinnamon Rolls
- Blueberry French Toast Bake
- Homemade Yogurt
- Cinnamon Roll Pigs in a Blanket
- Peach Coffee Cake
- Liege Waffles
- Slow Cooker Overnight Steel Cut Oats
- All ourBREAKFAST RECIPES!
The Ultimate Waffle Recipe
The Ultimate Waffle Recipe
30 mins
3 mins
33 mins
4
Ingredients
- 1 3/4 Cup All Purpose Flour
- 2 1/4 teaspoons Baking Powder
- 1/4 teaspoon Baking Soda
- 2 Tablespoons Cornstarch
- 3 Tablespoons Sugar, plus 1 Teaspoon
- 1/2 teaspoon Fine Sea Salt
- 3 Large Eggs
- 3/4 Cup Buttermilk
- 3/4 Cup Heavy Cream
- 1/2 Cup Unsalted Butter, melted and cooled slightly
Instructions
-
In a large bowl, whisk together the flour, baking powder, baking soda, cornstarch, sugar, and salt until well combined.
-
In a separate medium bowl, whisk together the eggs, buttermilk, and heavy cream until thoroughly blended.
-
Using a wooden spoon or spatula, pour the wet ingredients into the dry ingredients. Stir gently until just combined. It is crucial to avoid overmixing; a few streaks of flour should still be visible.
-
Add the melted and slightly cooled unsalted butter to the batter and stir just until incorporated. The batter may appear slightly lumpy, which is desirable. Important: Allow the batter to rest at room temperature for 15-30 minutes. This resting period is key for optimal texture.
-
While the batter rests, preheat your waffle iron according to the manufacturer’s instructions.
-
Once heated, lightly brush both sides of the waffle iron with a little extra melted butter or non-stick spray, even if it’s non-stick, to ensure a perfect golden crust.
-
Pour approximately 1/3 to 1/2 cup of batter (depending on your waffle iron size) onto the hot iron. Close the lid and cook for 3-5 minutes, or until golden brown and steam largely subsides, indicating it’s done. Repeat with remaining batter.
Recipe Notes
Nutrition
Nutrition information is automatically calculated, so should only be used as an approximation.
Enjoyed this recipe? Leave a comment below!
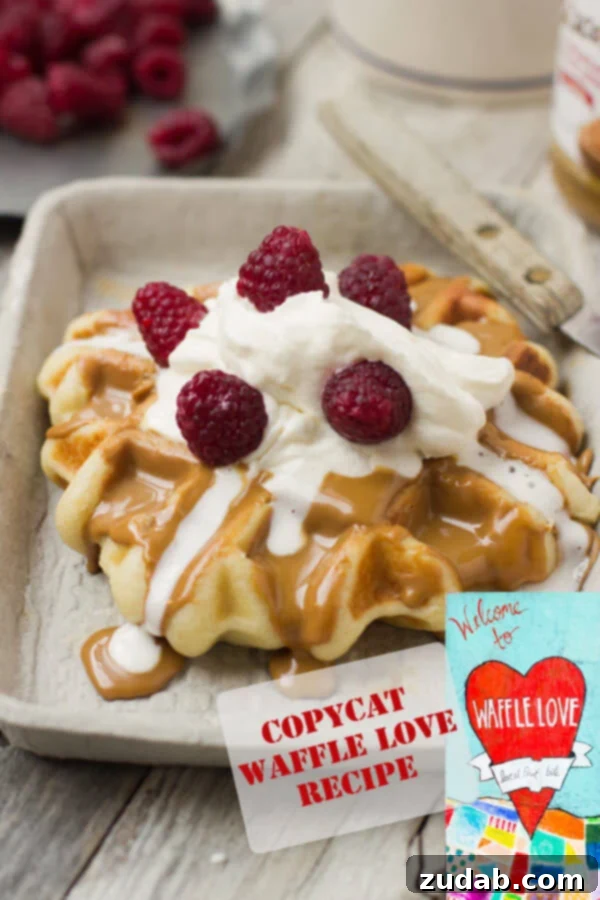
Liege Waffles
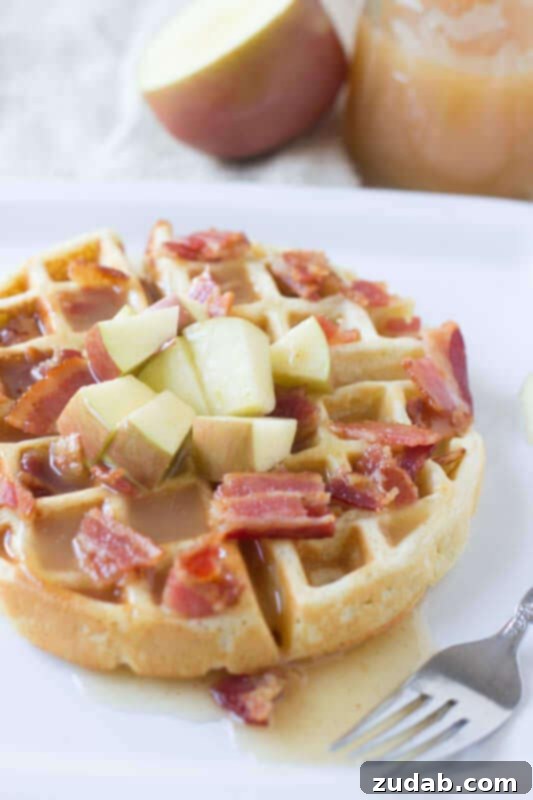
Apple Bacon Waffles