
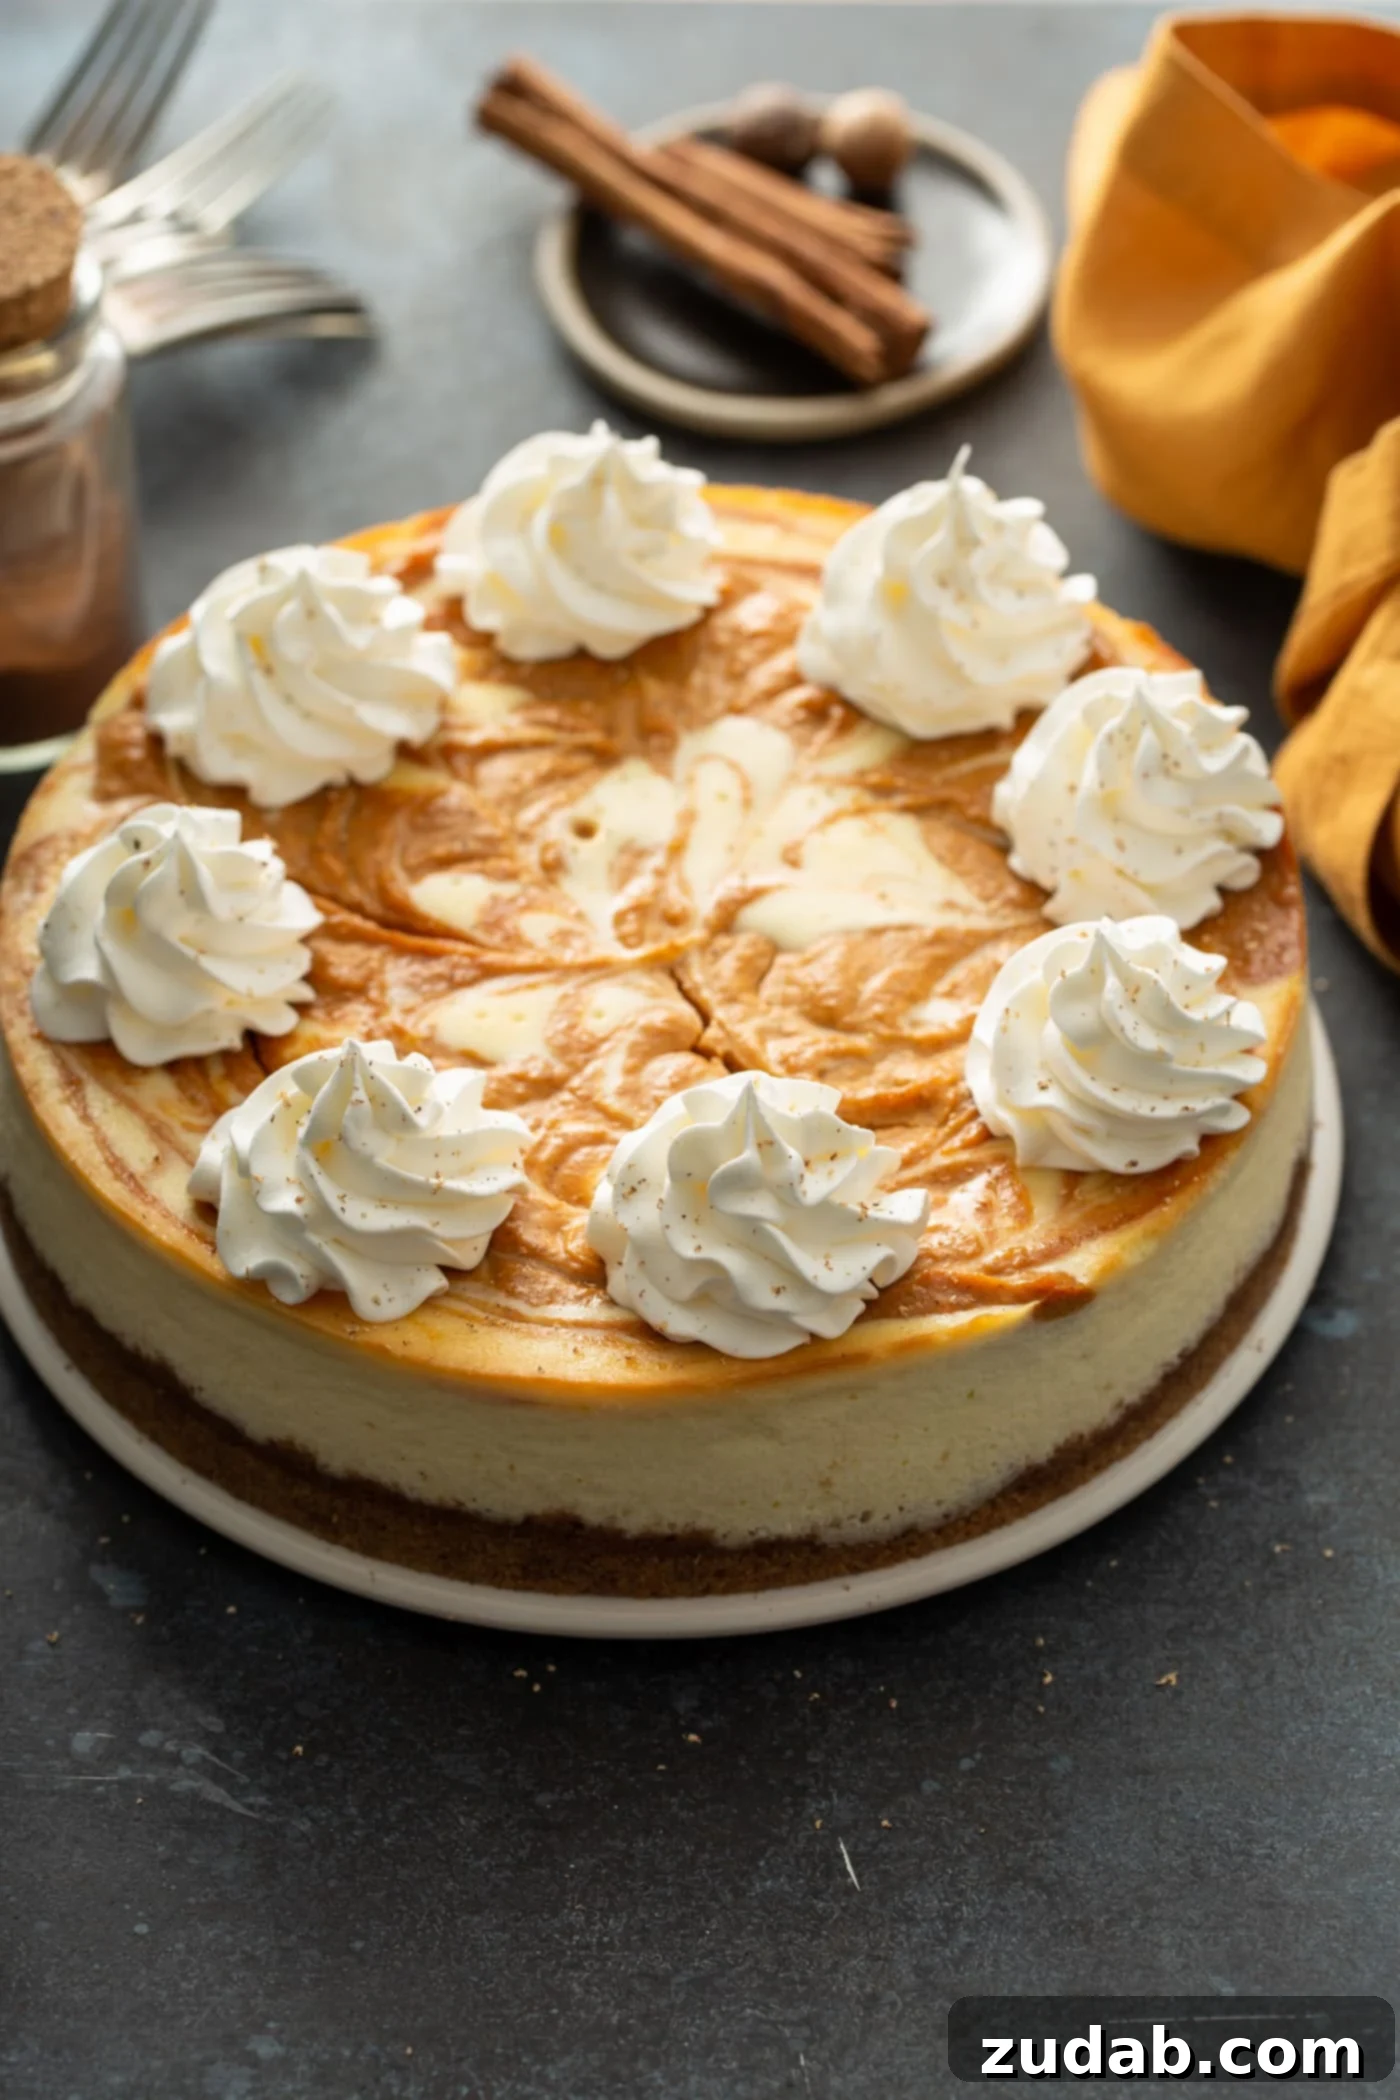
Mastering the Art of Cheesecake: Your Guide to a Flawless, Crack-Free Dessert
Imagine the ultimate holiday dessert: a rich, velvety cheesecake, perfectly smooth, utterly delectable, and completely free of cracks. While many bakers might instinctively reach for a classic pie, this year, we challenge you to elevate your festive table with a show-stopping cheesecake. It might seem like a daunting task, but with the right techniques and a few crucial tips, you can achieve cheesecake perfection. We’ve all faced the heartbreak of a beautiful cheesecake marred by an unsightly crack – and yes, even we have made that mistake! But fear not, this comprehensive guide will equip you with all the knowledge to avoid common pitfalls and bake a cheesecake that will impress everyone.
Cheesecake, a culinary masterpiece, transcends the ordinary dessert experience. Its creamy texture and delicate balance of flavors make it an irresistible choice for any special occasion, especially during the holidays. Forget the stress and perceived complexity; we’re here to demystify the process and transform you into a cheesecake virtuoso. Get ready to bake a dessert so stunning and delicious, it will become your new holiday tradition.
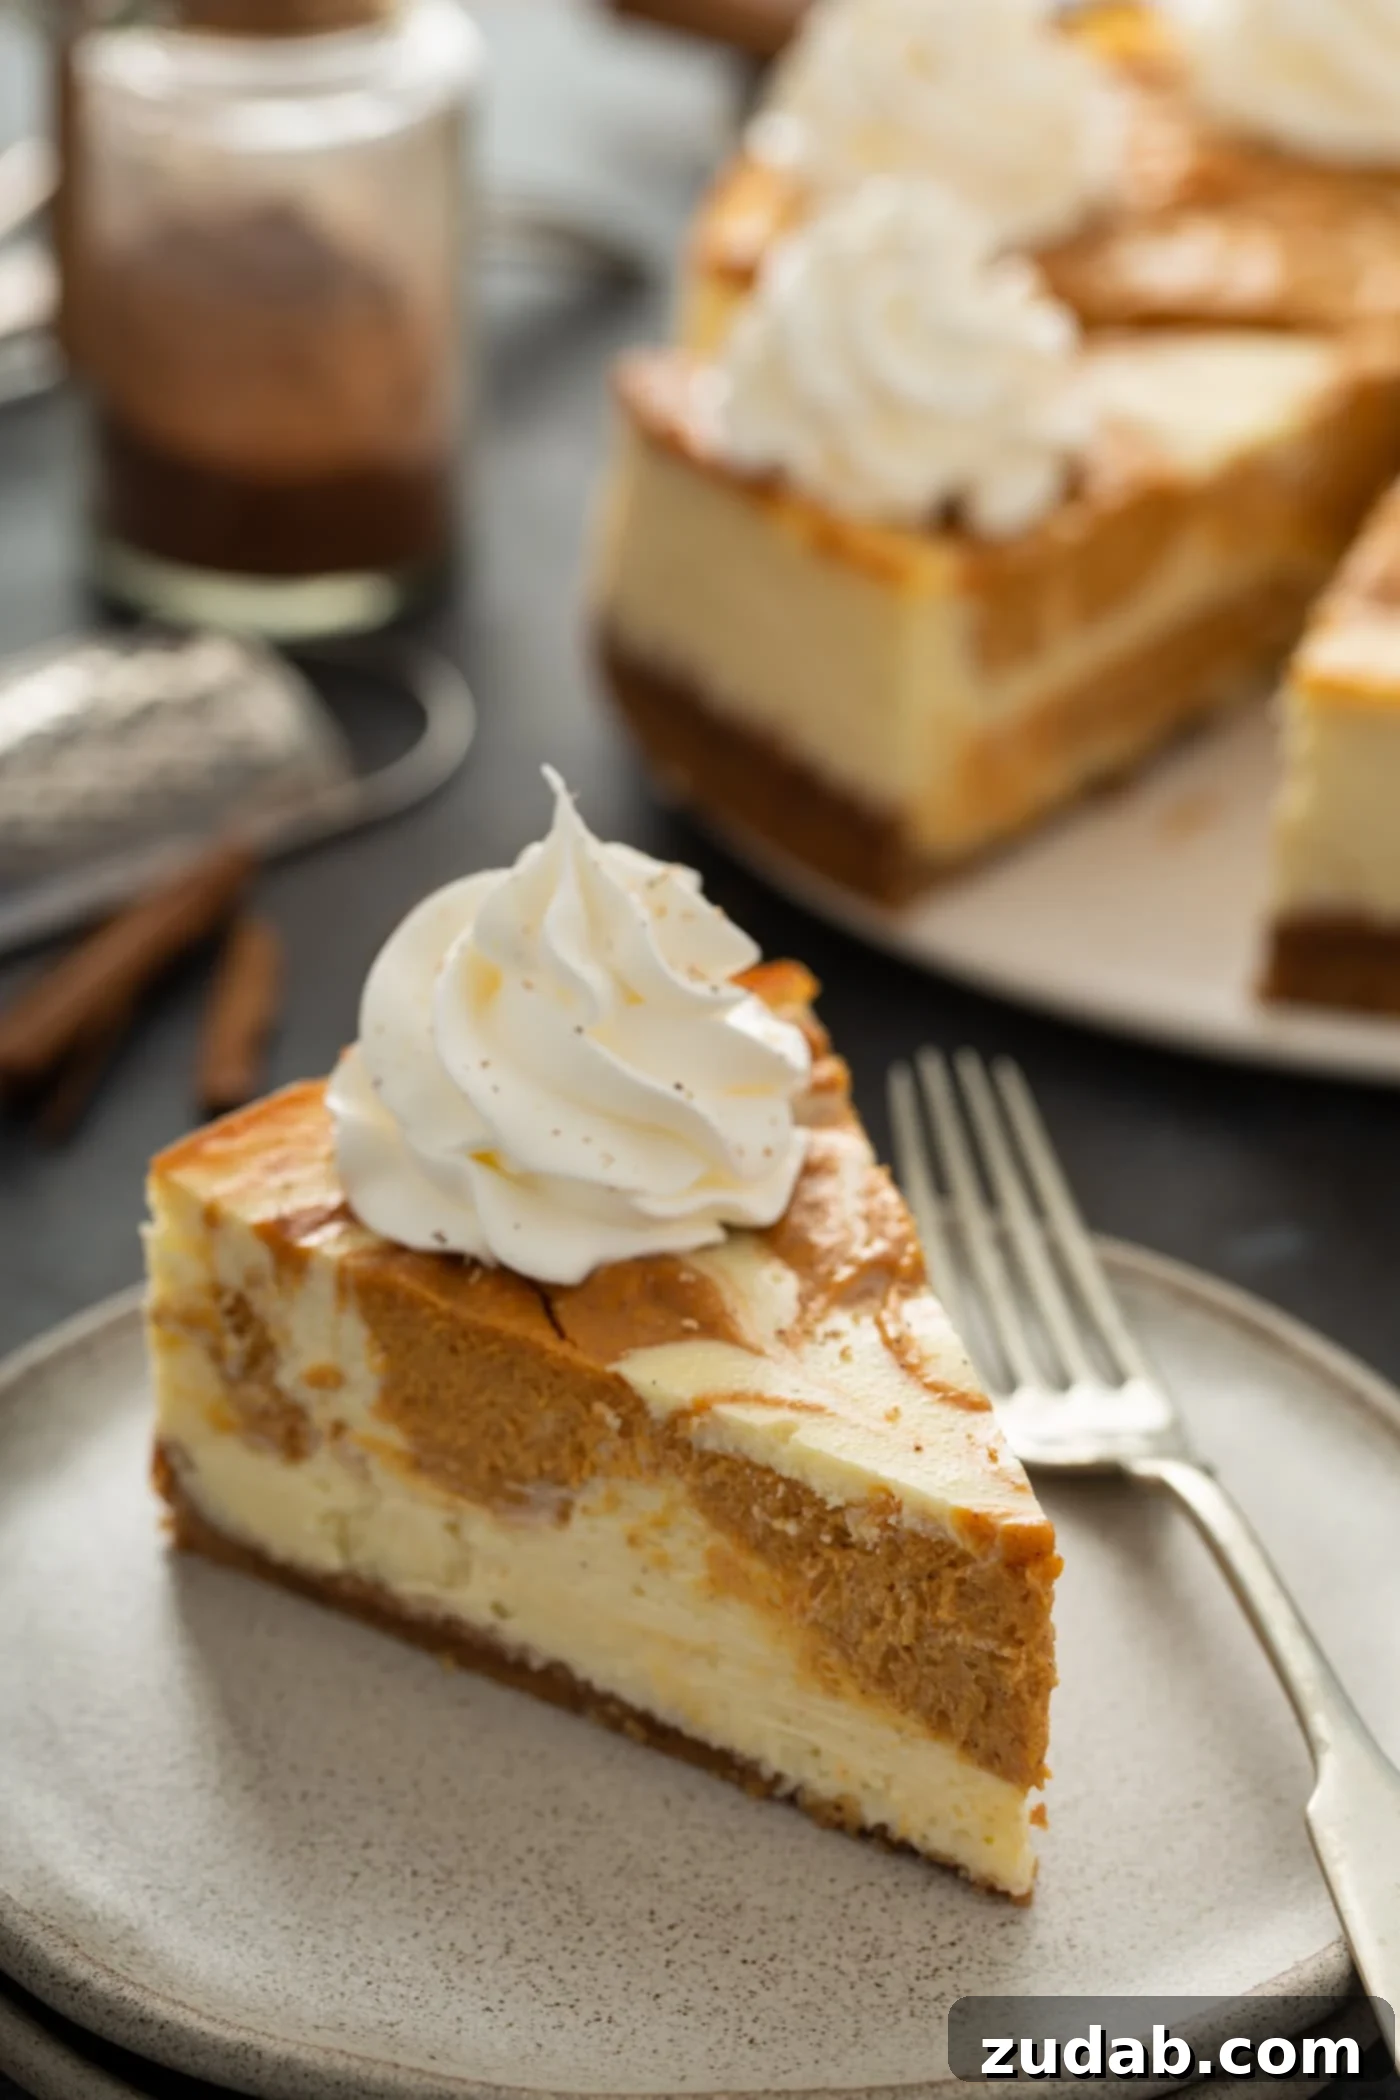
Your Essential Guide to Baking a Flawless, Crack-Free Cheesecake
Achieving that perfectly smooth, unblemished cheesecake surface isn’t magic; it’s the result of understanding a few fundamental principles and executing them diligently. Here are our tried-and-true tips and tricks for crafting a cheesecake that will look as incredible as it tastes:
-
Always Use Room Temperature Cream Cheese and Eggs
This is arguably the most critical step for a smooth, lump-free cheesecake batter. Cream cheese that has been allowed to reach room temperature (ideally for 1-2 hours) will be soft and pliable, blending effortlessly into a silky-smooth consistency. Cold cream cheese, on the other hand, will resist mixing, leading to stubborn lumps that can ruin the texture of your final product. Similarly, room temperature eggs emulsify more effectively with the other ingredients, ensuring a homogenous mixture that bakes evenly. Cold eggs can cause the batter to seize, affecting the overall structure and increasing the likelihood of cracks. To quickly bring eggs to room temperature, simply place them in a bowl of warm (not hot) water for 5-10 minutes.
-
Do Not Over-Mix the Batter
While it might be tempting to vigorously beat your cheesecake batter until it’s light and airy, resist the urge! Over-mixing, especially once the eggs have been added, incorporates too much air into the mixture. This excess air expands rapidly during baking, causing the cheesecake to puff up like a soufflé. As it cools, this trapped air escapes, leading to a dramatic fall and, inevitably, cracks. Mix just until the ingredients are combined and the batter is smooth. For the eggs, gently whisk them into the batter until *just* incorporated – no more than a minute or two. Scrape down the sides of your bowl frequently to ensure everything is evenly mixed without overworking the batter.
-
Utilize a Springform Pan in a Water Bath
A springform pan is essential for cheesecake because its removable sides allow for easy extraction without damaging the delicate edges. But the real game-changer for a crack-free cheesecake is baking it in a water bath (also known as a bain-marie). This method creates a gentle, humid environment in the oven, ensuring the cheesecake bakes slowly and evenly from the edges to the center. The moist heat prevents the cheesecake’s surface from drying out and cracking prematurely. We will delve deeper into the specifics of setting up a water bath in the sections below, but suffice it to say, this technique is non-negotiable for a truly flawless finish.
-
Never Open the Oven Door Prematurely and Cool Gradually
A sudden change in temperature is one of the leading causes of cheesecake cracks. When a cheesecake is baking, its internal structure is still delicate. Opening the oven door introduces a rush of cold air, causing the cheesecake to contract rapidly and potentially crack. Therefore, resist the temptation to peek! Once the cheesecake is done, turn off the oven, but leave the cheesecake inside with the oven door slightly ajar (use a wooden spoon to prop it open). Allow it to cool gradually in this environment for at least an hour. This slow acclimatization to room temperature prevents thermal shock and allows the delicate custard to set without stress.
-
Avoid Over-Baking at All Costs
Over-baking is a common culprit for a dry, rubbery, and cracked cheesecake. A perfectly baked cheesecake should still have a slight “jiggle” in the very center, about a 1-2 inch circle, when gently nudged. The outer edges should appear set and lightly golden. This gentle wobble is crucial because the cheesecake will continue to cook and set as it cools. Baking until the center is completely firm means it will be overdone by the time it reaches room temperature, resulting in a dense texture and guaranteed cracks. Trust the jiggle – it’s your best indicator of doneness.
-
Refrigerate for Extended Periods
Once your cheesecake has cooled to room temperature, its journey to perfection isn’t over. Proper chilling is vital for the cheesecake to fully set, firm up, and develop its rich, characteristic flavor. We recommend wrapping it tightly in plastic wrap (to prevent it from absorbing refrigerator odors) and refrigerating it for a minimum of 6-8 hours, but ideally, overnight or even up to 12 hours. This extended chill time allows the fats and proteins to stabilize, resulting in a dense, creamy texture that slices beautifully. Patience truly is a virtue when it comes to cheesecake, and the longer it chills, the better it will be!
Indeed, cheesecakes can be a bit demanding in their creation, requiring attention to detail and a touch of patience. But oh, what a magnificent reward awaits! One spoonful of that incredibly smooth, lusciously creamy slice, and all memories of its temperamental baking process will simply melt away. The sheer delight it brings makes every effort worthwhile.
What is a Water Bath and Why is it Essential for Cheesecake?
Baking a cheesecake in a water bath, often referred to by its French name “bain-marie,” is a professional technique that home bakers can easily adopt for superior results. It involves placing your springform pan containing the cheesecake batter into a larger pan filled with hot water, and then baking this assembly in the oven. The primary purpose of a water bath is to create a consistent, humid, and gentle cooking environment. The water insulates the delicate cheesecake from the harsh direct heat of the oven, preventing the edges from baking faster than the center.
This steady, moist heat distribution ensures an incredibly even bake, promoting a creamy, custard-like texture throughout the cheesecake. Without a water bath, the edges of the cheesecake can dry out and set too quickly, while the center remains undercooked, leading to tension that inevitably causes cracks during baking or cooling. Furthermore, the steam generated by the hot water keeps the surface of the cheesecake moist, preventing it from drying out and cracking. It’s the secret weapon for achieving that coveted silky smooth texture and a beautiful, unblemished top.
How to Properly Prepare a Water Bath for Your Cheesecake
Setting up a water bath is simpler than it sounds, but it requires careful attention to detail to prevent water from seeping into your cheesecake. Follow these steps for a perfect water bath:
- Prepare Your Springform Pan: Before pouring in your cheesecake batter, thoroughly wrap the bottom and sides of your springform pan with two to three layers of heavy-duty aluminum foil. Ensure the foil extends all the way up the sides of the pan. This creates a watertight barrier, critical for preventing any water from seeping into your crust and making it soggy. Some prefer to place the springform pan inside an oven-safe baking bag for an extra layer of protection.
- Prepare Your Larger Pan: Select a large roasting pan or a deep 9×13-inch baking dish that is wider than your springform pan, allowing at least an inch of space around all sides.
- Preheat Water: Boil a kettle of water on your stovetop. You’ll need enough hot water to come halfway up the sides of your springform pan.
- Assemble in the Oven: Carefully place your foil-wrapped springform pan, filled with the cheesecake batter, onto the middle rack of your preheated oven. Then, slide the larger baking dish (your water bath pan) onto the rack below the cheesecake or, if space allows, place the springform pan directly into the larger dish.
- Pour the Hot Water: This is the crucial step for safety. Once both pans are securely in the oven, carefully pour the boiling water into the larger pan, making sure it comes about halfway up the sides of your springform pan. Pouring the water in the oven minimizes the risk of spills and burns while transferring a heavy, hot pan across your kitchen.
- Bake as Directed: Close the oven door gently and bake your cheesecake according to your recipe’s instructions.
Taking these precautions ensures your cheesecake bakes in the ideal moist environment without any unfortunate water incidents.
How Do You Determine When a Cheesecake is Perfectly Baked?
Knowing exactly when your cheesecake is done is key to its texture and preventing cracks. Unlike a traditional cake that you might test with a toothpick, a cheesecake’s doneness is assessed by its unique “jiggle” factor. Here’s what to look for:
- The Jiggle Test: Gently nudge the springform pan. The edges of the cheesecake should appear set and slightly puffed, but the very center (a circle of about 1-2 inches in diameter) should still have a slight, soft jiggle, almost like gelatin. If the entire cheesecake wobbles like liquid, it needs more time. If there’s no jiggle at all, it’s likely over-baked.
- Visual Cues: The surface of a perfectly baked cheesecake will often look a bit opaque and may have a very subtle golden hue around the edges. Avoid looking for deep browning, which indicates over-baking.
- Baking Time Guidelines: Most full-sized cheesecakes will bake for 50-70 minutes, but this can vary significantly based on your oven calibration and the specific recipe. Always start checking at the lower end of the suggested baking time. Every oven is different, so getting to know yours is important.
- The Cooling Phase is Crucial: Once you’ve confirmed the jiggle, turn off the oven. Crack open the oven door (using a wooden spoon to keep it ajar) and allow the cheesecake to cool slowly inside the oven for at least an hour. This gradual cooling process is vital for the cheesecake to continue setting and firming up without experiencing a sudden temperature shock that could cause cracks. After this period, remove it from the oven and let it cool completely on a wire rack to room temperature before chilling.
By following these steps, you’ll achieve that ideal creamy texture and a crack-free surface every time.
So, which one of these critical cheesecake rules did I, your humble guide, once break, resulting in my own regrettable cracked cheesecake? It was rule number four – the cardinal sin of opening the oven door too soon and rushing the cooling process. Ugh! On that particular day, I was in a hurry, needing to get out the door, and foolishly didn’t allow my cheesecake the necessary hour to set up gradually in the cooling oven. The result? A perfectly tasty cheesecake, but with a less-than-perfect appearance.
But here’s the good news: even if your cheesecake does crack, it’s not the end of the world! A cracked cheesecake still tastes absolutely divine. You can easily camouflage any imperfections with a generous topping of stabilized whipped cream, a vibrant berry sauce, a drizzle of caramel, or fresh fruit. Nobody will ever know, and everyone will still rave about its incredible flavor. Cheesecake is forgiving in taste, even if it’s a bit temperamental in appearance!
Discover More Irresistible Cheesecake Recipes You’ll Adore:
Now that you’re armed with the secrets to baking a perfect cheesecake, it’s time to explore a world of delicious possibilities. From classic New York style to inventive mini versions, there’s a cheesecake for every craving and occasion. Get inspired with these fantastic recipes:
- Lime Cheesecake with Triple Berry Sauce
- Lemon Curd Cheesecake Tart
- New York Cheesecake
- Mini Strawberry Cheesecakes
- No Bake Mini Cheesecakes with Raspberry Sauce
- Easy Baked Cheesecake with Fresh Cherry Sauce
- Mini Twix Caramel Cheesecakes
- Mini Dutch Apple Cheesecakes
- No Bake Caramel Cheesecake Bars
- Swirled Raspberry Lemon Cheesecake Bars