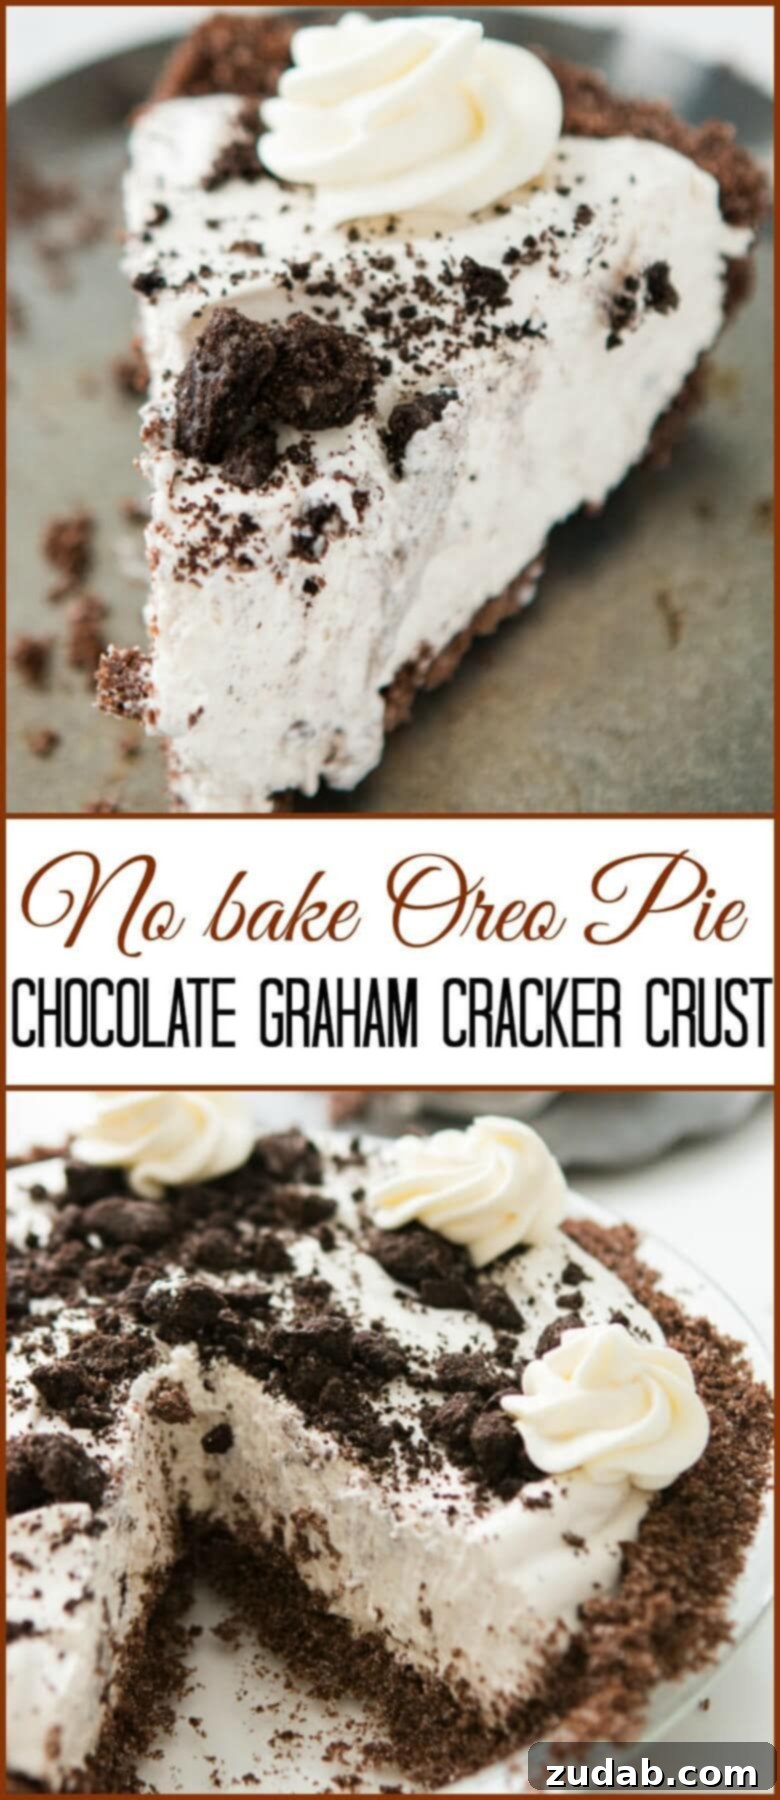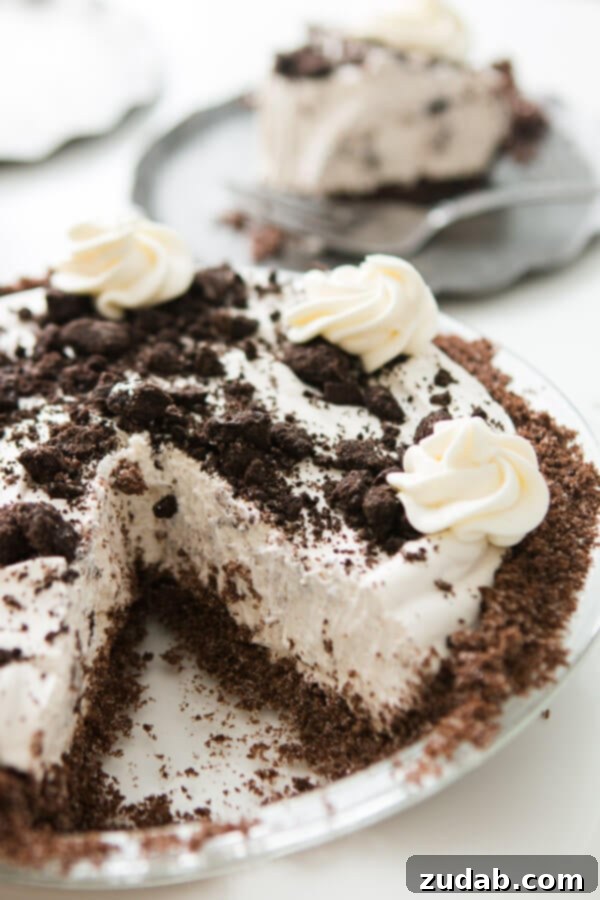
Welcome to a realm of pure dessert bliss! If you’re searching for an **easy pie recipe** that promises unforgettable flavor with minimal effort, you’ve found your match. Prepare to be delighted by our incredibly popular **No-Bake Oreo Pie with Chocolate Graham Cracker Crust**. This decadent creation is not just a dessert; it’s an experience, a perfect blend of rich chocolate and creamy texture that will have everyone clamoring for another slice. Imagine a velvety smooth Oreo-infused filling nestled in a crisp, deeply chocolatey crust – all without ever turning on your oven. Who’s ready to indulge?
Discover the Magic of This Easy Oreo Pie Recipe
Cream pies have always held a special place in the dessert world, but it wasn’t until we savored an exceptionally good banana cream pie with a luscious dulce de leche swirl that our obsession truly began. That particular pie became a benchmark, inspiring us to explore new and exciting no-bake variations. While we adore classics like our Dutch Apple Pie and the divine No-Bake Pumpkin Pie, there’s something uniquely satisfying about a truly well-executed **no-bake Oreo pie**. It’s the kind of dessert that brings smiles to faces and quickly disappears from the table, often eliciting requests for the recipe before the last crumb is gone.
Our journey to perfect this **Oreo cream pie** led us to a crucial realization: many Oreo pies tend to overemphasize the sweet cream center of the cookie, sometimes overshadowing the rich chocolate notes. We wanted a harmonious balance, where the deep cocoa flavor of the Oreo cookie truly shines. This quest for equilibrium became the driving force behind our decision to innovate, starting right from the foundation of the pie: the crust.
Traditional Oreo pies often feature a crust made from crushed Oreo cookies. While delicious, we found that the creme filling in these crusts sometimes competed with the primary chocolate flavor we were aiming for in our filling. To achieve that perfect balance, we revisited the classic no-bake crust: the graham cracker pie crust. But with a twist! Instead of plain graham crackers, we opted for **chocolate graham crackers**. This simple change was a game-changer, transforming our **easy Oreo pie** into an absolute triumph, delivering an unparalleled depth of chocolate flavor from the first bite to the last. This thoughtful combination ensures that every element of the pie contributes to a cohesive, mouth-watering experience.
Essential Ingredients for Your Delectable Oreo Pie
Creating this irresistible **Oreo pudding pie** is wonderfully straightforward, requiring just a handful of readily available ingredients. Simplicity is key to its charm, making it an ideal choice for both seasoned bakers and novice dessert makers alike. Each component plays a vital role in achieving the pie’s signature texture and rich flavor profile. Here’s what you’ll need to gather to bring this dream dessert to life:
- Chocolate Graham Crackers: These are the star of our uniquely flavorful crust, providing a deeper chocolate foundation than traditional graham crackers.
- Butter: Essential for binding the crust crumbs together, giving it that perfect, firm consistency.
- Granulated Sugar: Adds a touch of sweetness to the crust, enhancing its overall taste.
- Milk: Forms the base for our creamy pudding filling, ensuring a smooth and luscious texture.
- Chocolate Milk: This “secret ingredient” enhances the chocolate flavor of the filling, adding an extra layer of richness and complexity.
- Cream Cheese: Provides a delightful tang and helps stabilize the filling, giving it a wonderfully creamy and substantial body.
- Instant Oreo Pudding: The magic ingredient for a quick, flavorful, and perfectly set filling with unmistakable Oreo taste.
- Sweetened Condensed Milk: Contributes to the luxurious sweetness and incredibly smooth texture of the filling, making it rich and irresistible.
- Whipped Cream (or Cool Whip): Folded into the filling for an airy, light texture, and used generously for an elegant topping. Cool Whip is often preferred for its stability, especially when making ahead.
- Oreos: Crushed for garnish, providing that iconic Oreo crunch and flavor that makes this pie truly special.
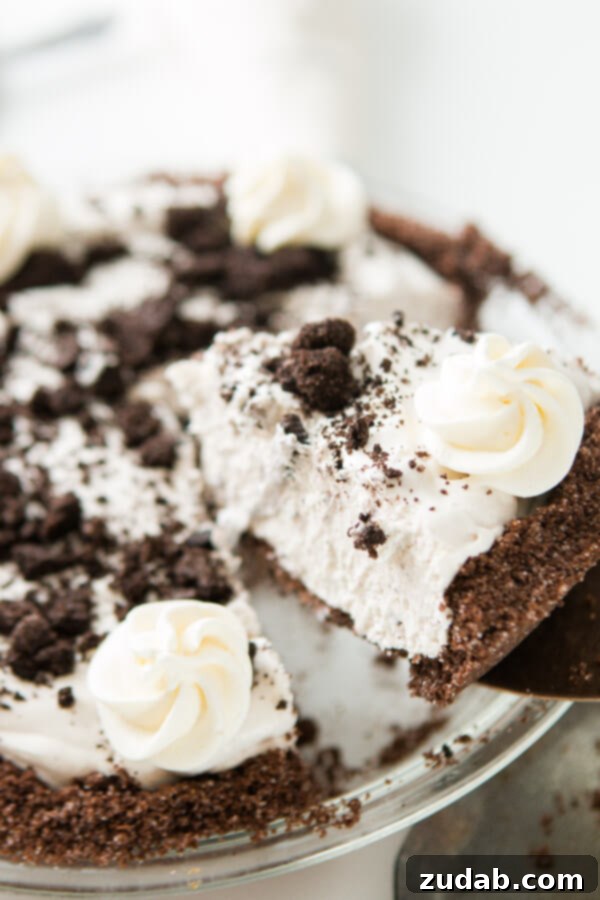
Crafting Your Own No-Bake Oreo Pie: Step-by-Step Guide
Creating this stunning **homemade Oreo pie** is a delightful process, broken down into three simple stages: making the crust, preparing the rich filling, and chilling to perfection. Follow these steps for a dessert that’s sure to impress.
Mastering the No-Bake Graham Cracker Crust:
The foundation of our extraordinary **Oreo cookie pie** begins with a perfectly crafted crust. Start by crushing your chocolate graham crackers into fine crumbs. You can easily achieve this using a food processor for a consistent texture, or, for a more hands-on approach, place the crackers in a sturdy Ziploc bag and crush them with a rolling pin. Since chocolate graham crackers tend to be a bit sweeter than their plain counterparts, you won’t need as much additional sugar. Once crushed, combine the crumbs with melted butter and the granulated sugar. The melted butter acts as the crucial binder, ensuring the crust holds together beautifully. Once mixed, press the crumb mixture firmly into your pie dish, creating an even layer. For an extra crisp texture, you have the option to bake the crust for a few minutes. Alternatively, simply refrigerate it to allow the butter to solidify and set the crust, making it ready for the filling. Whichever method you choose, a well-formed crust is the first step to pie perfection.
Whipping Up the Irresistible Filling:
The filling is where the magic truly happens, transforming simple ingredients into a creamy, dreamy delight. Begin by beating the softened cream cheese in a large bowl until it’s light and fluffy, ensuring no lumps remain. This step is crucial for a silky-smooth texture. Next, beat in the sweetened condensed milk until well combined and smooth. In a separate bowl, prepare the instant Oreo pudding. Here’s our “stroke of genius”: instead of using plain milk, we opted for a mixture of 1 part chocolate milk to 2 parts regular milk. This subtle addition of chocolate milk significantly deepens the cocoa flavor of the pudding, harmonizing beautifully with the chocolate graham cracker crust and balancing the overall sweetness of the pie. Once the pudding mixture is ready, gently fold it into the cream cheese mixture until everything is evenly incorporated. Finally, carefully fold in the whipped cream (or Cool Whip). Folding, rather than vigorously mixing, helps to maintain the airy, light texture of the whipped cream, ensuring a fluffy and decadent filling.
The Art of Chilling and Finishing:
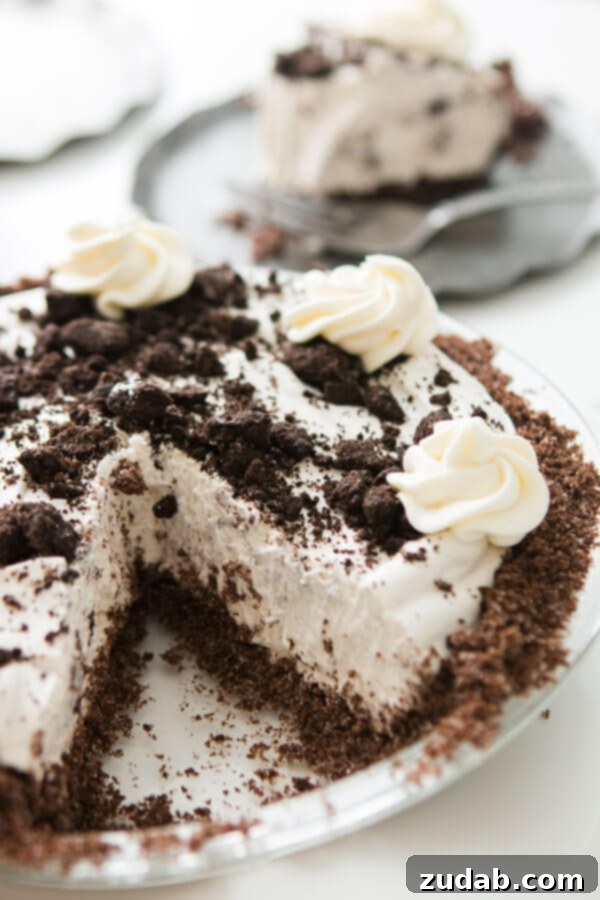
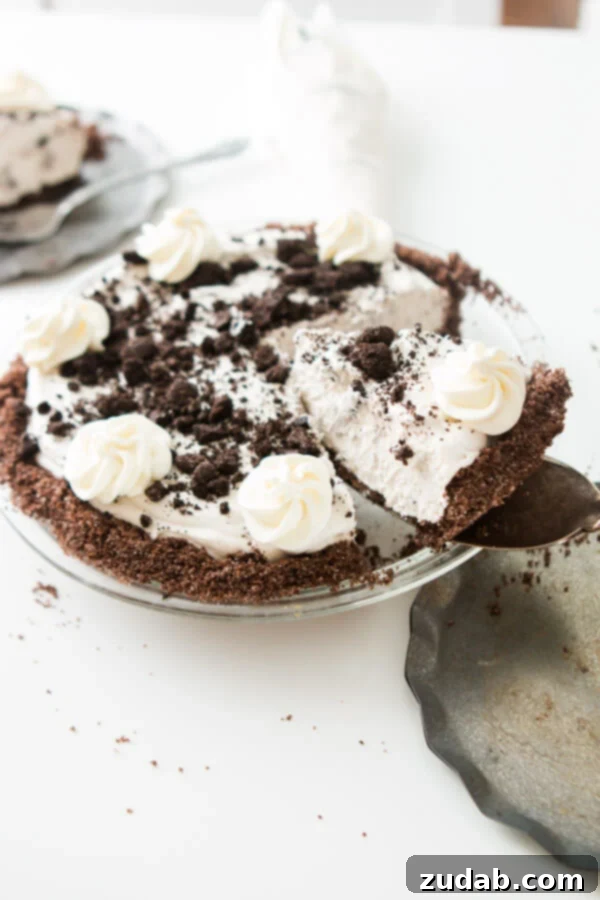
With your crust and filling complete, it’s time to assemble and chill. Carefully spread the prepared filling evenly into your chocolate graham cracker crust. Once filled, place the entire pie in the refrigerator for at least one hour to allow it to set. While you *can* serve it immediately if absolutely necessary, allowing it ample time to chill will result in a much firmer, more cohesive, and more enjoyable slice. For the grand finale, generously sprinkle crushed Oreos all over the top. This adds both visual appeal and an extra burst of classic Oreo flavor and crunch. Now, gather your loved ones, slice, and savor every magnificent bite!
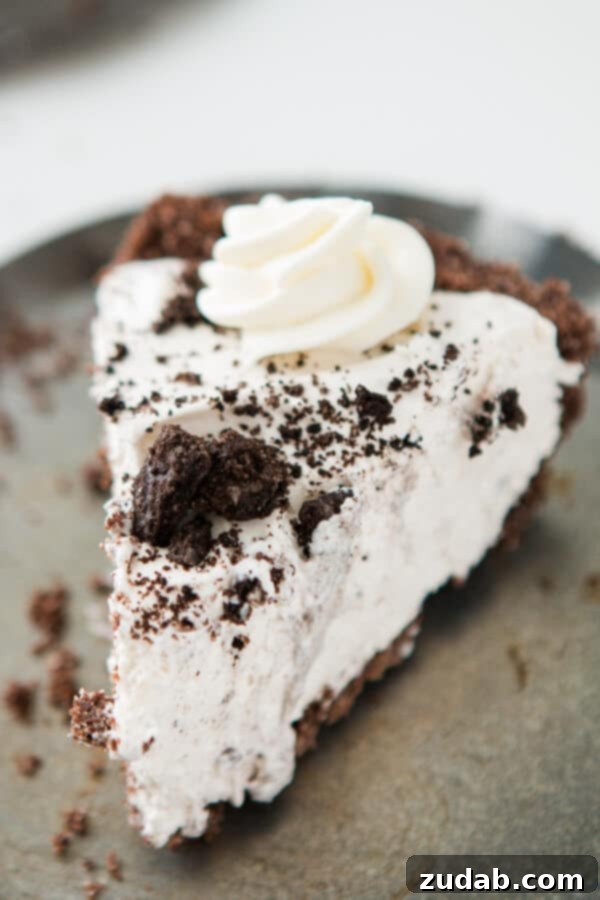
To Bake or Not to Bake: Your Chocolate Graham Cracker Crust Dilemma
The question of whether to bake your chocolate graham cracker crust before filling it with a luscious cream filling is largely a matter of personal preference and the texture you desire. Both methods yield excellent results, but they offer slightly different experiences.
Chilling the Crust: If you opt for a purely no-bake approach, simply place the prepared crust in the refrigerator for at least 30 minutes (or longer) to allow it to firm up. The melted butter in the crumb mixture will solidify when chilled, effectively binding the graham cracker crumbs together. This method results in a tender, slightly softer crust that melts in your mouth and perfectly complements the creamy filling. It’s ideal for those who prefer maximum convenience and want to avoid using the oven entirely, especially on hot days.
Baking the Crust: For those who crave a sturdier, crispier crust with a deeper, toasted flavor, a brief bake is recommended. After pressing the crumbs into your pie dish, bake the crust for approximately 6 to 9 minutes in a preheated oven at 375 degrees F (190 degrees C). Baking evaporates some of the moisture, enhancing the crunch and intensifying the graham cracker flavor. If you choose to bake, it is absolutely crucial to allow the crust to cool completely before adding the filling. A warm crust will melt your delicate filling, leading to a runny, unappealing result. Once baked and cooled, the crust will be firm and hold its shape beautifully, offering a satisfying contrast to the smooth cream.
Ultimately, the choice is yours! Experiment with both methods to discover which texture you prefer for your perfect **no-bake Oreo pie**.
How Long Will Your Delectable Oreo Cream Pie Last?
One of the many benefits of this **no-bake Oreo pie** is its convenient shelf life in the refrigerator. To ensure maximum freshness and enjoyment, this pie will happily last for 2 to 4 days when properly stored. The key to maintaining its creamy texture and vibrant flavor is thoughtful storage. After serving, or if you’re making it ahead, make sure to loosely cover the pie with plastic wrap or aluminum foil. This protective layer helps to prevent the pie from absorbing odors from other foods in your refrigerator and keeps the top layer of whipped cream (if used) from drying out. Store it on a flat surface in the fridge to prevent any tilting or damage. While it might be tempting to enjoy it for longer, for the best taste and texture, we recommend consuming it within this timeframe. This makes it an ideal make-ahead dessert for parties or a delightful treat to savor over a few days.
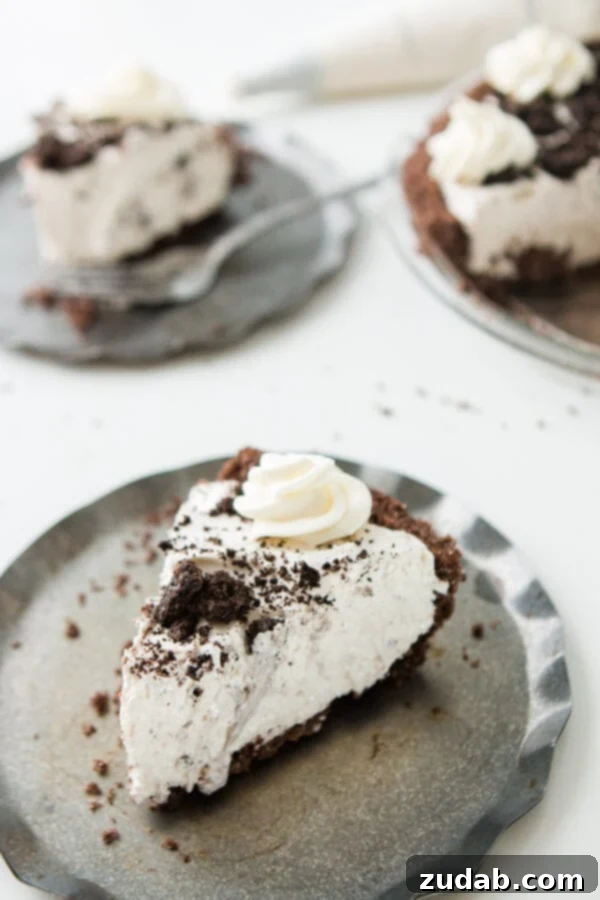
Expert Tips for Crafting the Perfect Oreo Cookie Pie
Elevate your **no-bake Oreo pie** from great to absolutely extraordinary with these invaluable tips and tricks:
- Embrace Creative Variations: While our recipe leans into a rich, super chocolatey profile, don’t be afraid to experiment! For a delightful vanilla version, simply swap out the chocolate graham crackers for regular ones, use only regular milk in the pudding, and opt for Golden Oreos for your garnish. You could also introduce other flavors like mint extract to the filling for a mint chocolate Oreo pie, or a touch of peanut butter for a nutty twist. The possibilities are endless for customizing your **homemade Oreo pie**.
- The Power of Making Ahead: For the absolute best results, we highly recommend preparing this pie the night before you plan to serve it. An extended chilling period of at least 4-6 hours (or preferably overnight) allows the filling to fully set, firming up to a perfect sliceable consistency. This also gives the flavors ample time to meld and deepen, resulting in a more harmonious and decadent dessert experience. Plus, it significantly reduces stress on the day of your event!
- Cool Whip vs. Homemade Whipped Cream: When it comes to the airy component of your **Oreo cream pie** filling, Cool Whip often proves to be the more stable choice. Its pre-stabilized nature helps the pie hold its shape better over time, especially if you’re making it several hours or a day in advance. However, if you prefer the taste and richness of homemade whipped cream, it will certainly work! Just be aware that it might not hold up quite as long or be as firm as a Cool Whip-based filling. If using homemade, ensure it’s very stiffly whipped before folding it in.
- Crust Customization: While our chocolate graham cracker crust is a highlight, you can certainly use a store-bought chocolate crust for ultimate convenience. Or, if you prefer the classic Oreo crust, simply crush about 20-25 Oreo cookies (including the creme filling) and mix with 4-6 tablespoons of melted butter, pressing into the pie plate. Just remember our note about balancing the creaminess!
- Preventing a Soggy Crust: If you’re concerned about your no-bake crust becoming too soft, ensure your butter is thoroughly melted and well incorporated into the crumbs before pressing. For a baked crust, allowing it to cool completely and even giving it a light brush of melted chocolate or egg white (then baked) before adding the filling can create a barrier against moisture.
More Irresistible No-Bake Pie Recipes to Explore:
If you’ve fallen in love with the simplicity and deliciousness of this **No-Bake Oreo Pie**, you’re in for a treat! Our collection of no-bake desserts is ever-growing, offering a fantastic array of flavors and textures perfect for any occasion. These recipes are designed for ease and maximum enjoyment, making them ideal for busy weeknights, impromptu gatherings, or when you just want a fantastic dessert without the oven heat. Dive into these other favorites and expand your no-bake repertoire:
- Easy No-Bake Chocolate Pie
- Dulce de Leche Banana Cream Pie
- Marshmallow No-Bake Pumpkin Pie
- No-Bake Lemon Cream Pie
- No-Bake Pumpkin Pie with Gingersnap Crust
- No-Bake Snickers Caramel Apple Pie
- No-Bake Banana Cream Pie
- No-Bake Key Lime Oreo Truffle Pie
No Bake Oreo Pie with Chocolate Graham Cracker Crust Recipe
No Bake Oreo Pie with Chocolate Graham Cracker Crust
Ingredients
For the Crust:
- 10 Chocolate Graham Crackers
- 1/4 Cup Butter, melted
- 1/4 Cup Granulated Sugar
For the Filling:
- 3/4 Cup Instant Oreo Pudding, (or a 3.4 ounce box)
- 2/3 Cup Milk
- 1/3 Cup Chocolate Milk
- 4 Ounces Cream Cheese
- 1/2 Cup Sweetened Condensed milk
- 1 1/2 Cups Cool Whip, (or Whipped Cream)
For the Topping:
- Whipped Cream , for garnish
- 1 Sleeve Oreos, crushed
Instructions
For the Crust:
-
Preheat the oven to 375ºF (190°C) if you choose to bake it.
-
In a food processor, crush the chocolate graham crackers into fine crumbs.
-
In a bowl, stir together the crumbs, melted butter, and granulated sugar until well combined.
-
Press the mixture evenly into a 9-inch pie dish. You can either bake for 10 minutes for a crispier crust or place it in the fridge for at least 30 minutes to solidify. If baking, ensure the crust cools completely before adding the filling.
For the Filling:
-
In a large bowl, combine the instant Oreo pudding mix with the milk and chocolate milk. Whisk well and set aside to thicken slightly.
-
In another bowl, beat the softened cream cheese until smooth and creamy. Add the sweetened condensed milk and beat again until the mixture is light and smooth.
-
Gently fold the prepared pudding mixture into the cream cheese mixture until evenly combined.
-
Add about one-third of the Cool Whip (or whipped cream) to the filling mixture and gently fold it in.
-
Add the remaining Cool Whip and continue to fold gently until fully incorporated and the mixture is light and airy. Folding it in stages helps maintain the fluffy texture.
-
Spread the delicious filling evenly into the prepared crust. Place the pie in the fridge to chill for at least 30-60 minutes, or preferably longer, for it to set properly.
-
Before serving, top with additional whipped cream and a generous sprinkle of crushed Oreos for garnish.
Recipe Notes
Nutrition Information (Approximate)
Nutrition information is automatically calculated, so should only be used as an approximation.