
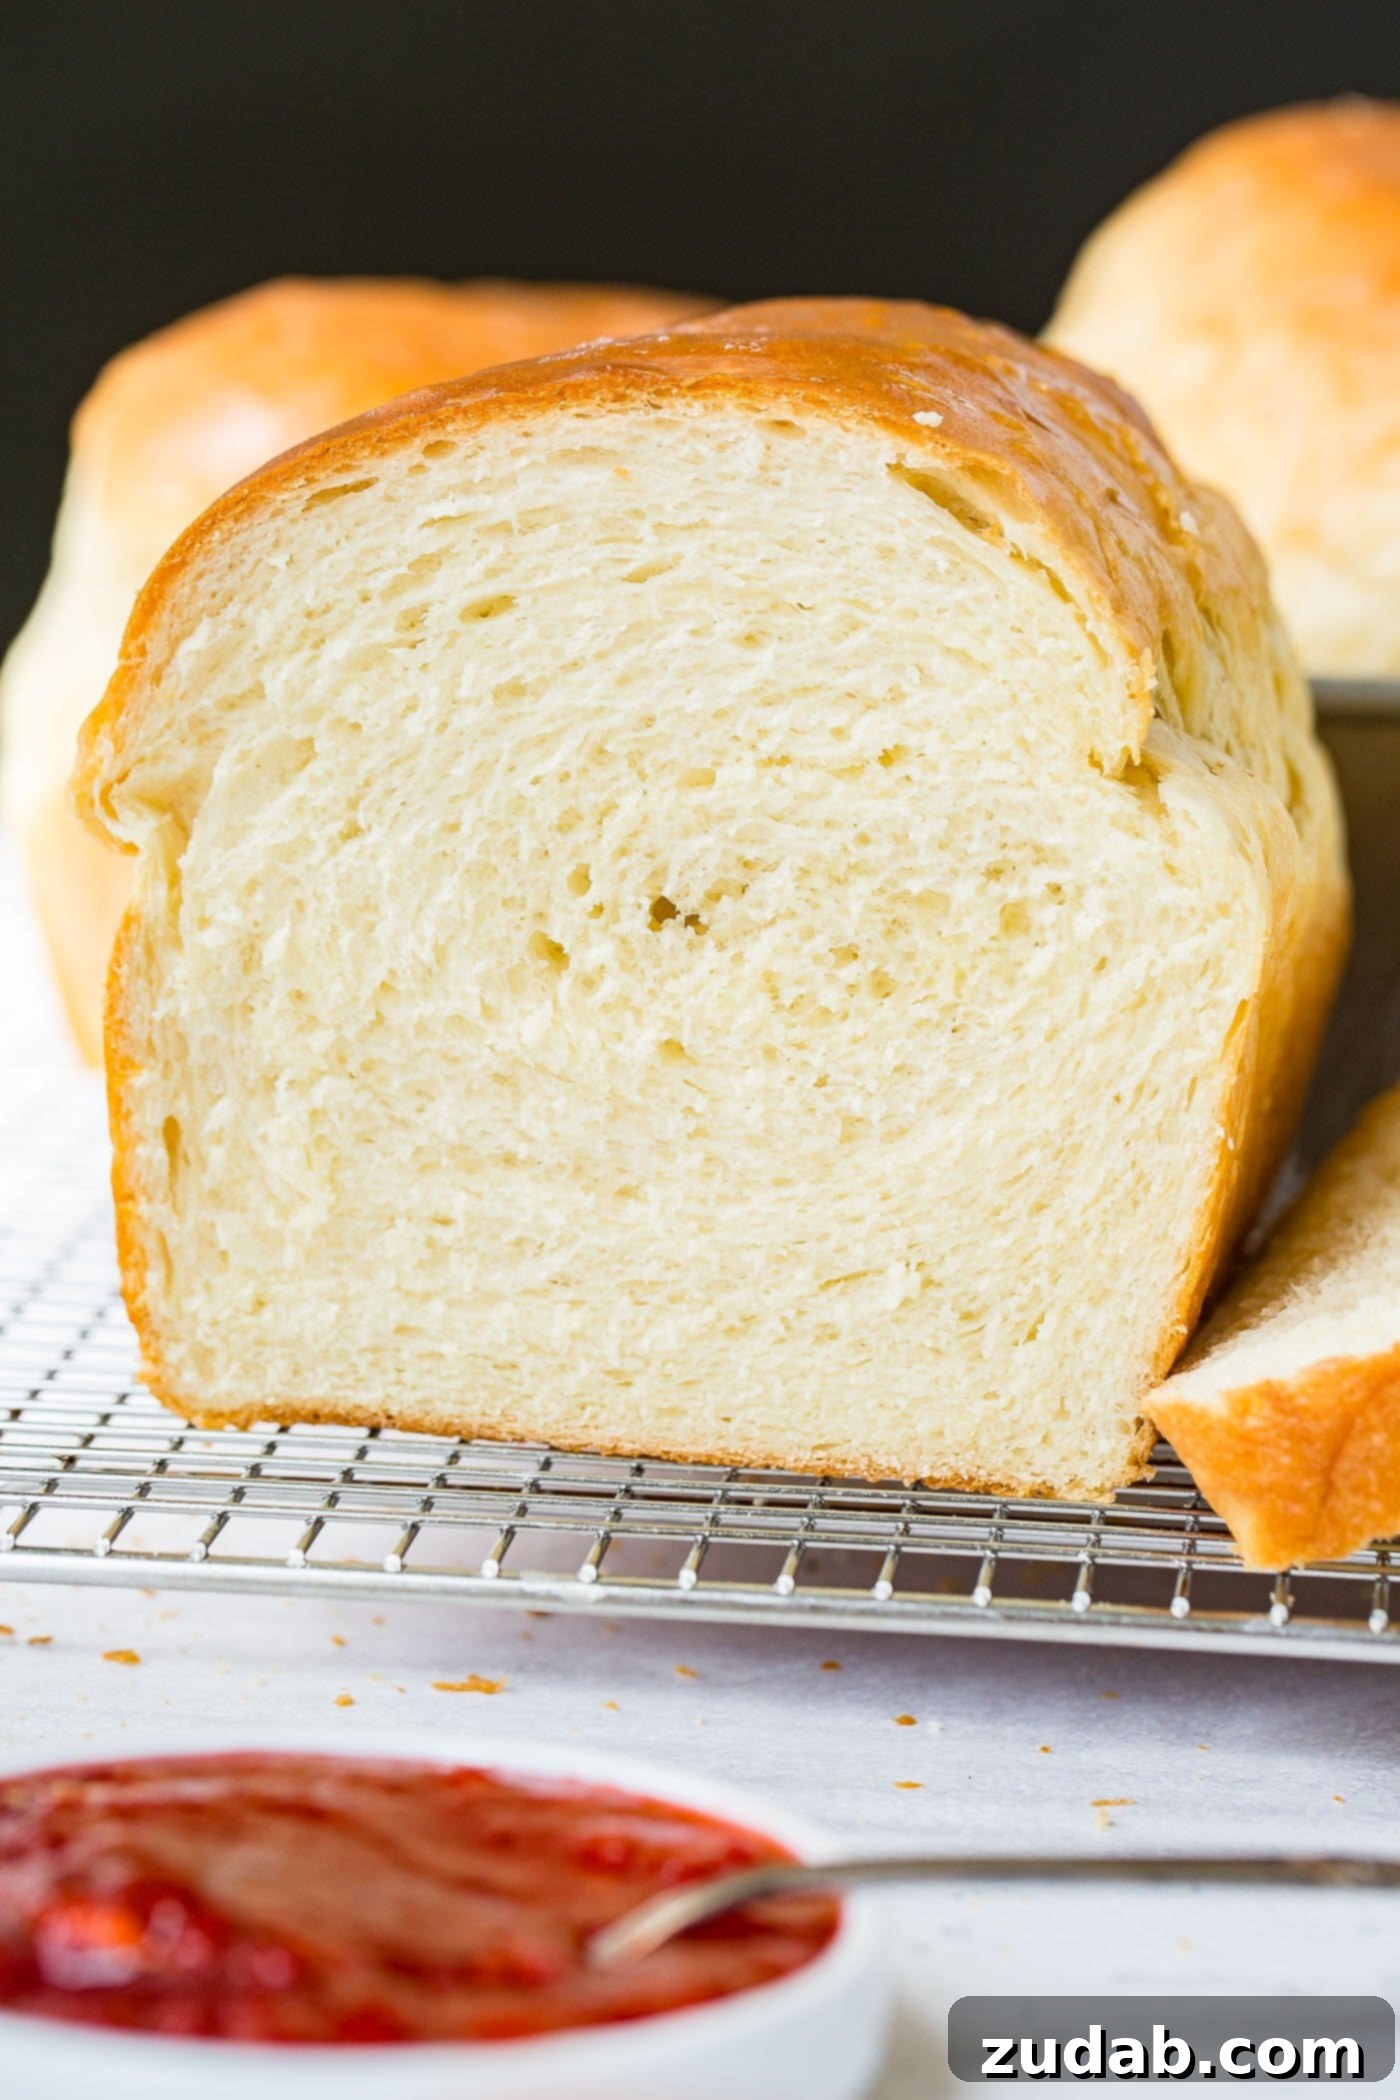
Homemade white bread evokes a sense of nostalgic comfort, a culinary embrace from childhood. This meticulously crafted white bread recipe promises to transport you back to simpler times, delivering a soft, fluffy, and utterly irresistible slice of pure bliss.
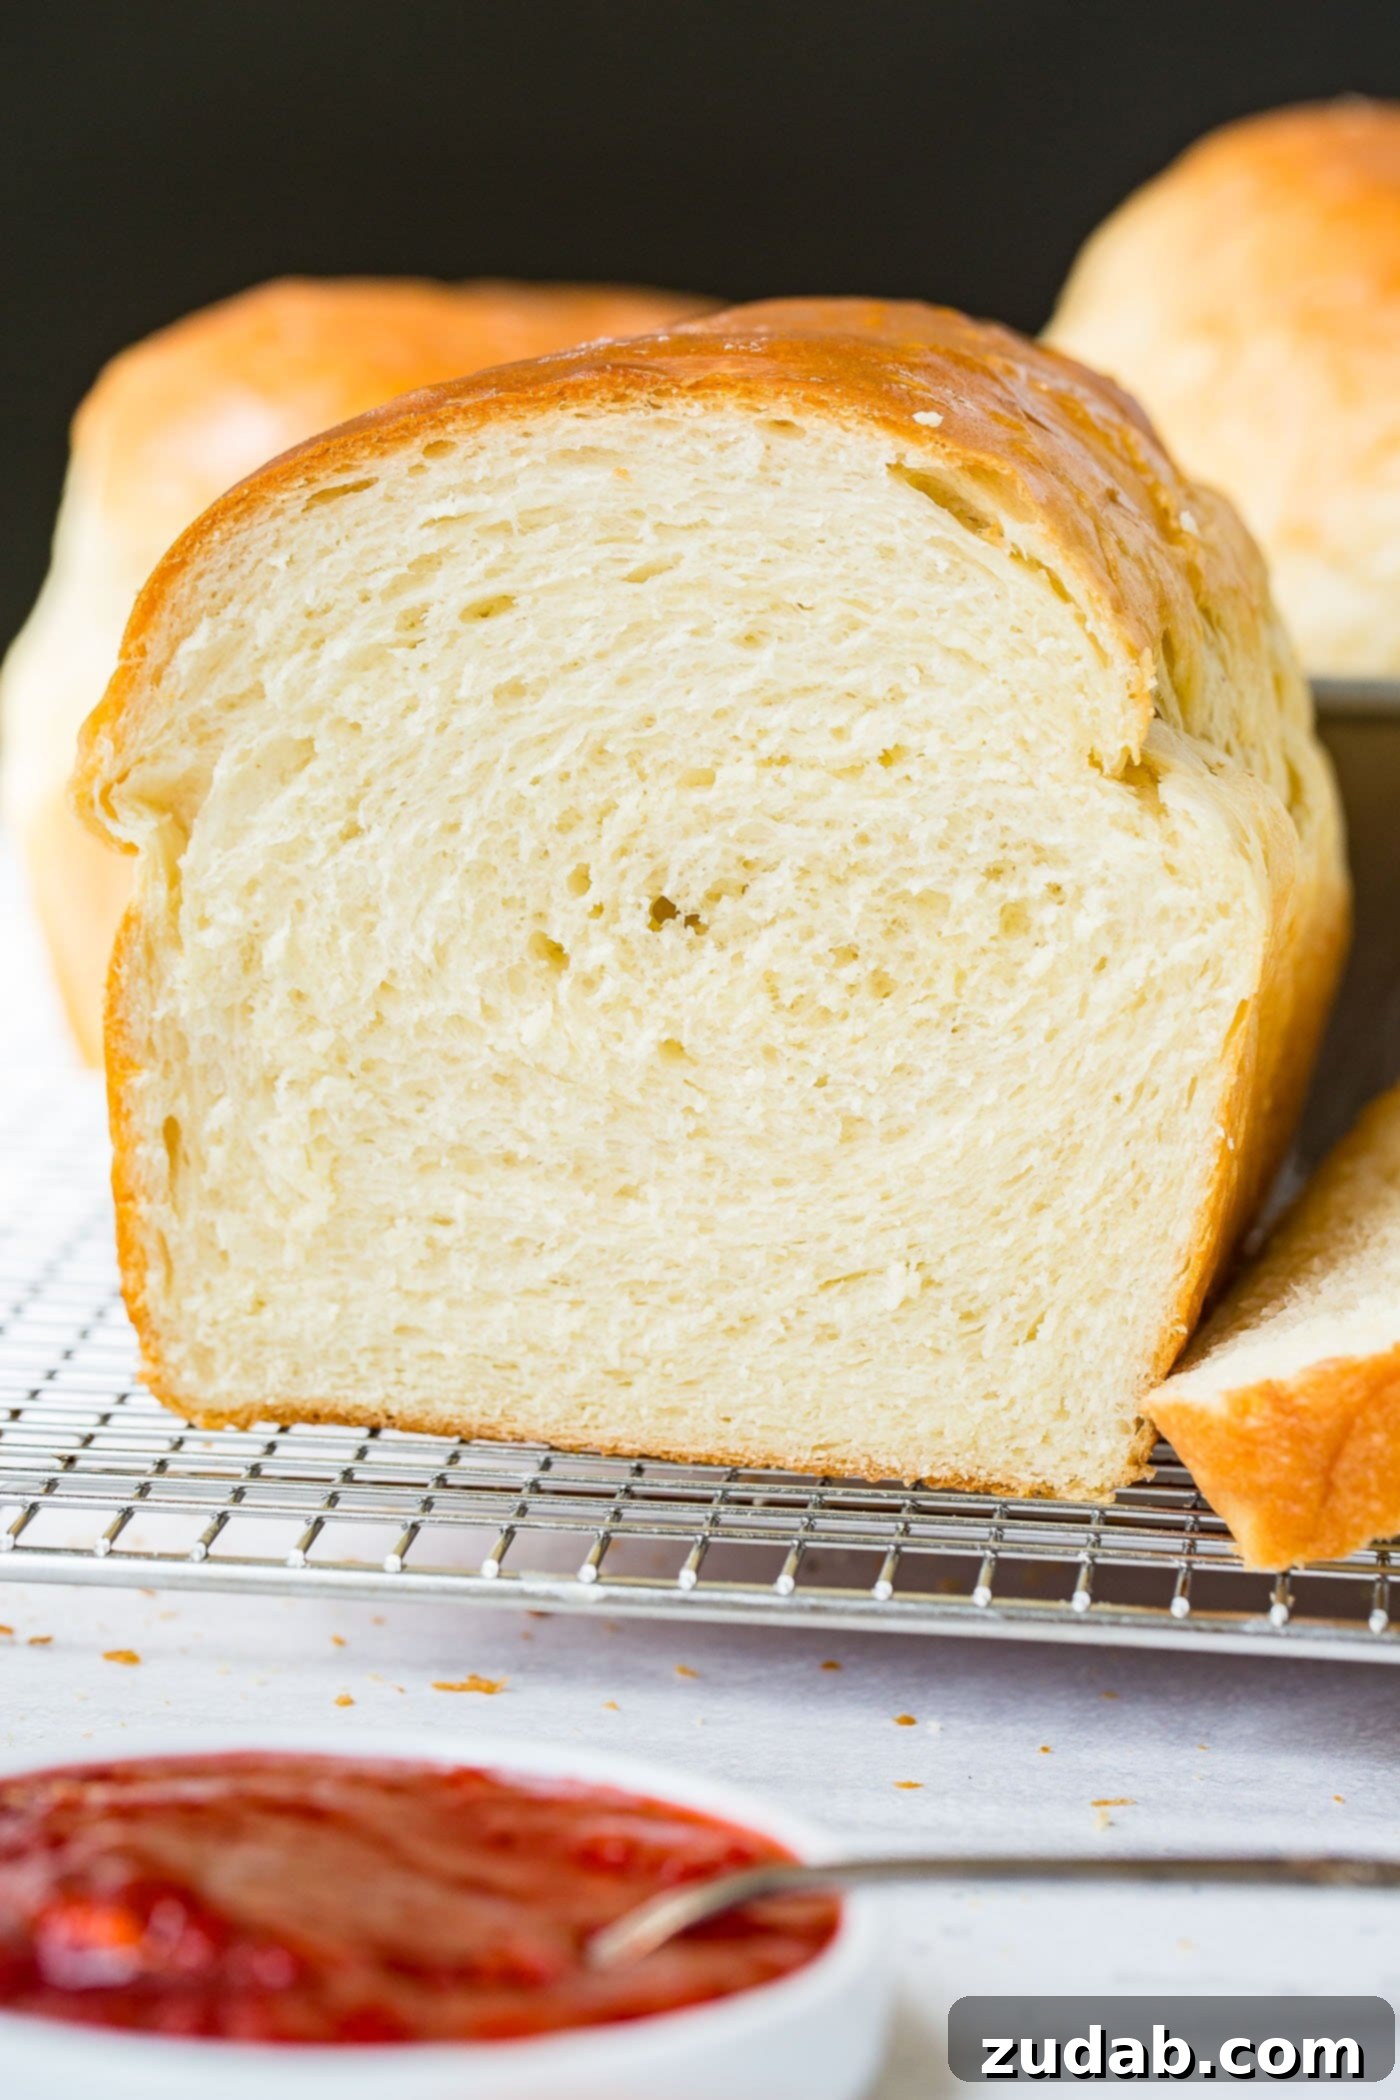
Crafting the Best Homemade White Bread
There’s something truly magical about the aroma of freshly baked bread filling your home. While my mother’s bread recipes have always been legendary in our family – the kind that makes you believe no other could compare – this particular easy white bread recipe is a journey I embarked on myself. It’s my personal quest to capture that same heartwarming essence, that perfect balance of softness and flavor, resulting in what I confidently call the best white bread recipe you’ll find.
Every baker has their muse, and for me, it has always been my mom. Even as I perfected this recipe, I felt her presence, guiding my hands, her wisdom woven into every step of the process. I can still visualize her hands, nimble and strong, rhythmically kneading the dough. She would gently, almost playfully, chastise us kids if we weren’t quiet enough during church, a memory we’ve lovingly teased her about for years. Though she’d deny it, those moments, filled with her unique blend of love and discipline, are etched in my mind.
Mom was, and still is, the epitome of sweetness and gentleness. Growing up, anger was rarely seen in our home. I recall vividly the time my siblings managed to spill a whole gallon of cooking oil on our brand-new carpet the very week we moved into our new house. Instead of a furious outburst, she quietly retreated to her room, calling her best friend, Peggy, for a calming conversation – a testament to her calm demeanor and boundless patience. Her spirit infused everything she did, from mending a baby bird with delicate care to turning a discarded toilet seat into a banjo for silly campfire songs. This gentle, nurturing energy is what I strive to bring to my baking, especially when creating something as fundamental as fluffy white bread.
The Art and Science of Kneading Dough for Soft White Bread
My mom’s kneading technique was mesmerizing. Palm down, the dough would spread smoothly across her hand, then with a swift swoosh and a fold of her wrist, it would be pressed out in a new direction. Over and over, fine particles of flour dust would rise and fall, mirroring the very breath of the bread as it came alive under her touch. It was a creation, a living thing she brought forth, and I was utterly captivated.
But what exactly does kneading accomplish? Beyond the rhythmic satisfaction of the act, kneading is crucial for developing the gluten network within the dough. Think of flour and water as two partners. When they come together, the proteins in the flour (imagine them as tiny, flexible threads) intertwine to form gluten. Kneading is essentially exercising these threads, stretching and strengthening them, much like a spider meticulously constructing its intricate web. Every push, fold, and turn of the dough reinforces this web-like structure, building its strength and elasticity. This developed gluten is precisely what allows bread dough to trap the gases produced by yeast, enabling it to rise high, becoming light, airy, and wonderfully chewy when baked.
Without adequate kneading, your “spider web” would have significant holes. The result? A weak structure that crumbles rather than holds its shape, leading to dense, flat bread instead of a beautifully soft loaf. This fundamental step transforms a sticky mass into a smooth, pliable dough, ready to embrace its potential as a magnificent loaf of **homemade white bread**.
- Dough Dynamics: Not all doughs require the same intensity of kneading. Some, like a quick pizza dough, might need only a brief knead followed by a rest. Others, particularly for a soft, rich loaf like this white bread, benefit from a more extended, almost meditative kneading process until the dough feels incredibly smooth, silky, and elastic – perfect for creating that squishy, satisfying texture. Speaking of squishy, did you ever, as a child, roll your slice of white bread into a tight ball before eating it? It sounds a bit odd now, but my seven-year-old self certainly did!
- Hands-On Kneading Technique: To effectively knead, grab one side of the dough and fold it in half towards you – imagine it’s a peanut butter and jelly sandwich you’re folding. With the heel of your hand, push the dough down and away from you, using a smooth, rolling motion. Rotate the dough slightly and repeat this action, consistently stretching and folding. Continue this process until the dough transforms from a sticky, shaggy mass into a smooth, elastic ball that springs back when gently poked and is no longer excessively sticky. This diligent work ensures your white sandwich bread will have the perfect texture.
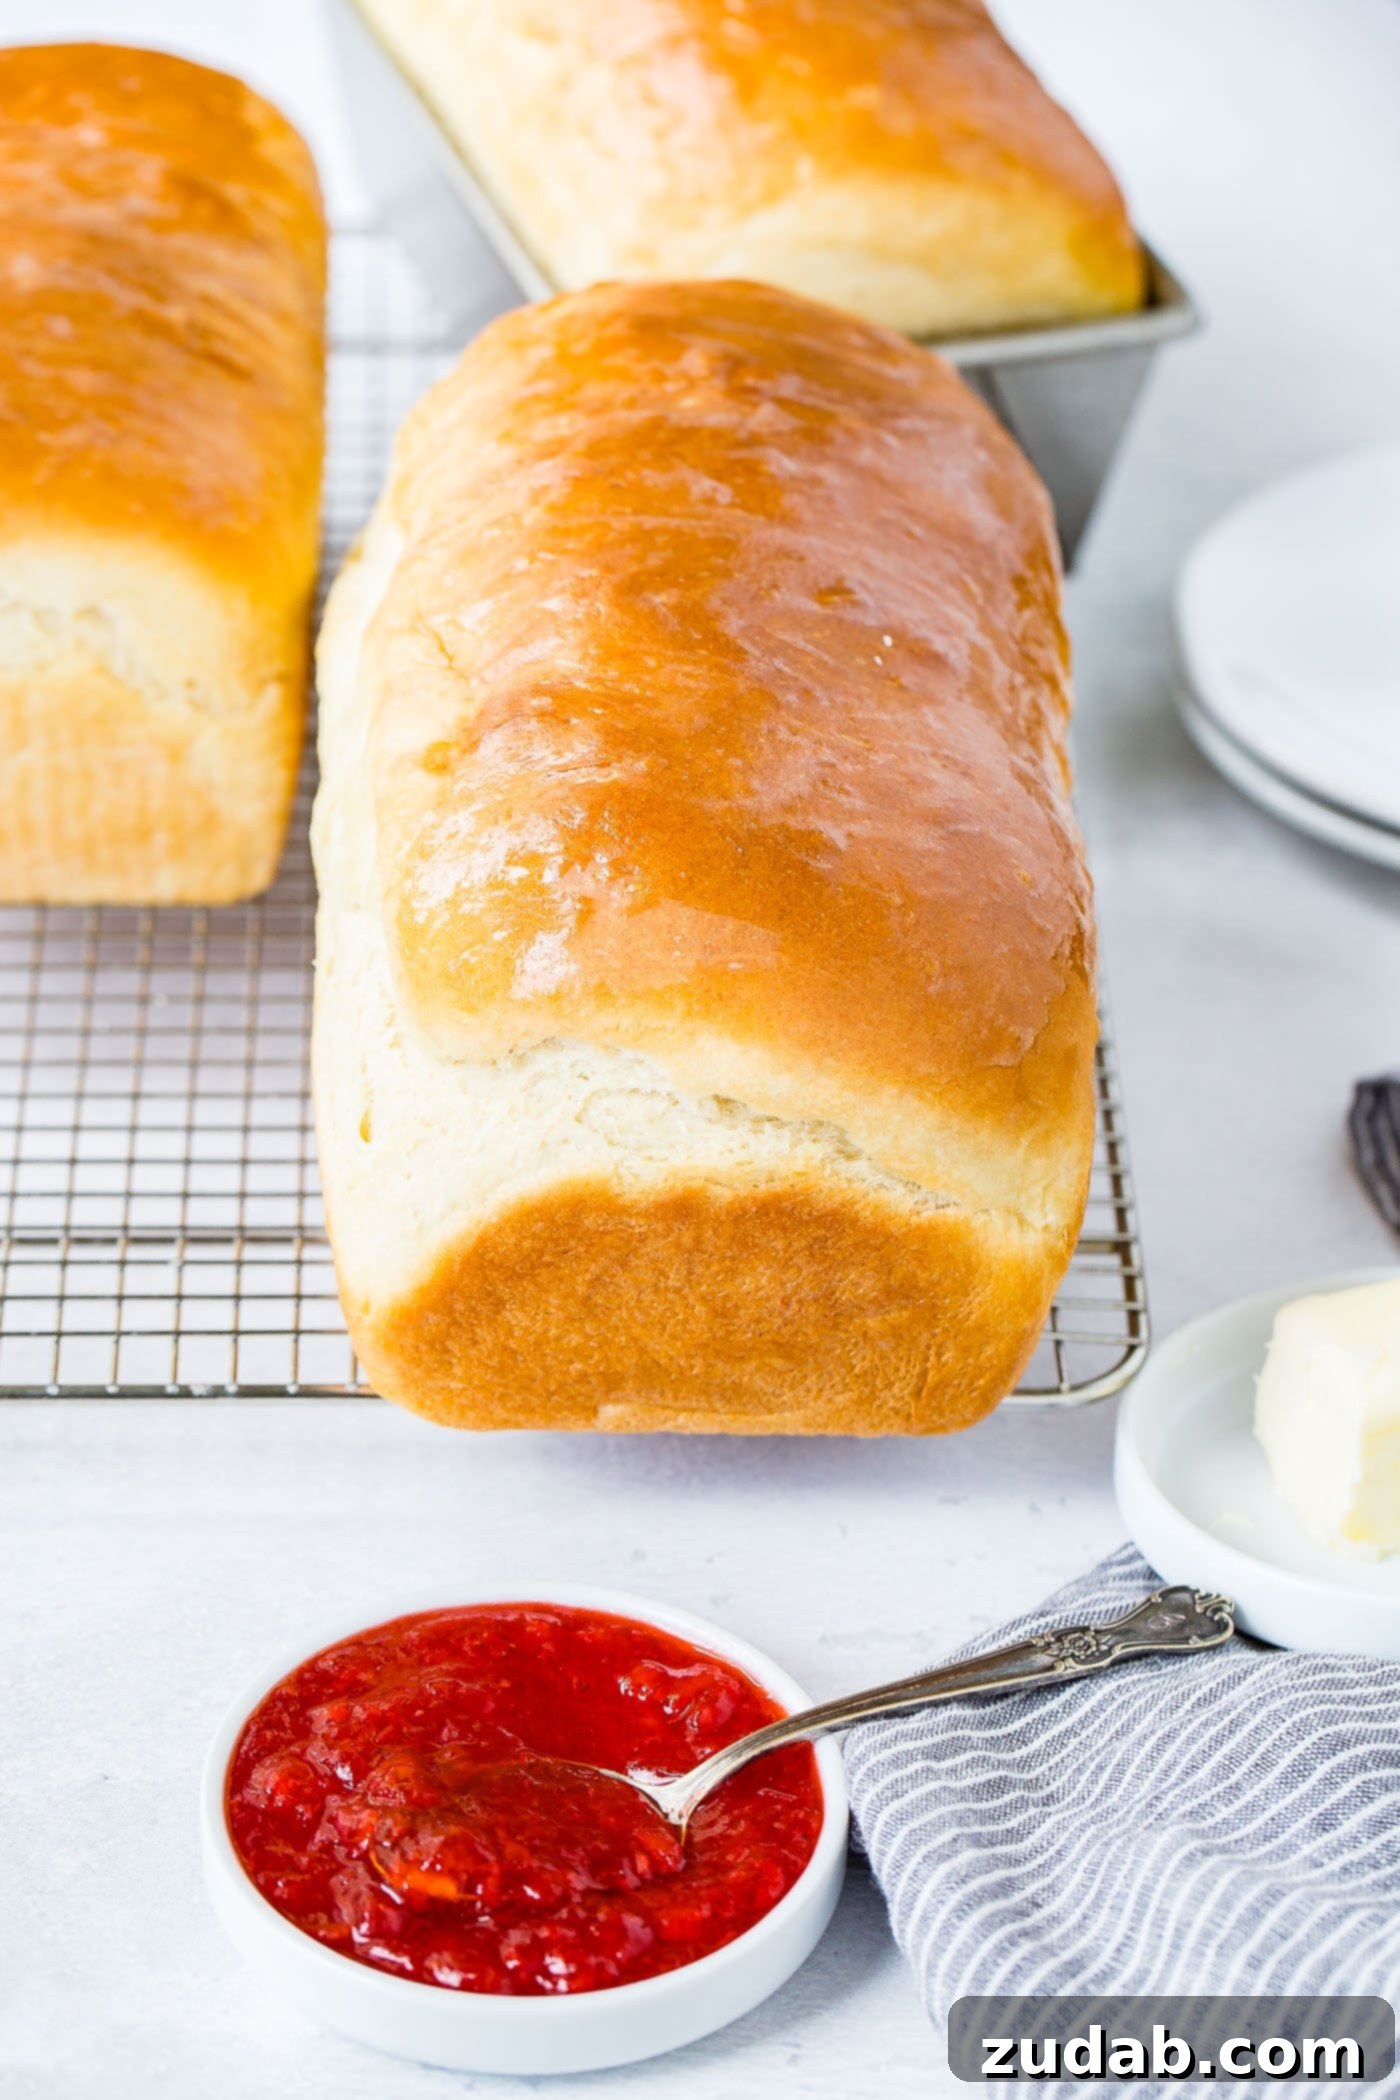
Achieving the Perfect Rise: The Secret to Fluffy White Bread
Remember observing how yeast, once activated in water, becomes wonderfully foamy and bubbly? That effervescent activity is precisely what happens inside your dough during the rising, or proofing, stages. The active yeast diligently consumes the sugars present in the dough, producing carbon dioxide gas as a byproduct. These gases get trapped within the strong gluten network you’ve painstakingly developed through kneading, causing the dough to expand and become light and airy, much like a hungry caterpillar puffing up before its transformation.
A proper rise is absolutely essential for that tall, majestic loaf of homemade white bread you crave. Without it, your dough would simply bake into a dense, unappetizing pancake. The yeast’s magical work ensures the characteristic light and airy texture that makes you want to slice into it immediately!
For this easy white bread recipe, we utilize two distinct rises to achieve optimal flavor and texture:
- The first rise, often called the bulk fermentation, occurs after all the ingredients are combined and the dough has been kneaded. Place the dough in a greased bowl, cover it, and allow it to rest for approximately 1 hour, or until it has visibly doubled in size. This initial rise develops much of the bread’s flavor and helps build its structure.
- The second rise, or final proof, happens after you’ve shaped the dough into loaves and placed them in their baking pans. This period is crucial for giving the bread its final lift and open crumb structure. It requires patience; allow the shaped loaves to rise in a warm, draft-free place until they have again doubled in size. Depending on the ambient temperature and humidity, this could take anywhere from 1 hour to significantly longer. Do not rush this step, as it directly impacts the ultimate fluffiness of your fluffy white bread.
Step-by-Step Guide to Our Beloved White Bread Recipe
Let’s walk through the creation of this incredibly rewarding white bread recipe. Each step is designed to ensure a successful and delicious outcome, bringing that comforting aroma and taste of truly homemade white bread into your kitchen.
- Begin by gently warming the milk. In a saucepan over medium heat, add the milk and cook until it just starts to foam around the edges and is warm to the touch (around 105-115°F or 40-46°C). It’s crucial not to boil the milk, as excessively hot temperatures can kill the yeast.
- Once the milk is warmed, remove the pan from the heat. Carefully add the butter, water, sugar, and honey. Stir until the butter has completely melted and all ingredients are well combined. Let this mixture cool to a lukewarm temperature. It should feel comfortably warm when you dip a finger in it – too hot, and it will harm the yeast; too cold, and the yeast won’t activate effectively.
- Once the liquid mixture has cooled to lukewarm, sprinkle the instant yeast over the top and give it a gentle stir. Transfer this mixture to the bowl of a standing mixer. Let it rest for 3-5 minutes. You’ll know the yeast is active and healthy when a noticeable foamy layer appears on the surface. This “bloom” indicates your yeast is ready to work its magic.
- To the foamy yeast mixture, pour in the vegetable oil, sea salt, evaporated milk, and the whisked egg. Stir well to ensure all these wet ingredients are fully incorporated.
- Now, gradually add the flour. Start with 8 cups of all-purpose flour. Using the dough hook attachment on your standing mixer, begin mixing the dough on a low speed. Continue mixing until the dough starts to come together into a shaggy mass.
- Carefully add an additional 1 to 3 cups of flour, one cup at a time, until the dough forms a cohesive ball that gathers around the dough hook and pulls away cleanly from the sides of the bowl. The exact amount of flour can vary depending on humidity and how the flour was measured, so trust the feel of the dough – it should be soft and slightly tacky, but not overly sticky.
- First Rise: Remove the bowl from the mixer. Lightly grease the bowl (or use the same bowl if it’s already slightly greased from mixing). Cover the bowl tightly with a clean kitchen towel or plastic wrap. Allow the dough to rise in a warm, draft-free place for approximately 1 hour, or until it has impressively doubled in size. This initial rise is fundamental for developing flavor and texture in your soft white bread.
How to Shape White Bread into Perfect Loaves
Shaping your dough correctly is key to achieving those beautifully symmetrical, bakery-worthy loaves of white sandwich bread. This step is easier than you might think!
- Once your dough has completed its first rise and doubled in size, generously sprinkle flour onto your clean work surface. Gently turn the risen dough out onto the floured surface. Flip it over once or twice to ensure all sides are lightly dusted with flour, preventing it from sticking.
- Divide the dough into three equally sized pieces. This ensures you get three consistently sized loaves. You can eyeball it, or for precision, use a kitchen scale.
- To shape each loaf, first press one piece of dough into a neat rectangle, roughly the width of your loaf pan. Starting from one of the short ends, tightly roll the dough into a log. As you roll, pinch the seam closed along the bottom to seal it, and gently tuck in the ends to create a smooth, taut surface. This tight rolling helps create the fine crumb and prevents large air pockets in your fluffy white bread.
- Carefully place each shaped log into a lightly greased 8.5″ x 4.5″ loaf pan.
- Second Rise: Cover the loaf pans loosely with plastic wrap or a clean towel. Allow the shaped loaves to undergo their second rise in a warm, draft-free area until they have again doubled in size. This could take another 1 to 2 hours, or even more, depending on your kitchen’s temperature. The loaves should look visibly puffy and light. This final proof is critical for achieving that light, airy texture.
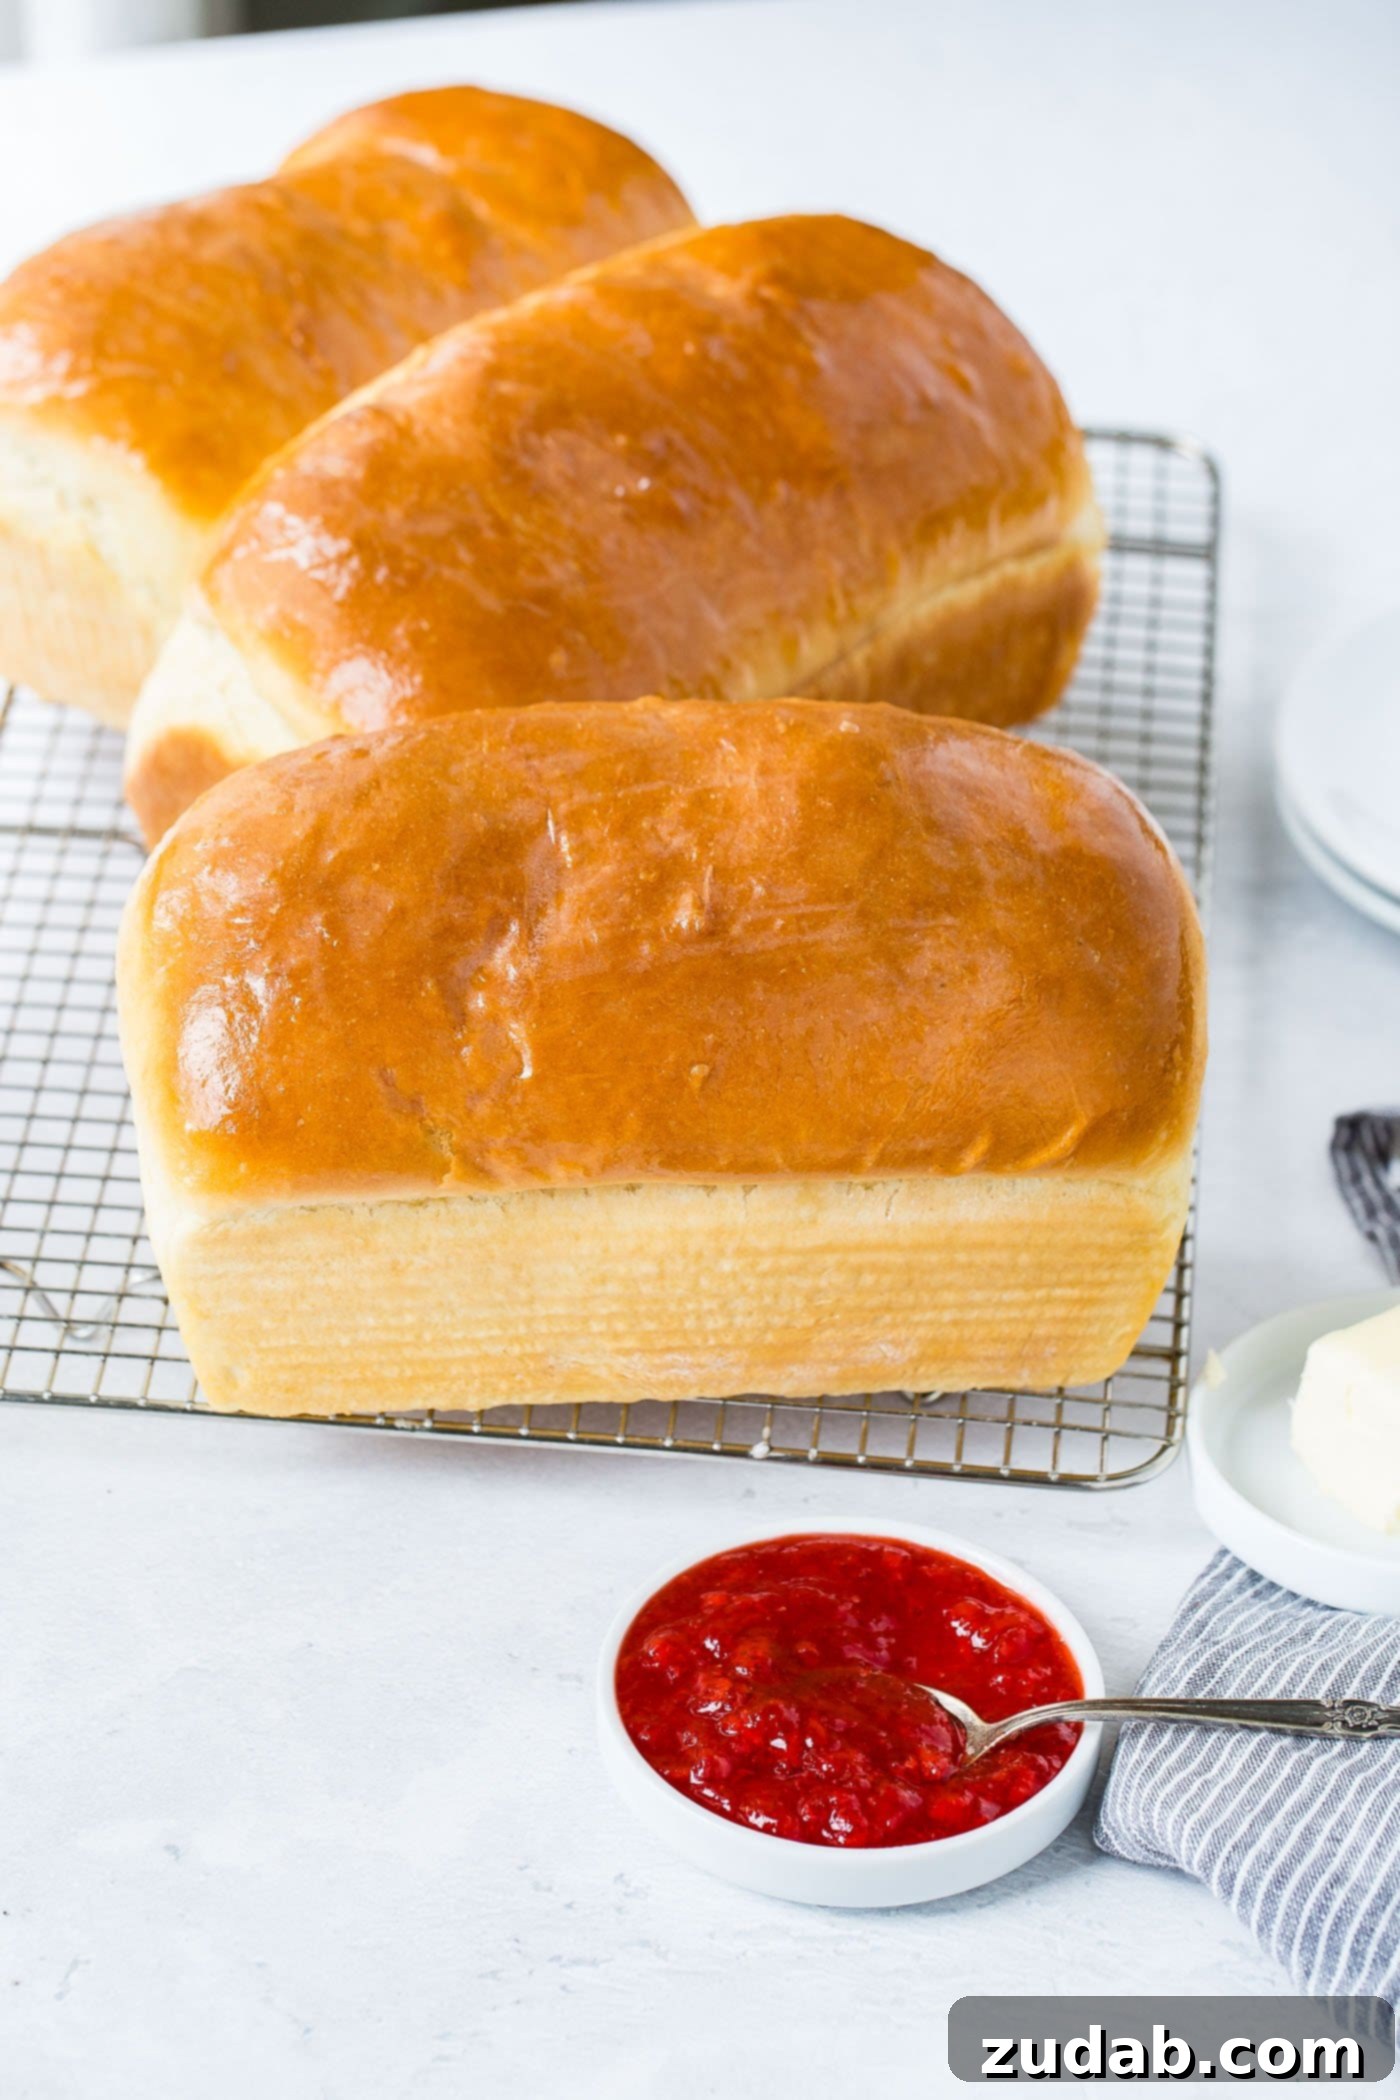
Baking Your Perfect White Bread Loaves
Once your shaped loaves have achieved their glorious second rise, it’s time for the oven to work its magic and transform them into golden, fragrant masterpieces.
Preheat your oven to 350°F (175°C). Place the risen loaves in the preheated oven and bake for approximately 30 minutes. The exact baking time can vary slightly depending on your oven, so keep an eye on them. The bread is perfectly baked when the crust is a beautiful golden brown and, when tapped on the bottom, it produces a hollow sound. For an even more precise check, an internal temperature of 200-210°F (93-99°C) indicates doneness.
As soon as the loaves are removed from the oven, while they are still piping hot, gently rub a small amount of butter all over their tops. This simple step adds a wonderful sheen to the crust, contributes to a softer texture, and imparts an irresistible richness and flavor to your freshly baked homemade white bread.
Essential Tools for Baking the Best White Bread
Having the right equipment can make a significant difference in your bread baking journey, especially when aiming for consistently perfect loaves. For this white bread recipe, your loaf pans are key.
My absolute favorite loaf pans are from the USA Pan brand. They measure 8.5″ x 4.5″ and are made from sturdy aluminized steel with a non-stick silicone coating. I highly recommend them because they conduct heat incredibly evenly, ensuring a consistent bake and beautifully browned crust every single time. Investing in quality loaf pans will elevate your homemade bread baking experience.
Storing Your Delicious Homemade White Bread
Once cooled, your delicious homemade white bread can be enjoyed for days. Proper storage is key to maintaining its freshness and soft texture.
Store leftover white bread in airtight plastic wrap or dedicated bread bags at room temperature for up to 1 week. For longer preservation, it freezes beautifully. Simply wrap the cooled loaves tightly in plastic wrap, then an additional layer of aluminum foil or a freezer-safe bag, and freeze for up to 1 month. Thaw at room temperature before enjoying.
Important Tip: You should never store your bread in the refrigerator. The cool temperatures of the fridge actually accelerate the staling process, making your bread dry and hard much faster than if it were kept at room temperature. Always store bread on the counter or in the freezer.
Frequently Asked Questions About White Bread
Is White Bread Unhealthy?
White bread itself isn’t inherently “bad for you.” Like most foods, moderation is key. It’s a source of carbohydrates, which provide energy. The primary difference between white bread and whole-grain bread lies in the processing and nutrient content. White bread is made from refined flour, meaning the bran and germ are removed, which strips away much of the fiber, vitamins, and minerals. Many commercial white breads are enriched, meaning some of these nutrients are added back. While it might not offer the same nutritional density as whole grains, it can certainly be part of a balanced diet when consumed in reasonable amounts alongside a variety of other nutrient-rich foods.
What is the Healthiest Bread to Eat?
Generally, whole-grain bread is considered the healthiest option. It contains all parts of the wheat kernel (bran, germ, and endosperm), providing higher amounts of fiber, B vitamins, iron, magnesium, and other beneficial nutrients. The fiber content in whole-grain bread contributes to digestive health, helps regulate blood sugar levels, and can promote a feeling of fullness. Look for labels that explicitly state “100% whole wheat” or “100% whole grain” as the first ingredient to ensure you’re getting a truly nutritious loaf.
What is the Difference Between Instant Yeast and Active Dry Yeast?
The main difference lies in their activation requirements:
- Active Dry Yeast: This type of yeast typically requires “proofing” or dissolving in warm water (usually 105-115°F / 40-46°C) for 5-10 minutes before being added to other ingredients. This step rehydrates the yeast and ensures it’s alive and active before it goes into the dough.
- Instant Yeast: As its name suggests, instant yeast is designed to be added directly to the dry ingredients without prior proofing. Its granules are smaller, allowing for faster absorption and activation. This makes it a convenient choice for many home bakers, and it’s what we use in this white bread recipe. Both types can often be used interchangeably with slight adjustments in quantity and method.
What Can You Substitute for Sea Salt?
If you don’t have fine sea salt on hand for your homemade white bread, here are some excellent substitutes:
- The best direct substitute for fine sea salt is Kosher salt. It has a similar flake structure and salinity level, providing a clean, consistent flavor.
- Pink Himalayan salt would be your second best choice. It has a slightly milder flavor and larger crystals, so you might need to adjust the quantity slightly or crush it finely.
- In a pinch, iodized table salt can be used. However, it’s generally more finely ground and denser than sea or Kosher salt, and it can sometimes impart a slightly metallic taste due to the iodine. If using table salt, reduce the amount by about 25% compared to sea salt, as it’s saltier by volume.
What Can You Substitute for Evaporated Milk?
Evaporated milk adds richness and a tender crumb to bread. If you don’t have it, you can create a good substitute:
- A common substitution is a combination of whole milk and half-and-half. For 1 cup of evaporated milk, use 3/4 cup whole milk and 1/4 cup half-and-half. This blend provides a similar fat content and creaminess.
- Alternatively, in a real pinch, you can simply use plain whole milk. While it won’t have the same concentrated milk fat as evaporated milk, it will still work and contribute to the dough’s hydration and flavor, though your bread might be slightly less rich and tender.
Love Making Homemade Bread Recipes? Try These Next!
If you’ve discovered the joy of baking this fluffy white bread, you’ll love exploring other satisfying bread recipes. Add these to your must-make list for your next baking adventure:
- Artisan Bread
- One Hour Rolls
- Cheesy Herb Rolls
- Cinnamon Swirl Bread
- Oatmeal Bread
- Easy Focaccia Bread
- Orange Butterflake Rolls
- Potato Rolls
- Orange Rolls
White Bread
Ingredients
- 2 Cups Milk
- 1/4 Cup Butter
- 2 Cups Water
- 1/4 Cup Sugar
- 1/4 Cup Honey
- 3 Tablespoons Yeast, instant
- 1/4 Cup Vegetable Oil
- 3 Tablespoons Sea Salt, fine
- 3/4 Cup Evaporated Milk
- 1 Large Egg, whisked
- 9-11 Cups All Purpose Flour, *see note
Instructions
-
In a saucepan over medium heat, add the milk and cook until just starting to foam around the edges and is warmed. Do not boil.2 Cups Milk
-
Gently place the butter, water, sugar, and honey in the pan and stir until the butter has melted and then allow to cool to luke warm.1/4 Cup Butter, 2 Cups Water, 1/4 Cup Sugar, 1/4 Cup Honey
-
Sprinkle the yeast and stir to combine. Dump into a standing mixer and allow to rest for 3-5 minutes or until foamy.3 Tablespoons Yeast
-
Pour the oil, salt, evaporated milk and egg and stir to combine.1/4 Cup Vegetable Oil, 3 Tablespoons Sea Salt, 3/4 Cup Evaporated Milk, 1 Large Egg
-
Add in 8 cups of flour and using a dough hook attachment, mix the dough until it begins coming together.9-11 Cups All Purpose Flour
-
Carefully pour in a cup of flour more until the dough is coming together in a ball around the hook. *see note
-
Remove the bowl from the mixer and cover with a cloth to rise for 1 hour or until doubled.
-
Heavily sprinkle flour on your work surface and turn the dough out.
-
Flip it over so all of the dough has flour on it and isn’t sticky.
-
Divide into 3 loaves.
-
Shape the loaves by pressing each into a rectangle and starting at the short end, roll the dough into a log the same as the pan size.
-
Allow to rise until doubled.
-
Bake at 350 for 30 minutes.
-
Remove from the oven and gently rub butter all over the tops.
-
Store in plastic wrap or bread bags for up to 1 week or freeze for up to 1 month.
Recipe Notes
- If the dough is still sticky after adding 11 cups of flour, it is OK just scrape down the sides put a towel over it and let it rise. Then sprinkle flour over-the-counter top and on both sides of the dough. Even though it begins super sticky you’ll end up with a really silky dough. Adding too much flour will not let it be like Grandma Sycamore‘s Bread (Utah peeps, you know what I’m talking about!)
Store at room temperature, in plastic wrap or bread bags for up to 1 week or freeze for up to 1 month. Do not store bread in the refrigerator.
Nutrition
Nutrition information is automatically calculated, so should only be used as an approximation.
REMEMBER TO SUBSCRIBE TO our FREE Oh Sweet Basil NEWSLETTER AND RECEIVE EASY RECIPES DELIVERED INTO YOUR INBOX EVERY DAY!
When you try a recipe, please use the hashtag #ohsweetbasil on INSTAGRAM for a chance to be featured in our stories! FOLLOW OH, SWEET BASIL ON FACEBOOK | INSTAGRAM | PINTEREST | TWITTER FOR ALL OF OUR LATEST CONTENT, RECIPES AND STORIES.