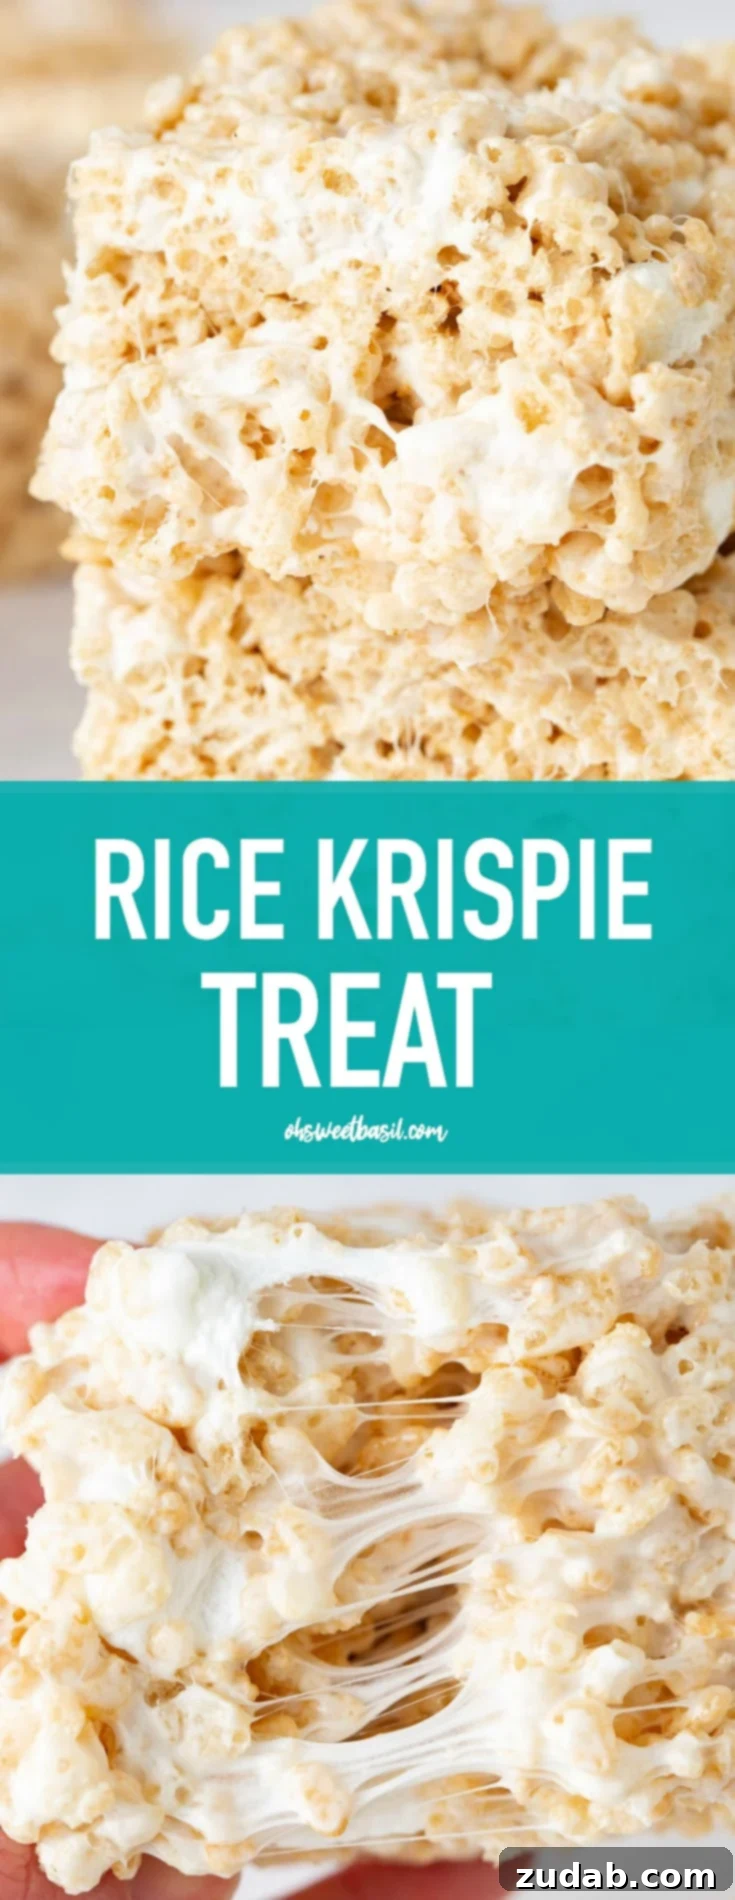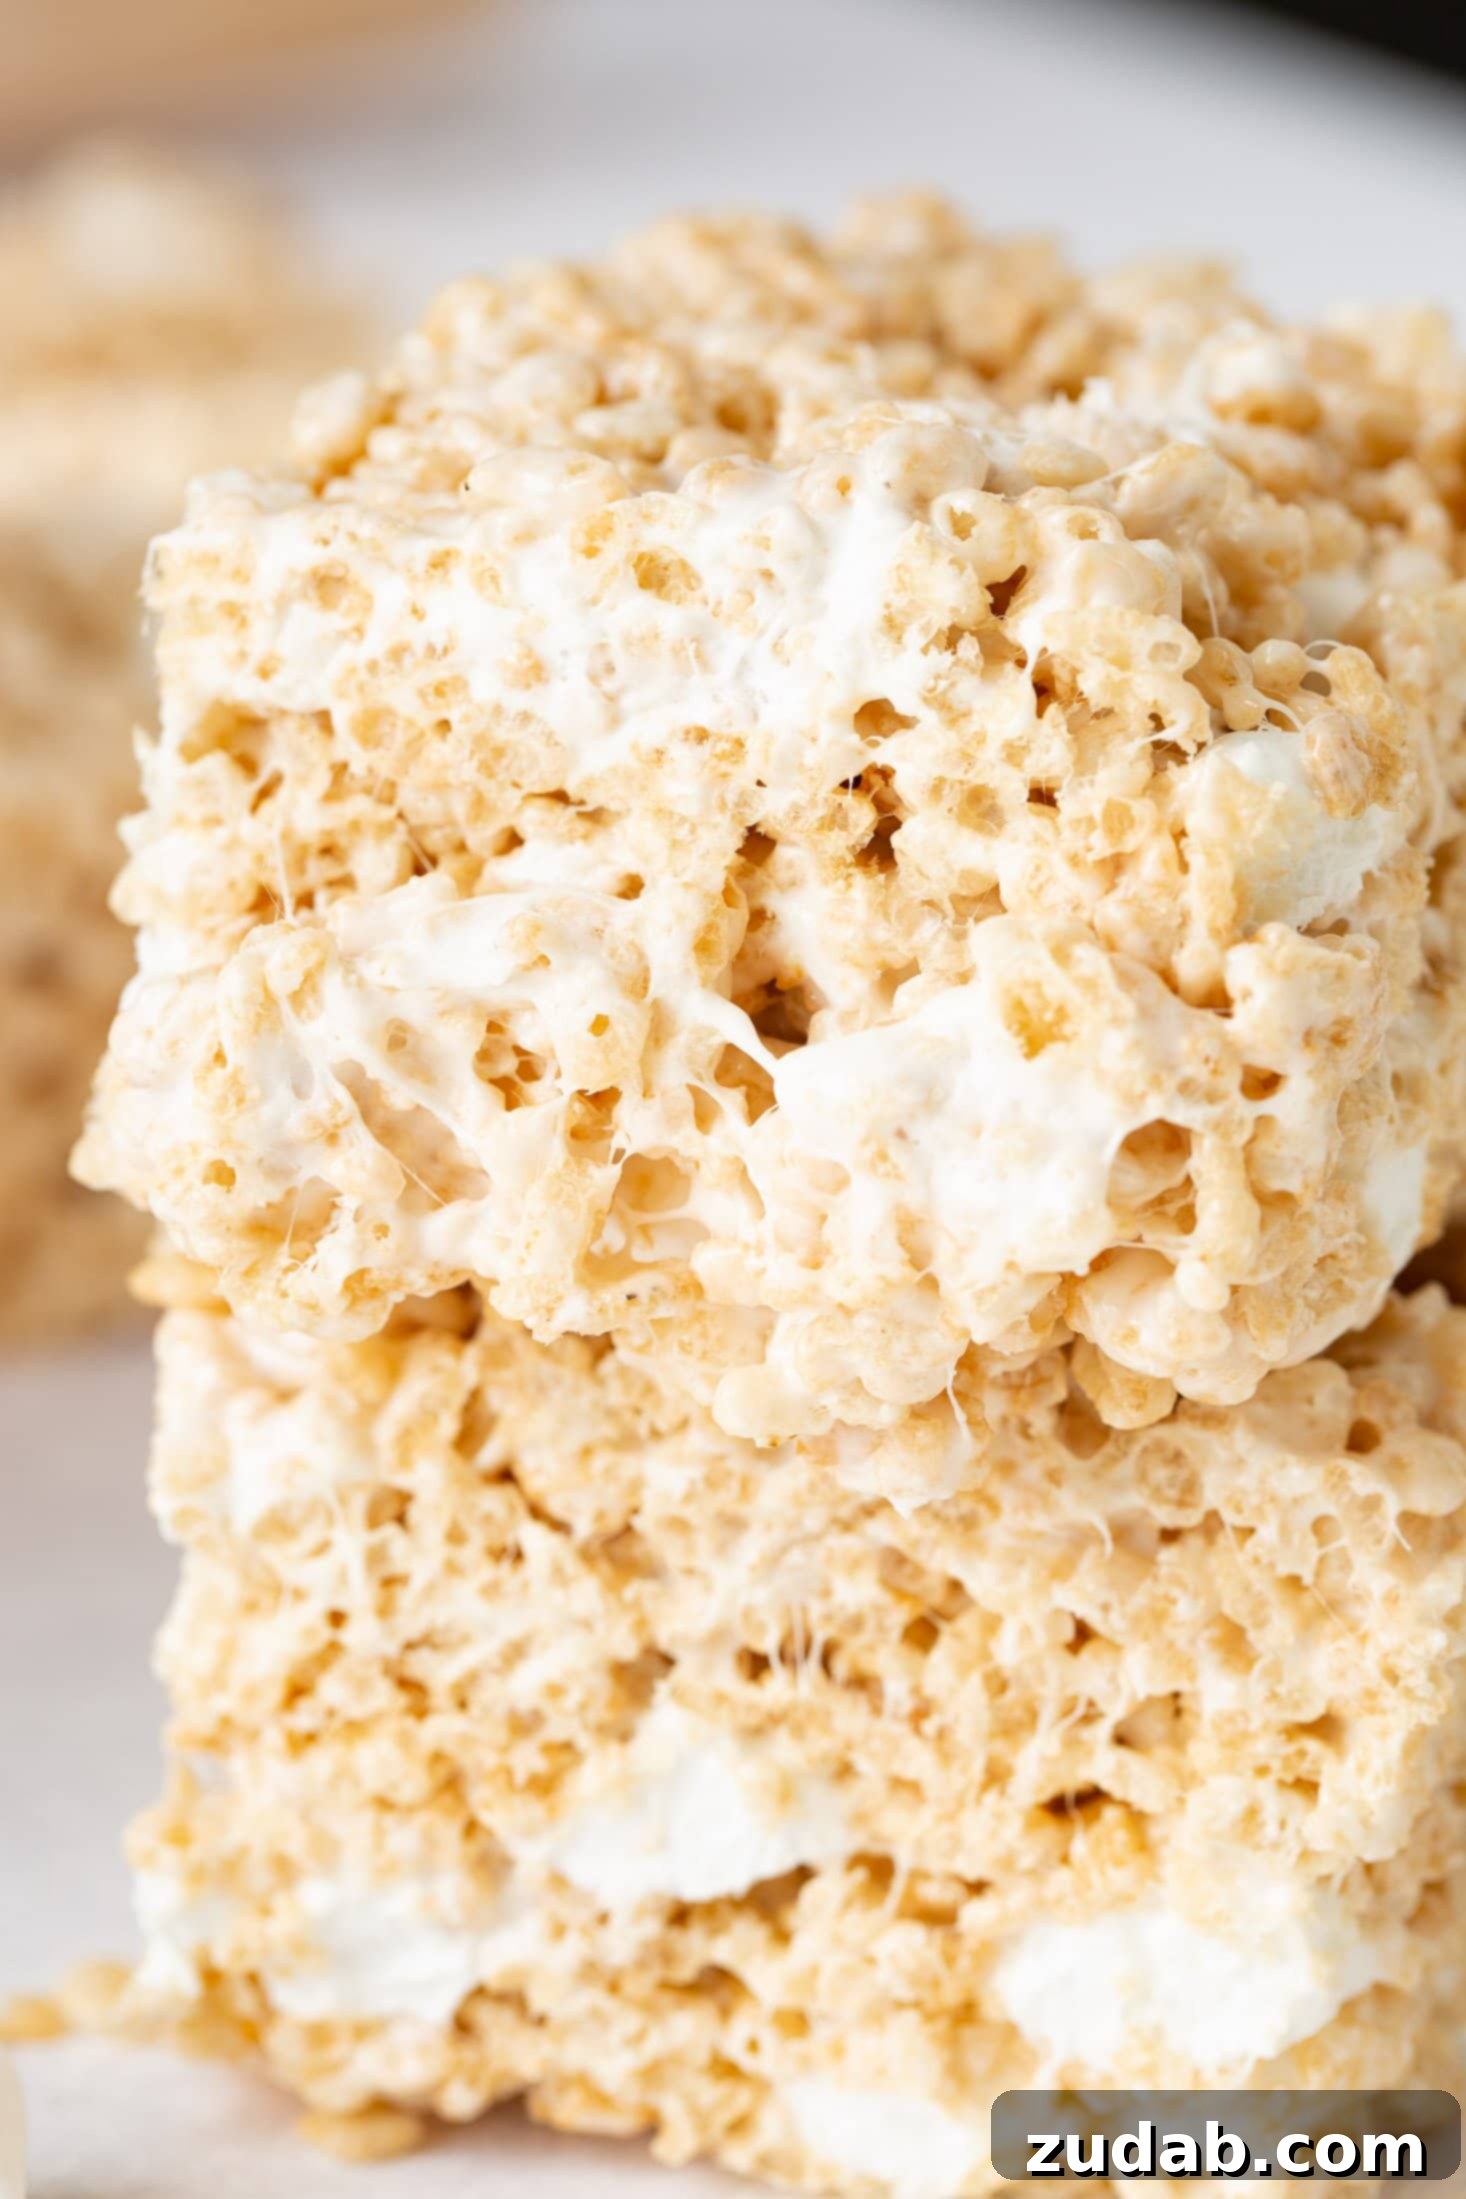
Welcome to the ultimate guide for creating the most irresistibly **gooey homemade Rice Krispie Treats** you’ve ever tasted! Forget those dry, crumbly squares from the store; our recipe delivers big, fluffy, and ridiculously chewy treats, all thanks to a generous, marshmallow-loaded secret that makes them stand out from the classic version. Incredibly quick to whip up with no oven required, these delightful crispy rice bars are perfect for any occasion – be it a lively party, an elegant dessert platter, or simply a spontaneous Tuesday craving. With just a handful of **pantry essentials**, you’ll craft a treat whose flavor and texture will truly blow any other Rice Krispies recipe out of the water.
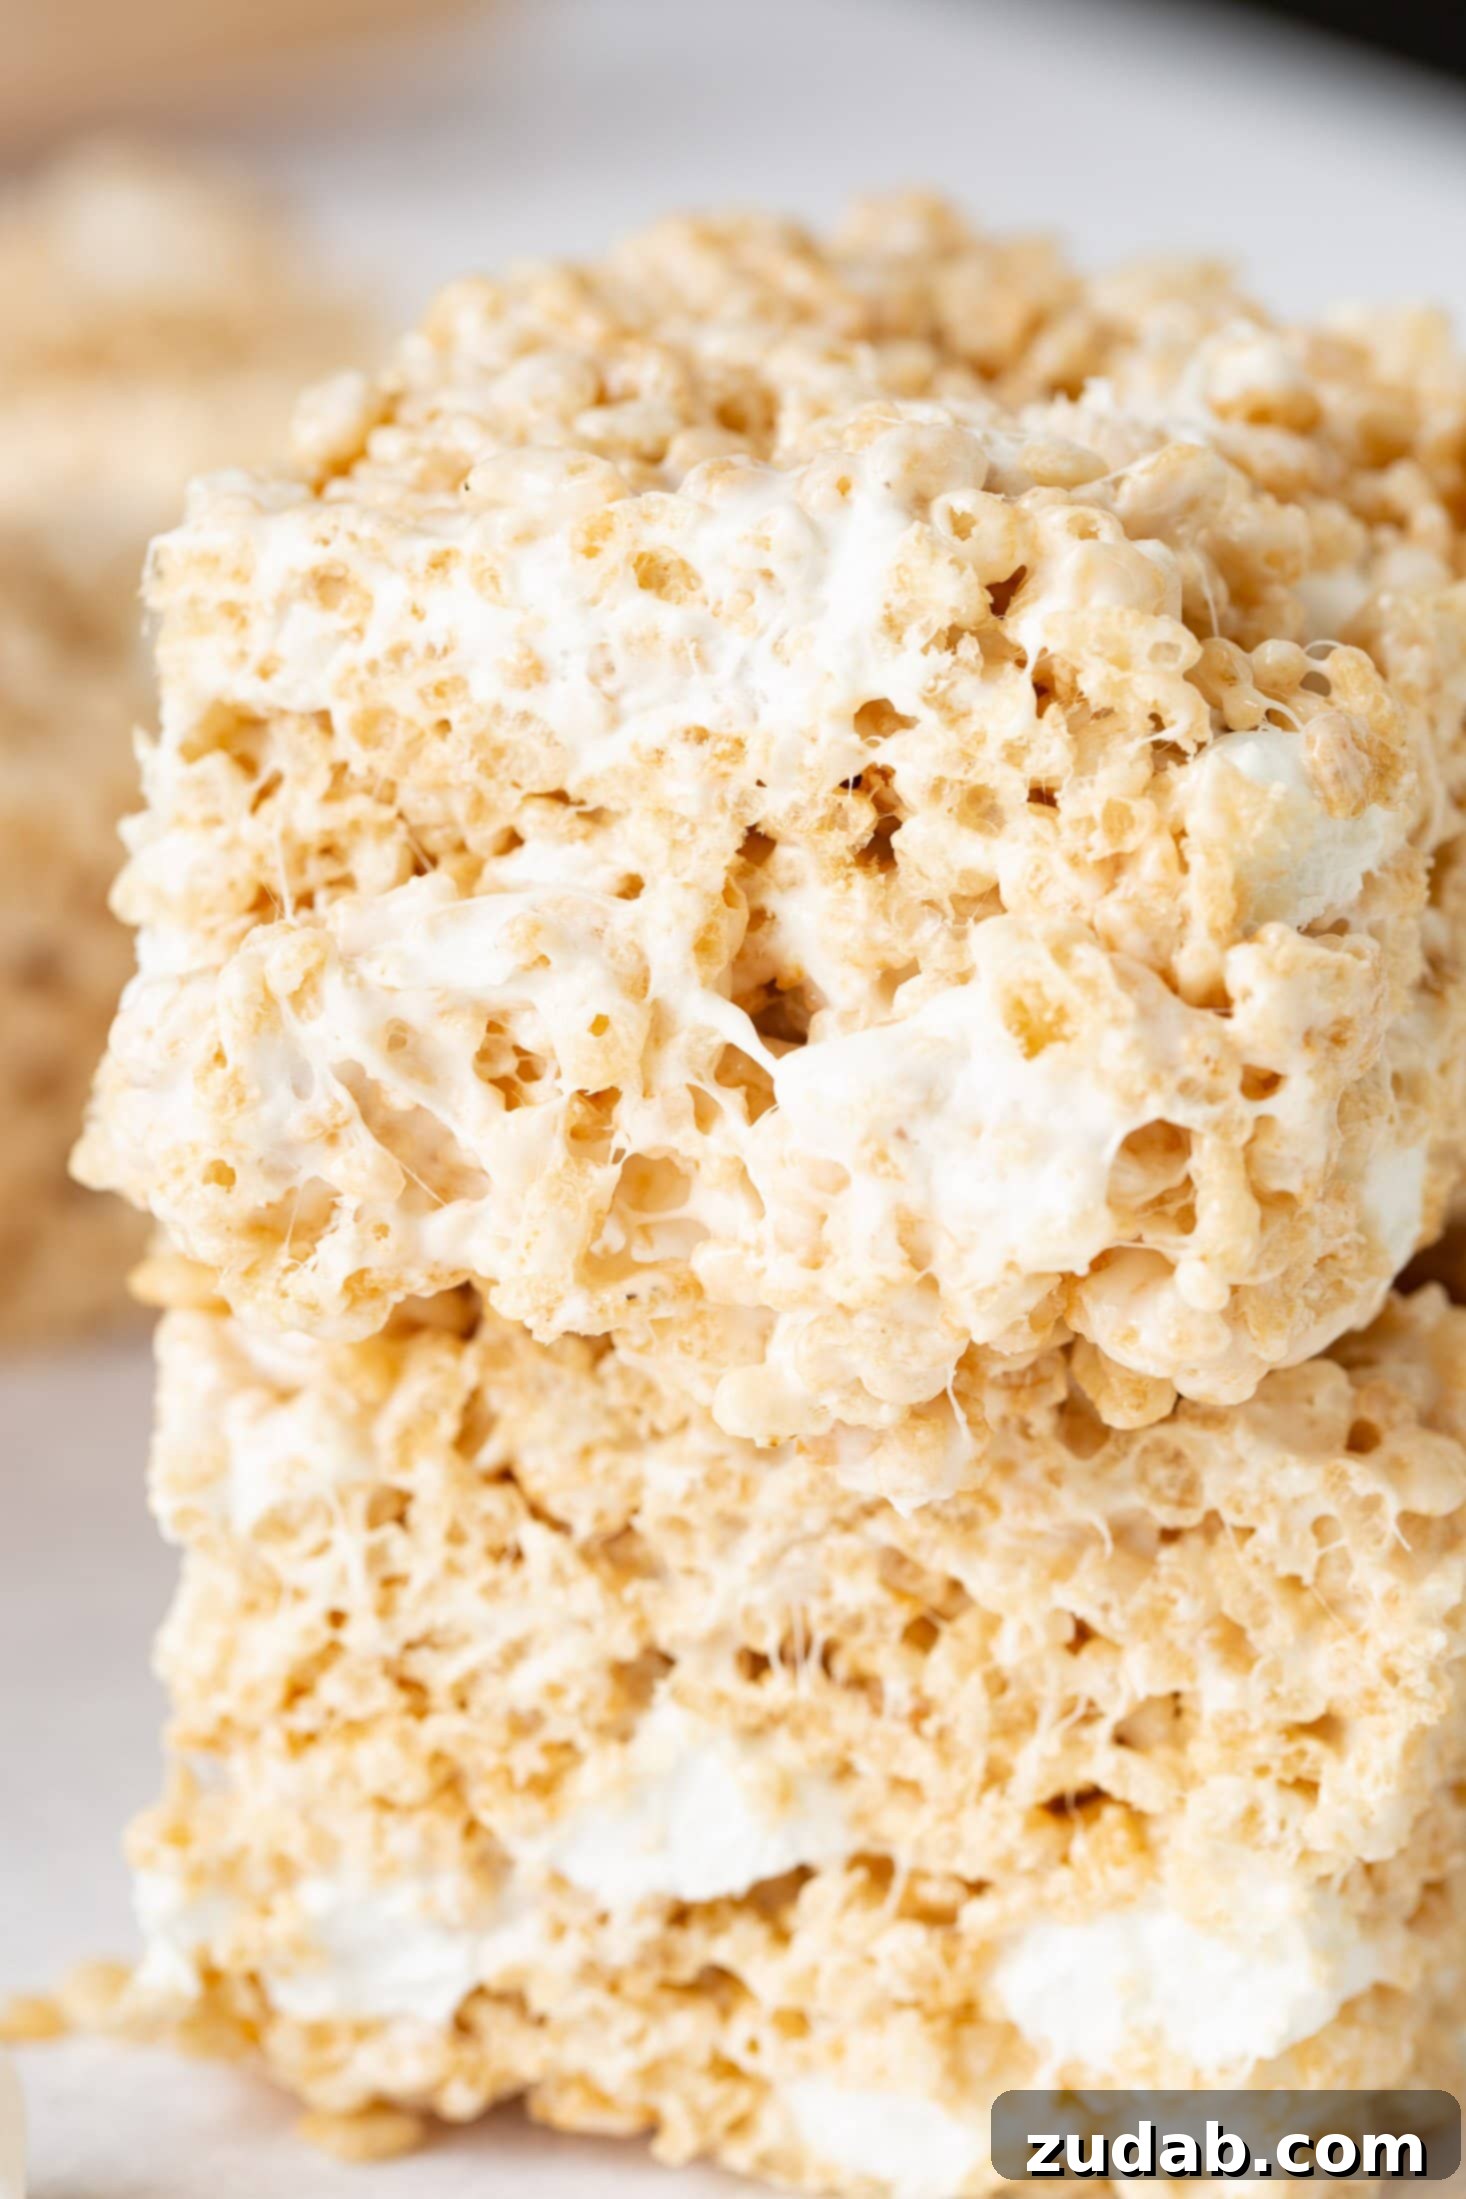
Our perfected crispy rice cereal treats elevate everything you adore about the traditional kind. We’ve fine-tuned the balance with an abundance of marshmallows, a rich buttery base, and just the right hint of sea salt to create a truly magical experience. Each bite offers a wonderfully soft and chewy texture, punctuated by delightful pockets of unmelted **mini marshmallows** that provide an extra burst of gooey bliss. Through countless batches in our kitchen, we diligently tested the cereal-to-marshmallow ratio until it reached absolute perfection. The result is a treat with a rich, nostalgic flavor that’s sweet enough to satisfy without being cloying, leaving you eager to reach for a second, or even a third, square!
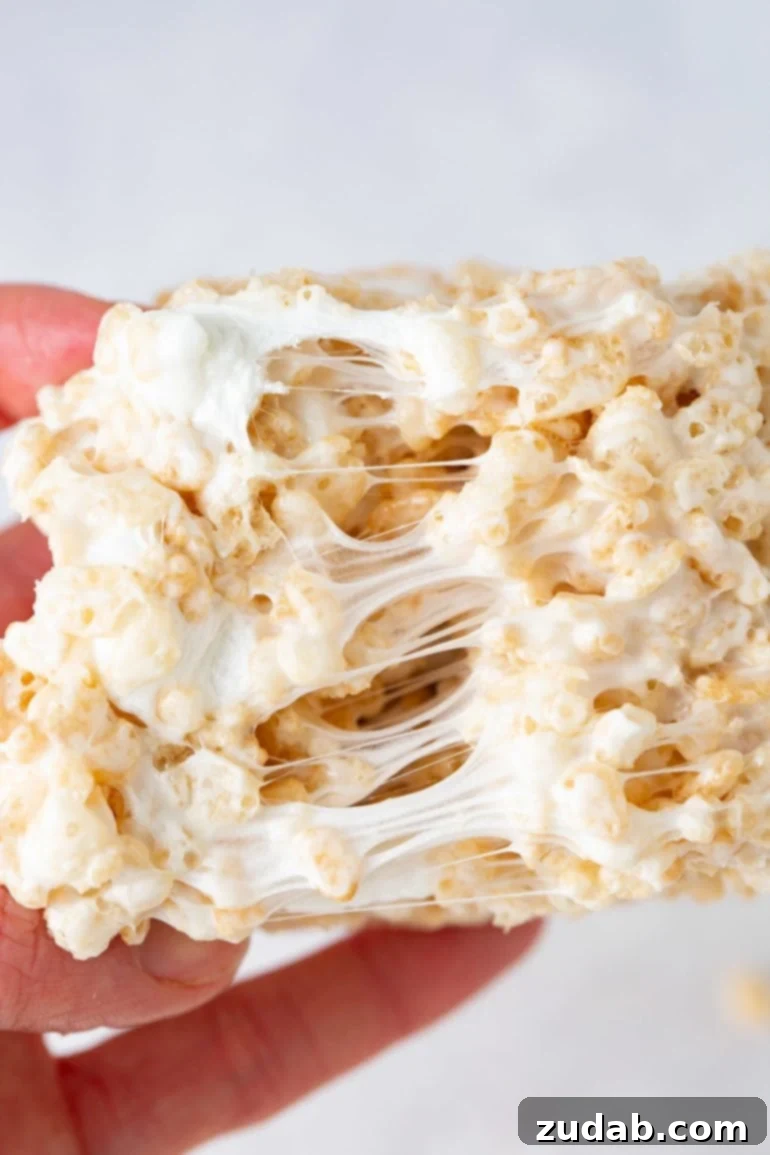
There’s an undeniable charm to simple, old-school desserts that never fades, especially when they’re crafted to this level of deliciousness. The sweet, buttery aroma that fills your kitchen as these treats come together is like a warm, comforting embrace. And that moment when you lift a piece from the pan, revealing the soft, stretchy marshmallow pull, is nothing short of irresistible. If you’re looking to complete your dessert spread with more effortlessly delicious favorites, be sure to explore our Chewy M&M Chocolate Chip Cookies or the intensely rich No-Bake Chocolate Peanut Butter Cookies.
Essential Ingredients for Unforgettable Rice Krispie Treats
Every ingredient in this recipe plays a crucial role in making your crispy rice treats extraordinarily gooey, incredibly flavorful, and utterly crave-worthy. Let’s shine a spotlight on these stars of our no-bake creation:
- Unsalted Butter: This forms the foundational rich, buttery taste that permeates every single bite. While unsalted is preferred for precise salt control, **salted butter** can be used in a pinch; just remember to slightly reduce the amount of added sea salt to maintain balance.
- Fine Grain Sea Salt: A small amount goes a long way here. It’s the secret weapon that perfectly balances all the sweetness, preventing the treats from being overly saccharine. Do not skip this, and for the best results, avoid substituting with regular table salt, which has a different texture and potency.
- Mini Marshmallows: These are the absolute magic glue that creates that signature gooeyness. We strategically melt 8 cups to form the smooth, sticky binder and then stir in another 2 cups at the end. These additional unmelted marshmallows create those dreamy, soft pockets of fluff that make these treats truly special. Large marshmallows don’t melt as evenly and won’t give you the same delightful texture.
- Pure Vanilla Extract: This ingredient adds incredible depth and enhances the warm, sweet, comforting flavor we all associate with classic treats. It’s a non-negotiable for a truly superior taste. Only omit it if you’re truly desperate and out of stock.
- Rice Krispies Cereal: The essential crisp, crunchy backbone of these treats. While generic crispy rice cereal can work, **Kellogg’s Rice Krispies** are recommended for their iconic “snap, crackle, pop” sound and texture, ensuring that nostalgic quality we’re aiming for.
Exact measurements for each ingredient can be found in the comprehensive recipe card located at the conclusion of this article.
Step-by-Step Guide to Crafting Your Perfect Rice Krispie Treats
These incredibly gooey, chewy, and marshmallow-packed treats come together with surprising speed – often faster than little voices can ask, “Can I have one?” Let’s break down the simple steps to create this beloved dessert:
- Prepare Your Pan: Begin by lightly spraying a 9×9-inch baking dish with non-stick cooking spray. For effortless removal and clean slices, line the pan with foil or parchment paper, creating a slight “sling” that extends over the edges. Once lined, spray the paper again to ensure absolutely no sticking.
- Pro Tip: Using a parchment paper sling is your best friend for lifting the entire batch out of the pan in one clean piece, making cutting a breeze.
- Melt Butter and Marshmallows: In a generously sized pot over medium-low heat, or in a large microwave-safe bowl, combine the unsalted butter, fine grain sea salt, and 8 cups of mini marshmallows. Gently melt the mixture on the stovetop, stirring constantly until it’s smooth and fully incorporated. If using a microwave, heat in short 30-second bursts, stirring thoroughly between each interval, until a glossy, smooth marshmallow sauce forms.
- Crucial Tip: Avoid overheating the mixture! High heat can cause the sugars in the marshmallows to crystallize and toughen, resulting in hard rather than perfectly gooey treats. Low and slow is the golden rule for melting marshmallows.
- Stir in Vanilla: As soon as the butter and marshmallow mixture is perfectly melted and shimmering, remove it from the heat. Promptly stir in the vanilla extract, ensuring it is fully incorporated into the warm, luscious base.
- Incorporate the Cereal: Add your **Rice Krispies cereal** to the melted marshmallow mixture. Using a well-buttered rubber spatula or a large spoon, gently but swiftly fold the cereal into the marshmallow, ensuring every crispy piece is evenly coated. Working quickly prevents the mixture from cooling and becoming too stiff.
- Add Extra Marshmallow Pockets: While the cereal mixture is still warm and pliable, stir in the remaining 2 cups of mini marshmallows. These late additions won’t fully melt, creating those delightful pockets of soft, chewy marshmallow throughout the treats that contribute to their signature gooey stretch.
- Press into the Pan: Carefully pour the entire mixture into your prepared baking pan. Using lightly buttered hands or a buttered spatula (or even fingers dipped in water to prevent sticking), gently and evenly press the mixture into the pan. Do not press too hard! You want airy, fluffy treats, not dense, compact bricks. Light pressure is key for that perfect soft texture.
- Finish with Flaked Sea Salt: While the treats are still warm and sticky, generously sprinkle a touch of flaked sea salt over the top. This final touch provides a contrasting sweet-salty bite that elevates the buttery, vanilla notes and makes the flavors truly sing.
A detailed recap of these steps, along with precise ingredient quantities, can also be found in the recipe card at the end of this article.
Can I Use Regular Marshmallows Instead of Mini?
Yes, you certainly can use regular-sized marshmallows, but there’s a good reason why mini marshmallows are highly recommended for this recipe. Mini marshmallows melt much more quickly and evenly, which is crucial for achieving that silky, smooth, and consistent marshmallow binder that guarantees gooey results. If you opt for regular-sized marshmallows, be sure to chop them into smaller pieces beforehand. This will help them melt down completely and avoid any unpleasantly large, unmelted lumps, ensuring your treats maintain the desired texture.
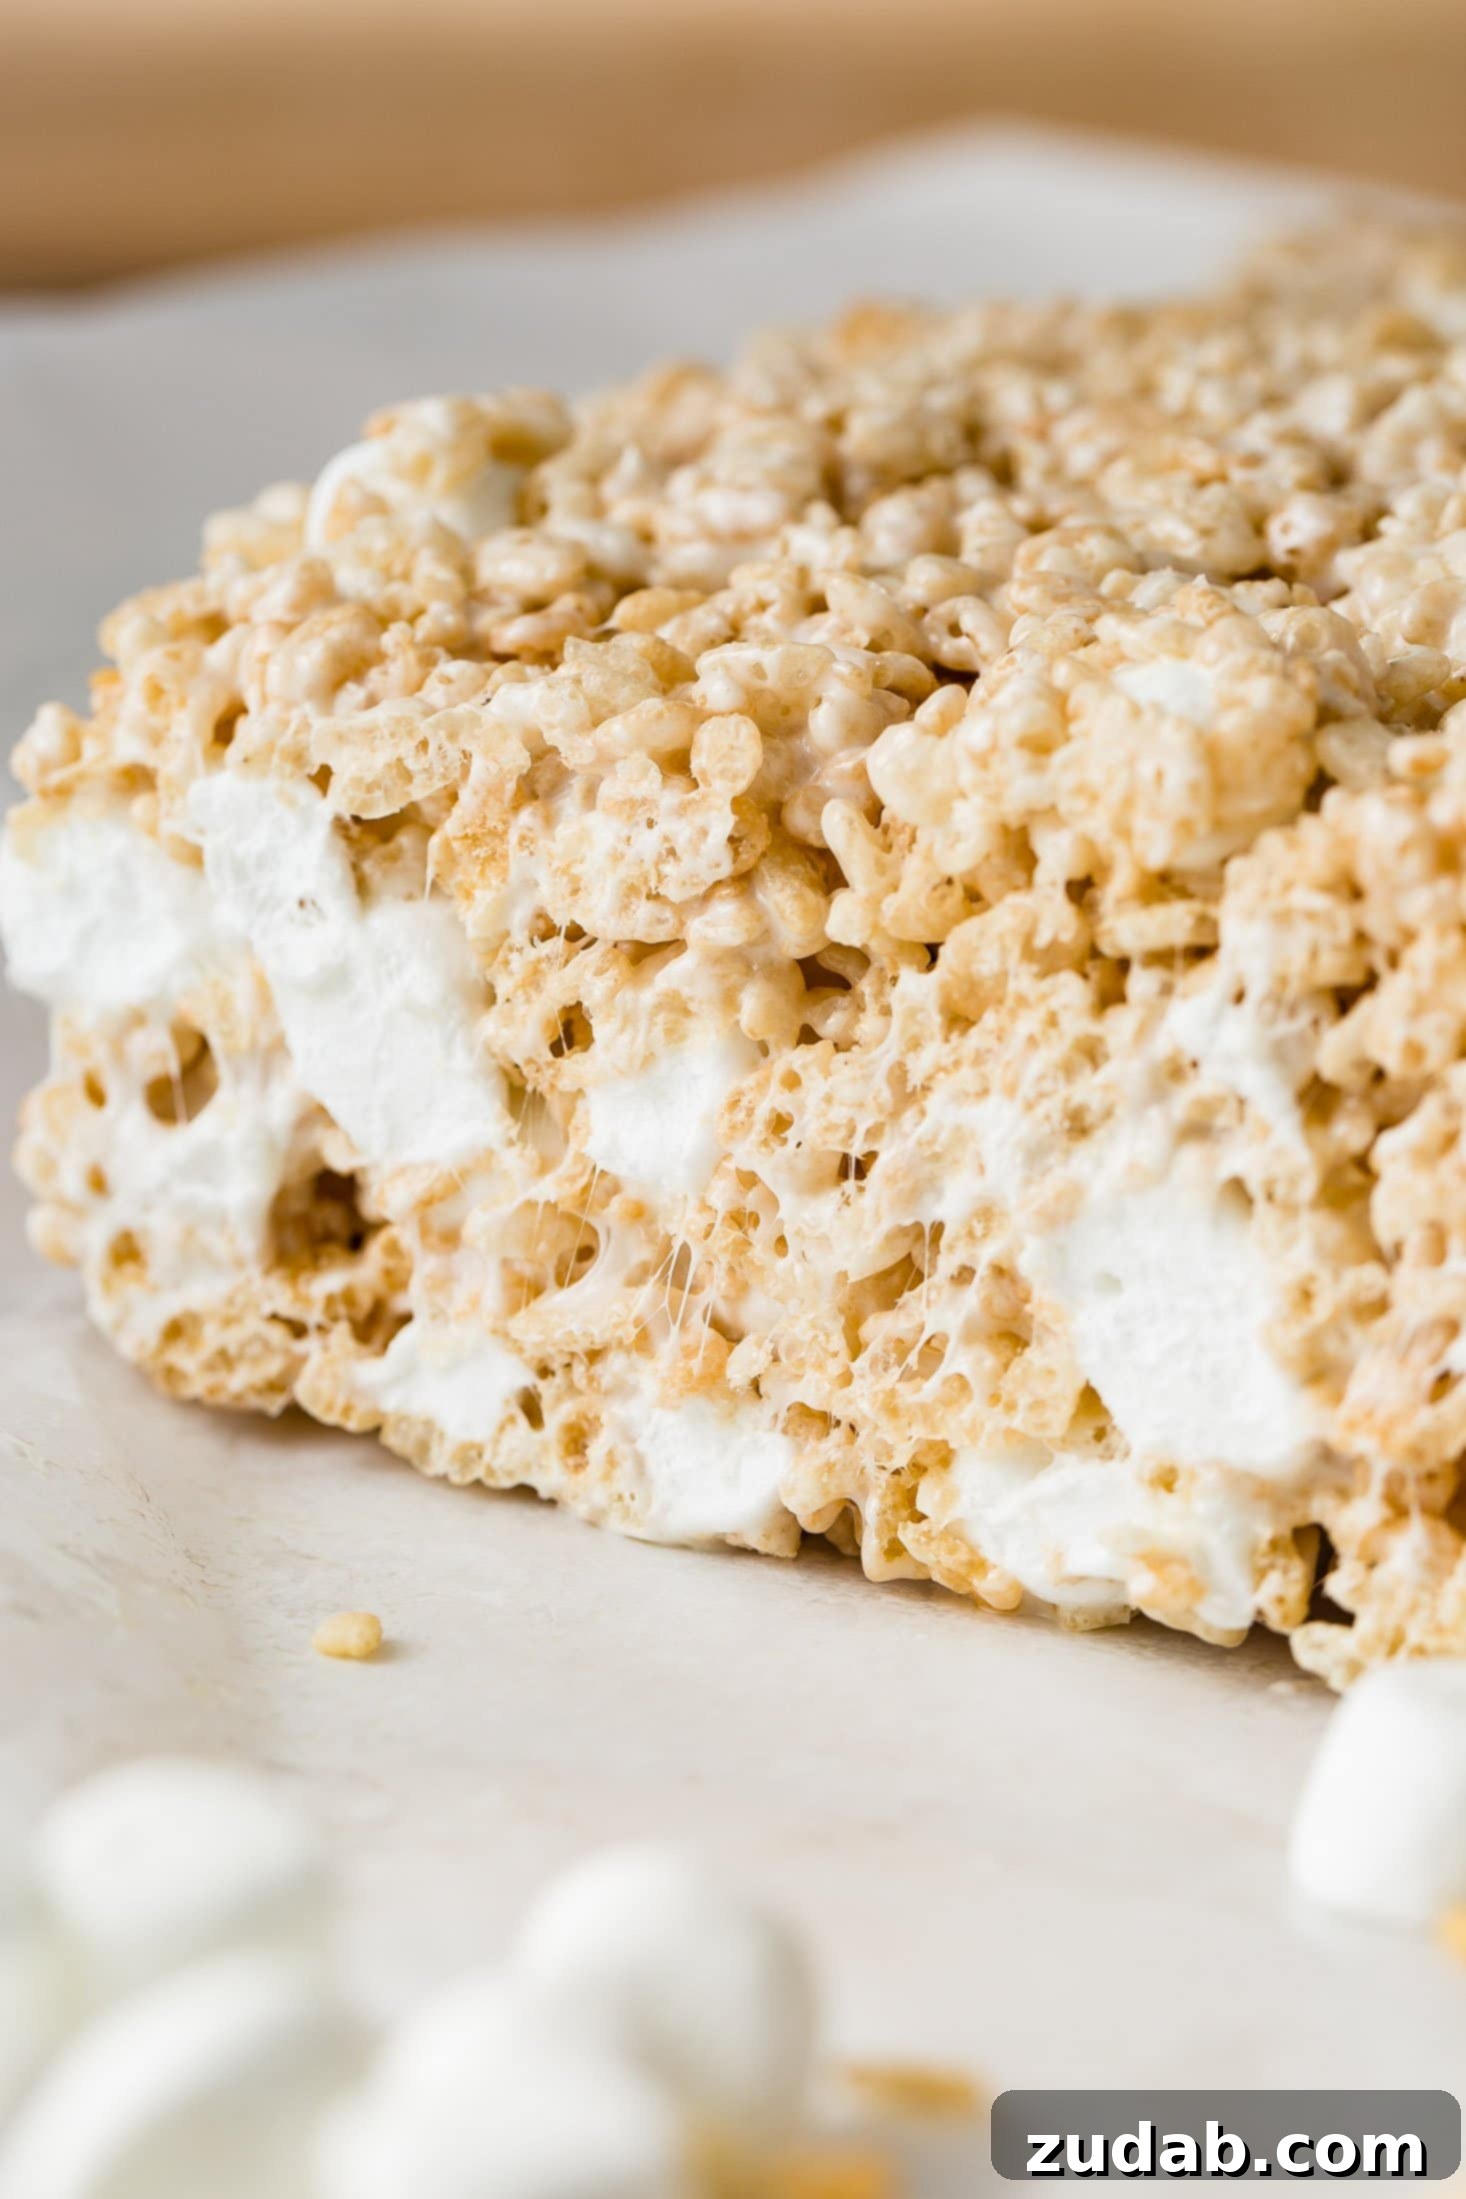
Why are My Rice Krispie Treats Hard?
The most common culprit behind hard, brittle Rice Krispie Treats is overheating the butter and marshmallow mixture. When marshmallows get too hot, their sugars firm up excessively upon cooling, transforming your wonderfully soft and chewy dessert into something unpleasantly stiff, and perhaps even tooth-chipping! To avoid this, always keep the heat low and melt the marshmallows slowly, stirring continuously. Additionally, resist the urge to press the mixture into the pan too firmly. Gentle pressure is sufficient to create an even layer without compacting the treats and making them dense.
Can I Add Peanut Butter to These?
Absolutely, and it’s a fantastic addition that takes these treats to another level of deliciousness! To infuse your treats with a rich, nutty flavor, simply stir in about a half cup of creamy peanut butter into the melted butter and marshmallow mixture before you add the cereal. The peanut butter melts seamlessly into the warm goo, adding a wonderful depth of flavor and a touch of protein – because balance, right?
What Pan Size Should I Use for Thinner or Thicker Treats?
The pan size you choose will directly impact the thickness of your Rice Krispie Treats. A 9×9-inch baking dish, as specified in this recipe, yields thick, satisfying bars reminiscent of bakery-style treats. If you prefer thinner squares that can be stretched further (perfect for sharing with a crowd, or perhaps just for more individual servings!), a 9×13-inch pan is ideal. Simply adjust the amount of pressure you apply when pressing the mixture into the pan based on your desired thickness and the chosen pan size.
Bonus Tip: For an extra-large batch of thick and chewy treats to share, you can easily double this recipe and press it into a 9×13-inch pan.
Exciting Variations for Your Crispy Rice Treats
While our classic gooey Rice Krispie Treat recipe is perfect on its own, it also serves as an excellent foundation for creativity! Feel free to experiment with these delightful variations to customize your homemade crispy rice treats:
- **Chocolate Lover’s Dream:** Swap out the traditional Rice Krispies cereal for a cocoa-flavored crispy rice cereal, such as Cocoa Pebbles. This creates a wonderfully chocolatey twist that will be adored by kids and chocolate-loving adults alike.
- **Creamy White Chocolate:** Stir in a generous handful of **white chocolate chips** with the cereal while the marshmallow mixture is still warm. The residual heat will slightly melt them, creating creamy, sweet pockets of white chocolate throughout your treats.
- **Fruity & Fun:** For a vibrant and playful treat, experiment with fruity cereals like Fruity Pebbles or Fruit Loops. This colorful, candy-like version is an absolute hit for birthday parties and celebrations.
- **Autumn Spice:** Introduce a pinch of warm cinnamon or a splash of maple extract to transform these into cozy, fall-inspired crispy rice treats. They pair perfectly with a hot mug of cider or coffee.
- **Vegan Friendly:** Make these treats accessible to everyone by using **vegan marshmallows** and a high-quality plant-based butter. This ensures a dairy-free and gelatin-free version that still maintains that irresistible gooey texture.
- **Layered Decadence:** Create stunning layered dessert bars. Press half of the cereal mixture into the pan, then add a thin, even layer of chocolate chips, a swirl of peanut butter, or even a layer of caramel. Top with the remaining cereal mix for a multi-textured delight.
- **Rainbow Bright:** For an extra pop of color and sweetness, mix in colorful miniature marshmallows at the very end. Their vibrant hues will make your treats even more visually appealing.
- **Added Crunch:** If you crave an extra textural element, stir in finely chopped pretzels or crushed graham crackers along with the cereal. This offers a delightful sweet-and-salty crunch that’s a unique twist on the classic.
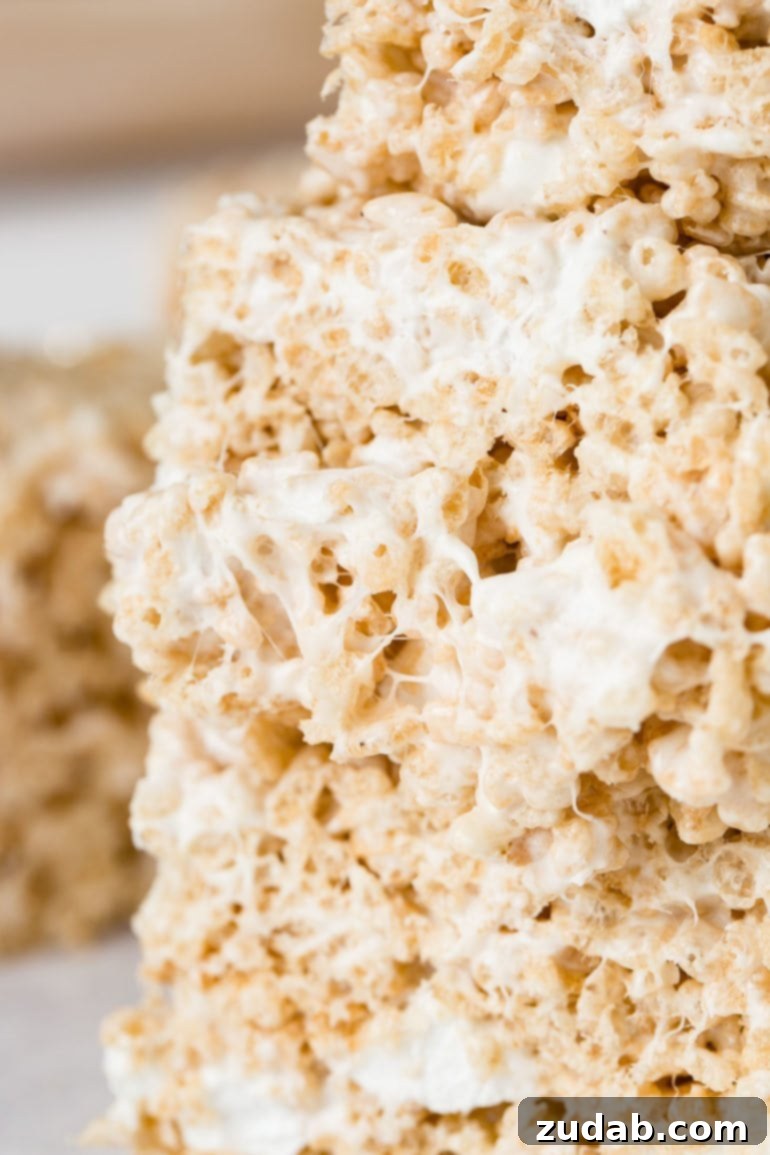
Expert Tips for the Gooey-est Rice Krispie Treats Every Time
Achieving that perfectly soft and wonderfully gooey Rice Krispie Treat is all about a few key techniques:
Always use fresh marshmallows. This tip is more critical than you might think! Seriously, fresh marshmallows make an enormous difference in texture and meltability. Don’t be tempted to grab that forgotten bag that’s been languishing in your pantry for months, assuming it’ll be fine because you’re melting them. Stale marshmallows will lead to a stiffer, less appealing final product. Freshness is key for ultimate gooeyness.
Before you even begin melting, I strongly recommend **getting all your ingredients measured and ready (mise en place)**. This means having your butter, salt, vanilla, and both portions of marshmallows measured, and your Rice Krispies cereal waiting in a large bowl. Trust me on this: once the butter and marshmallows start melting, everything comes together very quickly, and having your components prepped will prevent any scorching or rushing, ensuring a smooth process and perfect results.
The ultimate **trick to pressing these easy Rice Krispies into your pan without sticking** to your hands (and making a huge mess) is simple: lightly moisten your fingers with water, shake off the excess, and then gently press. Voilà! Your hands will remain clean, and the mixture will effortlessly spread into an even layer.
Storing and Freezing Your Delicious Rice Krispie Treats
Once your irresistible **homemade Rice Krispie Treats** have cooled and fully set (which often feels like the longest 30 minutes of your life!), they are ready to be sliced into individual portions and stored. The absolute best way to maintain their freshness, incredible softness, and signature gooey texture is to keep them in an **airtight container** at **room temperature**. If you need to stack the treats, place sheets of wax paper or parchment paper between each layer to prevent them from sticking together and becoming one giant, delicious marshmallow blob.
While freezing is an option, I’ll be completely honest with you – it’s generally not my preferred method for these particular treats. Marshmallows tend to react a little oddly to the freezer, and the texture never quite returns to its original perfection after thawing. However, if you must freeze them, ensure each individual treat is wrapped tightly in plastic wrap, then place them in a freezer-safe, airtight container. They can be frozen for up to 6 weeks. When you’re ready to enjoy, simply let them thaw completely at room temperature before serving.
There’s absolutely no need to refrigerate these treats, and in fact, you really shouldn’t! Placing them in the fridge will cause them to dry out significantly and become quite hard – and no one wants a crispy rice cereal treat that could double as a hockey puck. Room temperature is truly the sweet spot for keeping them delightfully soft and chewy.
These treats are undeniably best when enjoyed fresh, but you can certainly prepare them a day ahead of time if you’re planning for a party, a potluck, or that sudden “Mom, I need a snack for school tomorrow!” moment. Just remember to keep them tightly wrapped and stored at room temperature to lock in all that gooey goodness. When stored properly, they will retain their optimal freshness for up to 3 days.
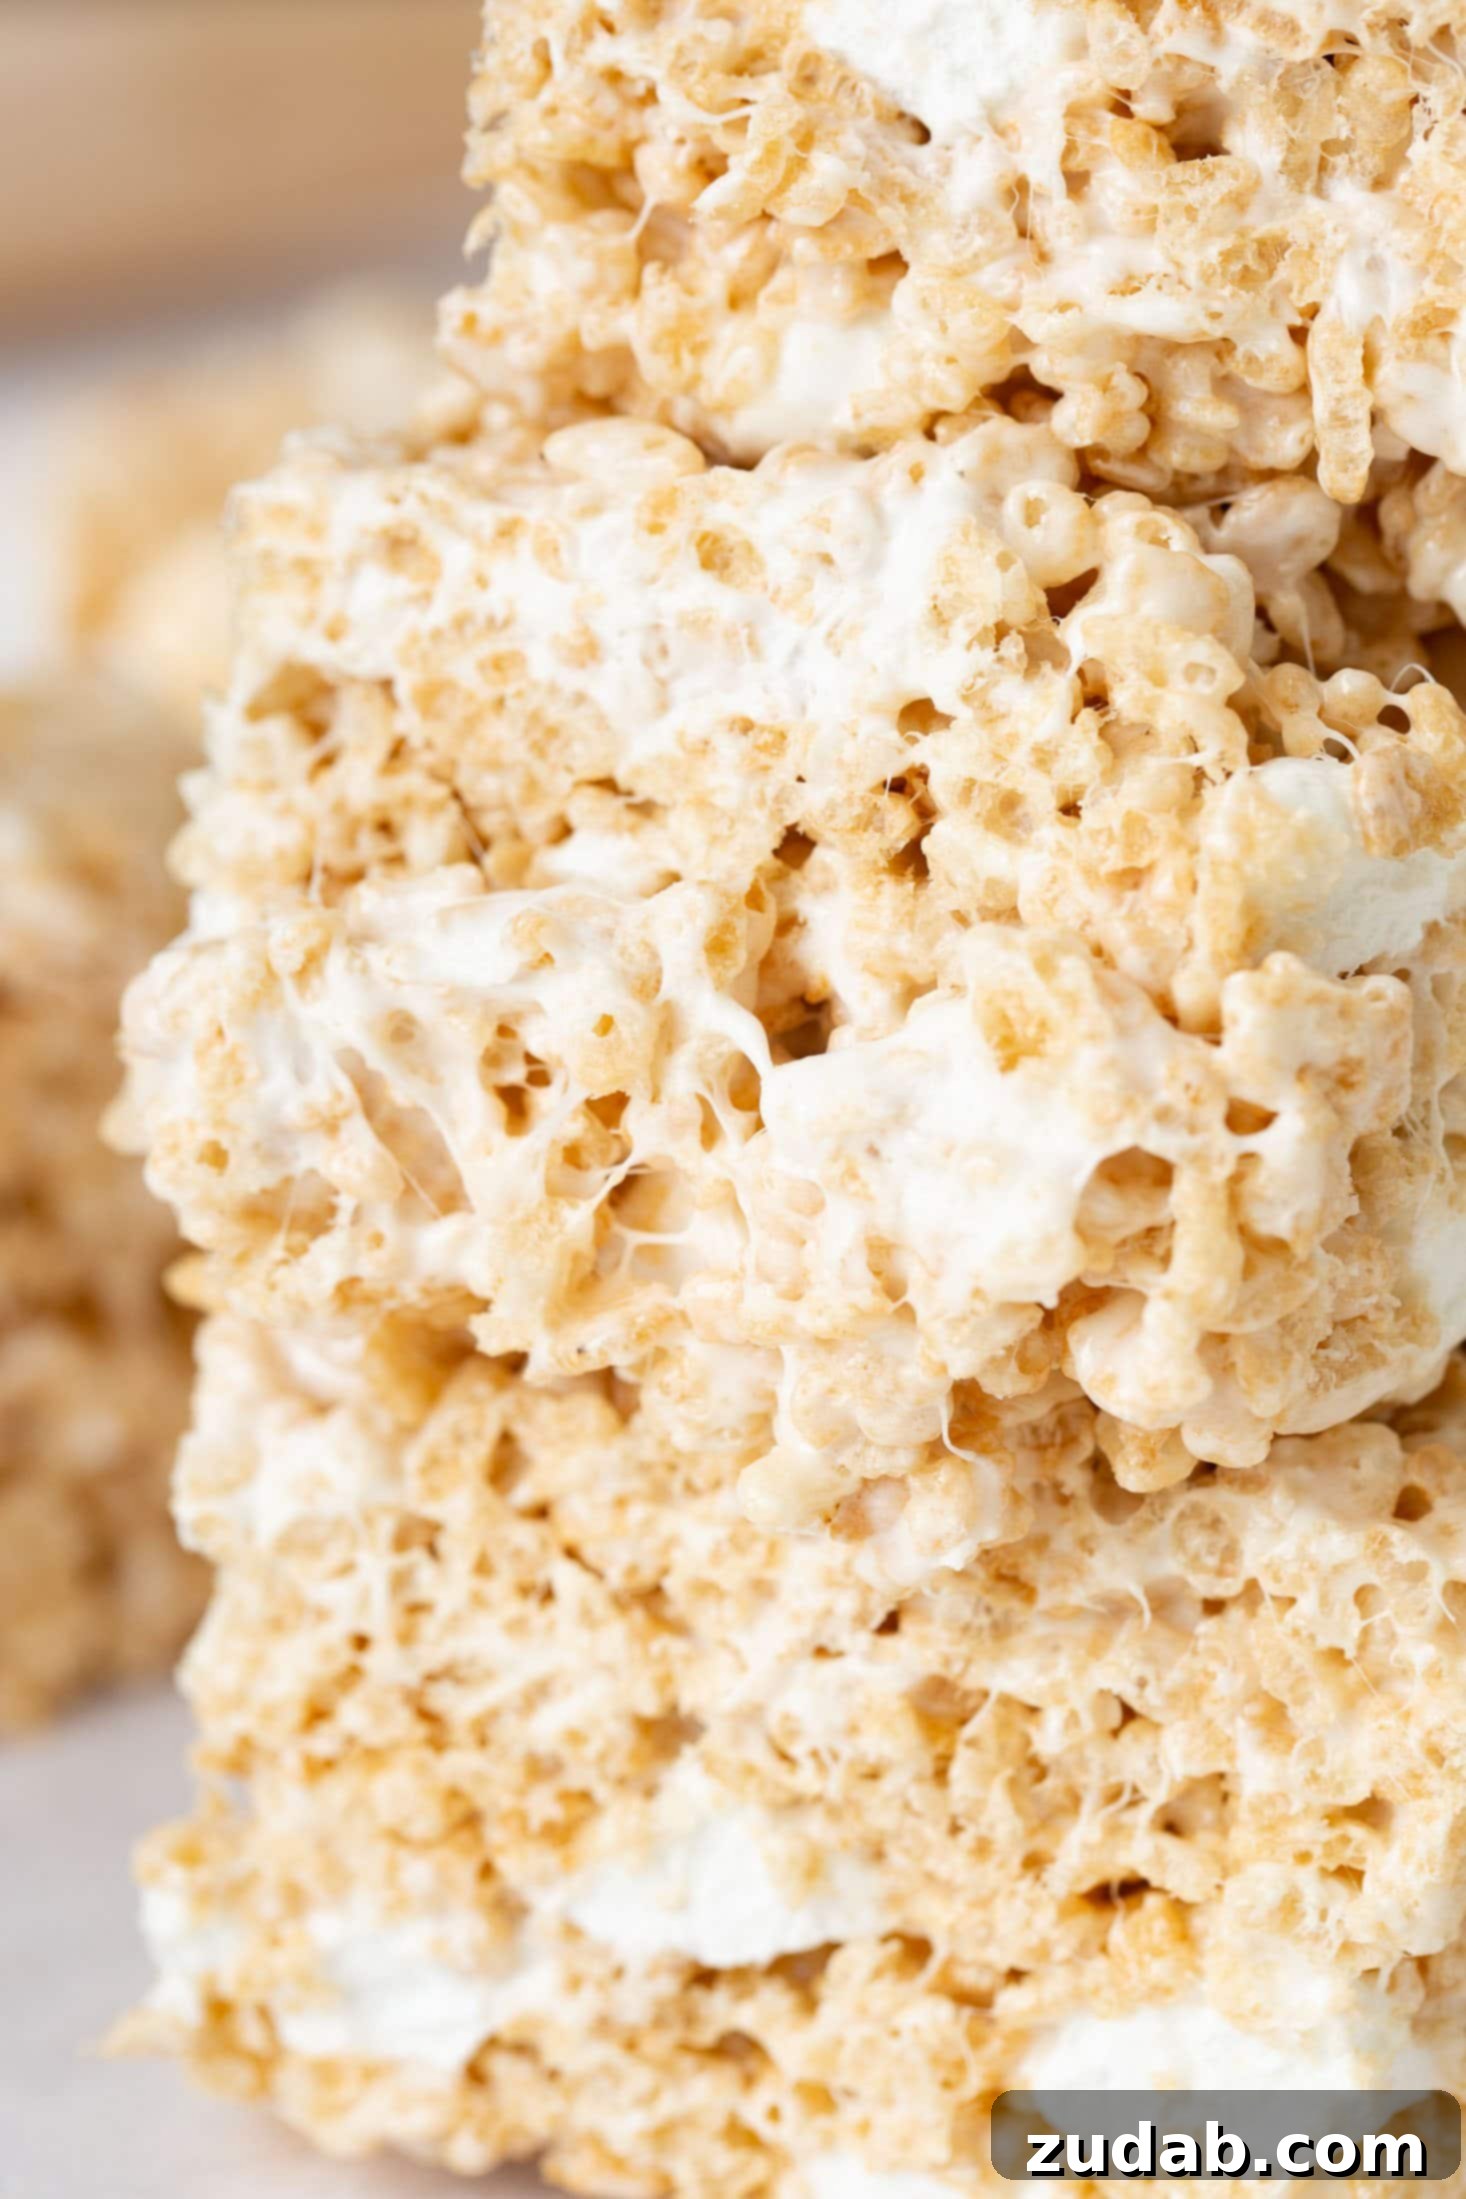
These **homemade Rice Krispie Treats** embody everything we adore in a dessert: they’re quick to make, require no baking, offer a perfect balance of sweet and salty, and are guaranteed to be a crowd-pleaser. One bite is all it takes to understand why they disappear so quickly around here!
Discover More Irresistible Crispy Rice Cereal Creations:
- Golden Oreo Funfetti Rice Krispy Treats
- Single-Serve Rice Krispies Treat in a Mug
- Cookie Butter Rice Krispies Treats
- Reese’s Peanut Butter Chocolate Rice Krispies
- Milky Way Rice Krispie Treats
- Gooey Fluffernutter Rice Krispies
- Scotcheroos (Peanut Butter Rice Krispies Bars)
Perfectly Gooey Rice Krispie Treats Recipe
Prep Time: 10 minutes
Total Time: 10 minutes
Servings: 8 bars
Ingredients
- 5 Tablespoons Unsalted Butter
- 1/2 teaspoon Fine Grain Sea Salt
- 10 Cups Mini Marshmallows (divided: 8 cups for melting, 2 cups for mixing in)
- 1/4 teaspoon Pure Vanilla Extract
- 6 Cups Rice Krispies Cereal (or your preferred crispy rice cereal)
Instructions
- Spray a 9×9-inch pan with non-stick spray and line it with a foil or parchment paper sling, then spray the paper again.
- In a very large microwave-safe bowl, or in a pot on the stove over medium-low heat, combine the butter, sea salt, and 8 cups of mini marshmallows. Melt, stirring frequently, until completely smooth and glossy. Avoid overheating.
- Remove from heat and stir in the vanilla extract until fully incorporated.
- Add the Rice Krispies cereal to the melted marshmallow mixture and mix gently but quickly until all the cereal is evenly coated.
- While the mixture is still warm, stir in the remaining 2 cups of mini marshmallows.
- Pour the mix into your prepared pan and gently press it down into an even layer using lightly buttered hands or a buttered spatula. Do not press too firmly.
- For an extra touch, sprinkle flaked sea salt on top while still warm.
Recipe Notes
- To prevent the sticky mixture from clinging to your hands when pressing, lightly butter your hands or dip your fingers in water before handling the treats.
- These Rice Krispie Treats can be stored in an airtight container at room temperature for 2-3 days, or frozen for up to 6 weeks. For best texture, room temperature storage is recommended.
Nutrition (Approximate per 1 bar serving)
Calories: 318kcal, Carbohydrates: 65g, Protein: 4g, Fat: 8g, Saturated Fat: 5g, Cholesterol: 19mg, Sodium: 428mg, Fiber: 5g, Sugar: 34g.
Nutrition information is automatically calculated and should only be used as an approximation.