
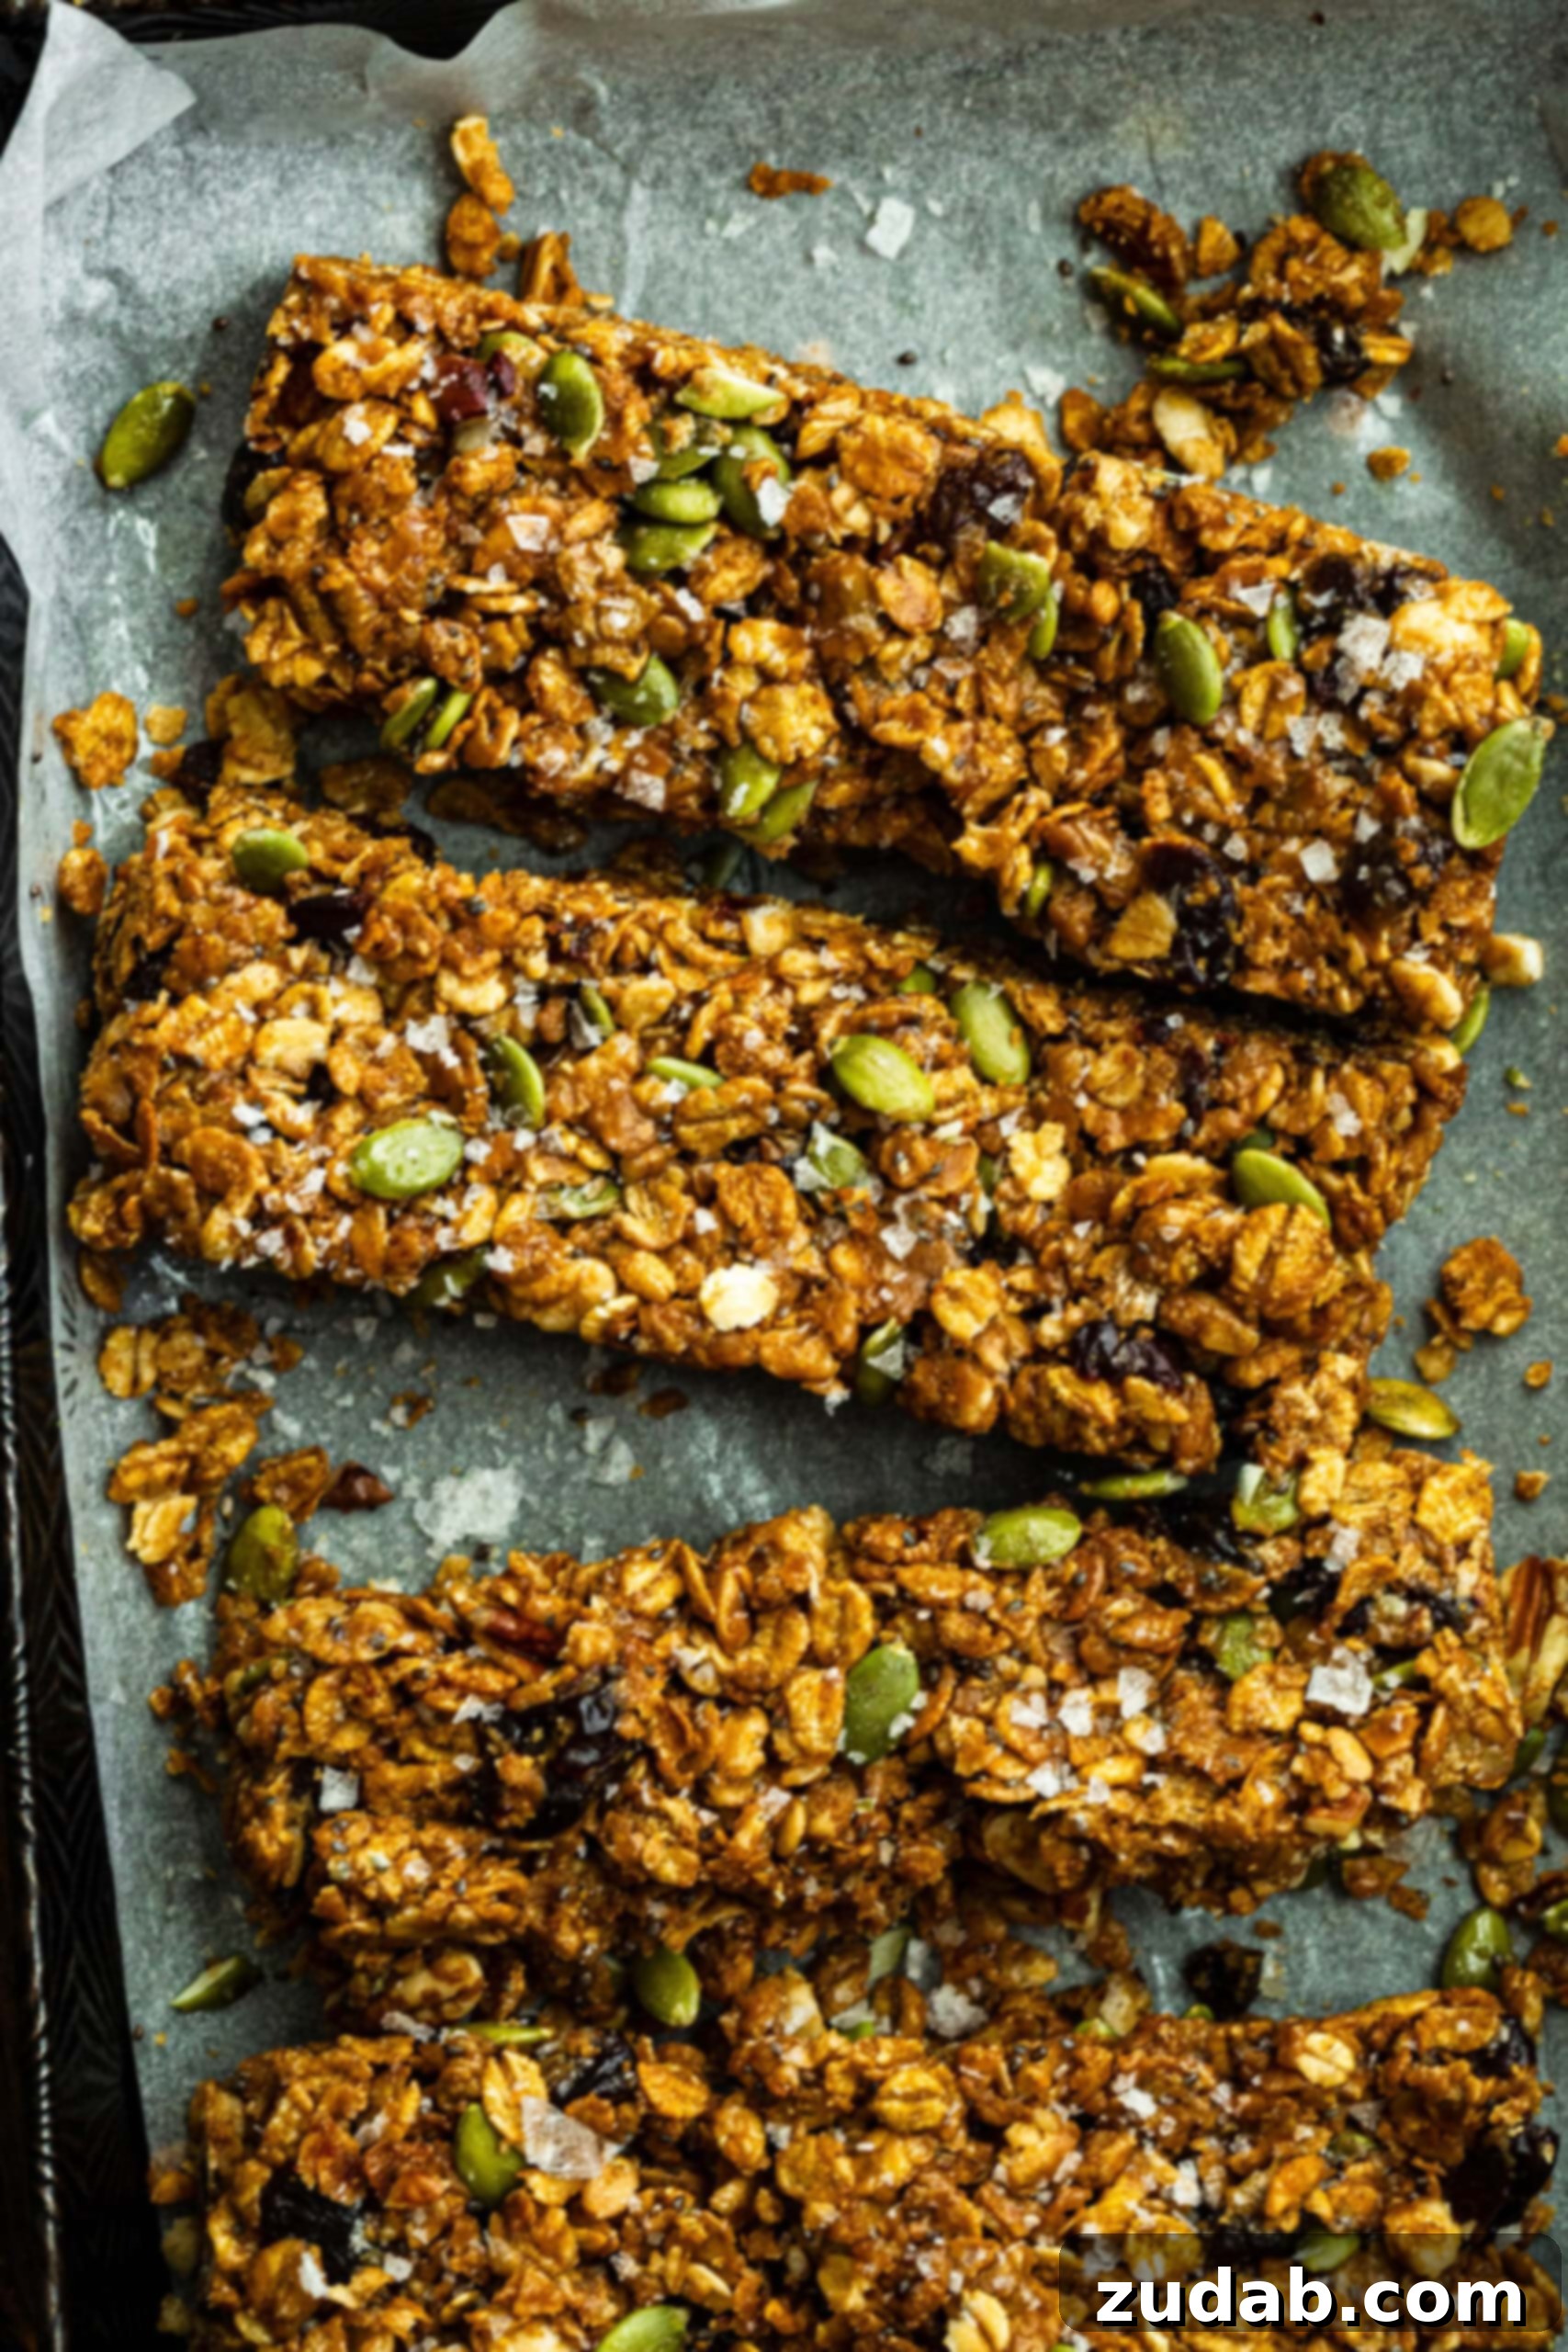
Imagine a delightful blend of chewy, nutty, and perfectly sweet flavors—this homemade peanut butter cereal bar recipe is the ultimate solution for your demanding mornings and those lingering afternoon cravings. Bursting with the satisfying crunch of wholesome cereal, a luscious drizzle of natural honey, a subtle whisper of cinnamon, and bright, tangy bursts of dried cherries, every bite delivers that comforting, handcrafted touch that elevates a simple snack into something truly special.
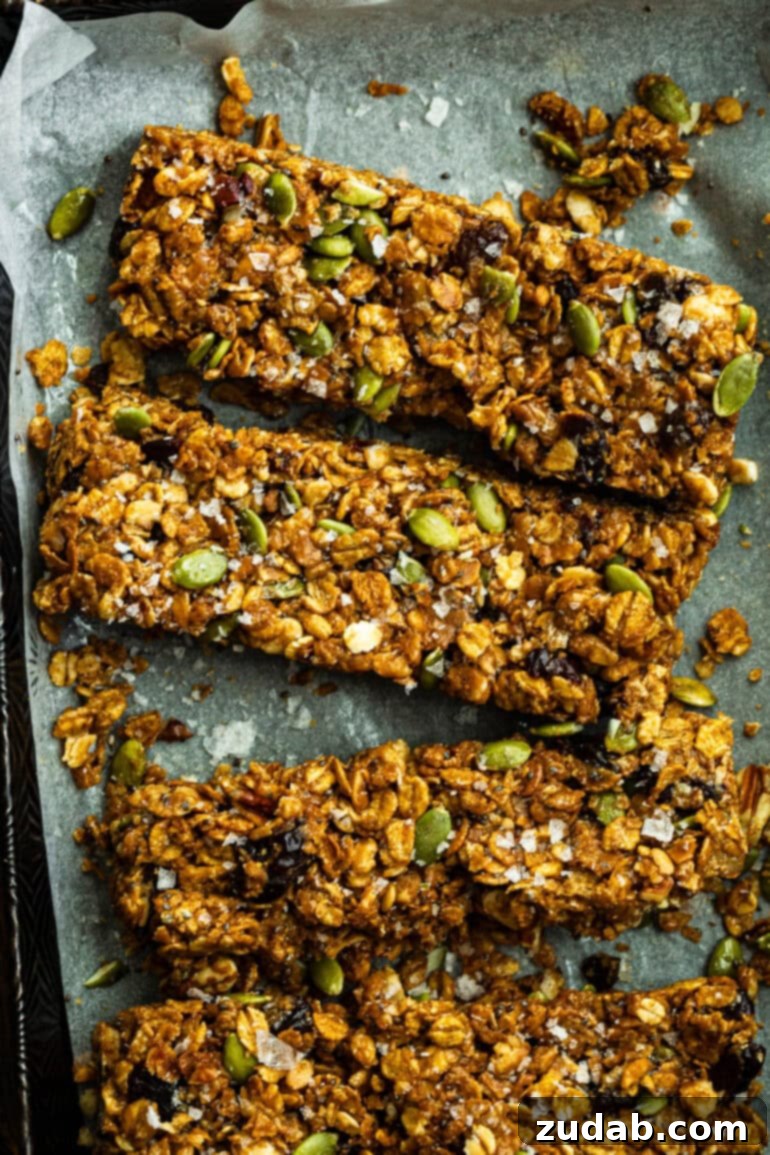
There’s an undeniable satisfaction that comes from preparing simple, nourishing foods from scratch, especially when it’s for your family. When I create our snacks and meals, I gain full control over the ingredients, ensuring we avoid artificial additives and unnecessary fillers often found in store-bought options. These wholesome bars aren’t just a delicious treat; they make an excellent high-energy breakfast when paired with a piece of fresh fruit and a tall, cold glass of milk, setting you up for a productive day.
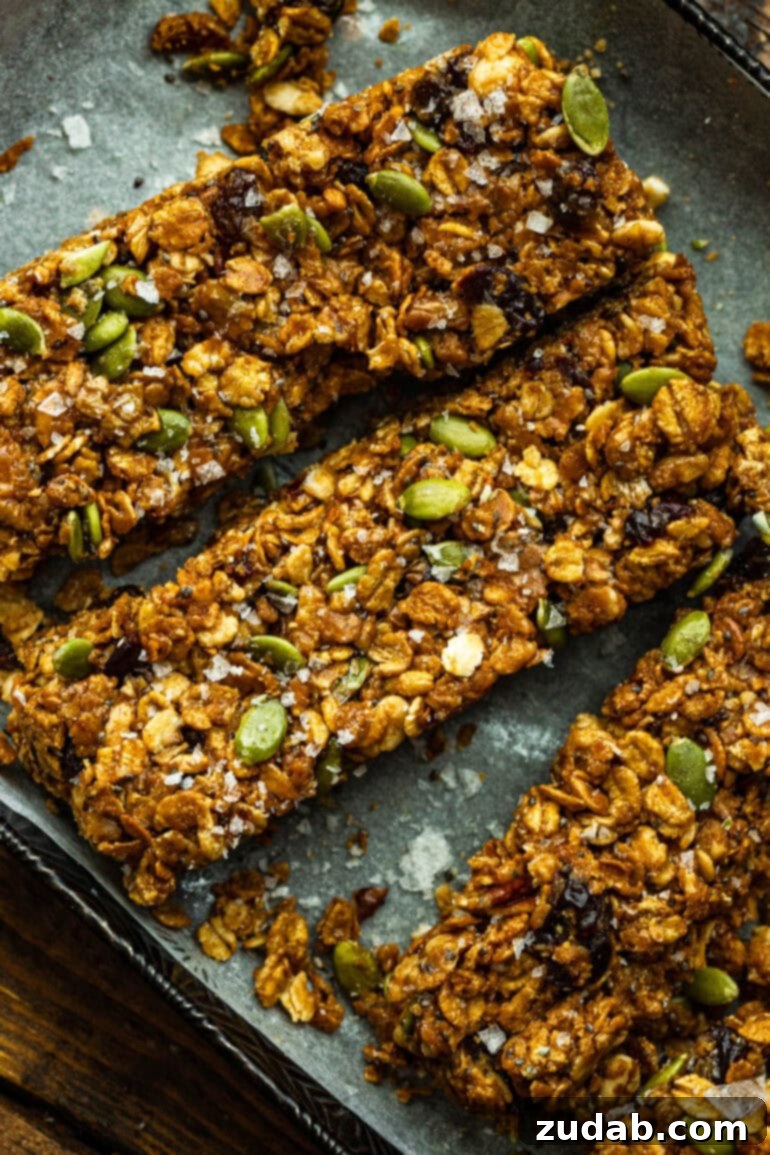
In our fast-paced lives, finding quick yet nutritious options for breakfast or snacking can be a challenge. That’s where homemade cereal bars shine. Unlike many commercial varieties that are loaded with refined sugars and unhealthy fats, making your own allows for customization with wholesome, real ingredients. This recipe provides a fantastic foundation for a versatile, delicious, and genuinely healthy snack that supports sustained energy throughout your day.
Essential Ingredients for Irresistible Homemade Cereal Bars
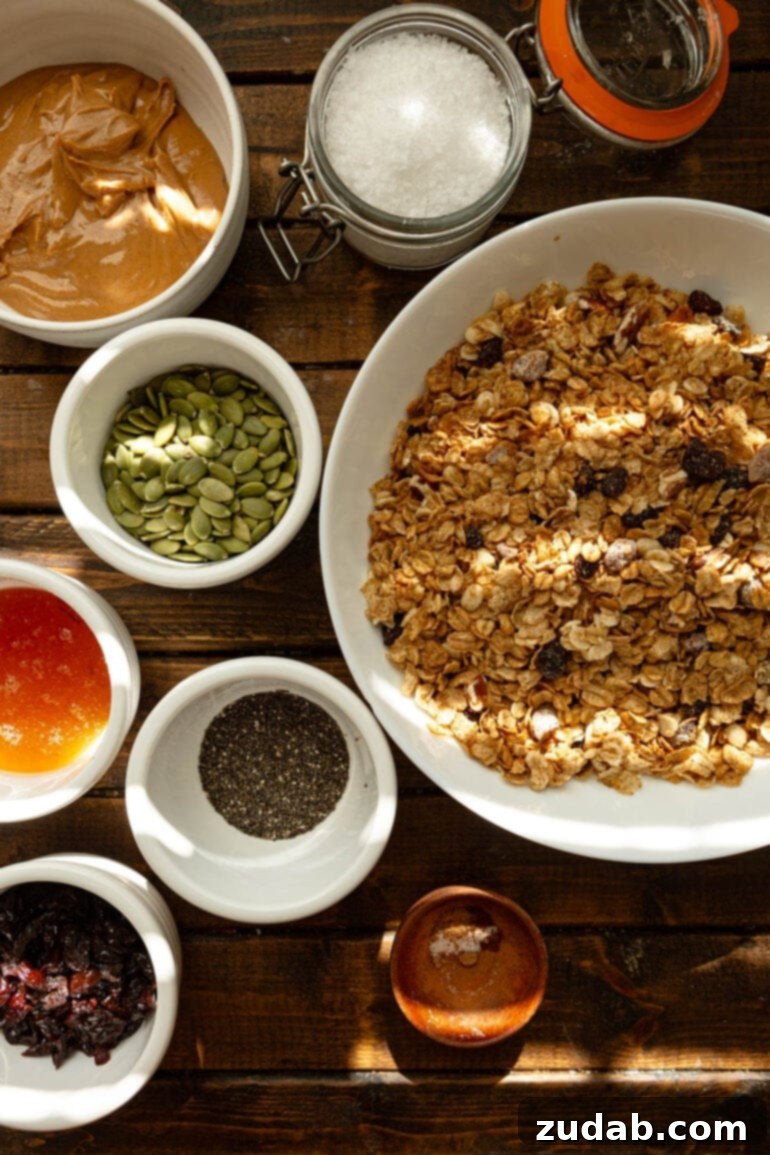
Crafting the perfect cereal bar begins with selecting quality ingredients that not only taste great but also offer nutritional benefits. Each component in this recipe plays a crucial role in achieving the ideal flavor, texture, and binding consistency that makes these bars a household favorite:
- Natural Peanut Butter: This is the star and primary binder, providing a rich, creamy texture and a deeply satisfying nutty flavor. Opt for natural peanut butter with minimal added sugar and oil for the best results. It’s packed with protein and healthy fats, contributing to a feeling of fullness.
- Golden Honey: Working in harmony with peanut butter, honey acts as a natural sweetener and a vital binding agent, giving the bars their delightful chewy texture. Honey also brings its own unique flavor profile and natural antioxidants. Maple syrup or agave nectar can be used as alternatives for a different sweetness.
- Pure Vanilla Extract: A touch of vanilla rounds out all the flavors, adding a warm, sweet, and comforting aroma that enhances the overall taste without adding extra sugar. Don’t skip this—it makes a difference!
- Crunchy Whole-Grain Cereal: The backbone of our recipe, cereal provides the essential crunch, bulk, and a base flavor that can be varied according to your preference. I highly recommend whole-grain options like Post Great Grains Cereal (especially Blueberry Morning or Raisin Bran for added fruit and fiber), Basic 4, or Honey Bunches of Oats. Using whole-grain cereals boosts fiber content, which is great for digestive health and keeps you feeling satisfied longer.
- Nutrient-Rich Pepitas (Pumpkin Seeds): These add a fantastic toasted, nutty crunch and a significant boost of plant-based protein, healthy fats, magnesium, and zinc. They contribute to the bar’s satisfying texture and nutritional value.
- Sweet-Tart Dried Cherries: Offering a chewy, tart-sweet pop, dried cherries perfectly balance the richness of the peanut butter and honey. They introduce a vibrant fruit flavor and antioxidants. Other dried fruits like cranberries, chopped apricots, or raisins can be excellent substitutes.
- Mighty Chia Seeds: These tiny powerhouses provide a subtle crunch and a remarkable nutritional boost, rich in omega-3 fatty acids, fiber, and protein. They also absorb moisture, helping with the bar’s structure.
- Warm Ground Cinnamon: Cinnamon adds a comforting warmth and enhances the natural sweetness of the other ingredients, creating a more complex and inviting flavor profile.
- Pinch of Fine Sea Salt: A small amount of salt is crucial for balancing and brightening all the sweet and savory flavors, preventing the bars from tasting overly cloying. Flaky sea salt can also be sprinkled on top for a gourmet finish and a delightful textural contrast.
Choosing high-quality, natural ingredients ensures that your homemade cereal bars are not only delicious but also genuinely beneficial for your health. Each bite is packed with wholesome goodness, making them a smart choice for any time of day.
Crafting Your Own Cereal Bars: A Simple Step-by-Step Guide
Making these no-bake cereal bars is incredibly easy and requires minimal effort, perfect for even the busiest schedules. Follow these straightforward steps to create a batch of wholesome snacks:
- Prepare Your Pan: Begin by lightly spraying an 8×8 inch square baking pan with a nonstick cooking spray. Then, line the pan with parchment paper, leaving an overhang on two sides. This parchment “sling” will make it incredibly easy to lift the finished bars out of the pan. Spray the parchment paper lightly once more. This ensures nothing sticks and allows for clean removal.
- Gently Heat the Binders: In a small saucepan on the stovetop over low heat, or in a microwave-safe bowl in the microwave, warm the honey and peanut butter. Heat them gently until the mixture becomes smooth and slightly simmering around the edges, but do not let it boil vigorously. This process helps to melt and combine the sticky ingredients thoroughly, creating a cohesive binder for your bars. Stir occasionally if heating on the stovetop.
- Infuse with Flavor: Once the honey and peanut butter mixture is warm and fluid, remove it from the heat. Stir in the vanilla extract, ground cinnamon, and a pinch of salt. Mix thoroughly until all these flavor enhancers are well incorporated into the warm peanut butter mixture. The warmth helps to bloom the spices, releasing their full aroma.
- Combine All Ingredients: In a large mixing bowl, combine the remaining dry ingredients: your chosen breakfast cereal, pepitas, dried cherries, and chia seeds. Pour the warm peanut butter mixture over the dry ingredients. Using a sturdy spatula or a large spoon, gently but thoroughly fold everything together until every piece of cereal and every add-in is evenly coated with the sticky binder. Ensure no dry spots remain at the bottom of the bowl.
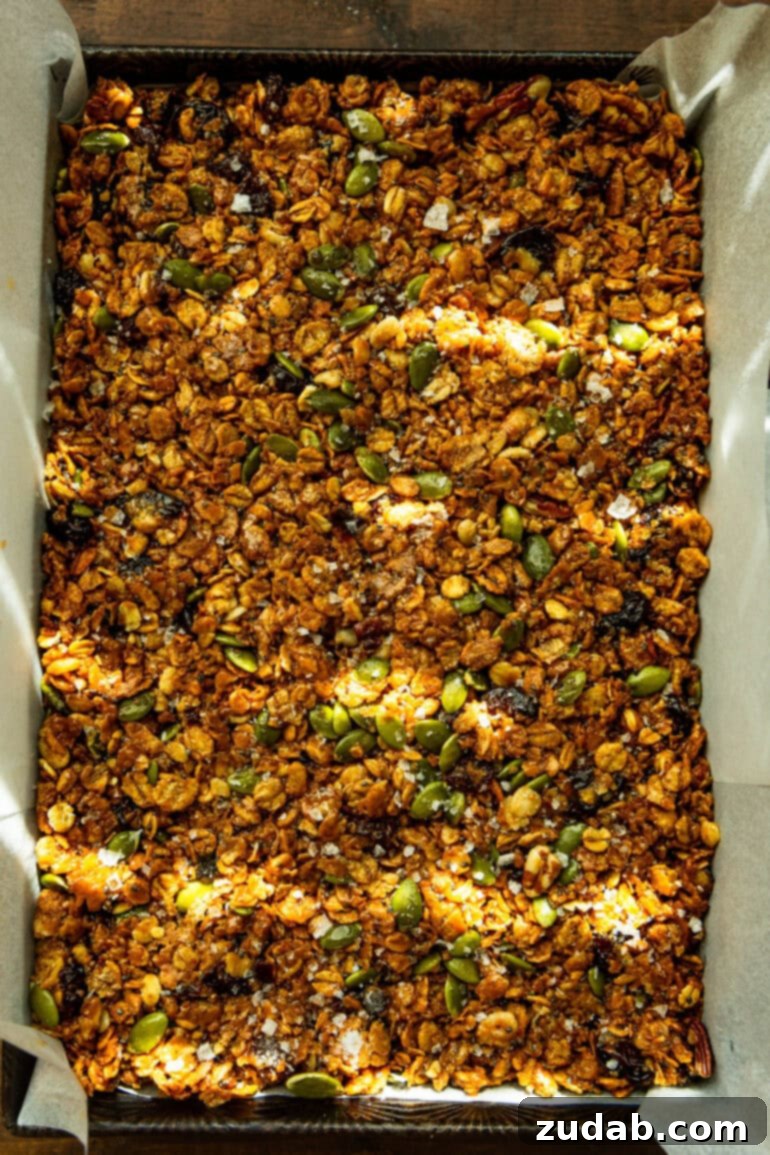
- Form and Chill: Transfer the entire mixture into your prepared 8×8 inch pan. Using the back of your spatula, or even better, a piece of extra parchment paper or your clean hands (slightly dampened to prevent sticking), press the cereal mixture down very firmly and evenly into the pan. Compacting the mixture tightly is key to ensuring the bars hold their shape and don’t crumble. Once pressed, cover the pan with plastic wrap and let it chill in the refrigerator for at least 4 hours, or ideally overnight, to allow the bars to set completely. Before slicing, you may sprinkle a generous amount of flaky sea salt over the top for an extra pop of flavor and visual appeal. Once firm, lift the bars out using the parchment sling, slice into desired shapes, and serve!
These simple steps will guide you to perfectly formed, delicious, and nutrient-packed cereal bars every time!
Endless Possibilities: Customizing Your Cereal Bars
The beauty of homemade cereal bars lies in their versatility. This recipe is a fantastic starting point, but don’t hesitate to get creative and customize them to your taste or dietary needs. Here are some ideas for variations and substitutions:
Add-Ins:
- Nuts: Introduce extra crunch and flavor with chopped almonds, walnuts, pecans, cashews, or pistachios. Toasting them lightly before adding can enhance their flavor.
- Other Seeds: Beyond pepitas and chia, consider adding flax seeds (ground for better nutrient absorption), hemp hearts, or sesame seeds for diverse textures and nutritional boosts.
- Chocolate Chips: For a touch of indulgence, fold in dark chocolate chips, milk chocolate chunks, or white chocolate chips. Mini chips work especially well for even distribution.
- Coconut: Sweetened or unsweetened shredded coconut adds a tropical flavor and chewiness. Lightly toast it beforehand for a richer taste.
- Protein Powder: For a post-workout snack or an extra protein boost, stir in a scoop of your favorite vanilla or unflavored protein powder with the dry ingredients. You might need to add a touch more liquid binder if the mixture becomes too dry.
- Nutritional Yeast: A savory, cheesy flavor (surprisingly good in some sweet applications for a umami kick) and a B vitamin boost.
Flavor Enhancers:
- Spices: Experiment with other warm spices like nutmeg, cardamom, or a pumpkin pie spice blend for different seasonal flavors.
- Citrus Zest: A bit of orange or lemon zest can add a bright, fresh note to balance the sweetness.
- Extracts: Almond extract can complement the nutty flavors, or try a touch of peppermint extract for a festive twist.
Substitutions:
- Sweeteners: Swap honey for pure maple syrup, agave nectar, or brown rice syrup. Each will impart a slightly different flavor and sweetness level.
- Nut Butters: For those with peanut allergies or simply to change the flavor, almond butter, cashew butter, or sunflower seed butter (for a nut-free option) work wonderfully as binders. Ensure they are natural and runny enough to mix easily.
- Cereal Choices: Beyond the suggested whole-grain options, feel free to use classic cereals like Rice Krispies for an extra light and crispy texture (though this might slightly reduce the nutritional density). Cornflakes, Chex, or even crushed graham crackers can also be interesting bases. For gluten-free options, simply choose certified gluten-free cereals and ensure your other ingredients are also GF.
- Dried Fruits: Instead of dried cherries, use dried cranberries, chopped dried apricots, golden raisins, or finely diced dates. Each offers a unique flavor and texture.
By experimenting with these variations, you can create an endless array of delicious and personalized cereal bars that cater to your specific preferences and dietary requirements.
Are Homemade Cereal Bars Truly a Healthy Snack?
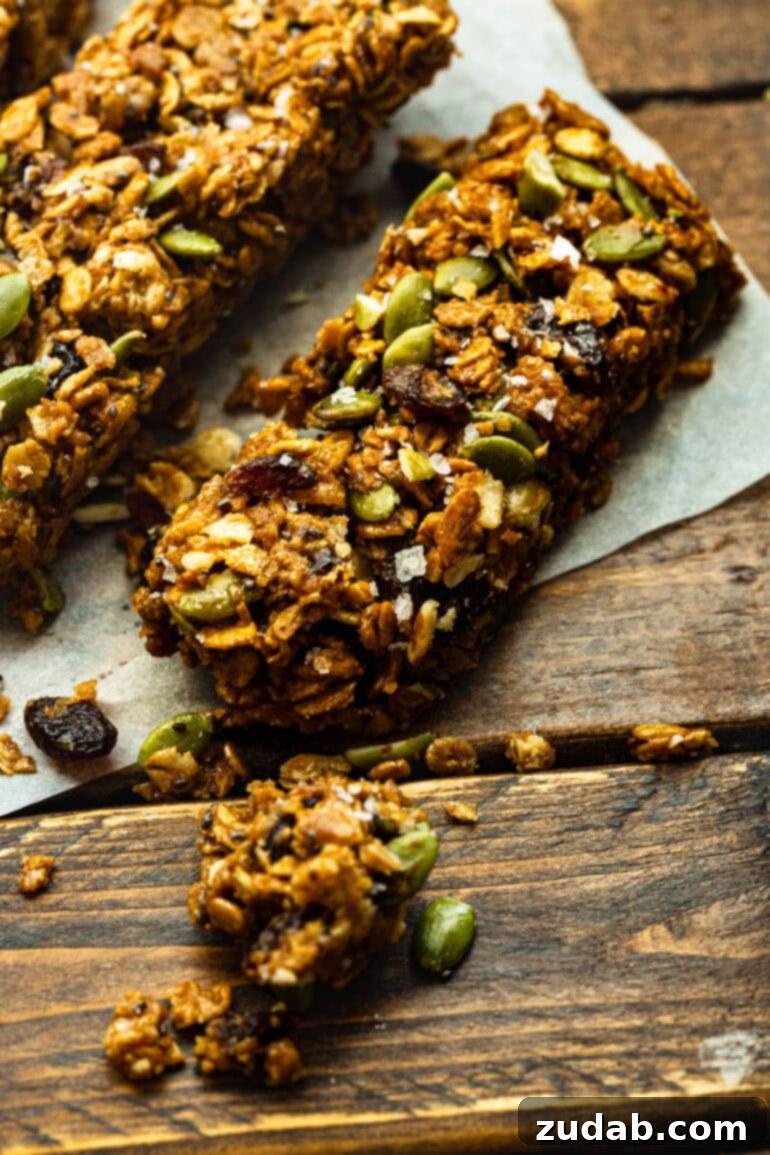
The healthiness of cereal bars can vary greatly, primarily depending on the ingredients used. Many store-bought bars, despite marketing claims, can be loaded with high-fructose corn syrup, unhealthy fats, and artificial ingredients. However, this homemade peanut butter cereal bar recipe is designed with wellness in mind, utilizing wholesome, clean ingredients to maximize nutritional value.
Let’s break down the nutritional profile. Per serving (one bar), these bars typically provide around 258 calories. They offer a good balance of macronutrients with approximately 30g of carbohydrates, a satisfying 7g of protein, and 14g of healthy fats (including saturated, polyunsaturated, and monounsaturated fats). The sugar content is about 24g, primarily from natural sources like honey and dried fruit. Additionally, you’ll find about 3g of fiber, along with essential minerals like sodium (252mg), potassium (178mg), calcium (33mg), and iron (1mg), and vitamins such as Vitamin A (272 IU) and Vitamin C (0.2mg).
While 24g of sugar might seem like a moderate amount, it’s important to consider that a significant portion comes from the natural sugars in honey and dried cherries, which also provide fiber, vitamins, and antioxidants. The combination of protein and healthy fats from peanut butter and pepitas, along with the fiber from cereal and chia seeds, helps to slow down sugar absorption, providing a more sustained energy release rather than a quick spike and crash. This makes them a far superior choice to many sugary processed snacks.
These bars are an excellent source of sustained energy, making them ideal for busy mornings, a pre-workout boost, or an afternoon pick-me-up. They are packed with fiber for digestive health, protein for muscle support, and healthy fats that are crucial for overall well-being. While there are certainly lower-calorie snacks out there, the energy and nutrient density these bars provide make them a valuable addition to a balanced diet, offering a delicious way to fuel your body with real food.
Storing Your Homemade Cereal Bars for Maximum Freshness
One of the many advantages of making no-bake homemade cereal bars is their excellent shelf life, allowing you to prepare them in advance for convenient snacking throughout the week. To maintain their optimal texture and freshness, proper storage is key.
These bars will keep well for about one week when stored correctly. The best method is to place them in an airtight container. This prevents them from drying out or absorbing unwanted odors from the refrigerator. Always store them in the fridge. The cool temperature helps to keep the binding ingredients firm and prevents the bars from becoming too soft or sticky, especially on warmer days. It also inhibits bacterial growth, extending their freshness.
I generally do not recommend storing these particular cereal bars in the freezer. While freezing can be a good option for many baked goods, these no-bake bars tend to become totally brittle when frozen solid. Upon thawing, their texture can degrade, often becoming soggy and losing that desirable chewy-nutty consistency that makes them so appealing. If you must freeze, ensure they are individually wrapped very tightly in plastic wrap and then placed in a freezer-safe airtight container to minimize freezer burn and moisture loss. Thaw them slowly in the refrigerator overnight before enjoying for the best chance at retaining some texture, but be aware they may still be softer than fresh.
For best results and maximum enjoyment, plan to consume your batch within a week, keeping them chilled and sealed. This ensures every bite delivers the chewy, flavorful experience you expect from these delightful homemade treats.
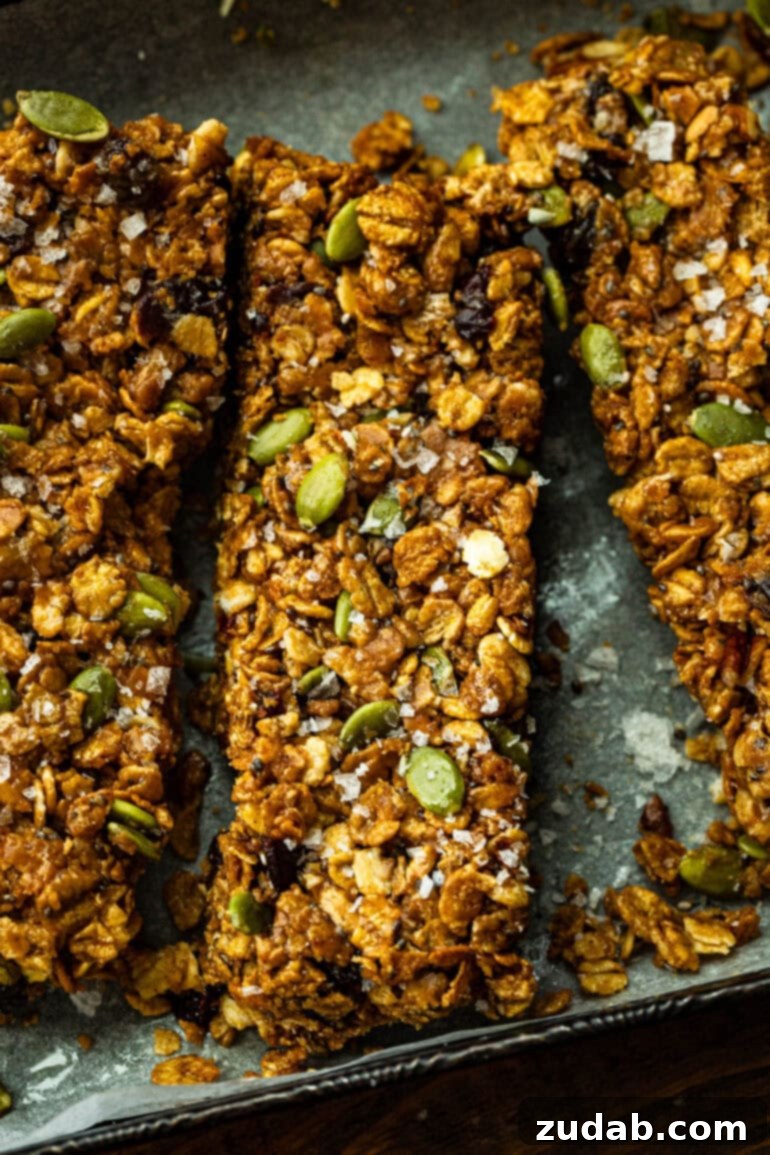
Searching for a nutritious and delicious snack that fits into your busy lifestyle? Look no further than this easy homemade cereal bar recipe! Packed with wholesome ingredients like crunchy cereal, rich peanut butter, and sweet-tart dried fruits, these no-bake wonders are perfect for quick breakfasts, satisfying snacks, or a healthy treat on the go. Fuel your day the natural way!
The Appeal of No-Bake: Quick, Easy, and Delicious
The “no-bake” aspect of these cereal bars is a huge part of their charm and practicality. In a world where time is a precious commodity, recipes that skip the oven offer significant advantages. First and foremost, they are incredibly quick to prepare. With just about 10 minutes of active prep time, you can have the mixture ready for chilling, a stark contrast to recipes that require extensive baking, cooling, and handling. This makes them an ideal choice for busy parents, students, or anyone looking for minimal fuss in the kitchen.
Beyond speed, no-bake recipes often retain more of the raw nutrients in delicate ingredients like chia seeds and dried fruits, as they are not subjected to high heat. This ensures you’re getting the most benefit from every wholesome addition. They’re also perfect for warmer climates or when you simply don’t want to heat up your kitchen. The simplicity of combining ingredients and letting the refrigerator do the setting makes this recipe accessible to even novice cooks, guaranteeing a successful and delicious outcome every time. It’s truly a testament to how simple ingredients can come together to create something extraordinary with minimal effort.
Tips for Cereal Bar Perfection
Achieving perfectly chewy and firm cereal bars is easy, but a few tips can elevate your results:
- Ingredient Quality Matters: Start with good quality, natural peanut butter (the kind that separates, needing a good stir). Fresh honey and high-quality whole-grain cereal will make a noticeable difference in flavor and texture.
- Don’t Skimp on Chilling: While 4 hours is the minimum, letting your bars chill overnight in the refrigerator truly allows them to set and firm up, preventing crumbling when sliced. Patience here is rewarded!
- Press Firmly: This is perhaps the most crucial step. Use a strong hand, or even the bottom of a glass, to press the mixture *very firmly* and evenly into the pan. This compression ensures the bars hold together and have that satisfying dense chewiness.
- Even Coating: Make sure every piece of cereal and every add-in is thoroughly coated with the peanut butter-honey mixture. This guarantees a consistent texture and prevents dry, crumbly sections.
- Customize to Your Heart’s Content: Don’t be afraid to experiment with different cereals, nut butters, dried fruits, or spices. This recipe is highly adaptable, allowing you to create countless variations to suit your preferences.
Watch Our Video of How to Make Cereal Bars
More Tasty After School Snack Ideas:
- Homemade Granola
- Chocolate Swirl Berry Yogurt Bark
- Banana Bread
- No Bake Chocolate Energy Bites
- Aussie Bites Copycat
Cereal Bar Recipe
By Carrian Cheney
Prep Time: 10 mins | Total Time: 1 hr 10 mins
Servings: 8
These healthy cereal bars are a new take on the classic granola bar using cereal, dried fruits, and peanut butter!
Ingredients:
- 3/4 Cup Natural Peanut Butter
- 1/2 Cup Honey
- 1 teaspoon Pure Vanilla Extract
- 1 teaspoon Ground Cinnamon
- 1/2 Teaspoon Sea Salt
- 1 Tablespoon Chia Seeds
- 1/2 Cup Dried Cherries, chopped
- 1/3 Cup Pepitas (Pumpkin Seeds)
- 1 Box (approx. 14-16 oz) Whole-Grain Cereal (e.g., Post Great Grains, Basic 4, Raisin Bran)
- Maldon Flaked Salt, for garnish (optional)
Instructions:
- Prepare an 8×8 inch pan by spraying with nonstick spray, lining with parchment paper (leaving an overhang), and spraying the parchment again.
- Heat the honey and peanut butter in a small saucepan or microwave-safe bowl until it begins to gently simmer and is well combined.
- Remove from heat and stir in the vanilla extract, cinnamon, and salt until well combined.
- In a very large bowl, combine the cereal, chia seeds, dried cherries, and pepitas. Pour the warm peanut butter mixture over the dry ingredients and fold thoroughly until everything is evenly coated.
- Press the mixture very firmly and evenly into the prepared pan. Cool in the refrigerator for at least 4 hours (or ideally overnight) before slicing. Sprinkle with Maldon Flaked Sea Salt just before serving, if desired.
Nutrition:
Serving: 1 bar, Calories: 258kcal, Carbohydrates: 30g, Protein: 7g, Fat: 14g, Saturated Fat: 3g, Polyunsaturated Fat: 4g, Monounsaturated Fat: 7g, Trans Fat: 0.004g, Sodium: 252mg, Potassium: 178mg, Fiber: 3g, Sugar: 24g, Vitamin A: 272IU, Vitamin C: 0.2mg, Calcium: 33mg, Iron: 1mg
Nutrition information is automatically calculated, so should only be used as an approximation.
Love this recipe? We’d love to hear from you! Leave a comment below and share your thoughts or any creative variations you try!