
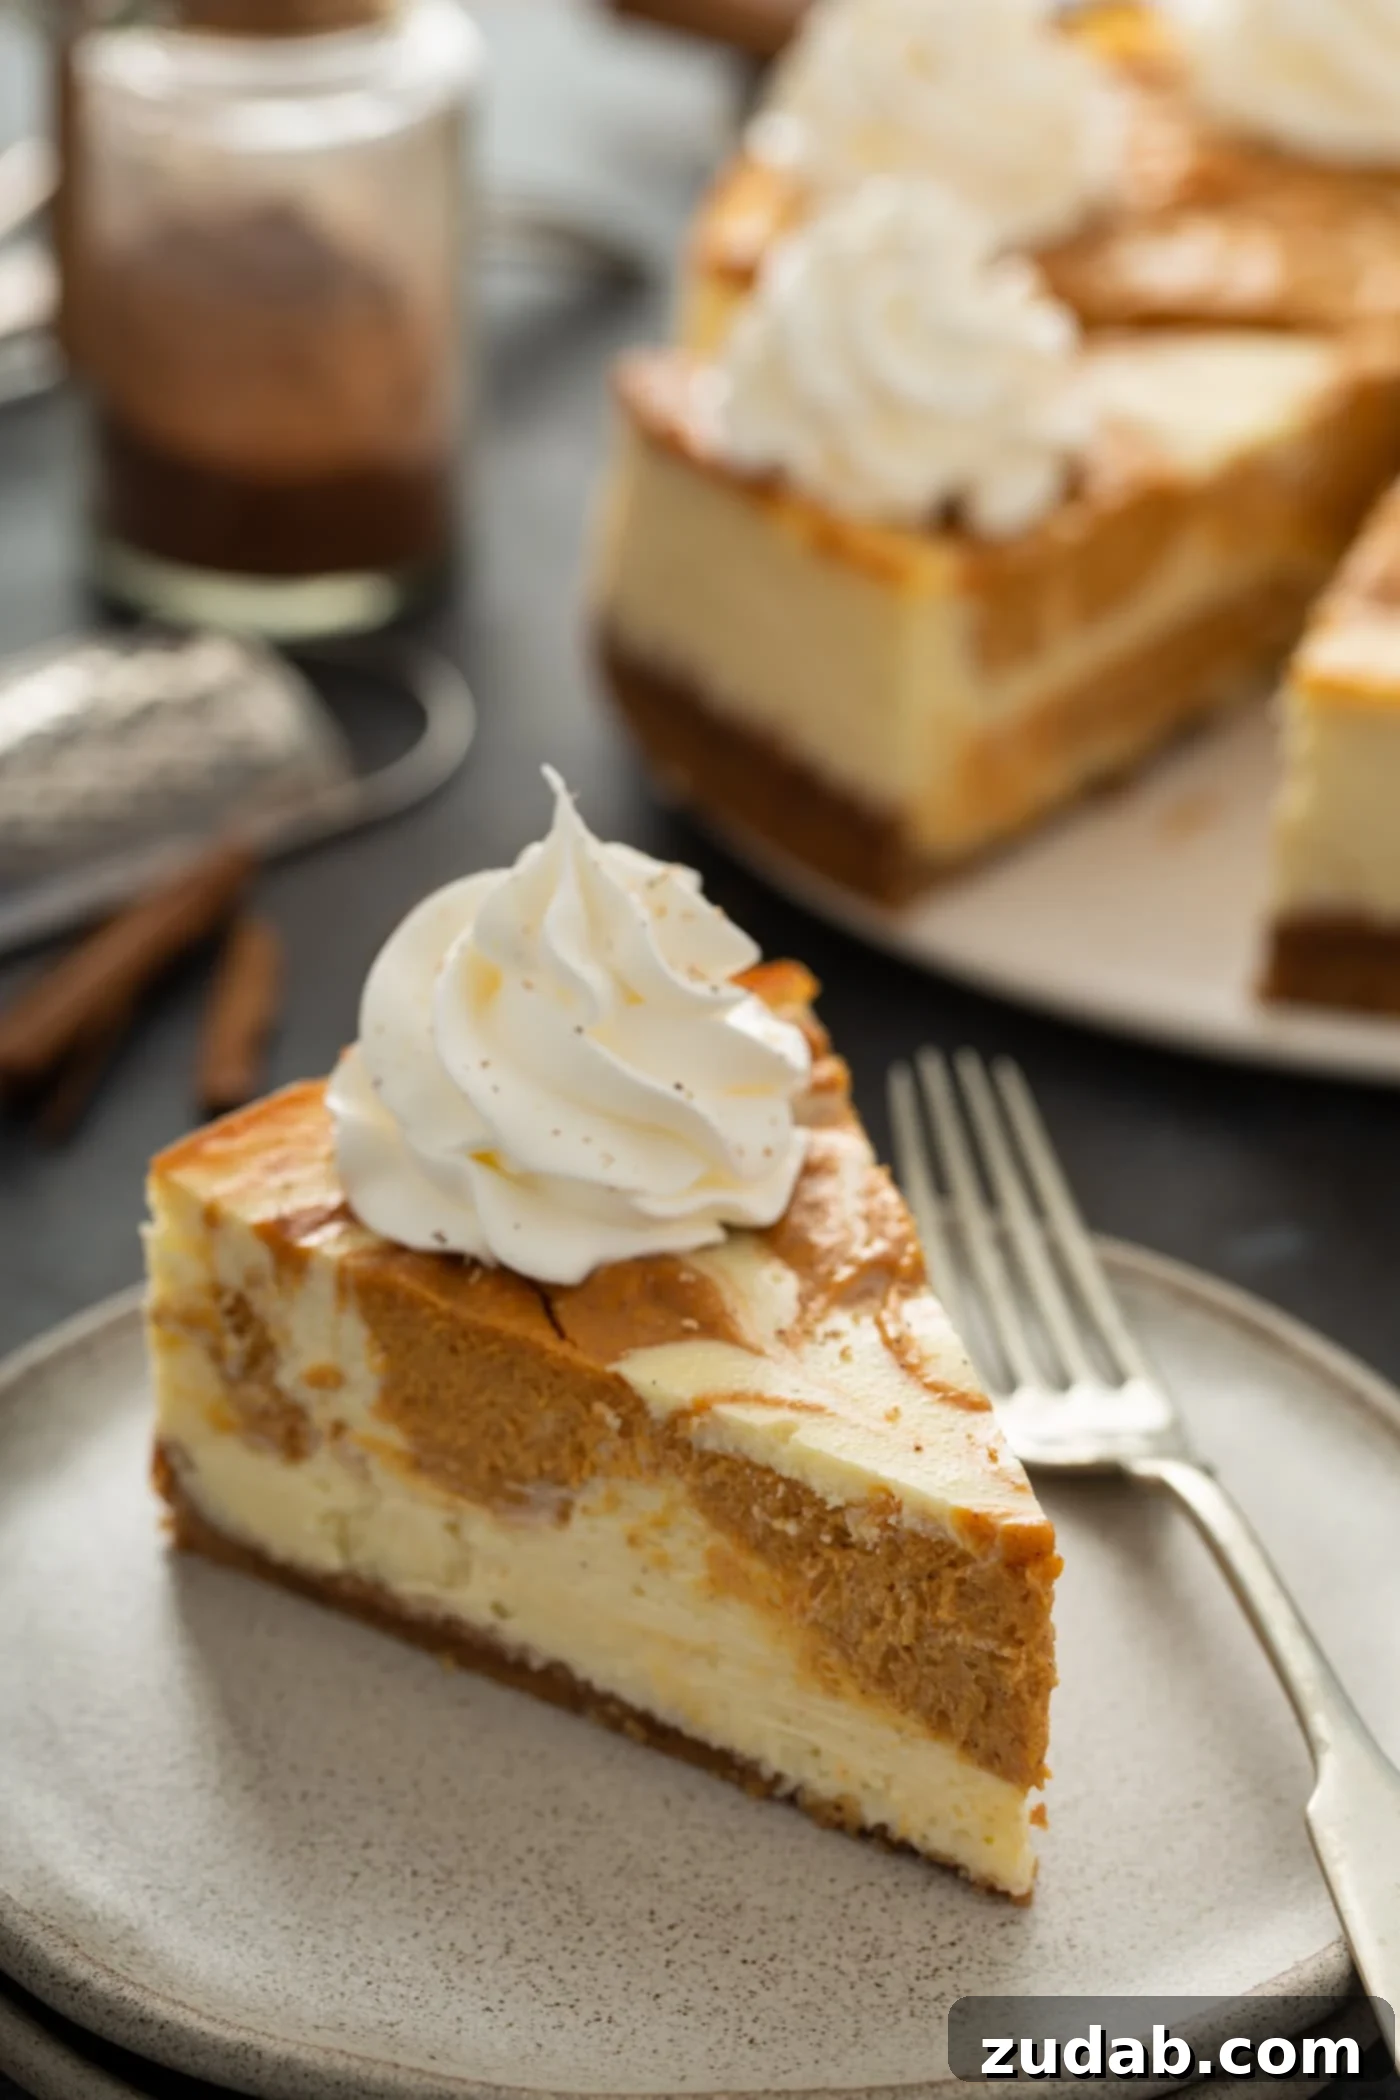
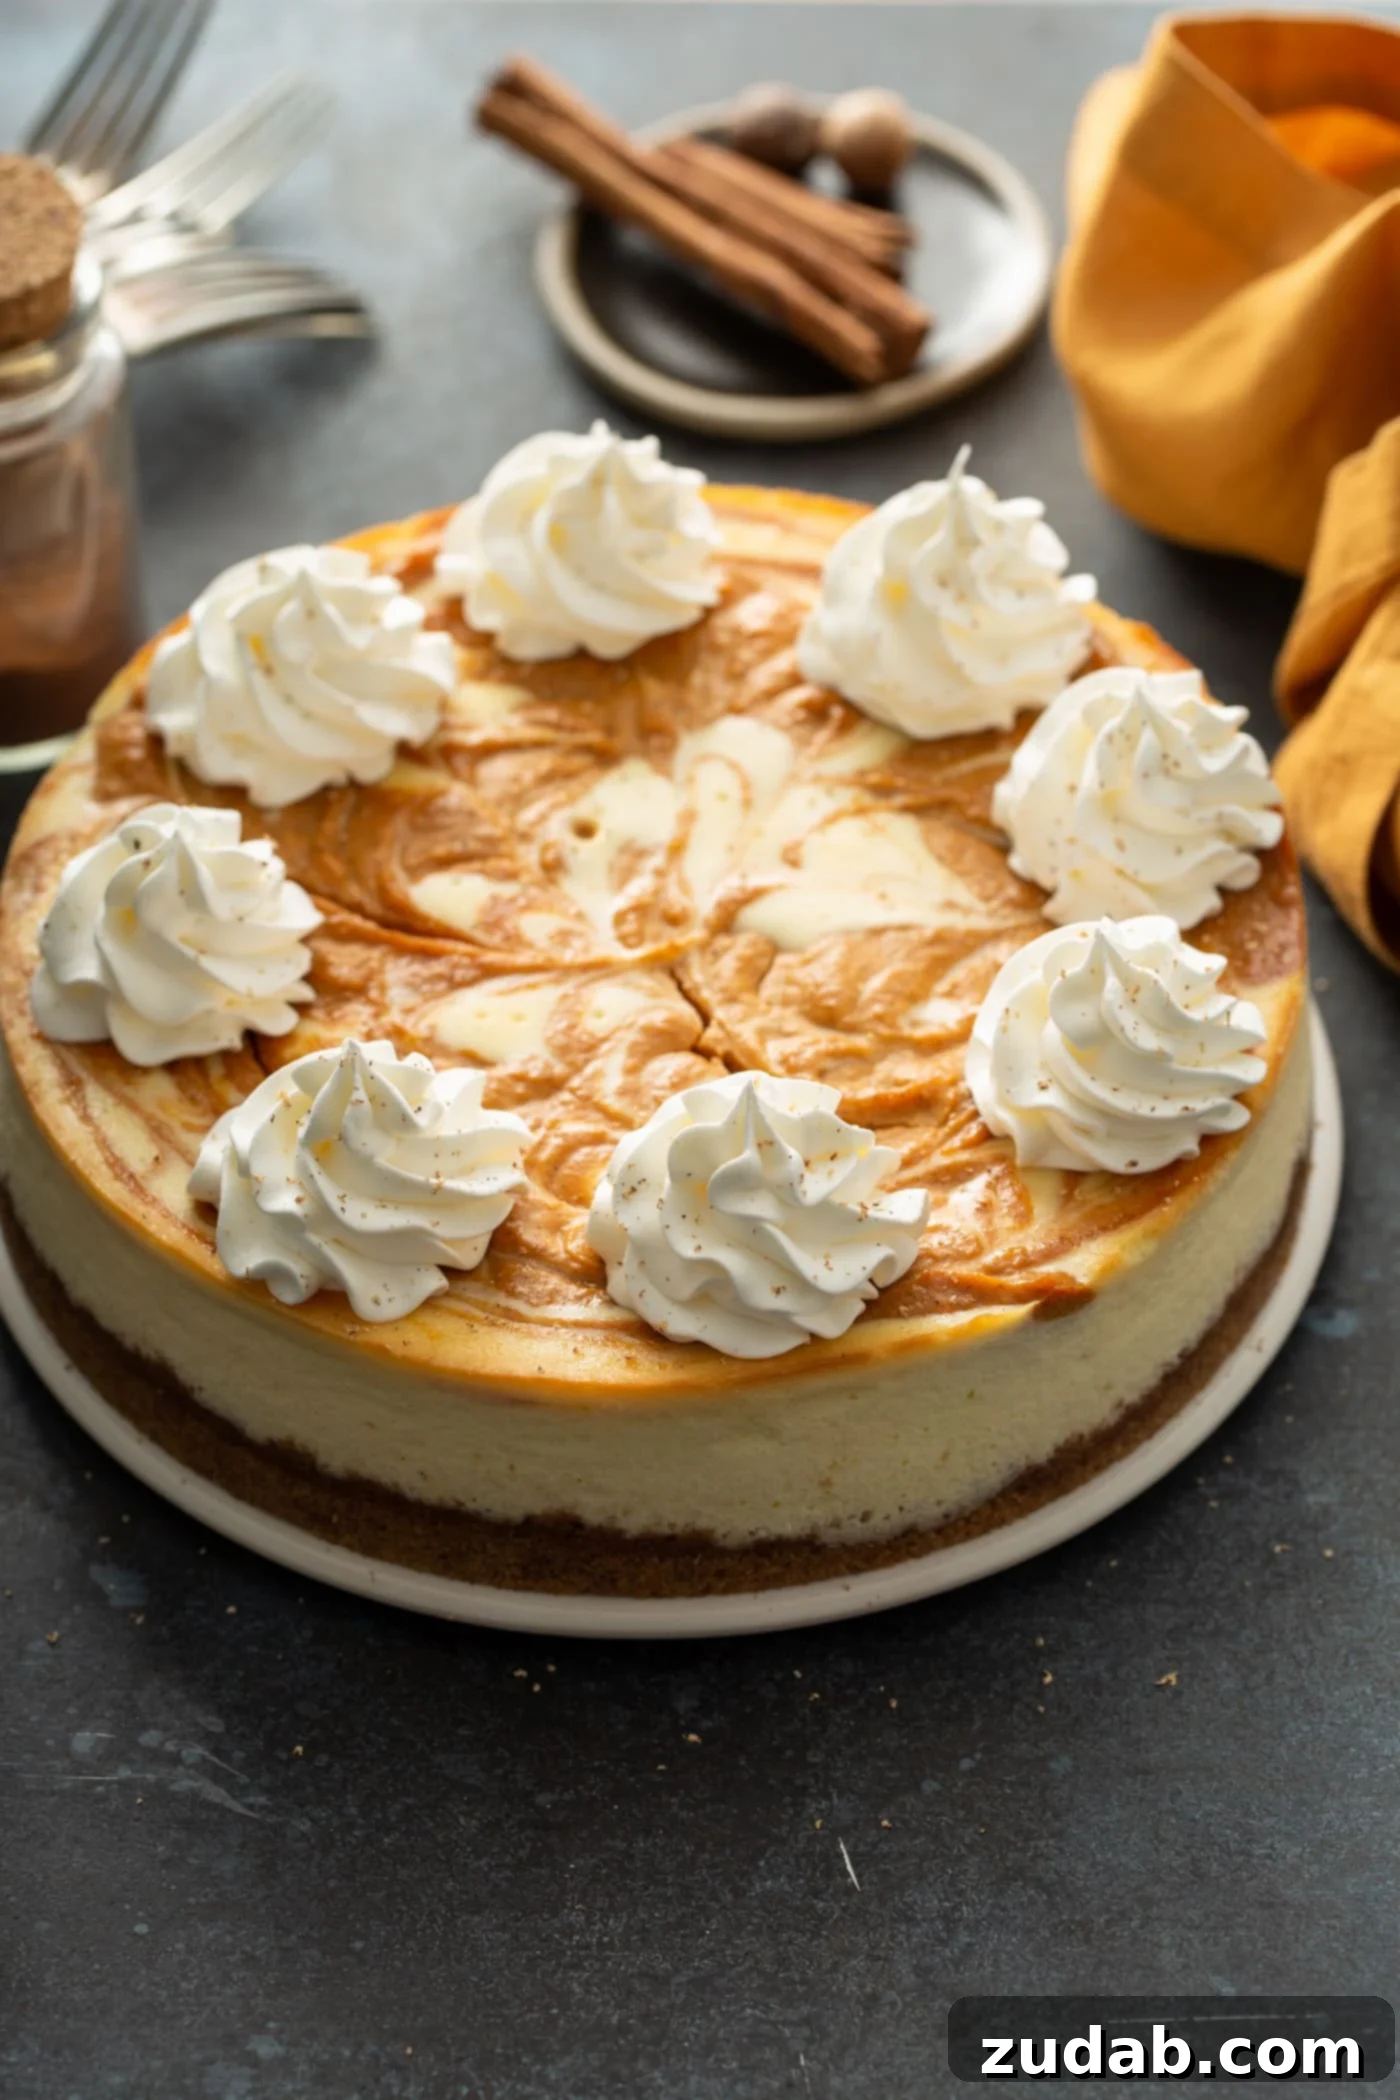
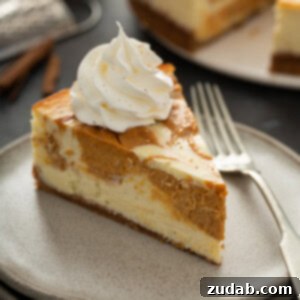
Swirled Pumpkin Cheesecake isn’t just a dessert; it’s a creamy, dreamy celebration of autumn, capturing the quintessential flavors of the season in every delightful bite. Imagine the rich, smooth texture of a classic cheesecake, perfectly complemented by a sweet, spiced pumpkin filling beautifully swirled throughout. This isn’t just any fall treat; it’s designed to be the star of your autumn gatherings, from cozy family dinners to festive holiday tables. If you’re looking to elevate your dessert game and indulge in the ultimate fall experience, you’re going to absolutely adore this recipe!
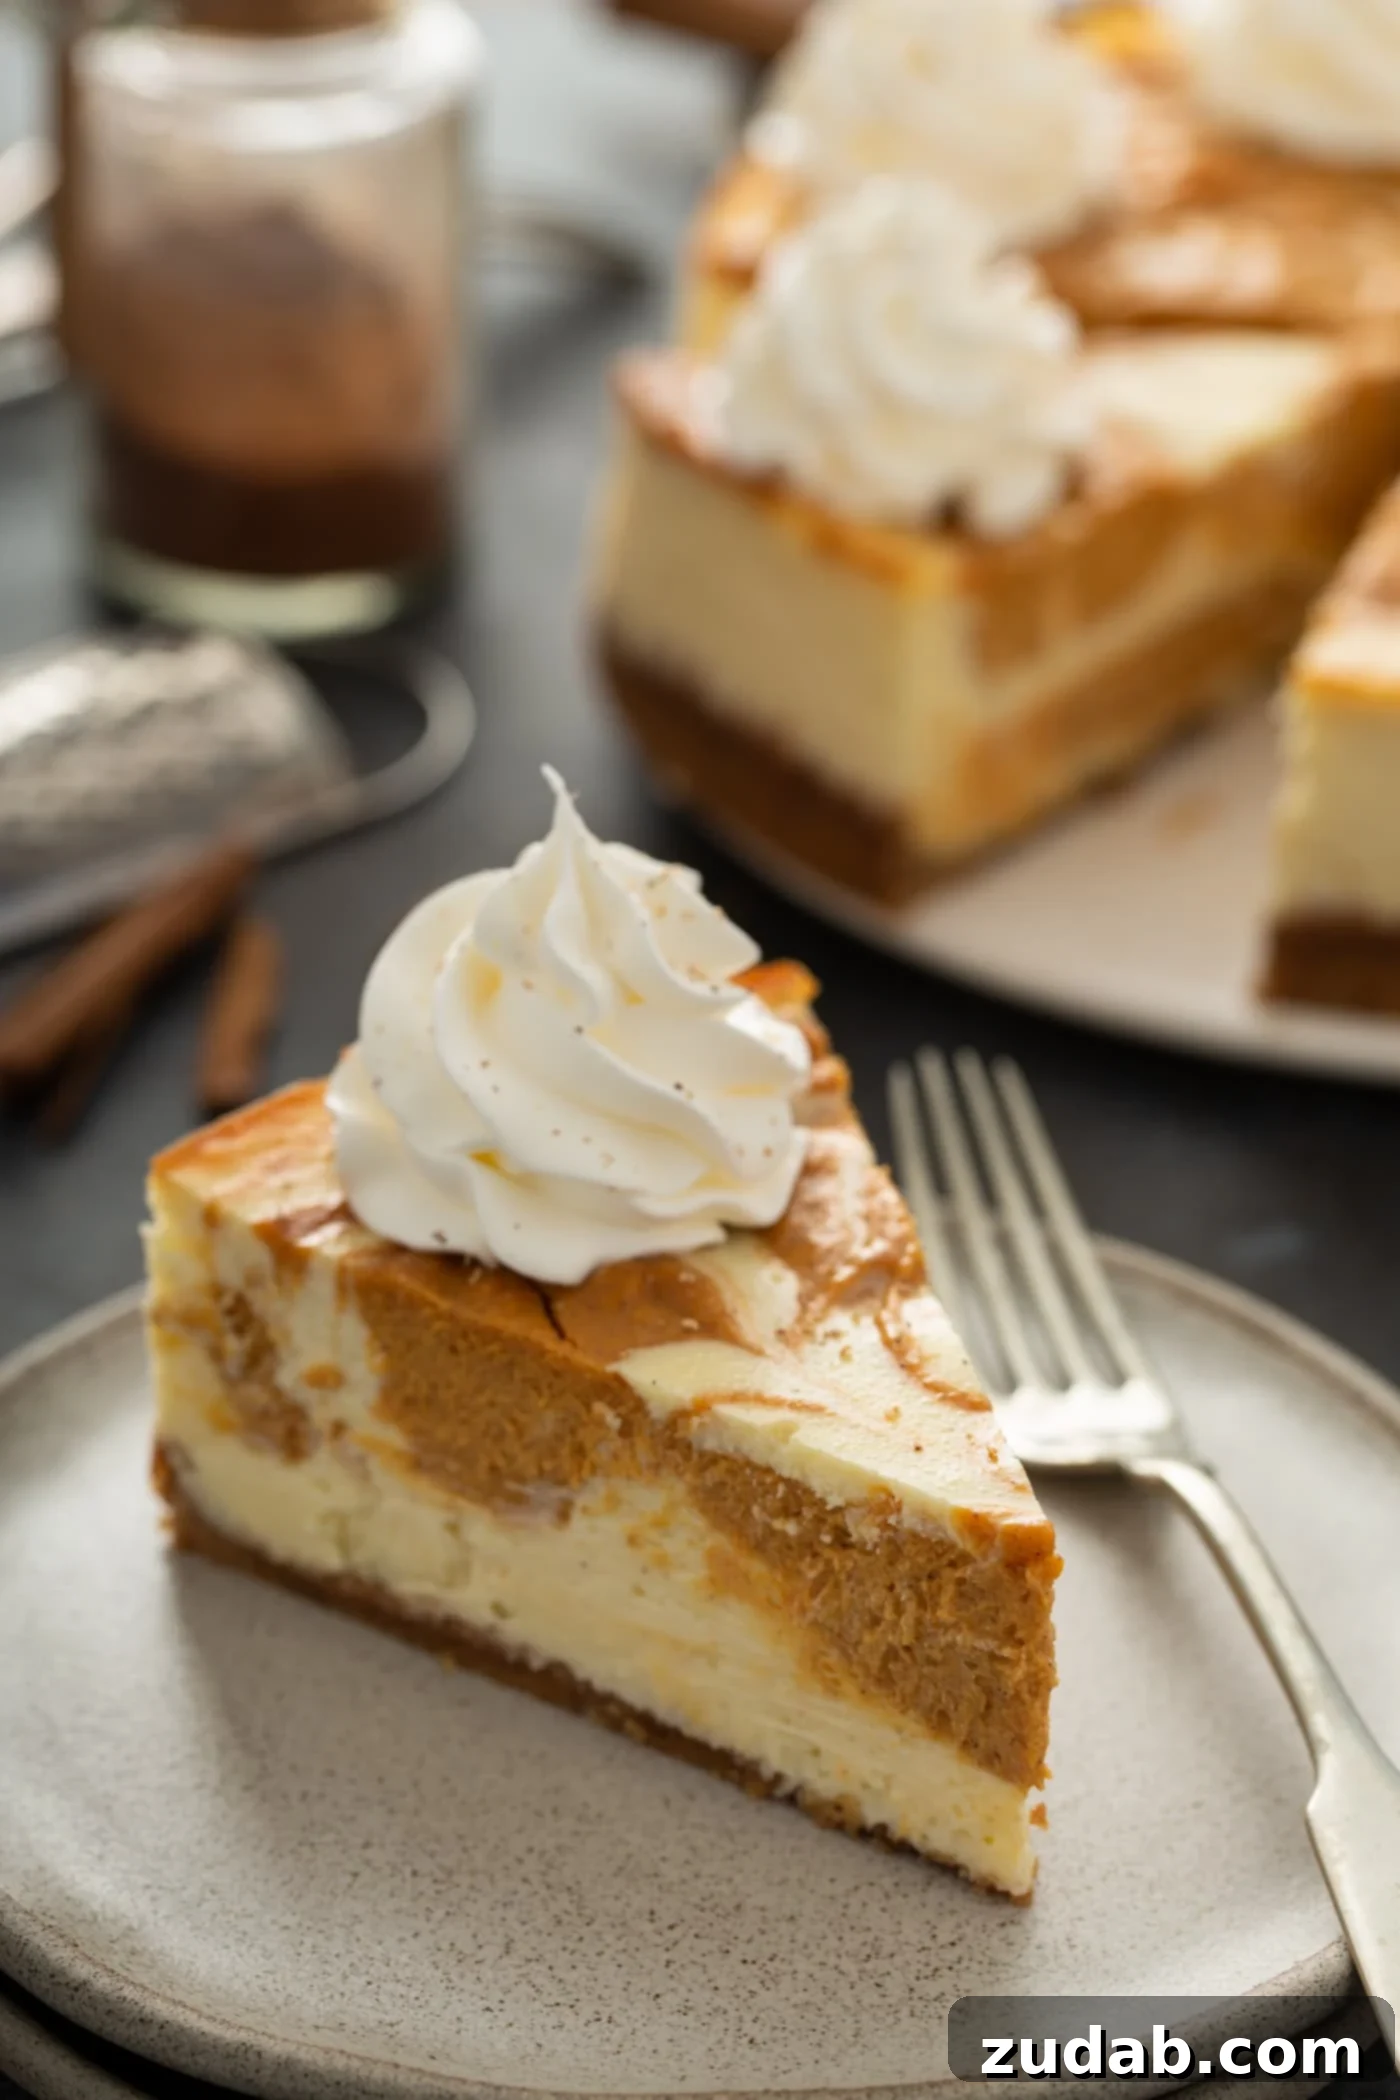
As the vibrant colors of fall paint the landscape and a crisp coolness fills the air, our thoughts naturally turn to comforting flavors and cherished traditions. It’s a time for warm beverages, crackling fires, and, of course, all things pumpkin! While pumpkin pie holds a special place in many hearts, sometimes it’s wonderful to try something new, yet equally satisfying. This year, allow us to introduce you to a dessert that promises to be a showstopper: the Swirled Pumpkin Cheesecake. It combines the velvety luxury of cheesecake with the cozy spice of pumpkin, creating a harmonious blend that’s truly irresistible. Forget the ordinary; this extraordinary cheesecake is poised to become your new favorite fall indulgence.
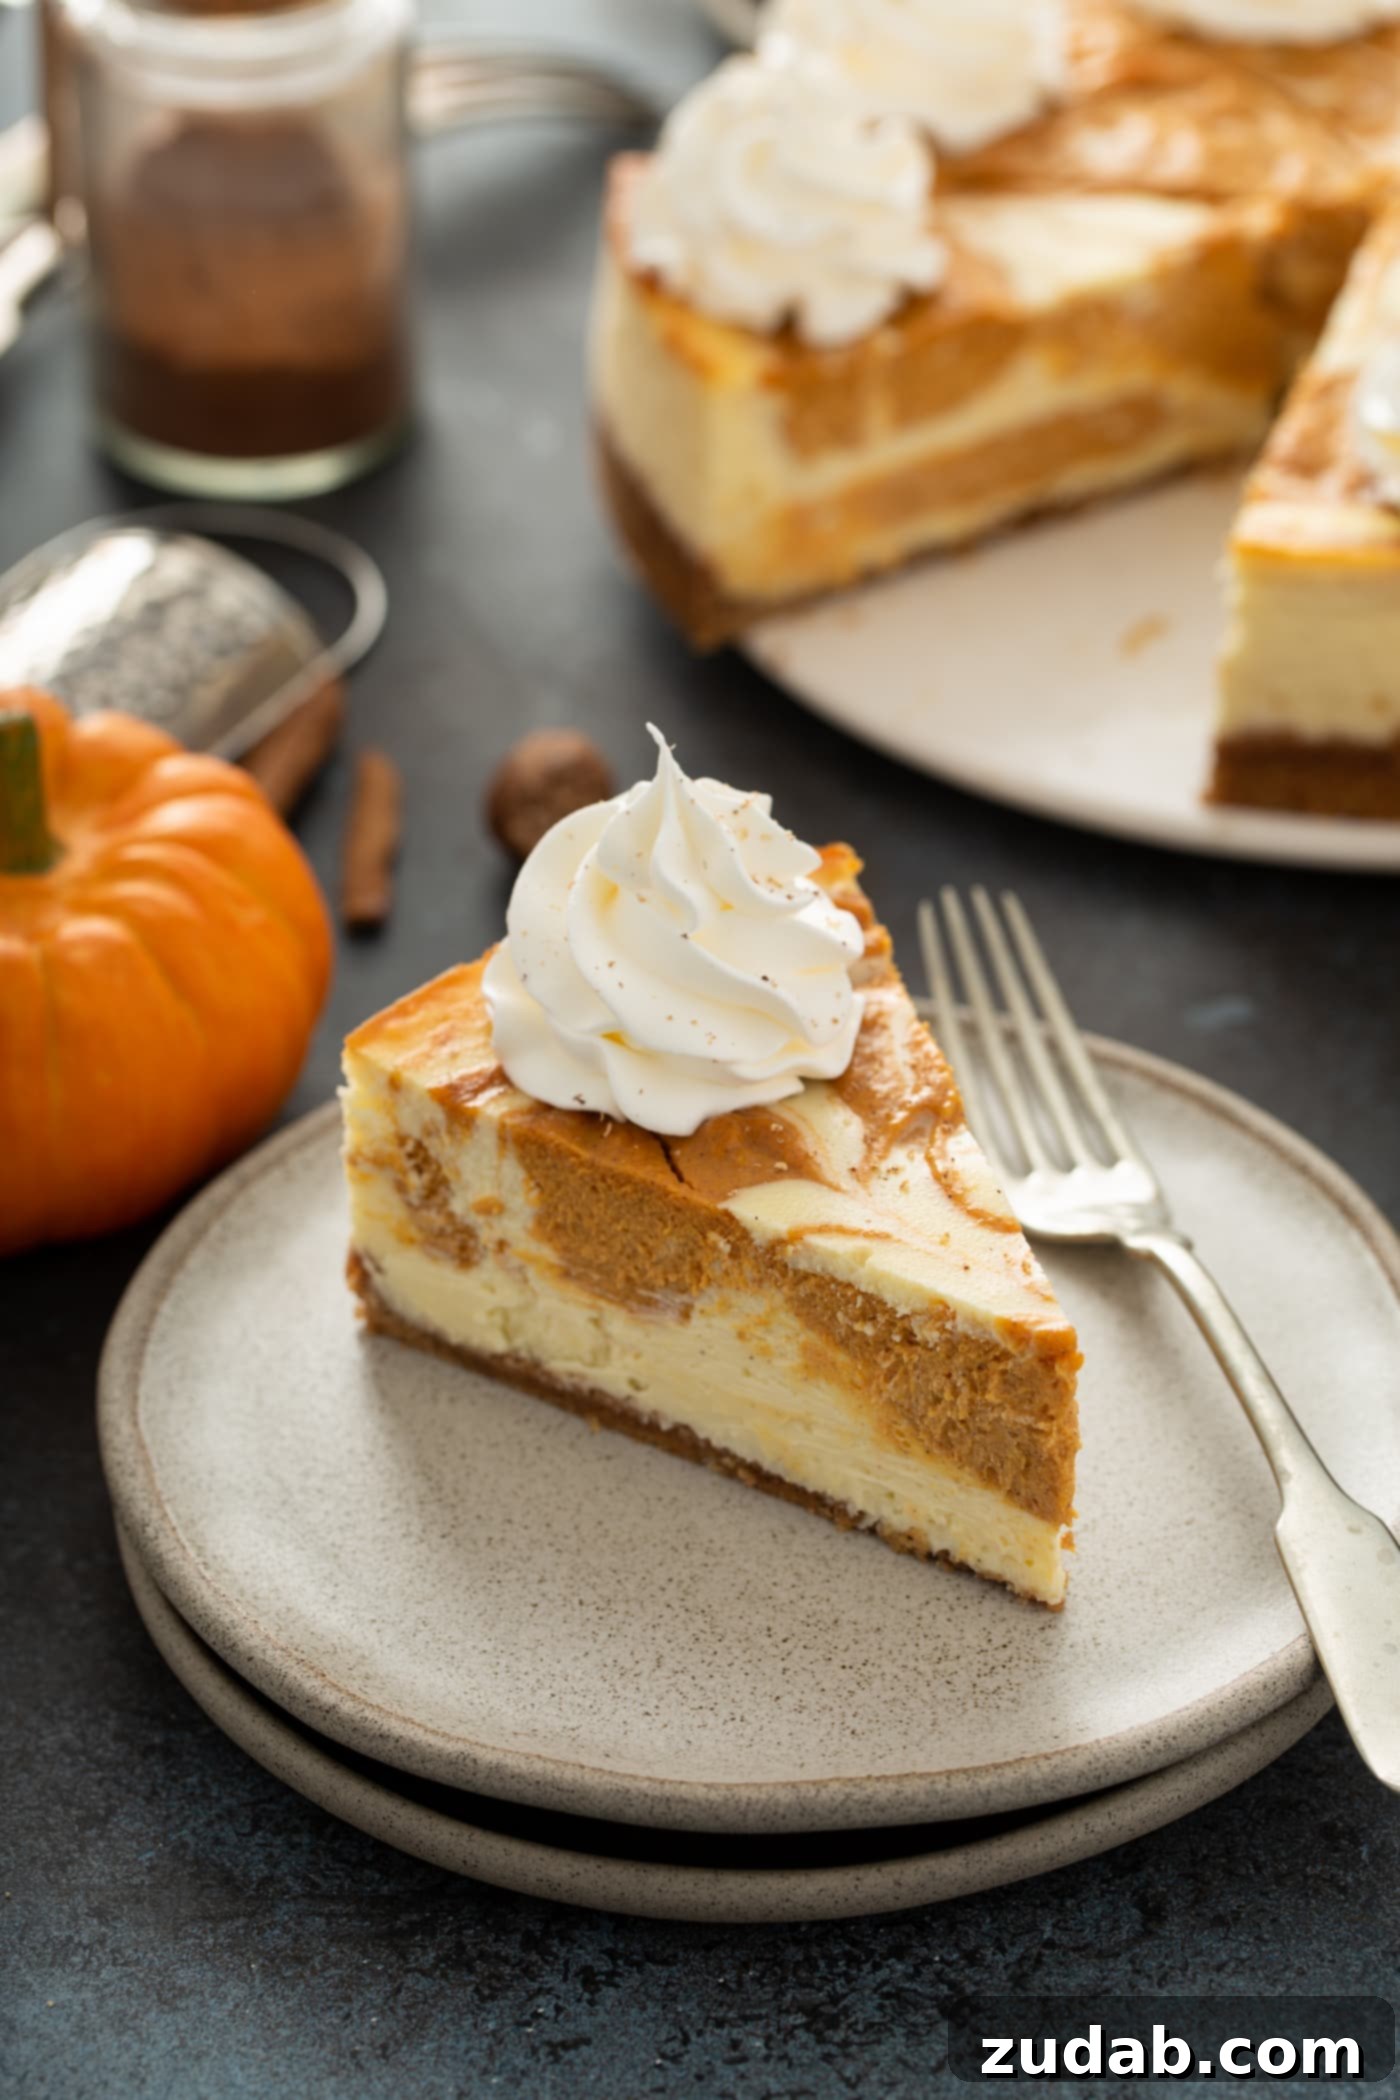
Perfect for Thanksgiving, Christmas, or any autumnal celebration, this pumpkin cheesecake recipe offers a sophisticated twist on traditional fall desserts. Its visually appealing swirl pattern is as captivating as its flavor, making it an excellent centerpiece for any dessert table. Each bite delivers a luscious combination of tangy cream cheese and sweet, earthy pumpkin, spiced to perfection with cinnamon and pumpkin pie spice. It’s a dessert that speaks of comfort, warmth, and the joyful spirit of the season.
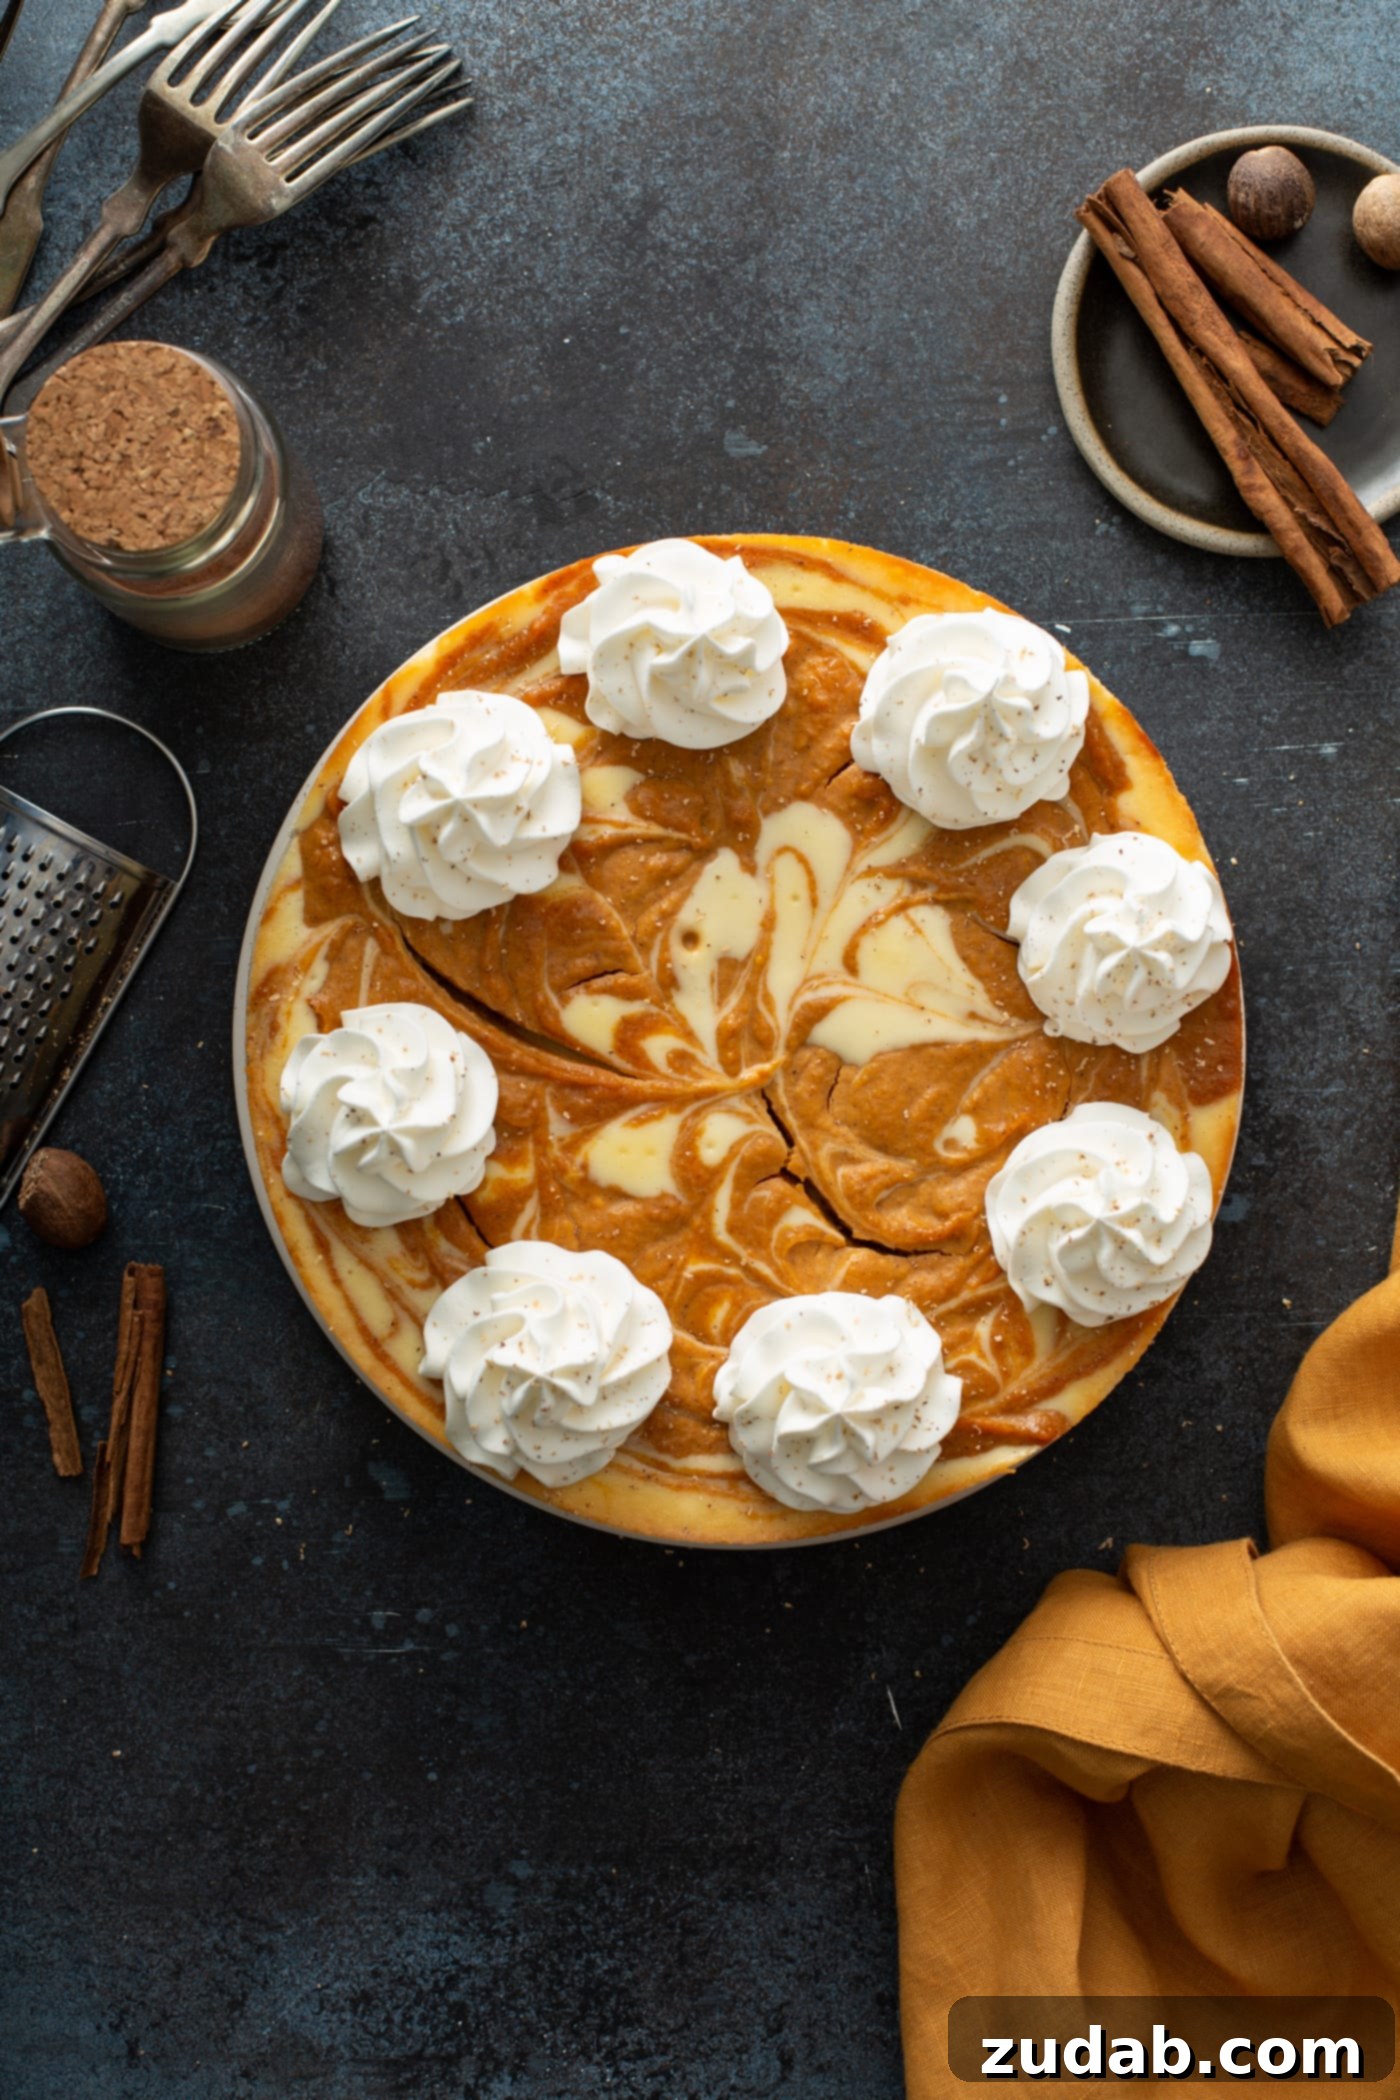
Preventing Cracks in Your Swirled Pumpkin Cheesecake
Achieving a perfectly smooth, uncracked cheesecake surface is often seen as the hallmark of a master baker. While a crack doesn’t diminish the incredible taste of your swirled pumpkin cheesecake, understanding why they occur can help you prevent them and present a beautifully pristine dessert. Even the most experienced bakers encounter cracks occasionally, but with a few simple techniques, you can minimize their appearance.
One common culprit for cheesecake cracks is over-beating the batter. When you incorporate too much air into the cream cheese mixture, it causes the cheesecake to puff up significantly during baking. As it cools, this excess air escapes, leading to a sudden deflation and, consequently, a crack across the surface. To avoid this, mix your cream cheese and sugar until just combined and smooth, then add eggs one at a time, mixing on low speed only until each is incorporated.
Another major factor is sudden temperature changes. Pulling a hot cheesecake directly from the oven into a much cooler room can shock the delicate custard, causing it to contract rapidly and crack. The key is to allow your cheesecake to cool down gradually. This is where a water bath and slow cooling in the oven become invaluable tools.
Tips for a Crack-Free Cheesecake:
- Room Temperature Ingredients: Ensure all cold ingredients, especially cream cheese and eggs, are at room temperature. This helps them incorporate smoothly without over-mixing.
- Don’t Overmix: Mix the cream cheese and sugar just until smooth. Add eggs one at a time, mixing on the lowest speed until just combined.
- Water Bath is Your Best Friend: Baking your cheesecake in a water bath provides a moist, even heat environment, which prevents the edges from baking faster than the center and dramatically reduces the risk of cracking.
- Slow Cooling: Once baked, turn off the oven and leave the cheesecake inside with the door slightly ajar. Allow it to cool gradually for at least an hour before removing it completely to a cooling rack, and then to the refrigerator.
- Run a Knife Around the Edge: After baking and during the initial cooling phase, gently run a thin knife around the edge of the cheesecake while it’s still in the springform pan. This can help prevent the cheesecake from sticking to the sides as it cools and slightly contracts, further minimizing cracking.
Essential Ingredients for Swirled Pumpkin Cheesecake
Crafting the perfect Swirled Pumpkin Cheesecake requires a thoughtful selection of ingredients, divided into two main components: the irresistible graham cracker crust and the rich, velvety pumpkin cheesecake filling. While a store-bought crust can save time, making your own from scratch truly elevates the flavor and texture of this decadent dessert.
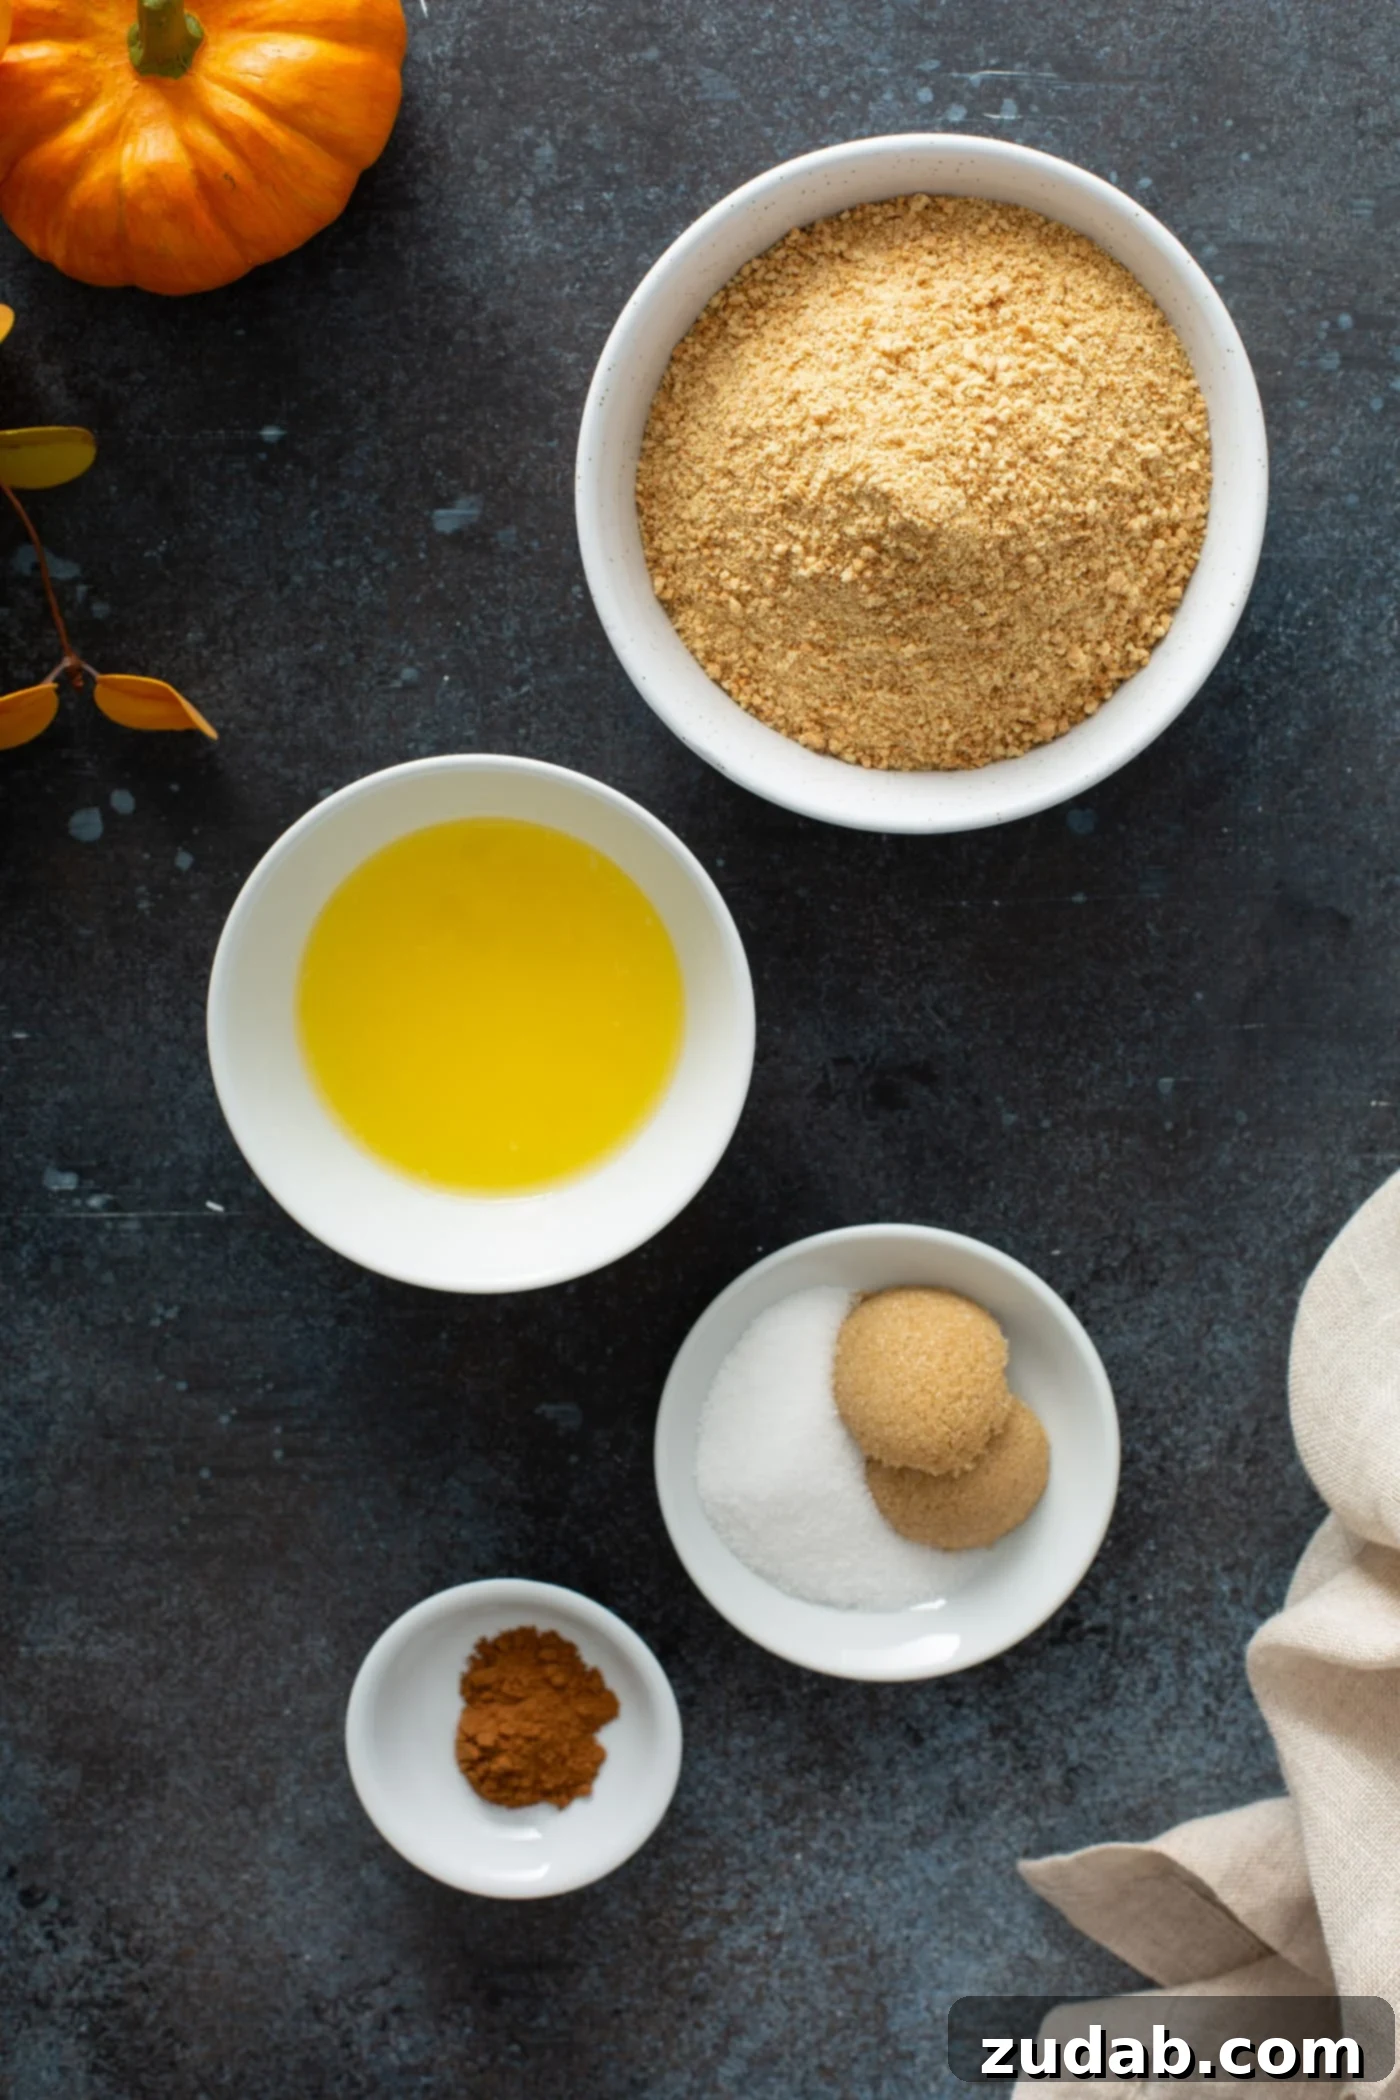
For the Homemade Graham Cracker Crust
A buttery, crisp graham cracker crust provides the perfect foundation for our creamy cheesecake. It’s simple to make and far superior to any pre-made option.
- Graham Cracker Crumbs: The star of the crust. You can buy pre-crushed crumbs or crush whole graham crackers yourself using a food processor or a rolling pin.
- Brown Sugar: Adds a hint of molasses flavor and helps bind the crust together, contributing to its rich taste.
- Granulated Sugar: For a touch more sweetness and crispness.
- Cinnamon: A warm spice that complements the pumpkin cheesecake filling beautifully, tying the two layers together harmoniously.
- Melted Butter: The crucial binding agent that gives the crust its rich flavor and holds it together once chilled and baked.
For the Luxuriously Creamy Cheesecake Filling
The heart of this dessert lies in its smooth, tangy, and pumpkin-spiced filling. Quality ingredients are key to achieving that perfect texture and flavor.
- Cream Cheese: Use full-fat cream cheese, softened to room temperature. This is non-negotiable for the creamiest, richest cheesecake texture.
- Granulated Sugar: Sweetens the cheesecake to perfection, balancing the tanginess of the cream cheese.
- Cornstarch: A secret ingredient that helps stabilize the cheesecake, preventing cracks and ensuring a smooth, firm set.
- Vanilla Extract: Pure vanilla extract enhances all the flavors in the cheesecake, adding a warm, aromatic note.
- Large Eggs: Act as a binder and provide structure to the cheesecake. Ensure they are at room temperature to prevent curdling and achieve a uniform texture.
- Canned Pumpkin: Make sure to use 100% pure pumpkin puree, not pumpkin pie filling, which already contains spices and sugar.
- Pumpkin Pie Spice: A blend of warming spices like cinnamon, nutmeg, ginger, and cloves, essential for that classic fall pumpkin flavor.
- Ground Cinnamon: An extra boost of cinnamon complements the pumpkin and other spices, adding depth.
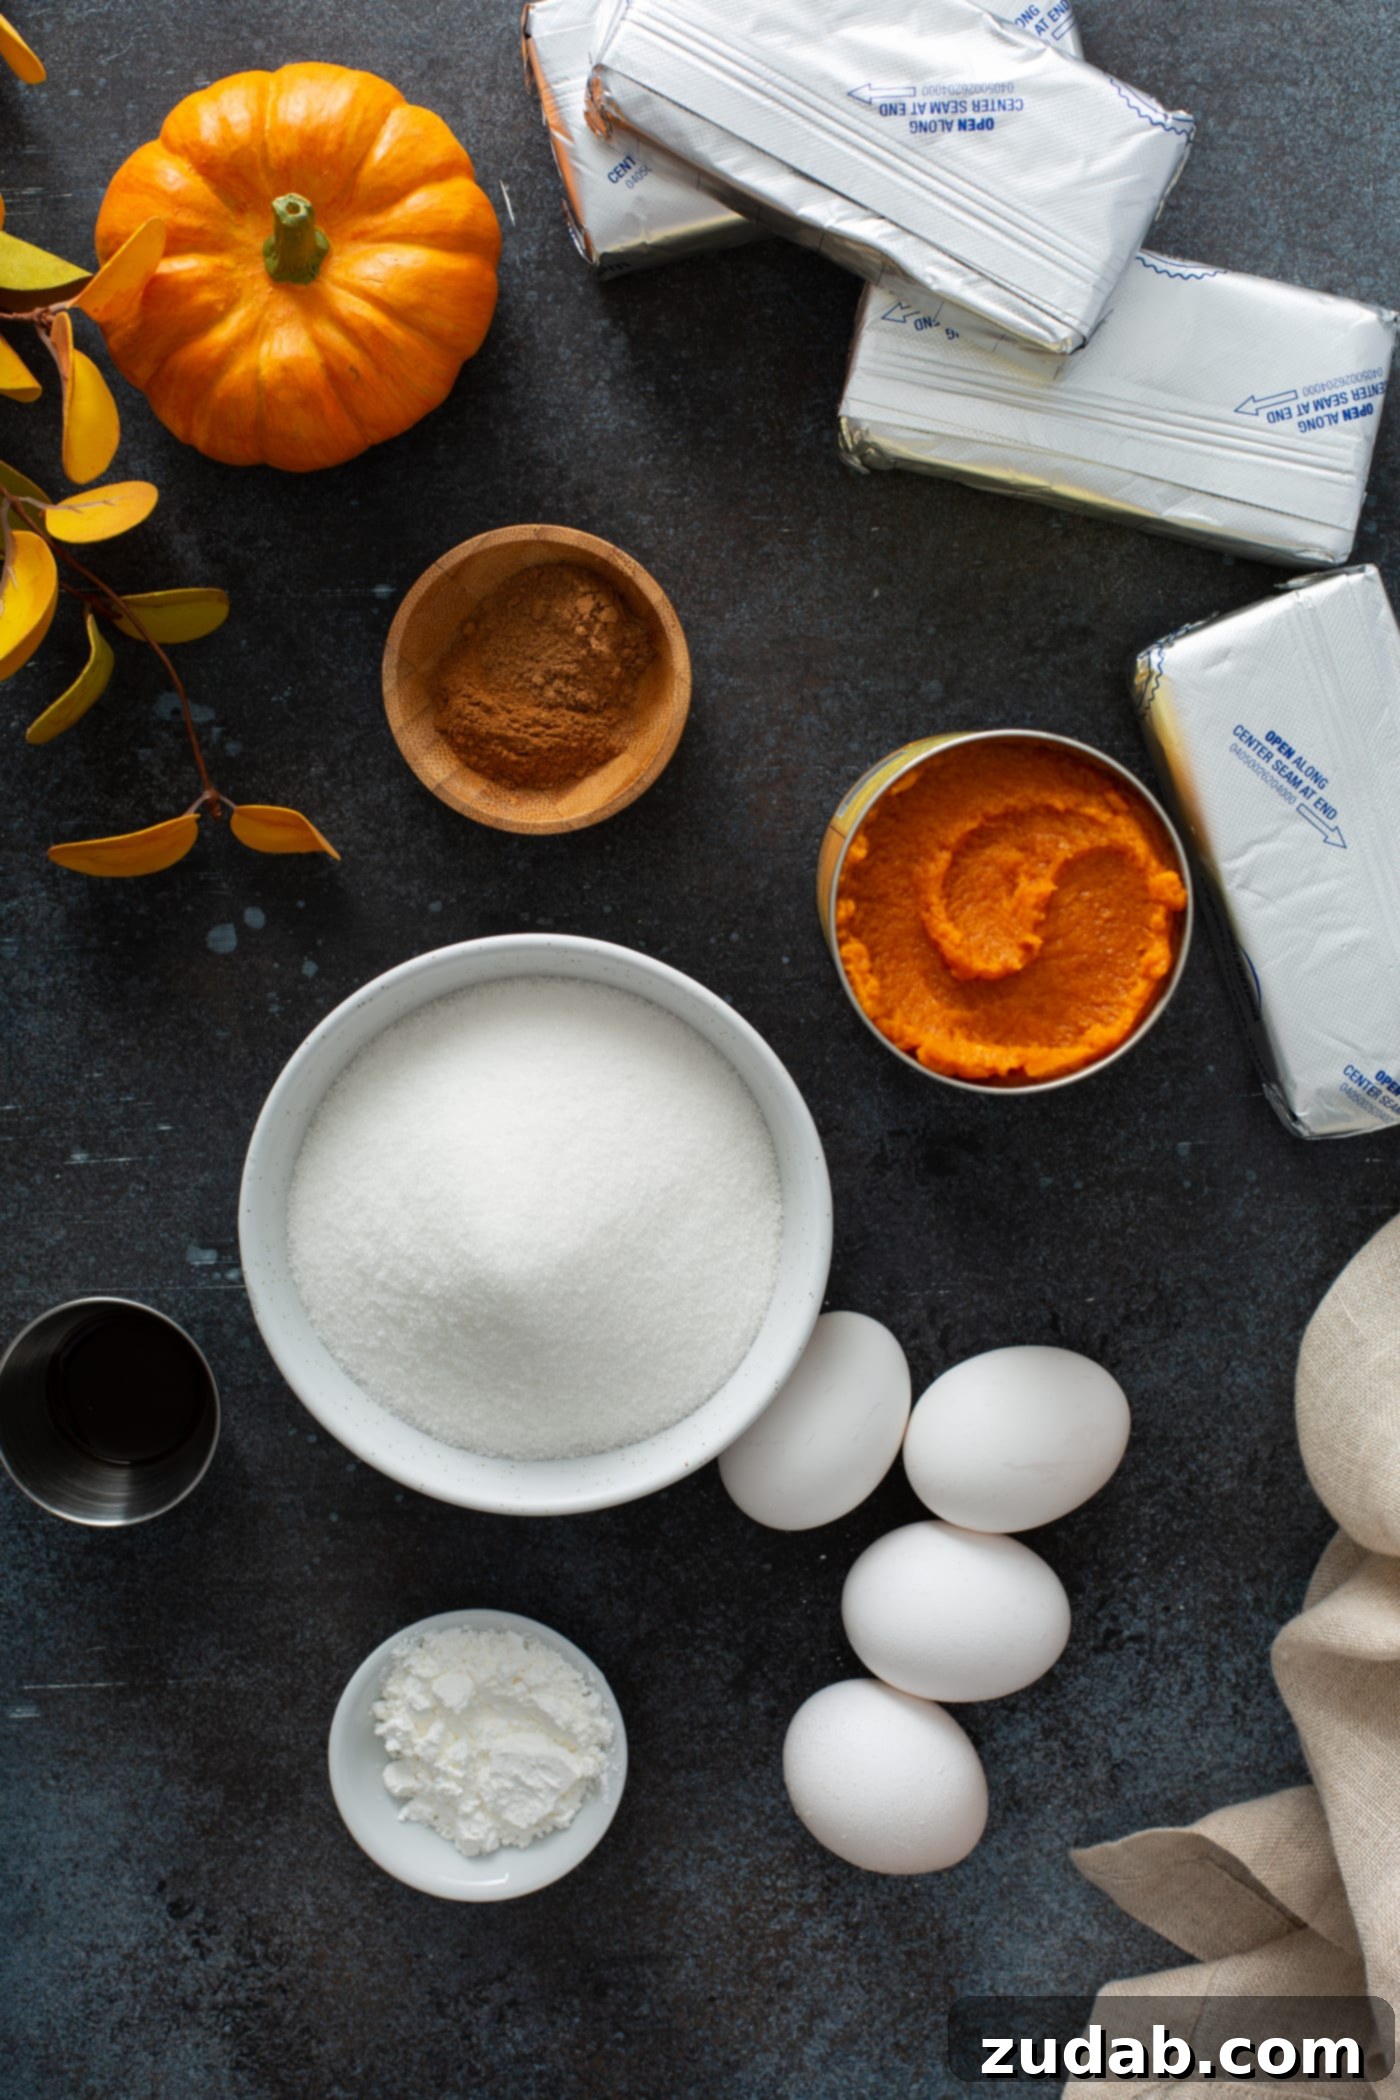
Mastering the Art of Swirled Pumpkin Cheesecake
Creating this stunning Swirled Pumpkin Cheesecake is a delightful journey that begins with a perfectly crisp crust and culminates in a beautifully marbled, creamy masterpiece. The process is straightforward, but attention to detail in each step ensures a spectacular result. Follow these instructions carefully, and you’ll be rewarded with a dessert that’s as impressive to look at as it is to taste.
Begin by preparing your graham cracker crust. While it’s pre-baking and cooling, you can start on the velvety cheesecake filling. For precise measurements and oven temperatures, refer to the detailed recipe card below.
For the Flavorful Graham Cracker Crust
- Prepare Your Pan: Preheat your oven to 325°F (160°C). Lightly grease a 9-inch springform pan to ensure the crust doesn’t stick.
- Combine Ingredients: In a medium bowl, thoroughly mix the graham cracker crumbs, both brown and granulated sugars, and cinnamon. Stir until all ingredients are evenly distributed, then pour in the melted butter. Continue mixing until the crumbs are moist and resemble wet sand. This ensures a cohesive crust.
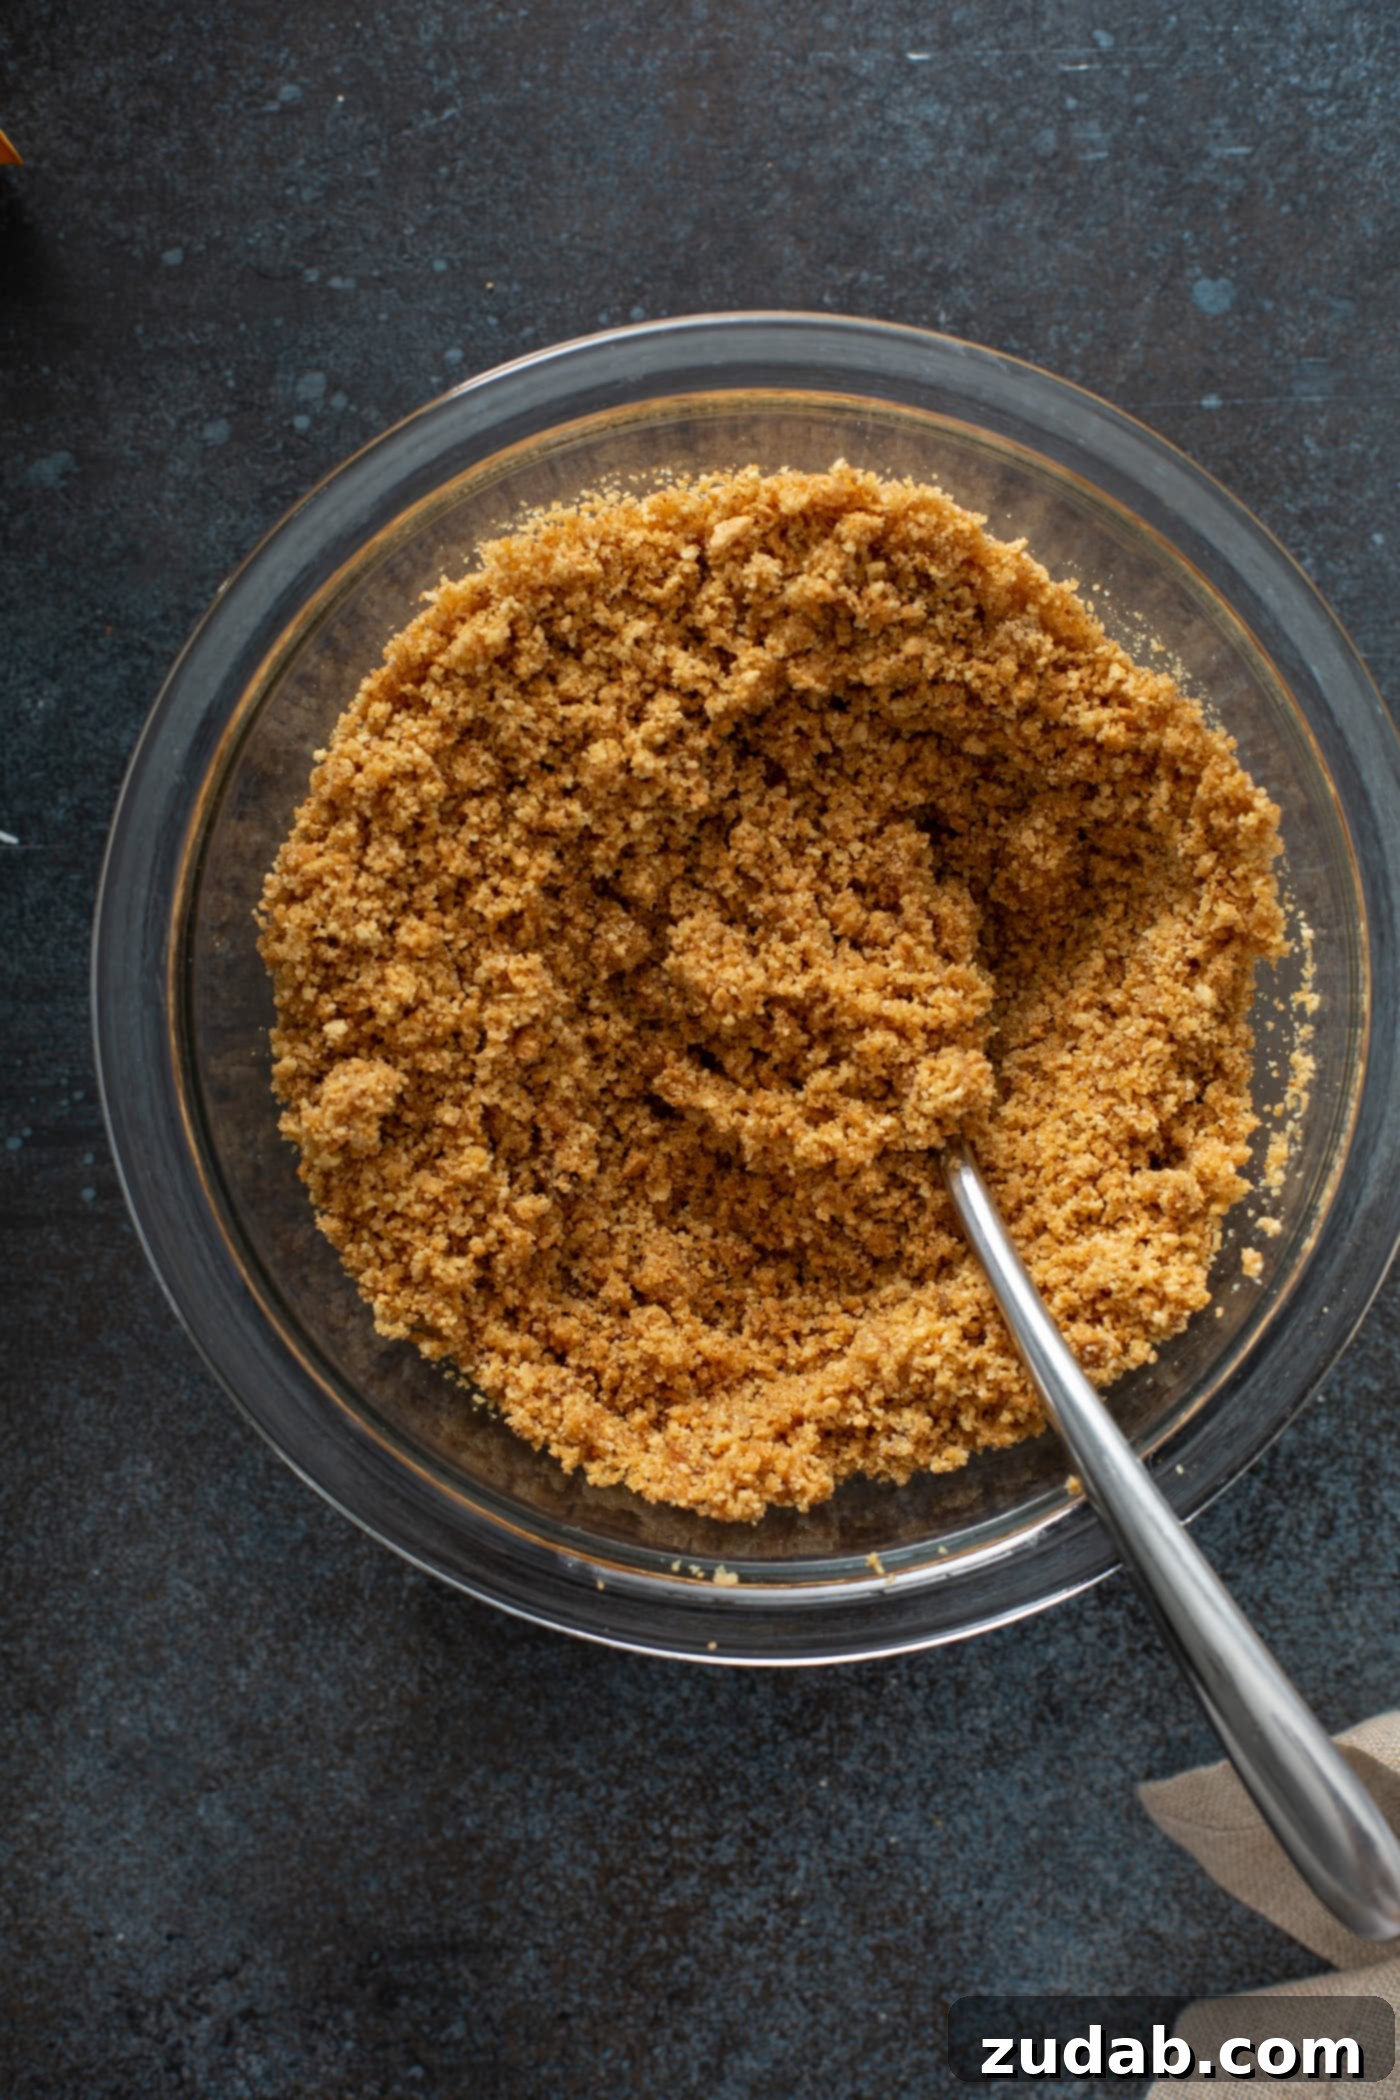
- Press and Bake: Evenly press the crumb mixture into the bottom of the prepared springform pan. Use the back of a spoon or your fingers to create a firm, flat layer. Bake for 10 minutes to set the crust and enhance its flavor. Remove from the oven and set aside to cool while you prepare the filling.
For the Creamy Swirled Cheesecake Filling
- Start with Cream Cheese: In the bowl of a stand mixer fitted with the paddle attachment, or using a large bowl and a hand mixer, beat one package of softened cream cheese on medium speed until it is completely smooth and free of lumps. This is a crucial step for a silky cheesecake.
- Add Sweeteners and Stabilizer: Gradually add about 1/2 cup of the granulated sugar and the cornstarch to the beaten cream cheese. Continue beating on medium-low speed until the mixture is smooth and well combined, scraping down the sides of the bowl as needed.
- Incorporate Remaining Cream Cheese: Add the remaining packages of cream cheese, one at a time, beating on low speed until each is just smooth before adding the next. Avoid overmixing.
- Flavor Boost: Pour in the remaining granulated sugar and the vanilla extract. Mix on low speed until fully incorporated and the batter is smooth and creamy.
- Add Eggs Gently: Add the large eggs one at a time, beating on the lowest speed only until each egg is just mixed into the batter. Over-beating the eggs can incorporate too much air, leading to cracks in your finished cheesecake.
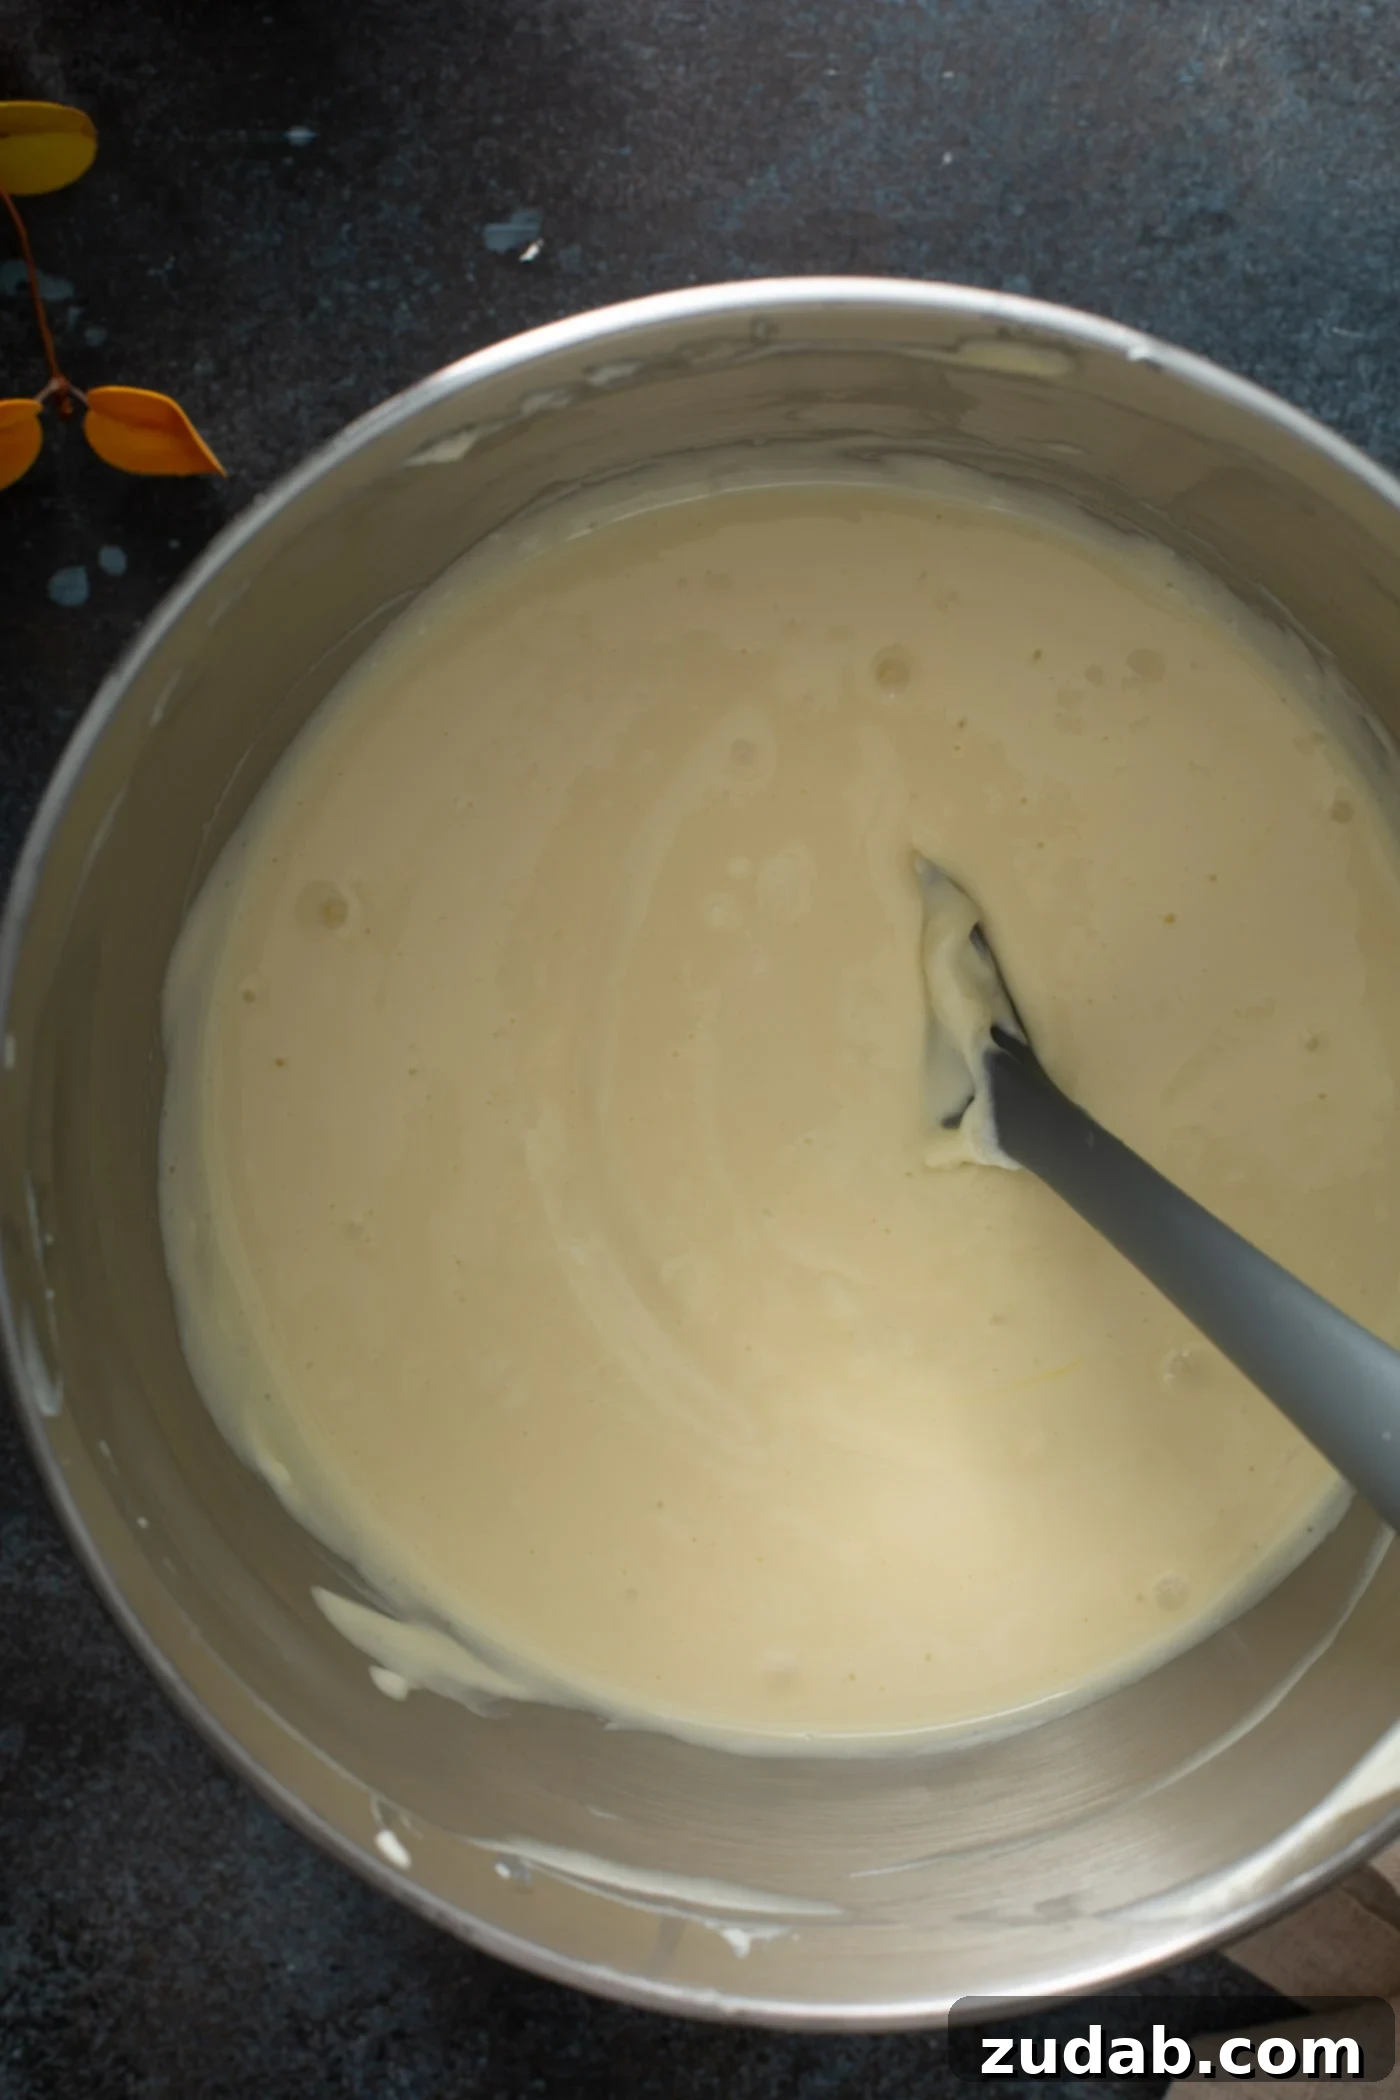
- Create Pumpkin Portion: Remove about two cups of the plain cheesecake mixture and transfer it to a separate medium bowl. This will be your pumpkin layer.
- Infuse with Pumpkin: To the bowl with the two cups of cheesecake mix, scoop in the canned pumpkin puree, pumpkin pie spice, and the extra cinnamon. Gently mix until completely smooth and the pumpkin is evenly distributed, creating a vibrant, spiced pumpkin cheesecake filling.
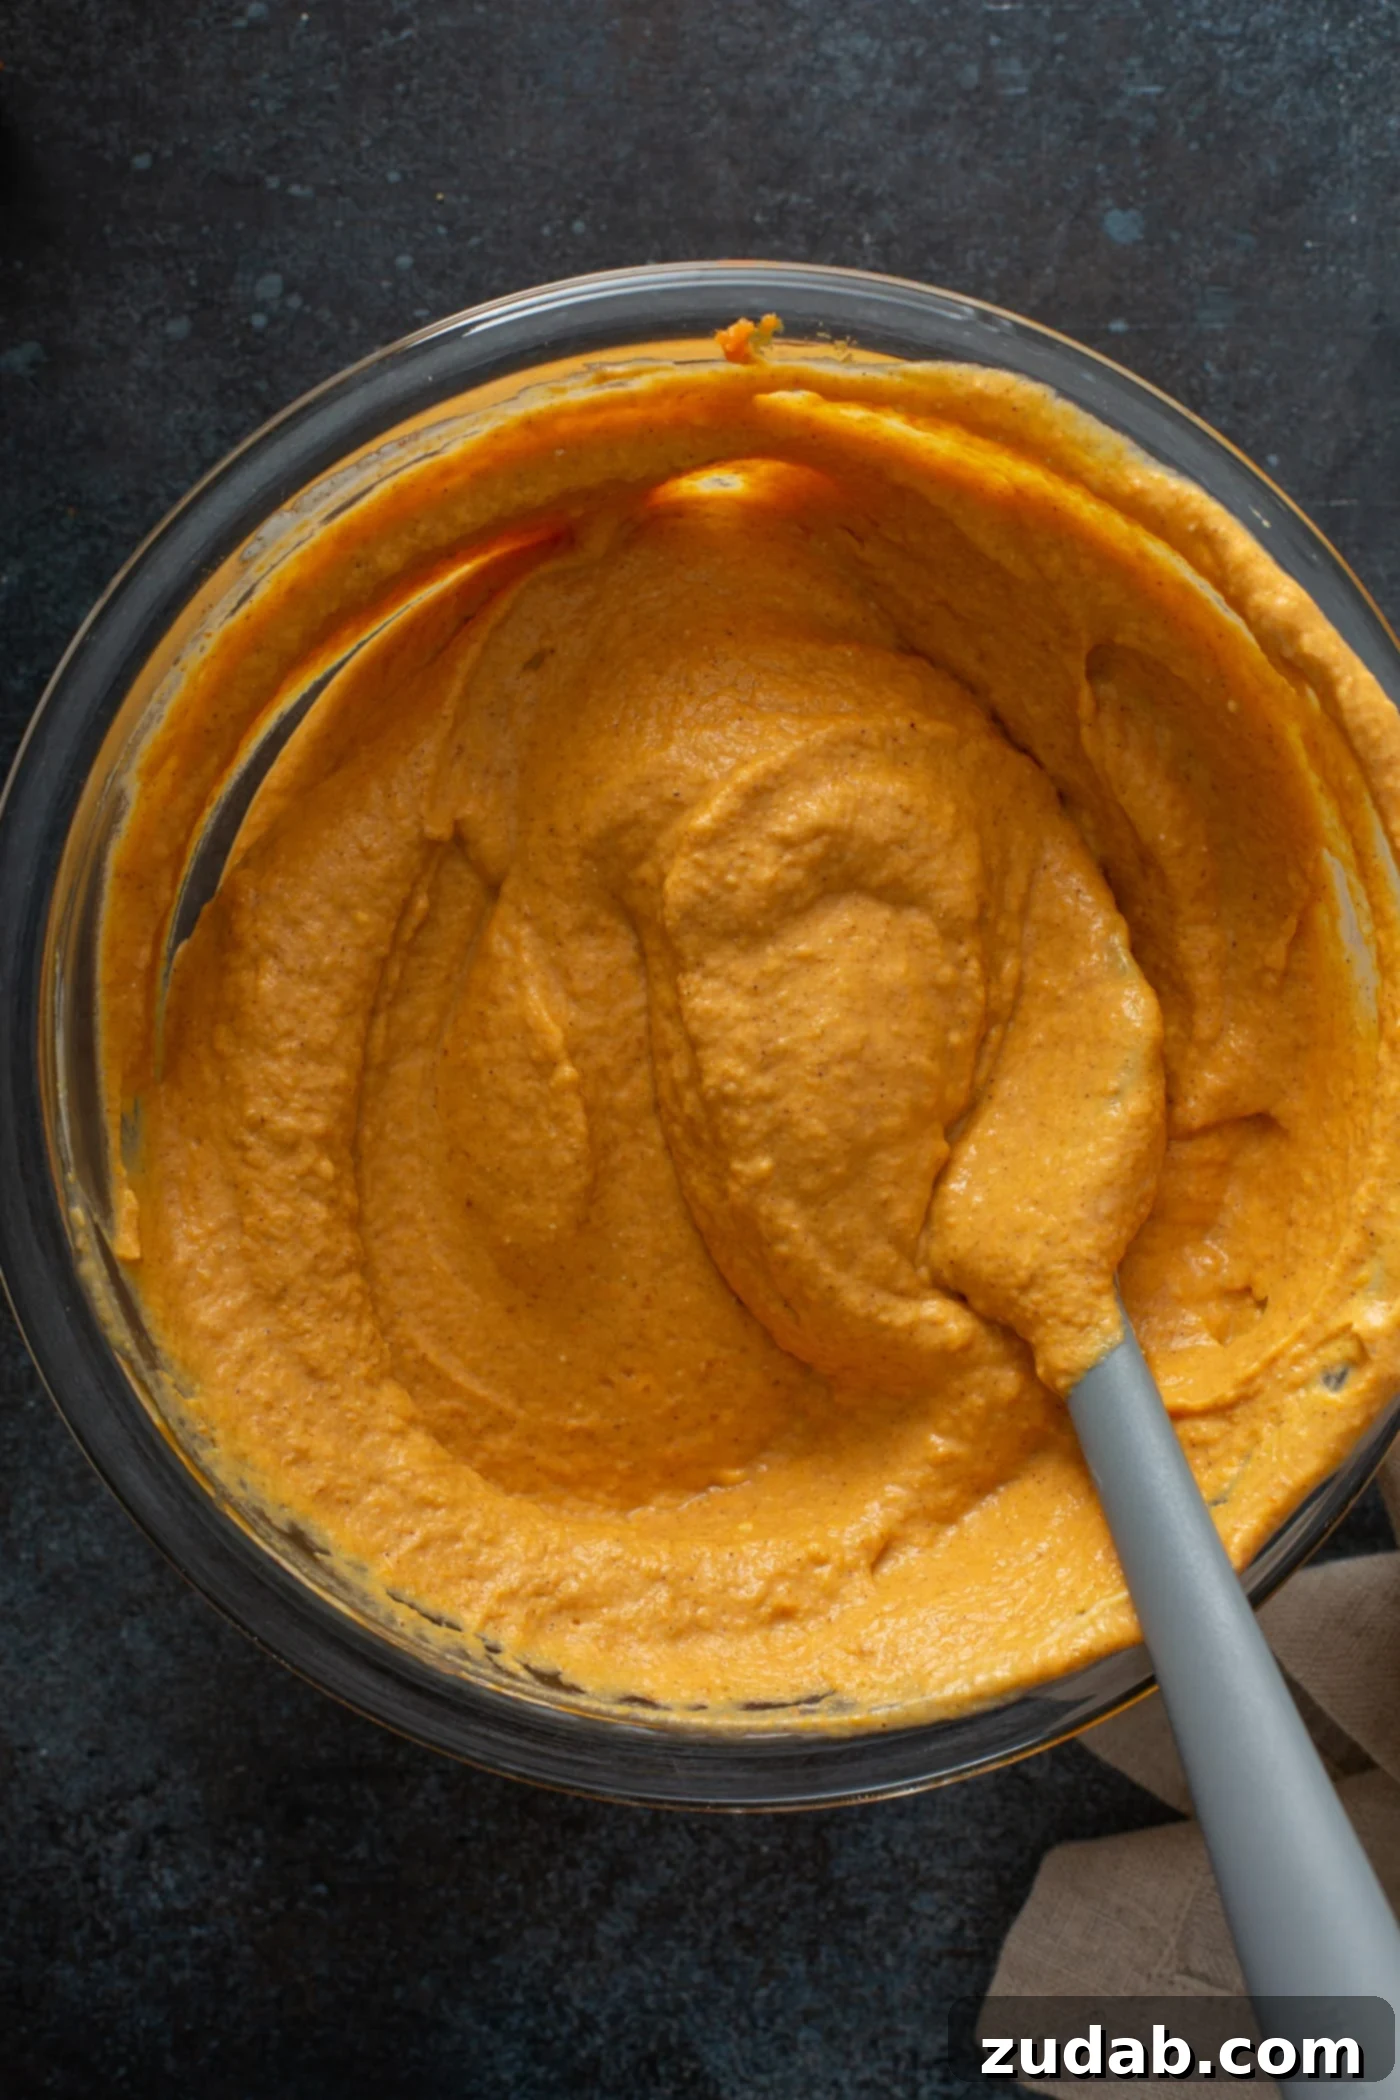
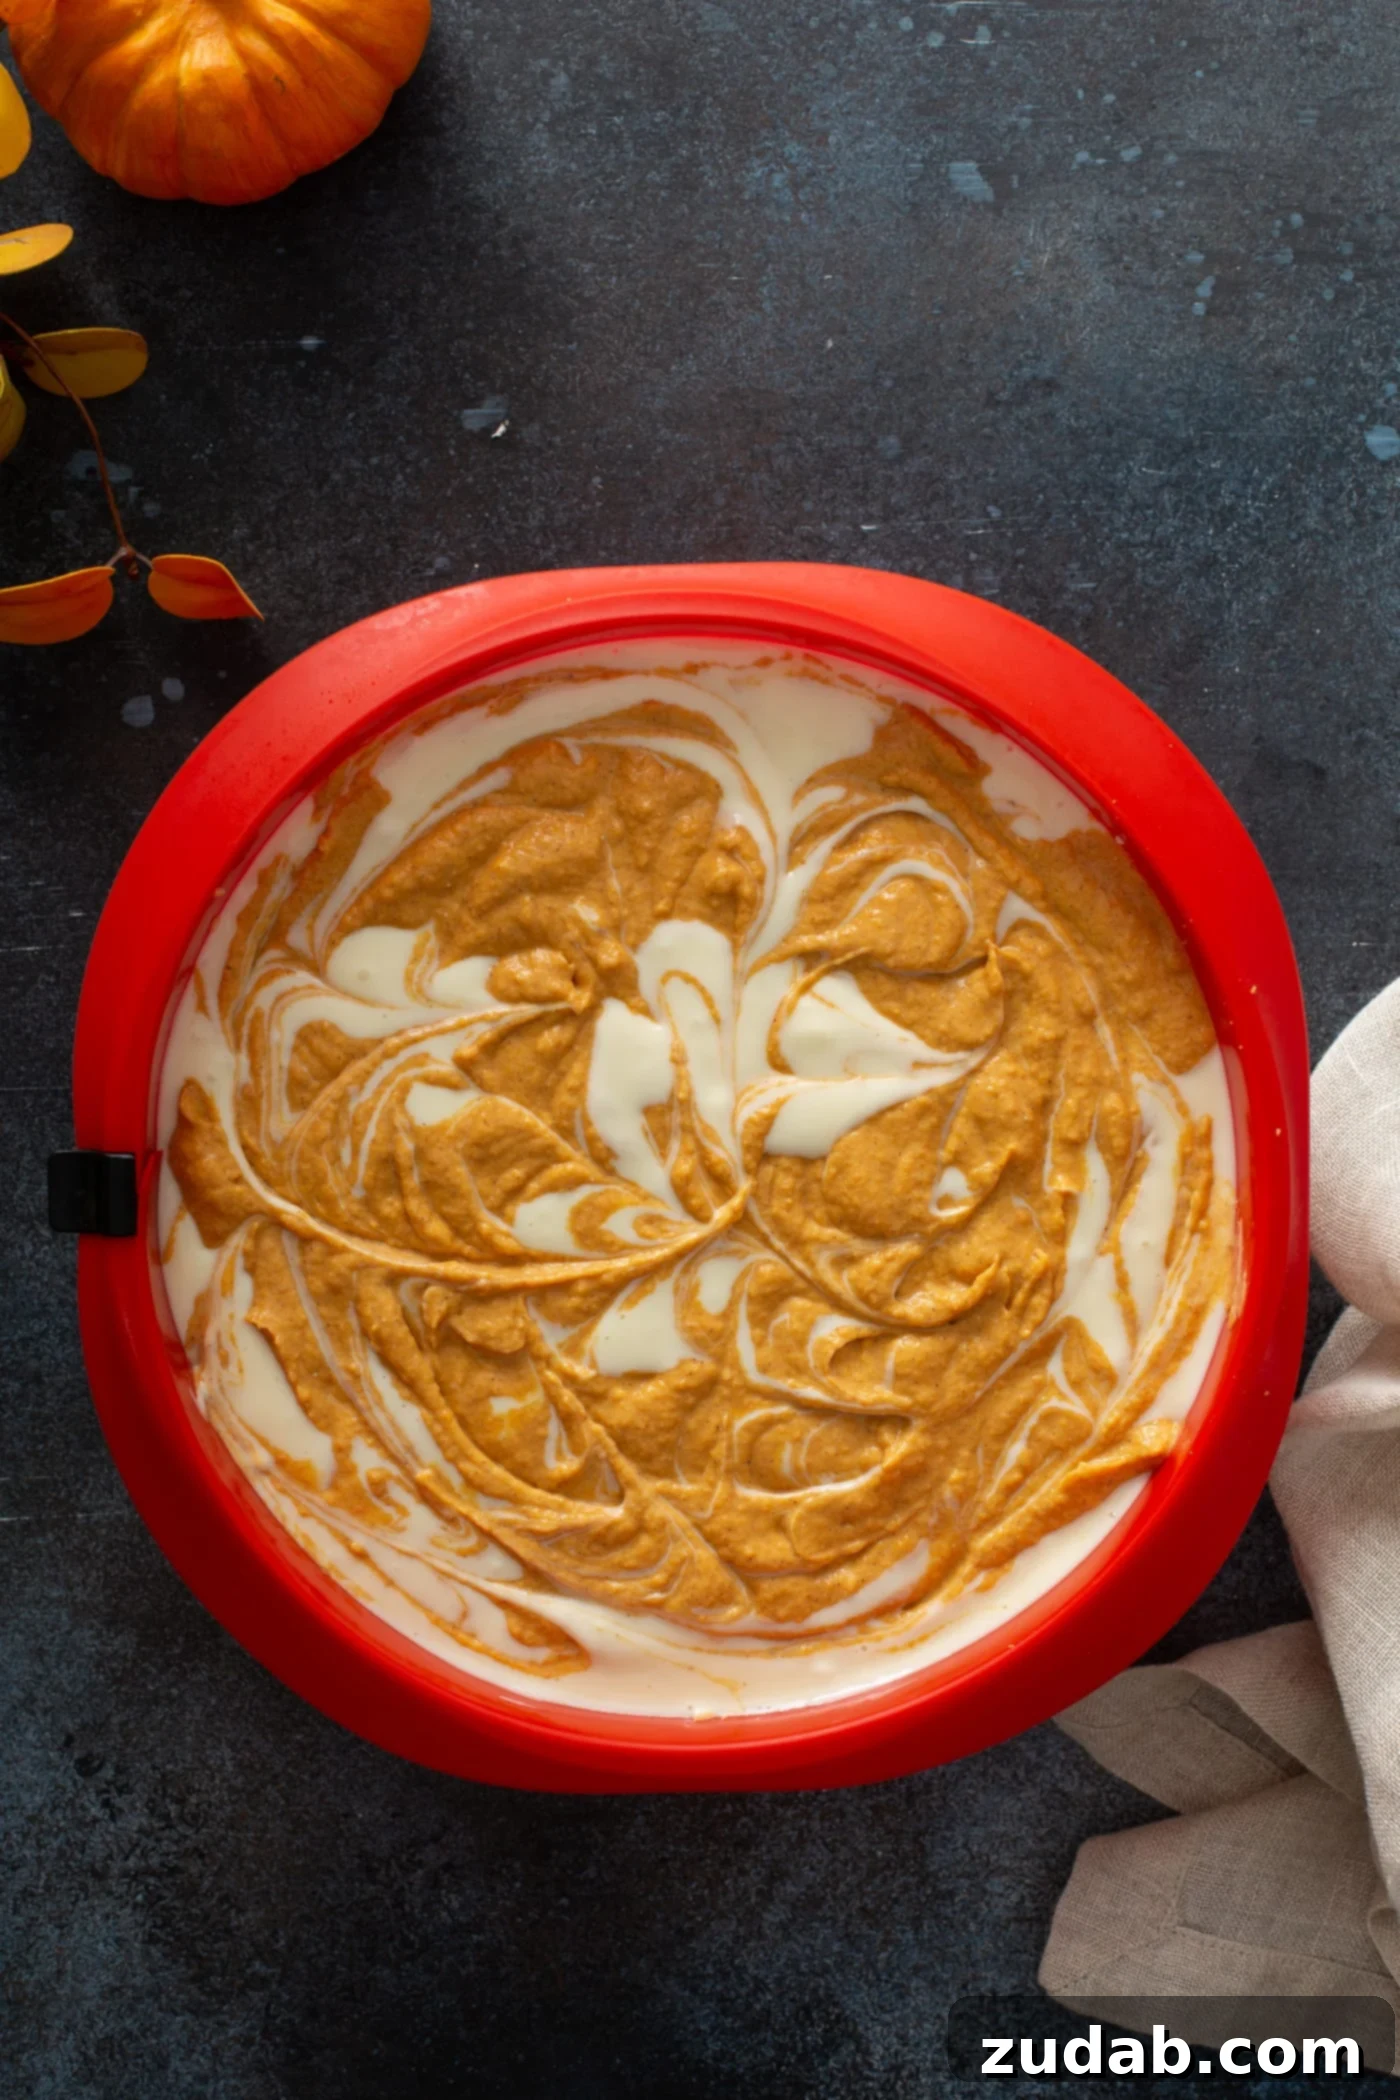
- Layer and Swirl: Pour half of the plain cheesecake batter evenly over the cooled graham cracker crust in the springform pan. Then, dollop spoonfuls of the pumpkin cheesecake mixture strategically over the plain layer. Using a butter knife or a skewer, gently swirl the pumpkin into the plain cheesecake, creating beautiful marbling. Be careful not to over-swirl, as you want distinct layers of color.
- Repeat this layering and swirling process with the remaining plain and pumpkin cheesecake batters for a second, equally captivating layer.
- Prepare the Water Bath: Carefully place the springform pan (wrap the bottom in foil if you’re concerned about leaks, though many springform pans are leak-proof) into a larger roasting pan. Fill the larger pan with about 1 inch of hot water, ensuring the water level comes up the sides of the springform pan but doesn’t spill over the top. This water bath creates a moist, gentle baking environment.
- Bake to Perfection: Gently transfer the roasting pan with the cheesecake into your preheated oven. Bake for approximately 55-65 minutes, or until the edges are set and the center still has a slight wobble when gently shaken. The top should no longer appear shiny.
- Slow Cool in Oven: Once baked, turn off the oven but leave the cheesecake inside. Prop the oven door open slightly and allow the cheesecake to cool slowly in the diminishing heat for about 35 minutes. This gradual cooling is essential to prevent cracks.
- Final Cooling Stages: After the initial oven cooling, carefully remove the springform pan from the water bath (remove any foil if used). Run a thin knife around the inner edge of the pan to loosen the cheesecake. Set the pan on a wire cooling rack at room temperature for another 2-4 hours, allowing air to circulate and the cheesecake to cool completely.
- Chill Thoroughly: Once completely cooled to room temperature, cover the springform pan tightly with plastic wrap and transfer the cheesecake to the refrigerator. Chill for at least 8 hours, or ideally overnight. This chilling period is crucial for the cheesecake to fully set, firm up, and develop its rich flavors.
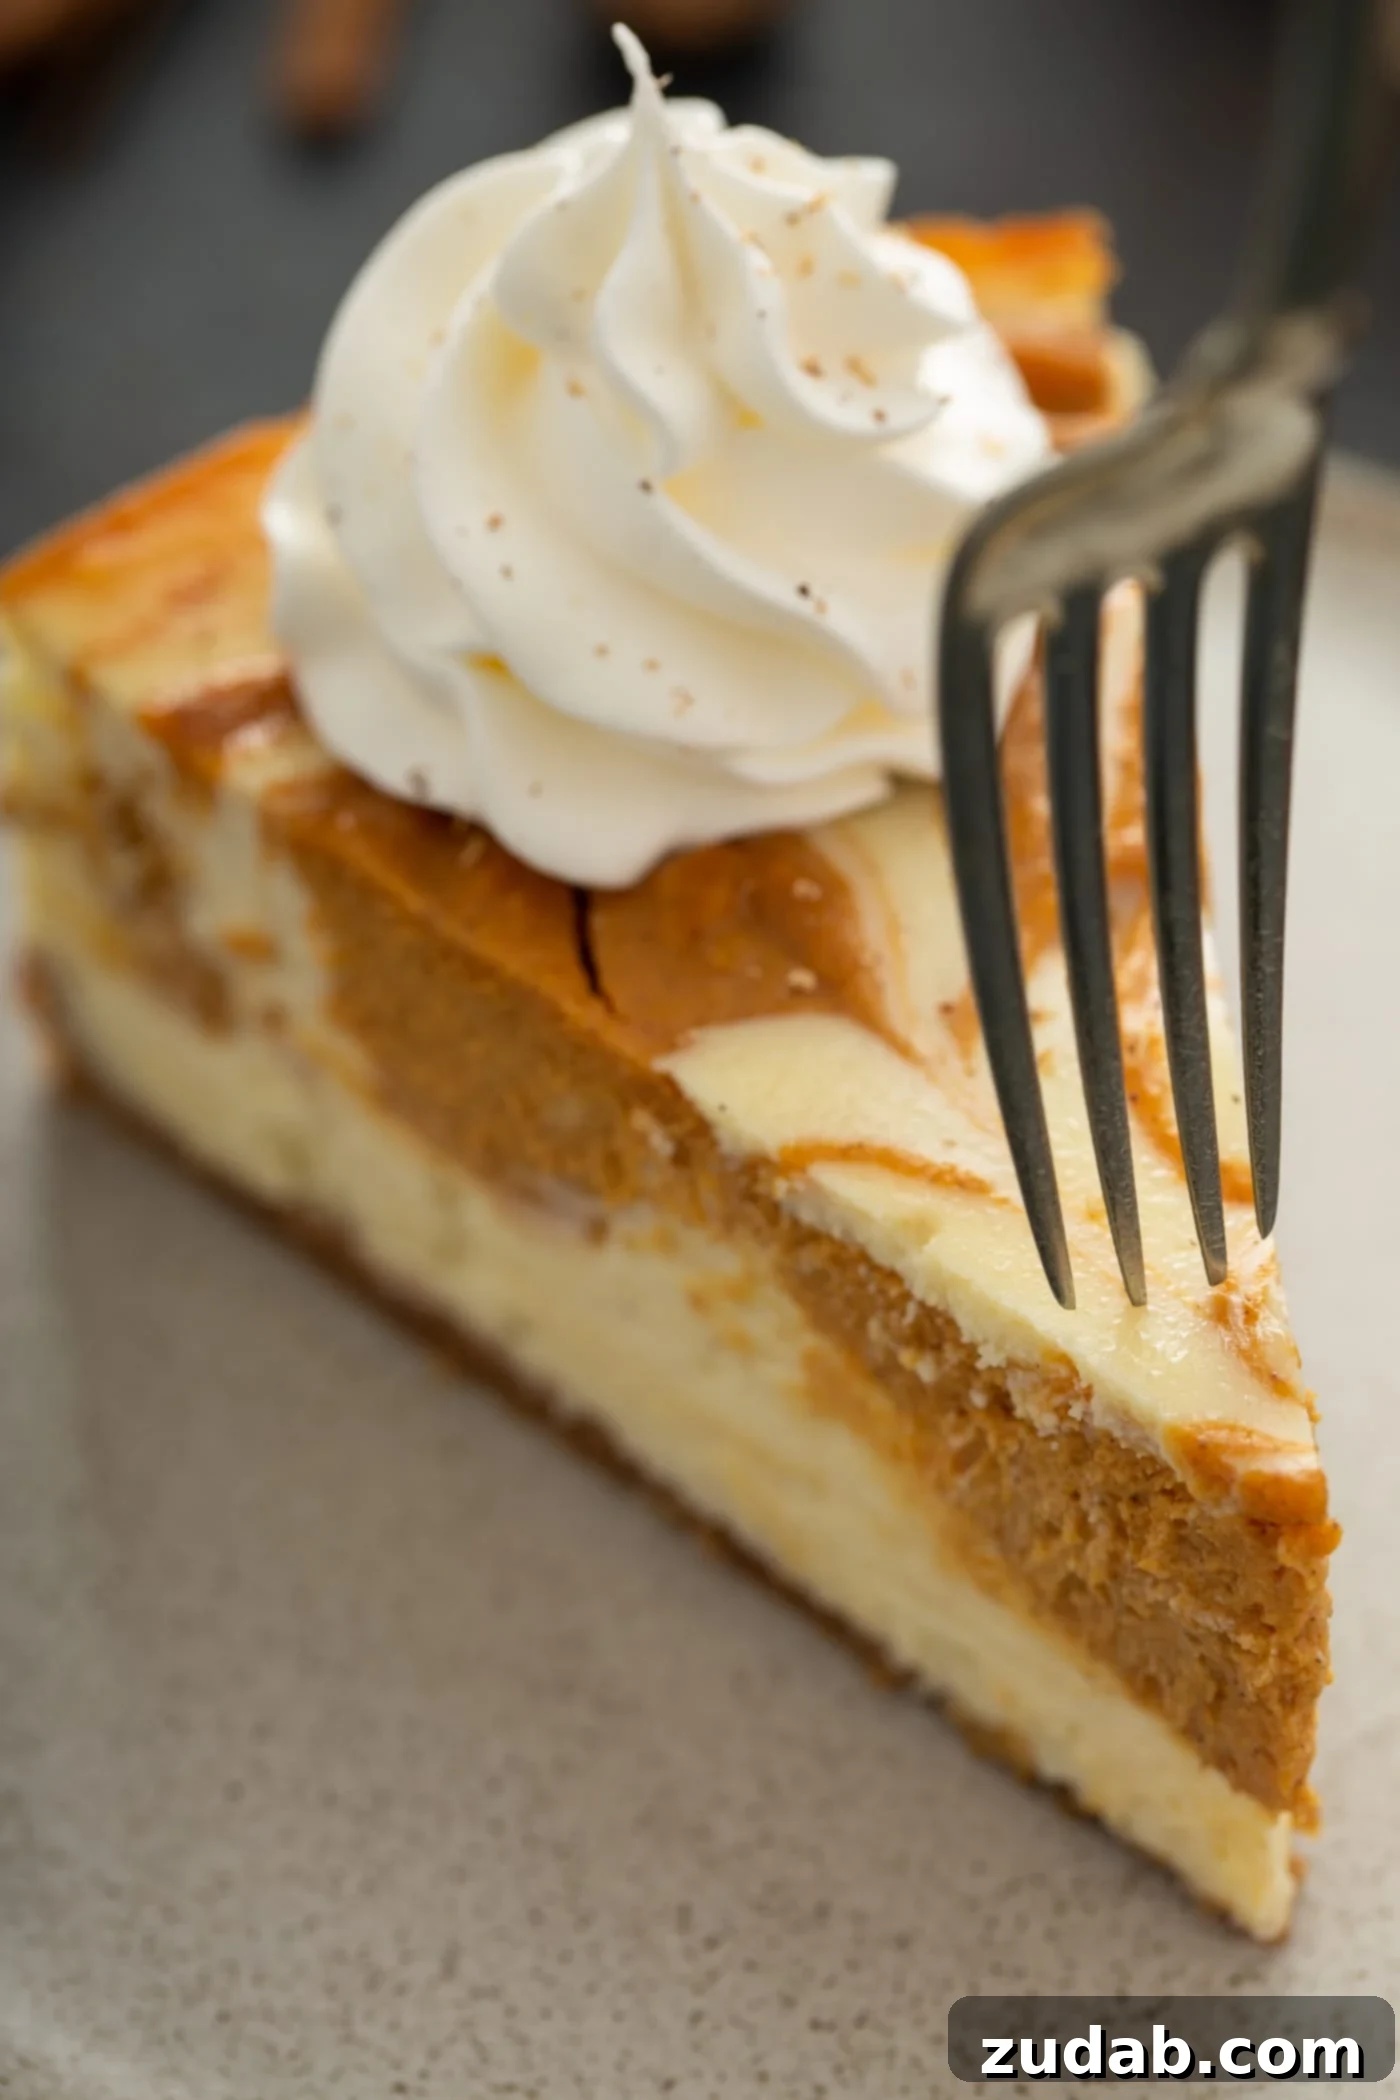
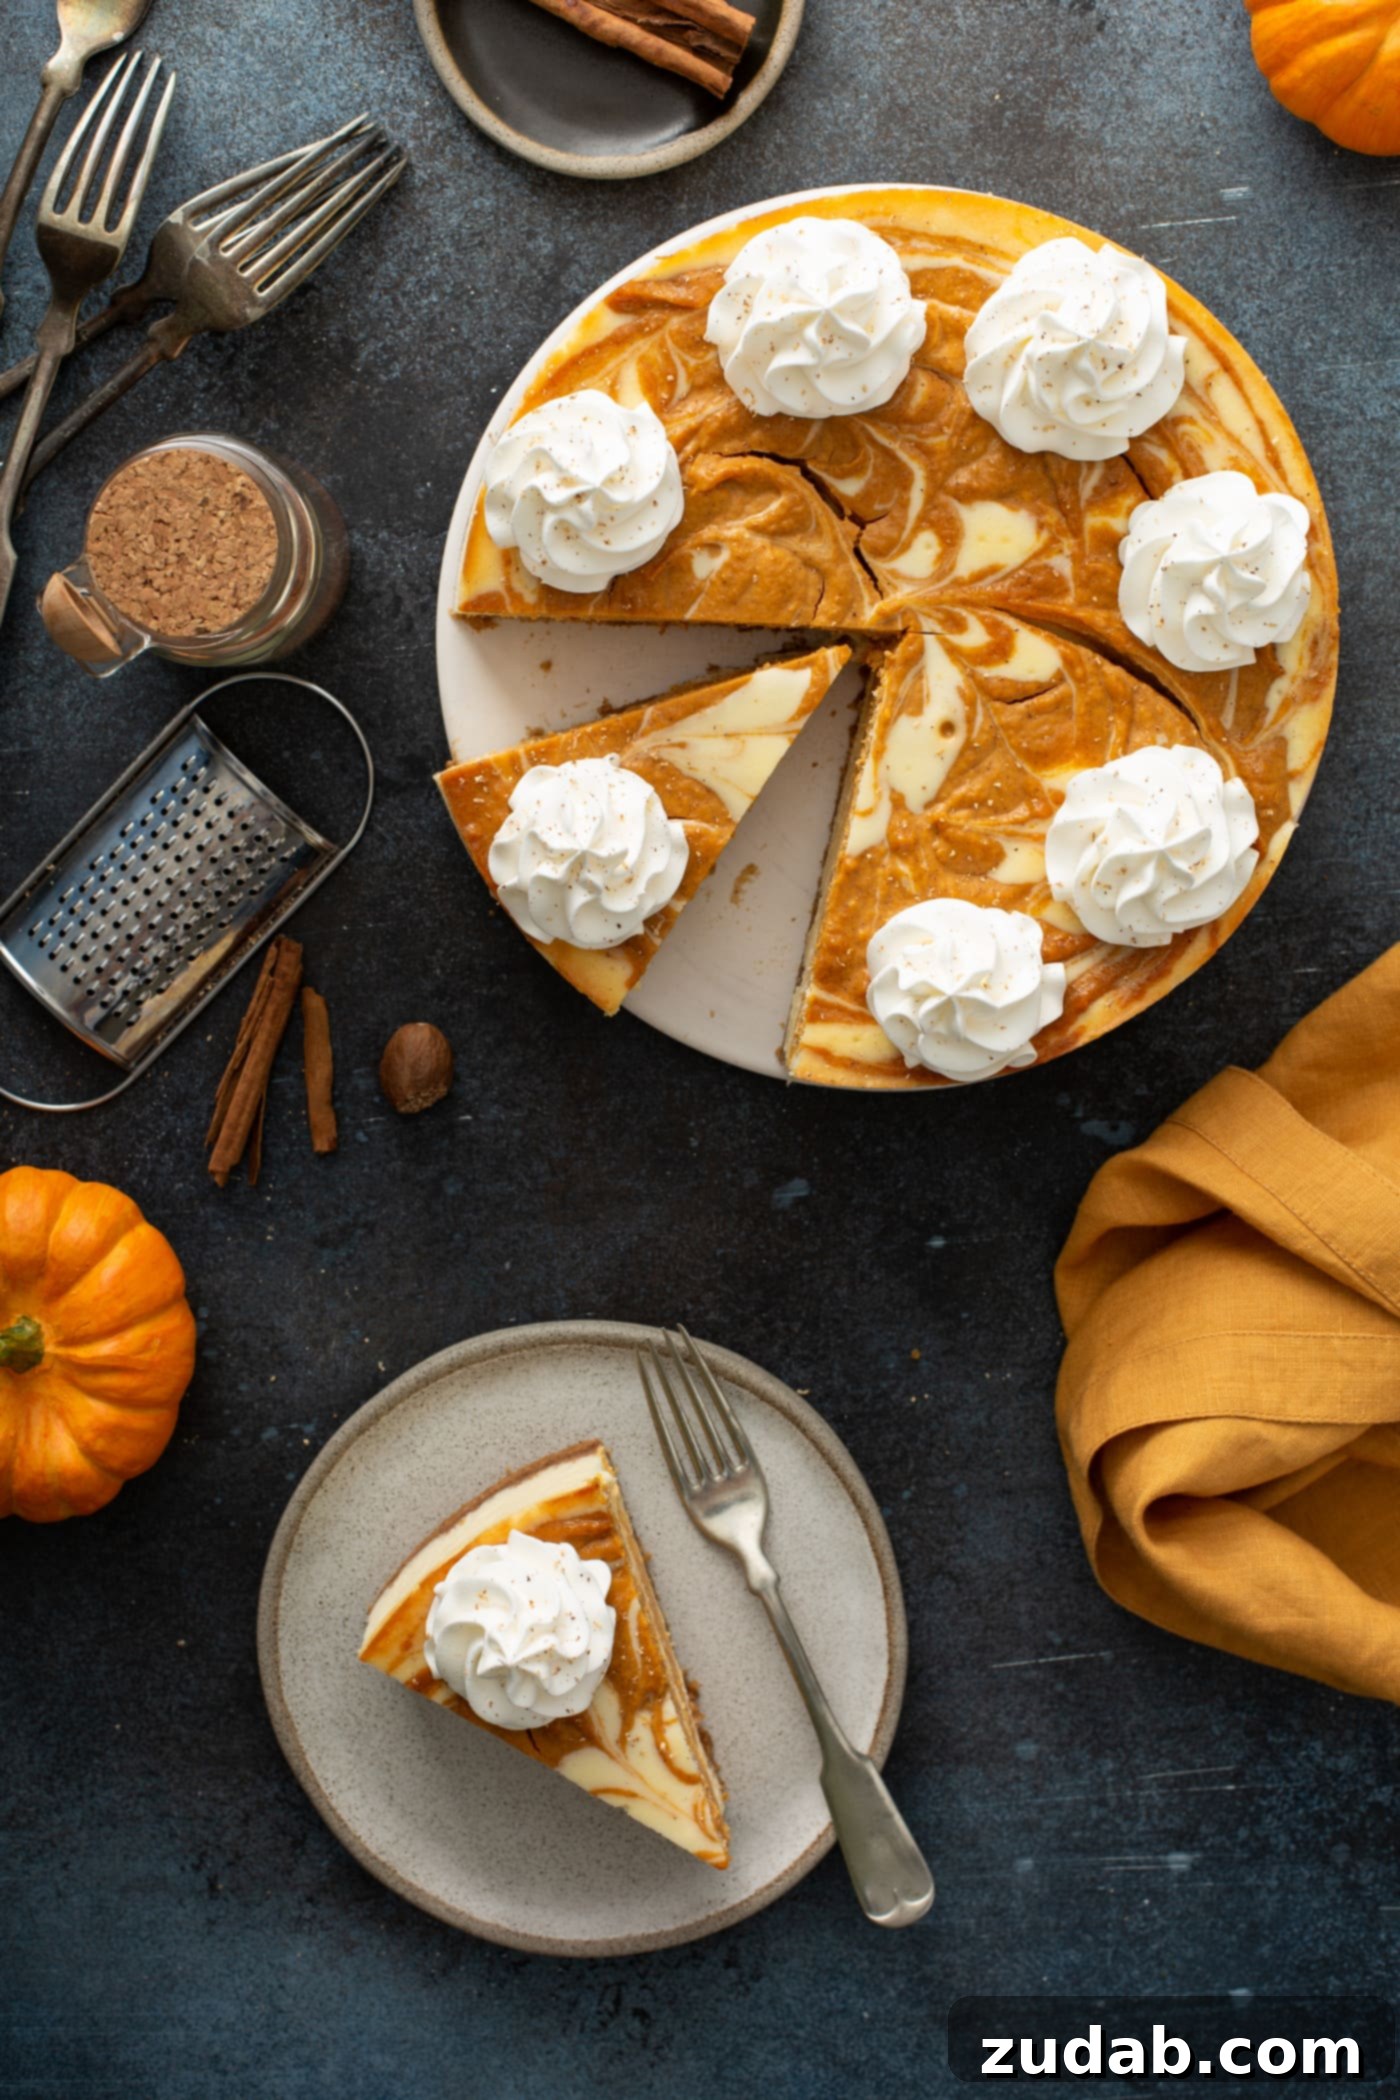
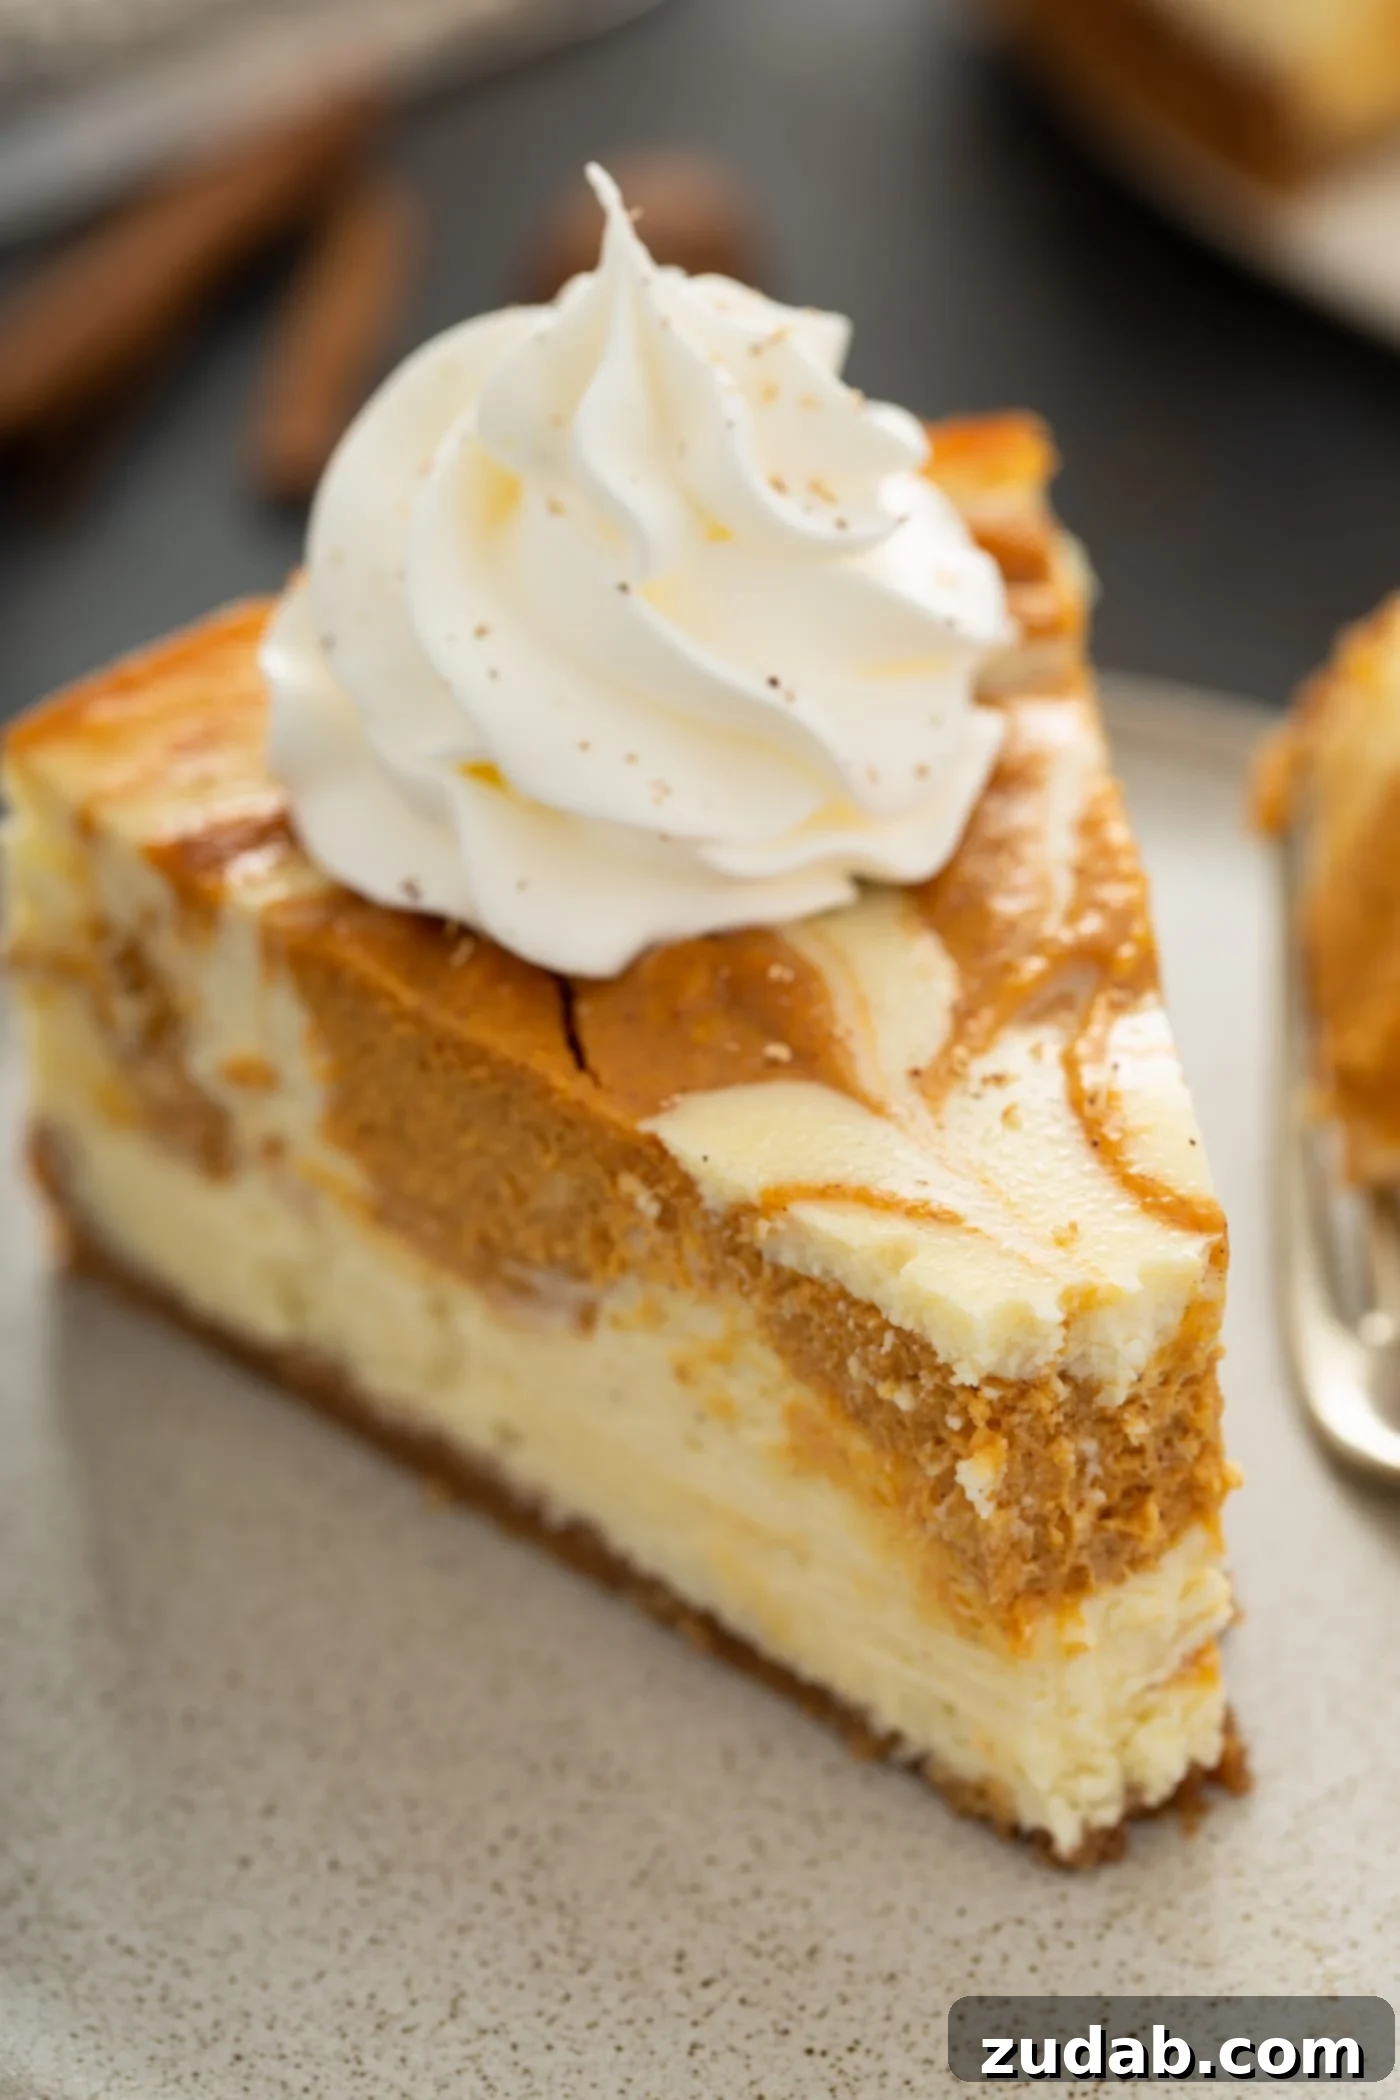
- Serve and Enjoy: When ready to serve, carefully remove the rim of the springform pan. Slice the Swirled Pumpkin Cheesecake using a warm, sharp knife (wiping it clean between each slice for neat cuts). Serve each luscious slice topped with a generous dollop of fresh whipped cream, or your favorite cheesecake toppings!
Frequently Asked Questions About Swirled Pumpkin Cheesecake
Does Swirled Pumpkin Cheesecake Need To Be Refrigerated?
Absolutely, yes! Due to its dairy-based ingredients, particularly the cream cheese and eggs, cheesecake is highly perishable and must be kept refrigerated. Always store your Swirled Pumpkin Cheesecake in the refrigerator to maintain its freshness, texture, and food safety.
How Long Will Cheesecake Keep?
When properly stored in an airtight container or tightly covered with plastic wrap in the refrigerator, your homemade Swirled Pumpkin Cheesecake will maintain its optimal freshness and quality for about 1 week. Beyond this, it’s best to freeze it.
For longer storage, cheesecake freezes exceptionally well. You can freeze the entire cheesecake or individual slices for up to 6-8 months. To freeze, ensure the cheesecake is completely chilled and firm. For a whole cheesecake, wrap it tightly in several layers of plastic wrap, followed by a layer of aluminum foil. For slices, wrap each slice individually before placing them in an airtight freezer-safe container. Thaw frozen cheesecake overnight in the refrigerator before serving.
What is a Springform Pan and Why Do I Need One?
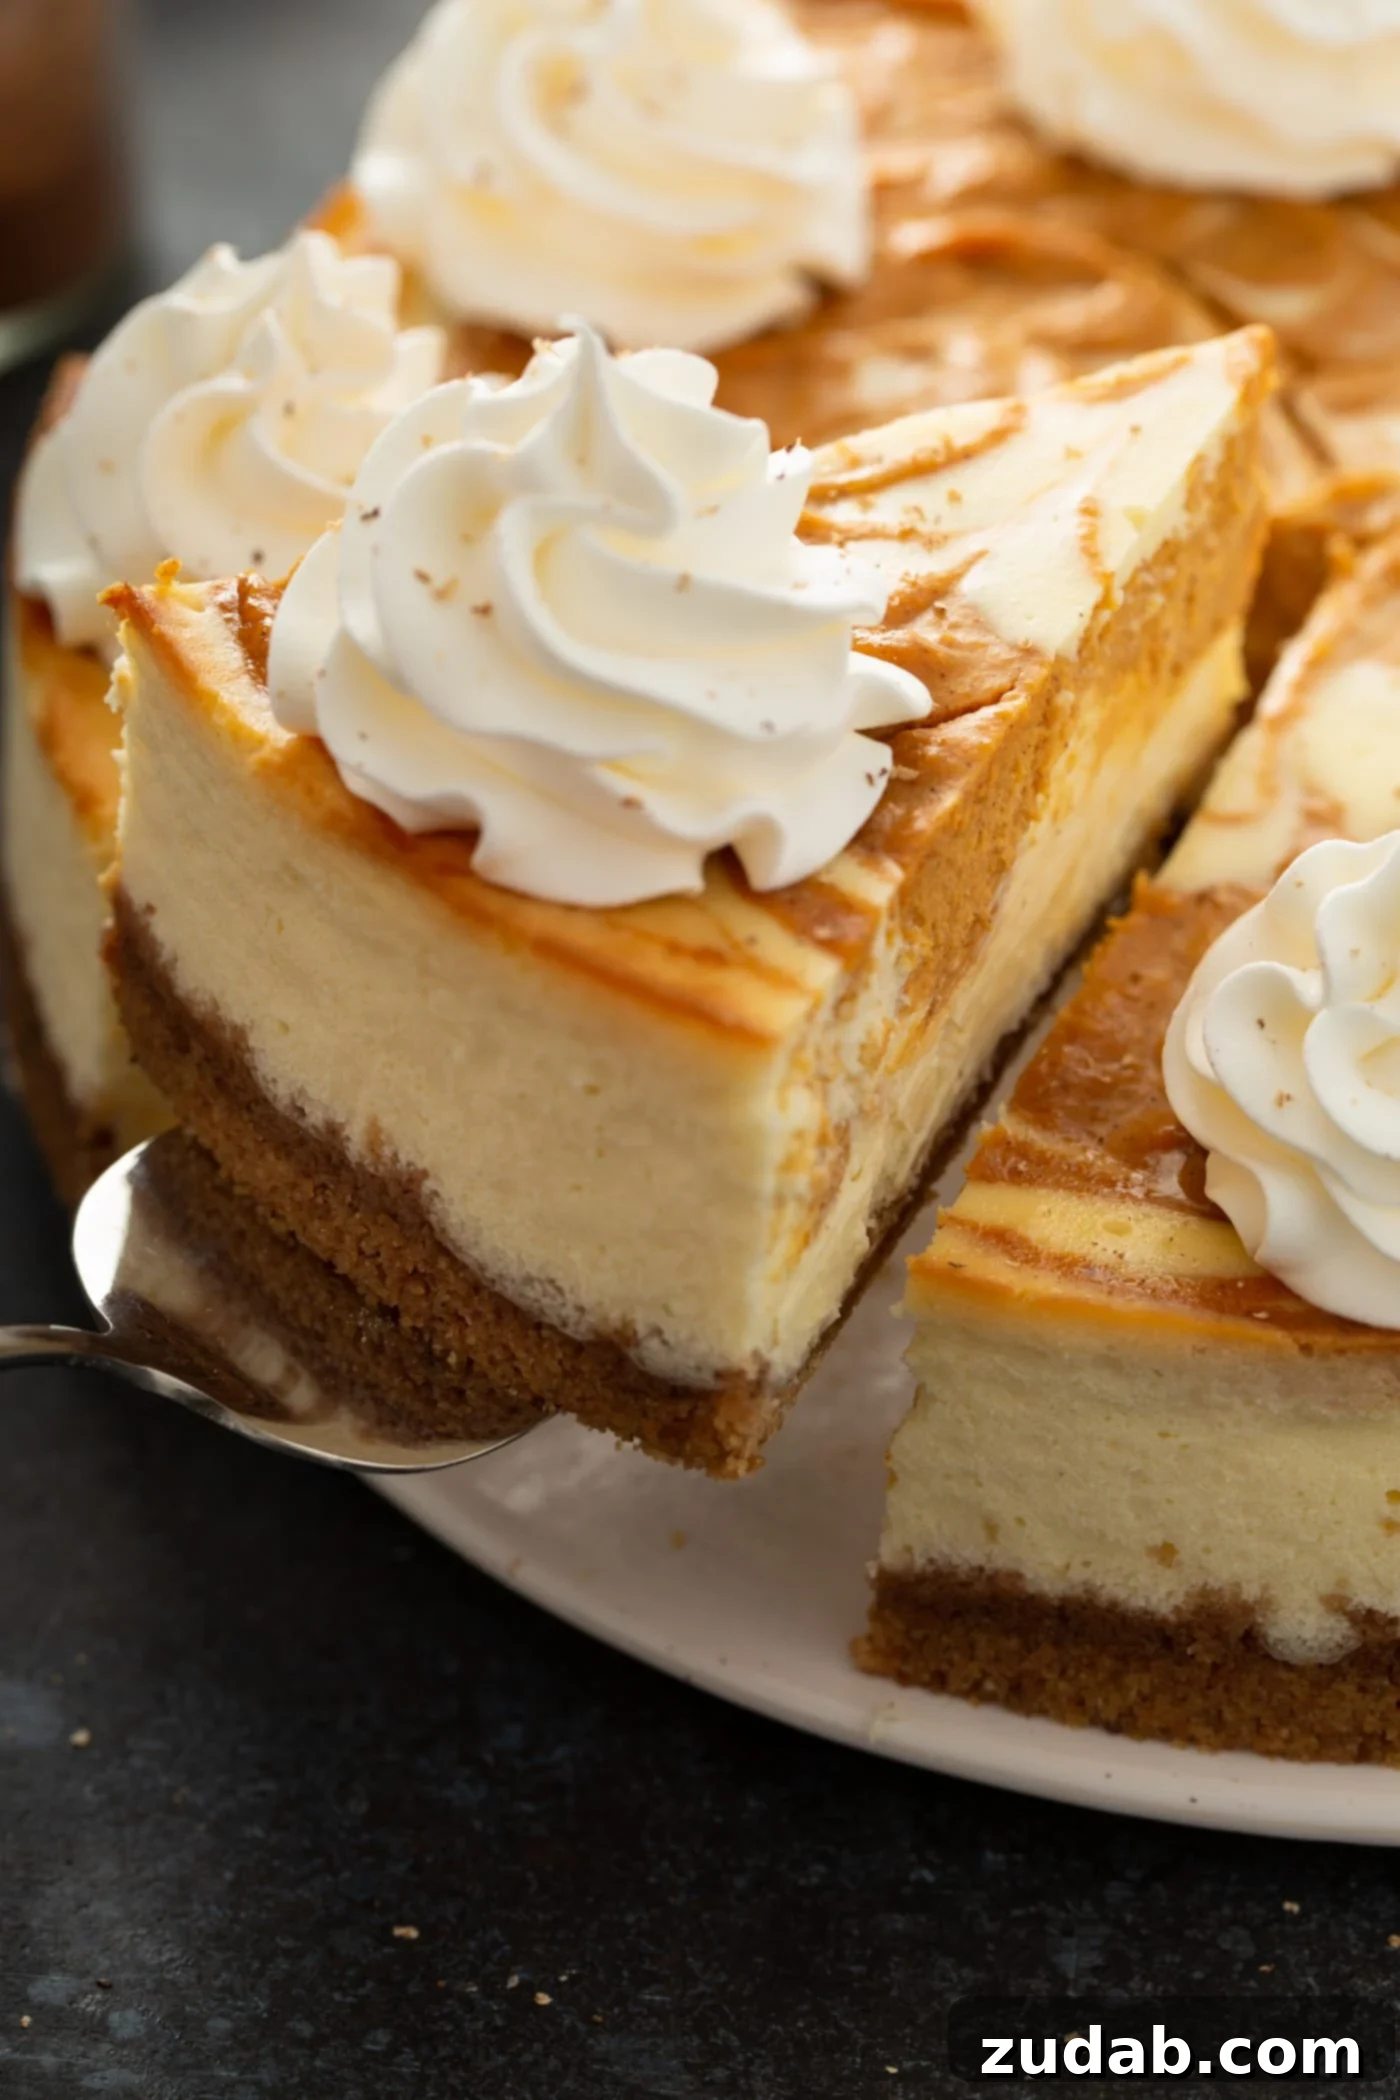
A springform pan is a specialized type of round baking pan essential for many delicate desserts, especially cheesecakes. It consists of two main parts: a flat base and a removable side ring that clamps securely around the base. The magic of a springform pan lies in its ability to easily release baked goods without inverting them. Once your cheesecake is baked and fully cooled, you simply unclamp and lift the ring away, leaving you with a perfectly intact, beautifully presented cheesecake that’s easy to slice and serve directly from the base.
Don’t have a springform pan? No fear! You have a few other options:
- Regular Cake or Pie Pan: If you don’t mind serving your cheesecake directly from the pan, a standard 9-inch cake or pie pan works perfectly. Simply bake as directed and serve with a spoon.
- Cake or Pie Pan with Parchment Paper/Foil Sling: If you wish to remove the cheesecake from a regular pan for a prettier presentation, line your cake or pie pan with parchment paper or aluminum foil. Leave a generous overhang along the sides, creating a “sling” or “handles.” After baking and cooling, you can use these extensions to gently lift the entire cheesecake out of the pan before slicing.
- Disposable Foil Pan: These are an inexpensive and convenient alternative. After baking and cooling, you can simply cut or tear away the sides of the foil pan, leaving your cheesecake ready for serving.
Does Graham Cracker Crust for Swirled Pumpkin Cheesecake Need To Be Baked?
No, a graham cracker crust does not *have* to be baked. Many no-bake cheesecakes rely on a chilled, unbaked graham cracker crust.
However, baking a graham cracker crust for about 10 minutes offers several benefits: it gives the crust a slightly deeper, toasted flavor, a more golden color, and a firmer, crispier texture that stands up beautifully against the creamy cheesecake filling. It’s a small extra step that truly enhances the overall dessert experience.
Can Graham Cracker Crust Be Frozen?
Yes, homemade graham cracker crusts can be frozen! If you’re looking to get a head start on your holiday baking, you can prepare the crust, press it into your pan, and then freeze it (baked or unbaked). A homemade graham cracker crust can be frozen for up to 3 months when wrapped tightly in plastic wrap and then foil to prevent freezer burn.
You should completely thaw the crust in the refrigerator before adding the cheesecake filling and baking. This prevents potential issues with uneven baking or a soggy crust.
How Long Will Graham Cracker Crust Keep?
An unopened, store-bought graham cracker crust typically has a shelf life of 6-9 months when stored in a cool, dry pantry. Once opened or homemade, it’s best used within a few days or stored as described above. The baked crust can be stored at room temperature for 2-3 days, or in the refrigerator for up to a week if wrapped well.
What Can You Substitute For Cream Cheese in Swirled Pumpkin Cheesecake?
For the best results in a traditional cheesecake, full-fat cream cheese is highly recommended for its rich flavor and creamy texture. However, if you’re looking for alternatives or dietary modifications, there are several options:
- Low-Fat Cream Cheese or Neufchâtel Cheese: These can be used as a direct 1:1 substitute. Be aware that the texture might be slightly less rich, and the baking time might need slight adjustment as they contain more water.
- Pureed Cottage Cheese: For 1 cup of cream cheese, you can substitute 1 cup of pureed cottage cheese. Ensure it’s very finely pureed until completely smooth to avoid a grainy texture in your cheesecake.
- Strained Plain Yogurt: For 1 cup of cream cheese, you can use 1 cup of plain yogurt that has been strained overnight in a cheesecloth. This removes excess whey, resulting in a thick, cream cheese-like consistency. Greek yogurt is a good starting point for straining due to its naturally thicker texture.
Keep in mind that any substitution may alter the final taste and texture of your cheesecake.
Can You Use Flour Instead of Cornstarch?
Yes, cornstarch can be replaced with other thickening agents, including flour, in a cheesecake recipe. If you don’t have cornstarch on hand, you can use:
- All-Purpose Flour: Use twice the amount of flour for cornstarch (e.g., if the recipe calls for 1 tablespoon of cornstarch, use 2 tablespoons of flour). Flour provides a less translucent finish than cornstarch.
- Arrowroot Powder: A great gluten-free alternative that can be substituted 1:1 for cornstarch. It thickens at a lower temperature and provides a clear, glossy finish.
- Potato Starch or Tapioca Starch: These can also be substituted for cornstarch, typically in a 1:1 ratio. They offer similar thickening properties and a smooth texture.
- Instant Mashed Potato Granules: While unconventional, in a pinch, a small amount can work as a thickener.
Choose your substitute based on availability and desired texture. For the creamiest, most stable cheesecake, cornstarch or arrowroot is generally preferred.
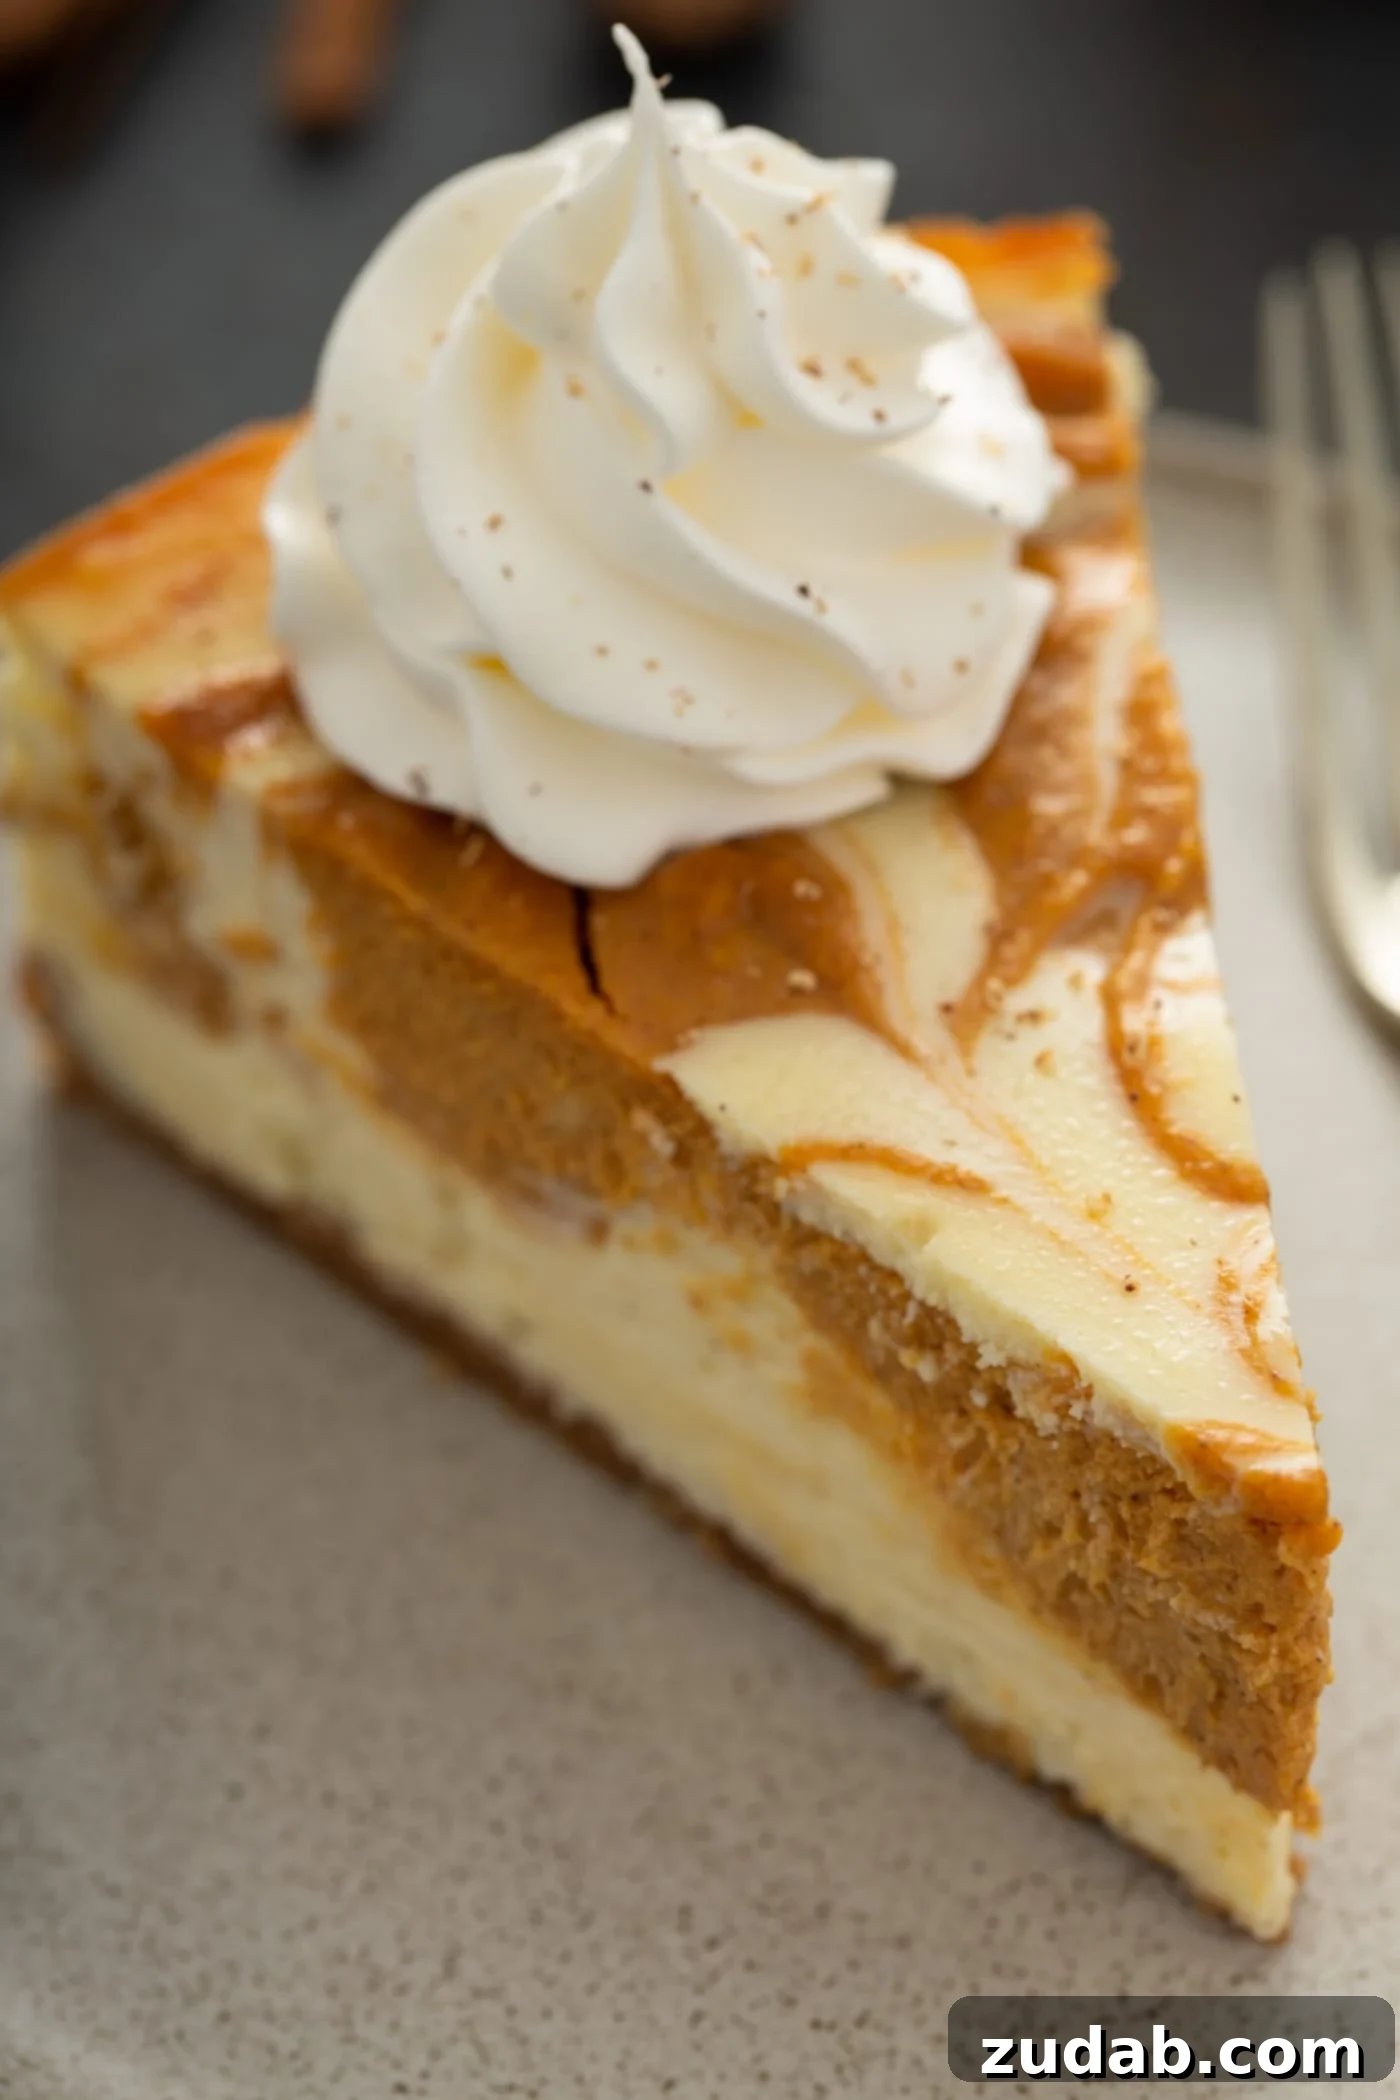
So, if your heart yearns for the comforting spices of pumpkin pie, but your palate craves the luxurious creaminess of a classic cheesecake, then this Swirled Pumpkin Cheesecake is an absolute must-make! It truly is a match made in dessert heaven, bringing together the best of two beloved worlds. Its intricate swirls promise not only a feast for the eyes but also a symphony of flavors that will make it the highlight of any fall or holiday table. Get ready to bake, enjoy, and bask in the deliciousness!
More Delicious Cheesecake Recipes You Will Love!
- Swirled Raspberry Lemon Cheesecake Bars
- No-Bake Caramel Cheesecake Bars
- Gingersnap Pumpkin Cheesecake Bars
- Lime Cheesecake with Triple Berry Sauce
- Instant Pot Peanut Butter Cup Cheesecake
Swirled Pumpkin Cheesecake
Pin
Ingredients
For the Crust
- 1 1/2 Cups Graham Cracker Crumbs
- 2 Tablespoons Brown Sugar
- 2 Tablespoons Sugar
- 1/2 teaspoon Cinnamon
- 1/3 Cup Melted Butter
Filling
- 4 Packages Cream Cheese, Softened (8 ounces each)
- 1 1/2 Cups Sugar
- 2 Tablespoons Cornstarch
- 2 teaspoons Vanilla
- 4 Large Eggs
- 1 Cup Canned Pumpkin
- 1 teaspoon Pumpkin Pie Spice
- 2 teaspoons Cinnamon
Topping
- Whipped Cream
Instructions
-
Preheat the oven to 325 degrees F (160 C) and generously grease a 9-inch springform pan.
-
In a medium bowl, combine the graham cracker crumbs, both brown and granulated sugars, and cinnamon until well mixed. Pour in the melted butter and stir until the crumbs are thoroughly moistened and resemble wet sand. Press this mixture firmly and evenly into the bottom of the greased springform pan. Bake for 10 minutes, then remove from oven and let it cool completely while you prepare the filling.1 1/2 Cups Graham Cracker Crumbs, 2 Tablespoons Brown Sugar, 2 Tablespoons Sugar, 1/2 teaspoon Cinnamon, 1/3 Cup Melted Butter
For the Filling
-
In the bowl of a standing mixer (or using a hand mixer), add one package of softened cream cheese. Beat on medium speed until completely smooth and creamy, about 2-3 minutes, scraping down the sides of the bowl as needed.4 Packages Cream Cheese
-
Add 1/2 cup of the granulated sugar and the cornstarch to the cream cheese mixture. Beat again on medium-low speed until smooth and fully incorporated, ensuring no lumps remain.1 1/2 Cups Sugar, 2 Tablespoons Cornstarch
-
Add the remaining cream cheese packages, one at a time, beating on low speed until each is just combined and the mixture is smooth. Avoid overmixing to prevent excess air incorporation.4 Packages Cream Cheese
-
Pour in the remaining granulated sugar and the vanilla extract. Mix on low speed until just combined.2 teaspoons Vanilla, 1 1/2 Cups Sugar
-
Add the large eggs one at a time, beating on the lowest speed only until each egg is just mixed into the batter. Scrape down the sides of the bowl between each addition. This gentle mixing technique helps prevent cracking.4 Large Eggs
-
Remove approximately two cups of the plain cheesecake mixture and transfer it to a separate medium bowl. This will be your pumpkin portion.
-
To the bowl with the two cups of cheesecake mix, scoop in the canned pumpkin puree, pumpkin pie spice, and the extra cinnamon. Stir gently until completely smooth and the pumpkin is evenly distributed, creating a vibrant, spiced pumpkin cheesecake filling.1 Cup Canned Pumpkin, 1 teaspoon Pumpkin Pie Spice, 2 teaspoons Cinnamon
-
Pour half of the plain cheesecake batter evenly over the cooled graham cracker crust in the springform pan. Then, strategically dollop spoonfuls of the pumpkin cheesecake mixture over the plain layer. Using a butter knife or skewer, gently swirl the pumpkin into the plain cheesecake, creating beautiful marbling. Repeat this layering and swirling process with the remaining plain and pumpkin cheesecake batters.
-
Prepare a water bath: Place the springform pan (you can wrap the bottom in aluminum foil if concerned about leaks) into a large roasting pan. Carefully add about 1 inch of hot water to the roasting pan, ensuring the water level comes up the sides of the springform pan without spilling over.
-
Gently transfer the roasting pan with the cheesecake to the center rack of your preheated oven. Bake for approximately 55-65 minutes, or until the edges are set and the center still has a slight wobble when gently shaken. The top should appear set and no longer shiny.
-
Once baking is complete, turn off the oven but leave the cheesecake inside. Prop the oven door open slightly and allow the cheesecake to cool slowly for 35 minutes. After this, gently run a hot or greased knife around the edge of the cheesecake to prevent it from sticking to the pan as it cools and contracts. Close the oven door again and let it sit for another 2-4 hours, or until the oven is completely cool.
-
Remove the springform pan from the water bath. Allow the cheesecake to cool completely on a wire cooling rack at room temperature. This encourages air circulation, helping the cheesecake cool evenly.
-
Once cooled to room temperature, cover the springform pan tightly with plastic wrap and place the cheesecake in the fridge to chill for at least 8 hours, or ideally overnight. This chilling period is crucial for the cheesecake to fully set and for its flavors to meld beautifully.
-
When ready to serve, carefully remove the rim of the springform pan. Slice using a warm, sharp knife (wiping it clean between each cut for neat slices). Serve each luscious slice topped with a generous dollop of fresh whipped cream!Whipped Cream
Recipe Notes
Nutrition
Nutrition information is automatically calculated, so should only be used as an approximation.