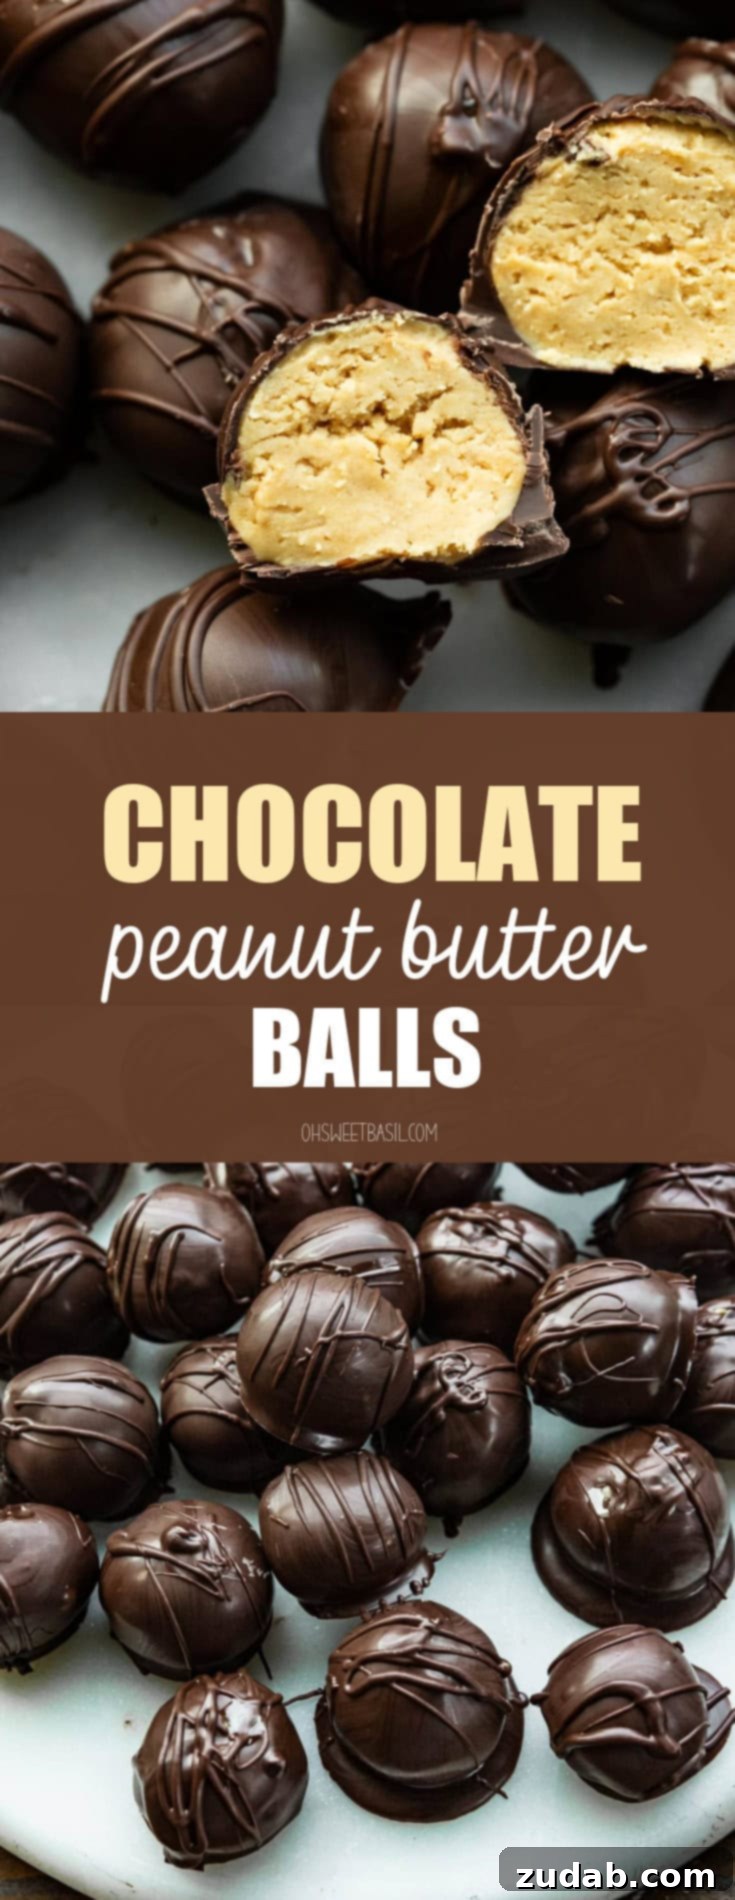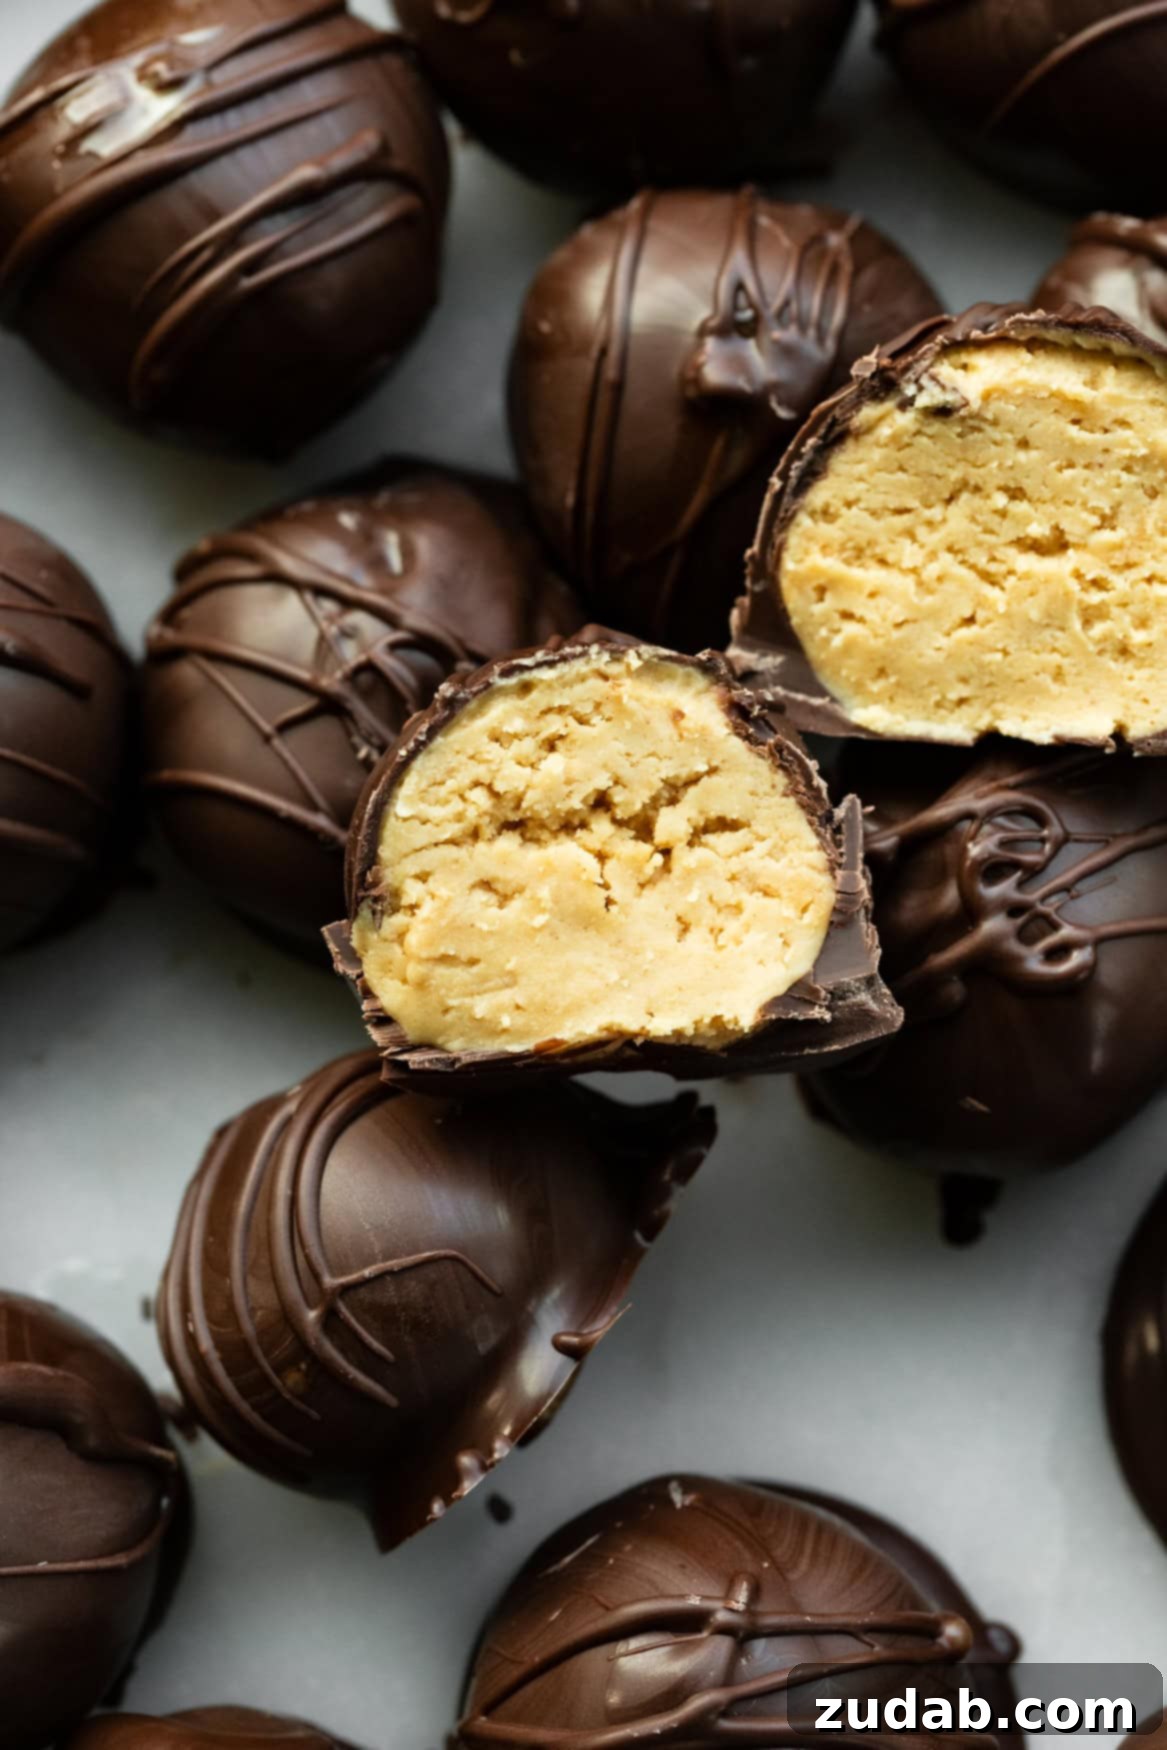
Prepare to delight your taste buds with these incredibly simple yet utterly irresistible Chocolate Peanut Butter Balls. Perfectly crafted for any occasion, from casual snacking to elegant holiday gatherings, this recipe requires just 4 essential ingredients to create a sweet treat that will quickly become a household favorite. Forget complicated baking – these no-bake wonders allow you to satisfy your dessert cravings in mere minutes, making them an ideal choice for busy individuals and aspiring home chefs alike.
Imagine a velvety smooth, rich peanut butter filling, meticulously coated in a luscious layer of decadent chocolate. This combination isn’t just simple; it’s a symphony of flavor and texture that captivates from the very first bite. The best part? You likely already have all the necessary components stashed away in your pantry, ready to be transformed into these delightful truffles. We like to think of these as a more sophisticated and refined take on the classic chocolate peanut butter cup – a gourmet experience loaded with intense peanut butter flavor, presented as a beautiful and impressive little confection that belies its effortless preparation.
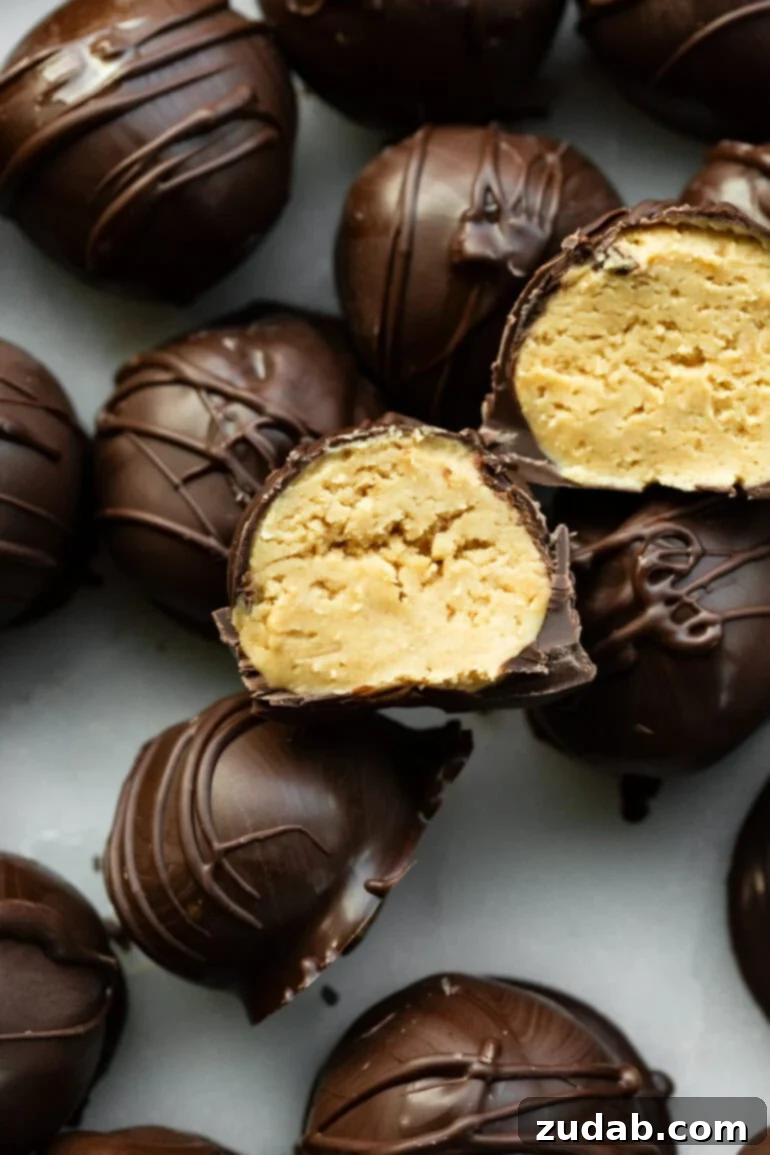
For all the passionate chocolate and peanut butter enthusiasts out there, get ready to add another favorite to your repertoire! These exquisite peanut butter truffles are a delightful indulgence, perfect any time of year. However, they hold a special place in our hearts during the holidays. Their charming size and rich flavor make them the ultimate treat to bring to a dinner party, or even to elegantly package as homemade Christmas gifts for friends and neighbors. Seriously, these delectable truffles are so irresistibly good that you’ll find it nearly impossible to stop at just one.
Whether you’re crafting a small batch for your personal enjoyment or preparing several trays for your loved ones, these creamy chocolate-covered peanut butter truffles are guaranteed to be a hit. Their universal appeal and straightforward preparation make them a fantastic project for any skill level, ensuring a truly satisfying sweet experience for everyone involved.
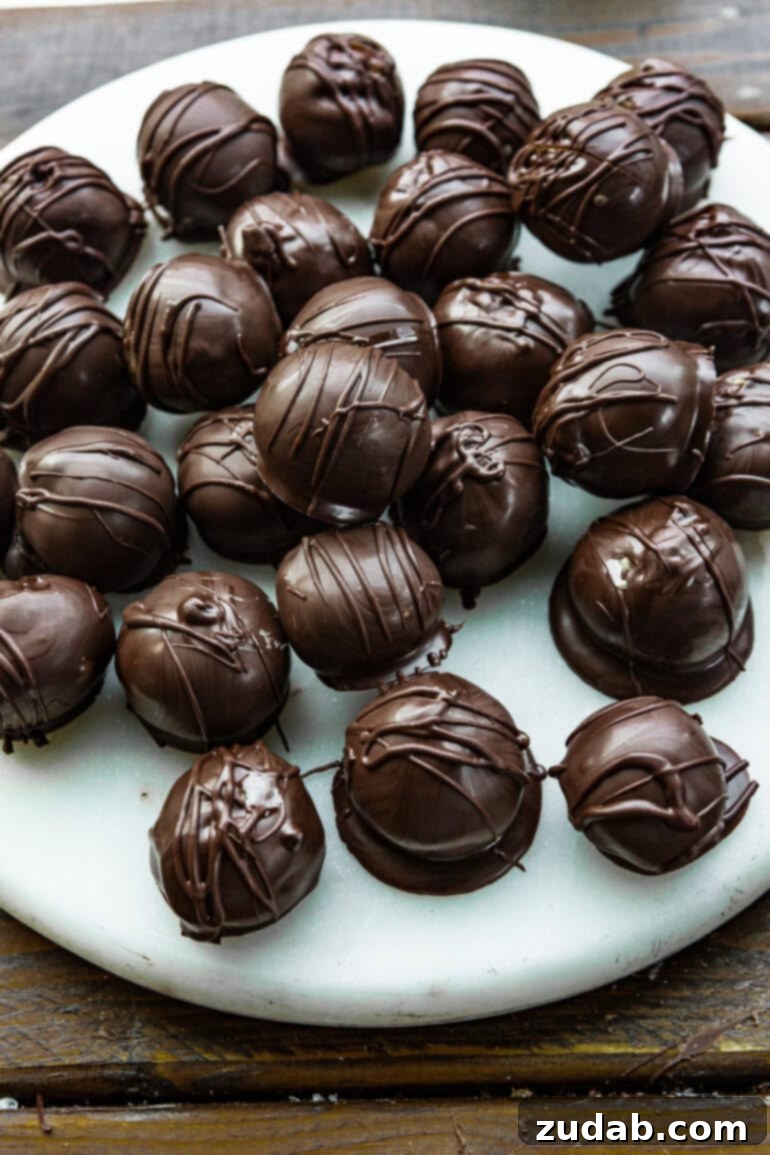
Unlock the Magic of 4 Simple Ingredients for Peanut Butter Truffles
As promised, the secret to these sensational peanut butter truffles lies in their minimal ingredient list. You heard it right: just four pantry staples are all you need to create this incredibly easy and delicious dessert. Here’s a closer look at the essential components:
- Powdered Sugar: Also known as confectioners’ sugar, this fine powder is crucial for achieving the smooth, melt-in-your-mouth texture of the peanut butter filling. It dissolves effortlessly, preventing any gritty sensation often associated with granulated sugar in no-bake recipes.
- Creamy Peanut Butter: The star of the show! We highly recommend using a conventional, creamy peanut butter brand like JIF or Skippy. This type of peanut butter provides the ideal consistency and sweetness needed for the truffle base.
- Butter: Softened butter helps bind the ingredients together, adding richness and a wonderfully smooth texture to the peanut butter mixture. For an even creamier result, or a slight tang, you can opt for cream cheese as an alternative.
- Semi-Sweet Chocolate Chips: The perfect coating for our truffles. While semi-sweet is a classic choice, feel free to experiment with your favorite chocolate chips or melting chocolate. Dark chocolate will offer a more intense contrast, milk chocolate a sweeter embrace, and white chocolate a creamy, subtle finish.
The precise measurements and detailed instructions for each ingredient are provided in the comprehensive recipe card located at the conclusion of this post. These four ingredients, combined with a little patience for chilling, will yield a homemade candy that rivals any store-bought treat.
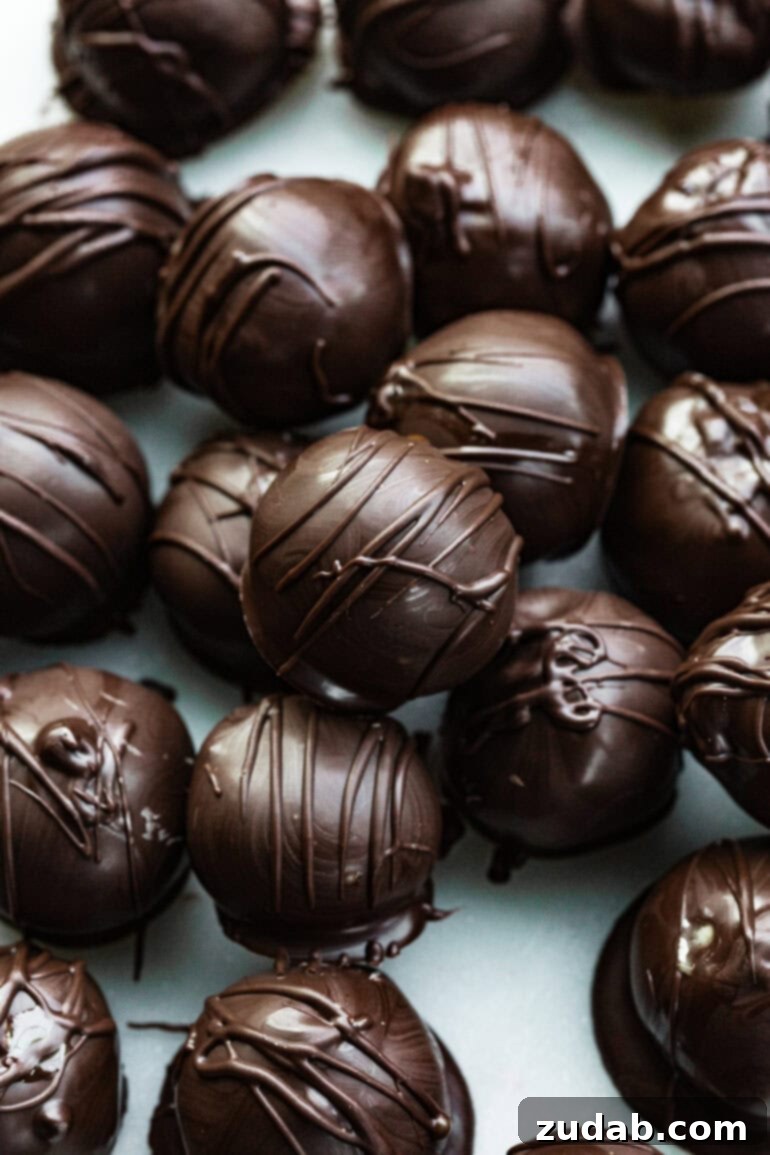
Crafting Perfection: How to Make Irresistible Chocolate Dipped Peanut Butter Truffles
Given that this recipe uses just four ingredients, you can expect the process to be wonderfully straightforward. And it absolutely is! The steps for making these delightful chocolate dipped peanut butter truffles are remarkably easy, requiring minimal effort and no specialized equipment like a candy thermometer. The key to perfection lies mainly in allowing sufficient time for the different components to chill and set properly. Here’s a simple, step-by-step guide to creating your own batch of heavenly truffles:
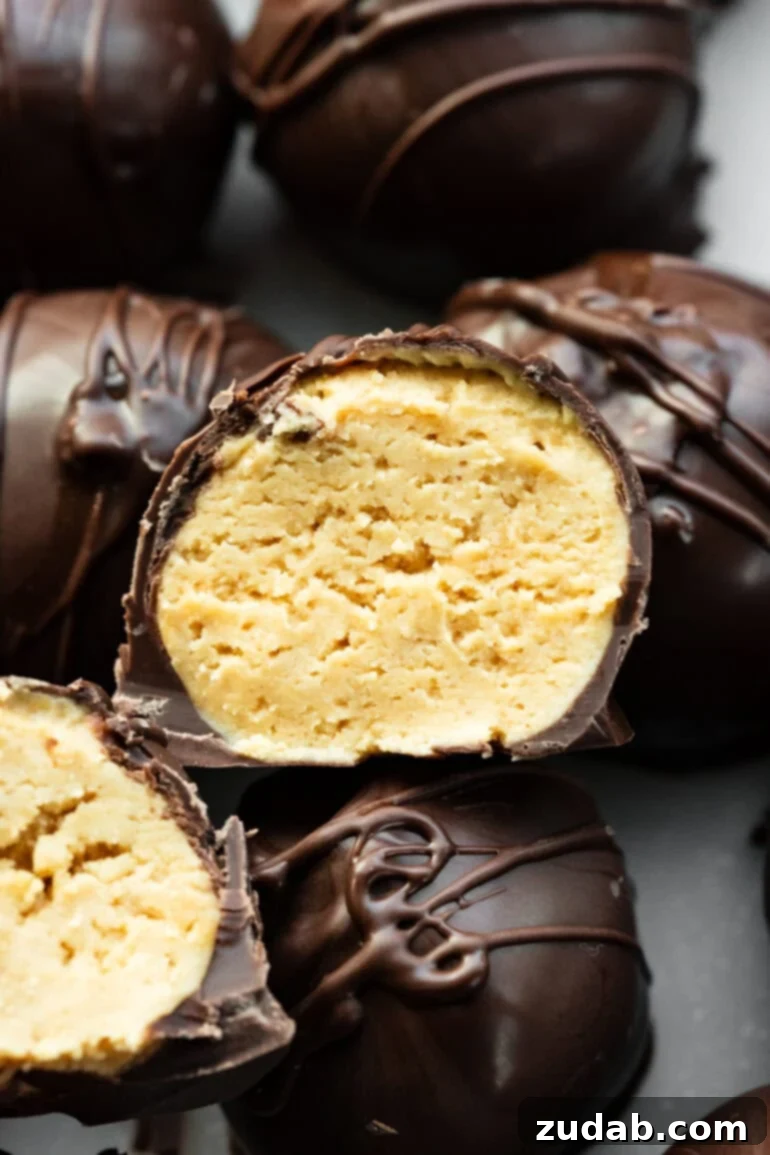
- Prepare the Peanut Butter Mixture: In the bowl of a sturdy stand mixer, fitted with the paddle attachment, combine the powdered sugar, creamy peanut butter, and softened butter (or cream cheese, if preferred). Mix these ingredients together on medium speed until they are thoroughly combined and form a cohesive dough.
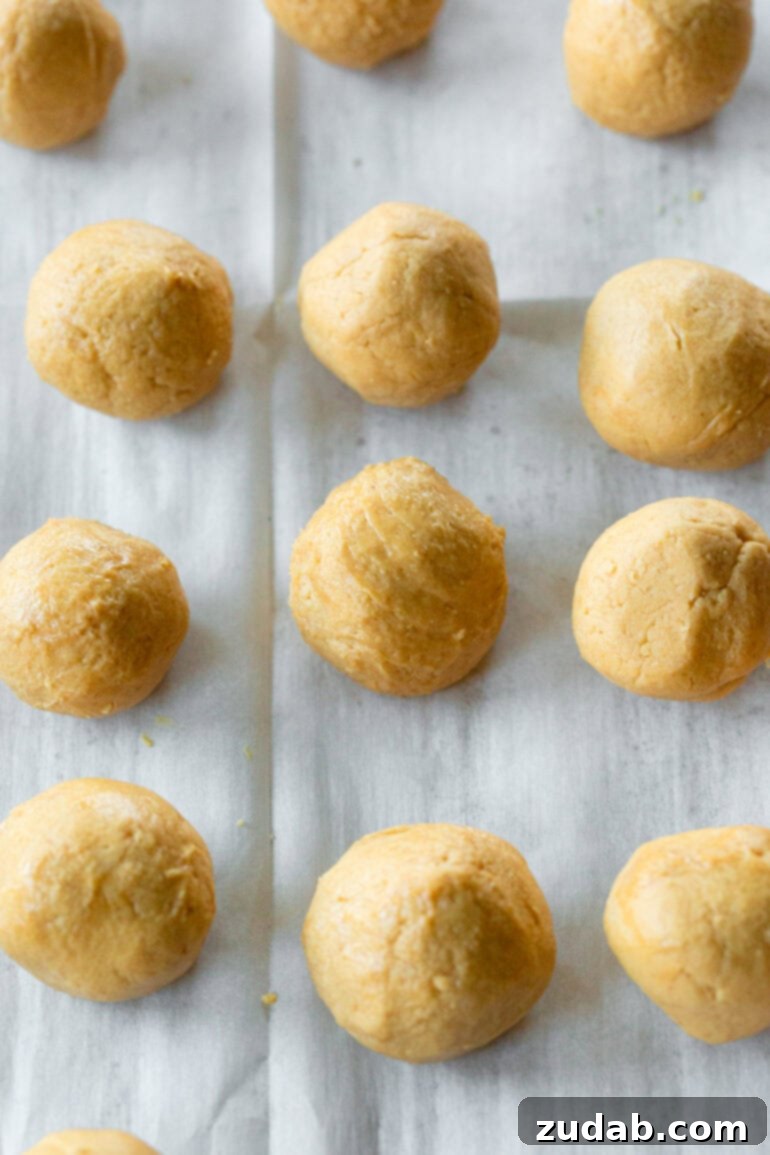
- Pro Tip for Consistency: The ideal consistency for your peanut butter dough is when it holds its shape firmly when gently squeezed in your hand. If the mixture appears too wet or sticky, incorporate a small amount of additional powdered sugar, one tablespoon at a time, until the desired texture is achieved. Conversely, if the dough is too dry or crumbly, a tiny bit more peanut butter will help bring it together. Keeping the dough consistently chilled and avoiding excessive handling will significantly contribute to a perfect, manageable consistency.
- Shape the Truffles: Using a small cookie scoop, measure out portions of the peanut butter mixture. Then, gently roll and shape these portions with your hands into smooth, uniform balls, approximately 1/2 to 3/4 inch in diameter. Arrange the shaped peanut butter balls on a baking sheet that has been lined with wax paper or parchment paper. This lining will prevent sticking and make for easy removal later.
- Chill Thoroughly: Once all the peanut butter balls are formed and arranged on the baking sheet, cover the sheet loosely with plastic wrap. Transfer the entire tray to the freezer and allow the balls to chill for a minimum of 30 minutes. This crucial step ensures that the peanut butter mixture is firm enough to be dipped without falling apart and helps the chocolate coating set quickly.
- Melt the Chocolate: As the peanut butter balls are chilling, prepare your chocolate coating. Place your chosen chocolate chips (semi-sweet, milk, dark, or white) in a heatproof bowl. Set this bowl over a pot of gently simmering water, creating a double-boiler effect. Stir the chocolate continuously until it is completely melted and beautifully smooth, without any lumps. Alternatively, you can use a microwave, heating the chocolate in 30-second intervals, stirring after each, until melted.
- Dip the Truffles: Retrieve the chilled peanut butter balls from the freezer. Using a fork or a specialized dipping tool, carefully dip each truffle one at a time into the melted chocolate, ensuring it is fully coated on all sides. Gently tap the fork against the edge of the bowl to allow any excess chocolate to drip off, ensuring a neat and even coating.
- Quick Save: If, at any point during the dipping process, you notice the peanut butter balls becoming too soft to handle, simply return the tray to the freezer for another 10-15 minutes to firm them up before continuing.
- Allow to Rest and Set: As each truffle is dipped, carefully place it back onto the wax paper or parchment-lined baking sheet. Allow the chocolate coating to harden and set completely at room temperature or, for a quicker set, in the refrigerator.
- Final Refrigeration: Once the chocolate has fully set and hardened, transfer the finished truffles to an airtight container. Store them in the refrigerator until you are ready to serve these delightful treats.
Trust us when we say, these homemade chocolate peanut butter truffles often receive rave reviews, with many claiming they taste even better than classic Reese’s Peanut Butter Cups! The fresh ingredients and customizable touch make all the difference. For the full ingredient list with exact quantities and additional tips, continue scrolling to the end of the post for the complete recipe card!
Choosing the Right Peanut Butter: A Key to Perfect Texture
The type of peanut butter you use is paramount to achieving the signature smooth and pliable texture of these peanut butter truffles. For the absolute best results, it is highly recommended to use a standard, creamy peanut butter from well-known brands such as JIF or Skippy. These conventional peanut butters contain stabilizers and a balanced oil content that contribute to a consistently firm yet creamy filling.
While natural peanut butter might seem like a healthier alternative, it often presents challenges in this specific recipe. Natural peanut butters tend to separate, with the oil rising to the top, and can be much drier or runnier in consistency. This can lead to a truffle filling that is either too oily and doesn’t hold its shape, or too crumbly and difficult to roll. Sticking with regular creamy peanut butter ensures that your truffle filling will be perfectly smooth, easy to work with, and boast that classic flavor everyone loves.
Creative Twists: Delicious Variations and Toppings for Your Truffles
One of the joys of making homemade chocolate peanut butter balls is the endless potential for customization. While the classic recipe is fantastic on its own, here are some delightful variations to make these treats truly your own:
- Allergy-Friendly Alternatives: For those with peanut allergies or who prefer other nut flavors, you can easily substitute the peanut butter with another creamy nut or seed butter. Almond butter, cashew butter, or even sunflower seed butter (like SunButter) can work beautifully. Aim for a 1:1 ratio with the original peanut butter, but be prepared to slightly adjust the amount of powdered sugar as needed, as different nut/seed butters can vary in moisture and thickness.
- Chocolate Choices: Don’t limit yourself to semi-sweet! The versatility of this recipe extends to your chocolate coating. Experiment with rich dark chocolate for an intense, slightly bitter contrast, sweet milk chocolate for a classic candy bar flavor, or creamy white chocolate for a milder, buttery note. You can even melt down different types of chocolate for a colorful, marbled effect.
- Texture Exploration: If you enjoy a bit of crunch in your desserts, simply swap the creamy peanut butter for its crunchy counterpart. The small peanut pieces will add a delightful texture to the soft filling. Alternatively, mix in finely chopped pretzels or crispy rice cereal into the peanut butter mixture for an extra layer of crunch.
- Elegant Toppings & Flavor Boosters: Elevate your truffles with a variety of finishes:
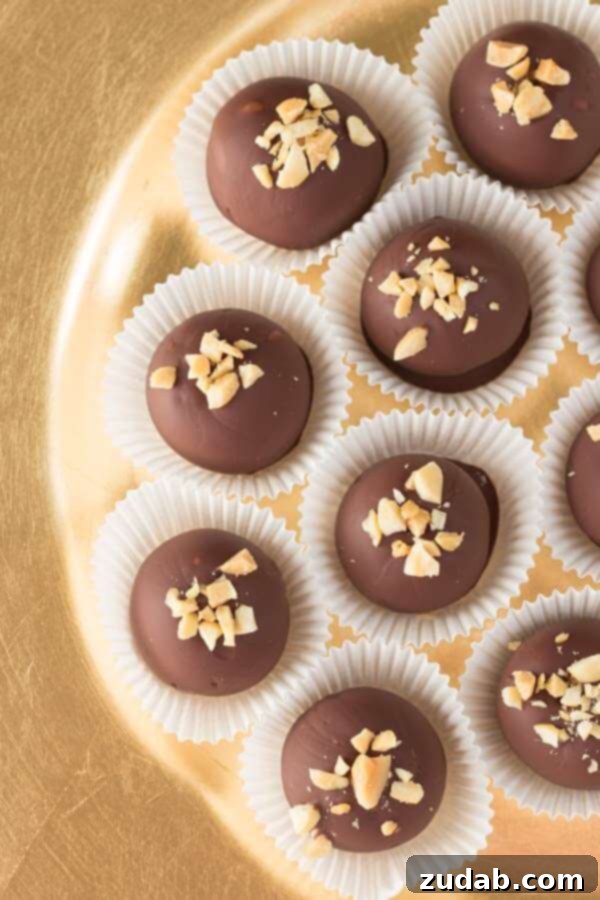
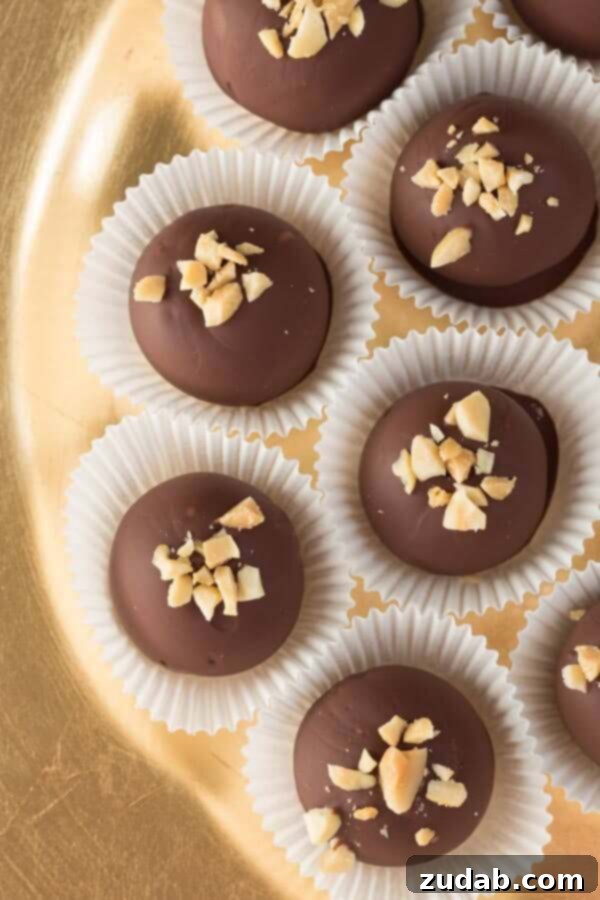
- Chopped Nuts: Sprinkle finely chopped roasted peanuts, almonds, or pecans over the wet chocolate for added texture and nutty flavor.
- Flaky Sea Salt: A sprinkle of flaky sea salt on top of the chocolate coating enhances the sweetness and adds a gourmet touch, creating a delightful sweet-and-salty contrast.
- Festive Sprinkles: For holidays or celebrations, colorful sprinkles are an easy way to add a festive and fun visual appeal.
- Drizzles: Drizzle contrasting melted chocolate (e.g., white chocolate over dark chocolate truffles) for an artistic flourish.
- Spices: A pinch of cinnamon, nutmeg, or even a tiny dash of cayenne pepper (for a hint of heat!) can be mixed into the peanut butter filling for an unexpected flavor dimension.
- Extracts: A drop of vanilla, almond, or peppermint extract can subtly alter the flavor profile of the peanut butter base.
Peanut Butter Balls vs. Buckeyes: What’s the Difference?
The terms “peanut butter balls” and “buckeyes” are often used interchangeably, and for good reason: they are essentially the same delicious treat! The primary distinction lies in their appearance and a subtle nod to their namesake.
A Buckeye is a confection traditionally associated with the state of Ohio, named after the nut of the Ohio Buckeye tree. The key visual characteristic of a buckeye candy is that it is only partially dipped in chocolate, leaving a small circle of the peanut butter filling exposed. This exposed portion is meant to resemble the distinctive “eye” of the buckeye nut. Flavor-wise, the ingredients and taste are practically identical to a fully chocolate-covered peanut butter ball. So, whether you fully submerge them for a classic truffle look or leave a peek of peanut butter for a buckeye, the delightful combination of chocolate and peanut butter remains the star.
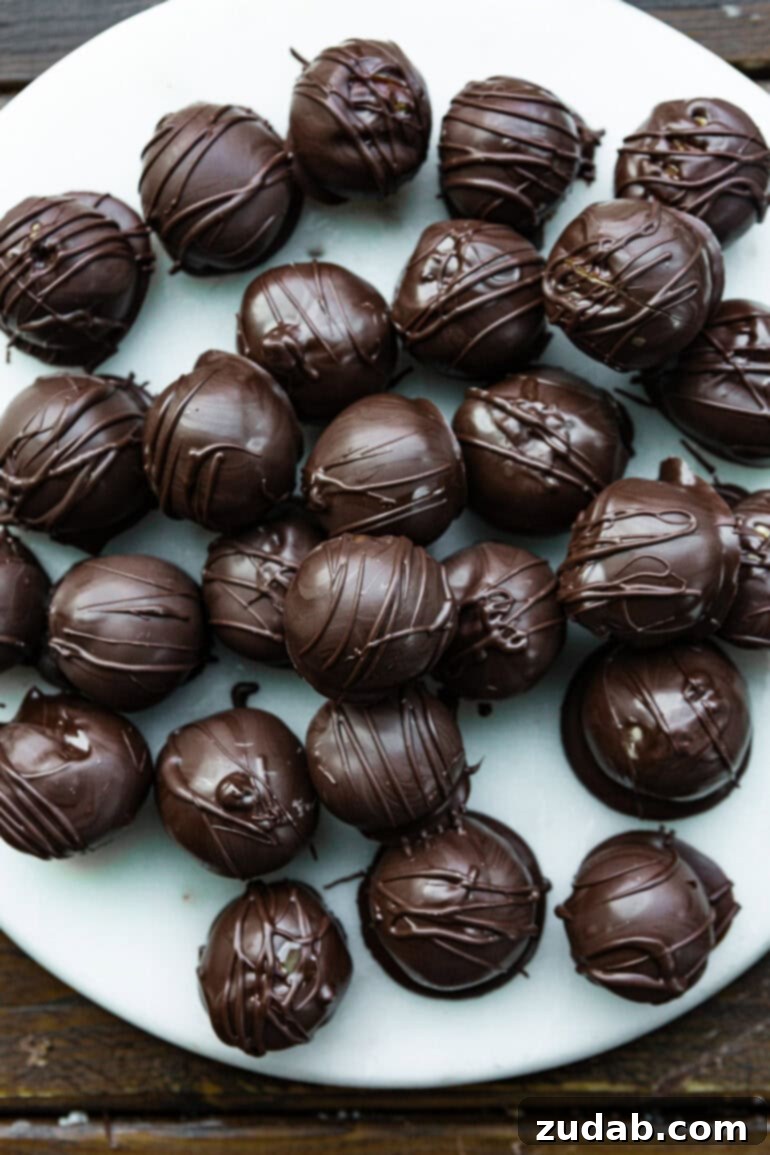
Storing Your Chocolate Peanut Butter Truffles for Lasting Freshness
Proper storage is essential to keep your homemade chocolate peanut butter truffles fresh, flavorful, and perfectly firm. Here’s how to ensure they remain delightful for as long as possible:
How to Store Chocolate Truffles:
Once the chocolate coating has fully set, transfer your truffles to an airtight container. This prevents them from drying out, absorbing odors from other foods, and helps maintain their texture. Store the container in a cool place, with the refrigerator being the ideal location for these treats. The cool temperature helps maintain the firmness of both the peanut butter filling and the chocolate shell.
Can You Freeze Chocolate Truffles?
Absolutely! Chocolate peanut butter truffles are excellent for making ahead and freezing. To freeze them, place the set truffles in a single layer on a parchment-lined baking sheet and freeze until solid. Once frozen, transfer them to a freezer-safe, airtight container or a heavy-duty freezer bag. This prevents them from sticking together and protects them from freezer burn.
How Long Will Chocolate Truffles Keep?
While homemade truffles are a labor of love, they don’t contain the preservatives found in commercially produced chocolates. Therefore, their shelf life is naturally shorter but still generous enough for enjoyment and gifting:
- In the Refrigerator: Your delicious homemade chocolate peanut butter truffles will remain fresh and tasty for up to 3 weeks when stored in an airtight container in the fridge.
- In the Freezer: For longer-term storage, frozen truffles will maintain their quality for up to 3 months. When you’re ready to enjoy them, simply transfer them to the refrigerator to thaw for a few hours, or let them sit at room temperature for about 15-30 minutes before serving for the best texture.
This recipe is not only a fantastic way to create a sensational dessert but also a wonderful opportunity to involve children in the kitchen! Yes, things might get a little messy, but the laughter, shared moments, and invaluable memories created, coupled with the reward of these delightful homemade treats, will undoubtedly be worth every sticky finger.
In conclusion, these Chocolate Peanut Butter Balls are more than just a recipe; they’re an invitation to indulge in an irresistible, homemade delicacy. The perfect harmony of creamy peanut butter encased in rich, smooth chocolate makes them a crowd-pleaser that consistently earns rave reviews. We confidently guarantee that after tasting these perfect little bites, you’ll find it utterly impossible to stop at just one!
More Delicious Candy Recipes You’ll Love:
- Salted Caramel Pretzel Snaps
- Chocolate Covered Coconut Balls
- White Chocolate Cranberry Pecan Fudge
- Twix Ritz
- 6 Minute Microwave Caramels
- Oreo Truffles – Lumps of Coal
- Chocolate Fudge
- Oreo Peanut Butter Truffles
- White Chocolate Peppermint Cream Cheese Mints
- Salted Milk Chocolate Homemade Caramels
- Rocky Road Fudge
- All ourCANDY RECIPES here!
Chocolate Peanut Butter Balls
Ingredients
- 1 Cup Powdered Sugar
- 1 Cup Creamy Peanut Butter
- 2 Tablespoons Butter, softened (or cream cheese)
- 2 Cups Semi-Sweet Chocolate Chips, or any chocolate chip or melting chocolate
- 1/4 Cup Roasted Peanuts, coarsely chopped. optional
Instructions
-
In the bowl of an electric mixer fitted with the paddle attachment, mix the sugar, peanut butter, and butter (or cream cheese) together on medium speed until combined.1 Cup Powdered Sugar, 2 Tablespoons Butter, 1 Cup Creamy Peanut Butter
-
Shape mixture into 1/2 – 3/4 inch balls.
-
Place on baking sheet lined with wax paper.
-
Cover loosely, transfer the pan to the freezer and chill for 30 minutes.
-
When ready to dip the truffles, melt the chopped chocolate in a heatproof bowl set over a pot of simmering water.2 Cups Semi-Sweet Chocolate Chips
-
Dip each chilled truffle, one at a time, coating in chocolate and shaking gently to remove the excess. (If at any point during dipping, the dough balls become too soft, return to the freezer to chill for 15 minutes.)
-
Transfer to a wax-paper lined surface.
-
Sprinkle peanuts on top of each truffle quickly after dipping each truffle before the chocolate sets.1/4 Cup Roasted Peanuts
-
Once all the truffles have been dipped, store them in the refrigerator until ready to serve.
Recipe Notes
Nutrition
Nutrition information is automatically calculated, so should only be used as an approximation.