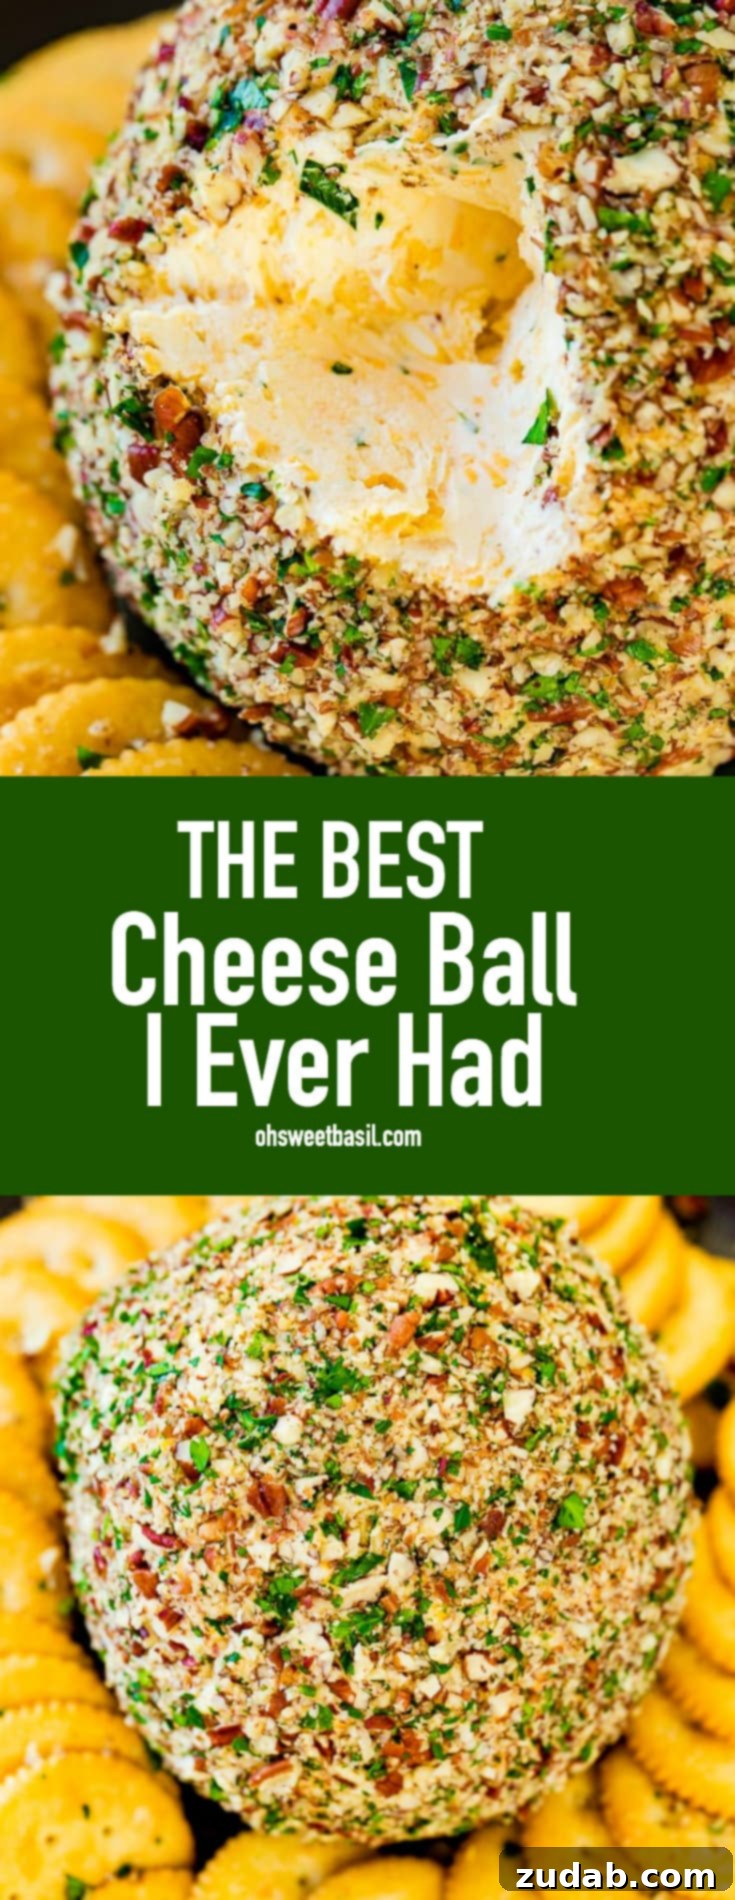
Prepare to discover a culinary secret that will transform your appetizer game forever. I once believed a truly exceptional cheese ball recipe had to be complicated, but then I encountered *the one*. It was last year, and I still remember the unforgettable taste of what quickly became the best cheese ball I ever had. Now, I’m thrilled to share how incredibly simple it is to recreate this show-stopping, crowd-pleasing appetizer, ensuring your next gathering is a delicious success.
The story behind this incredible discovery begins with our wonderful neighbor, Michelle. She had the most brilliant idea: she decided to cancel traditional neighbor gifts at Christmas. Can we just take a moment to applaud Michelle? While I appreciate the sentiment behind neighborly generosity, the stress of preparing numerous gifts, often cookies that sometimes go uneaten, can be overwhelming during an already busy season. Don’t worry, I promise to connect this festive tale directly to the unveiling of The Best Cheese Ball Recipe Ever.
We were all so impressed, not just with Michelle’s innovative thinking, but also with how enthusiastically our community responded. Michelle sent out a heartfelt letter, suggesting that instead of exchanging gifts, we could all contribute to a meaningful cause. She hosted a warm, festive Christmas gathering at her home, inviting everyone to bring a donation for a family in need or a reputable charity. It was a beautiful evening, truly embodying the spirit of Christmas: connection, community, and generosity. Not only did we raise significant funds for charity, but we also enjoyed each other’s company and, crucially, a table laden with delightful food!
What Makes a Truly Good Cheese Ball Recipe?
At that very gathering, amidst the joyful chatter and sparkling lights, another dear friend, Angie, was present. As I perused the impressive spread of appetizers, I found myself drawn to a particular item. Casually, I turned to her and remarked, “Oh, what’s the secret to a good cheese ball recipe? I can never seem to achieve that perfect flavor and texture I crave.” And there we stood, right at the food table, generously scooping this exquisite creation onto crackers and into our mouths. After several blissful bites, I finally exclaimed, “My goodness, who made this? This is absolutely incredible!” Angie, with a modest smile, simply replied, “Oh, I did.”
What?! How had I gone so long without experiencing this sheer deliciousness? And how could she stand there so nonchalantly, as if she hadn’t just unveiled a culinary masterpiece? On the surface, it appeared to be a classic cheese ball recipe, but there was an undeniable difference, a depth of flavor that set it apart from any other I had tasted. I’ve enjoyed many excellent cheese balls over the years, including our popular BBQ Bacon Cheese Ball and the decadent German Chocolate Cheese Ball. They are, without a doubt, amazing. But I must humbly admit, Angie’s version was truly the best cheese ball I had ever encountered.
The Secret Ingredient Behind the Best Cheese Ball
After much persistence, Angie finally divulged her secret. It’s that one unexpected ingredient that truly elevates this cheese ball from good to absolutely phenomenal. And yes, you’re going to use it, and you won’t regret a single decadent bite, because it is simply *that* worth it.
The magic touch comes from Kraft Old English Jarred Cheese Spread.
Yes, you read that right – cheese in a jar. I’ve provided a link so you know exactly what to look for at the grocery store. I understand, it might not be what you traditionally consider “real cheese,” and I won’t debate that point. But for the sake of an unparalleled appetizer experience, can we just pretend it is? Just this once? This unique spread adds an incredible depth of sharp, savory flavor and a perfectly smooth texture that is impossible to achieve with just block cheese.
The rest of the components are quite standard, but I’ll do you a favor and give a quick overview, as I always appreciate a concise list of ingredients when scanning a recipe.
What Key Ingredients Are in This Cheese Ball?
The ingredients list for this incredible cheese ball is deceptively simple, yet it’s the specific combination and a couple of crucial secrets that truly elevate the flavor profile. Here’s a closer look at what you’ll need to create this irresistible party appetizer:
- Cream Cheese: This forms the creamy base of your cheese ball. It’s essential to use full-fat cream cheese, brought to room temperature, to ensure a smooth, easily blendable mixture and the richest texture. Low-fat or fat-free varieties simply won’t yield the same luxurious result.
- Cheddar Cheese: I highly recommend using medium or sharp cheddar cheese for a robust flavor, and always, *always* grate it yourself. Pre-shredded cheeses often contain anti-caking agents that can affect the texture and melt of your cheese ball. Brands like Tillamook offer fantastic quality for superior taste.
- Onion and Garlic Powder: These powdered seasonings are key to delivering a subtle yet impactful savory depth. Unlike fresh onion and garlic, powders blend seamlessly into the mixture without adding unwanted moisture or texture, providing a consistent, aromatic flavor throughout.
- Old English Cheese Spread: As revealed, this is the undeniable secret ingredient! Just trust me on this one. Its unique, sharp, and smooth profile is what sets this cheese ball apart, giving it that indescribable “wow” factor. You’ll typically find it near the crackers or other specialty cheeses in your grocery store.
- Mayonnaise: A surprising addition to some, mayonnaise is vital here. It adds an extra layer of richness and helps soften the cheese mixture, making it perfectly scoopable and wonderfully creamy.
- Lemon Juice: This is another stealthy secret! A small amount of fresh lemon juice brightens the entire flavor profile, cutting through the richness and adding a hint of freshness without being detectable as “lemony.” It’s the subtle balance that makes this cheese ball so addictive.
- Chopped Pecans: While optional, the finely chopped pecans provide a delightful textural contrast and a nutty, earthy flavor that complements the cheese beautifully. You can certainly omit them if nuts aren’t your preference, but they are highly recommended for the classic experience.
- Fresh Parsley: Finely minced fresh parsley is not just for garnish; it adds a vibrant pop of color and a refreshing herbal note that enhances the overall appeal of the cheese ball.
For the precise measurements of each of these ingredients, please refer to the detailed recipe card located at the conclusion of this post. You’ll be amazed at how these simple components combine to create something extraordinary!
Mastering the Art of Cheese Ball Formation
When I attempted to make a cheese ball for the very first time, I must confess to a slight moment of culinary confusion. I was, embarrassingly, trying to use a spatula to painstakingly shape the mixture into a perfect sphere. Thinking back, it’s actually quite hilarious. I’m not entirely sure what possessed me to believe a spatula was the right tool for the job, but suffice it to say, it was completely ineffective!
The real secret to flawlessly forming a beautiful cheese ball is actually a simple, two-part process that leverages the power of chilling and a bit of kitchen ingenuity.
The initial shaping of your cheese ball begins with humble plastic wrap. Once your cheese mixture is thoroughly combined, transfer it onto a large piece of plastic wrap. Gather all the edges of the wrap around the cheese mixture, gently coaxing it into a rough ball shape. Twist the top of the plastic wrap to seal it tightly, and at this point, you can apply a bit more pressure to refine its spherical form. This initial shaping is crucial before it goes into the refrigerator.
Allow the wrapped cheese ball to chill in the fridge for at least 10-15 minutes, or even longer if you’re preparing it ahead of time. This crucial chilling period allows the cream cheese base to firm up considerably, making the mixture much easier to handle and sculpt. As the fats in the cheese mixture solidify, it becomes less sticky and more pliable, perfect for its final transformation.
Once sufficiently chilled, remove the cheese ball from the refrigerator and unwrap it. Now, with the cheese mixture firmer and less prone to sticking, you can effortlessly roll it in your chosen coating – whether it’s finely chopped nuts, crispy bread crumbs, or a fresh herb mixture. At this stage, the exterior of the cheese is more solid, preventing it from adhering to your hands. This is when you can truly work your magic, gently pressing and rolling to achieve that perfectly round, professional-looking shape. It’s much easier than wrestling with a spatula, trust me!
Creative Coatings: What to Roll Your Cheese Ball In?
The outer coating of a cheese ball adds not only visual appeal but also a delightful textural contrast and an extra layer of flavor. While traditional pecan-crusted cheese balls are always a hit, don’t be afraid to get creative and experiment with different options to suit your taste or the theme of your gathering. Here are some fantastic ideas for what to roll your cheese ball in:
Nutty Options for a Classic Crunch:
- Chopped Pecans: The classic choice, offering a buttery, earthy flavor and a satisfying crunch that pairs perfectly with rich cheese.
- Chopped Walnuts: A slightly more bitter, robust flavor than pecans, excellent for a sophisticated twist.
- Sliced Almonds: Provides a delicate crunch and a milder, slightly sweet flavor.
- Chopped Peanuts: For a more savory, snack-like profile, especially good if you’re leaning towards a pub-style appetizer.
Beyond Nuts: Unique and Flavorful Alternatives:
- Crispy Bacon Bits: Everything is better with bacon! Adds a smoky, salty, irresistible crunch.
- Dried Fruits: For a sweet and savory contrast, consider finely chopped dried cranberries, apricots, or even dates. These are particularly lovely for holiday appetizers.
- Toasted Bread Crumbs: Panko bread crumbs, lightly toasted in a pan with a touch of butter, offer a fantastic crisp texture without nuts.
- Fresh Herbs: A vibrant mix of finely minced fresh parsley, chives, or dill can add a burst of color and fresh flavor.
- Sliced Green Onions: For a subtle oniony bite and a lovely green garnish.
- Everything Bagel Seasoning: For a trendy, savory, and flavorful crust that’s incredibly addictive.
- Crushed Pretzels or Crackers: Use crushed hard pretzels or a flavorful cracker (like cheddar-flavored crackers) for an extra savory and crunchy layer.
Of course, you can also create exciting flavor combinations by mixing and matching these options! Imagine pecans with a hint of dried cranberry, or bacon bits with chives. The possibilities are endless, allowing you to tailor your cheese ball to any occasion or personal preference.
Are Cheese Balls Gluten-Free?
You know, while typing that heading, I accidentally wrote, “Glue Balls Free” no less than four times. FOUR! What is happening to my brain?! Rest assured, we’re talking about delicious cheese, not adhesive substances.
Generally speaking, a classic cheese ball recipe is indeed entirely gluten-free. At its core, it’s a simple blend of cream cheese and various other cheeses, sometimes with the addition of sour cream or mayonnaise, and whatever mix-ins you desire (like nuts or herbs). None of these primary ingredients typically contain gluten.
However, the crucial point to remember is what you serve *alongside* the cheese ball. Crackers, which are the most common accompaniment, often contain gluten. If you or your guests have gluten sensitivities or celiac disease, always double-check the ingredient list of any crackers or serving vehicles. Opt for certified gluten-free crackers, vegetable crudités (like carrots, celery, or bell peppers), or apple slices for a completely gluten-free serving option. The cheese ball itself should be perfectly safe, allowing everyone to enjoy this delightful appetizer!
Perfect Pairings: What to Serve with Your Cheese Ball
Choosing the right accompaniments for your savory cheese ball is just as important as the recipe itself. The goal is to provide a variety of textures and flavors that complement the rich, creamy cheese. I certainly have strong opinions on the best pairings! Here are some fantastic options to ensure every bite is a delight:
- Crackers: The quintessential choice! Brands like Ritz Crackers offer a buttery, slightly salty complement that’s hard to beat. Other great options include Wheat Thins for a whole-grain crunch, Multi-Grain crackers for added texture and nutrition, or specialty artisanal crackers like Milton’s for a gourmet touch.
- Pretzels or Pretzel Crisps: For a salty, satisfying crunch that stands up well to a generous scoop of cheese. Pretzel crisps are particularly good for easy dipping.
- Crudités with Fresh Veggies: Offer a refreshing, healthy contrast to the rich cheese. Crisp carrots, crunchy celery sticks, vibrant bell pepper strips (red, yellow, orange), and even cucumber slices are excellent choices. They add a lovely freshness and lighten each serving.
- Crostini or Toast Points: Small, thinly sliced pieces of toasted baguette or bread. These provide a sturdy, elegant base for your cheese ball, perfect for a more formal presentation.
- Mini Bagels: A fun, chewy alternative, especially if you’re serving a larger crowd or want a more substantial bite.
- Pita Chips: These offer a robust, often seasoned, and crispy vehicle for scooping, adding a Mediterranean flair.
- Pear and Apple Slices: Seriously, don’t skip this! The natural sweetness and crispness of fresh pear and apple slices (especially tart green apples like Granny Smith) create an absolutely fantastic sweet and salty combination that is incredibly refreshing and addictive. It’s a game-changer!
That’s a wide array of options to choose from! While the basic buttery cracker will always hold a special place in my heart, I frequently find a veggie stick or an apple wedge on my plate. I adore the burst of freshness and the satisfying crunch they provide, making me feel like I can indulge in just a few more piles of that irresistible cheese ball. Calories? What calories?! It’s all about balance, right?
Presentation Matters: How to Serve a Cheese Ball Beautifully
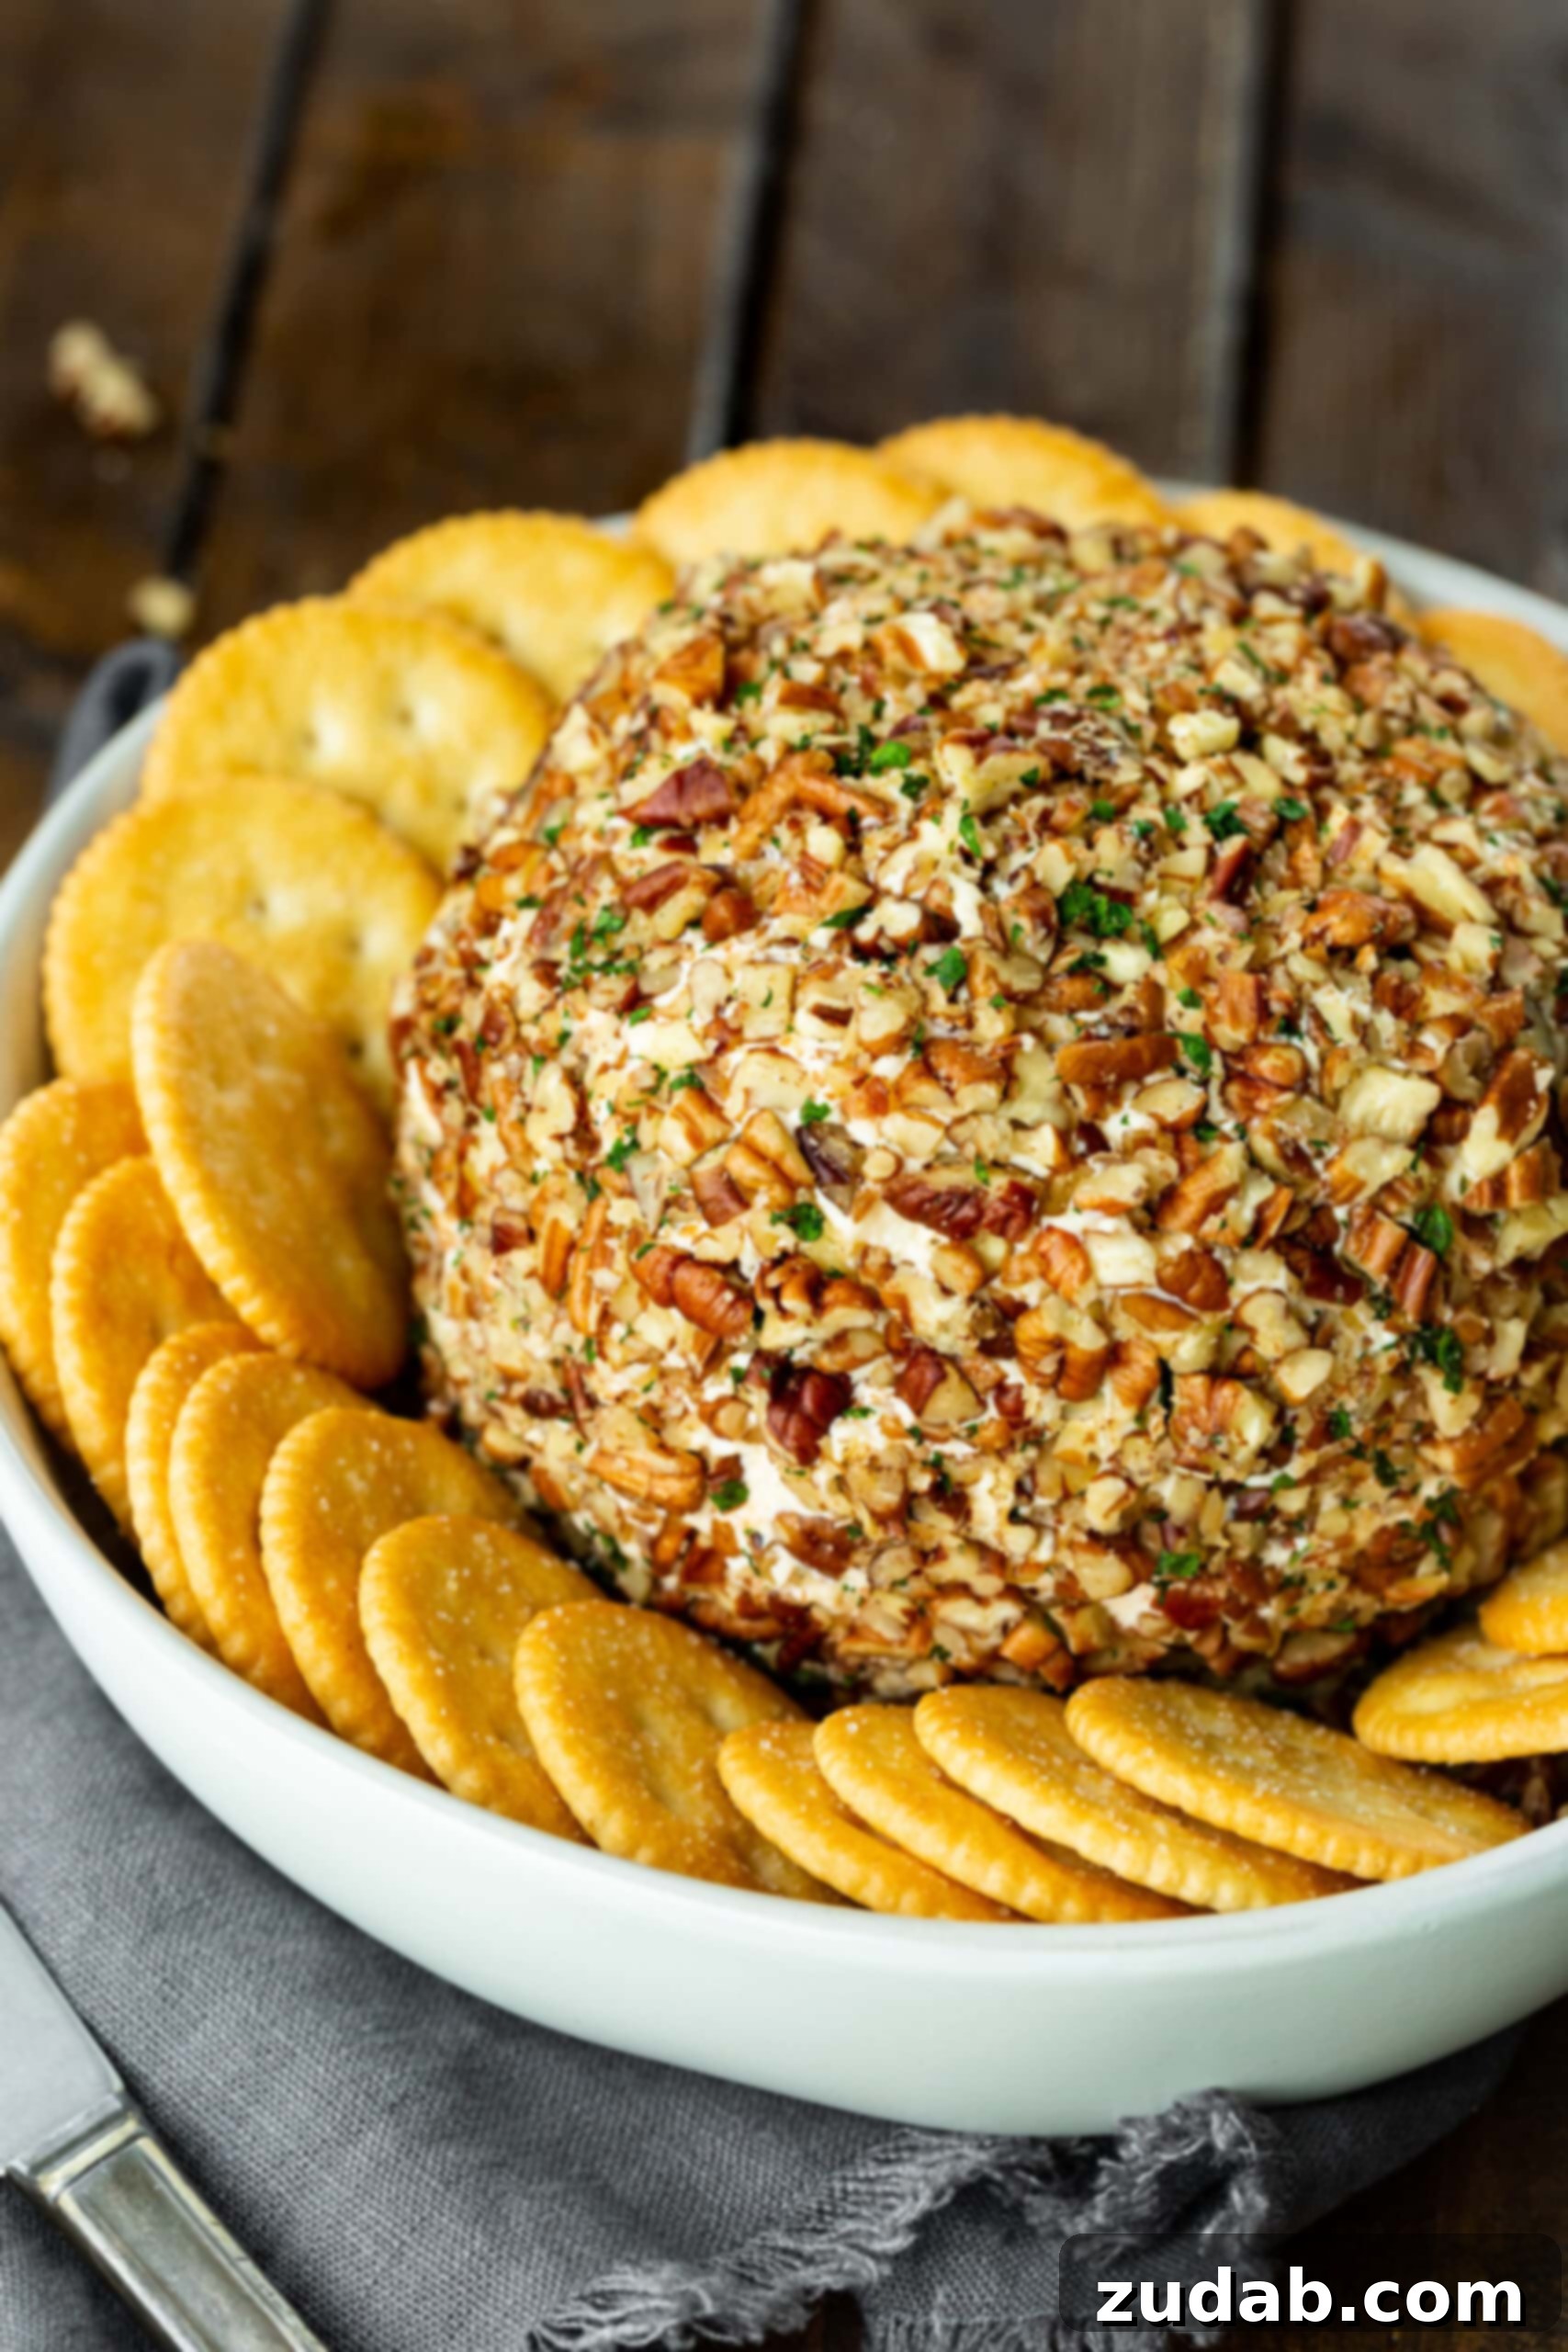
Every household needs a beautiful serving board or platter, especially when you’re presenting a homemade masterpiece like this delicious cheese ball. When serving a hungry crowd, the presentation is almost as important as the taste! I personally love to serve my cheese ball on a large plate that features a deep rim. This design is incredibly practical, as it helps keep all the accompanying crackers and dippers neatly in place around the cheese ball, preventing them from scattering across the table.
A plate like this stoneware salad plate from Threshold (available at Target) is perfect for achieving this functional and aesthetically pleasing setup. Alternatively, you can always opt for a classic cheese board for an elegant touch. I’m particularly fond of this Arcadia wood serving board with a handle. A wooden board adds a rustic charm and makes it easy to transport your delicious creation from kitchen to table. Arrange your chosen crackers, fresh vegetables, and fruit slices artfully around the cheese ball to create an inviting and bountiful spread that will impress all your guests.
Make-Ahead Magic: Can I Prepare a Cheese Ball a Day Ahead?
The cheese ball is quickly becoming the ultimate go-to appetizer for parties, holidays, and game days, largely due to its incredible make-ahead convenience. You can effortlessly prepare this delightful appetizer an entire day ahead of time without any concern about flavor degradation or ingredients spoiling. This flexibility makes it a stress-free option for busy hosts.
The key to successfully making your cheese ball recipe a day in advance lies in one simple step: delay the final coating. After you’ve mixed and shaped the cheese ball (as described in the preparation steps), wrap it tightly in plastic wrap and store it in the refrigerator. Wait to remove it from the plastic and roll it in its coating (pecans, herbs, bacon bits, etc.) until just before you’re ready to serve. This prevents the coating from becoming soggy, ensuring a perfectly crisp and fresh texture when your guests arrive. This simple trick allows you to enjoy your party without last-minute prep!
How Long Can a Cheese Ball Safely Sit Out?
While an irresistible cheese ball might tempt you to keep it on the counter all evening, food safety guidelines recommend that it should really only sit out for about 1-2 hours at room temperature. I know, most parties extend far beyond that timeframe, but it’s important to resist the urge to leave dairy-based foods out for too long to prevent bacterial growth.
Instead of leaving one large cheese ball out all night, I have a clever trick: consider making a few smaller cheese balls. As one serving ball is depleted, simply pull out a fresh, chilled one from the refrigerator to replace it. This not only ensures food safety but also creates an intriguing dynamic at your party. You’d be surprised how quickly this strategy will get rid of your food! Think of it like the rule of supply and demand; when guests see a fresh cheese ball appear, it often generates renewed interest and excitement. Suddenly, you won’t be worried about storing weeks’ worth of leftovers!
How Long Will a Cheese Ball Last in the Fridge?
Proper storage is essential for maximizing the freshness and safety of your homemade cheese ball. Due to the inherent bacteria found in soft cheeses like cream cheese, it’s best to store your cheese ball in an airtight container in the refrigerator for up to two weeks. This timeframe ensures optimal quality and prevents spoilage. It’s important to note that this applies to a plain cheese ball without additional mix-ins.
However, if you’ve incorporated meats (like bacon) or fruits into your cheese ball mixture, the shelf life significantly shortens. In these cases, you should aim to consume the cheese ball within approximately 48 hours to maintain freshness and safety. Always remember to keep your cheese ball well-covered to prevent it from drying out or absorbing other flavors from the refrigerator.
Can You Freeze a Homemade Cheese Ball?
Yes, you absolutely can! Freezing a homemade cheese ball is a fantastic way to prepare ahead for future parties or to extend its shelf life. The process is quite simple, but it requires one extra step to effectively prevent ice crystals from forming and to keep those fresh flavors locked in.
Here’s how to freeze your cheese ball successfully:
- Prepare as Normal: Follow the recipe instructions to mix and shape your cheese ball.
- Wrap Tightly: Once the cheese ball has been formed into its initial shape (before adding the outer coating like nuts or herbs), wrap it very tightly in several layers of plastic wrap. Ensure there are no air pockets, as air exposure is the enemy of frozen food quality.
- Add to a Freezer Bag: Place the tightly wrapped cheese ball into a freezer-safe bag. Press out as much air as possible from the bag before sealing it securely. This double-layer of protection is crucial for preventing freezer burn.
- Proper Placement in the Freezer: Always store the cheese ball in the coldest part of your freezer, not in the freezer door. The temperature fluctuates more in the door, which can compromise the quality of frozen items.
When you’re ready to serve, plan ahead for proper thawing:
- Thaw in the Fridge: Transfer the frozen cheese ball from the freezer to the refrigerator to defrost for approximately one day (24 hours). This slow thawing process helps maintain its creamy texture.
- Add Coating and Serve: Once completely defrosted, unwrap the cheese ball and proceed with the recipe as normal, rolling it in its desired coating. Serve it within a day of thawing for the best taste and texture.
With these simple steps, you can enjoy a delicious homemade cheese ball any time, making party planning a breeze!
Seriously, forget every other cheese ball you’ve ever sampled and dedicate yourself to making this one! It will undoubtedly become the best, simple cheese ball recipe you’ve ever had. With its delightful combination of three distinct cheeses, enhanced by the perfect balance of simple seasonings, this recipe creates an irresistible flavor that is truly outrageous. It’s perfect for holidays, game days, or any celebration, guaranteed to be devoured with delight.
More Delicious Dip Recipes to Enjoy
If you loved this cheese ball, you’re in for a treat! We have a fantastic collection of dip recipes that are perfect for any occasion, from casual gatherings to festive celebrations. Explore these other crowd-pleasing options:
- Baked Cheesy Onion Dip
- Spinach Artichoke Dip
- Cowboy Caviar
- Buffalo Chicken Football Dip
- Bacon Ranch Corn Dip
- Artichoke Dip
- 3-Ingredient Jarlsberg Cheese Dip
- Creamy Cilantro Crab Dip
- And of course, explore all our incredible Dip Recipes!
The Best Cheese Ball
Sweet Basil
10 mins
25 mins
16
Ingredients
- 16 Ounces Cream Cheese, softened (2 of the 8 ounce cream cheese boxes)
- 1 Jar Old English Cheese Spread, found by the crackers
- 1 1/2 Cups Cheddar Cheese, sharp or medium, grated
- 1 teaspoon Garlic Powder, scant
- 1 teaspoon Onion Powder, scant
- 2 teaspoons Lemon Juice
- 2 Tablespoons Mayonnaise, heaping
- 2 Cups Pecans, chopped fine
- 1 Tablespoon Parsley, fresh, chopped
- Crackers, for serving
Instructions
- Finely chop the pecans and set aside.
- In a large bowl, combine all of the ingredients and stir together until smooth.
- Form the cheese mixture into a ball and place on a large piece of saran wrap.
- Place the cheese in the fridge for 10-15 minutes to firm it back up. You can prepare this up to 48 hours ahead of time and leave it like this until you’re ready to serve.
- Meanwhile, mix the chopped pecans and parsley together and place on a plate.
- Unroll the cheese ball and place in the nuts. Roll to cover and shape with your hands if necessary to keep the shape.
- Serve immediately or store for a few hours in the fridge. Serve with crackers (or whatever your heart’s desire).
Recipe Notes
Nutrition
Calories: 261kcal,
Carbohydrates: 5g,
Protein: 5g,
Fat: 25g,
Saturated Fat: 9g,
Polyunsaturated Fat: 3g,
Monounsaturated Fat: 8g,
Trans Fat: 0.001g,
Cholesterol: 44mg,
Sodium: 264mg,
Potassium: 102mg,
Fiber: 1g,
Sugar: 2g,
Vitamin A: 596IU,
Vitamin C: 1mg,
Calcium: 144mg,
Iron: 0.4mg
Nutrition information is automatically calculated, so should only be used as an approximation.
REMEMBER TO SUBSCRIBE TO our FREE Oh Sweet Basil NEWSLETTER AND RECEIVE EASY RECIPES DELIVERED INTO YOUR INBOX EVERY DAY!
When you try a recipe, please use the hashtag #ohsweetbasil on INSTAGRAM for a chance to be featured in our stories! FOLLOW OH, SWEET BASIL ON FACEBOOK | INSTAGRAM | PINTEREST | TWITTER FOR ALL OF OUR LATEST CONTENT, RECIPES AND STORIES.