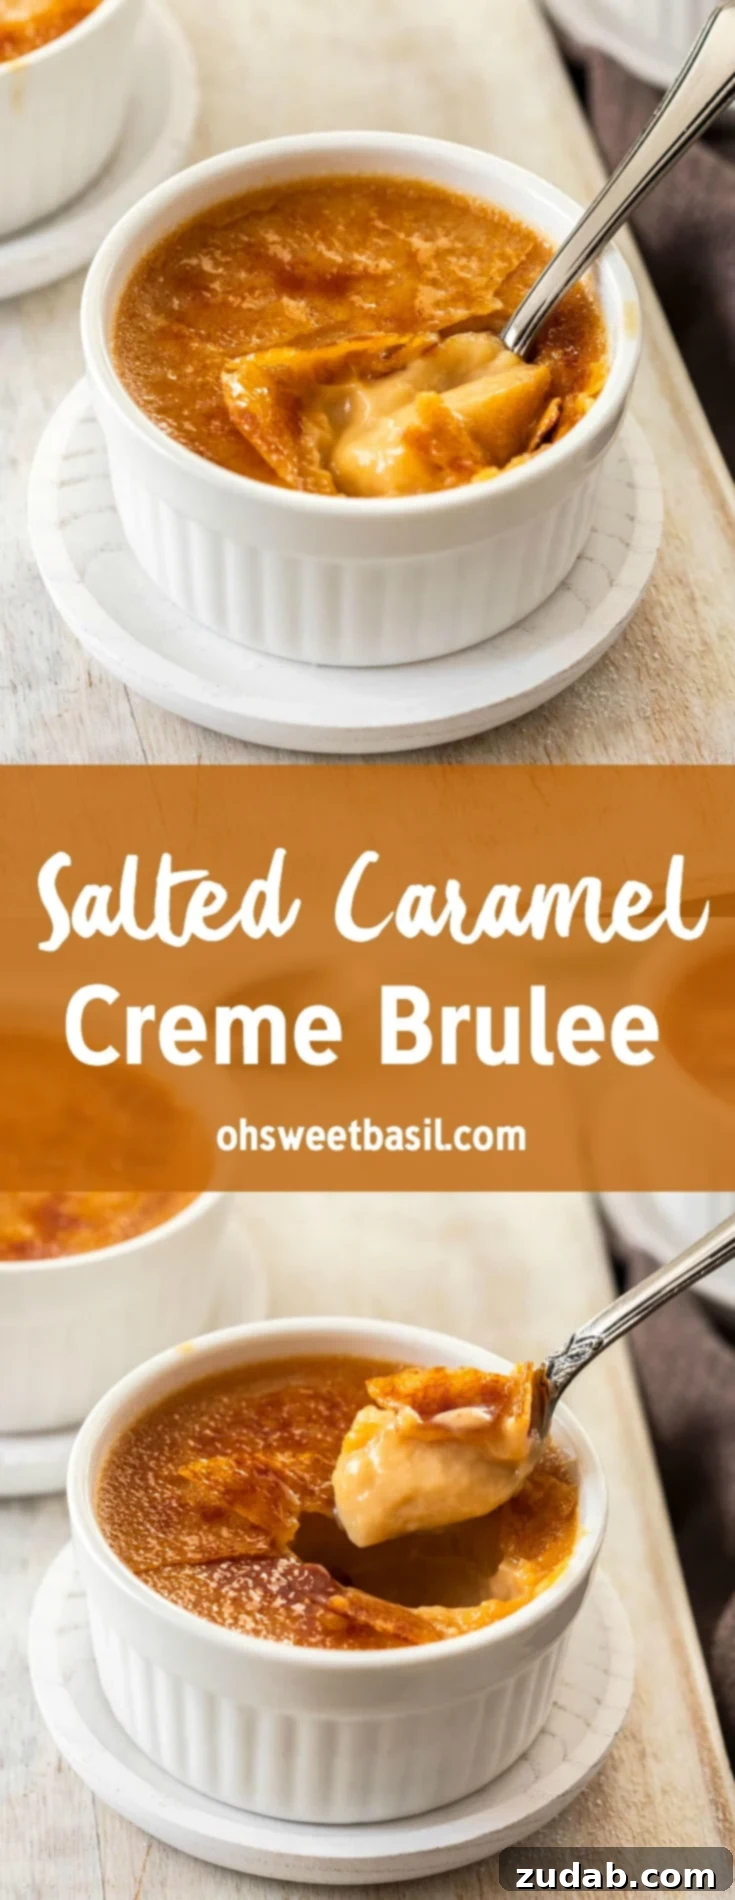
Salted Caramel Crème Brûlée: A Luxurious Dessert That’s Surprisingly Simple to Master
Prepare yourself for a dessert experience that is nothing short of extraordinary: the Salted Caramel Crème Brûlée. This exquisite treat is not only incredibly addictive with its perfect balance of sweet and savory, but it’s also remarkably straightforward to create in your own kitchen. With a minimal ingredient list – just five key items, including water – and a mere 15 minutes of active preparation time, you can craft a show-stopping dessert that will undoubtedly impress everyone who takes a bite. Get ready to elevate your dessert game with this unbelievably lush and effortlessly elegant dish.
The Allure of Salted Caramel Crème Brûlée
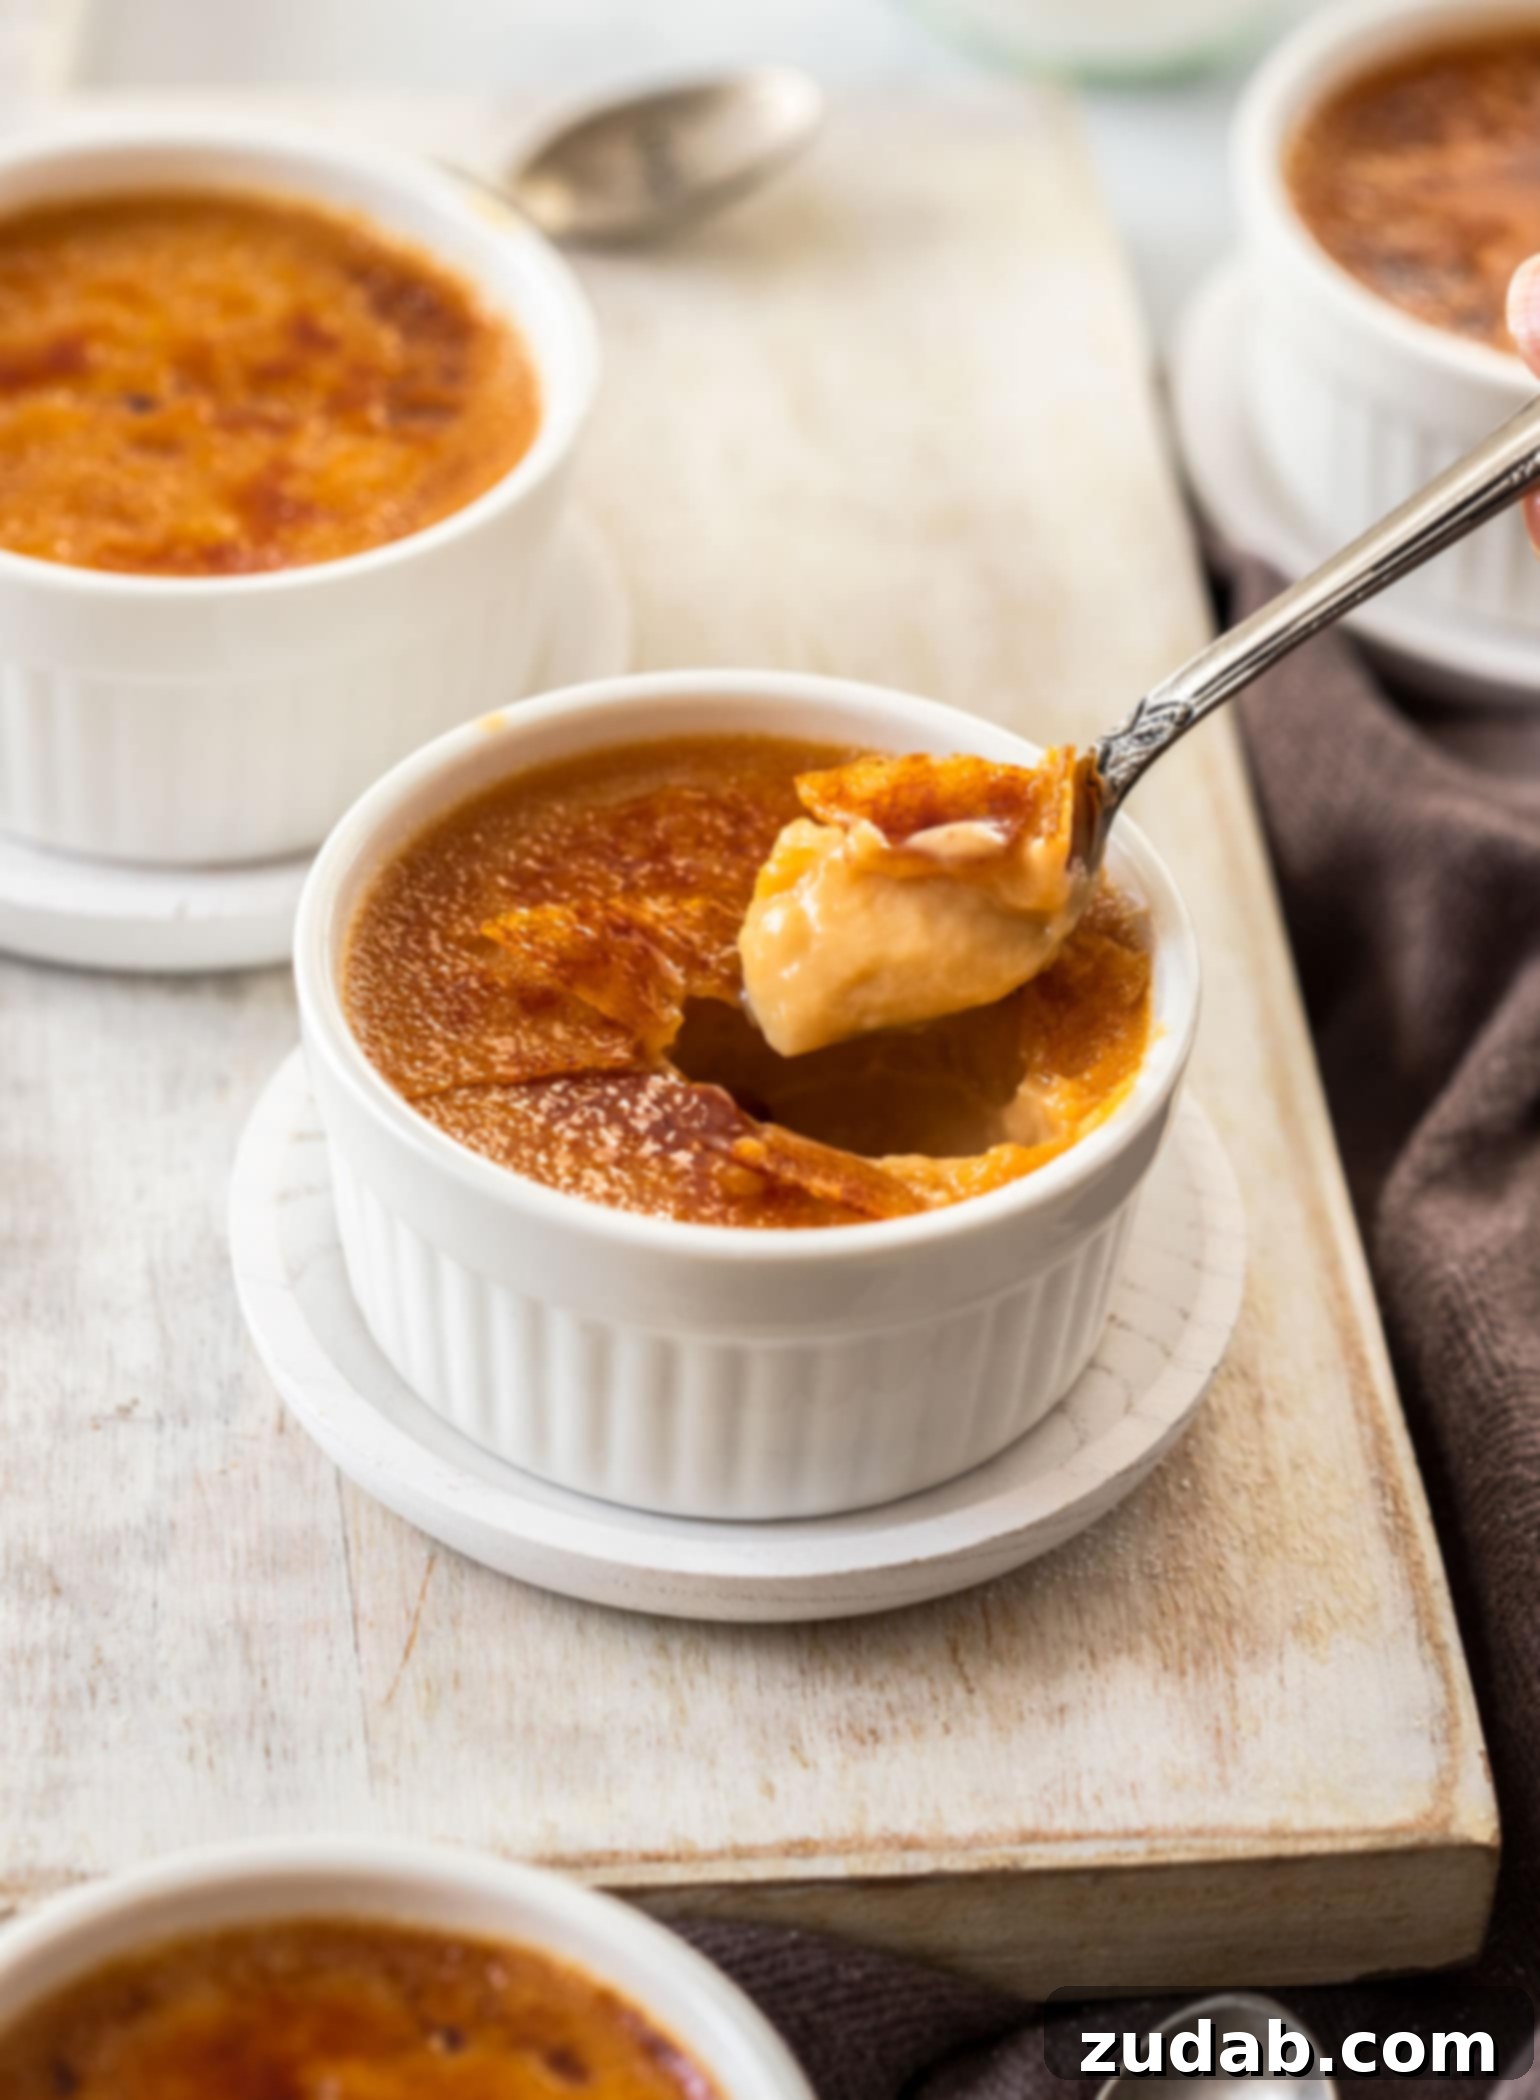
One word perfectly captures the essence of this dessert: Lush! For those who adore caramel (and confess to a slight addiction, like myself), this recipe for Salted Caramel Crème Brûlée is a revelation. It’s a dish so profoundly satisfying, you’ll want to indulge in it every day of the week, and perhaps even twice on Sundays! This isn’t just another recipe; it’s a culinary masterpiece that truly stands out as one of my all-time favorite creations. Seriously, it’s that good.
This luscious, silky-smooth caramel pudding, bearing a sophisticated French name, offers countless reasons to fall in love. Let’s count the ways this dessert will captivate your senses and simplify your baking endeavors:
- Irresistibly Creamy Caramel: Experience the profound depth and richness of true homemade caramel infused into every spoonful.
- Effortless Preparation: With only 15 minutes of hands-on effort, you’ll be amazed at how quickly this elegant dessert comes together.
- Stunning Presentation: Despite its simplicity, this crème brûlée looks incredibly fancy, making it ideal for special occasions or a sophisticated everyday treat.
- Minimal Ingredients: You only need 5 basic ingredients (one of which is water!) to achieve this gourmet delight.
- Perfect for Planning: This dessert can be made ahead of time, making it an excellent choice for entertaining and parties.
- Easily Scalable: Whether you’re serving a small intimate gathering or a larger crowd, the recipe can be effortlessly adjusted to suit your needs.
The touch of salt in this recipe is carefully calibrated to enhance that signature salted caramel flavor, providing a delightful contrast to the sweetness. However, if salted desserts aren’t quite your preference, feel free to omit the salt entirely. The resulting crème brûlée is equally delicious and utterly delightful both ways. Frankly, I’d happily enjoy either version!
I could continue to sing the praises of this gorgeous dessert indefinitely, but I know that once you try it, you’ll understand completely. For those who can’t get enough of caramel, I completely understand! Why not explore other delectable caramel-infused treats like these Dulce de Leche Chocolate Cheesecake Bars or whip up some Easy 6-Minute Microwave Caramels?
Mastering Homemade Caramel: The Heart of Your Salted Caramel Crème Brûlée
The secret to this incredible Salted Caramel Crème Brûlée lies in creating real, made-from-scratch caramel. Many home cooks find the idea of making caramel intimidating, but I assure you, it’s a super simple process, and I’m here to guide you through every step. Forget your fears; with a few key tips, you’ll be making perfect caramel in no time.
A Word of Caution: Watch Your Caramel!
The most important piece of advice when making caramel is to watch it diligently. I’ve tested this recipe multiple times, and while it always turns out perfectly, the one time I let my guard down, I burnt the caramel. While burnt caramel crème brûlée might sound intriguing, and it was still surprisingly good, aiming for a perfectly golden amber is key to the intended flavor profile. Patience and constant observation are your best friends here!
The Simplicity of Caramel Ingredients
Remarkably, the foundation of your rich, amber caramel requires just two basic ingredients: sugar and water. Combine these in a saucepan over low heat. Allow the mixture to come to a boil, and then let it bubble gently. The magic happens as the water evaporates and the sugar begins to caramelize, gradually transforming into a beautiful amber color. This transformation is where the incredible flavor begins to develop.
5 Simple Rules to Avoid Crystallization and Achieve Perfect Caramel Every Time
If you’ve heard stories of caramel being temperamental and prone to crystallization, don’t let that deter you. By following these five simple rules, you can confidently make perfect, smooth caramel every single time:
- Choose the Right Pan: Always use a heavy-based stainless steel saucepan. The heavy bottom ensures even heat distribution, which is crucial for preventing hot spots and uneven caramelization. Avoid non-stick coated pans, as their surface can interfere with the sugar’s ability to properly crystalize and melt.
- Start with a Spotless Pan: This might seem overly cautious, but any trace of fat, residue, or impurity in the pan—anything that isn’t just sugar and water—can act as a nucleation point for sugar crystals, leading to a grainy, crystallized caramel. Ensure your pan is freshly washed and thoroughly clean. For an extra layer of protection, you can even rub a lemon wedge around the inside before a final rinse.
- Stick to White Granulated Sugar: For the clearest, most consistent caramel, use plain old white granulated sugar. Powdered sugar, brown sugar, or other sugar varieties contain different additives or molasses that can affect the caramelization process and result. Keep it simple for the best results.
- Swirl, Don’t Stir: This is perhaps the most vital rule. Once your sugar and water mixture is on the heat, resist the urge to stir it with a spoon. Introducing an external object like a spoon can inadvertently introduce sugar crystals from the edges of the pan back into the melting sugar, initiating a chain reaction of crystallization. Instead, gently swirl the pan from time to time to ensure the mixture heats evenly and the sugar dissolves consistently.
- Maintain Low to Medium Heat: Begin and maintain a low to medium heat throughout the caramelization process. Sudden fluctuations in temperature can shock the sugar and encourage crystallization. Once the heat is set, try not to adjust it drastically. Patience is key; letting the sugar melt and caramelize slowly ensures a smooth, deep amber color and rich flavor.
That’s it! Making homemade caramel is truly much simpler than these detailed instructions might suggest. Once you have your beautiful amber caramel, the rest of the process involves incorporating cream and egg yolks, followed by baking to creamy perfection.
Crafting the Silky Custard: Assembling Your Crème Brûlée
For a traditional crème brûlée, the process typically involves combining sugar with cream, heating them, and then adding egg yolks. With our freshly made caramel in hand, we’ll adapt this method to create a truly exceptional dessert. Here’s how to assemble your decadent Salted Caramel Crème Brûlée custard:
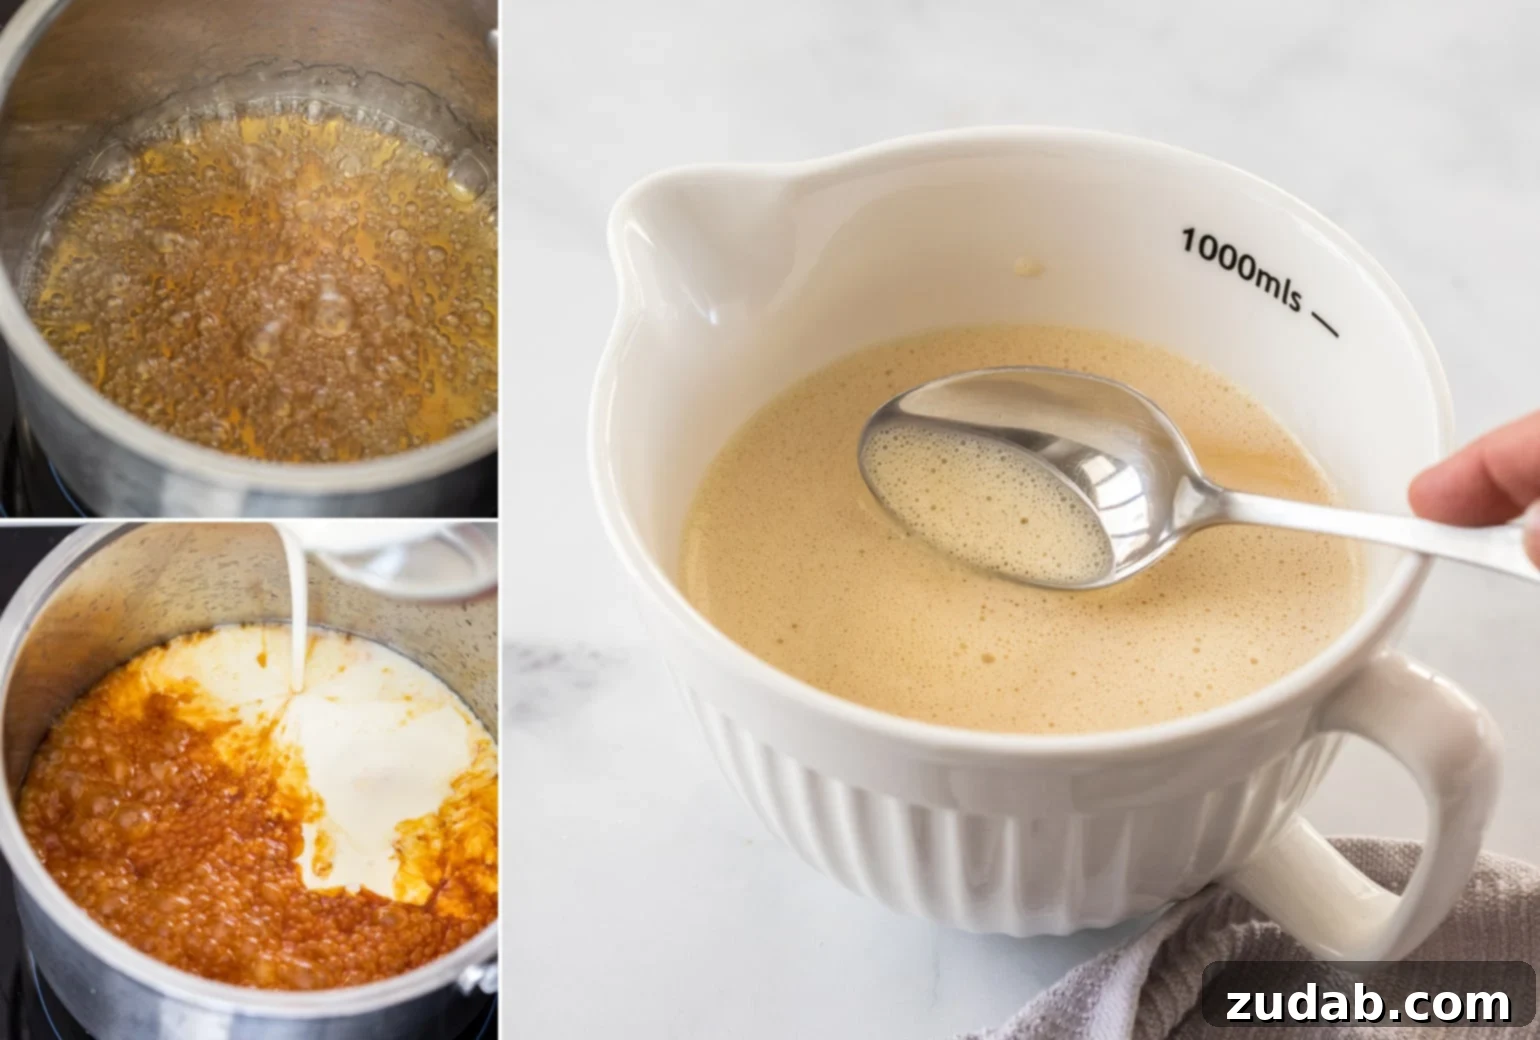
- Infusing the Caramel Cream: Carefully and slowly pour the heavy cream into your hot caramel. Be mindful, as the hot caramel will bubble and firm up instantly upon contact with the colder cream. This is completely normal and expected! The caramel will seize and harden, but don’t worry. Return the saucepan to low heat and gently stir with a spoon or whisk until the hardened caramel completely dissolves back into the cream, creating a smooth, rich caramel-infused cream. Once the mixture begins to gently bubble and is fully smooth, remove it from the heat.
- Preparing the Egg Yolks: In a separate medium bowl, begin whisking your egg yolks. Whisk them vigorously until they become much lighter in color and slightly thickened. An electric beater can make this step super quick and efficient.
- Tempering for Smoothness: This is a critical step to prevent your eggs from scrambling. While continuously whisking the lightened egg yolks, very slowly drizzle the hot caramel cream mixture into the eggs. The goal is to gradually raise the temperature of the egg yolks, gently bringing them up to the temperature of the cream without cooking them too quickly. Pouring too fast will result in scrambled egg bits in your custard. Continue whisking until the mixture is thoroughly combined and smooth.
- Achieving Silky Perfection: To ensure the smoothest possible custard, strain the mixture through a fine-mesh sieve. This step catches any tiny bits of scrambled egg or undissolved caramel, resulting in an impeccably silky texture. Skim off any froth or bubbles that have formed on the surface of the strained custard.
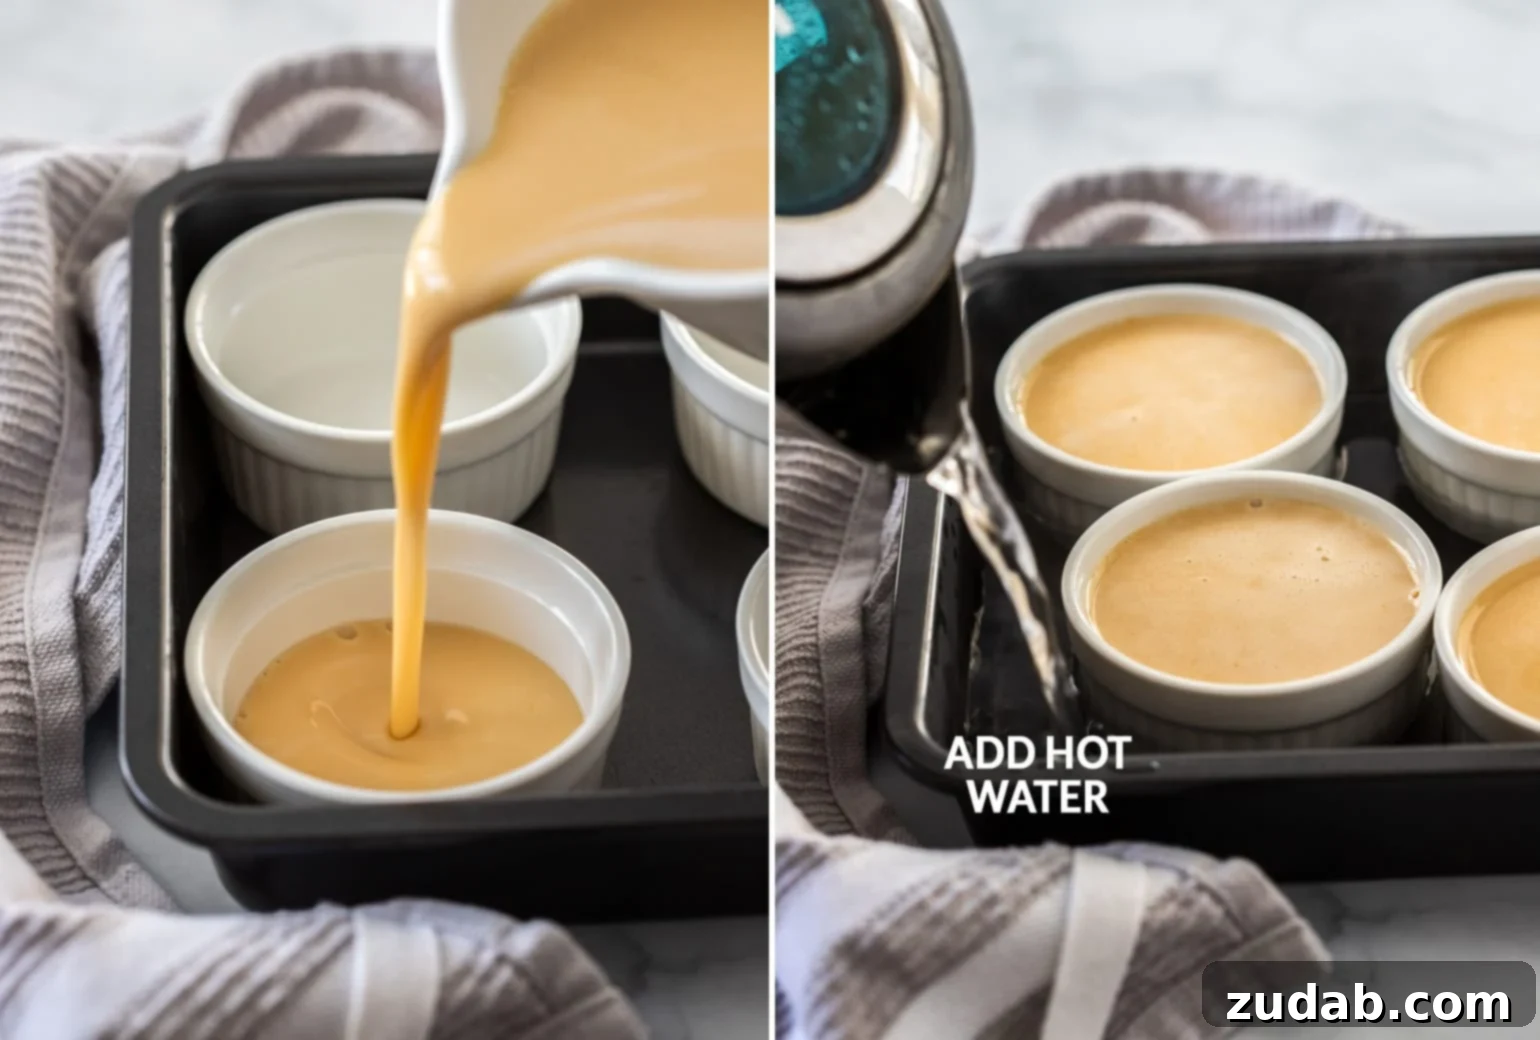
- The Water Bath (Bain-Marie): Carefully pour the custard evenly into your chosen ramekins. Arrange the ramekins within a high-sided, flat-bottomed baking tray or oven-proof dish. The flat bottom ensures the ramekins remain level, allowing for even cooking. Now, pour hot (but not boiling) water into the baking tray, ensuring the water level reaches about halfway up the outside of the ramekins. This water bath, or bain-marie, creates a gentle, even heat environment, preventing the custards from cooking too quickly, cracking, or becoming rubbery. Bake as directed.
Baking to Perfection: How Long to Cook Crème Brûlée
The precise cooking time for crème brûlée can vary, primarily depending on the size and depth of the dishes you use. For instance, if you use ramekins approximately 3.5 inches wide by 1.5 inches high, filled to the brim, they will typically require about 45 minutes of baking. Shallower dishes, like those 4.5 inches wide and only 1 inch high, might bake in as little as 30 minutes, as seen in some of our other recipes like the Eggnog Crème Brûlée. Conversely, a deeper dish, such as one measuring 3 x 2.5 inches for a Chocolate Crème Brûlée, could take up to 1.25 hours.
The general rule of thumb is: the deeper the dish, the longer your crème brûlée will take to cook. The ramekins I used for this recipe hold about half a cup plus one tablespoon, which I find to be the perfect size. It’s generous enough to feel satisfying, yet leaves you wanting just one more bite – the hallmark of a truly perfect dessert!
How Do You Know When Crème Brûlée is Ready? The “Wobble Test”
Determining when your crème brûlée is perfectly cooked is simpler than you might think. You’ll know they are ready when you gently nudge the baking pan, and the custards wobble slightly in the middle, much like a firm jelly. The edges should appear set and stable, while the center retains a delicate shimmy. Importantly, the middle should not look fluid or sloshy beneath the surface. If you notice a clear pool of liquid still present, bake them for a few more minutes, checking frequently. Trust your instincts on this delicate wobble – it’s the key to a creamy, dreamy texture.
The Signature “Brûlée” Top: Achieving the Perfect Crunchy Crust
What Does “Brûlée” Mean?
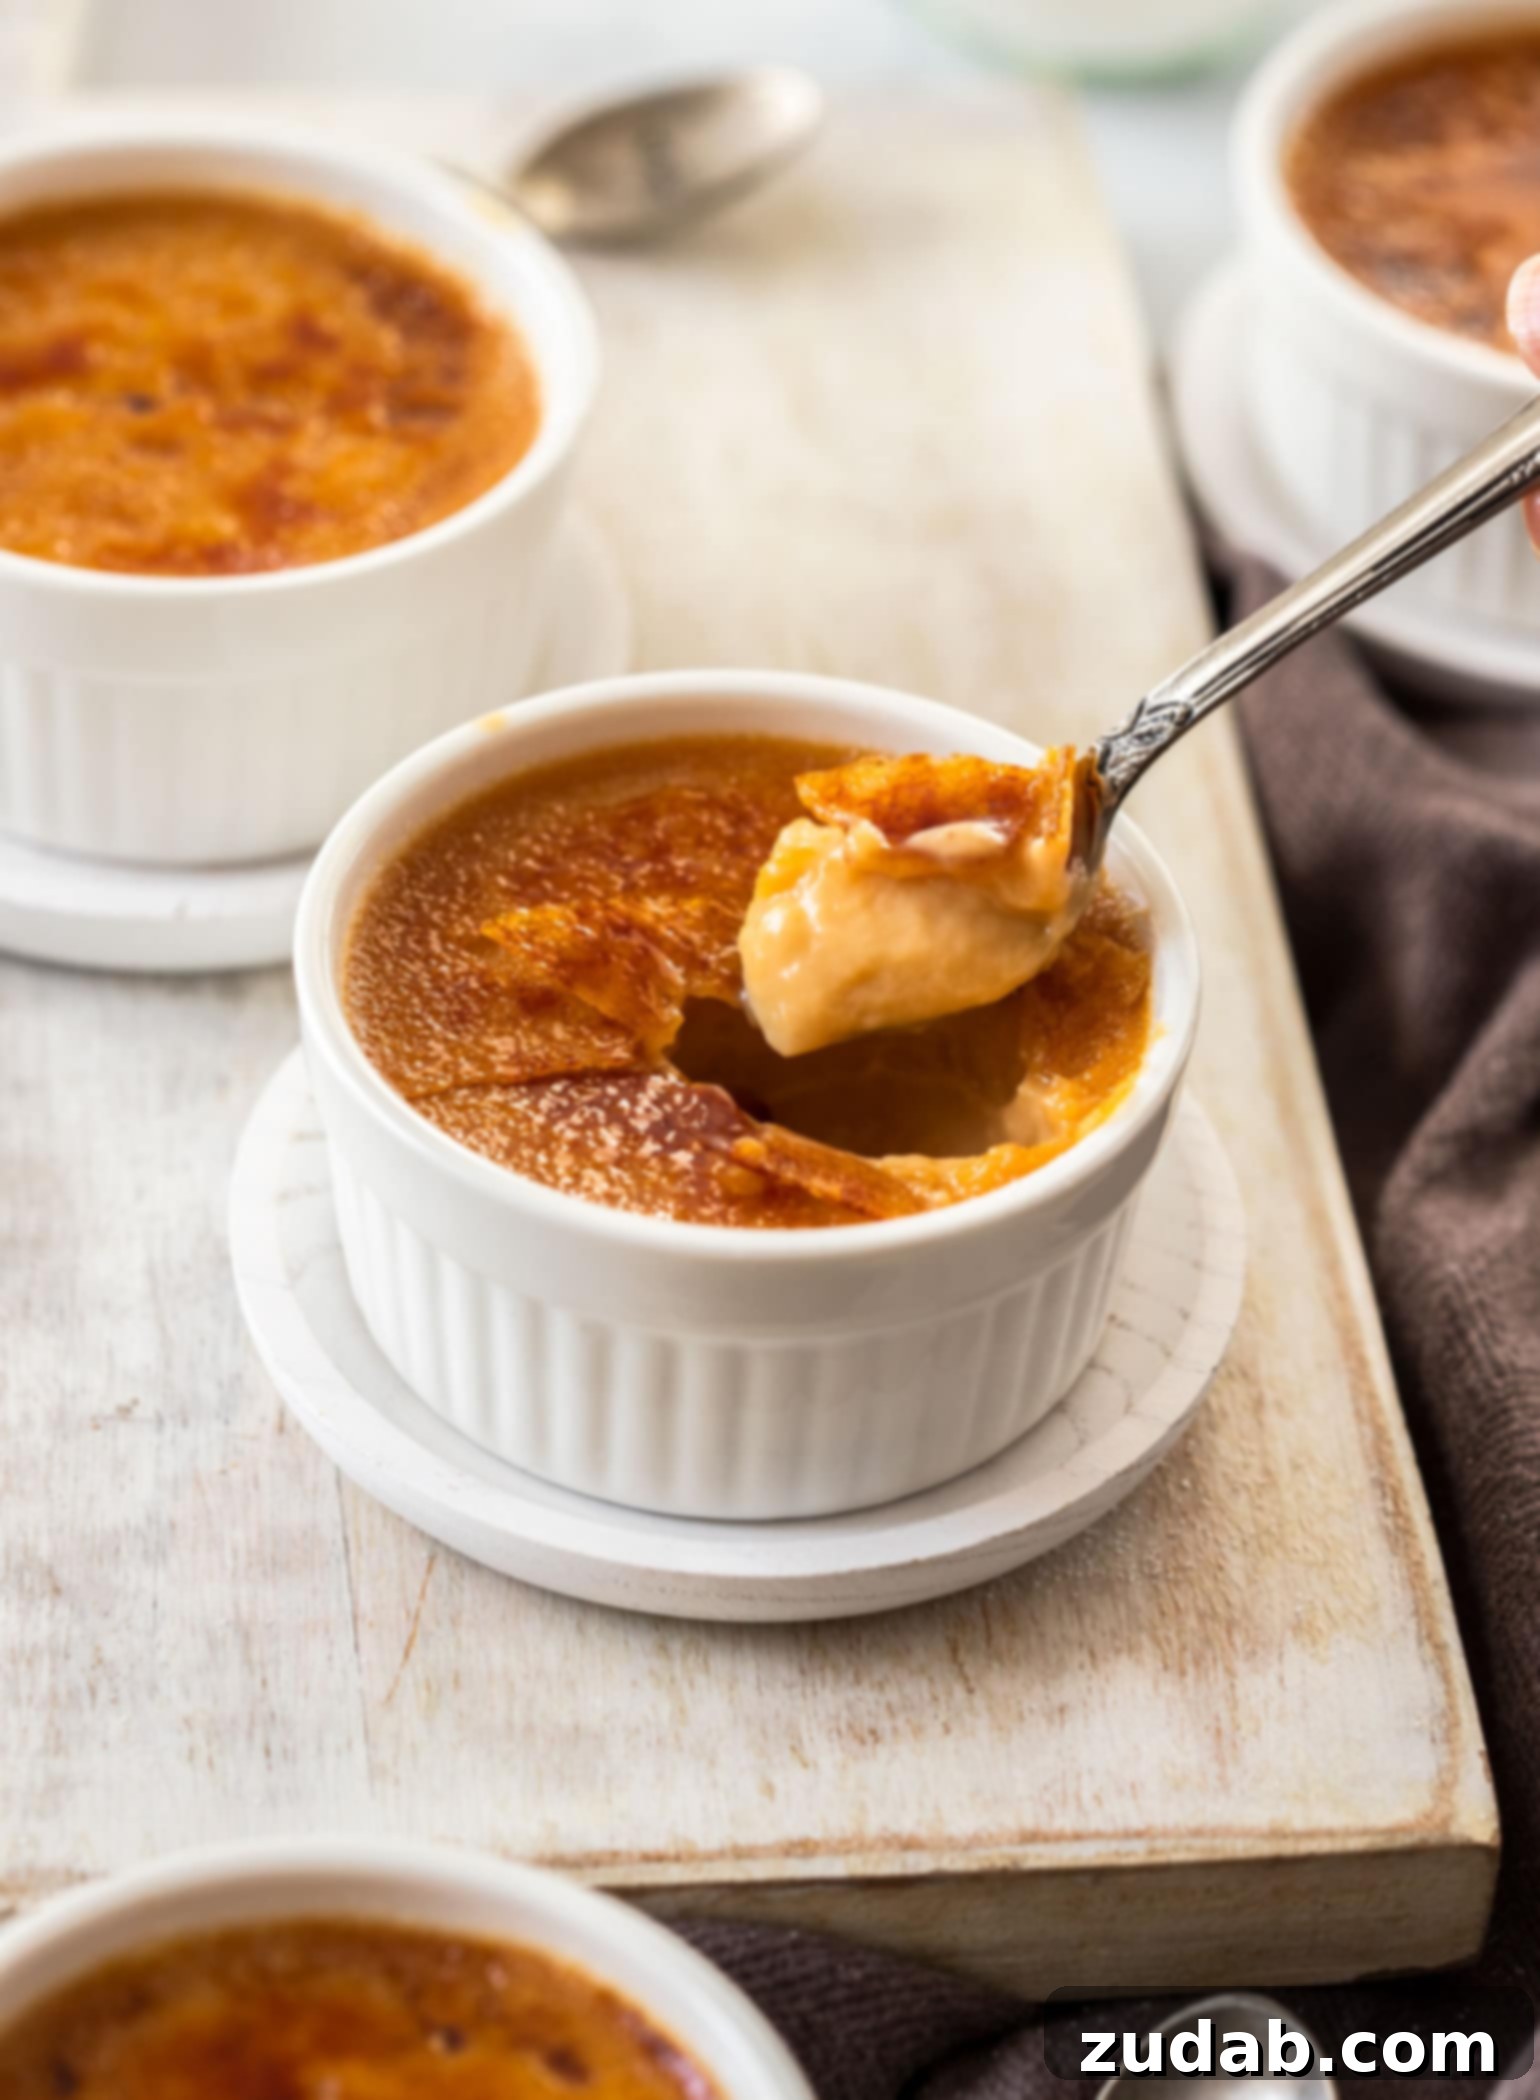
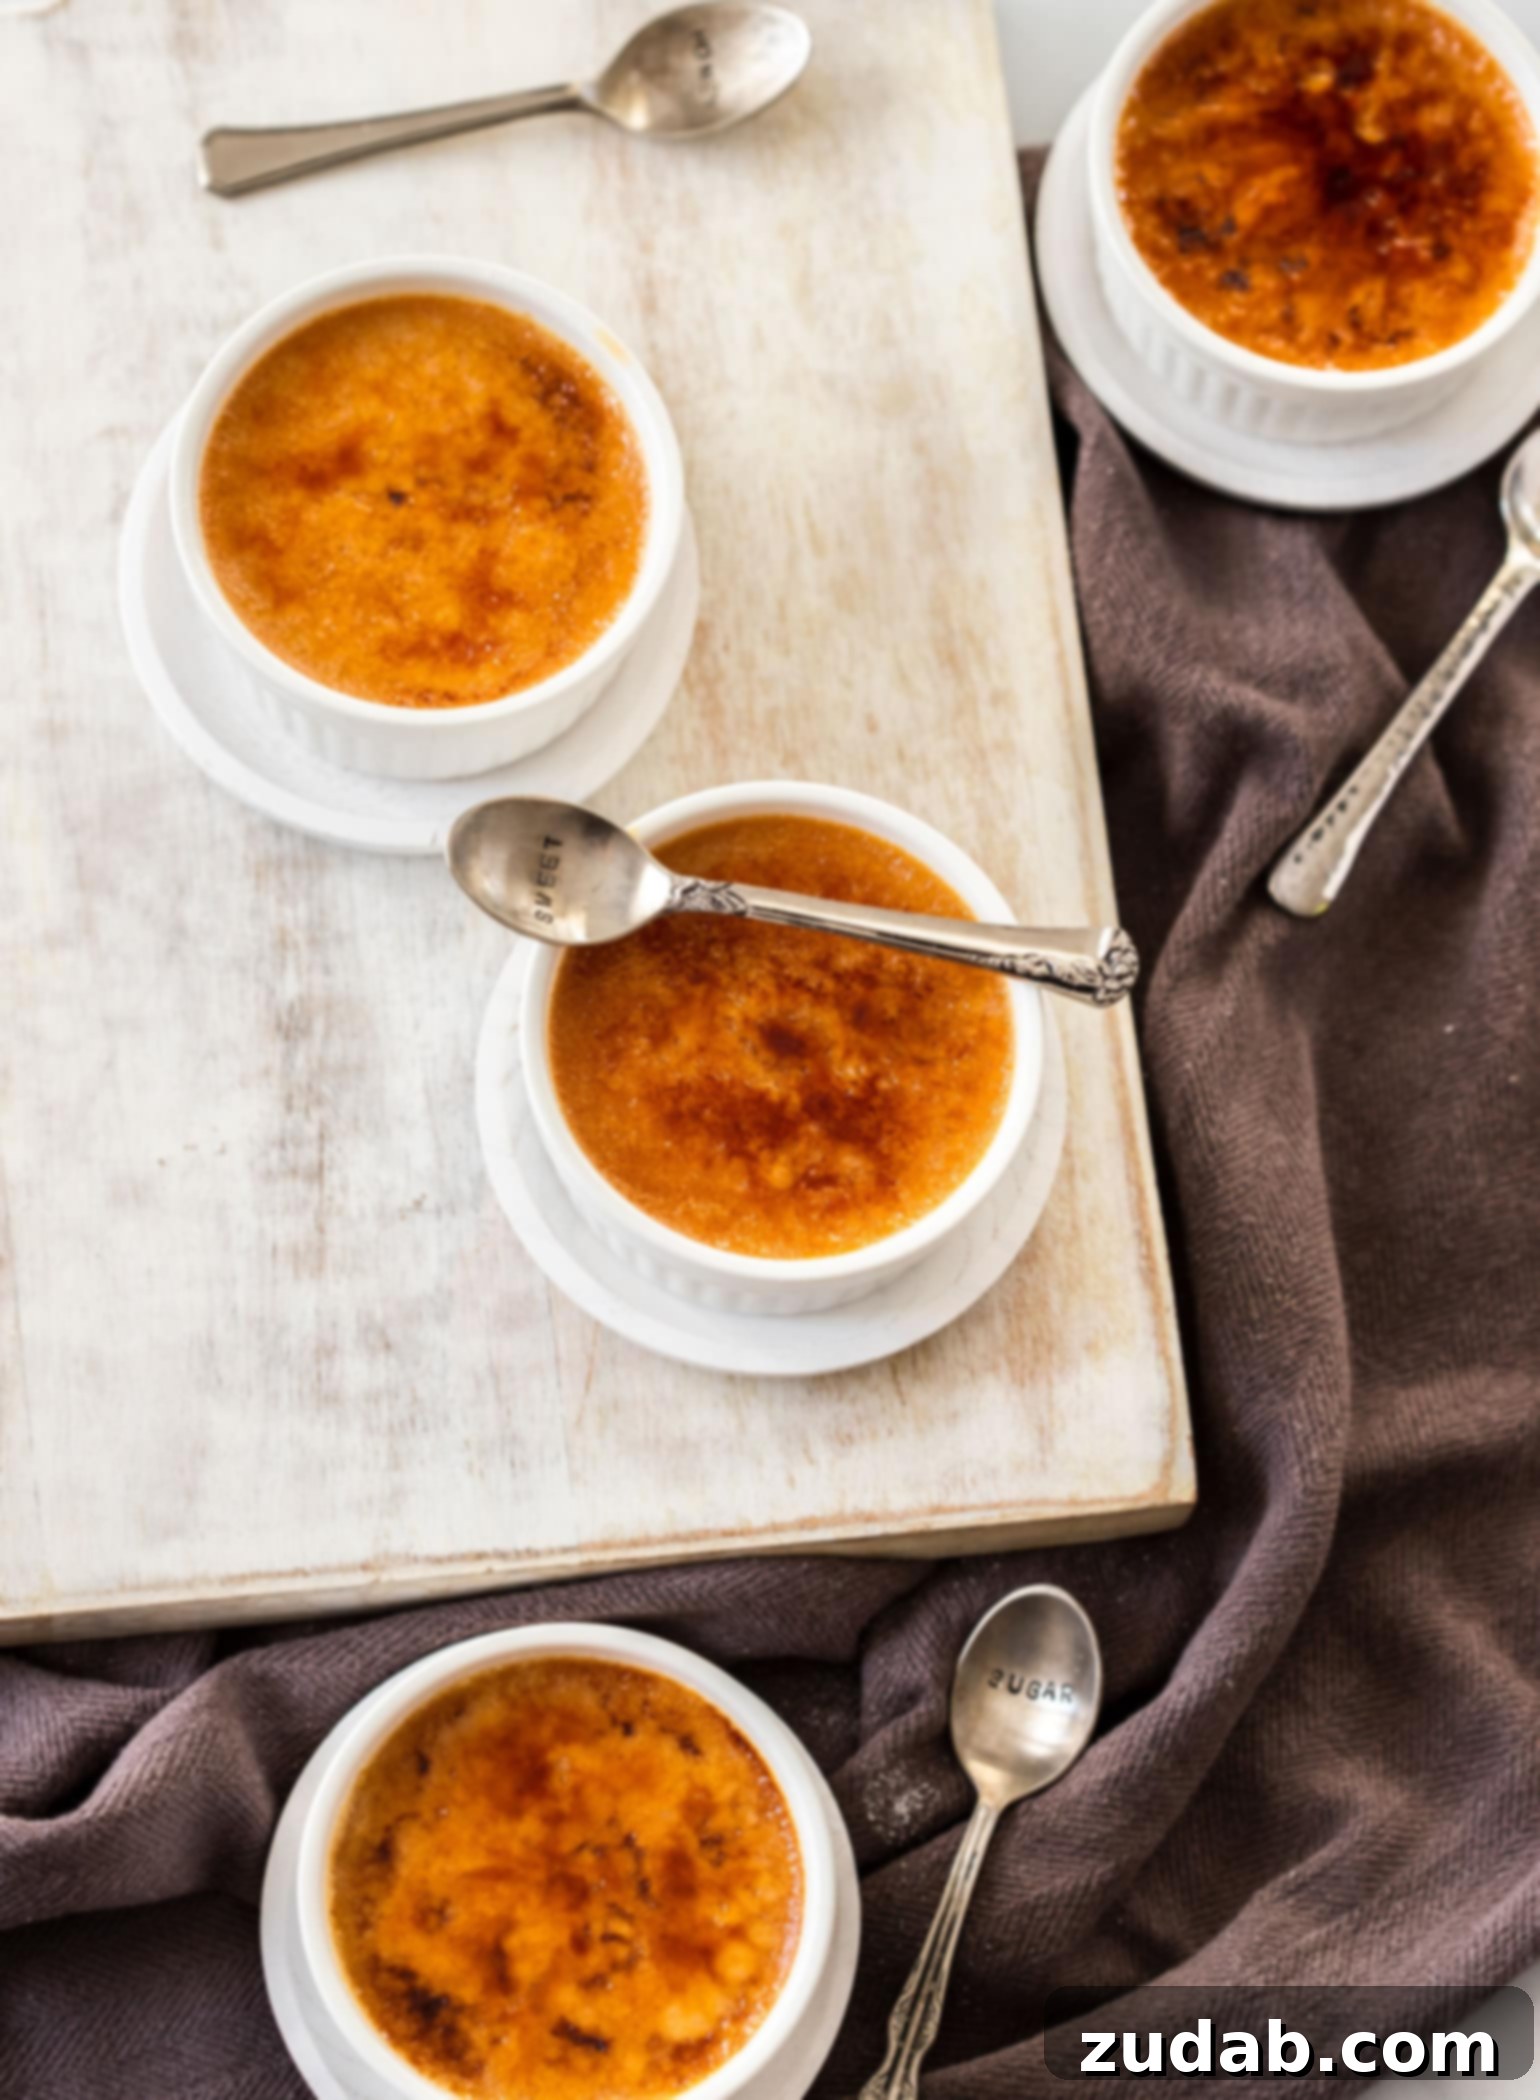
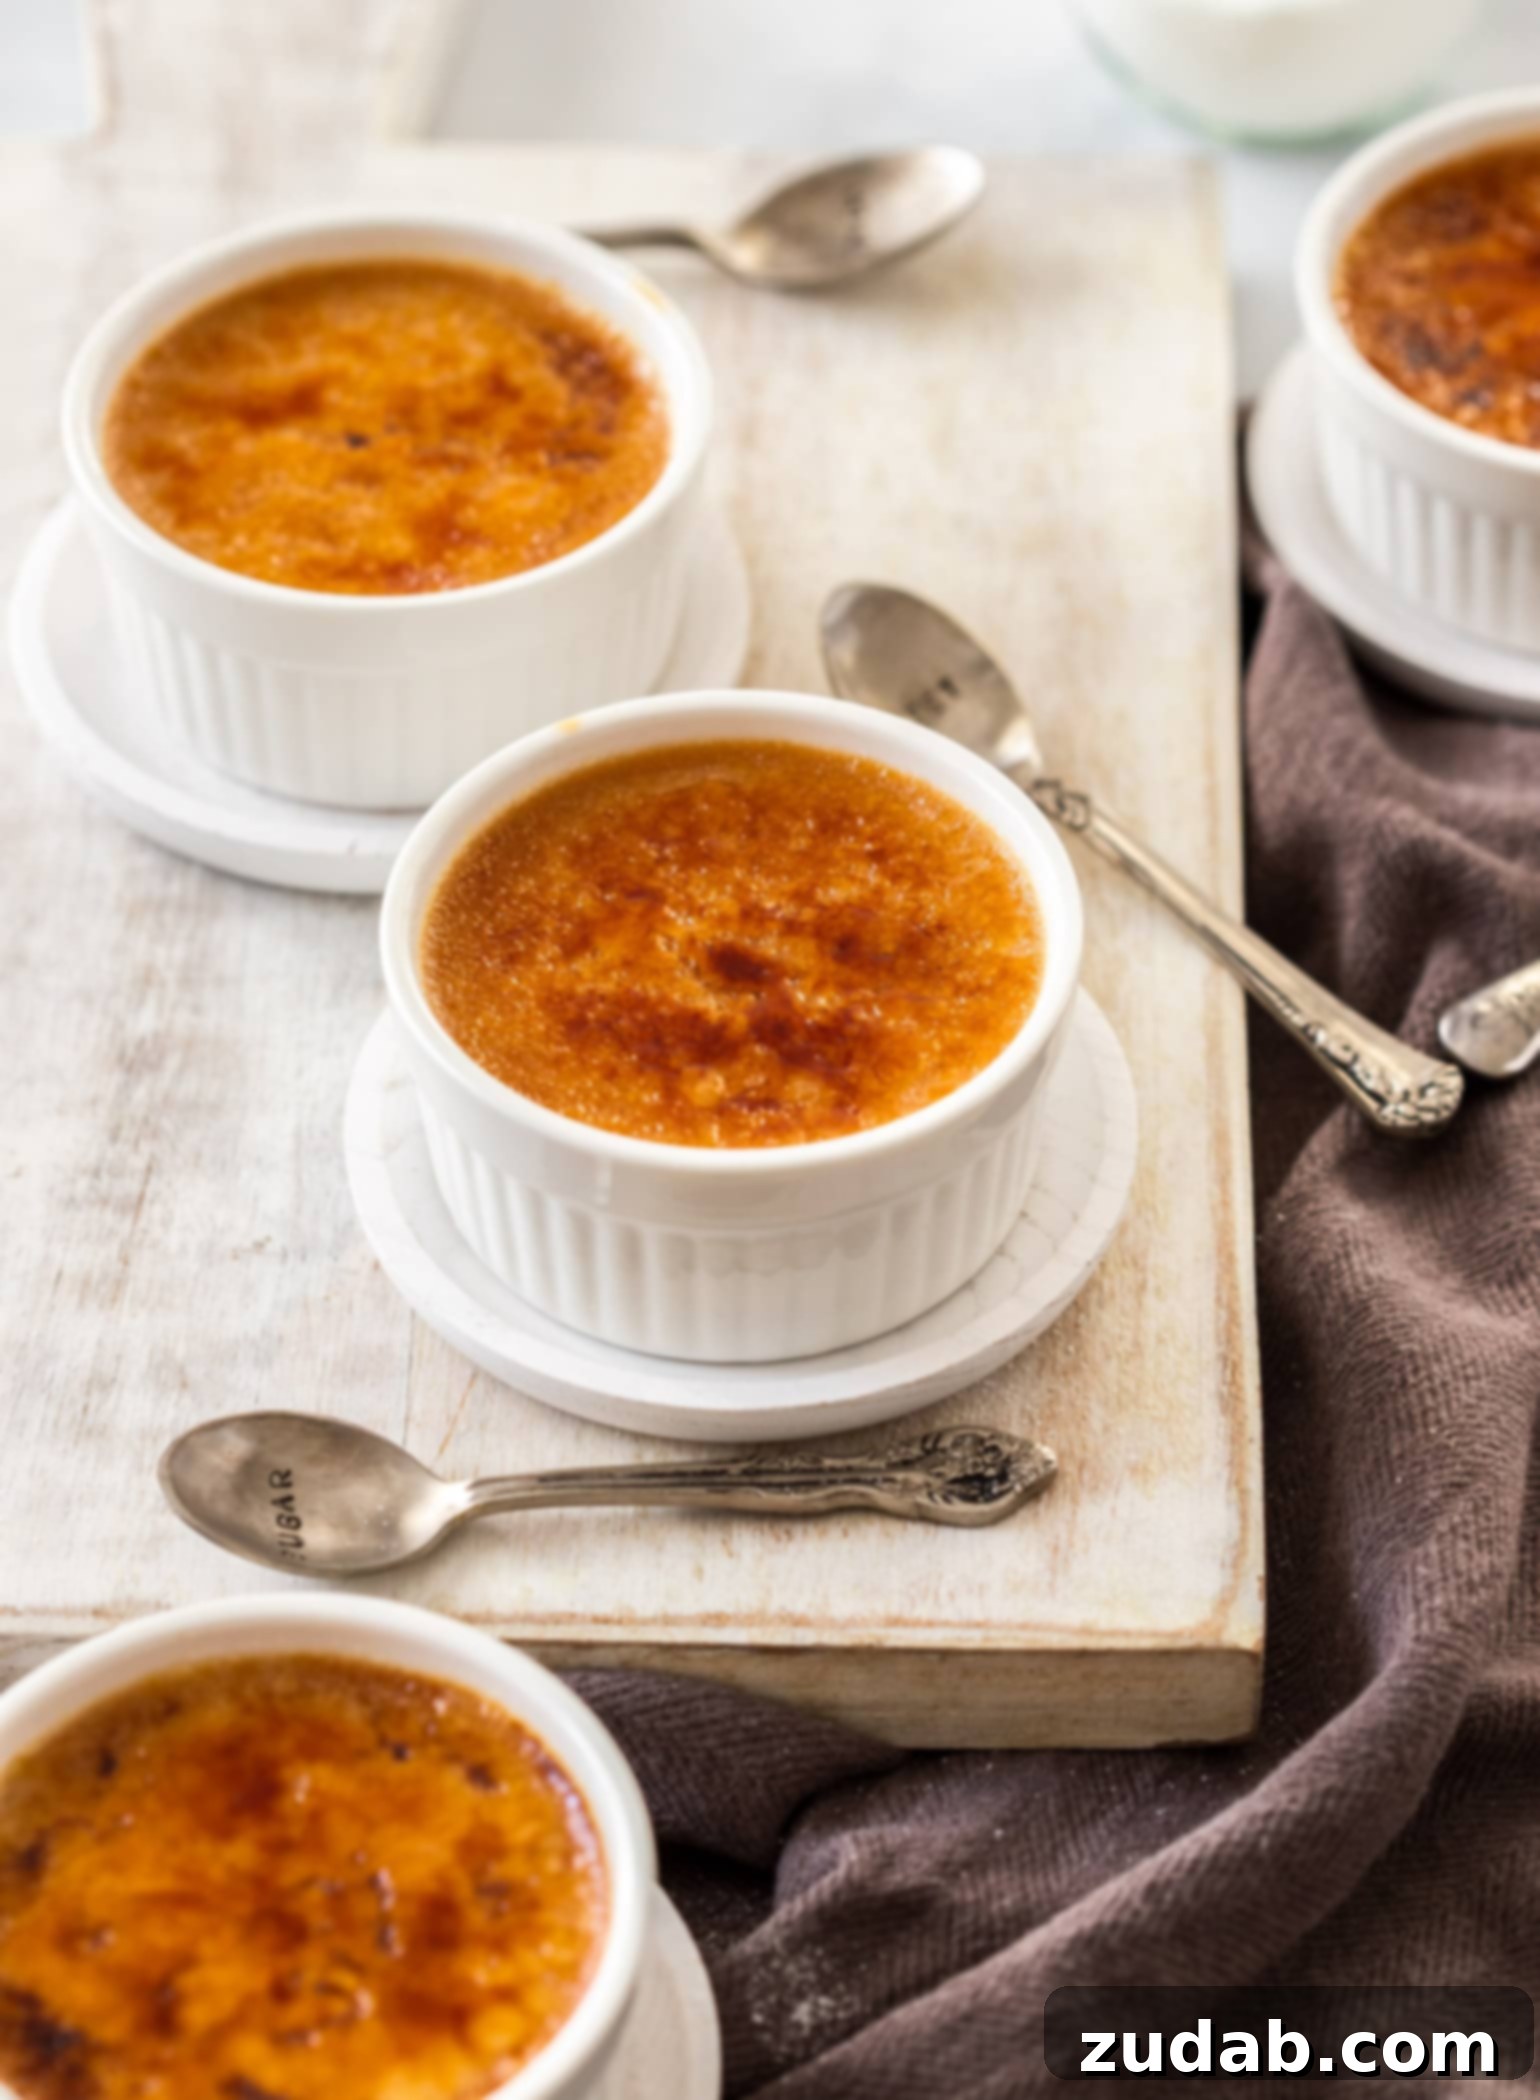
The name Crème Brûlée (pronounced “krem broo-LAY”) is a fancy French term meaning “burnt cream.” But don’t let the “burnt” part mislead you! The brûlée aspect specifically refers to the thin layer of granulated sugar sprinkled over the chilled custard, which is then caramelized until it transforms into a hard, golden-amber crust. This crunchy topping is not only visually appealing but also incredibly satisfying to crack into with a spoon, revealing the smooth, creamy custard beneath.
Essential Tools for a Perfect Crème Brûlée: Your Must-Haves
While the custard itself is straightforward, achieving that iconic crispy sugar crust requires the right tools. Here are the essential items for your crème brûlée arsenal:
- Kitchen Blow Torch: For consistently perfect results, a kitchen blow torch is indispensable. They are not expensive, incredibly versatile, and allow for precise caramelization without overheating the custard. I highly recommend investing in one. When choosing a torch, prioritize comfort and safety. Some torches, while effective, might have awkwardly placed triggers that can cause discomfort (what I affectionately call “brûlée thumb”). Test the grip and trigger mechanism if you’re shopping in person, or read reviews carefully online.
- Ramekins: High-quality ramekins are key for individual servings. Look for those with actual slots or sturdy bases that fit securely in your baking dish for the water bath. This prevents them from shifting and ensures even baking.
How to Ruin Your Crème Brûlée: The Broiler Trap
While some recipes suggest using your oven’s broiler to caramelize the sugar, I strongly advise against it. A broiler can quickly make the dessert too hot, turning your perfectly set, smooth custard into a thick, gloopy (albeit delicious) custard shake. A kitchen blow torch, on the other hand, allows you to caramelize just the sugar surface without affecting the temperature or texture of the delicate custard underneath, guaranteeing that satisfying hot-cold, crisp-creamy contrast.
Serving and Savoring Your Salted Caramel Crème Brûlée
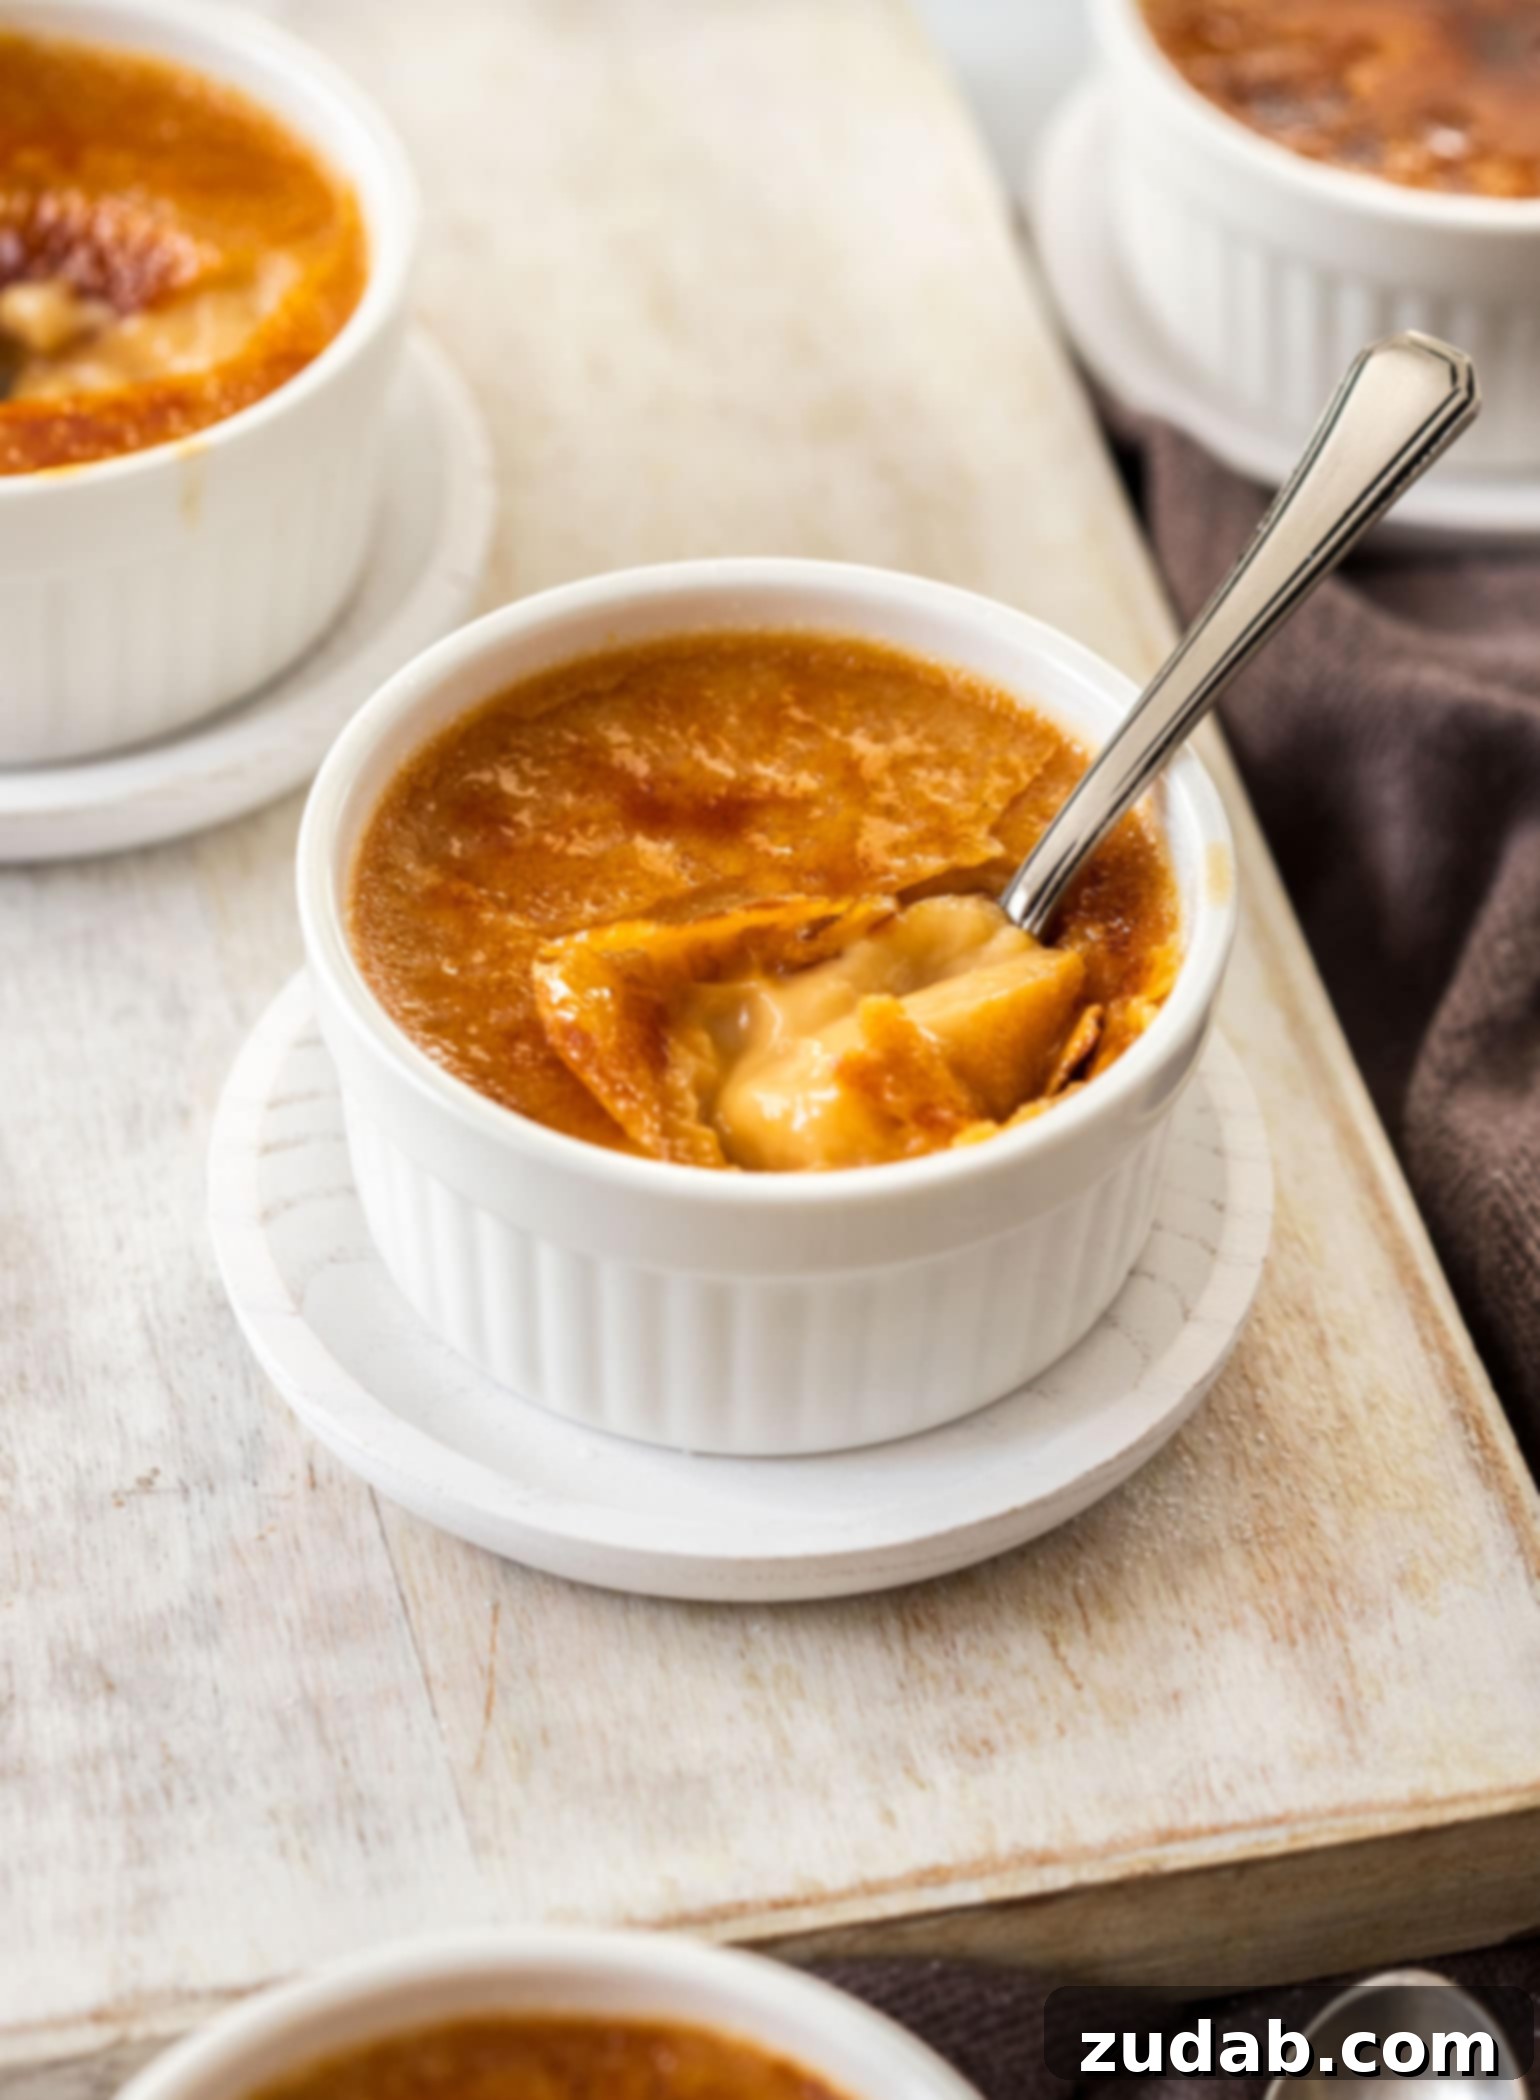
If you’ve made it this far, thank you for your dedication! I know you’re eager for the recipe, so I’ll stop reiterating how gloriously luscious, smooth, and utterly delicious this Salted Caramel Crème Brûlée truly is. I won’t go on about how it glides over your tongue with an authentic, deep caramel flavor (that you made from scratch, I might add!) and leaves you feeling utterly giddy with dessert satisfaction.
And I certainly won’t remind you that it took a mere 15 minutes of hands-on effort to bring together, using only 5 simple ingredients. I do, however, sincerely apologize for the unavoidable waiting period while they cool and chill completely before you can finally indulge. Alas, that is the way of the crème brûlée – patience truly is a virtue for this masterpiece.
Enjoy, friends. This is more than just a dessert; it’s an experience.
More Decadent Desserts You’re Sure to Love:
- Dulce de Leche Chocolate Cheesecake Bars
- Lime Cheesecake with Triple Berry Sauce
- Lemon Poppy Seed Cake with Cream Cheese Frosting
- Flourless Chocolate Cake
- Mini Fruit Tarts
- Caramel Brownies from Scratch
- Instant Pot Peanut Butter Cup Cheesecake
- Nutella Dulce de Leche Chocolate Chip Cookie Pie
- Peanut Butter Cheesecake Oreo Brownies
- Reese’s Peanut Butter Marshmallow Cookie Pie
- All our DESSERT RECIPES!
Salted Caramel Creme Brulee Recipe
Salted Caramel Crème Brûlée is not only totally addictive but it’s incredibly easy to make. With just 4 ingredients, one being water, and 15 minutes of active time, you can knock out a gorgeous dessert everyone will love.
Prep time: 10 mins | Cook time: 45 mins | Total time: 2 hrs 55 mins
Servings: 4
Ingredients
- 1/2 Cup Sugar, superfine (see notes)
- 1/4 Cup Water
- 2 Cups Heavy Cream
- 1/4 teaspoon Salt (optional)
- 4 Egg Yolks, from large eggs
- 2 Tablespoons Sugar, superfine extra (for topping)
Instructions
- Preheat the oven to 320°F (160°C). Place 4 ramekins (see notes for size) in a flat-bottomed baking tray with high sides.
- In a heavy-based stainless steel saucepan, combine the 1/2 cup sugar and water over low heat. Heat, swirling the pan occasionally (do not stir), until all the sugar is dissolved and the caramel turns a deep amber color.
- Carefully pour in the heavy cream. The caramel will firm up and bubble; this is normal. Continue stirring gently over low heat until the hardened caramel dissolves completely into the cream, creating a smooth caramel cream mixture.
- Remove the saucepan from the heat and stir in the 1/4 teaspoon salt, if using.
- In a medium bowl, whisk the egg yolks until they are very pale and slightly thickened.
- Slowly drizzle the hot caramel cream mixture into the whisked egg yolks while continuously whisking. This tempering process gradually raises the temperature of the egg yolks, preventing them from scrambling.
- Once fully mixed, strain the custard mixture through a fine-mesh sieve into a pouring jug. This step ensures an ultra-smooth custard.
- Pour the strained custard evenly into the prepared ramekins.
- Pour hot (but not boiling) water into the baking dish, around the outside of the ramekins, until the water level reaches about halfway up their sides. This creates a gentle water bath.
- Bake for 45 minutes, or until the centers of the custards look just set and have a slight wobble (like firm jello) when gently nudged (see notes).
- Very carefully remove the ramekins from the water bath and set them aside to cool on a wire rack for about 30 minutes. Once slightly cooled, cover each ramekin with plastic wrap and refrigerate for at least 2 hours, or until completely chilled.
- When ready to serve, sprinkle the extra 2 tablespoons of superfine sugar evenly over the top of each chilled crème brûlée. Gently shake the ramekins to disperse the sugar evenly.
- Use a kitchen blowtorch to caramelize the sugar on top until it forms a deep amber, crunchy crust. Serve immediately to enjoy the delightful contrast of the warm, crisp topping and cold, creamy custard.
Recipe Notes
- Superfine Sugar: Superfine sugar (also known as caster sugar) is recommended as it dissolves quicker and more evenly than regular granulated sugar, reducing the risk of crystallization. If you only have regular white granulated sugar, keep the heat a little lower during caramelization to ensure it mostly dissolves before it starts bubbling.
- Ramekin Size: The ramekins used in these photos are 3.5 inches (approx. 9 cm) wide by 1.5 inches (approx. 4 cm) deep, with a volume of about 1/2 cup + 1 tablespoon. Remember, the deeper your ramekins, the longer the custards will take to cook. Adjust baking time accordingly.
- Doneness Test: To check if they are done, gently shake a ramekin. The center should have a slight, delicate wobble, but not appear liquid beneath the surface. It should resemble the consistency of set jelly or firm gelatin.
- Make Ahead: Crème Brûlée custards can be made up to 2 days in advance. Store them covered in the refrigerator. Only add and caramelize the sugar topping just before serving to ensure a perfectly crisp crust.
Store any leftover crème brûlée in the refrigerator for up to 5 days.
Nutrition
Nutrition information is automatically calculated, so should only be used as an approximation.
- Serving: 1g
- Calories: 588kcal
- Carbohydrates: 35g
- Protein: 5g
- Fat: 49g
- Saturated Fat: 29g
- Cholesterol: 358mg
- Sodium: 200mg
- Potassium: 109mg
- Sugar: 31g
- Vitamin A: 2009IU
- Vitamin C: 1mg
- Calcium: 101mg
- Iron: 1mg